 BERNINA Corporate Blog -
Welcome to part 3 of the Kalle Shirt Dress by Closet Core Patterns Sewalong (otherwise known as the burrito part). If you missed the previous installments then make sure to check them out first here: Sewalong: Kalle Shirt Dress by Closet Core Patterns Part 1. And here: Sewalong: Kalle Shirt Dress by Closet Core Patterns Part 2
Burrito in action. Read on to find out what this is all about…
If you’ve never done a burrito in sewing, please know that it is easier than it looks/sounds and, once mastered, it will reside proudly in your Repertoire of Sewing Wizardry. That said, I absolutely messed it up first time round. It’s totally ok to try, and then try again! I mean, what were seam rippers invented for?
Let’s get started. Attach one of your yoke pieces to your shirt back, right sides together and stitch.
Next you have to sandwich the shirt between the other yoke, right side of the yoke facing wrong side of the shirt and stitch that on as well, matching this line of stitching to the previous line of stitching.
Here you’ll need to trim/grade your seams to reduce bulk. The seam allowance for this pattern is the traditional 5/8” or 1.5cm, which means there’s a healthy amount of seam trimming to be done throughout the project.
It’s nice to have that wiggle room and it does make for precise sewing. But I must admit I do also like the ease and simplicity of a narrower (more modern? More unconventional?) seam allowance that doesn’t need to be trimmed. It saves fabric and is quicker. Which do you prefer? Leave me a comment.

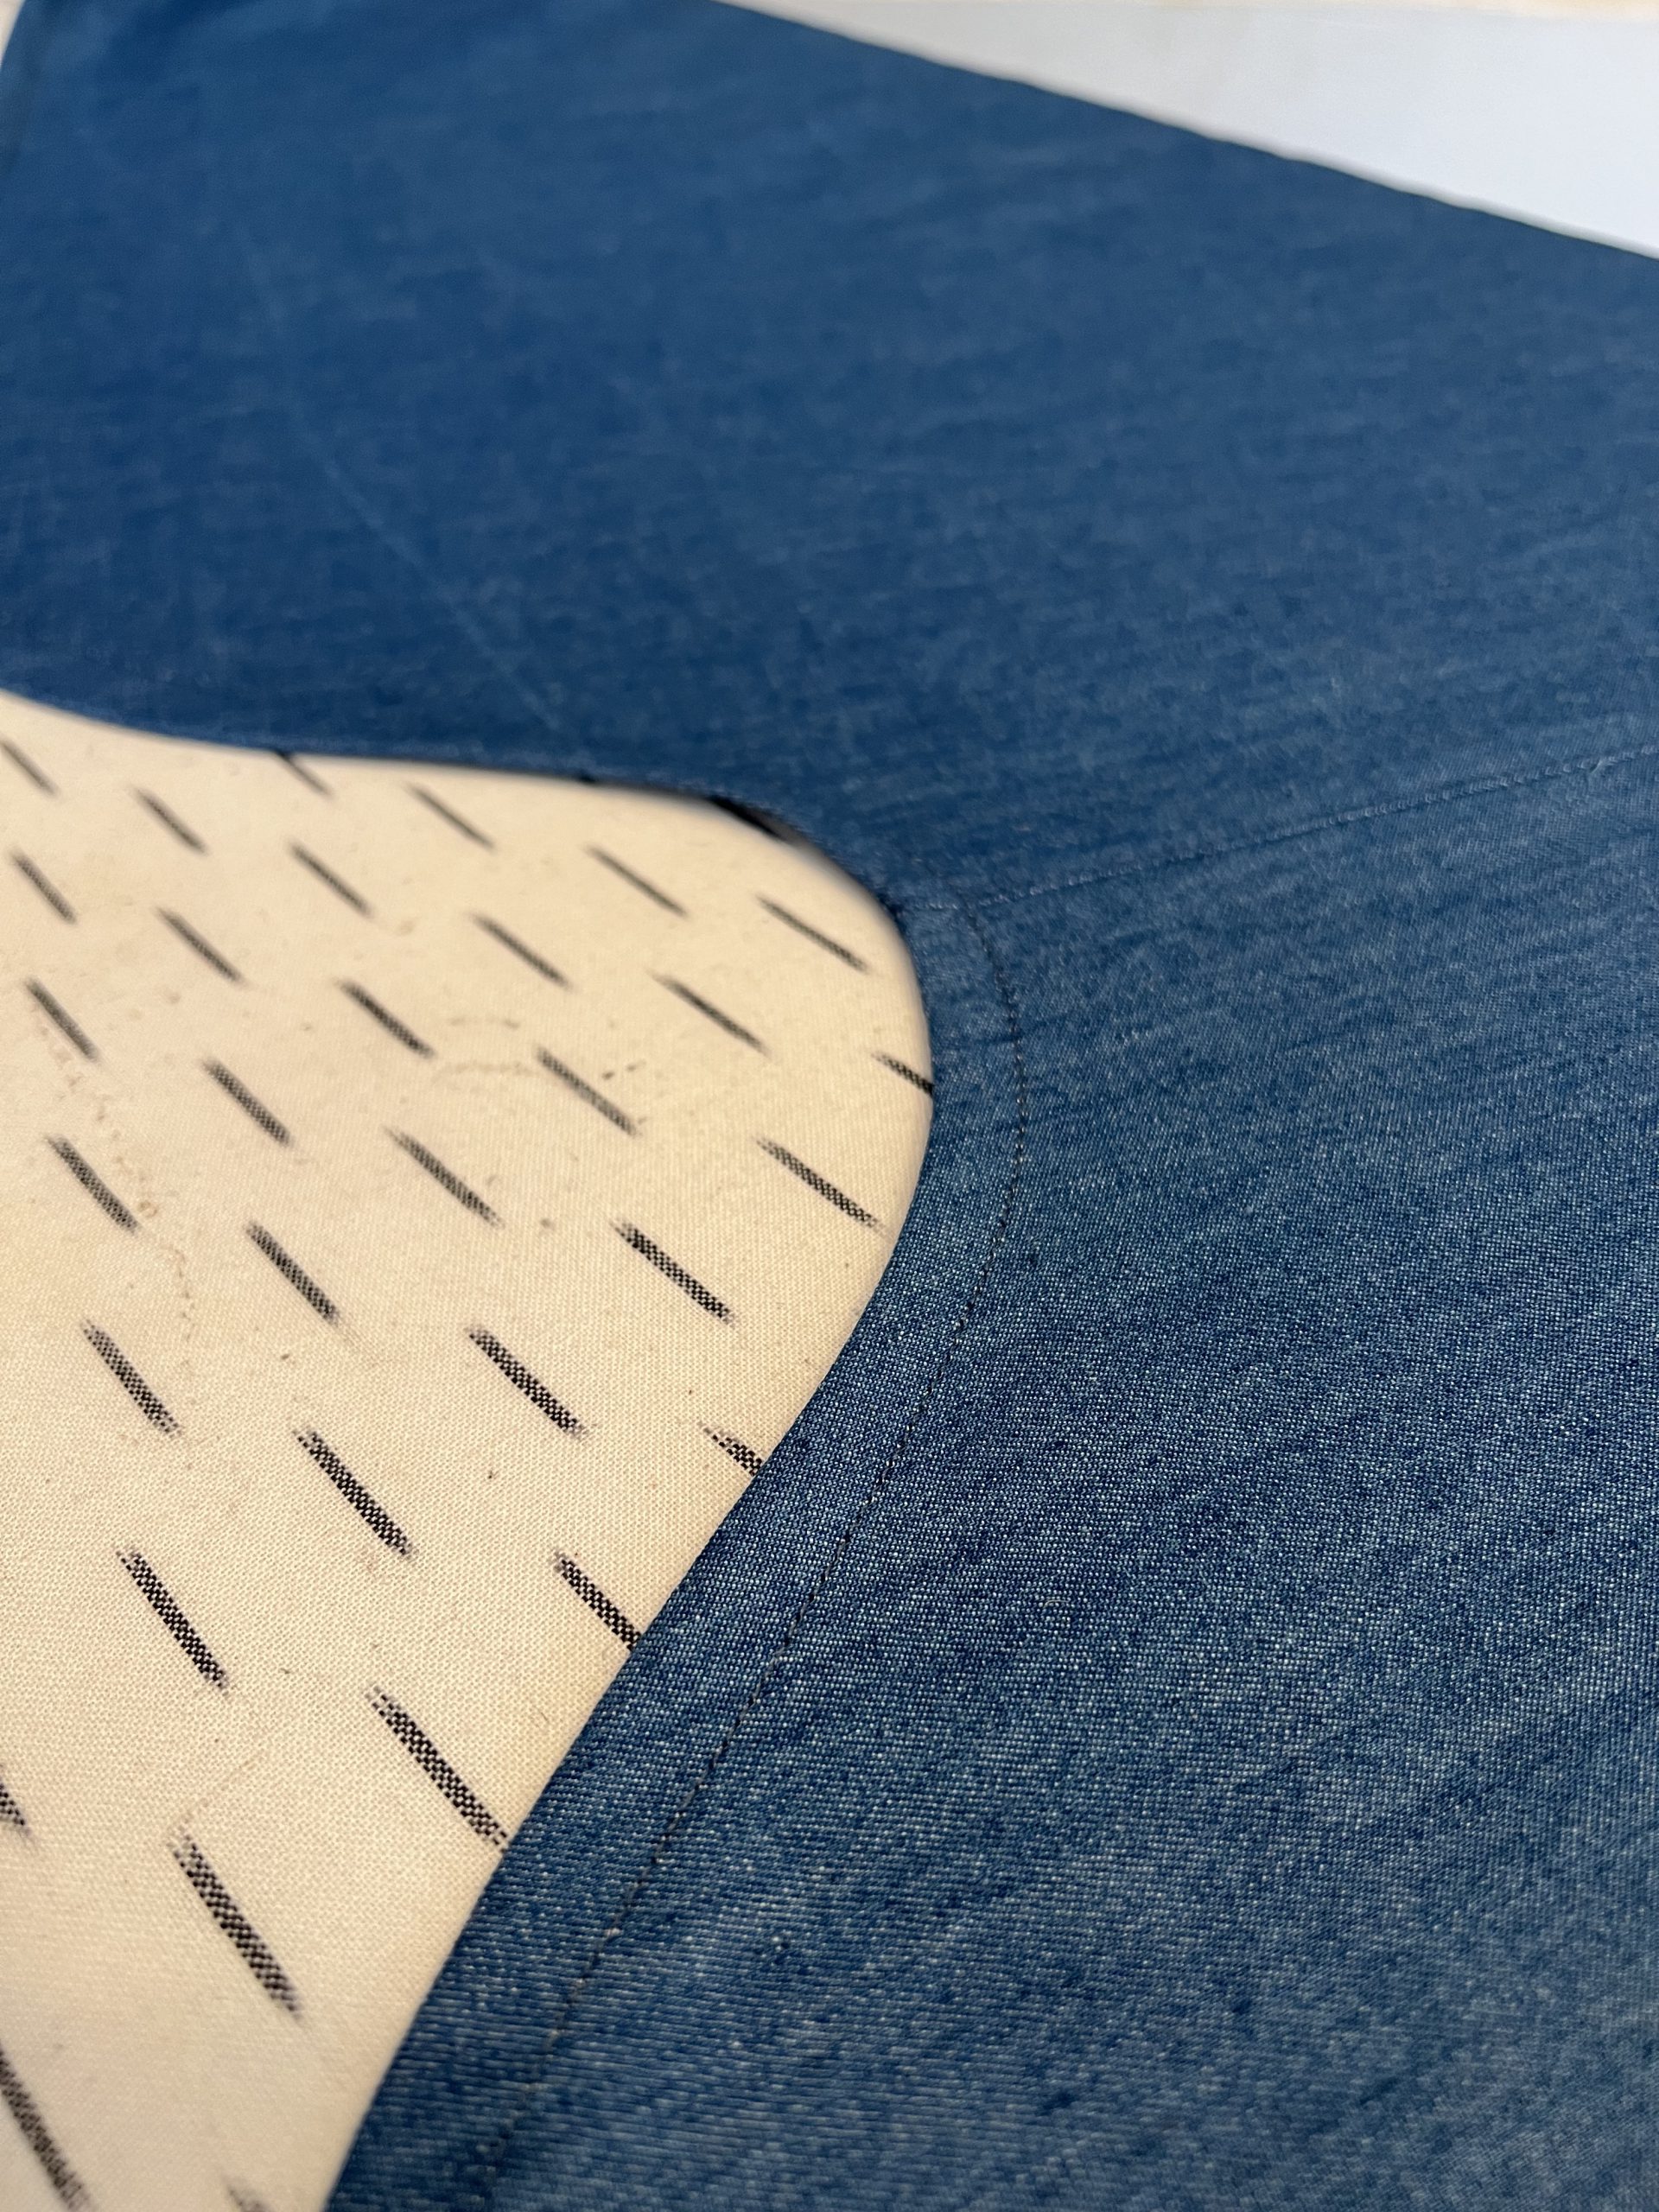
Yoke shown from the inside of the garment. This is how things should be looking at this stage.
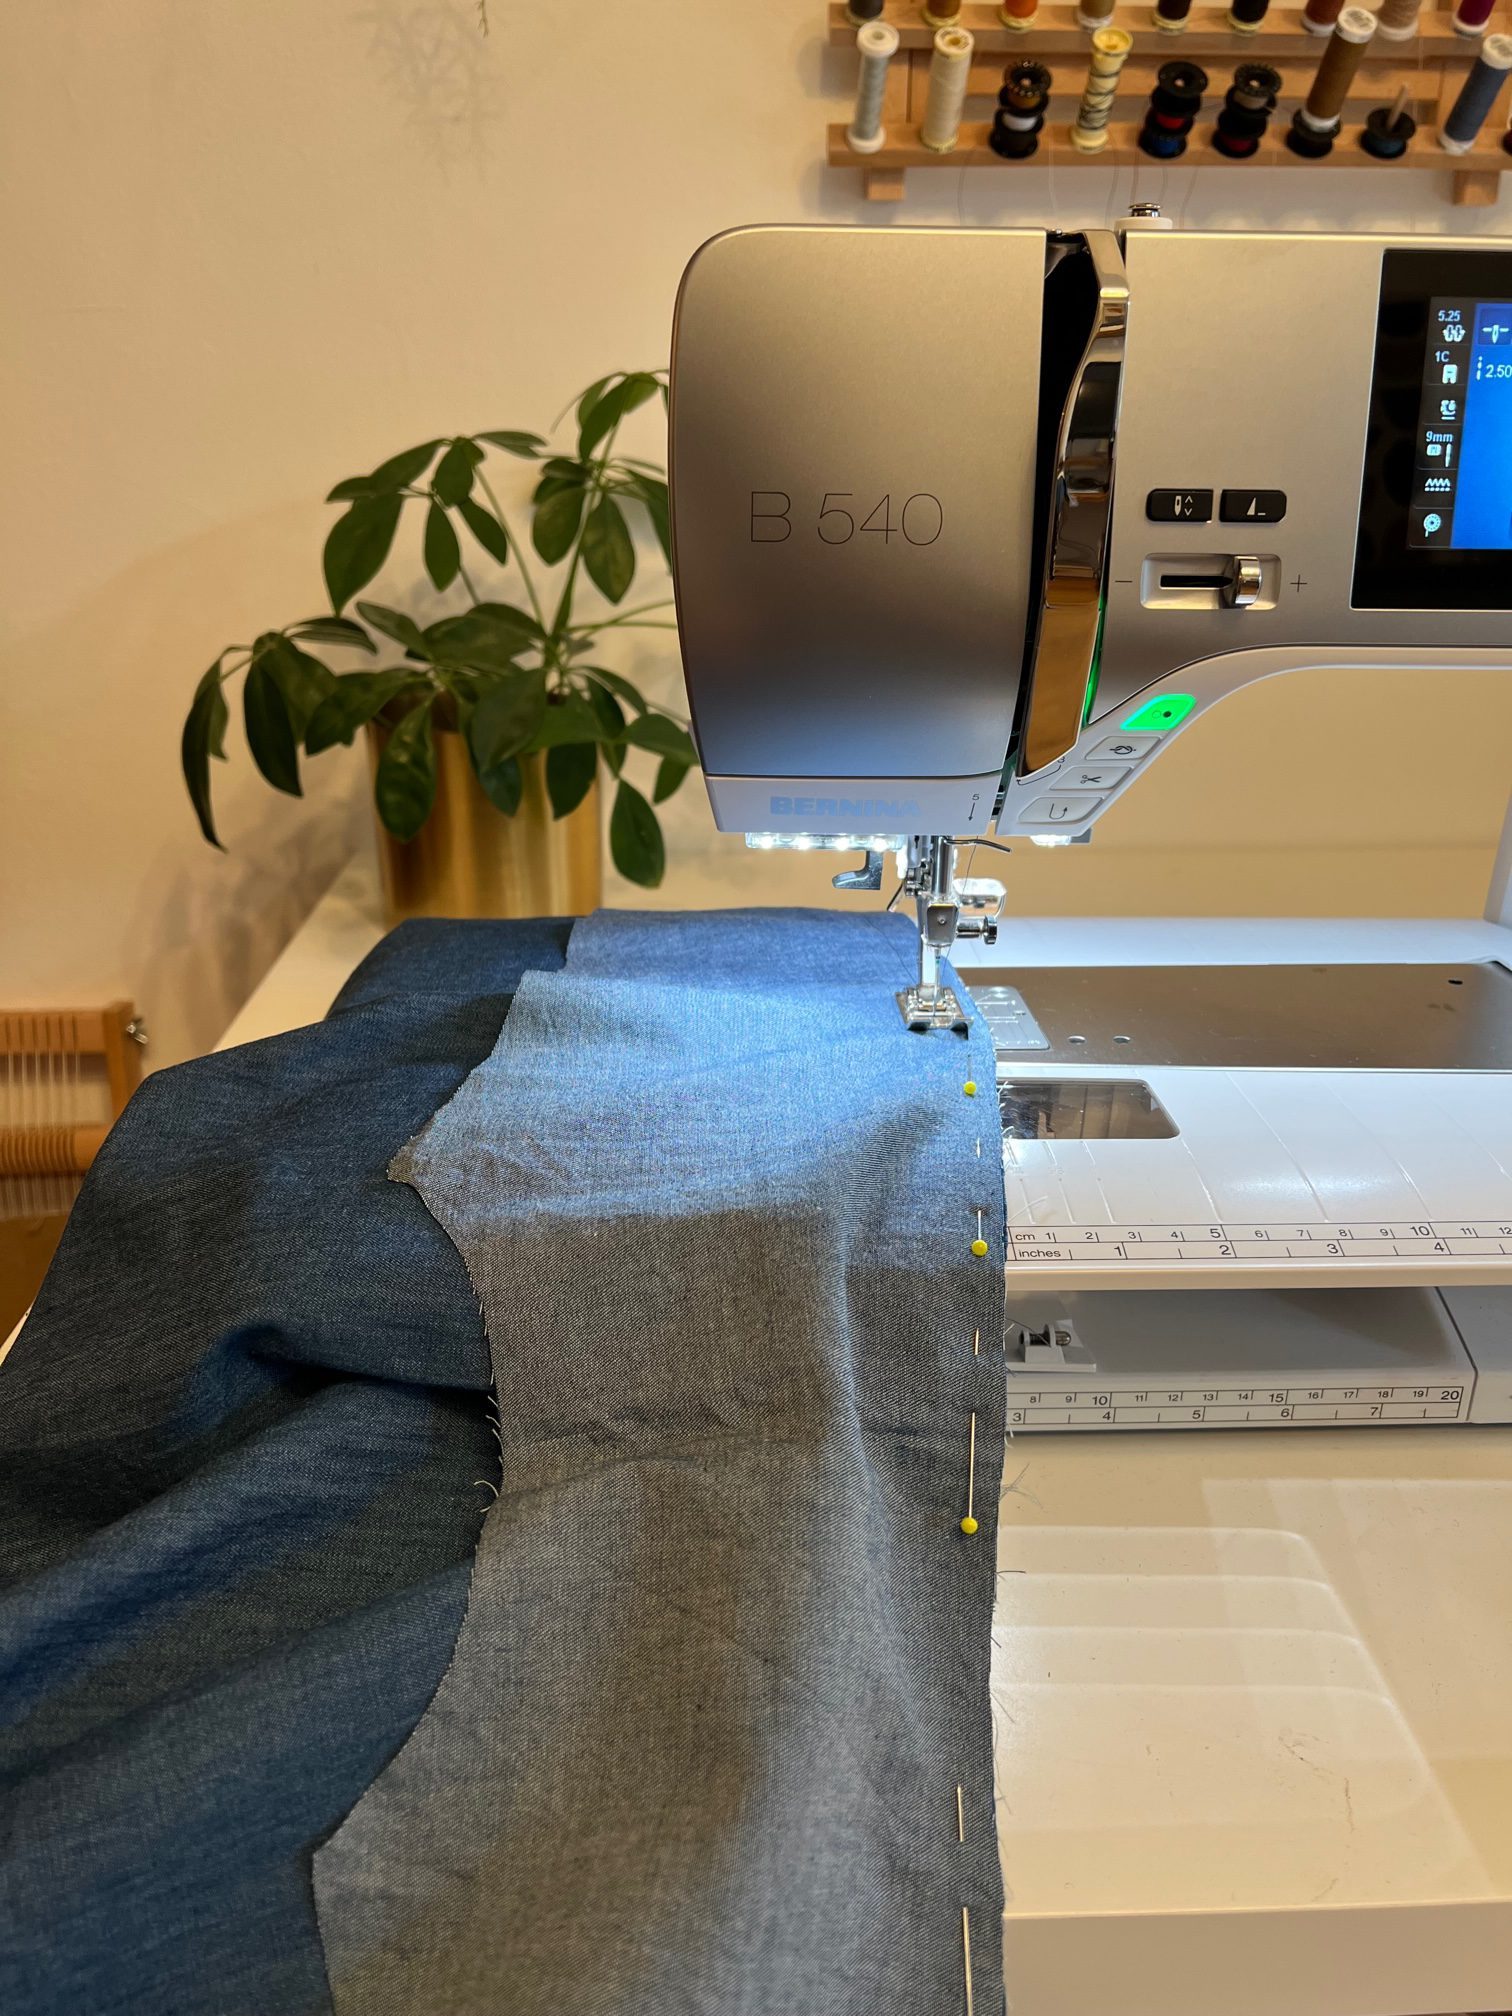
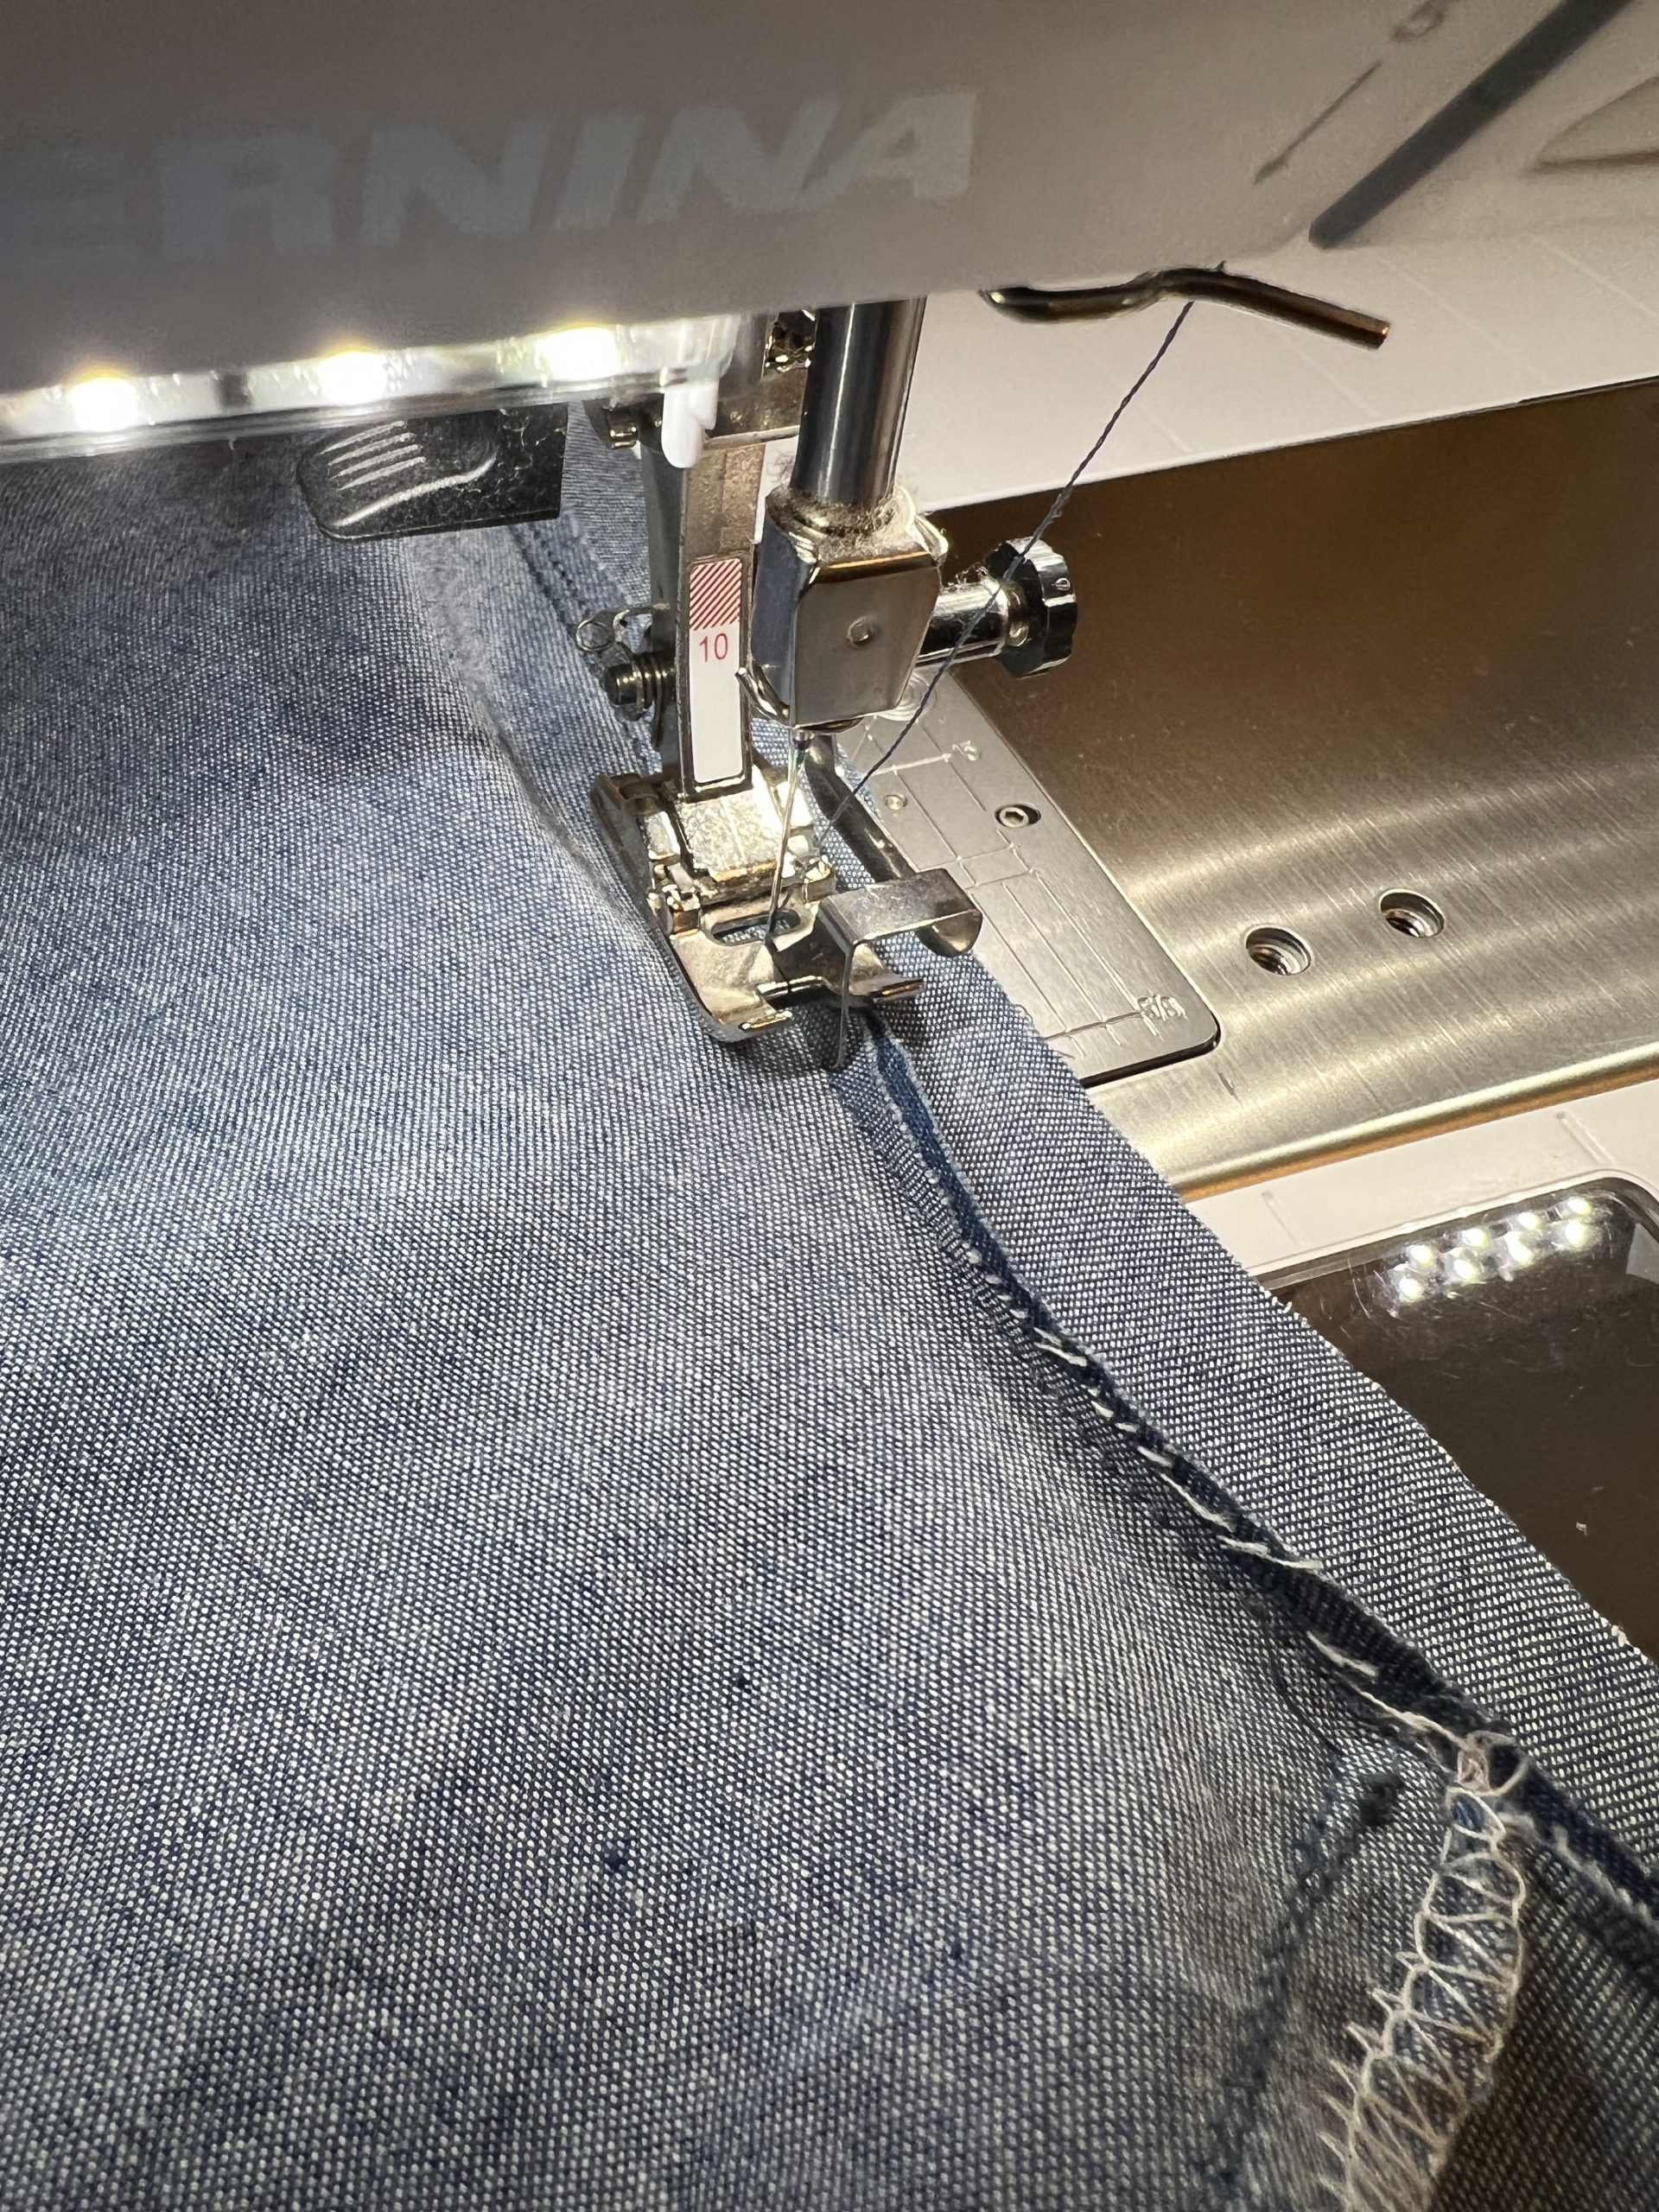
Next we are going to line up the shoulder seams of the front shirt pieces and bottom yoke, right side of yoke against wrong side of front shirt. Sounds confusing and counter-intuitive right? Just wait for the magic.
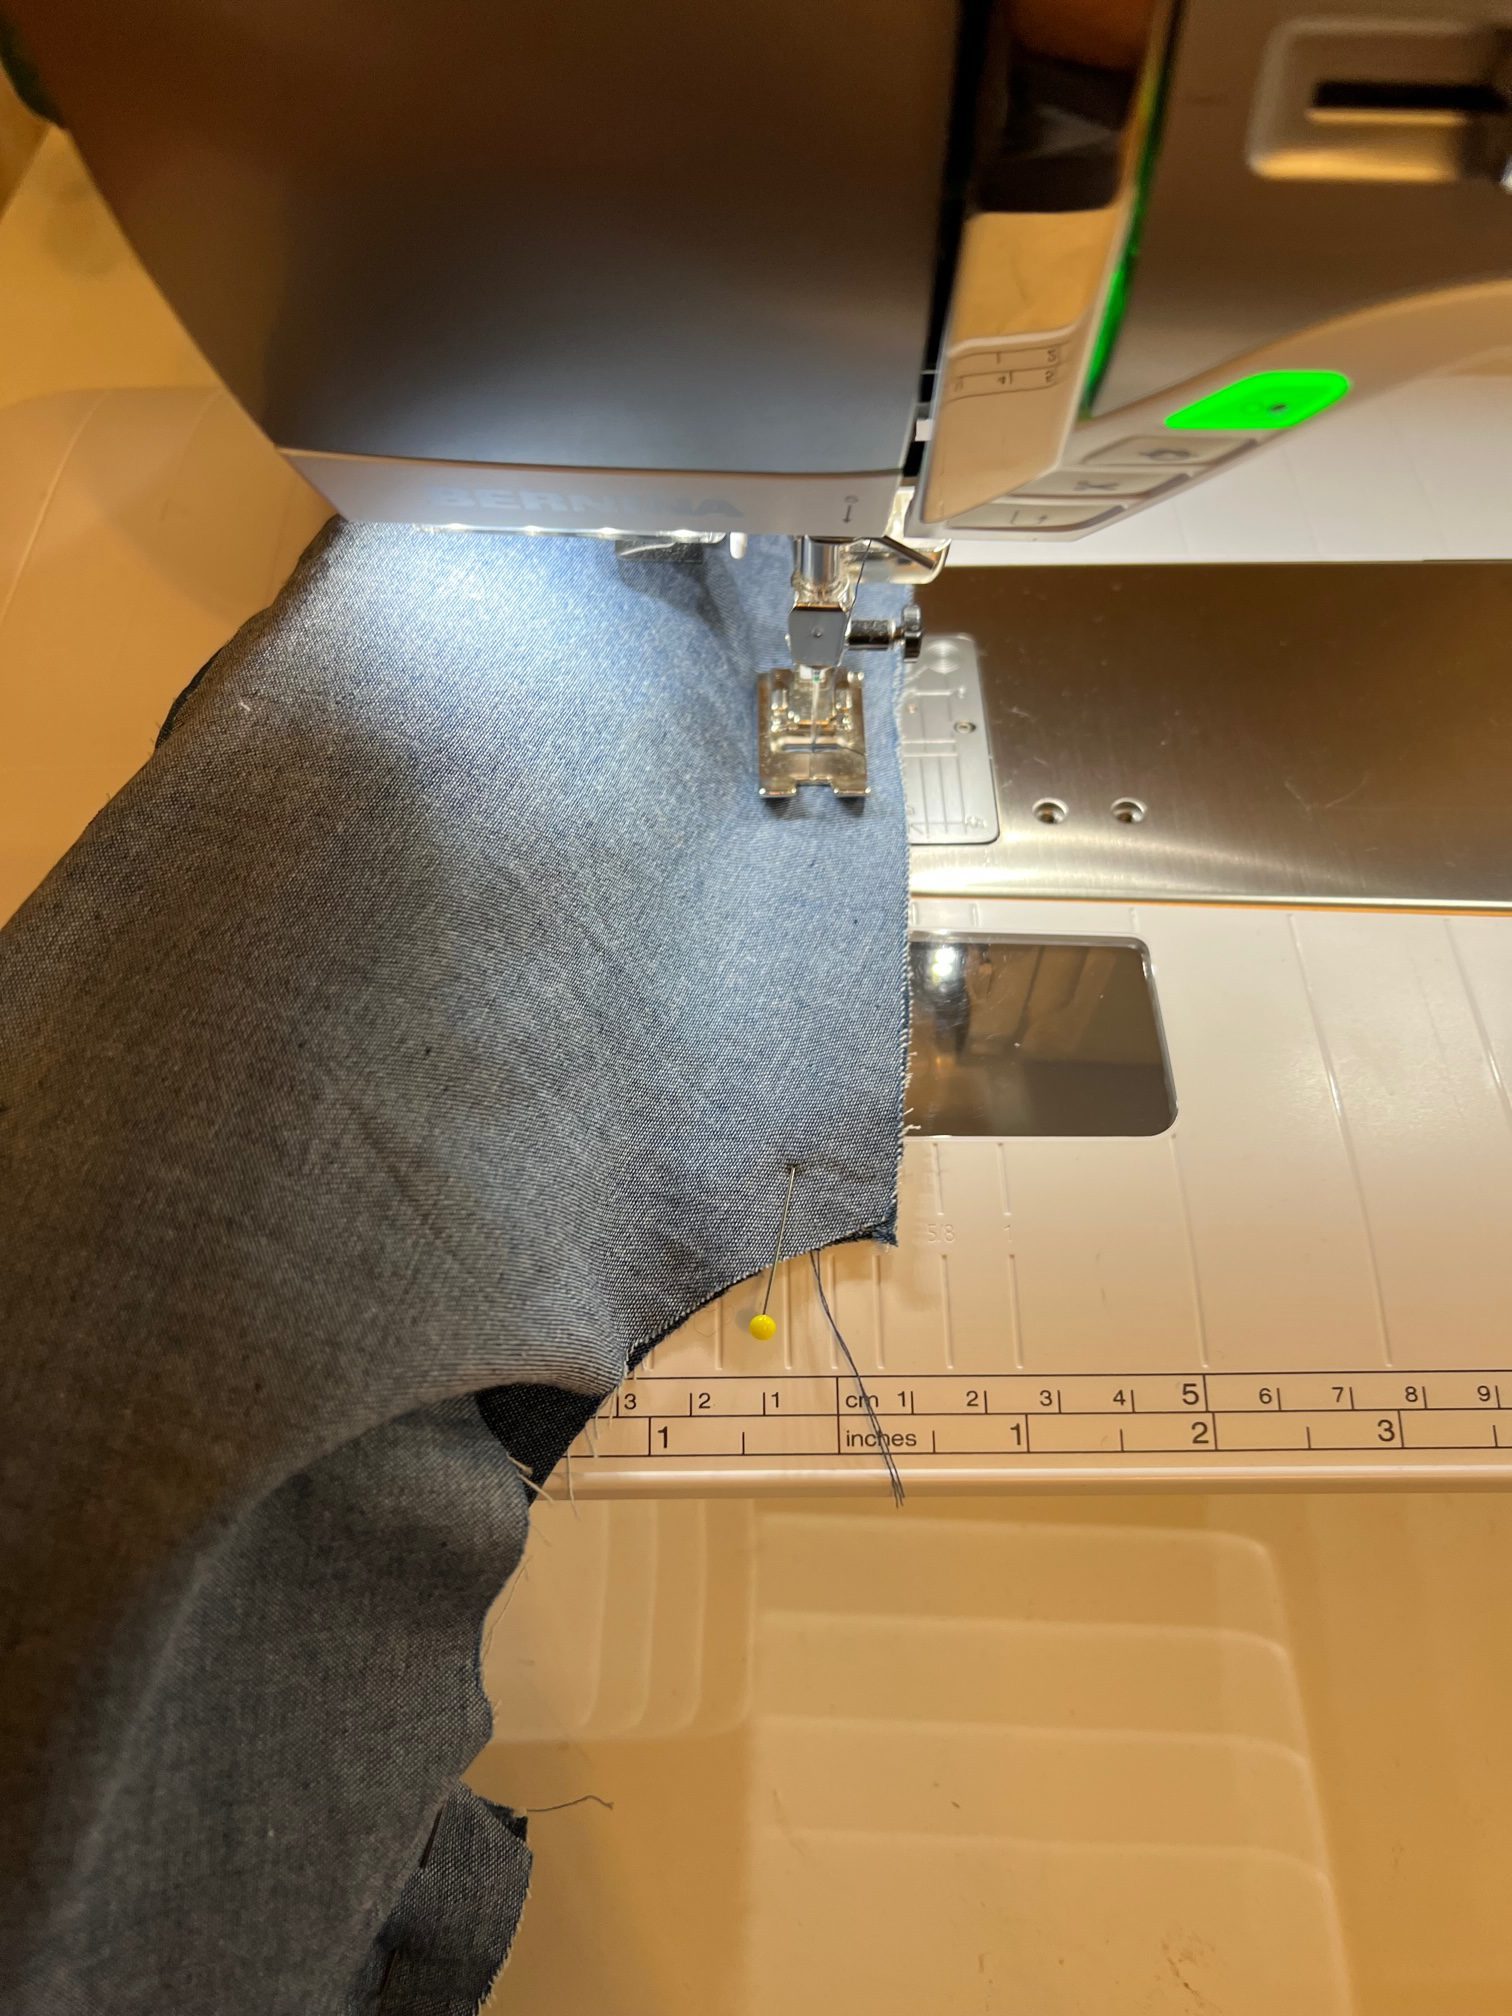
You’ll need to sew a scant 5/8” or 1.5cm seam allowance here, later on down the track this stitching line will not be visible but enclosed within the completed yoke.


Stitch the pinned seam closed using a scant 5/8″ (1.5cm) seam allowance
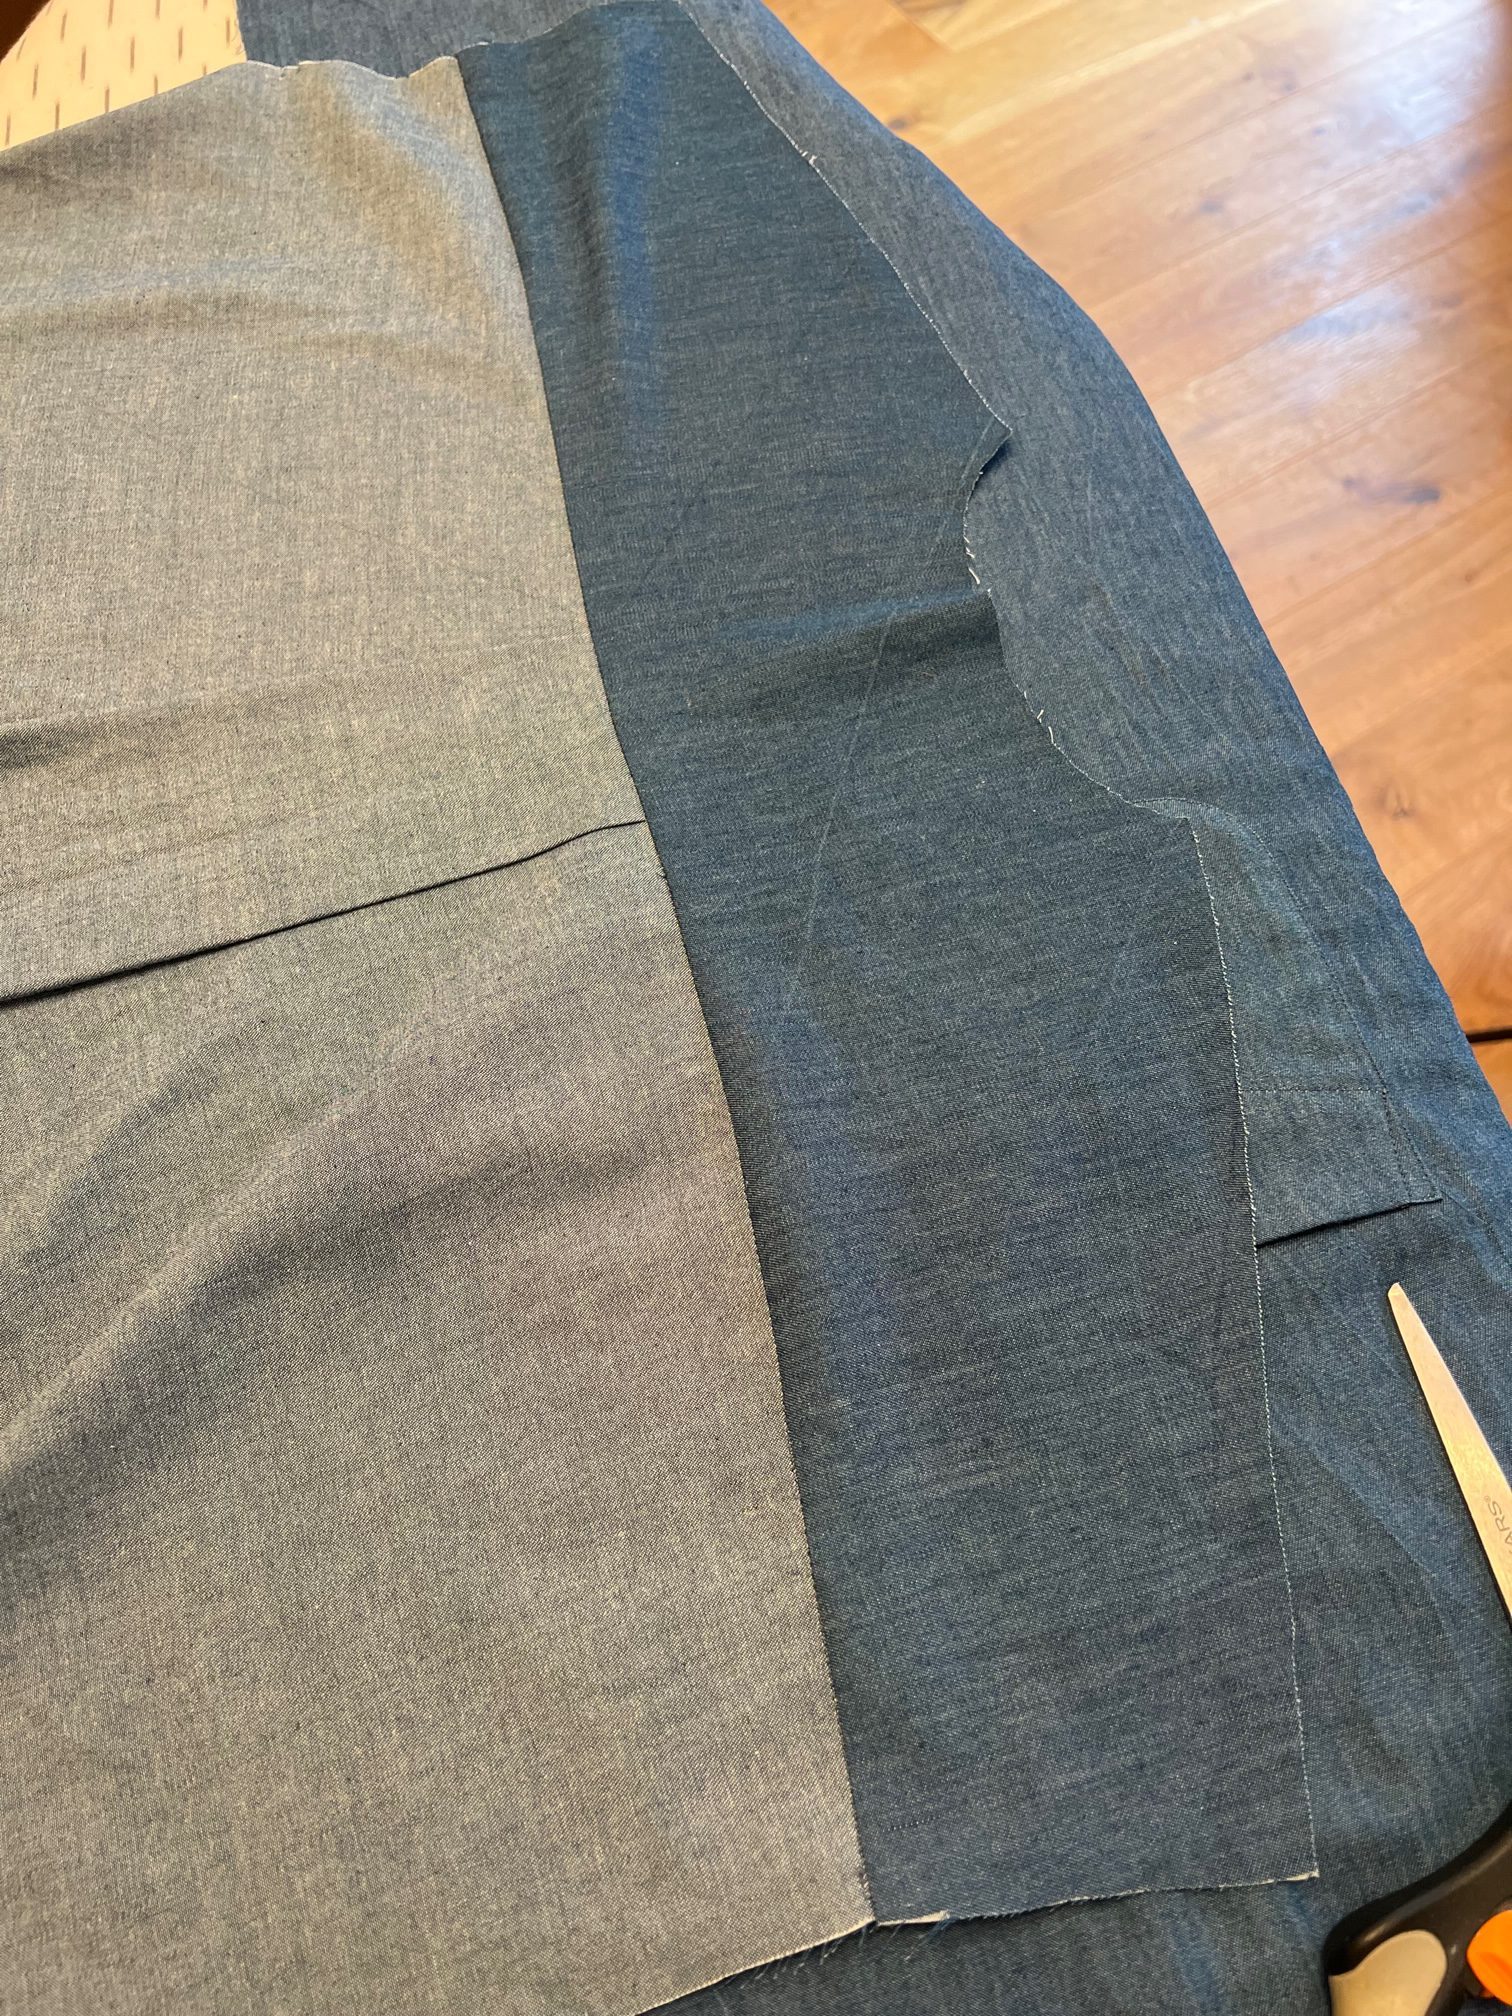
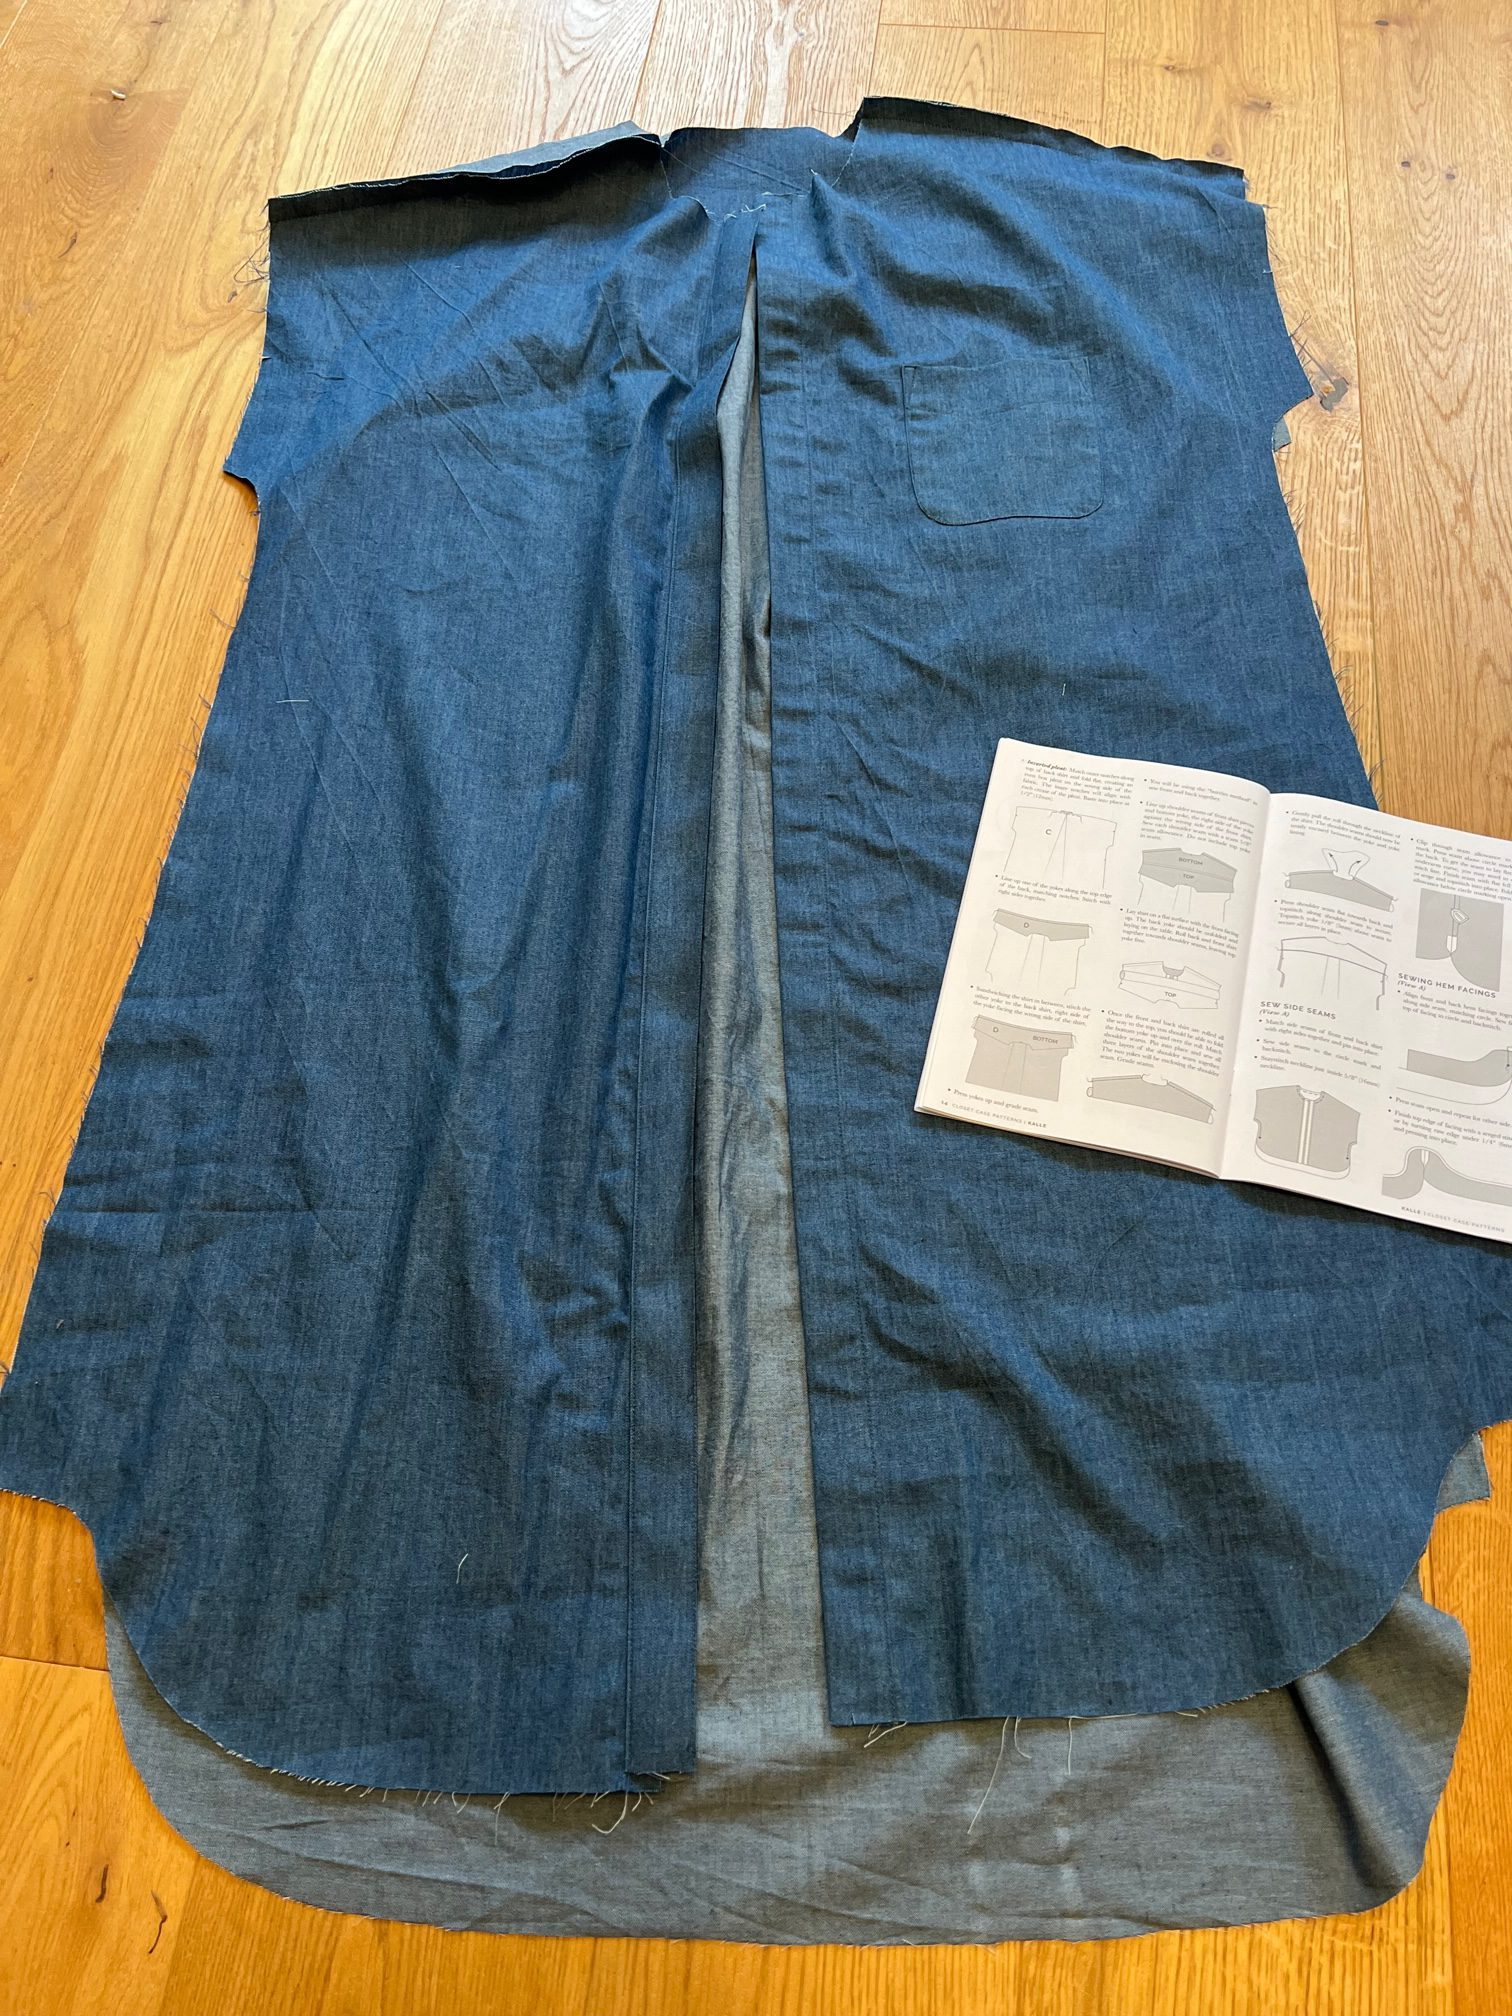
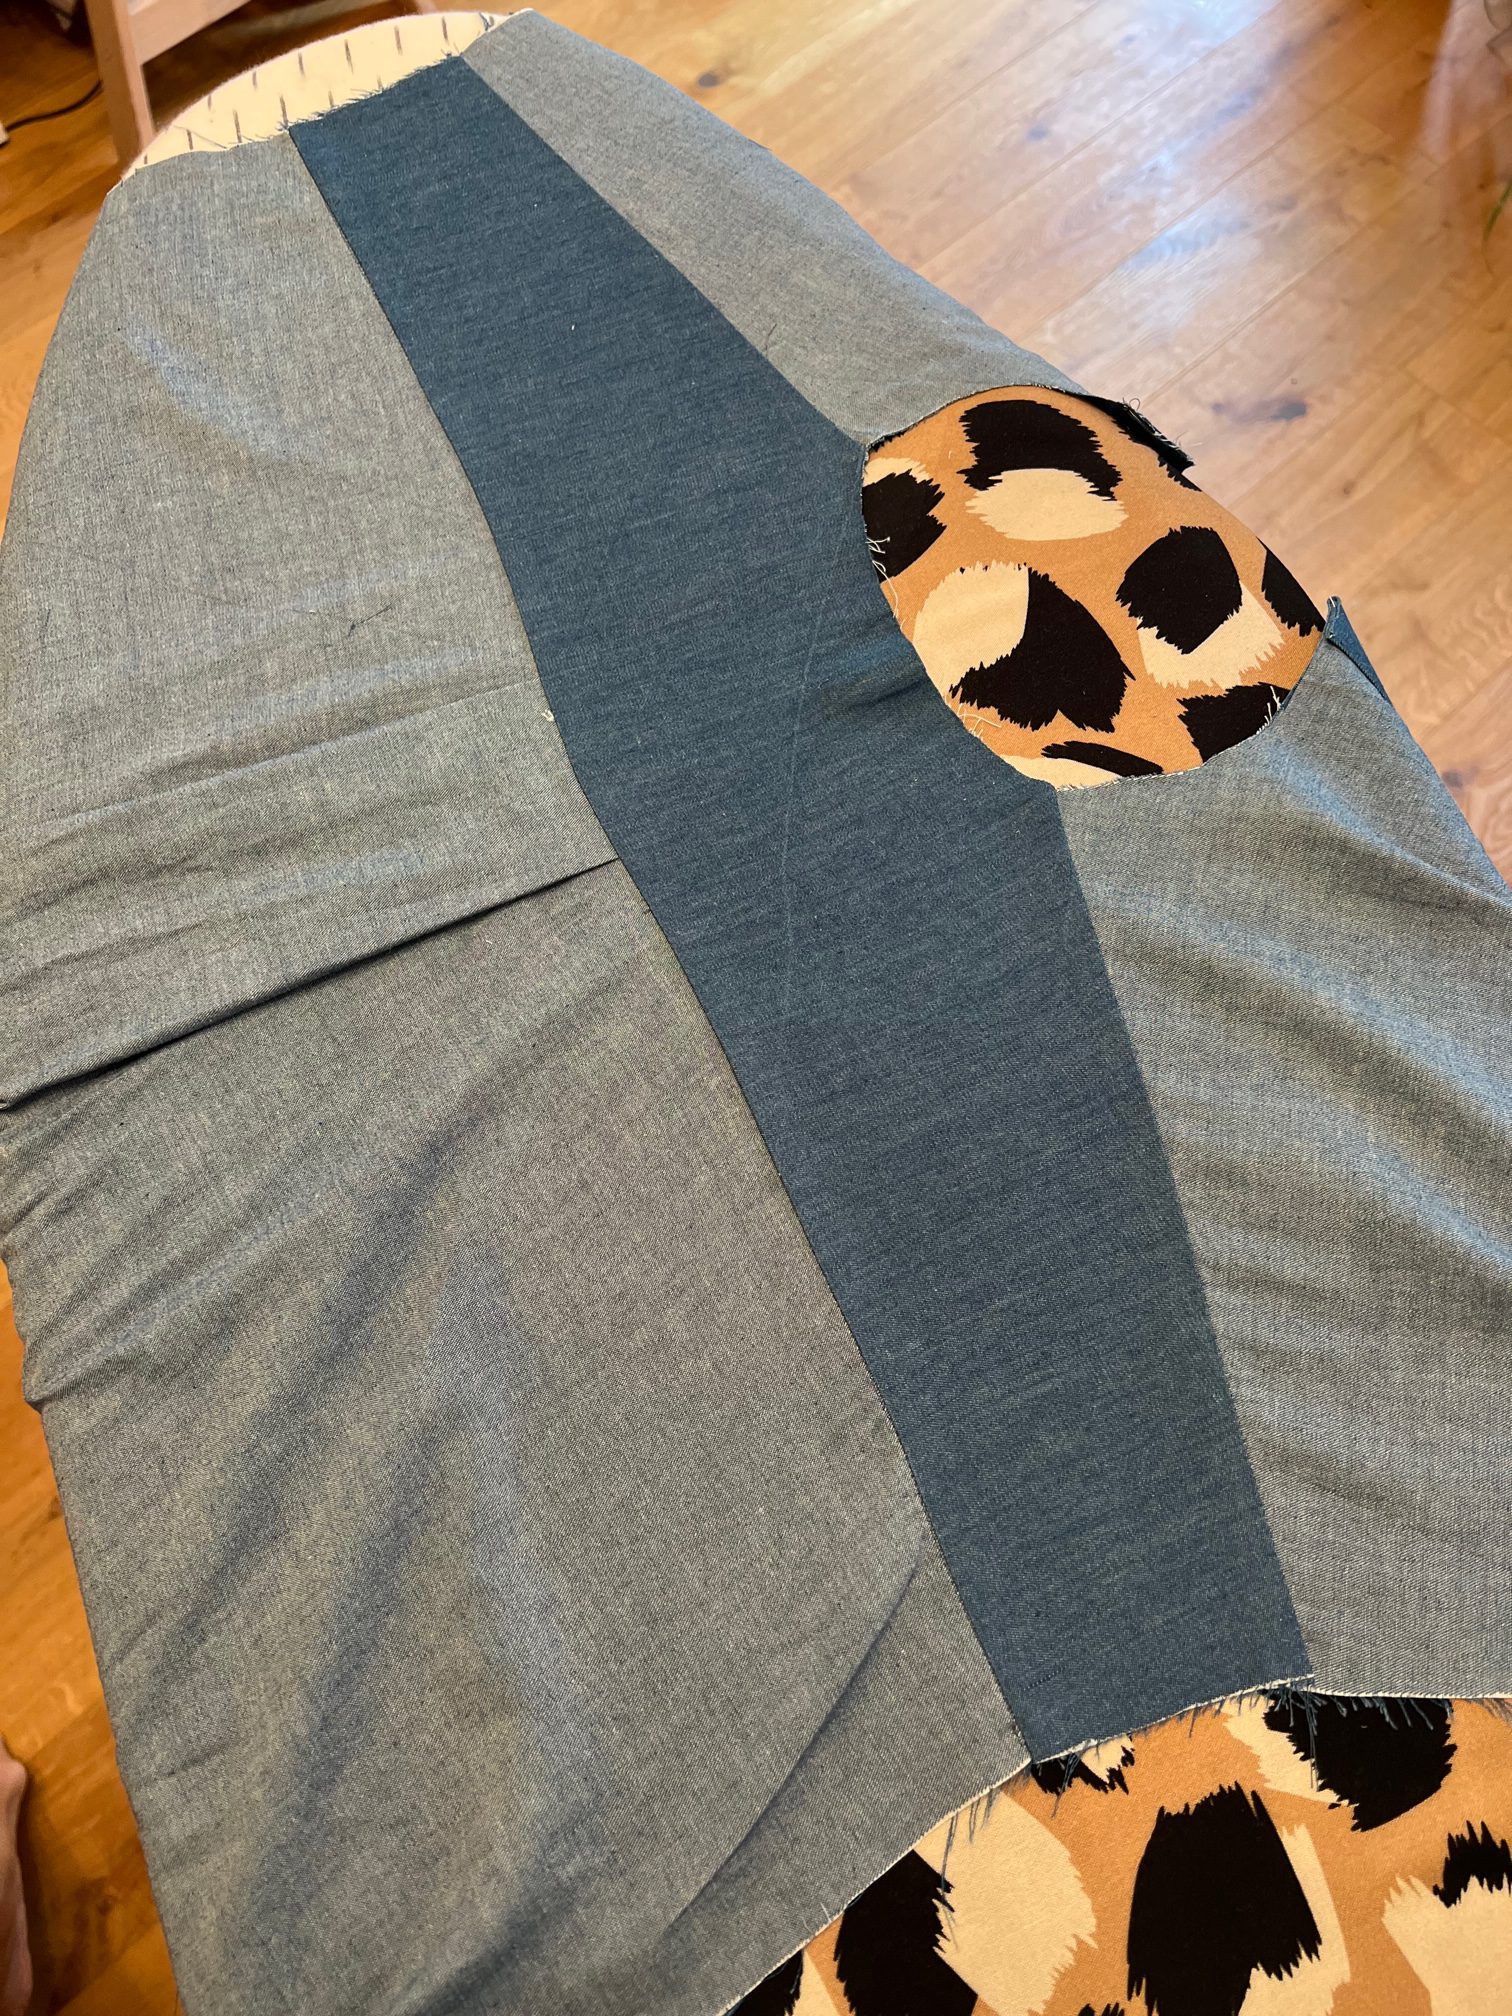
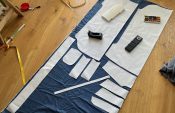
Below is a sneak peek of how things should be connecting up at this point. You don’t need to spread the dress out like this, I just wanted to provide an additional angle so you can check your pieces are coming together in the same way. Hopefully it helps to further demystify the process for you.
A flat lay to give you a better idea of how the pattern pieces should fit together
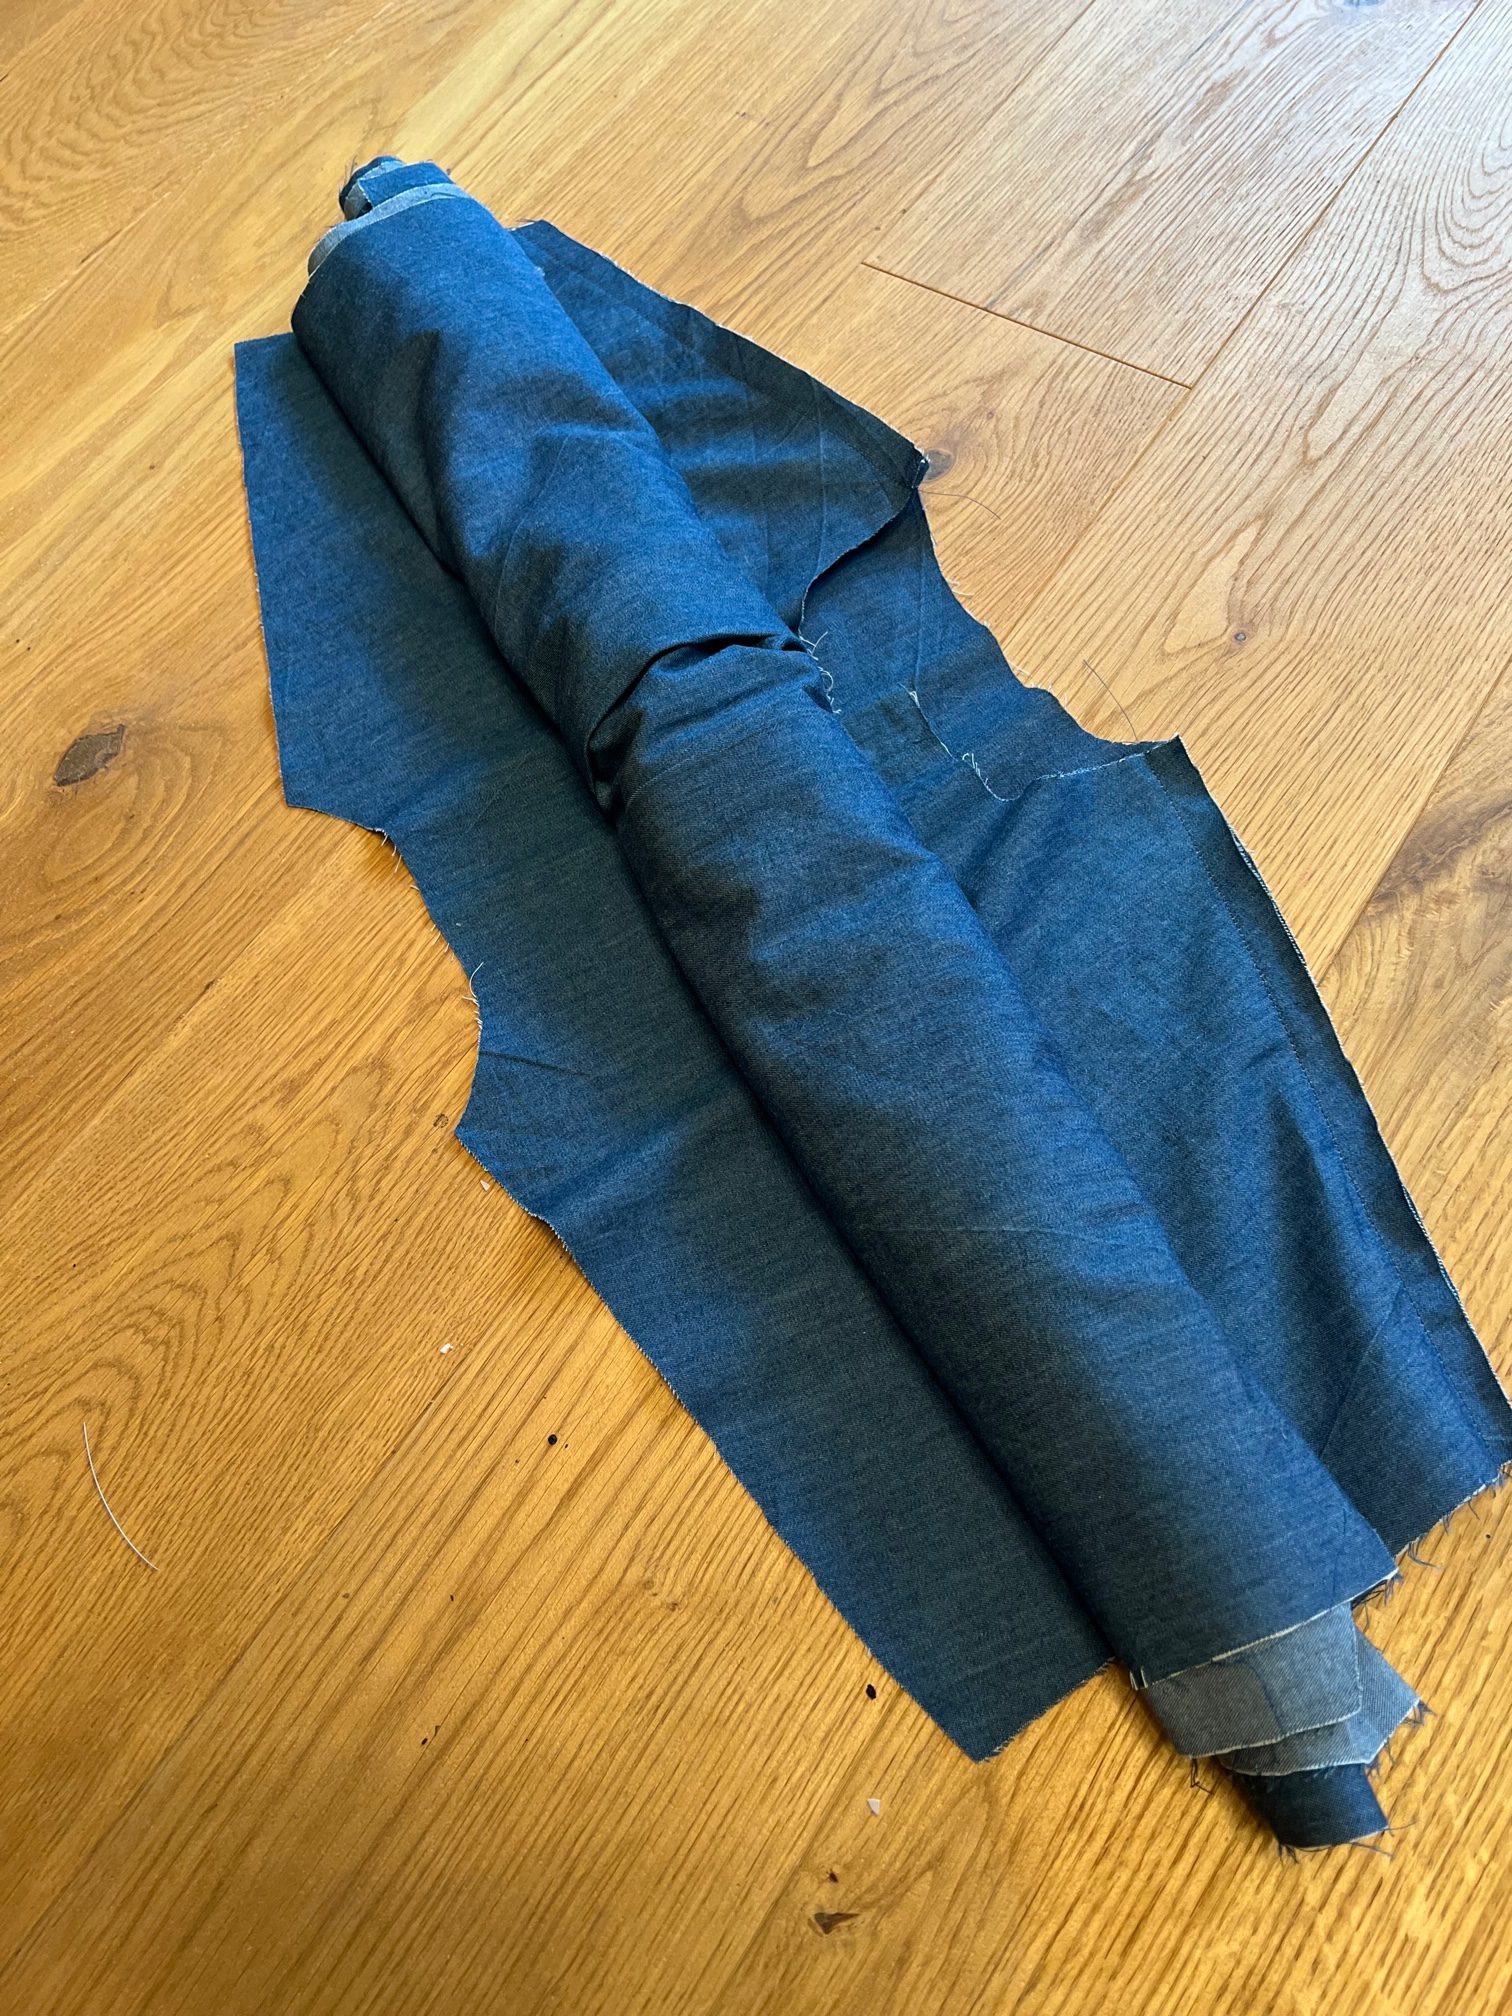
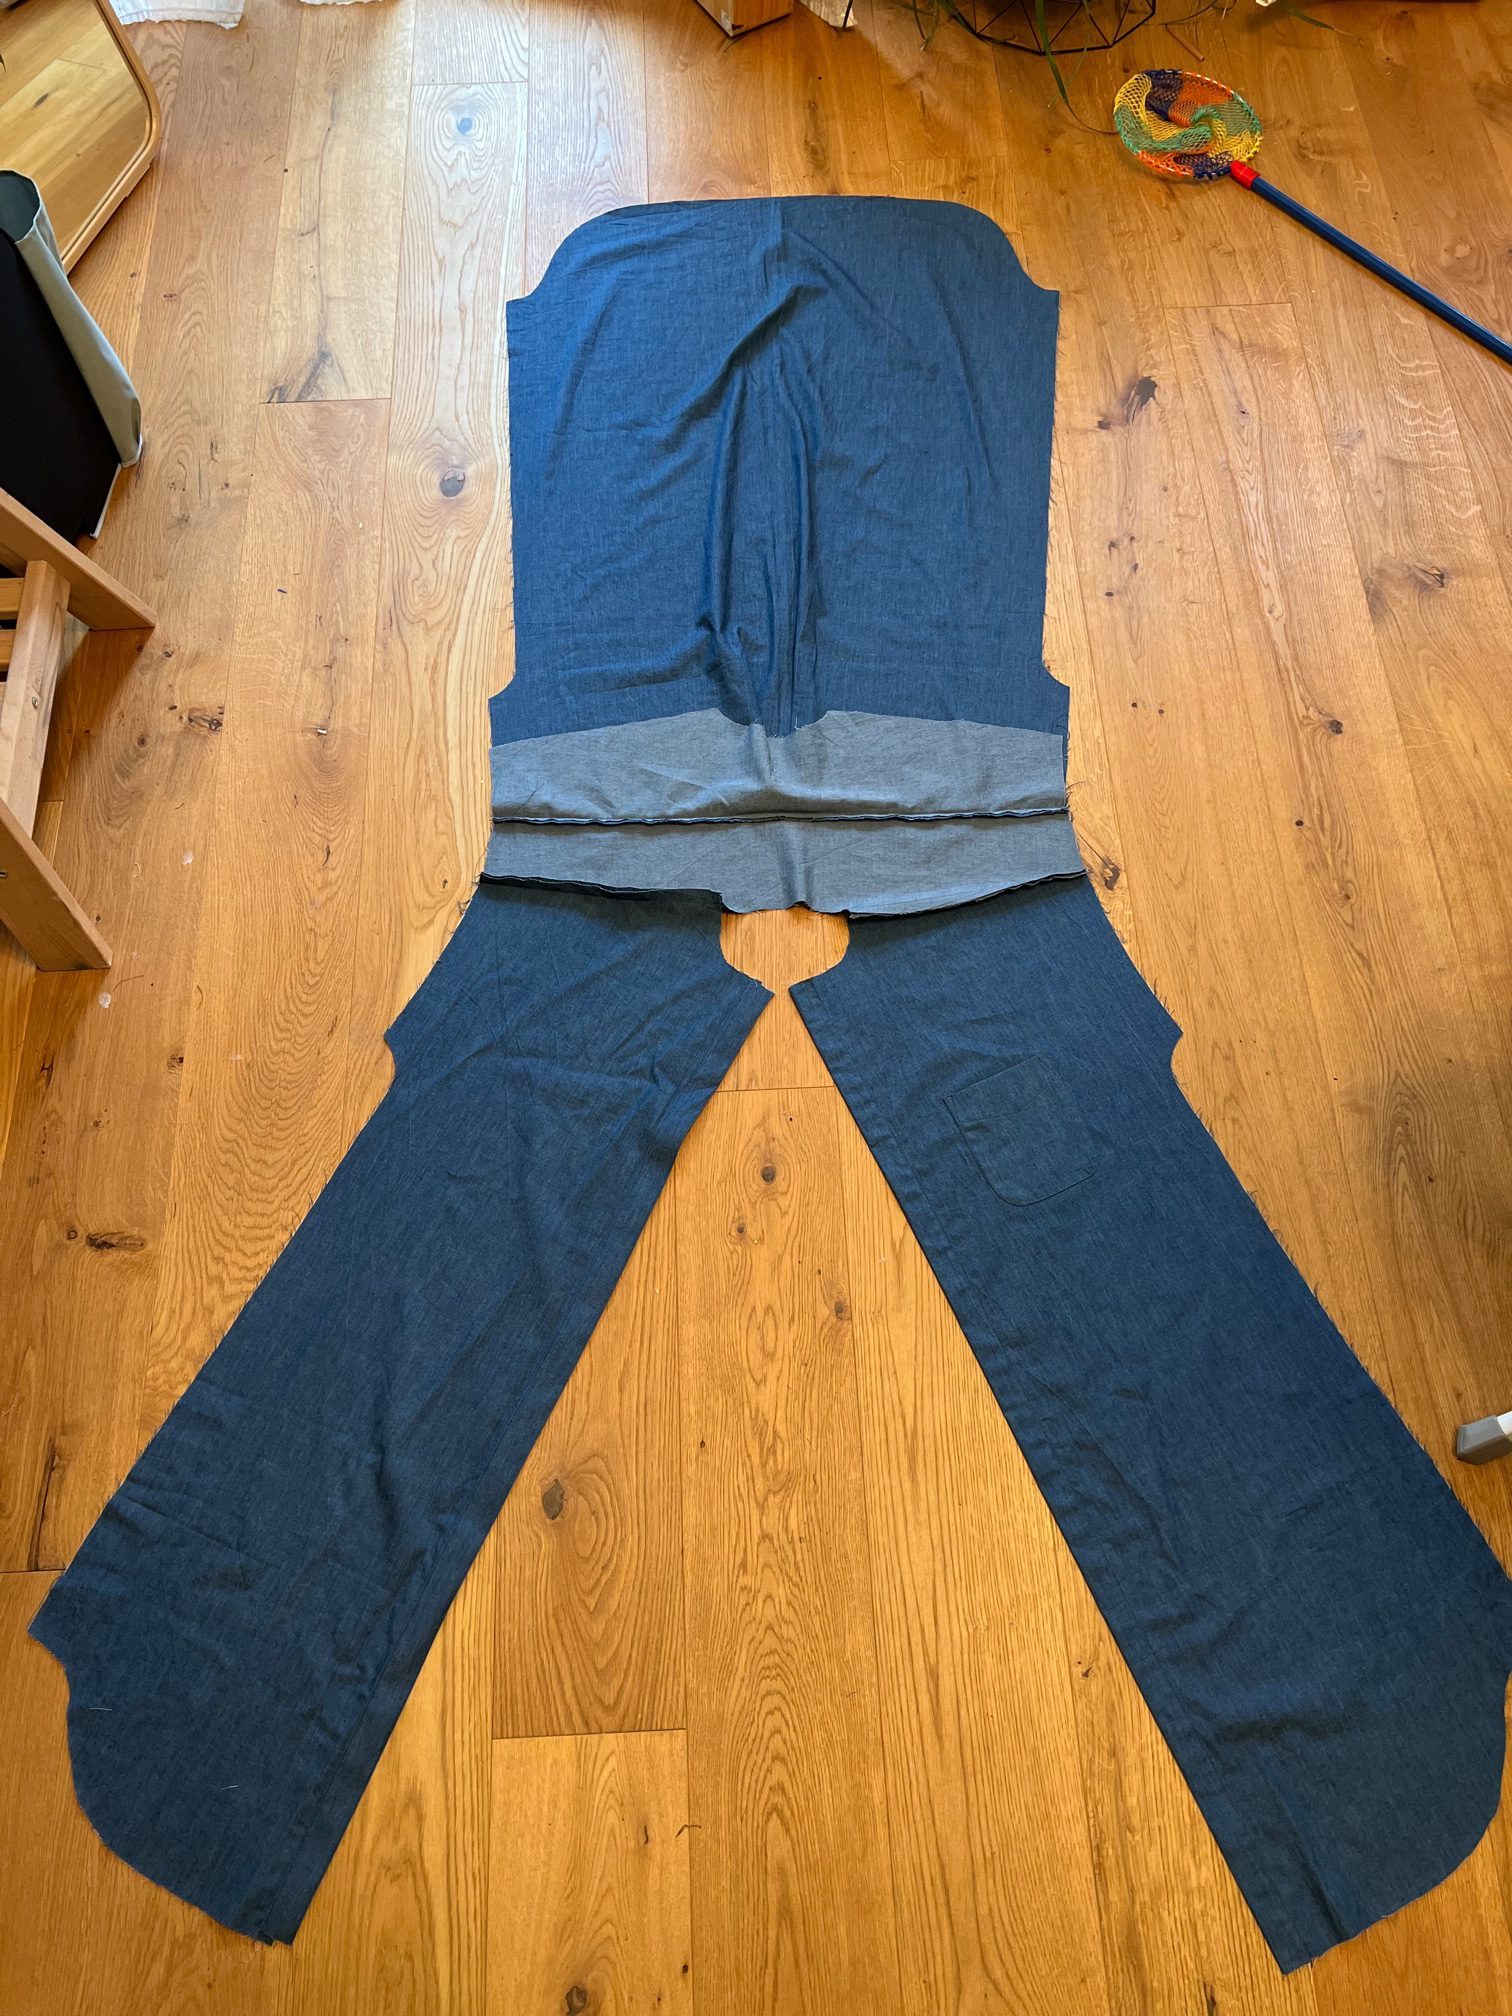
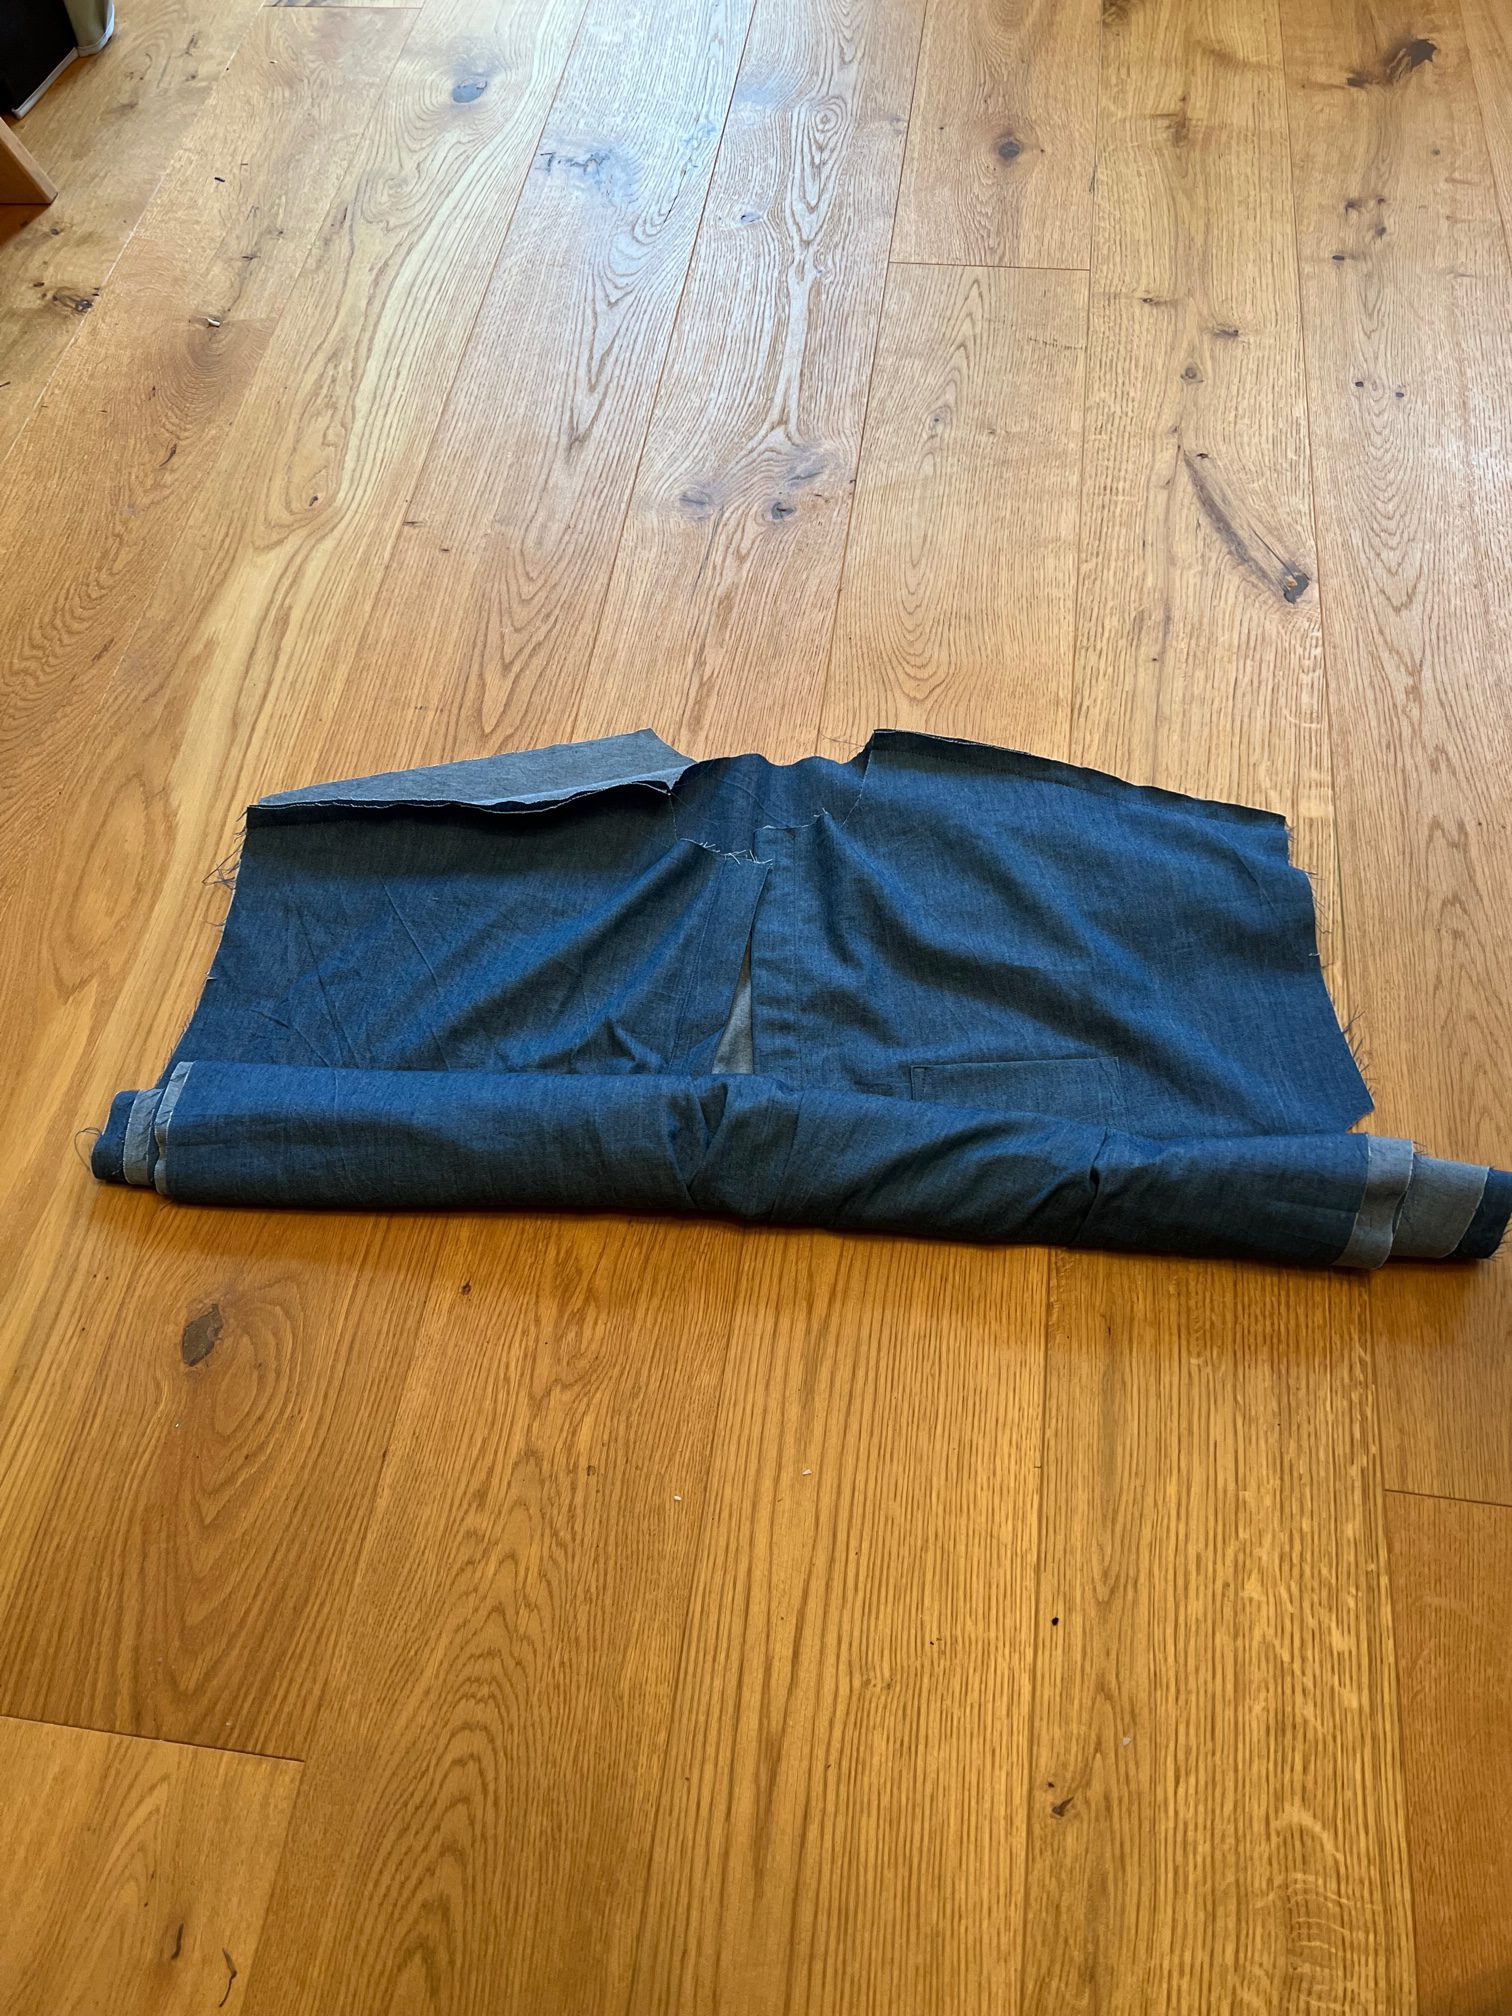
Next you’ll need to lay your dress front side up on a flat surface, as shown below.
Now we’re going to roll the length of the dress up towards the yoke like so. (I folded it up first to speed things up a bit.)

Brace yourself people, this is the burrito bit. Make sure you roll neatly and fairly tightly so that the roll will end up fitting comfortably within the space of the yoke.
Now you should be able to pull the bottom yoke flap up and around towards to top yoke, encasing the roll within and matching the shoulder seams.
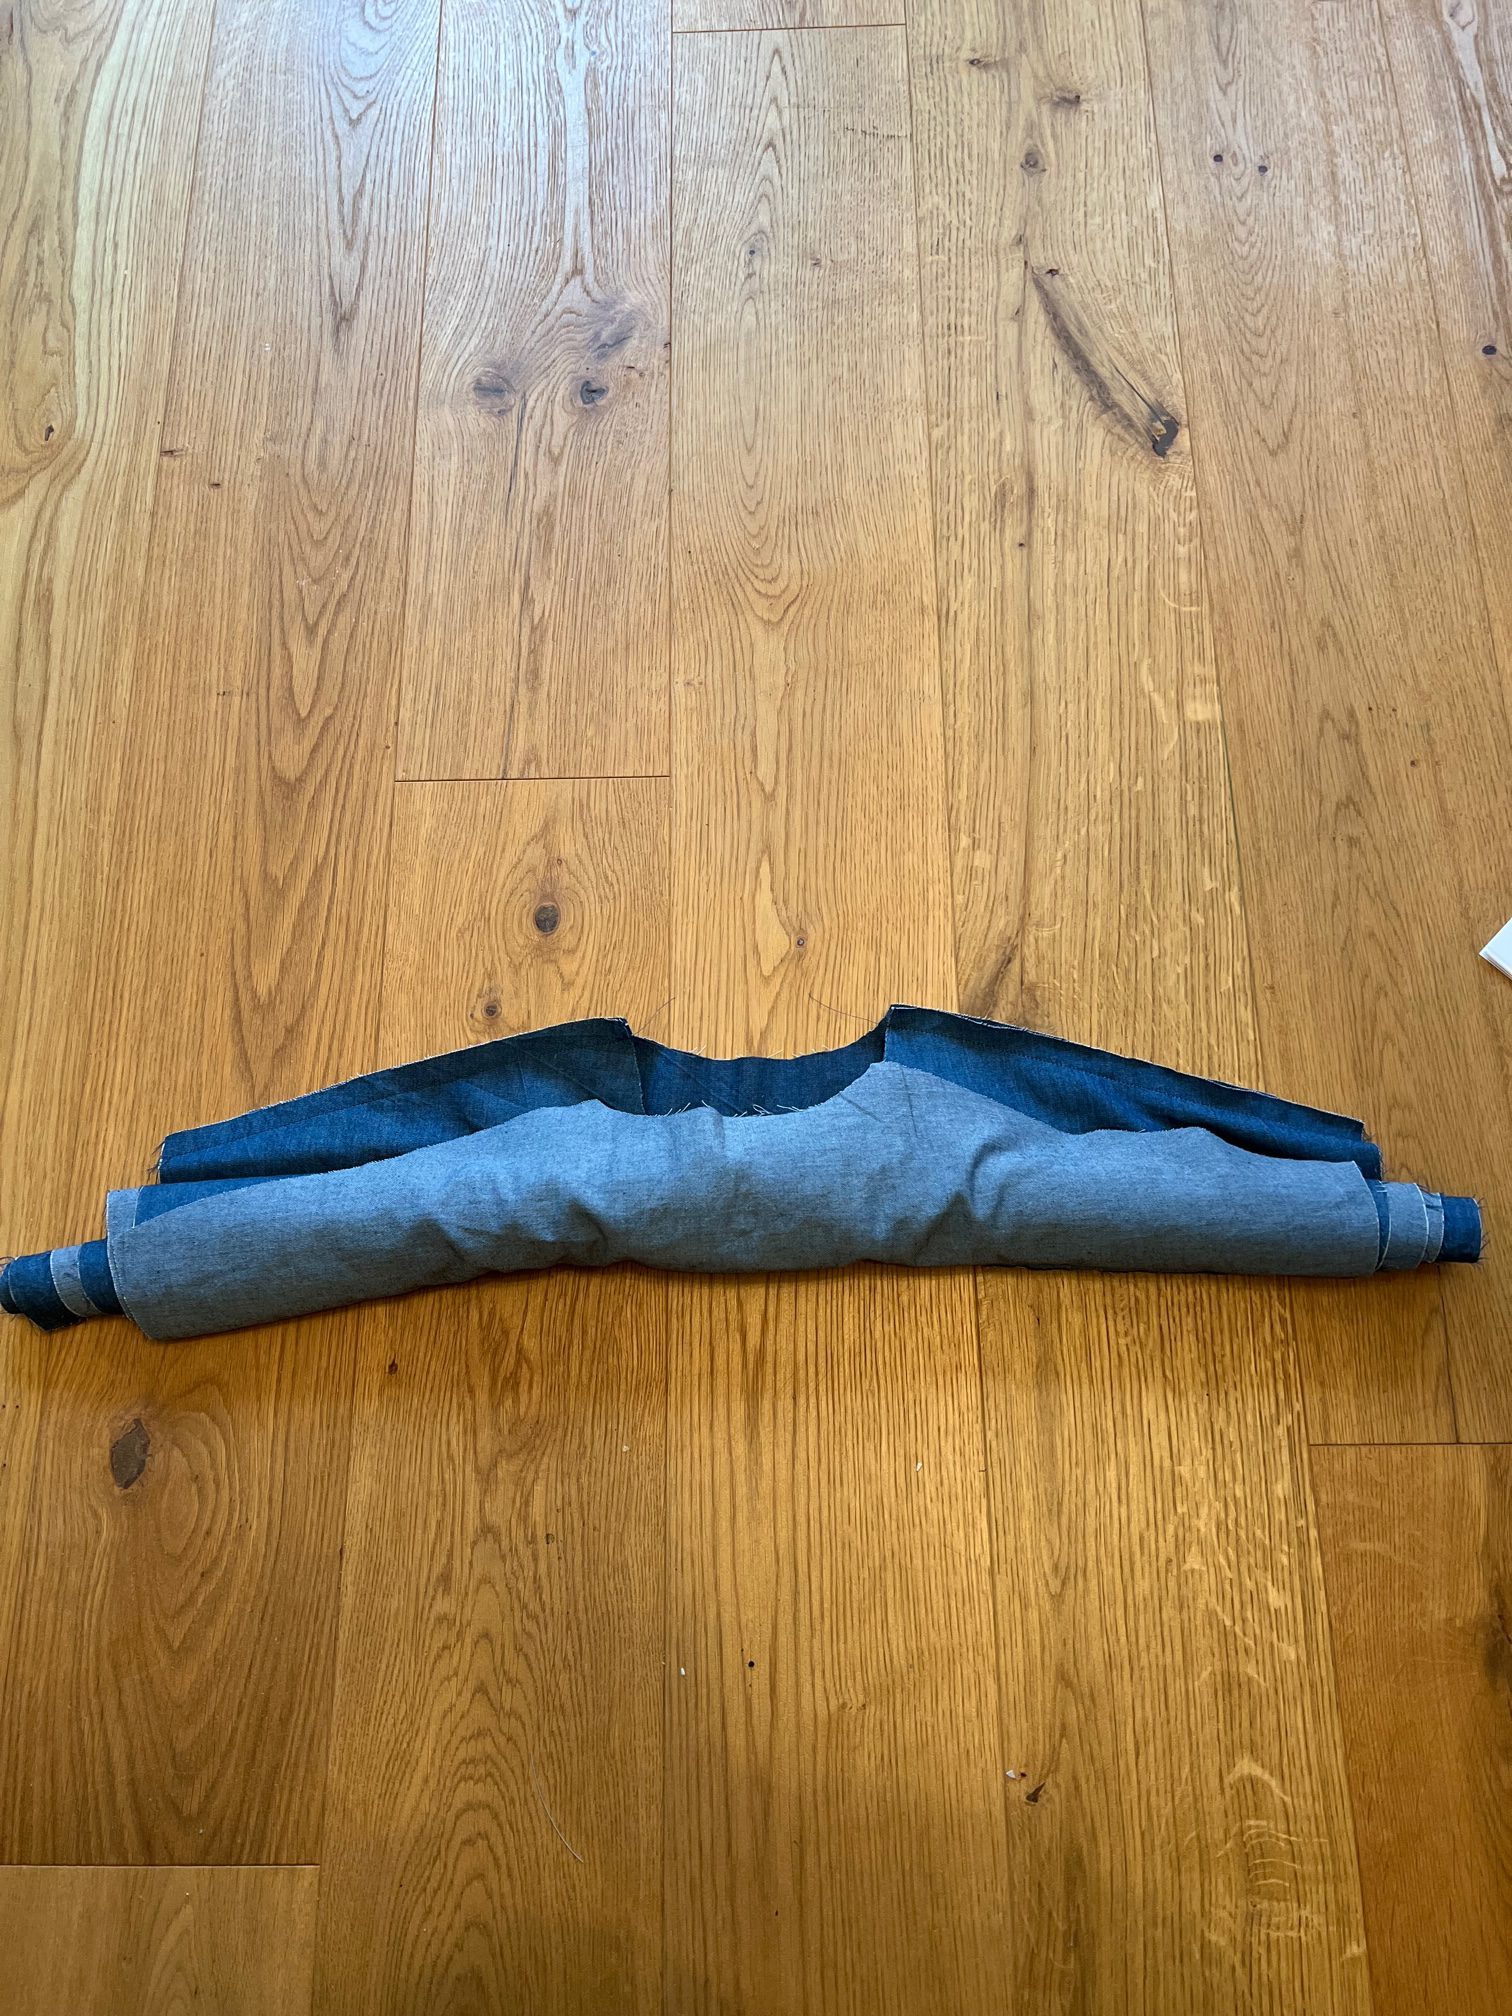
Pin and sew shoulder seams making sure not to catch any of that roll accidentally in the stitch line.


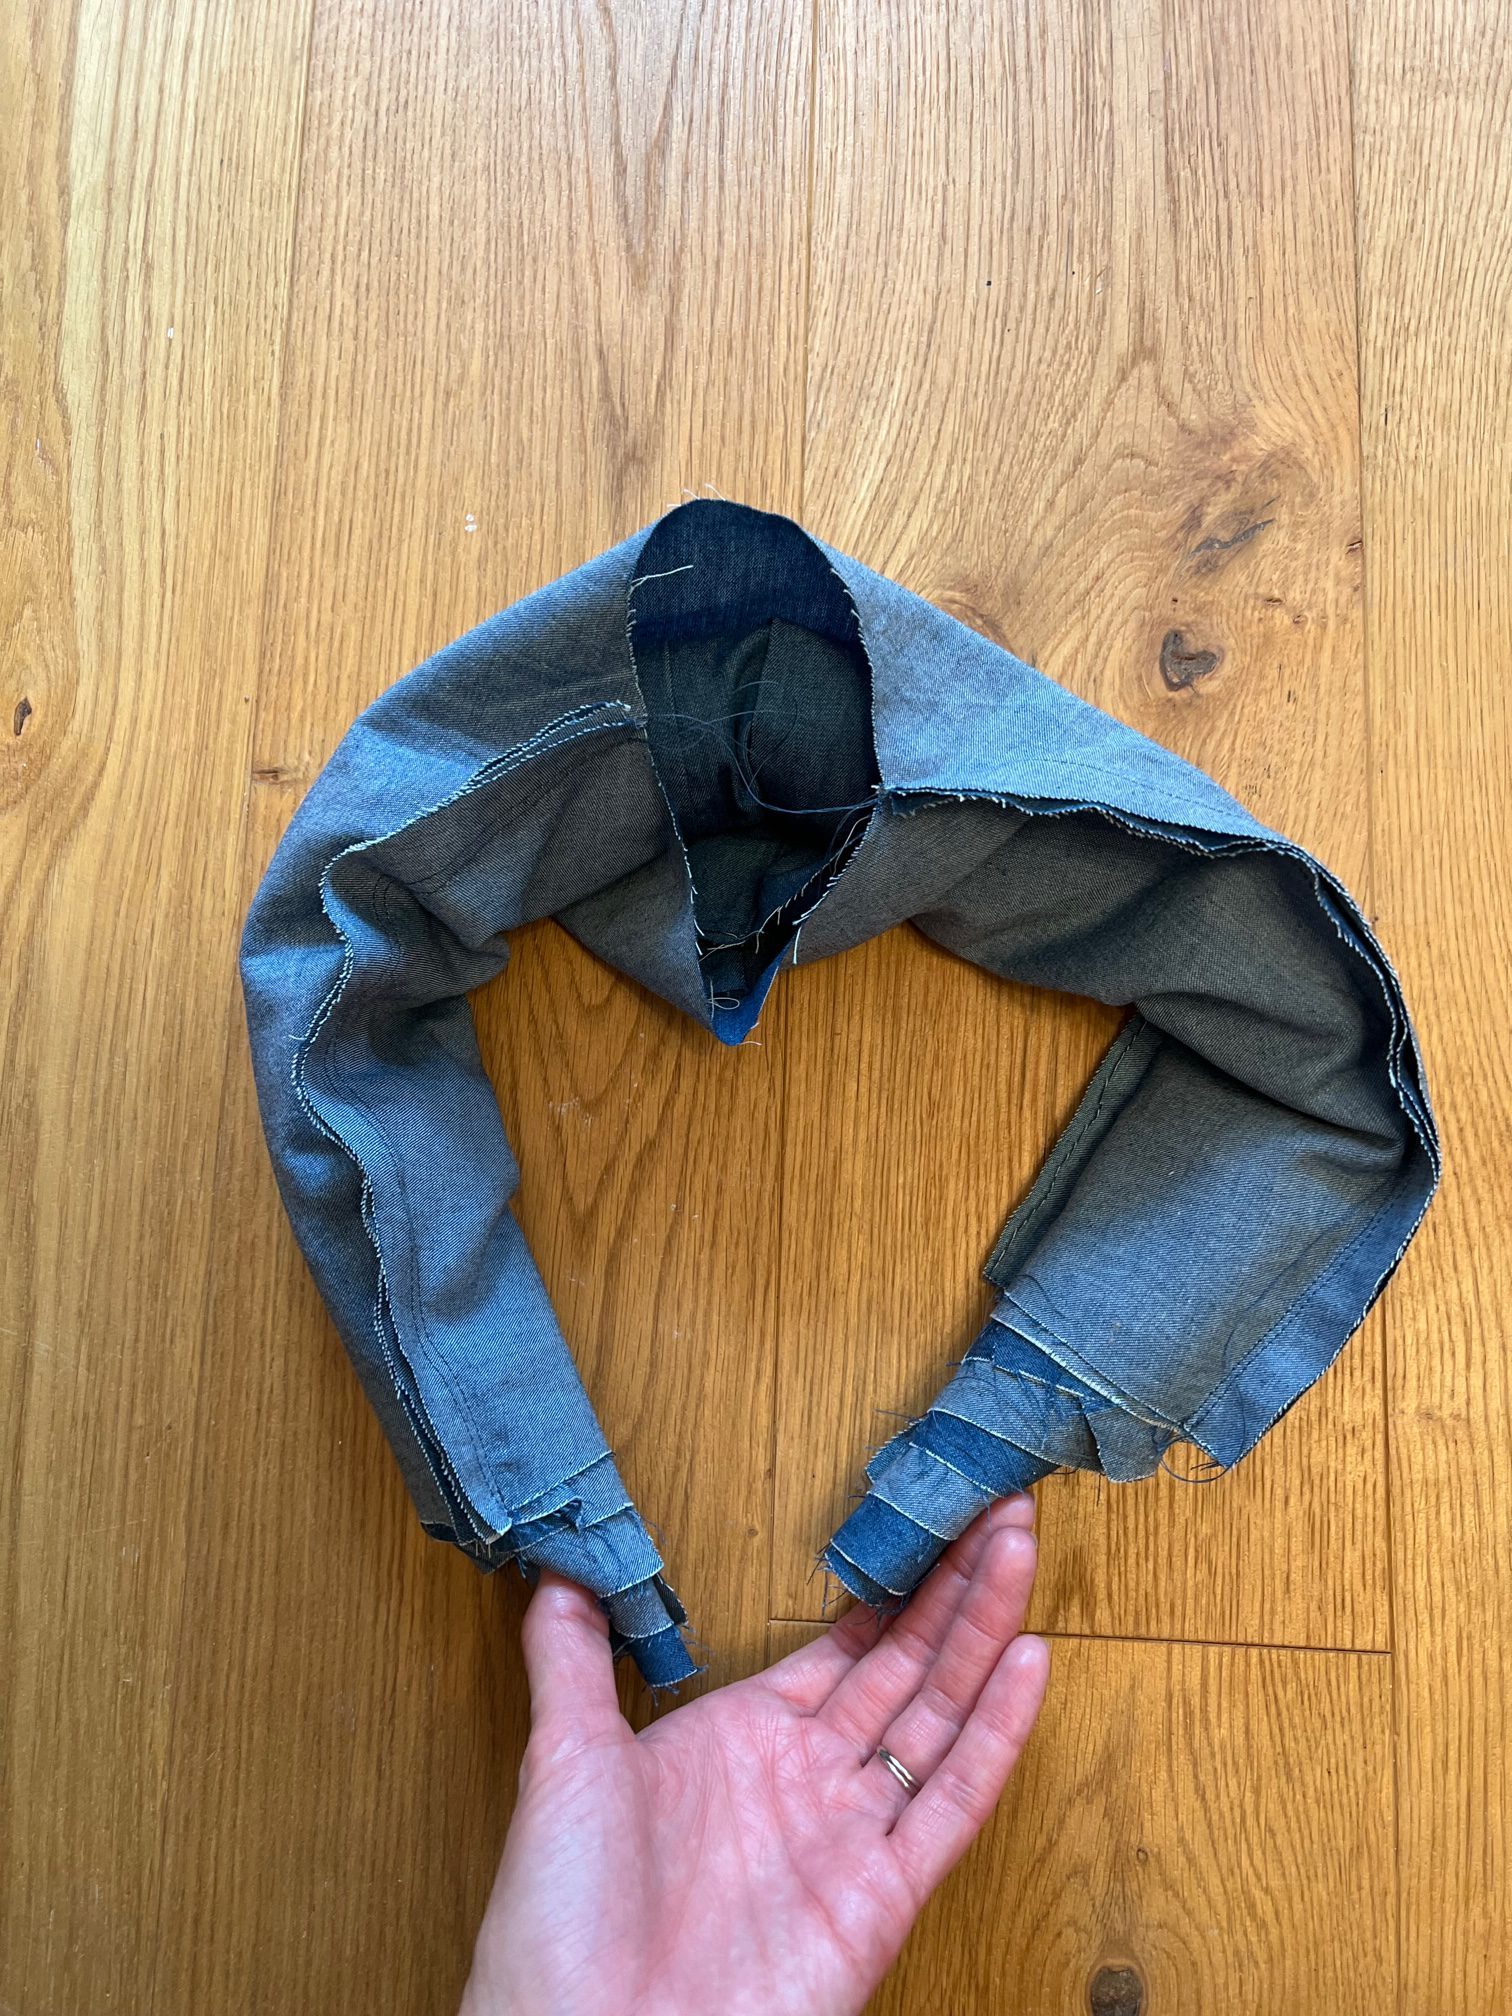
Perhaps we could rename this the croissant method?
Next, carefully pull the burrito guts out through the neck hole and ‘ta da’! So neat and pretty.
Topstitch the perimeter of the yoke.

Now we can move onto the bias binding hem. The hem binding is broken down into four segments so you’re first going to have to attach those at right angles into one long strip, I ended up only needing three of the four sections.
Then pin your binding to the hem, right sides facing, remembering to leave a little extra at each end to be able to tuck in neatly later. Press.
It’s a bit fiddly but try to under stitch the binding to the seam allowance to prevent it turning out, like so.

Press the binding up towards wrong side of dress then fold the raw edge under and press again. Topstitch in place. How satisfying is the curve of this high-lo hem?
Well done for making it this far, you’ve conquered the most challenging part of this make! Let’s head over to Part 4 (coming soon) where we’ll tackle the collar. See you there!
Stay up to date with all my latest makes over on my website: www.leannelekai.com
Come follow me over on Instagram: @leanne_lekai


To comment on the narrower versus 1.5cm hem, I prefer the narrower seam allowance. It is much easier to manoeuvre especially around collars and enclosed seams. I use the ‘burrito’ method (I learned this method through reading Janet Pray’s advanced sewing techniques) – looks so much more professional and easy once you get the hang of it. Thanks for showing the process and great photos, so the viewer can see each step.