Until now, Halloween was not a big topic with us. Now that our children have reached a certain age, however, I can no longer avoid it. In addition, a Halloween party is coming up and I need the right outfit for it. In an advertisement from embroideryonline.com I saw a shirt with a spider web including a spider. This fascinated me so much that I went to the store and searched for freestanding lace designs with Halloween motifs to make this project. Lets make a Halloween shirt with spiders together!
First, take a look at the material overview:
- Pattern “Shirt Paludo” from “drei em’s”, but this idea can be added to any garment
- Embroidery design “Spiderweb Doily” and “Spider” from embroideryonline.com
- Approx. 1.5 meters of high quality jersey fabric
- Black and white embroidery thread “Poly Sheen” from Mettler
- Water soluble embroidery stabilizer from Freudenberg
- Matching sewing thread
- Sewing machine and embroidery module or embroidery machine
- Optional: overlock and/or coverlock machine
- Rotary cutter or scissors
- Measuring tape
- Pins
Preparation and embroidery of the appliqués
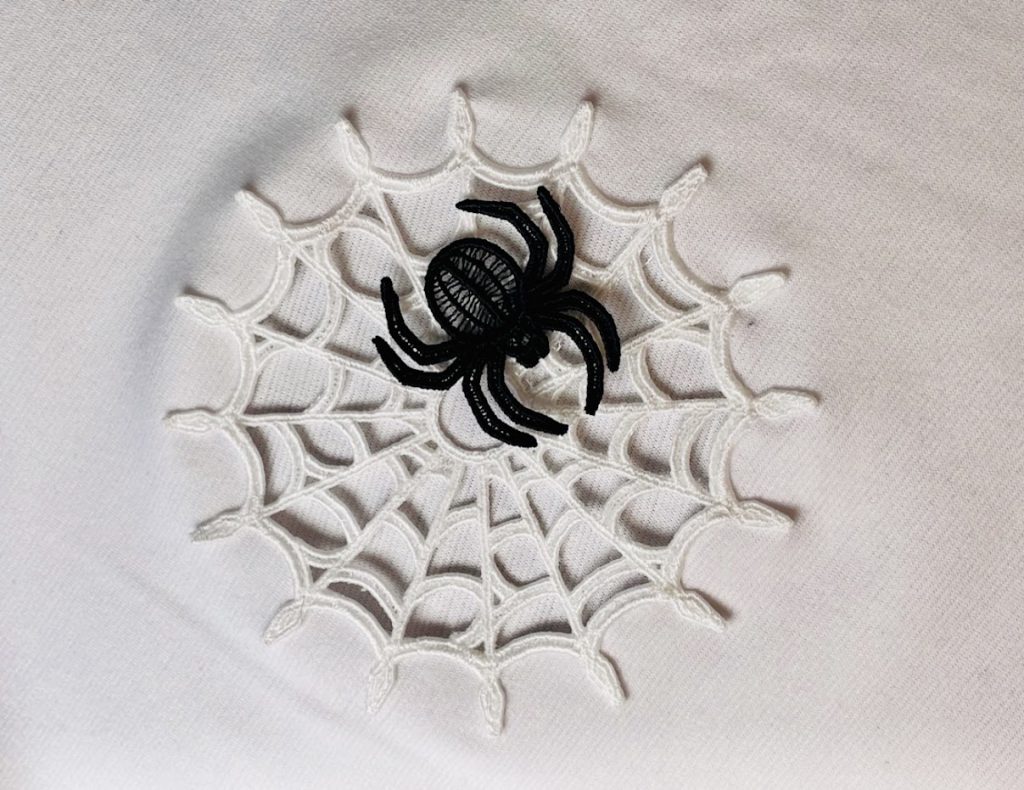
Real spiders and their webs make me shudder regularly, especially now in autumn. Therefore, it was surprising that the embroidery motif Spiderweb Doily and the spider from the same bundle fascinated me immediately. For the Halloween shirt with spiders I need a spiderweb and two spiders.
To ensure that the applique has enough room on the shoulder area, I opted for a pattern with overcut sleeves. This makes it easier to remove the fabric behind the applique without having to cut a sleeve seam.
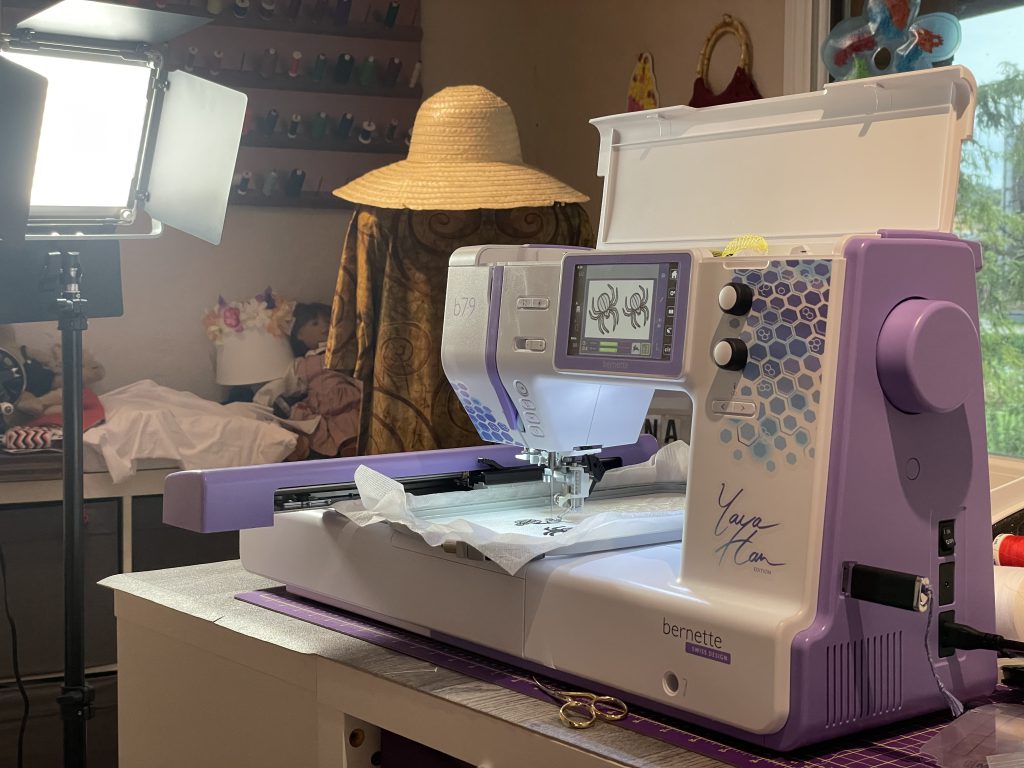
While I was assembling the pattern as well as cutting the fabric pieces, the bernette 79 Yaya Han Edition was already embroidering.
I reduced the size of the spider web to 80% so that it would fit perfectly in the collarbone area. I embroidered the spider once in its original size for the back piece and once reduced to 85% for the front piece. This reduction was done in the BERNINA Embroidery Software 9, which automatically adjusted the stitch count when resizing.
For this form of lace embroidery, I hooped two layers of Freudenberg’s washable stabilizer in the L hoop. All three motifs fit in one hoop.
To easily attach the spider web to the shirt, I only roughly cut out the washable embroidery stabilizer around the web. The stabilizer is not washed out until the applique is attached to the shirt.
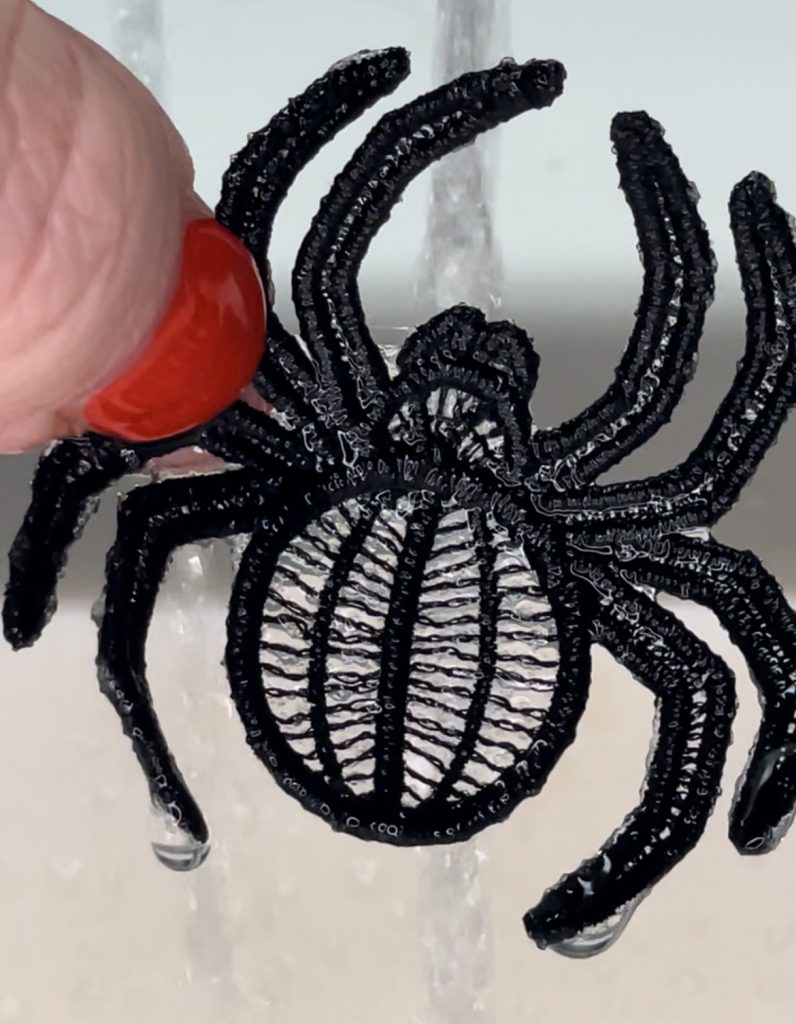
The spiders can be washed out immediately after embroidering and placed to dry. If needed, I would iron them before attaching them.
How to create the spider web applique
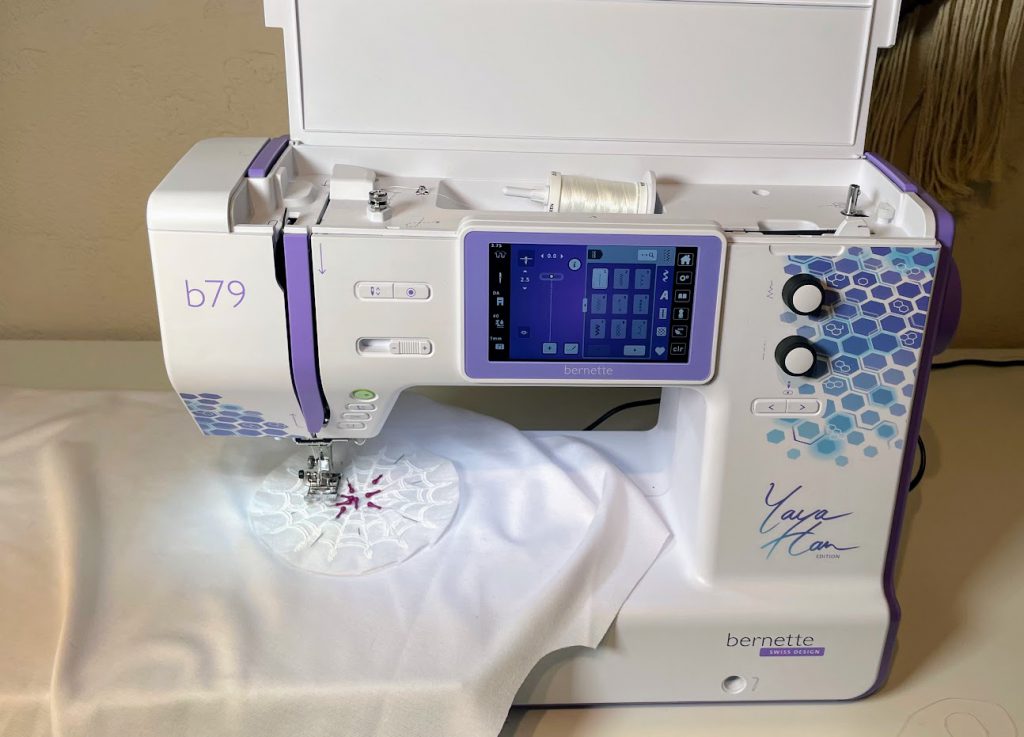
First, attach the web to the front of the shirt with a straight stitch.
Then I cut the jersey in a star shape on the wrong side of the fabric, fold the “rays” outward and pin them in place with pins. Be careful not to damage the seam when cutting.
In the next step, I sewed around the spider web with a narrow zigzag stitch, also called satin stitch, and then cut off the excess fabric triangles.
The exciting part of the project is now reached, because the stabilizer of the spider web can be washed out.
I place the little spider on the again dried piece of fabric of the front part and attach its eight legs to the web with somestitches.
The back also has a little eye-catcher. With a triple straight stitch I sew a spider thread from the neckline to between the shoulder blades. At the end I appliqué the single spider. It should look like it is crawling up the back.
The Halloween shirt with spiders takes shape
Now we are almost at the finish. The front and back of the shirt are sewn together at the shoulders with the overlock machine. In the next step, I insert the sleeves and also close the side seams with the overlock machine.
Next, the neckband is sewn to the neckline. It is crucial here to measure the neckline of the top accurately and multiply the circumference by 0.8. Now I cut the cuff in the length thus calculated and the specified width.
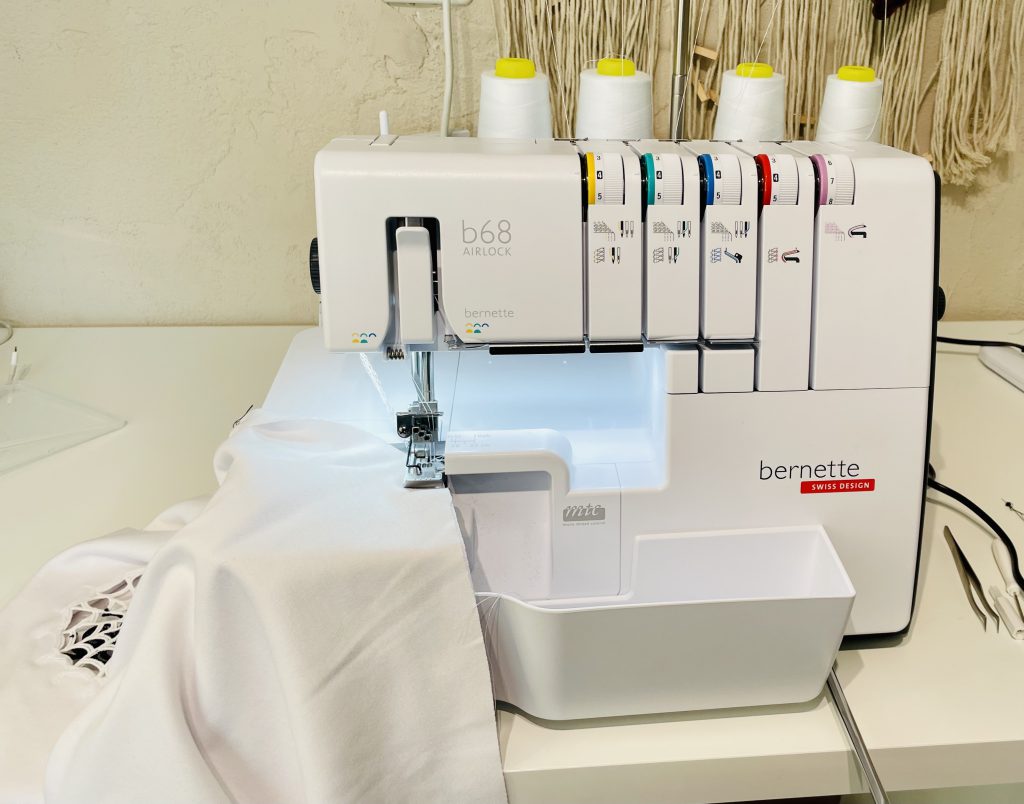
The shirt gets the perfect finish, with a coverlock hem of the bernette 68 AIRLOCK.
Now Halloween can come – I am perfectly prepared!

 BERNINA Corporate Blog -












0 Responses