Hi everyone, it’s Stephi again from the Frollein Tausendschön label and for me it’s all about sewing, embroidery and plotting. You can visit me at instagram.com/frollein_tausendschoen or on my YouTube channel. Today I have something very special for you. We are opening the 16th window of the 2022 Advent Calendar in the BERNINA Blog. Under the motto “Colorful Christmas Season”, I want to make a real on-trend piece with you by embroidering a colorful FSL statement necklace. We will embroider the necklace as freestanding lace (FSL), creating a modern and unusual look. Along the way, we will also explore how to embroider the free-standing lace.
FSL statement necklace embroidery – Freebie embroidery file and instructions
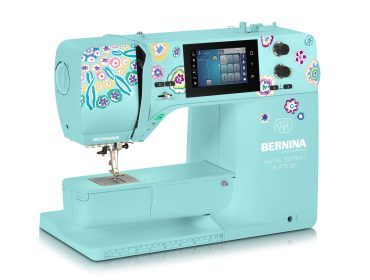
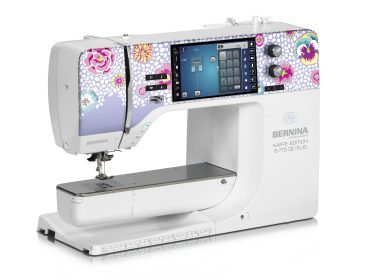
Statement necklaces are currently on-trend, and textile necklaces are on the rise. With our embroidery machine, we will create an eye-catching colorful piece in no time at all: a statement necklace made from freestanding lace. The design is modern, floral and graphic, and thus somewhat of a tribute to the new special models BERNINA 770 QE PLUS Kaffe Edition and BERNINA 475 QE Kaffe Edition.
You can find the freebie for the statement necklace FSL embroidery file at the very end of this post.
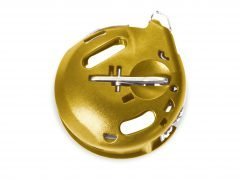
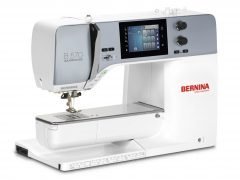
I embroider the file on my BERNINA 570 QE (NEW) and use the HTTBC bobbin case for optimal thread tension. The beautiful thing about the embroidered statement necklace: your embroidery machine does most of the work. You can spend most of your time sitting back with a coffee or tea and watching the piece miraculously take shape.
Embroidering the FSL Statement Necklace – the Material
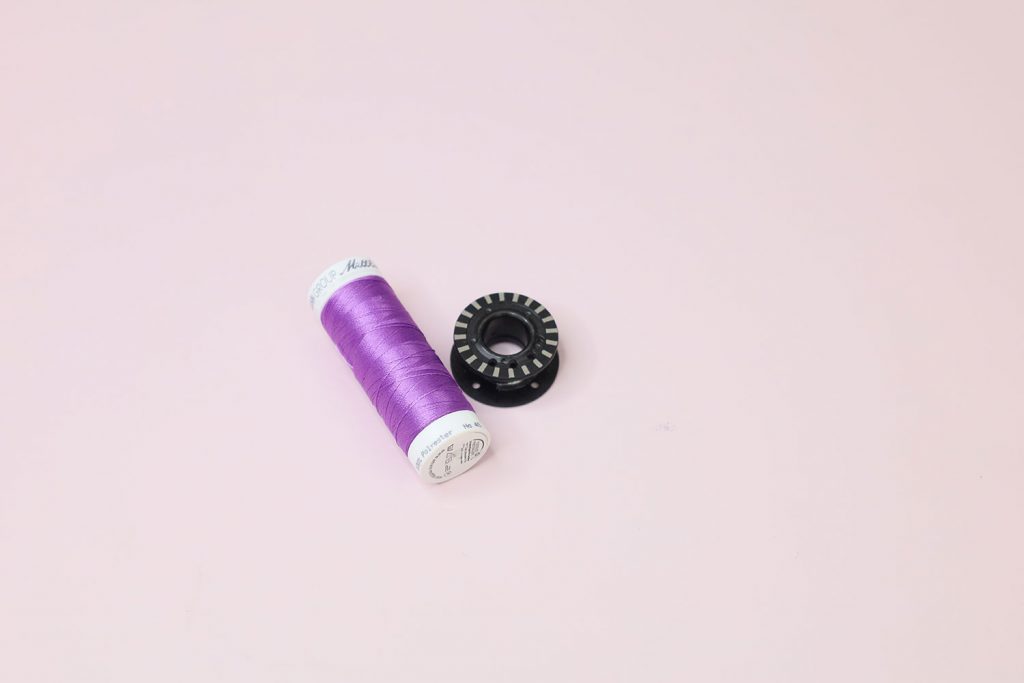
You don’t need much to embroider an FSL embroidery file. Above all, you should have enough thread available, as this is also used as a bobbin thread instead of the bobbinfil for the freestanding lace technique.
For our project today, you will need:
- High-quality embroidery thread (for example, PolySheen from Mettler) in various colors
- Water-soluble embroidery film (for example Avalon or Avalon Ultra)
- Material for your necklace (for example, parcord, leather ribbons, etc.)
Embroidering the FSL statement necklace: Prepare the embroidery hoop and the machine
I use the medium embroidery hoop from BERNINA to embroider the FSL statement necklace. The file fits in here just about perfectly. For FSL embroidery, it is important to select as small a hoop as possible to create an even image. I would therefore not recommend that you enlarge the embroidery file, which would probably be at the expense of the embroidery image.
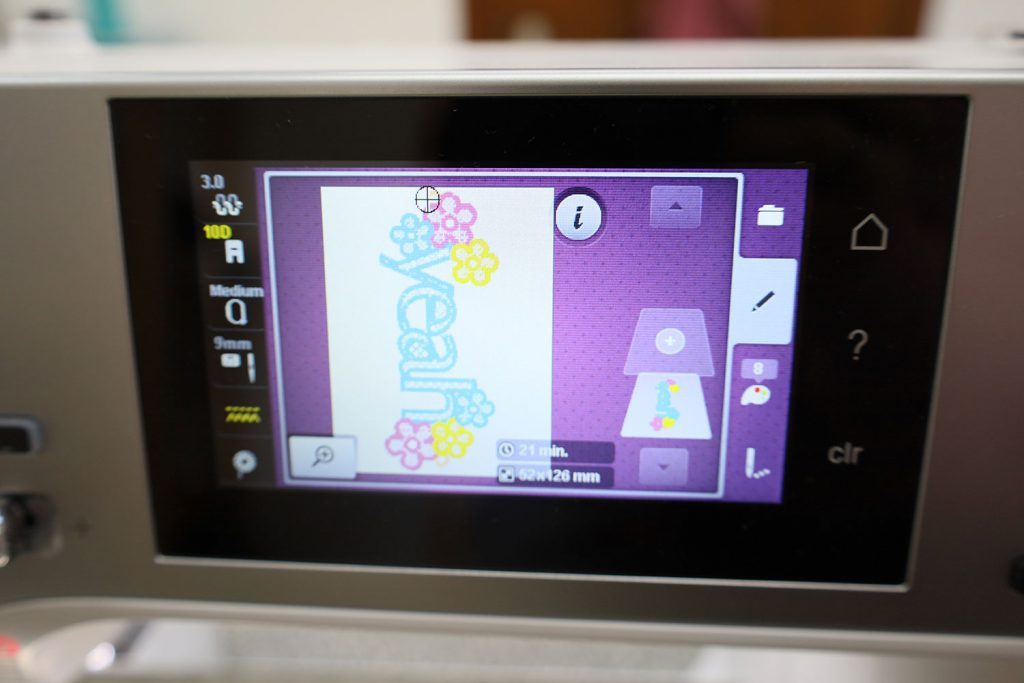
Load the embroidery file onto your embroidery machine. Here I use my Wi-Fi Connector, an accessory for the V9 embroidery software, to transfer the design to the machine wirelessly.
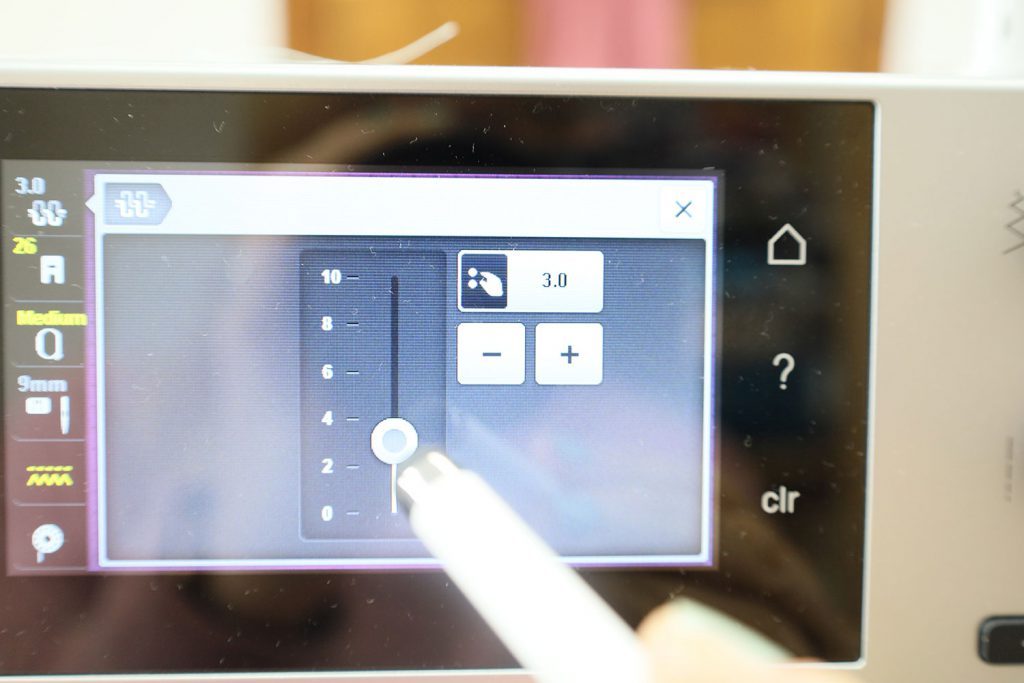
My HTTBC bobbin case provides the right tension. If you don’t use the capsule, you may need to adjust the upper thread tension of your embroidery machine and increase it slightly.
Please note: This point is important! It is important to deactivate the automatic thread cuts on your machine (even if FSL files are usually created without jump stitches). In other words, the corresponding symbol in the display must no longer be highlighted in yellow.
Thread for the statement necklace
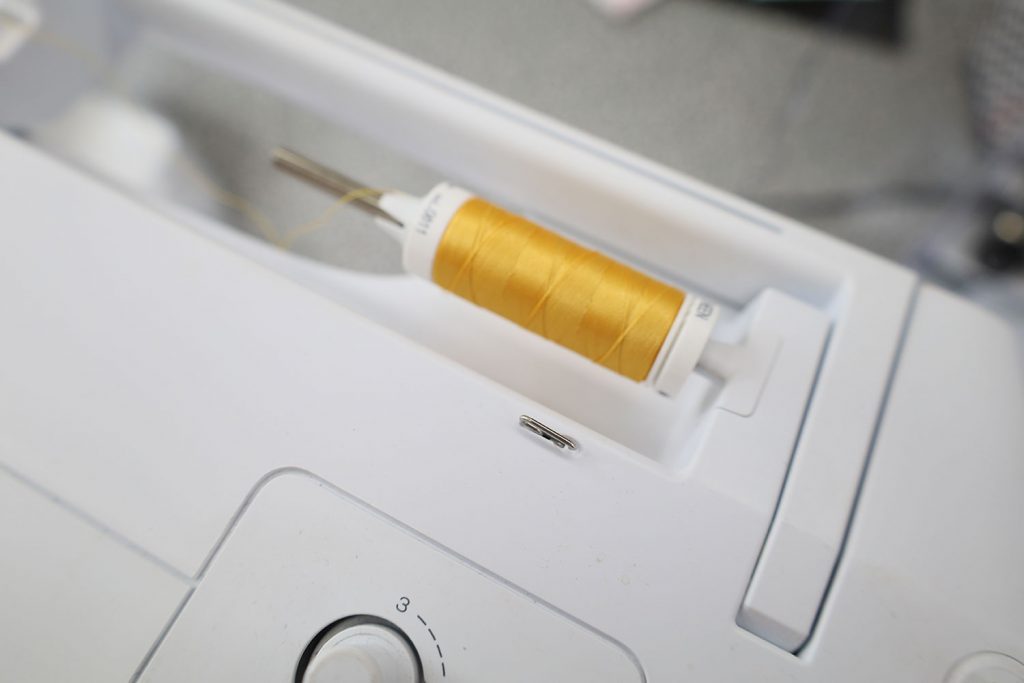
Of course, you should always use high-quality thread for all your embroidery projects. For FSL embroidery, the colored thread is also used for the bobbin. For this reason, you should prepare a corresponding bobbin for each of your thread colors. I chose a colorful statement necklace. Of course, you can choose your own color combinations or simply embroider the necklace.
Embroidery film for the statement necklace:
In general, there are various ways of embroidering FSL embroidery. It always depends somewhat on the desired result, i.e. how much stability the finished project needs to have. It is important to use a water-soluble film. We use embroidery film for the statement necklace. Here you have two options.
On the one hand, there are thicker embroidery films, such as Avalon Ultra, which are designed for denser embroidery and create greater strength. I want my statement necklace to be a bit more supple, so I use regular Avalon and have four layers on top of each other. The biggest problem when embroidering an FSL file is perforation of the backing material. So one or two more layers don’t hurt in this case.
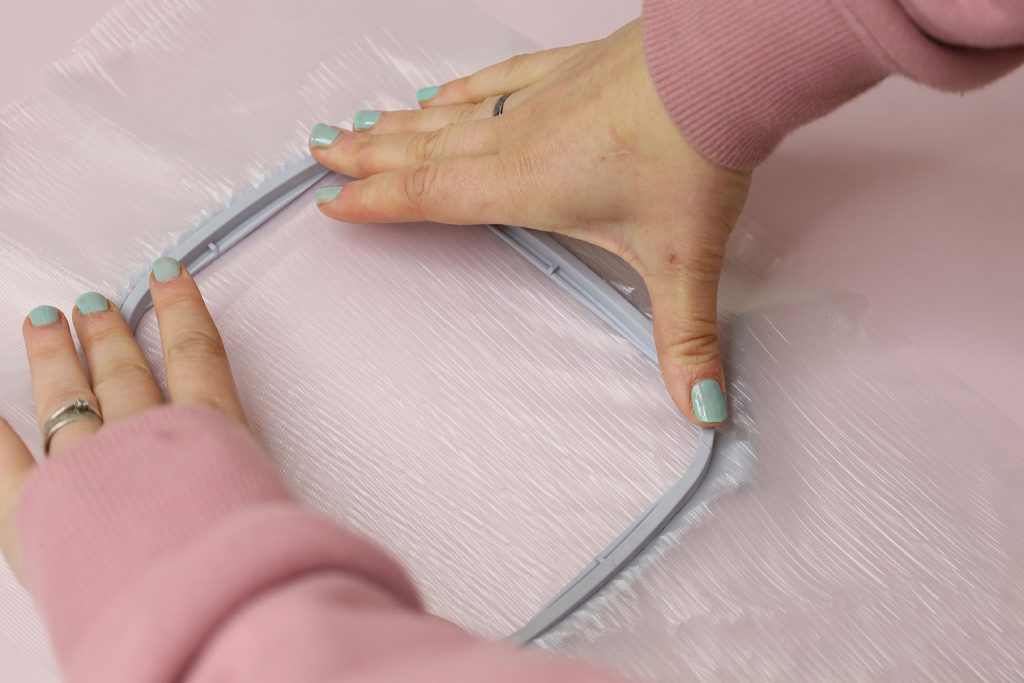
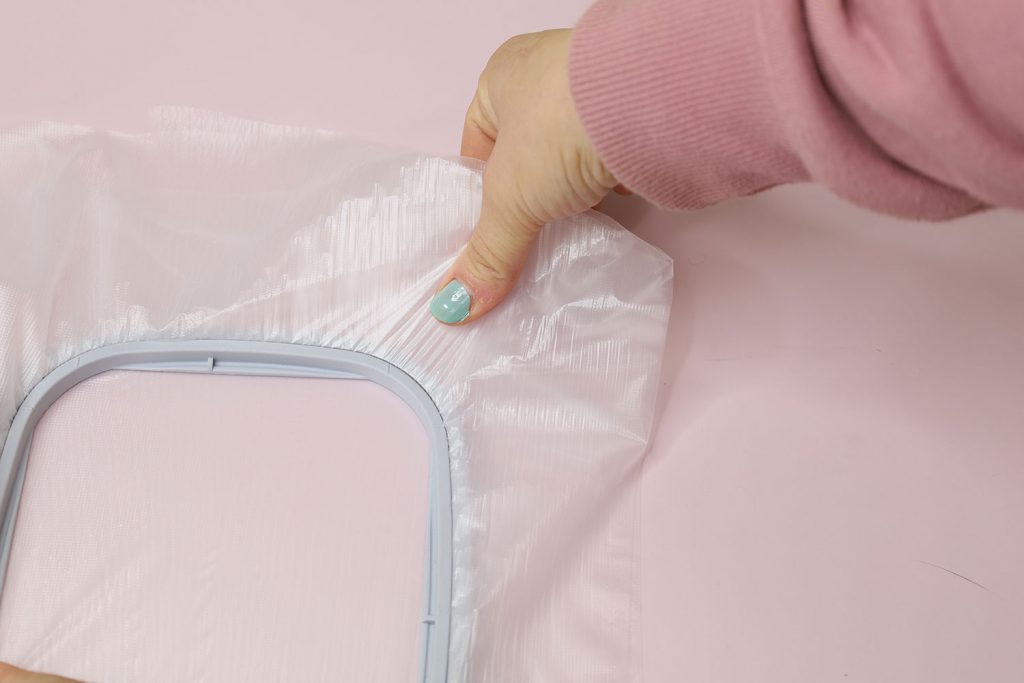
Once you have cut out your four layers of embroidery film, stretch them into the hoop.
Once you have connected the two hoop pieces, you can carefully pull the film taut on the sides so that the layers lie flat on top of each other.
As soon as you have clamped your film smoothly, you can finally get started.
Embroider the FSL statement necklace
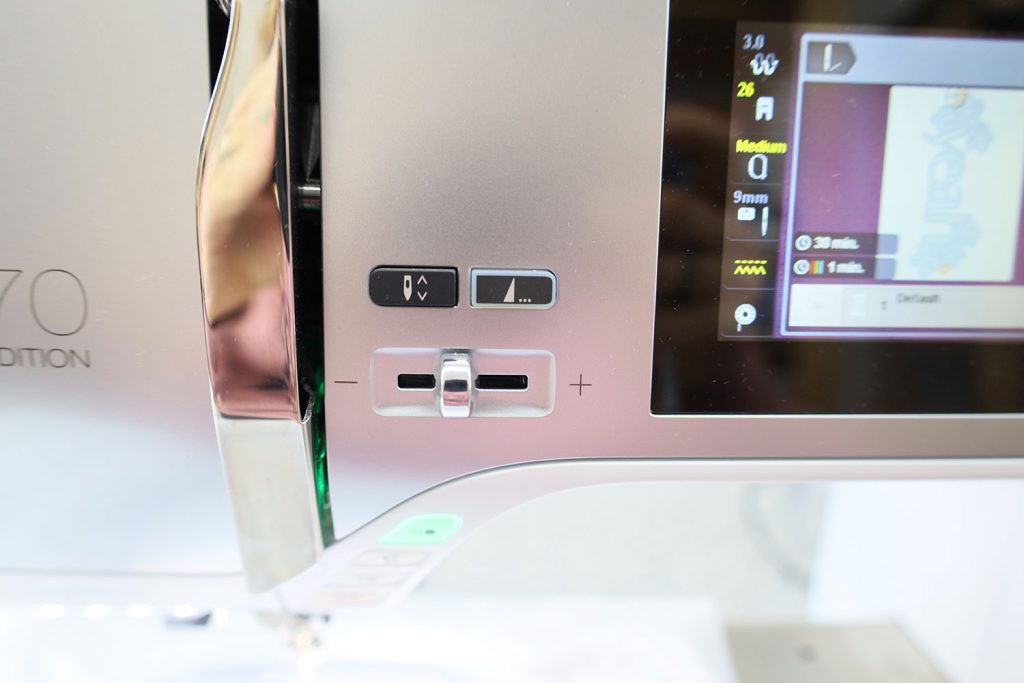
Now it’s finally time to get started. Since the main thing is not to put too much strain on the embroidery film, we reduce the speed of the machine by about half. We already deactivated the automatic thread cuts beforehand. Now it’s time to grab a coffee or tea, because except for changing thread colors (top and bottom), you don’t have much more to do now.
First, clamp in your first thread color and insert the corresponding bobbin thread.
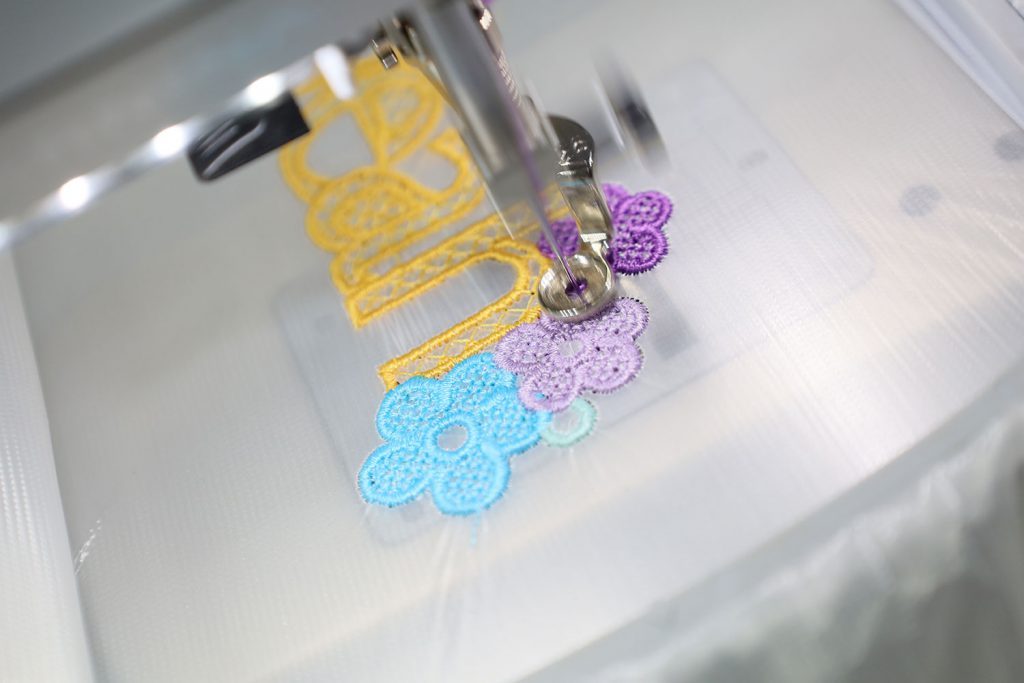
Now you can finally embroider.
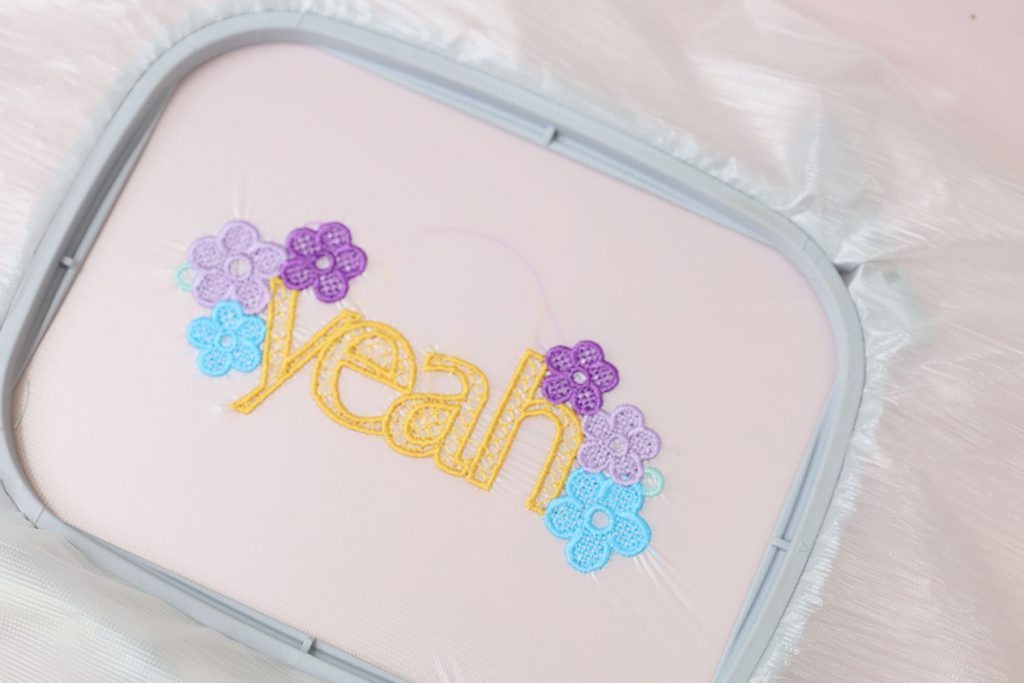
The machine always embroiders the grid lines first and then the satin stitch outlines. If you notice thread overhangs, feel free to stop the machine briefly and cut them off right away. Otherwise it is more difficult later on.
Now embroider all the colors of the statement necklace FSL embroidery file, one after another.
Cut away the threads
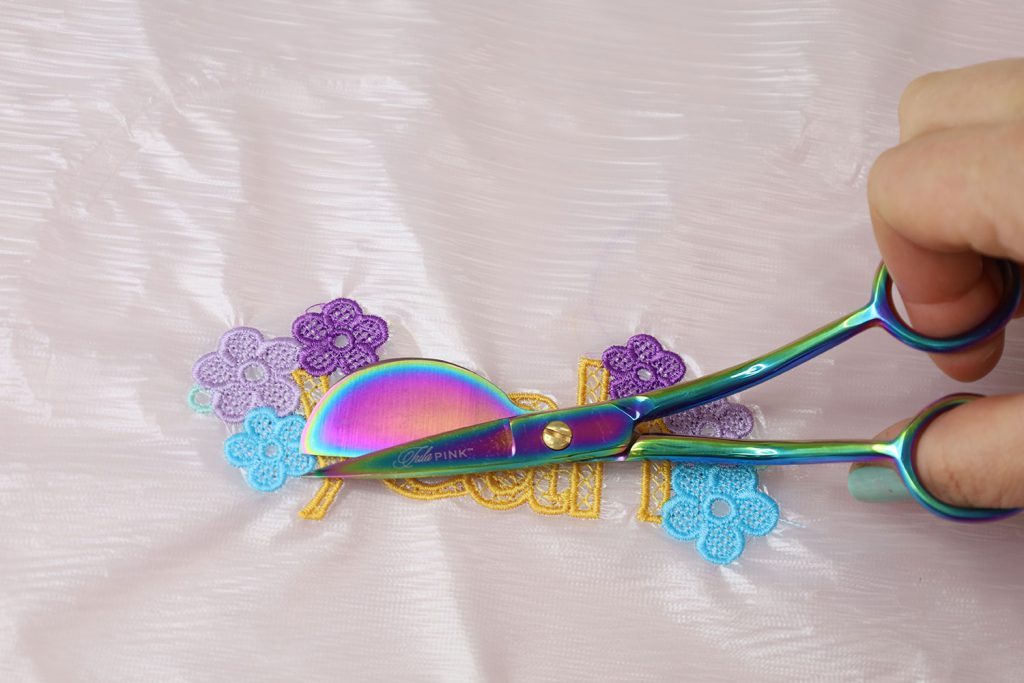
Once the FSL embroidery file is embroidered, the threads must be cut off at the front and back. Take a very cautious approach here in order not to destroy any elements of the grid.
Finalize the FSL statement necklace
Loosen the embroidery film
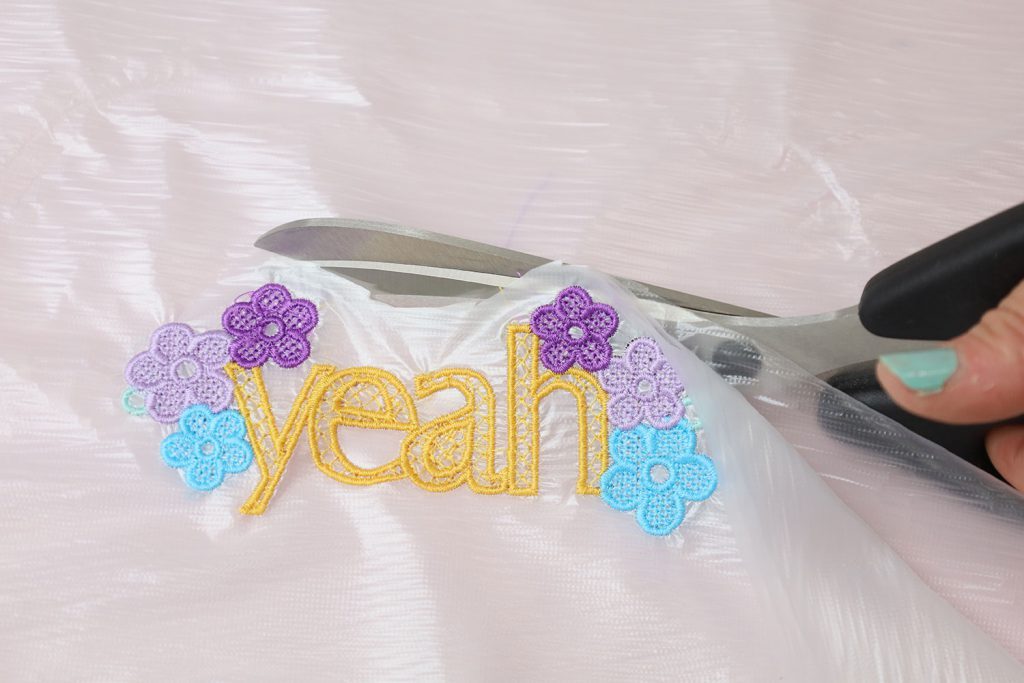
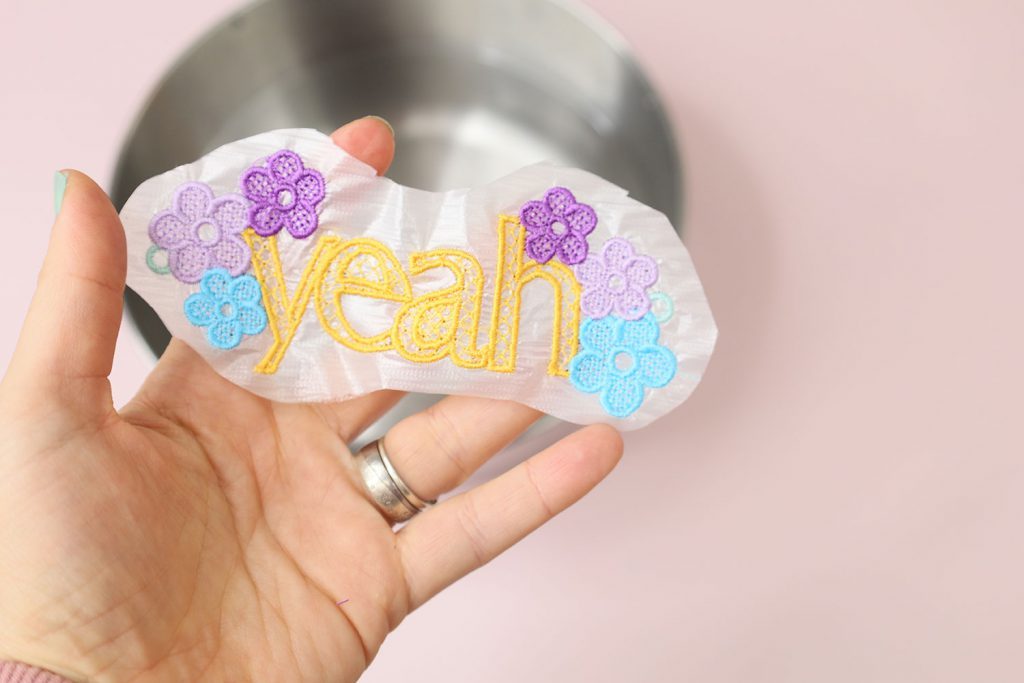
First, cut the embroidery film back so that only a small edge remains around the embroidery.
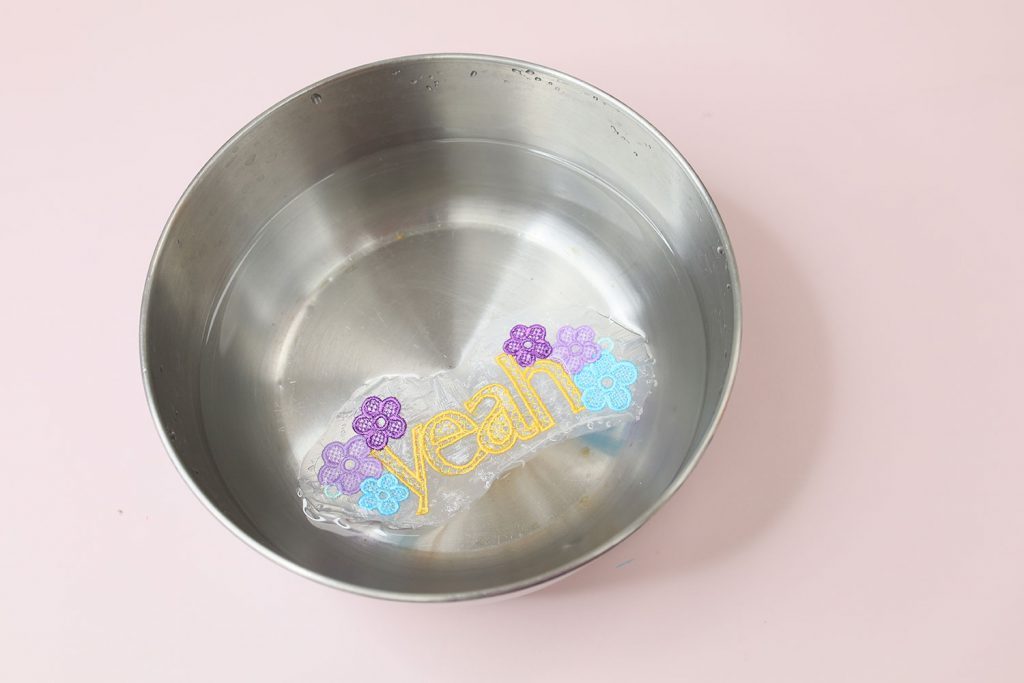
Now you can place the embroidery in a bowl with water. After about 15 minutes, the embroidery film should have dissolved, after which you can dry the FSL embroidery thoroughly.
Finalize the FSL statement necklace
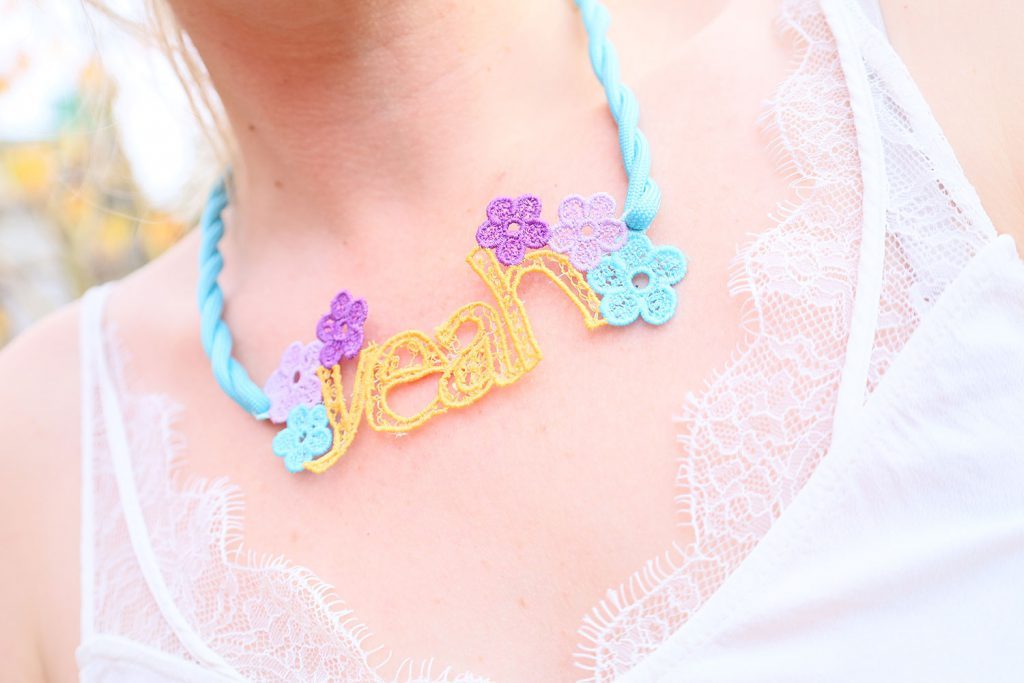
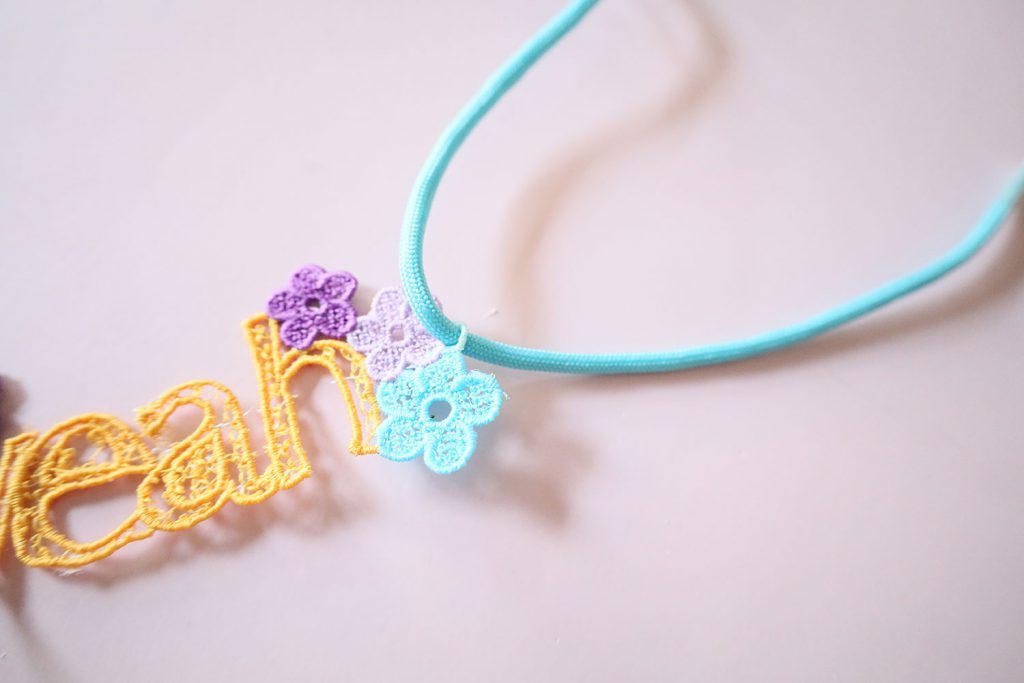
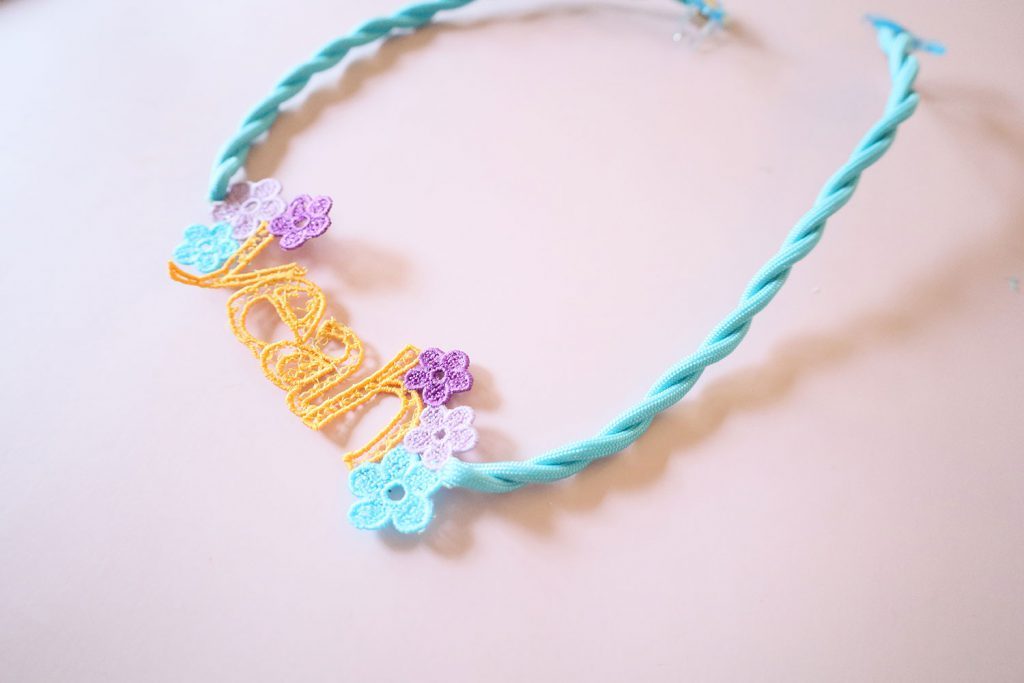
You can then attach a chain solution of your choice to the embroidered eyelets. I decided to use paracord ribbons, which I twist and then secure in a magnetic clasp with binding screw glue.
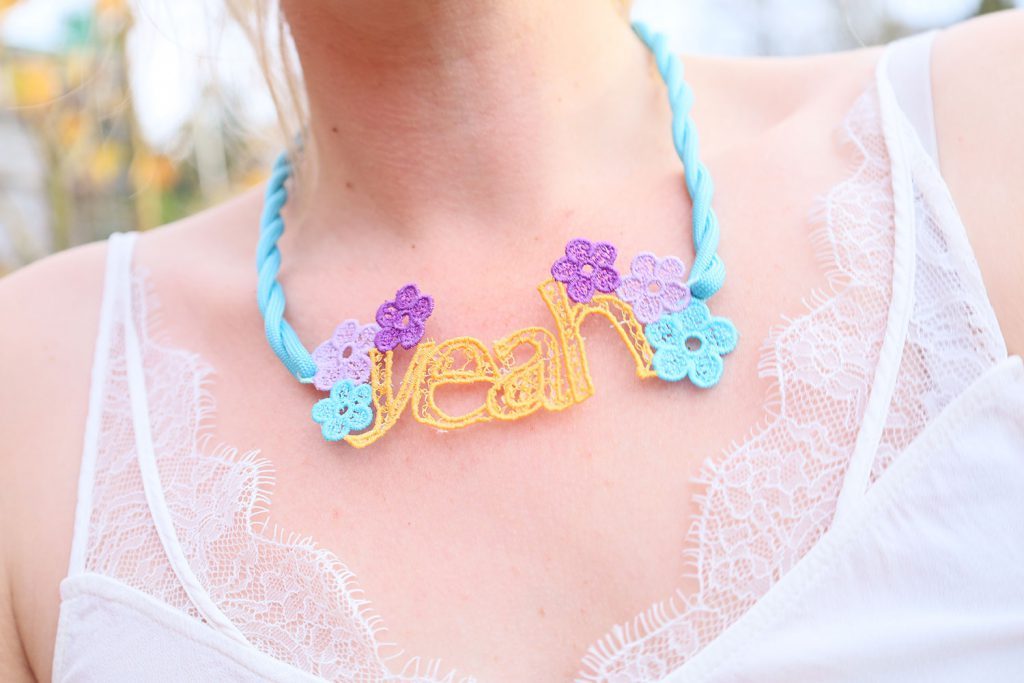
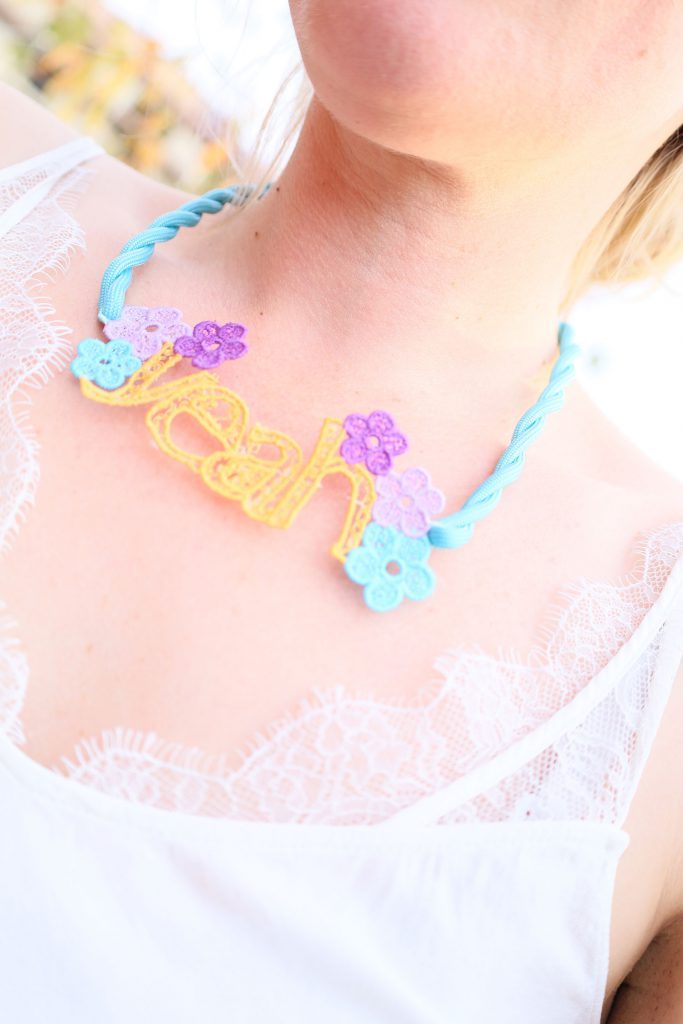
YEAH! All done! Your FSL statement necklace is now finished and may even become the most stunning part of your Christmas outfit…
Download free embroidery designs
I’ll leave the freebie embroidery here file for you:
Freebie embroidery file for FSL necklace
Have fun embroidering!
 BERNINA Corporate Blog -













0 Responses