 BERNINA Corporate Blog -
I am the first person to admit that overextending myself during the holidays happens every. Single. Year.
I always end up making so many gifts (because its fun.. at first..) and at some point I always fall behind. It’s just how it works literally every year. And every year I tell myself to commit to less gifts… and I never learn haha.
So, if you’re anything like me, you’ll probably need some super fast (and cute!) projects to make for gifts, and what better than a fabric envelope to hold gift cards?! (or cash if you’re cool like that).

These fabric envelopes are super fun and fast to whip up for your favorite person, or they’re great for teachers, kids, colleagues. And the fabric envelope is the homemade touch that every gift should have.
The best part? It’s reusable! So they can pass it along to another person and reduce some of that holiday packaging.
Let’s dive into these cute fabric envelopes. Also side note: the felt trees in the photos are from FeltRight, they sent me a few for the holidays and I’m in love!
First, you’ll need to download the template from HERE.
Once you’ve downloaded the template and taped it together, we’ll get started on our project.
Supplies Needed
- 1 template you can download HERE
- ¼ Yard or 1 Fat Quarter of fabric for outside (I used Rifle Paper Co. Fabric from Stash Fabrics)
- ¼ yard or 1 Fat Quarter of fabric for lining
- Matching ribbon
Getting Started

Iron the outside and lining fabric to be flat.
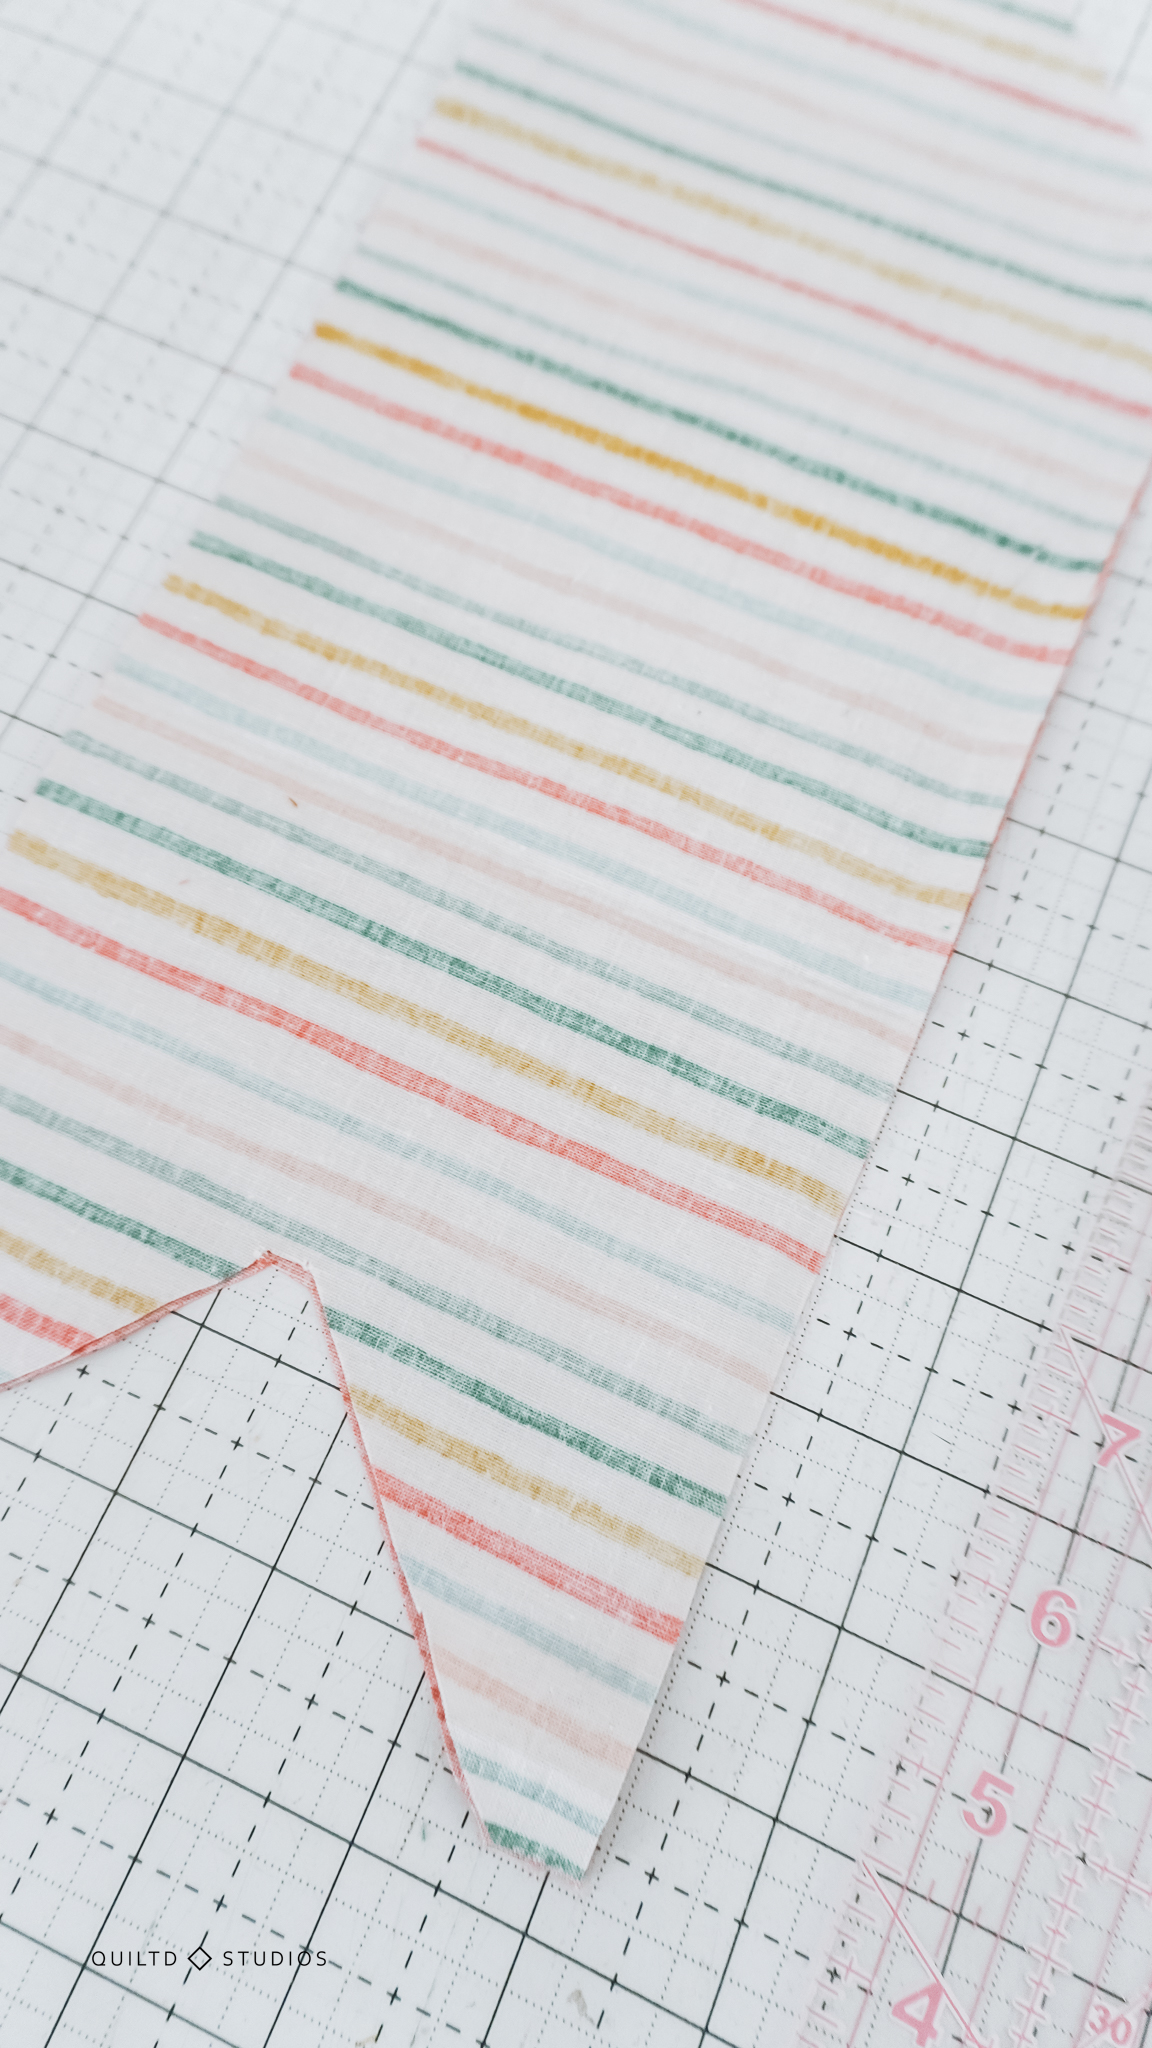
Slowly trace around your template on both the lining and outside.

Cut them out carefully to get (1) outside envelope piece and (1) lining envelope piece. Lastly from the remnants cut (1) 4” x 4” square for the cardholder on the inside. (this is optional).
Sewing the Envelope
Note: I added my card holder pocket after I sewed the lining/outer pieces together, it left a seam on the back of the envelope that I wasn’t a huge fan of, to avoid this, we’re adding the pocket to the lining fabric before sewing them together.
First start by folding the 4” square in half and iron flat. Open it up and fold the side edges onto the back by a ¼” (or less if you’d prefer, mine ended up somewhere between 1/8th and ¼”) and sew down the fold to secure it in place.


Now fold it in half again along the previous fold you ironed but inside out. Sew down the raw edge to create a small tube.

Turn the tube right side out and move the back seam line to the middle and then iron flat. The seam line should be hidden in the back.


Line up your pocket right side up onto the lining template piece also right side up indicated by the pattern and pin in place.

The pocket should be sitting around 1½” from the sides of the lining template piece and the top (folded edge of the pocket) should measure just under 6” from the top point of the envelope piece.
 This is very much up to preference, if you’d like to have your card more visible, move it up! If you want it lower, move it down.
Sew along the 3 edges (right, bottom, left) to secure the pocket in place with a narrow 1/8th seam allowance.
Sewing the Lining and Outer Fabric Together
With your lining fabric (and sewn on pocket) facing up, lay the outer fabric piece on top, right side down. Both right sides should be facing each other.

Pin around the exterior leaving a small opening (2ish”) to turn it.
Sew around the perimeter with a ¼” seam allowance.
To maneuver around points, stop sewing when you hit a turning point, lower your needle and raise your foot. Turn your fabric in the new direction. Lower your foot and continue sewing.
I always triple reverse/sew at the beginning and end when I’m turning it, otherwise my seam tends to come out later.


Finishing Your Envelope
Once you’ve finished sewing, cut small tiny lines near any points to relieve tension. I also trim off any sharp corners to allow the fabric to sit flatter after turning.


Turn your envelope right side out and iron flat, pushing out the seams to be as flat as possible.
Tuck in your turning hole by ¼” and pin.
Sew with a 1/8th seam allowance around the perimeter of the envelope, making sure to catch the layers when going over the turning hole.


Your beautiful envelope is complete!
Next time try:
- Embroidering (by hand or machine) the recipients name on the outside fabric before assembly
- Attaching bells or buttons to add some fun holiday cheer
- Adding a loop (either of fabric or ribbon) to hand from a tree or stocking holder
- Adding a stamp or something else fun to the back.


I hope you enjoyed making your envelopes as much as I did! And now because I’m inevitably behind on 30 other Christmas gifts, I have to run! Happy Holidays!
Jess – Quiltd Studios


0 Responses