 BERNINA Corporate Blog -
As mentioned in the previous articles, well-known personalities of the sewing world cooperated with BERNINA to create the BERNINA 7 series campaign artwork. Yo have already seen the wedding dress of Kazu Huggler and the summer dress of Mathias Ackermann.
In this article, we would like to provide you with a beautiful quilt instruction from famous US designer Tula Pink.
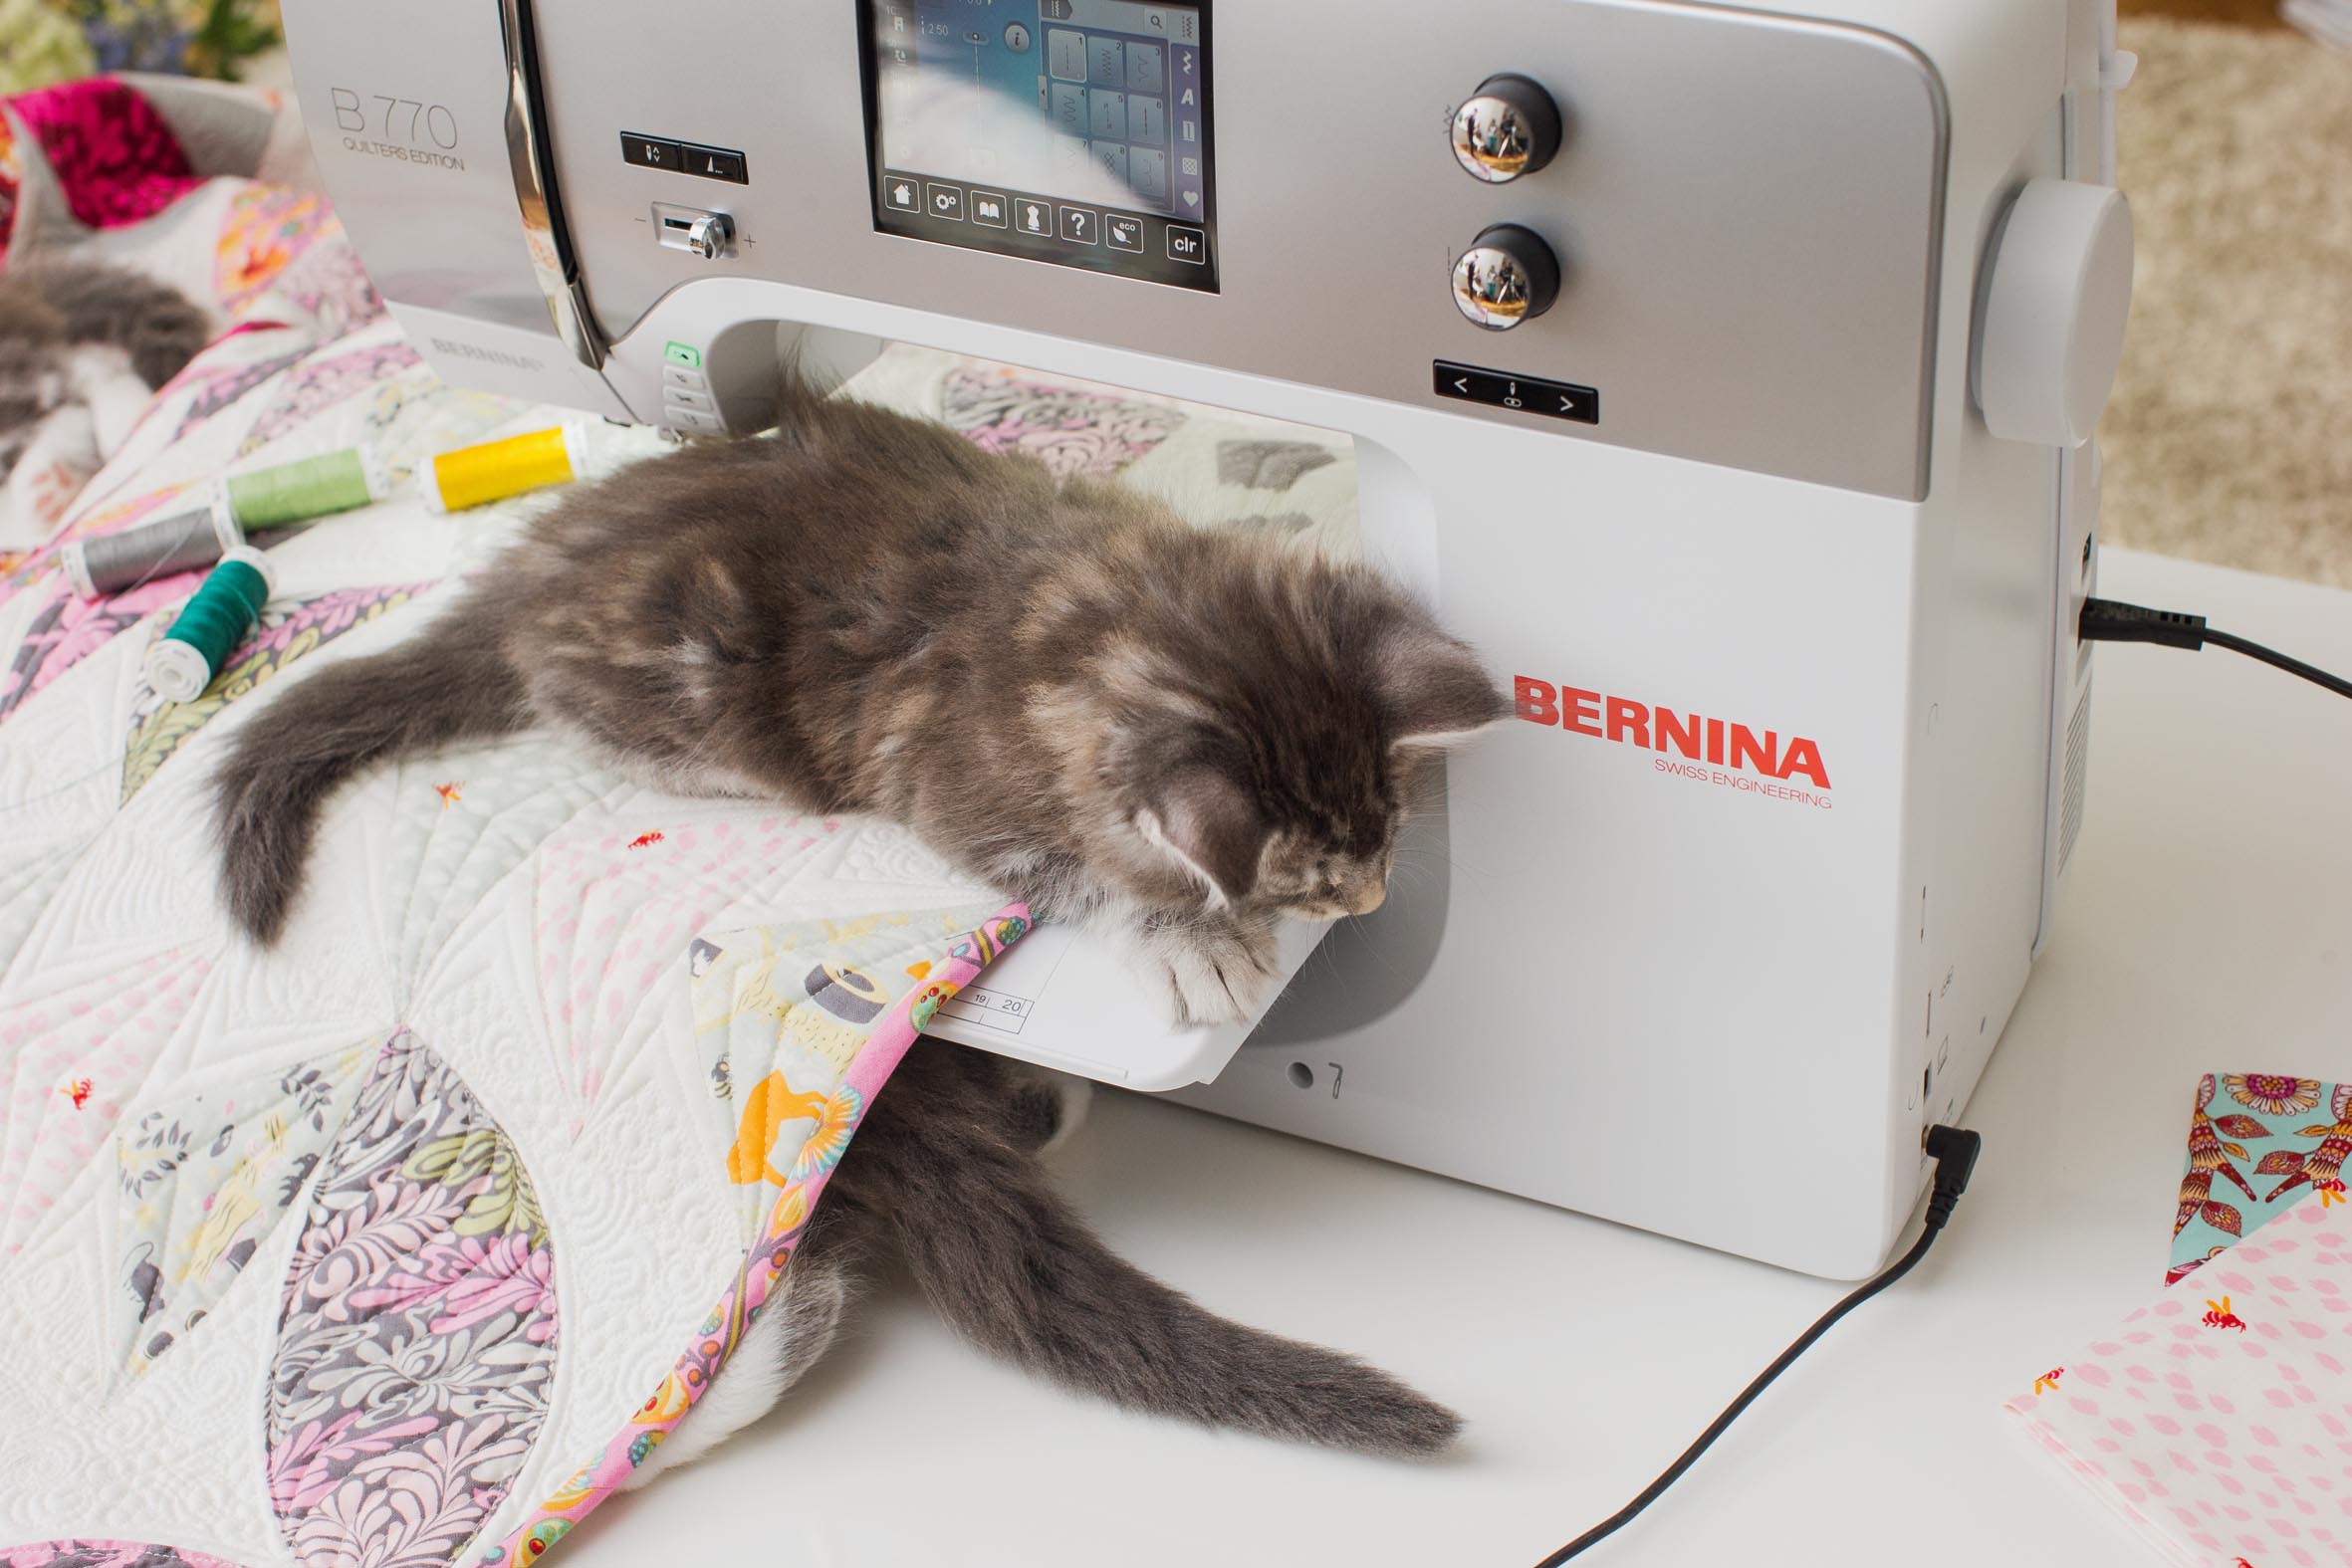
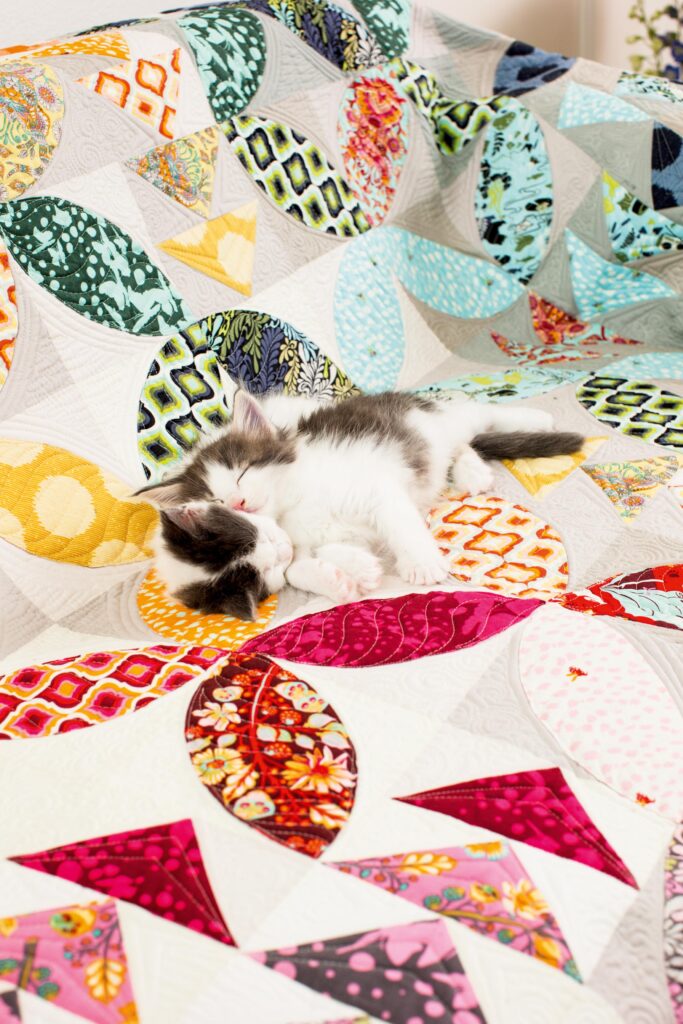
She has created a quilt for the BERNINA 770 QE campaign with fabrics from her moonshine collection. Have a look:
Tula Pink transforms traditional craft and designs into modern art. Would you like to try this on your own? Learn how to create this beautiful quilt:
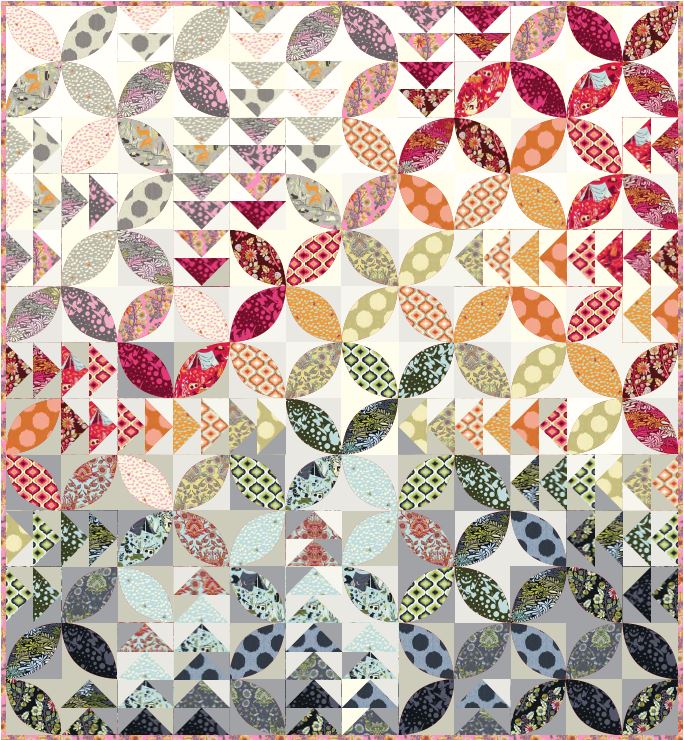
Sewing instruction “Bird Seed” quilt by Tula Pink
BIRD SEED by Tula Pink for BERNINA Finished side: approx. 72″ x 78″
MATERIALS:
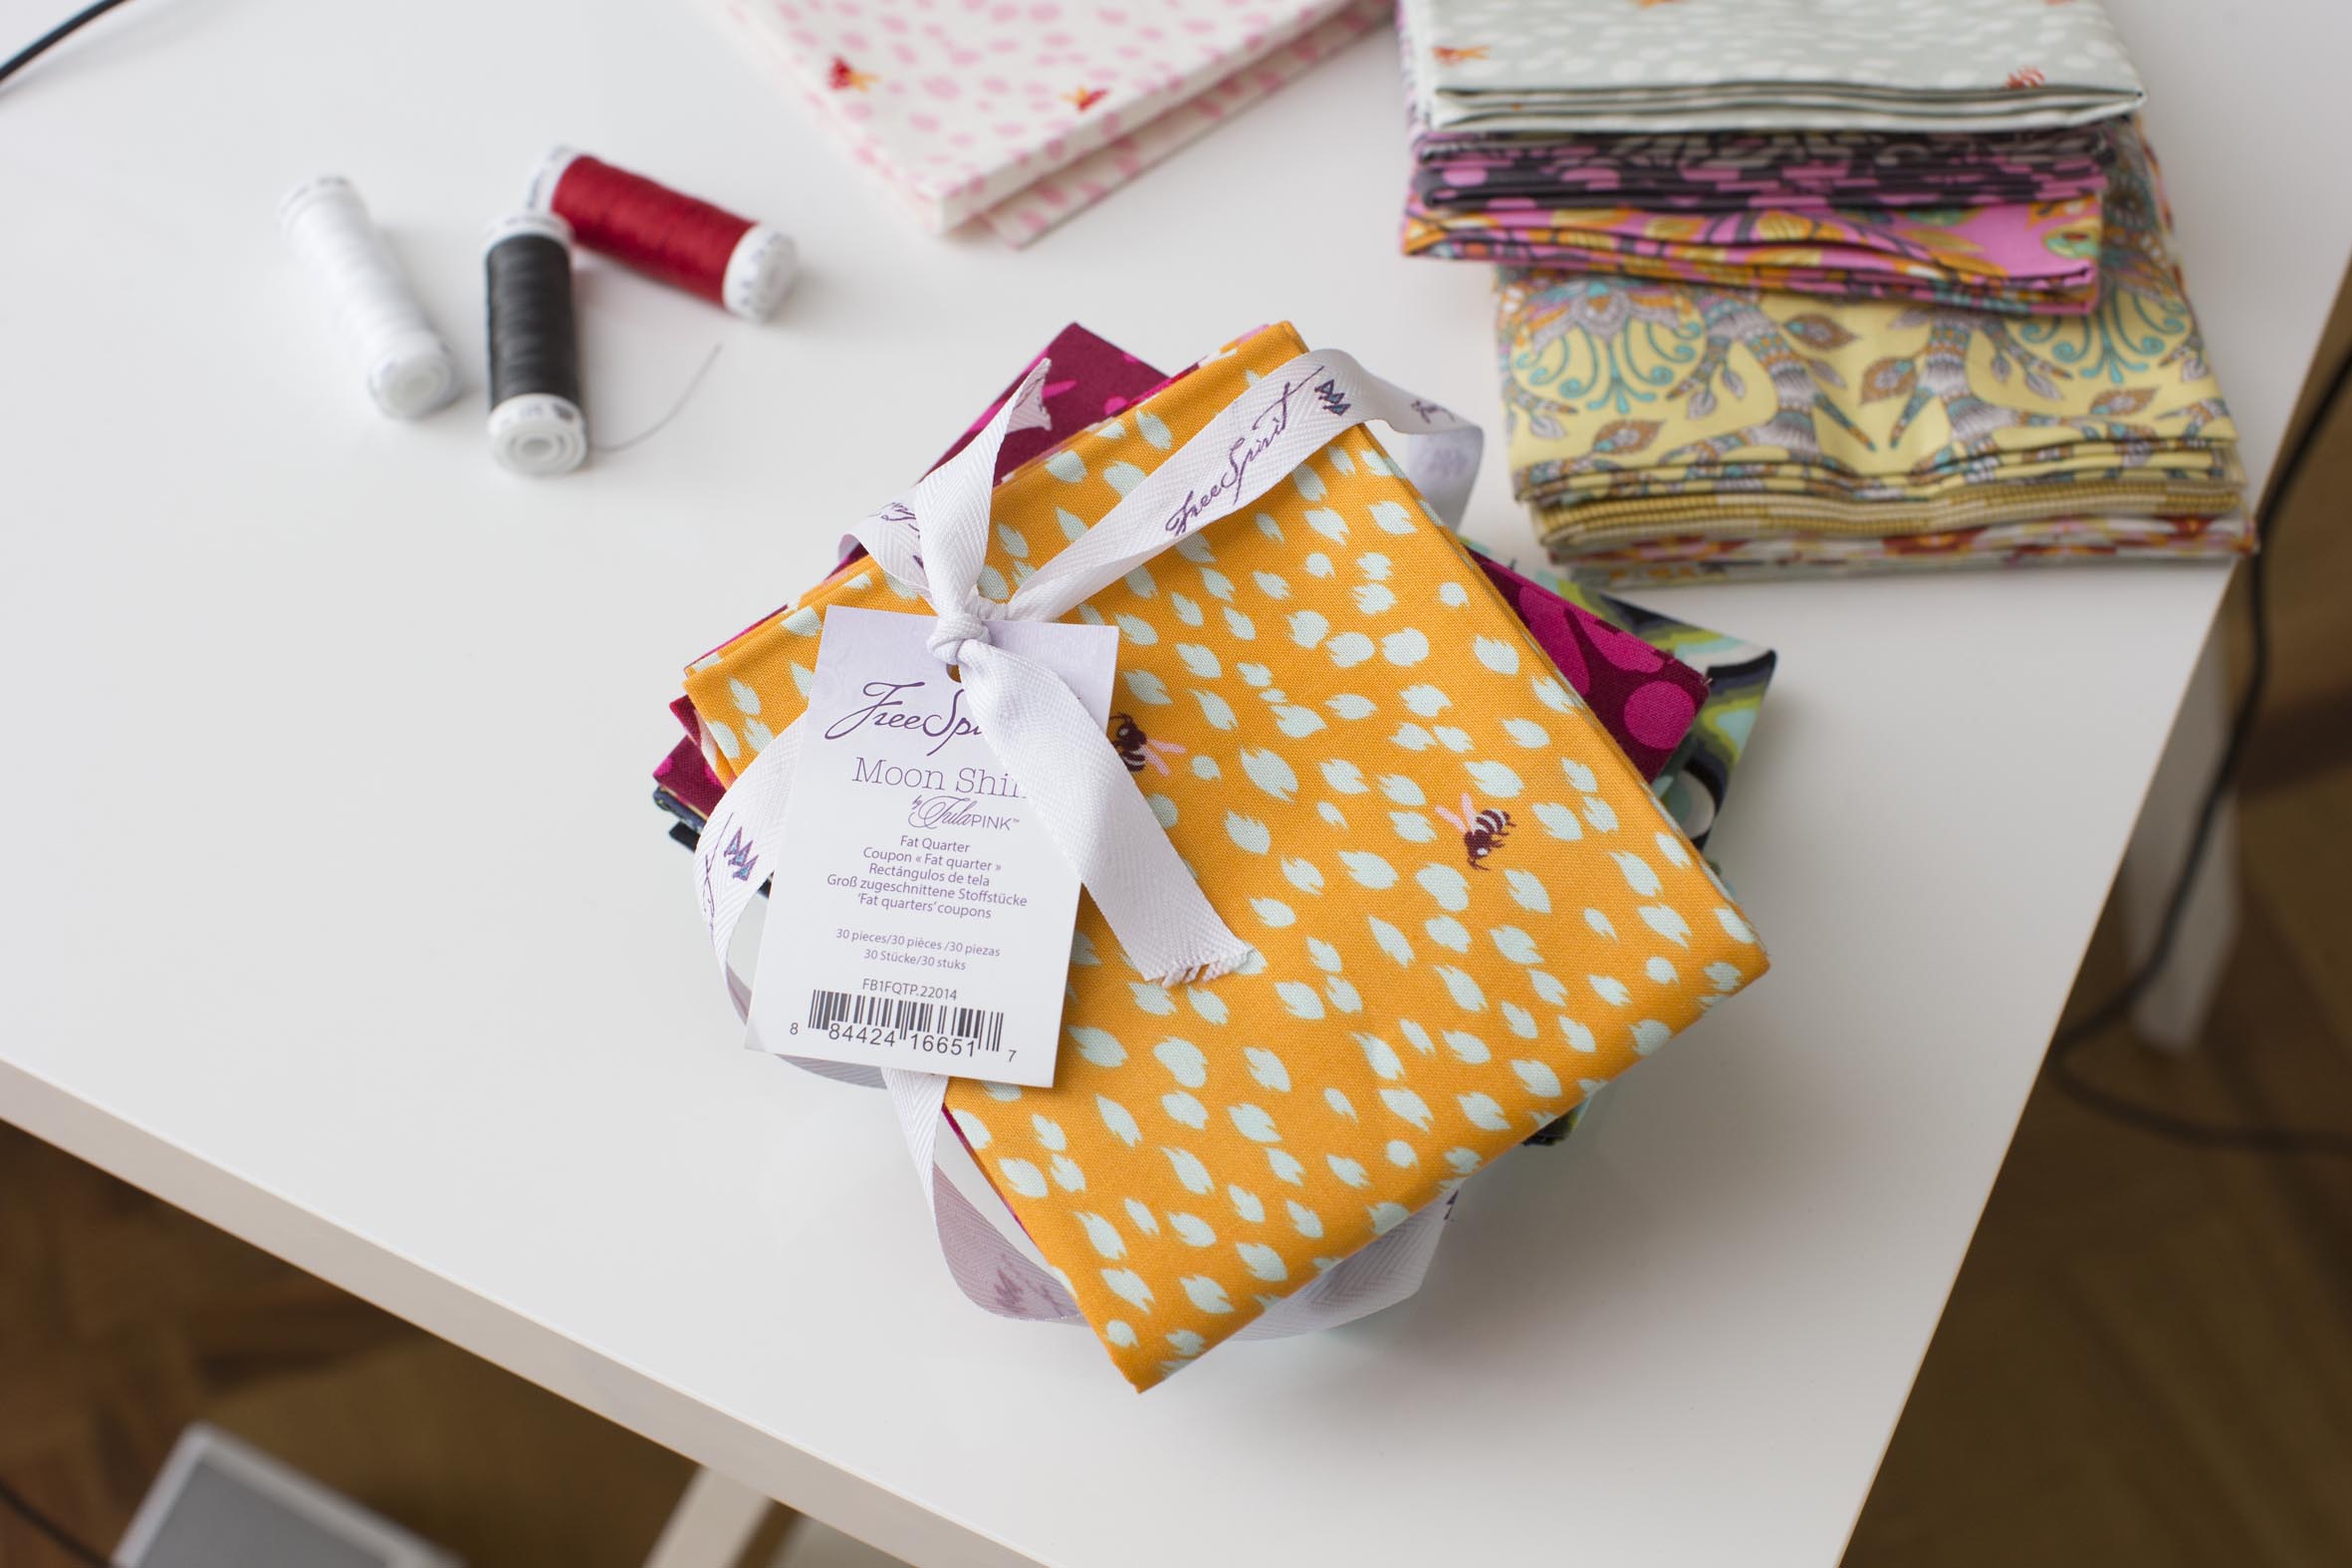
- Geese and Seeds – 27 Print Fat Quarters from Tula Pink’s Moon Shine collection for Free Spirit Fabrics
- Background – (5) 1 yard each in White, Cream, Pale Grey, Light Grey, Medium Grey Or 4 1/2 yards of a single solid background fabric
- 6 yards – Sheer weight or ultra light weight fusible interfacing fusible on one side only, 20” wide •Binding – 5/8 yard
- Backing – 6 3/4 yards
- Batting – 80” x 90”
- Coordinating Threads
- Erasable marking tool
Download:
Quilt pattern with detailed instruction
CUTTING:
From the print fat quarters cut:
(4) 5 x 10 rectangles, from 20 fat quarters
(3) 5 x 10 rectangles, from the remaining 7 fat quarters
(1) 7 1/4 x 7 1/4 square, from each fat quarter
From Background Fabrics cut a total of:
(102) 6 1/2 x 6 1/2 squares
(108) 3 7/8 x 3 7/8 squares
Draw a diagonal line on the back of each 3 7/8 square
From fusible interfacing:
On the Non-fusible side draw (102) template A seeds
Roughly cut out each seed leaving at least a 1/4 inch of interfacing around the drawn line this will be trimmed accurately after sewing.
MAKING THE FLYING GEESE:
NOTE: If you are using multiple background fabrics like the example quilt use the darkest background colors on the darkest print fabrics and the lightest background colors on the lightest print fabrics. This turns out best when you let them fall in an unexpected way.
1. Place two 3 7/8 x 3 7/8 on opposite corners on one 7 1/4 x 7 1/4 print square, right sides together. Line up the drawn diagonal line across the two 3 7/8 squares, one corner from each square will overlap.
2. Sew a scant 1/4 seam on both sides of the drawn line.
3. Cut on the drawn center line.
4. Press seams toward the background fabric.
5. Place one 3 7/8 square on the corner of one of the units created in step 4, right sides together.
6. Sew a scant 1/4 seam on both sides of the drawn line.
7. Cut on the drawn center line.
8. Press seams toward the background fabric.
9. Repeat steps 5 through 8 with the remaining unit created in step 4.
10. Steps 1 through 9 will yield 4 flying geese units.
11. Repeat steps 1 through 9 with the remaining print squares and smaller background squares to create a total of 108 Flying Geese units.
Making the “Seeds”
NOTE: This method of making “seeds” also called “peels” is a faux appliqué technique. While there is a bit more prep work it is overall much quicker to accomplish.
12. Place one fusible interfacing seed, fusible side down, on one print 5 x 10 square, right side up.
13. Sew ON the drawn seed line.
14. Trim away the excess fabric leaving 1/8 seam allowance.
15. Cut a small 2 inch slit in the center of the interfacing ONLY, be extra careful not to cut the fabric. Use a stiletto or tapered scissors.
16. Gently pull the fabric through the slit turning the entire seed right side out. Use a turning tool (I use a chop stick) to gently push out the points at the top and bottom of the seed and finger press the edges of the seed.
17. Repeat steps 12 through 16 until you have created a total of 102 seeds.
18. Place one seed on top of one background square fusible side down, center the seed leaving an even 1/4 seam allowance around the outside edge. To get the seed precisely in the middle of the background square fold the square in half diagonally and lightly press the fold to create a perfectly centered diagonal line across the square.
19. Press in place, flip and press from the back as well.
20. Top stitch the peel in place with a coordinating thread.
21. Repeat steps 18 through 20 to create a total of 102 seed squares. If you are using multiple background fabrics follow the same placement strategy as with the geese placing the darkest seeds on the darkest background fabrics and the lightest seeds on the lightest background fabrics.
Making the quilt top
NOTE: The cover quilt shows a gentle blending of one color to the next. Spend a little extra time laying out your seeds and geese before sewing the top together. It will make all the difference!
22. Lay out the seed squares and geese according to the Assembly diagram.
23. Sew across each of the thirteen rows first.
24. Then sew the rows together beginning at the top and ending at the bottom.
25. Layer the finished quilt top, batting and backing.
26. Quilt and bind using your preferred method.


Hi I was wondering if anyone ever said that they got the corrections to this pattern ? I. Want to make it. But, I red the comments. Any advice?
Hy Cinda,
There is no corrected version of this pattern, so I would just start it and adress issues along the way, but buy a bit more fabric in case I would need to redo something.
Maybe someone who made this quilt will see your comment and help you out? Try and post a work in progress picture in the Community Section, and maybe that will make it easier to reach someone! 🙂
Kind regards, Ramona
I’m startig this Bird Seed pattern. In the Cutting section of the instructions it says to “cut (1) 7 1/4 by 7 1/4. square from each fat quarter.” However, the picture shows (2) 71/4 squares. Help please! Thank you
Dear Judy,
I havent made this quilt, so I only can guess, but I think it should be two. At the beginning, the inscrutions say what to do with one square, and then says:
“11. Repeat steps 1 through 9 with the remaining print squares and smaller background squares to create a total of 108 Flying Geese units.”
It reads to me as if you should have another print square (7 1/4 x 7 1/4) next to the smaller background square. So you would need two.
However, before you make two, I would do one, then the smaller background squares and these seeds in order to check if you already have all components to put the top together. It would be a shame if its only 1 square and all that work goes to waist! You can always make more with the second square later 🙂
Hope this helps!
Thankyou, This quilt looks great with the beautiful colours. It will be on my to-do-list!
I have cut everything, laid it all out and am starting to sew. What size are the flying geese supposed to be with seam allowance 3-1/2 inches by 6-1/2 inches? There is no mention of what size they should be. However, as I begin, the pieces are not fitting together as I start to sew everything. Are their corrections I don’t know about? Any help would be appreciated. I would hate to think I have wasted this fabric . It is all cut.
I have purchased fabric for and am beginning this quilt. Unfortunately, I’ve found some inconsistencies and/or errors that I feel should be corrected. I’ll be happy to detail those for you if you are interested.
Yes, please! Getting ready to start this and would love your info! Thank you. 🙂
Please do post the corrections. I’m all set to start cutting, but will wait. Thank you very much! -Jen ([email protected])
Kathy, can you share with me the inconsistencies/errors you have found and how you corrected? Thank you, I want to do this quilt, but not until I know the pattern is accurate. Thanks so much!
Could you tell me what brand and colors the white, cream, pale-light-dark grey’s were for this pattern?
Free Spirit, and the color names are listed. I ordered mine from Hawthorne
I tried to find the exact background fabric colours but couldn’t find them with
Background – (5) 1 yard each in White, Cream, Pale Grey, Light Grey, Medium Grey Or 4 1/2 yards of a single solid background fabric
do do you have the actual colour names for example “arctic white” or “oyster”.
Thank you ?
I have a question about printing the template for the seeds. Adobe offers several options for printing. Should I print it ‘fit’ size or ‘actual’ size?
Hi Emberley
Thank you for your question. Please print in “actual” size.
Regards,
Birthe
What skill level would you say this is?
Hello
I think this quilt has a skill level for advanced sewer. For beginners the curves might be challenging. Regards, Birthe
Where is the pattern for the seeds?
Dear Linda
The pattern is above the first picture. Kind regards, Birthe Grautmann
Found it.Thank you
Hi Linda,
Could you please help me? I looked above the first picture and could not find the seed pattern. Where exactly is it? Thanks so much for the help!
I am struggling to find the template for the seeds, too! Please will you let me know where that it is?
Thank you 🙂
Dear Lani,
The Downloadlink wasnt active anymore, so I updated it. The link above the picture should work again now. If not, let me know and I can send you the pattern directly.
Best regards, Ramona from BERNINA International
I am unable to find the seed pattern. Please help me!
Thank you
Dear Connie,
You can find it when you click on the red words: “Quilt pattern with detailed instruction”
Its just above the image of the overall quilt, or in this comment 🙂
Happy sewing!
Oh how gorgeous are those kittens, and the quilt stunning……our 15 year old cat Oliver owns all of the quilts in our home……Noelene