 BERNINA Corporate Blog -
Dear community,
in this blog post you can find detailed instructions for making a felt panda puzzle.

Felt panda puzzle
Following the theme of “Everything a child could wish for”, I have designed a new free embroidery file for you in the trial version of the new Bernina Embroidery Software 8. It’s a panda face puzzle, embroidered from felt.
The finished puzzle measures approx. 14 x 11 cm and is around 4 mm thick. It has a total of 6889 stitches. Making the puzzle takes about 20 minutes. So you could easily get it finished by Christmas, however busy you are.
You can download the free embroidery pattern here.
Necessary materials
- White felt 2 mm thick
- Black felt 1 mm thick
- Machine with embroidery facility
- Black and white embroidery thread
- Sharp scissors or cutter
- Embroidery file
- Optional Spray adhesive
Instructions for the panda puzzle
Download the embroidery file and load it onto your machine. Mount the 2 mm thick white felt in the embroidery hoop.
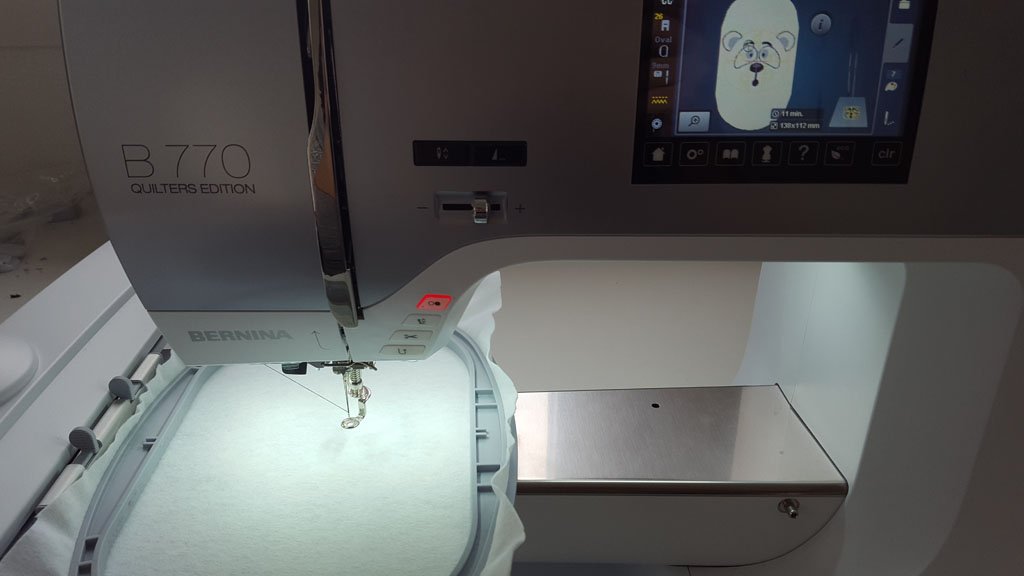
The white felt is mounted and ready to go.
First embroider the outline of the eyes and ears.
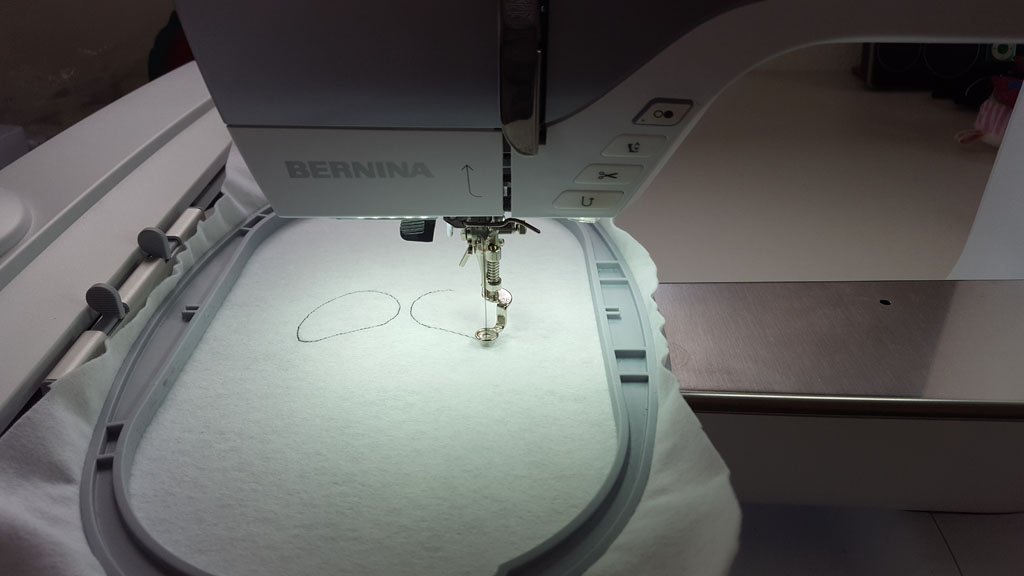
The outline of the eyes and ears is embroidered.
Lay the thinner black felt on the outlines. The next step is sewing this on.


The black felt is sewn in place. You can now trim it close to the seam.
Trim the black felt close to the seam. With a little imagination you can already see a panda starting to emerge.

Now the eyes and ears are embroidered in white, then the face and eyebrows in black.

The white of the eyes and ears is embroidered.
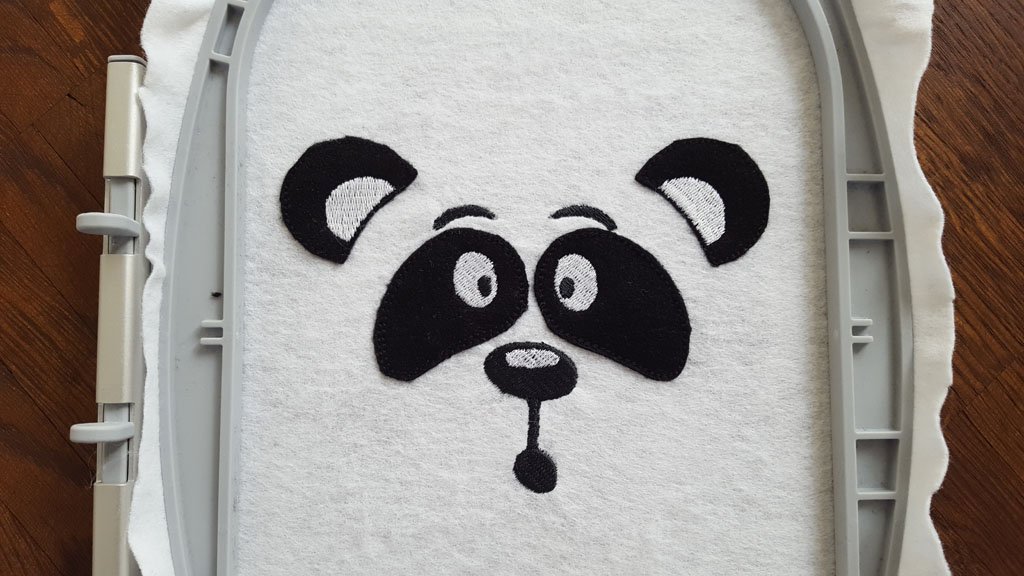
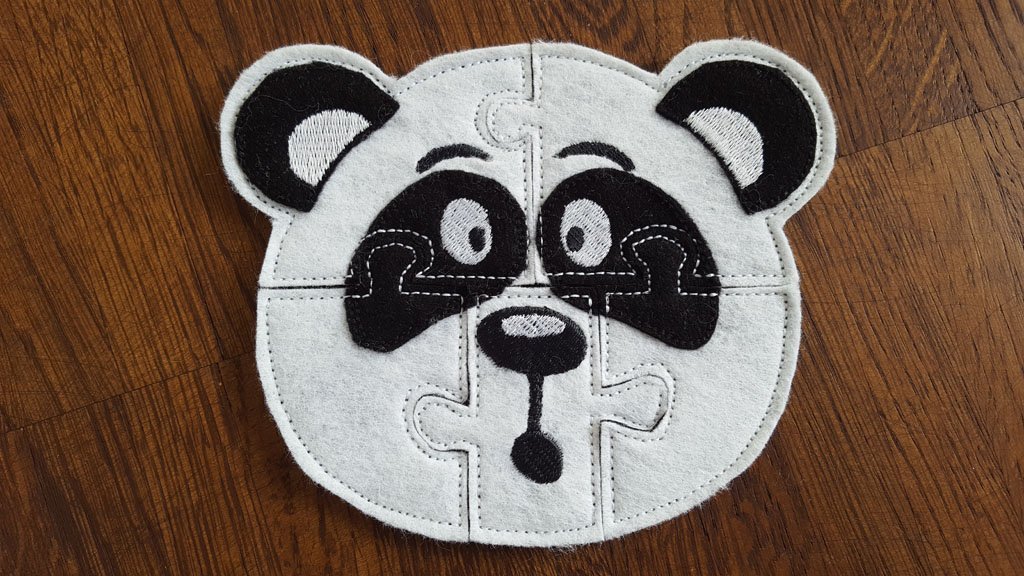
It’s now definitely a panda.
Remove the embroidery hoop from the machine. Please note: The embroidery file is still loaded. Lay a second piece of white felt on the back of the hoop. You can use some spray adhesive to fix it in place. Put the embroidery hoop back onto the machine.
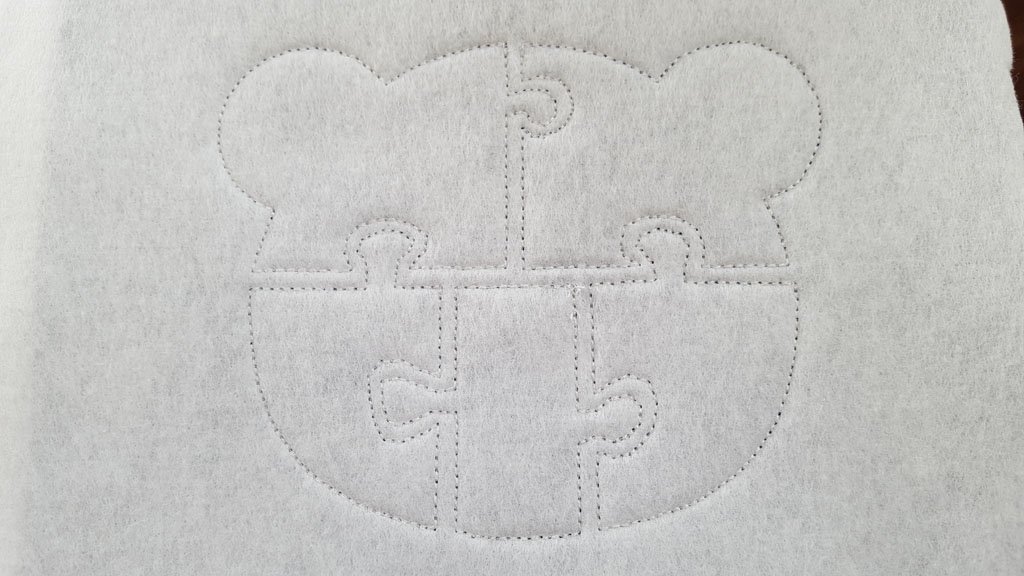
Now it’s time to embroider the puzzle pieces. The piece of felt that was laid on the back is sewn too.
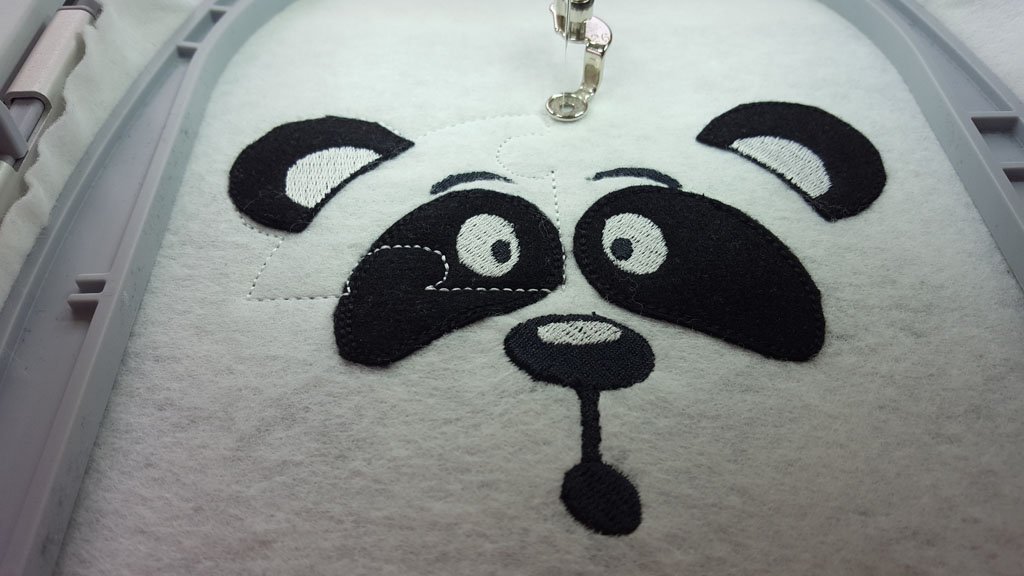
The puzzle pieces are embroidered.

The panda puzzle is almost finished.
The back
Take the hoop out of the machine and remove the embroidered item. You can now cut out the puzzle pieces with shears or a cutter, and the sweet little panda puzzle is finished.
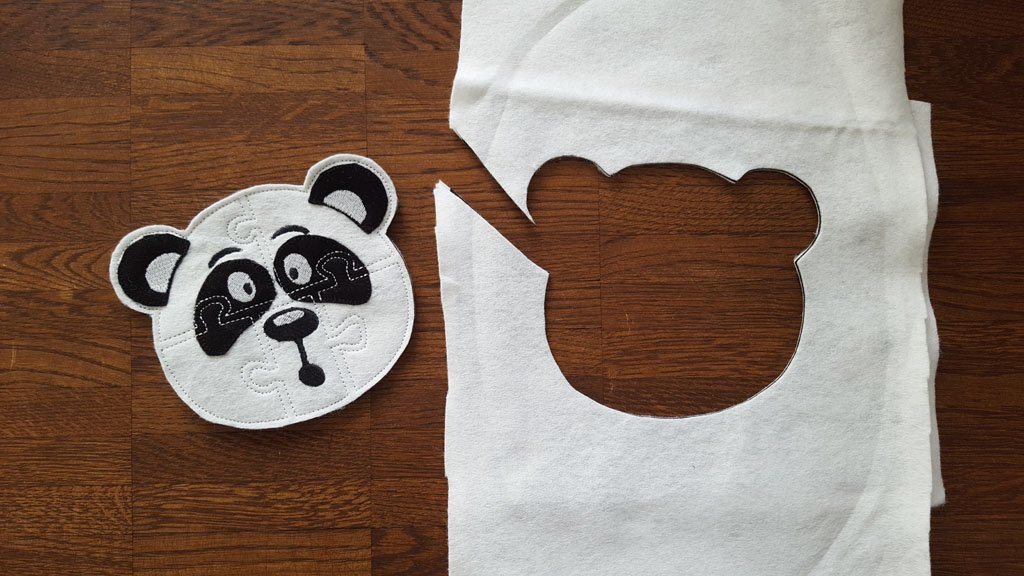
Now it’s just a case of cutting out the puzzle pieces.

I hope you and the little ones have lots of fun with the panda puzzle – and happy holidays.
Yours, Céline


super cute, you think of making other animals, like the fox, bear, elephant and… even if it is paying
thanks in advance .
nelly
Is this file still available? When clicking on the download all I get is an .exp file. I’m looking for a .pes file.
Dear Karen,
Yes, the file is still available, you can find the download just above the “Necessairy Materials” title. There is only an .exp file, but you could download the free Artlink Program to convert the exp file to a pes file.
You can find the Artlink Program here:
https://www.bernina.com/artlink8
Kind regards, Ramona from BERNINA International
How can i download the punda puzzel face.
Hi Helena,
You will find the link further up in the article. Please click on it and check your downloads to see if you got the zip-file.
Best wishes,
Jasmin
I don’t have Software version 8, still using version 7. Don’t plan to buy V8. I am a pensioner and it is just not affordable for me. Will need a new laptop with Windows 10.
Will I be able to make this Panda Puzzle with V7 on my Bernette embroidery machine
Thanks