 BERNINA Corporate Blog -
I really like working with Fossil Ferns, these quilt fabrics are ‘filled with subtle textures in colors that mirror the intricate hues of nature’. Subtle prints of ferns and drops of water and beautiful colors invite me to make a colorful quilt. So why not do some paper piecing and work with as many different shades and hues as possible, or use scraps of these fabrics.
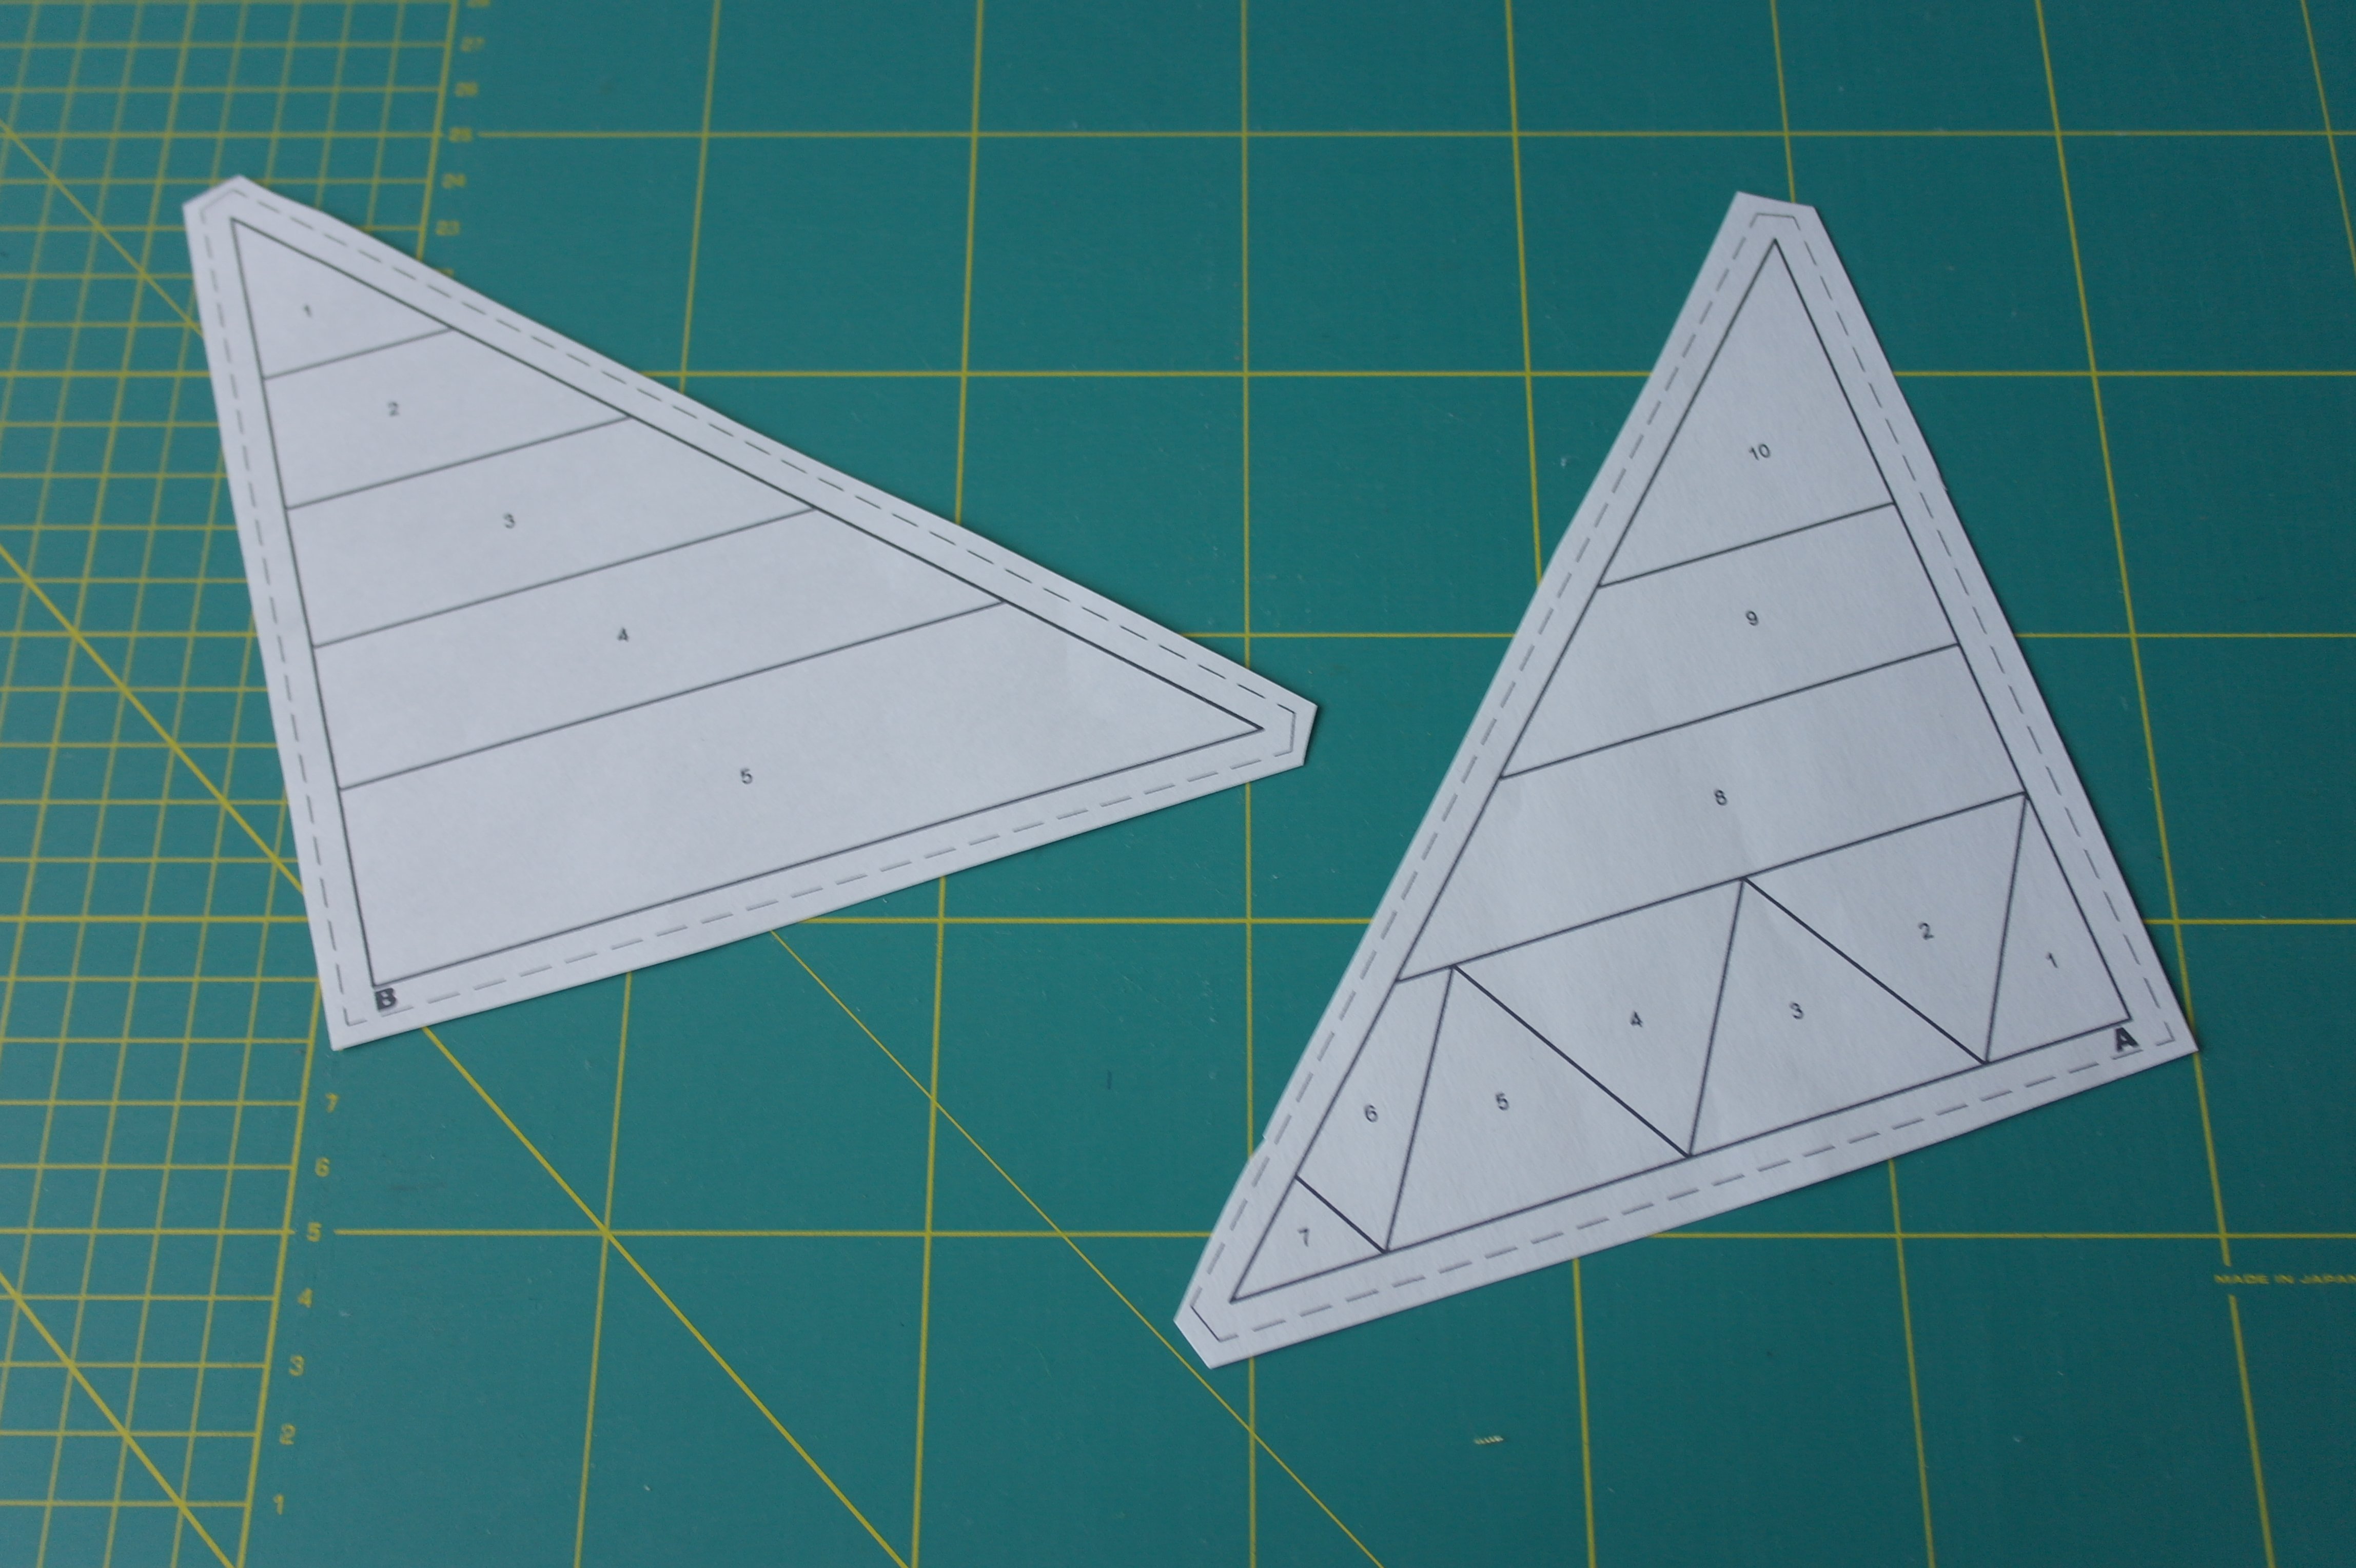
I have designed two pattern pieces which can be mixed too: you can download them here for free! With printing, be sure to set your printer to 100% (actual size). Print them for your own use, as many as you like, to make a small or even large quilt.
Pattern A = strips and triangles, Pattern B – just strips. Both are of the same measurement, so they can be sewn together after adding fabrics. I have designed this to be as easy as possible, so the lines/seams of the fabrics don’t have to match with assembly: this way such a patchwork project can also be made by novices/beginners.
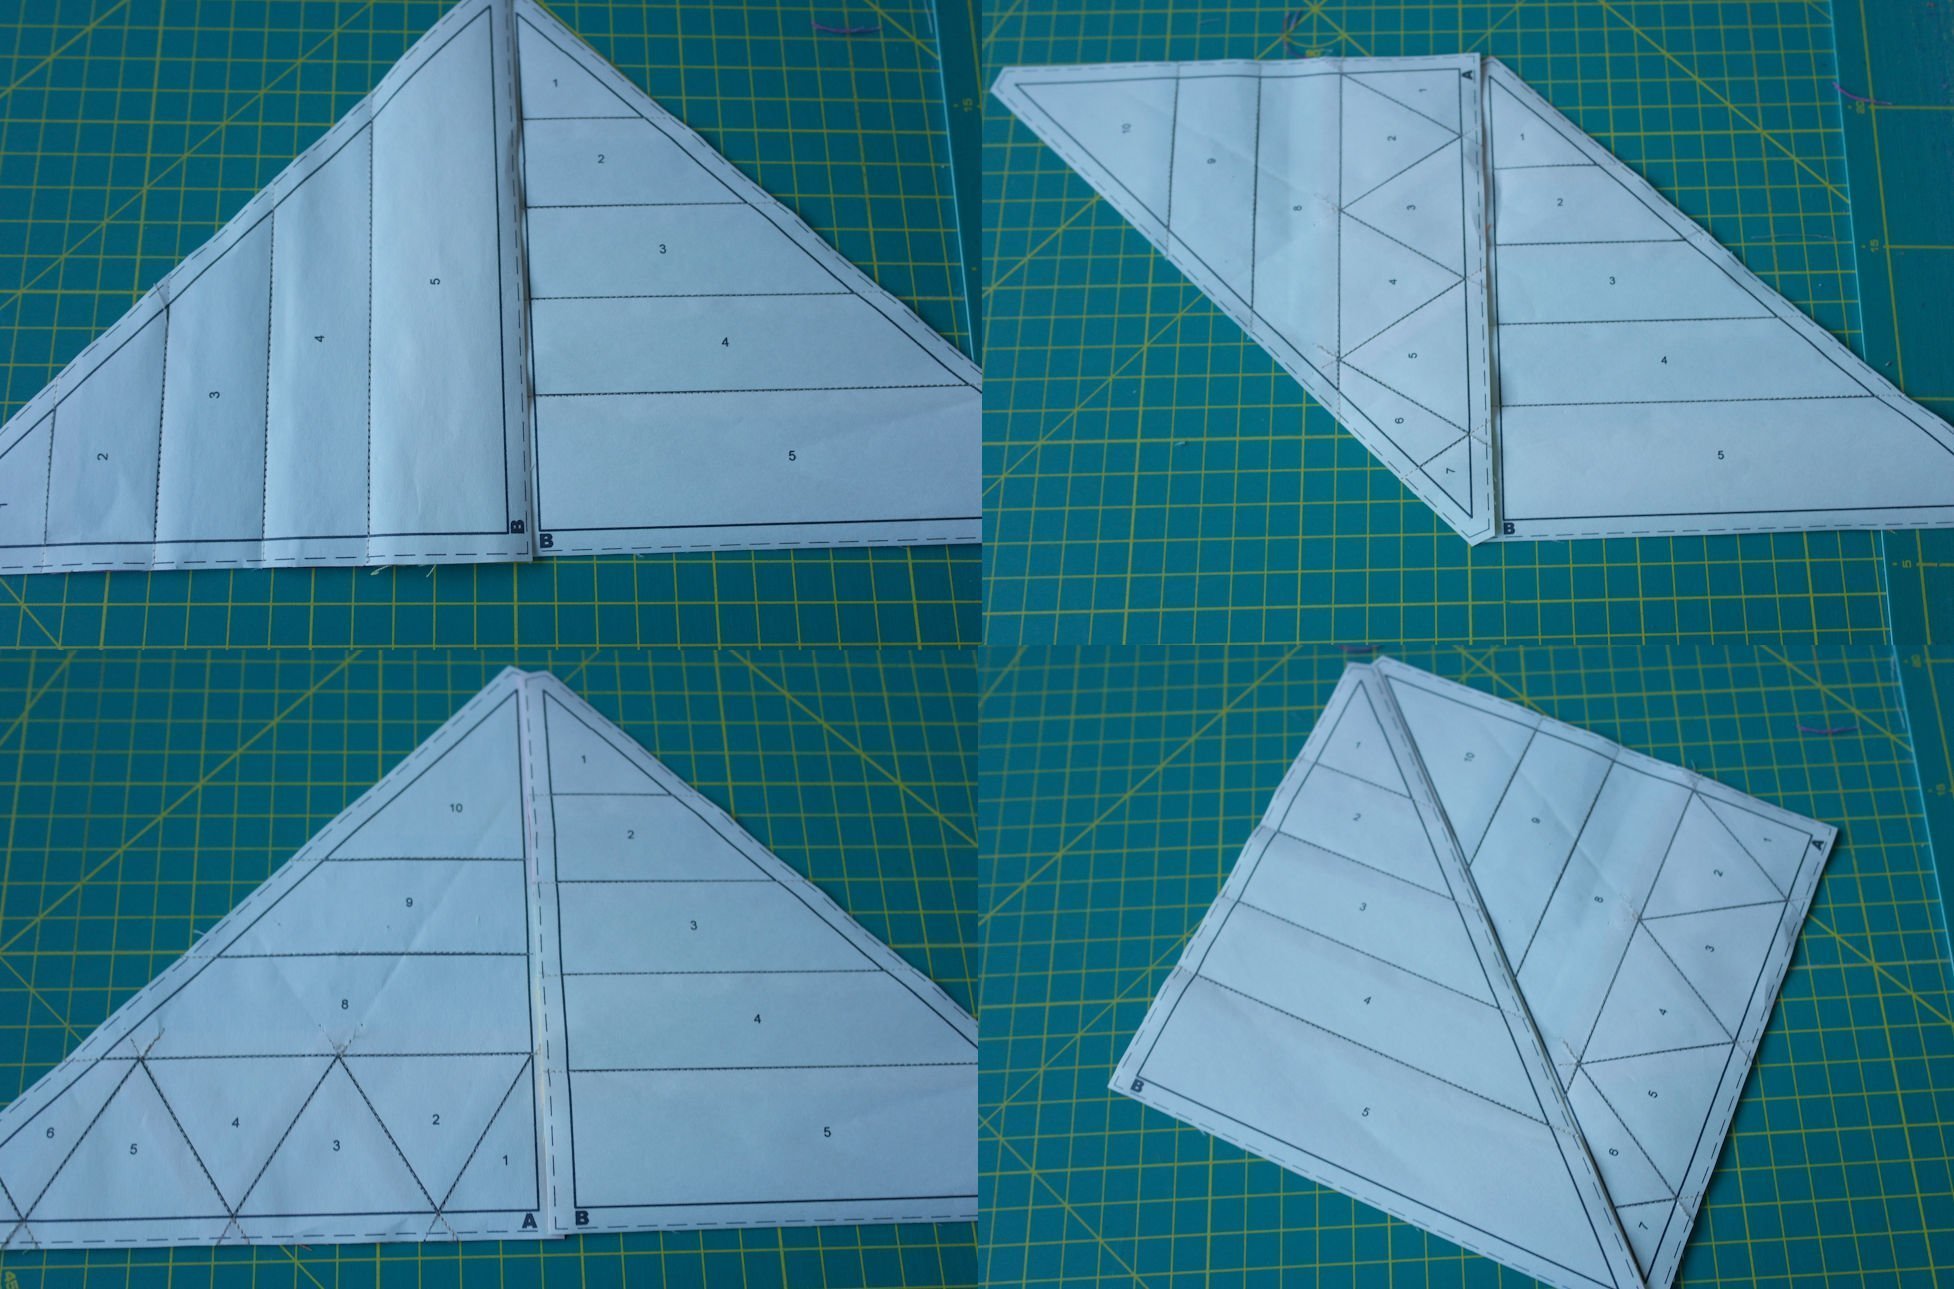
While placing some blocks together, you can see the lines/seams don’t match. But they can be sewn together in any way you like.

The only match of lines/seams you will get is when you place two pieces B like the picture above. But I don’t think that will be too much of an effort.
There are a couple of possibilities with this FREE pattern: 1) print as much pattern pieces as you want, but do this on Paper Piecing paper (you can order this here*): this thin wood free paper allows you to sew fabrics and remove/tear the paper afterwards. You can of course also print on printer paper, but that is much thicker and won’t tear away as easy. 2) Print just one pattern, and trace it onto Vlieseline L11, or another thin translucent material for Foundation Piecing.
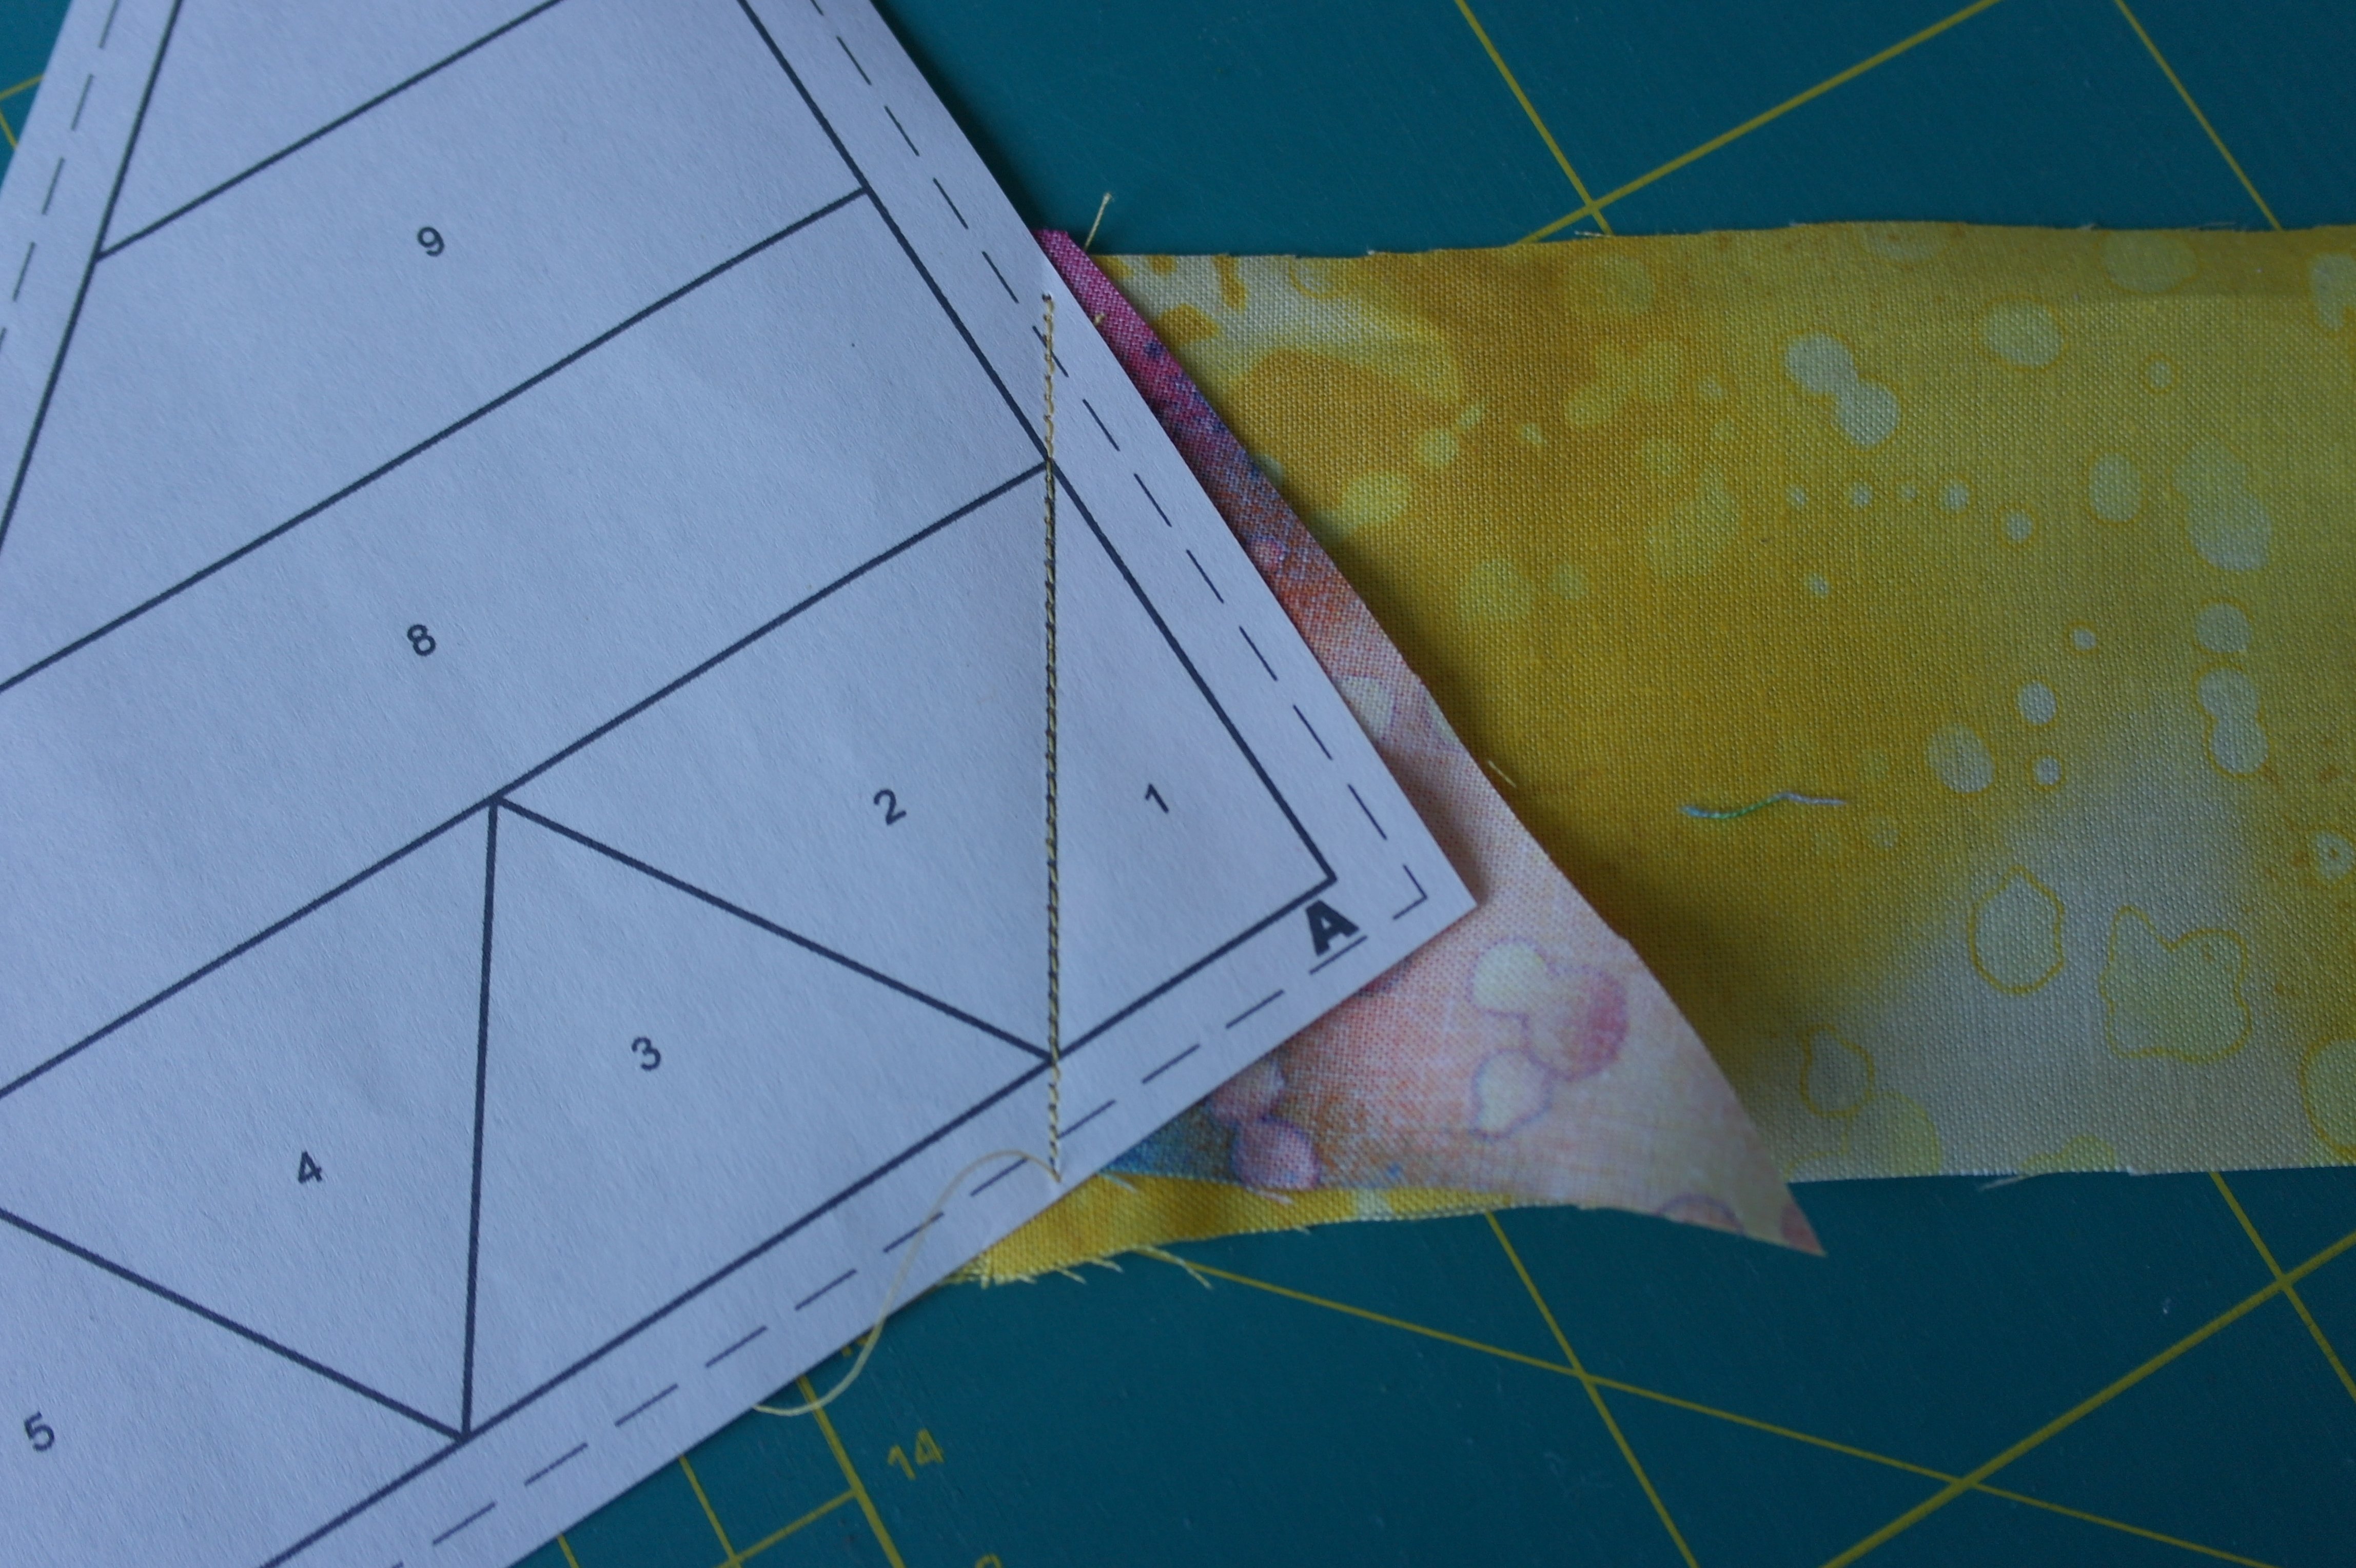
Cut the foundations a scant 1/8 inch beyond the dotted lines like the picture above shows you. Sew on the side with the lines/numbers and place your fabrics on the other side. I am assuming that you know the method of Paper Piecing. After filling the entire triangle with fabrics, cut the foundations/fabrics back, exactly on the dotted line = seam allowance included. Don’t remove the papers at this time. If you are working on Vlieseline L11, you will not remove anything after completing the foundations.
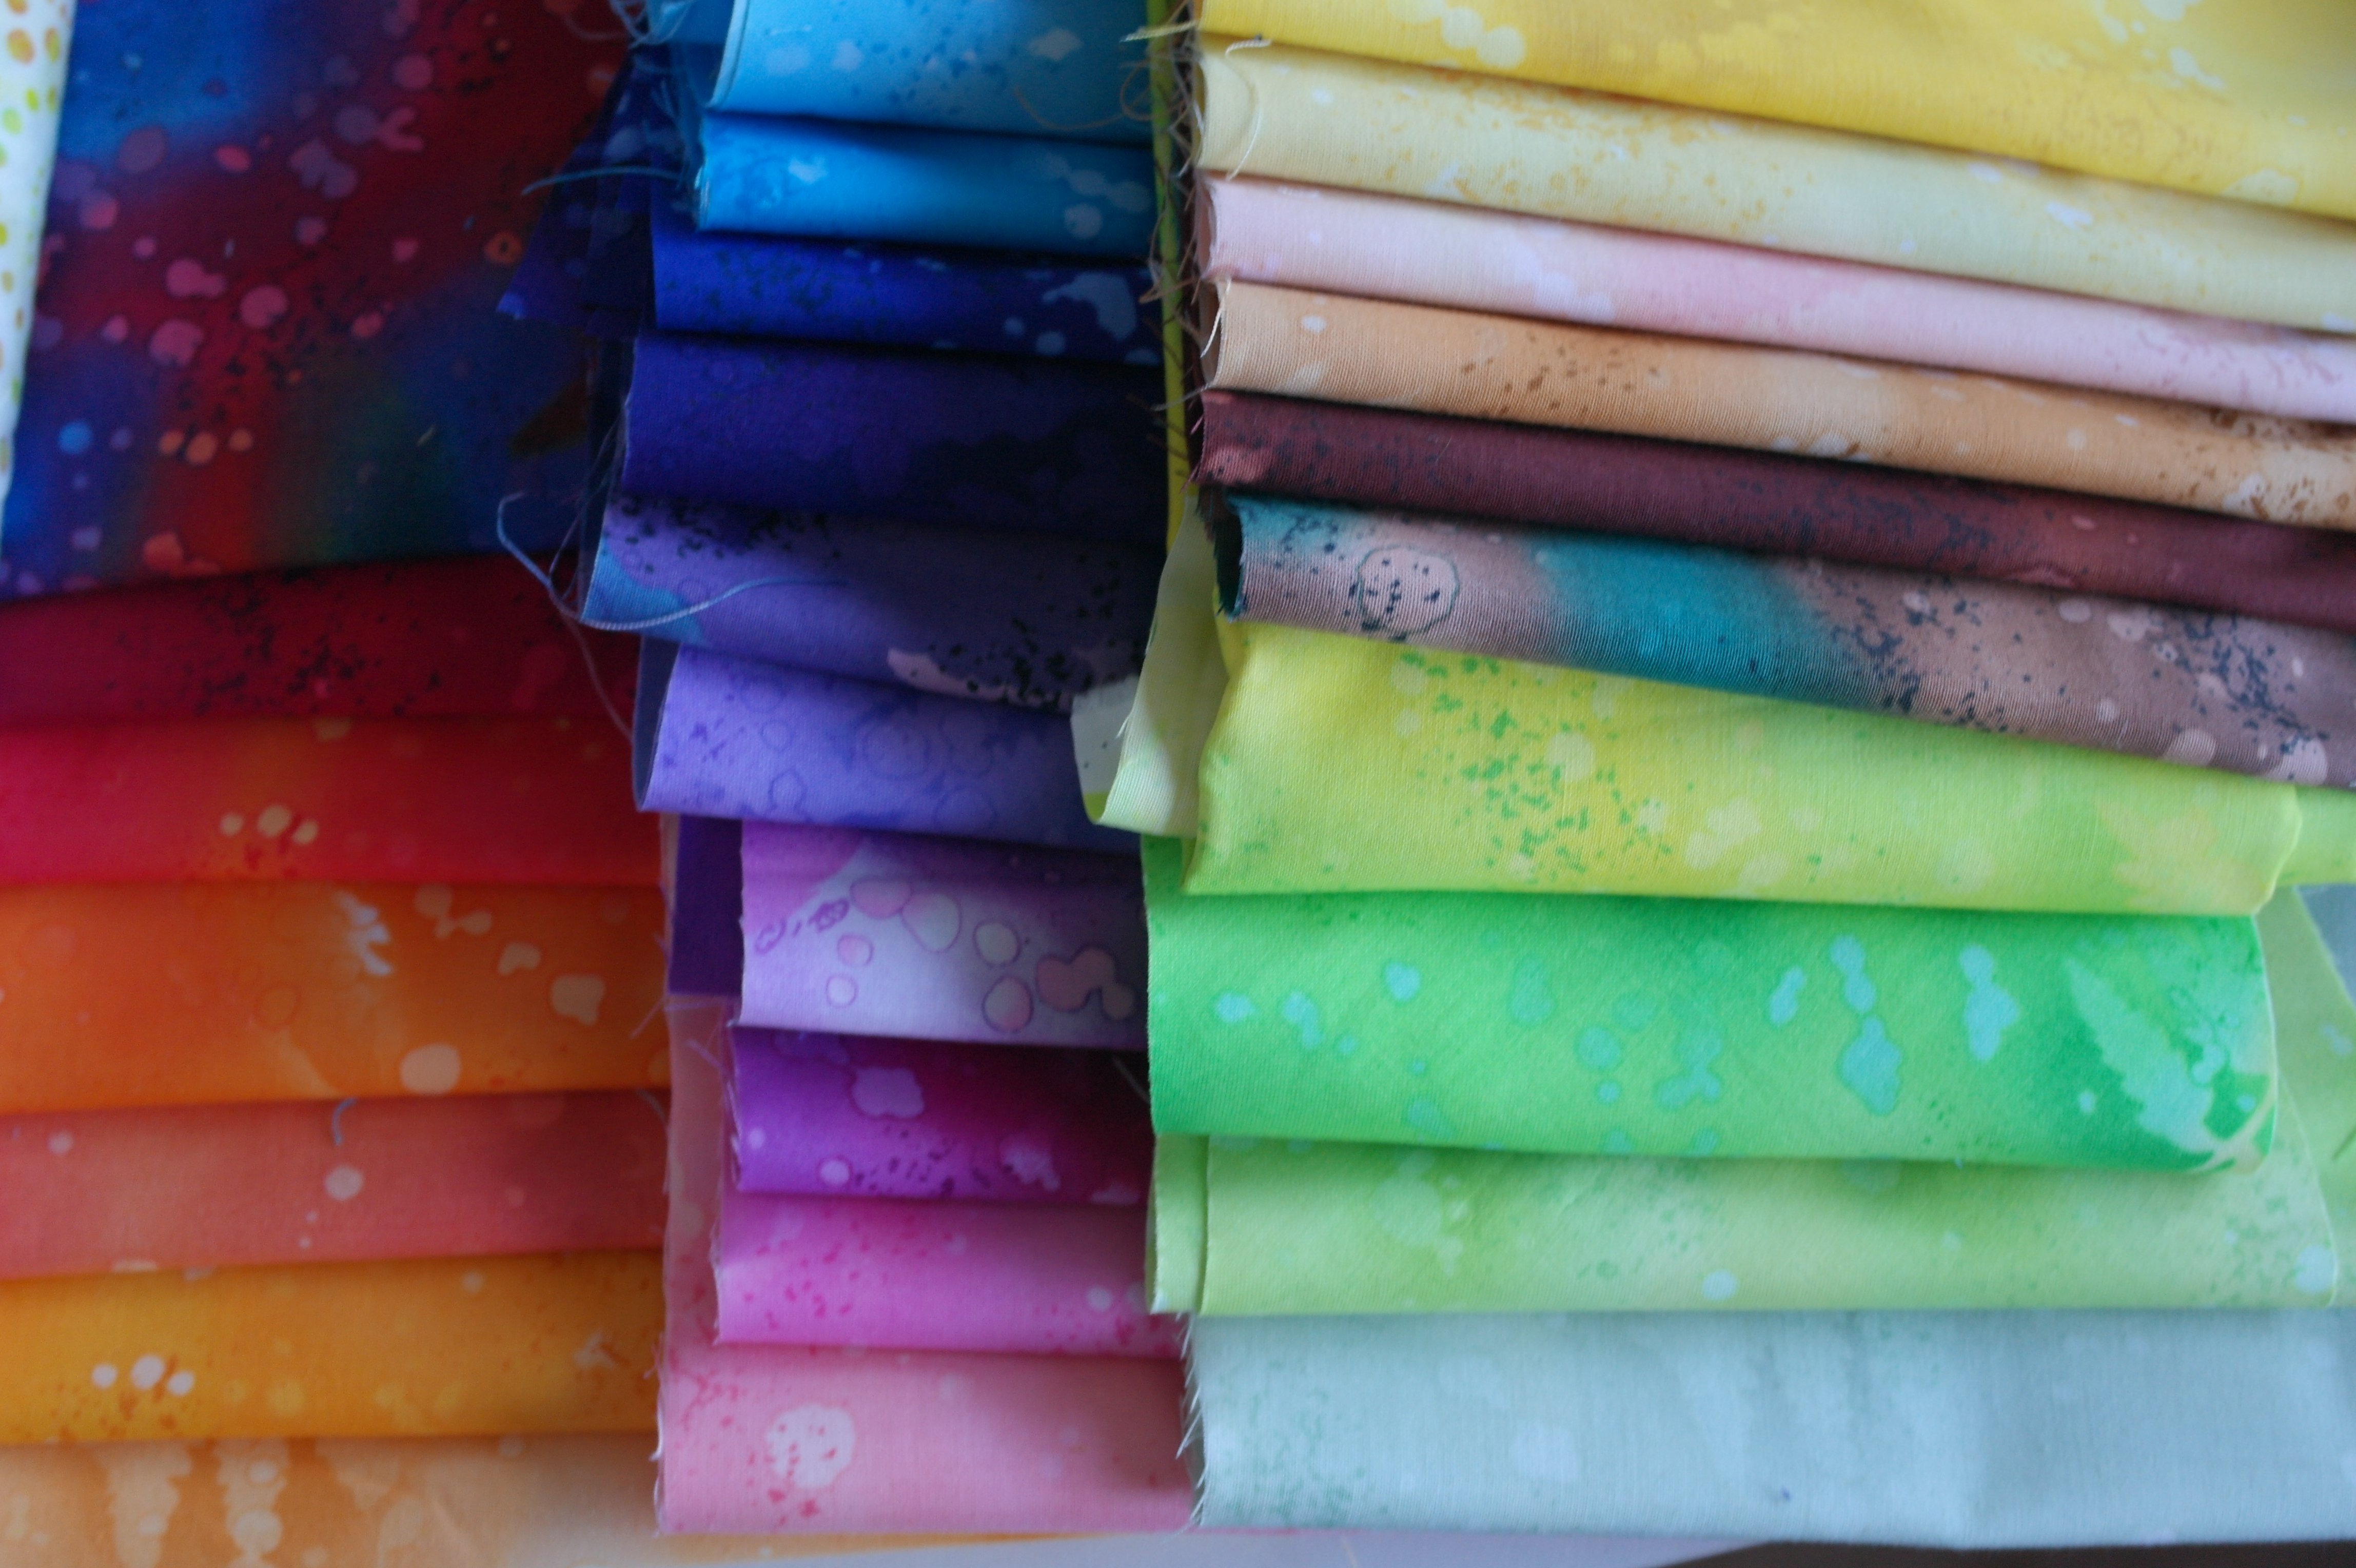
At this point just browse through your fabric collection, or order some Fossil Ferns – and remember: each combination of colors is ok, just mix them up, hence the name of this project.
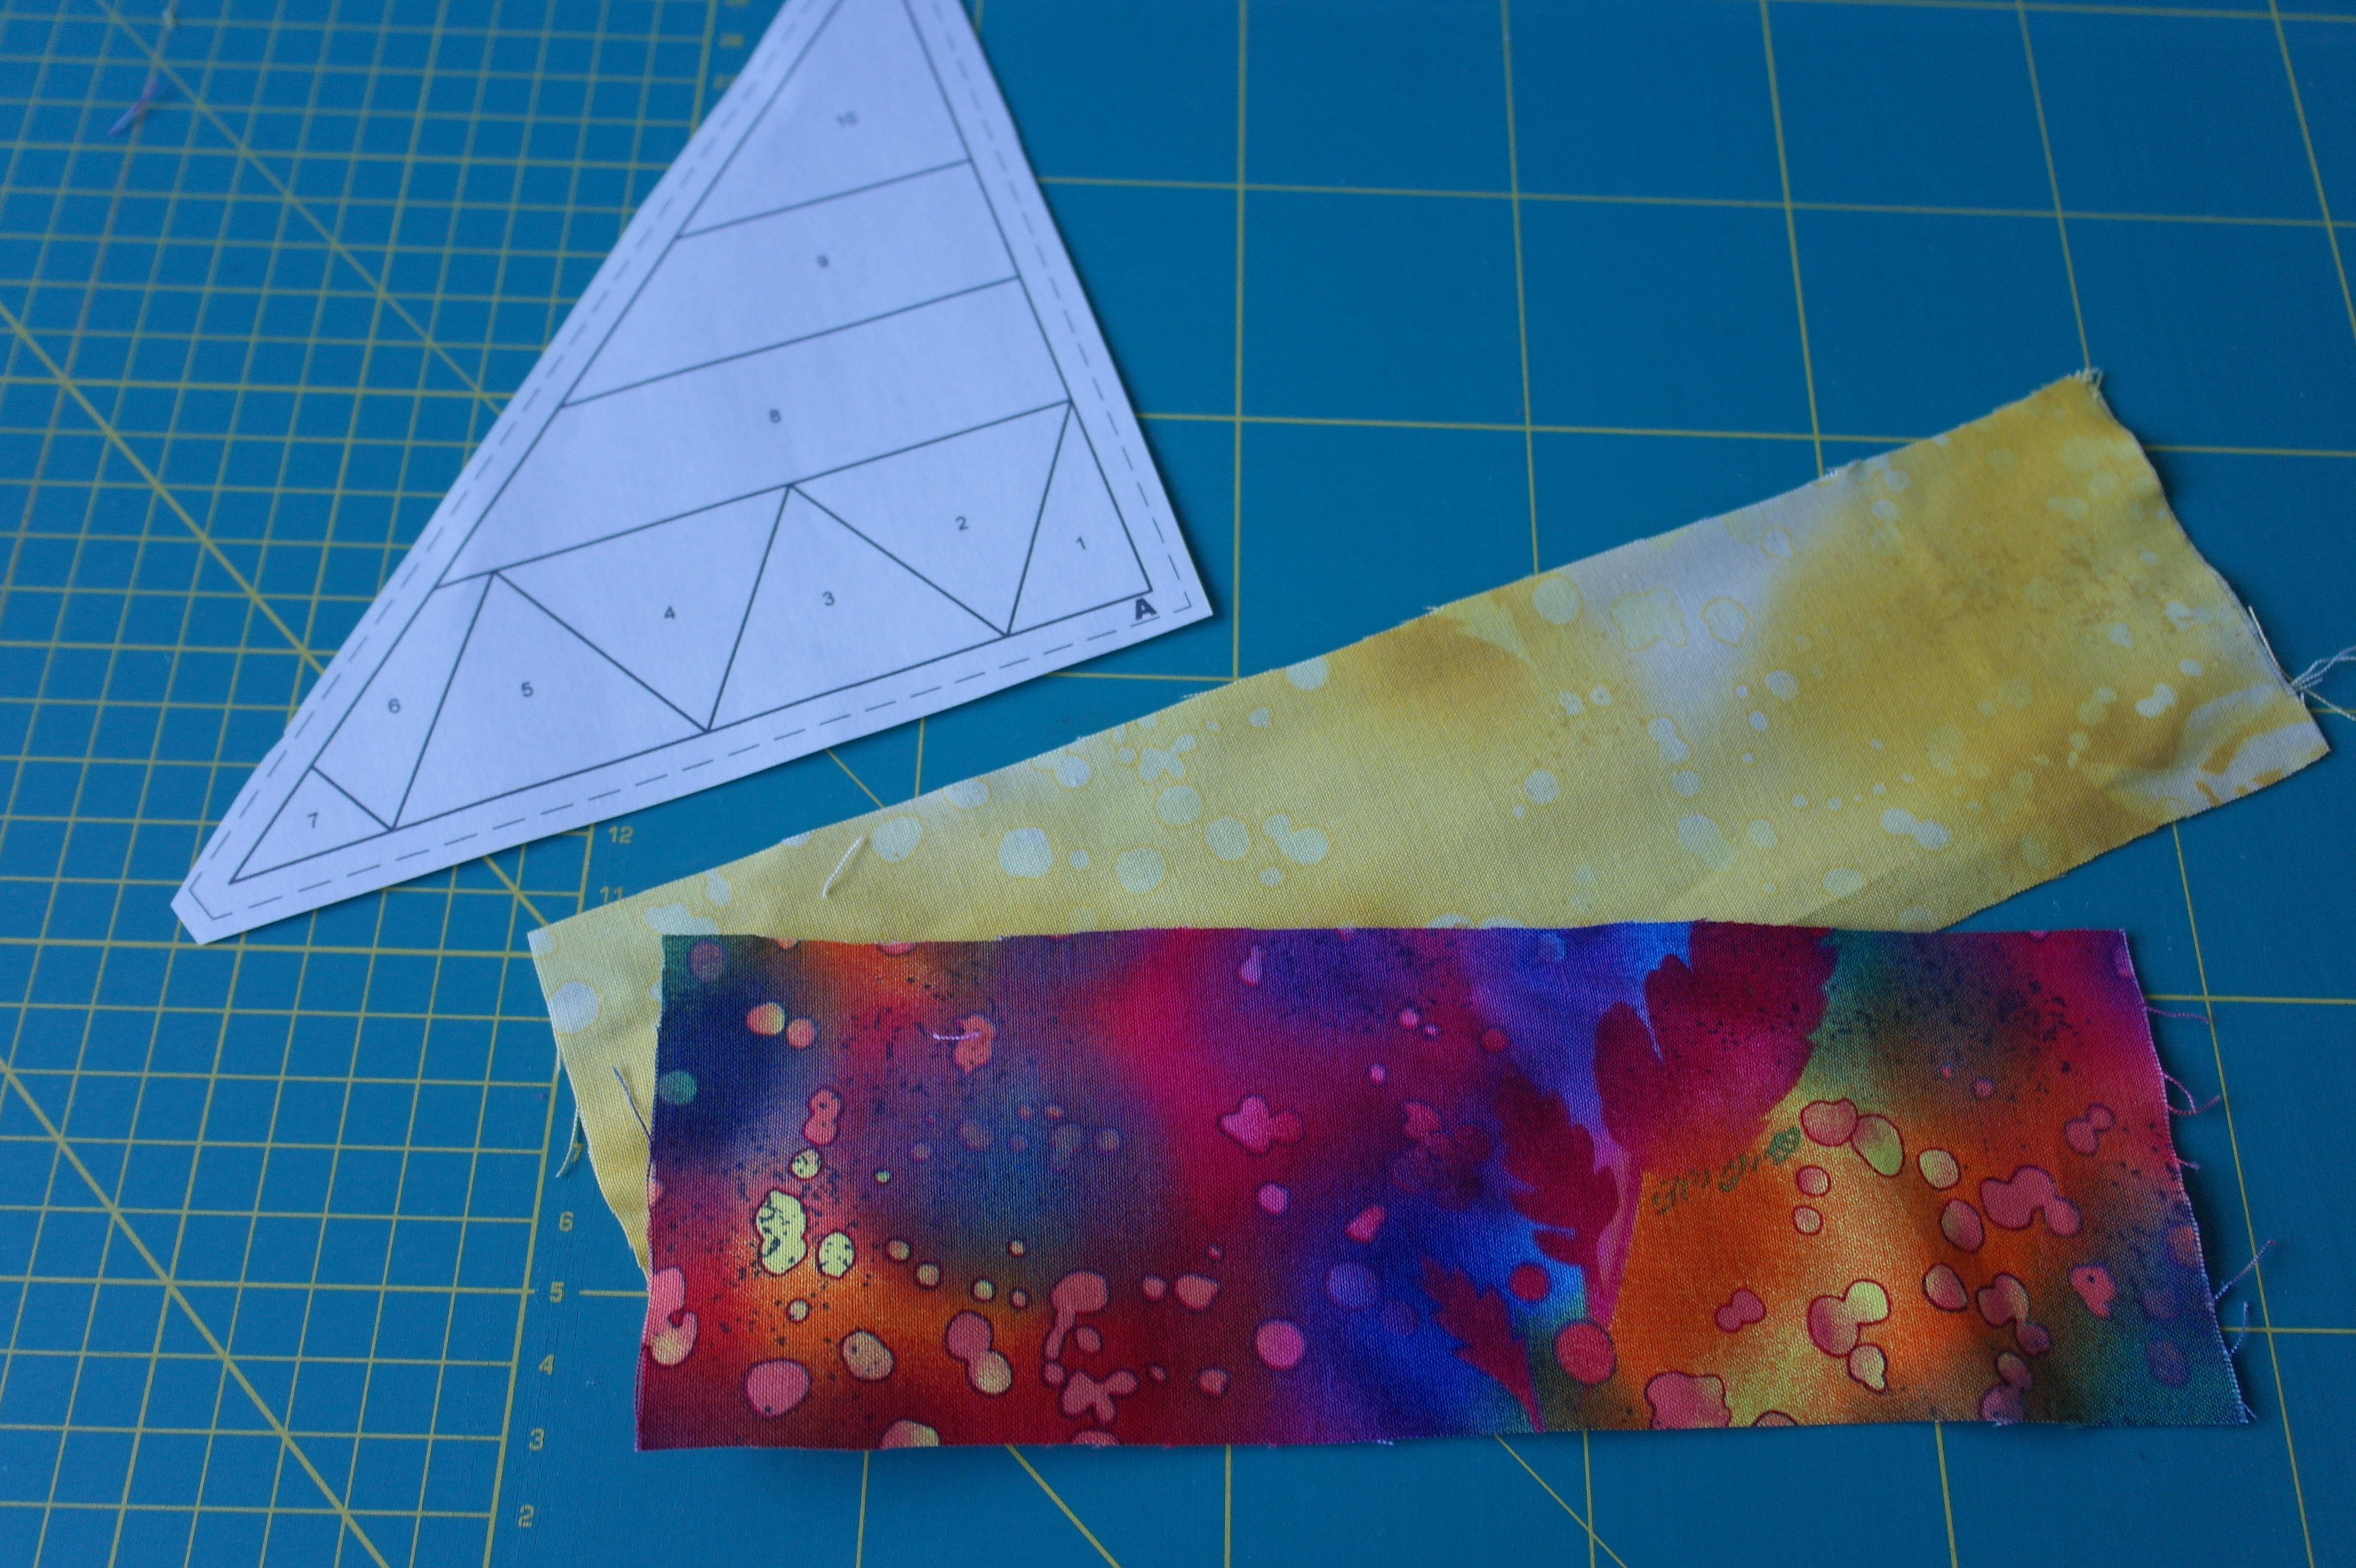
You can precut strips of fabric, but you can also sew fabrics onto (a next) section of the paper piecing pattern and cut it afterwards. Direction of grain is not important: the firm foundation will make sure the size of the triangle will remain. When precutting strips or pieces, be sure to have extra fabric for seam allowance PLUS extra: if you need a strip of 2 inch, don’t cut 3 inch, but rather 3 1/2 inch, just to be sure everything fits. You don’t want to rip out everything, just because you’ve cut your fabrics too small.
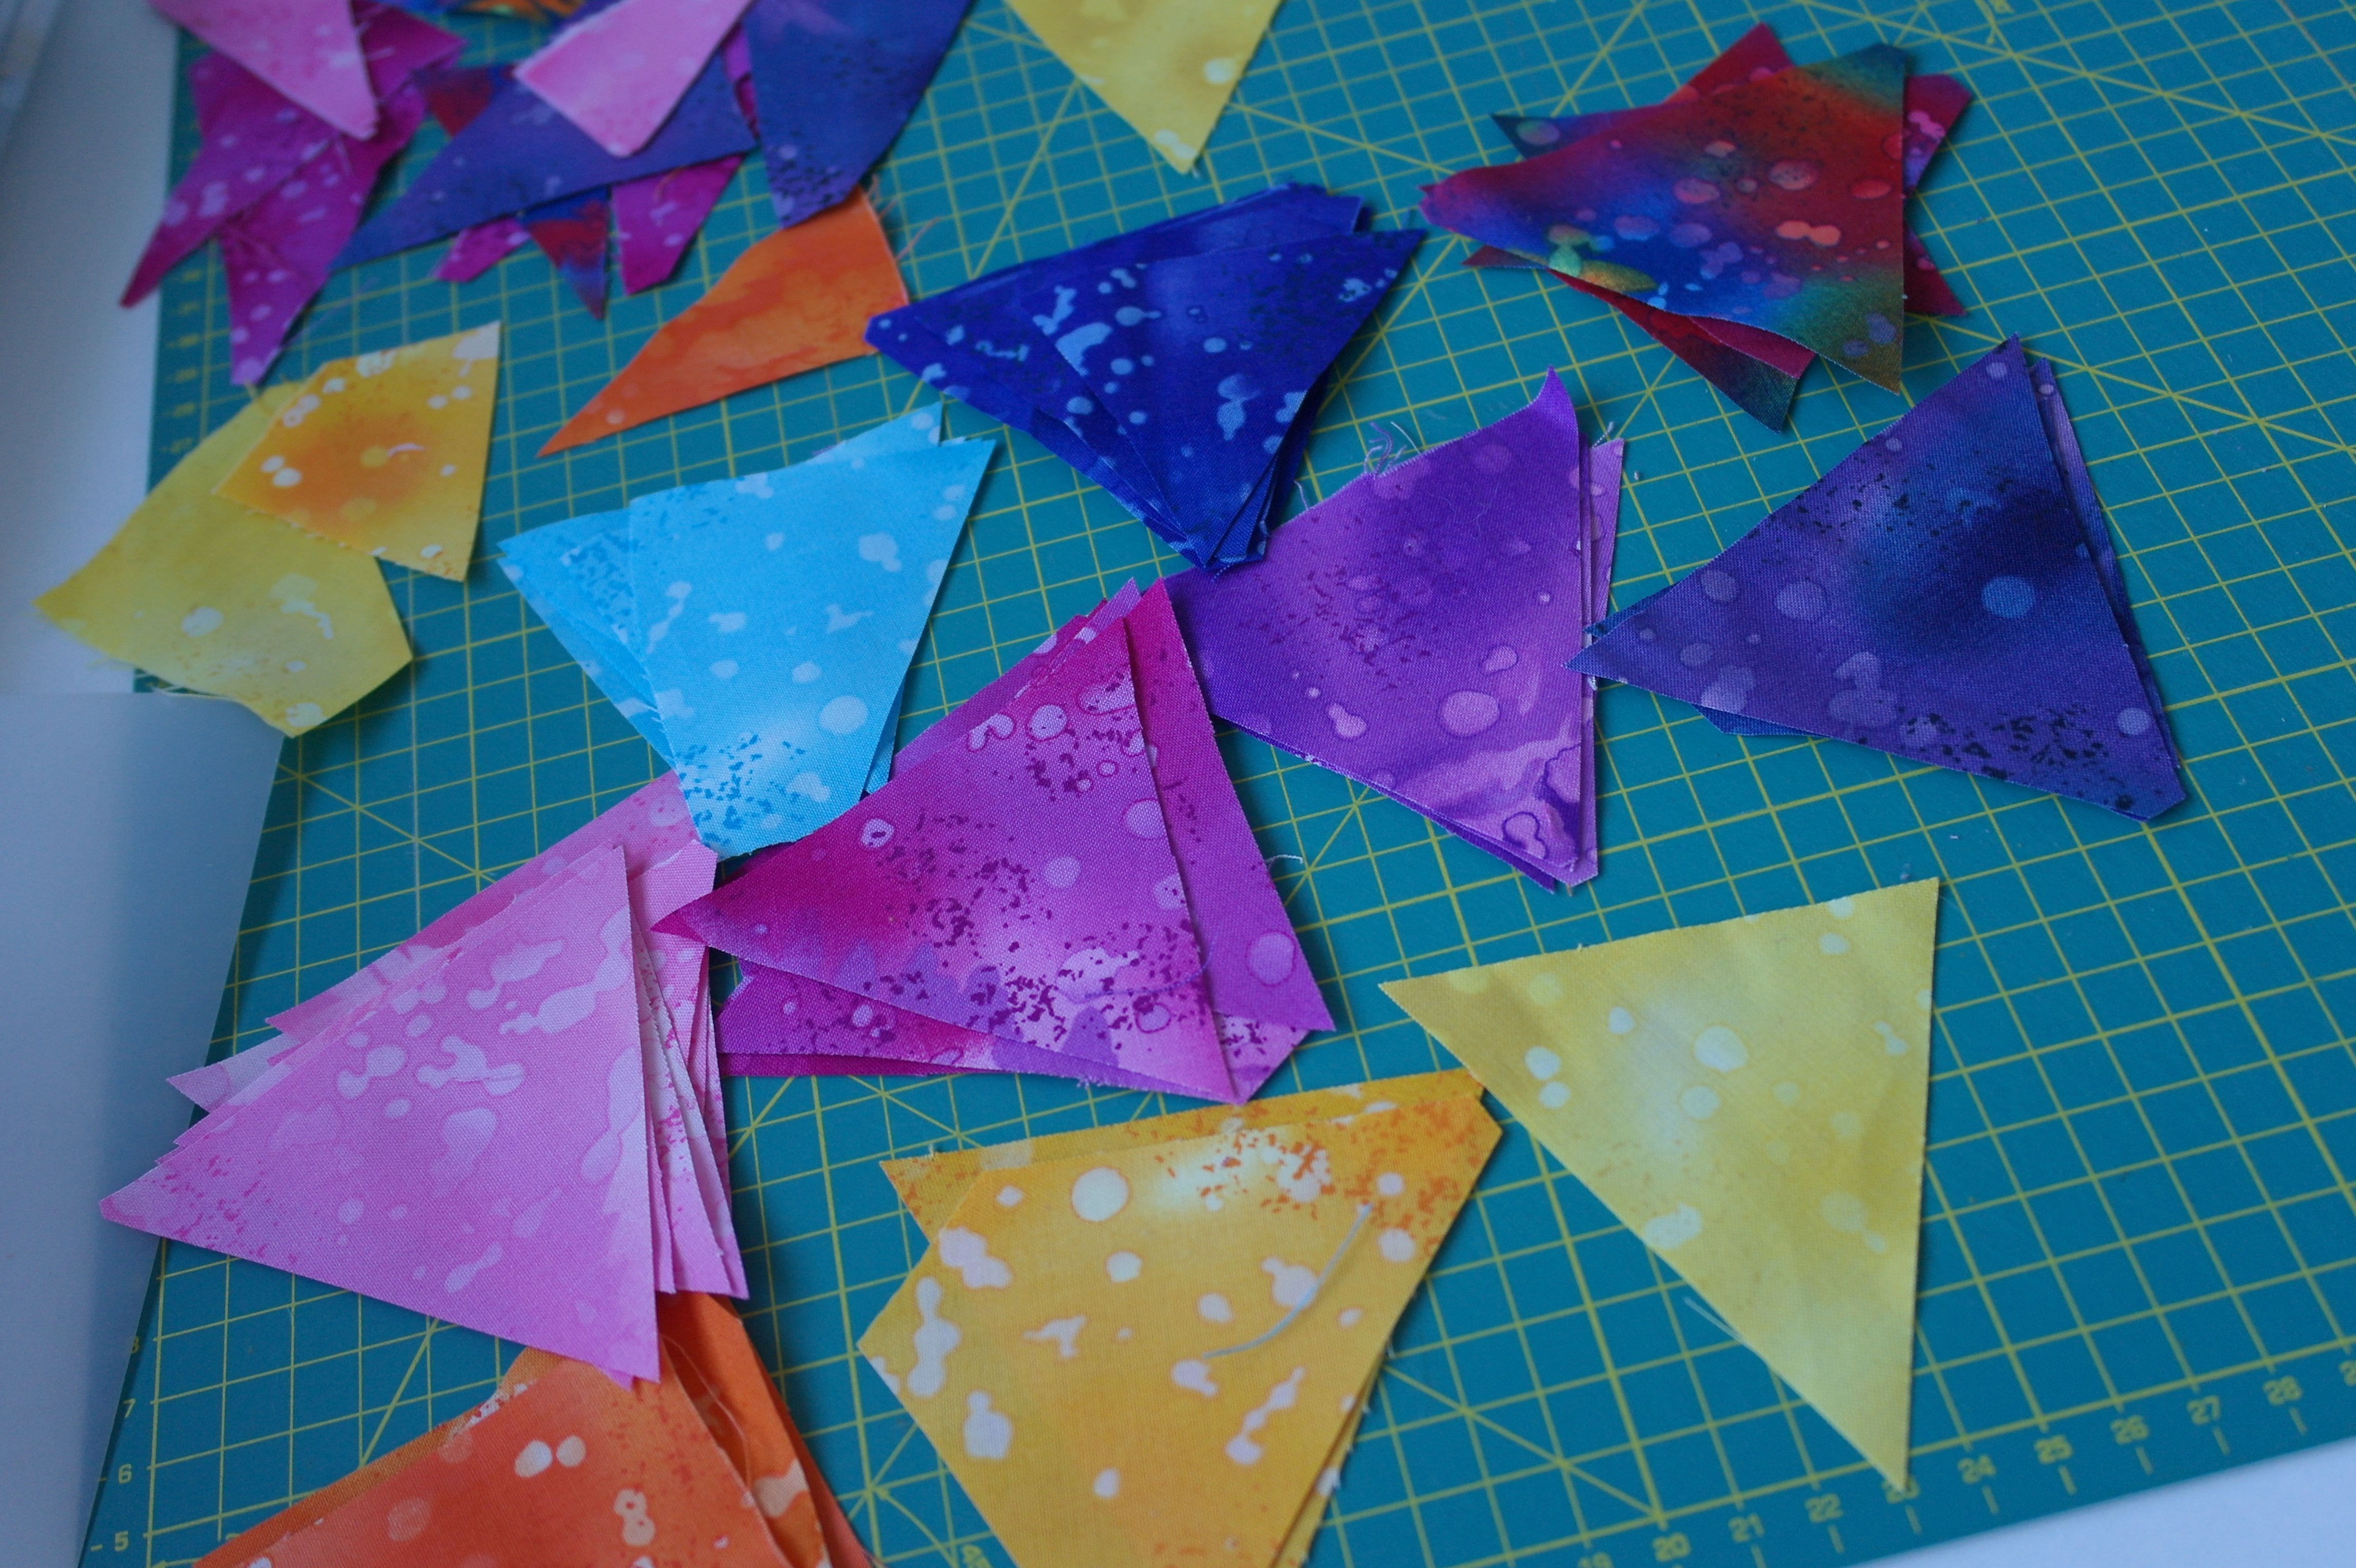
I have precut triangles for Pattern A: I have also used remnants. That’s ok, as long as they are large enough. Don’t throw smaller pieces away: you can use them for sections 6 and 7 of pattern A.
Sew on fabrics/strips or pieces. Preferably with the Add-a-Quarter liniaal, a folding template, your rotary cutter and cutting mat.
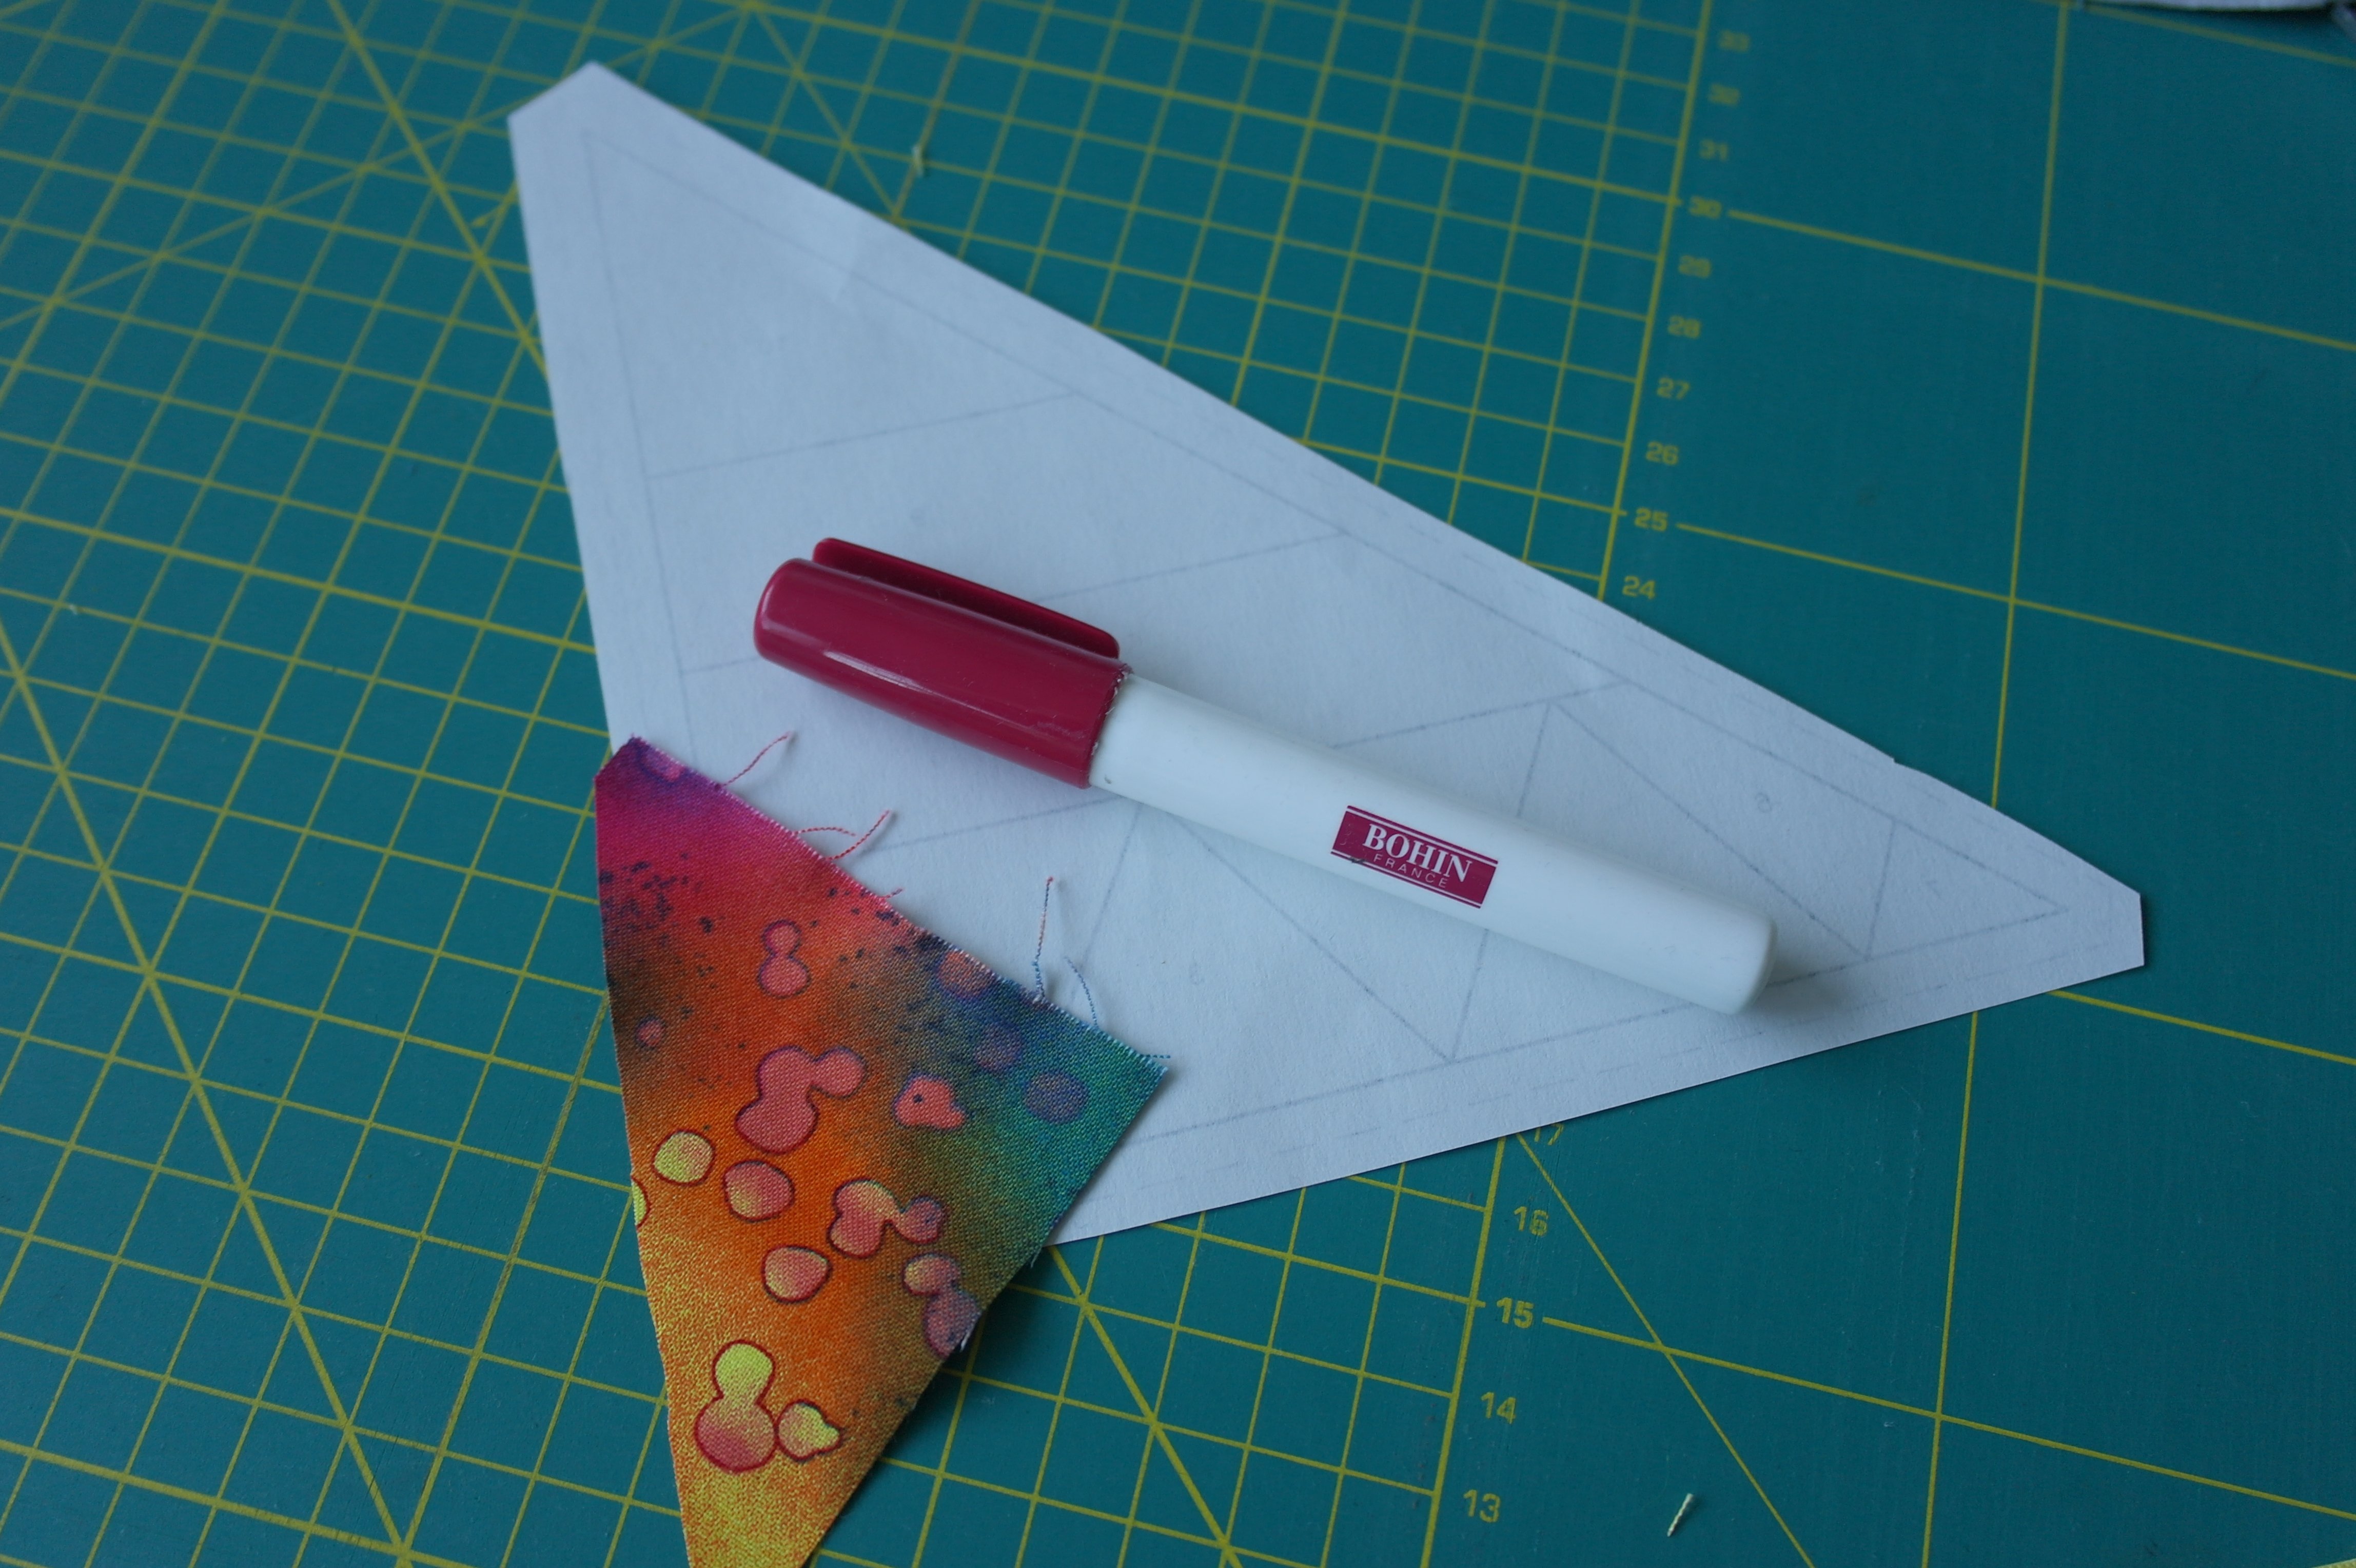
Glue the fabric for section 1 (Pattern A) onto the back of the paper: use Bohin Glue Pen to keep it in place. Check if there is enough fabric for the seam allowance beyond the next sewing line.
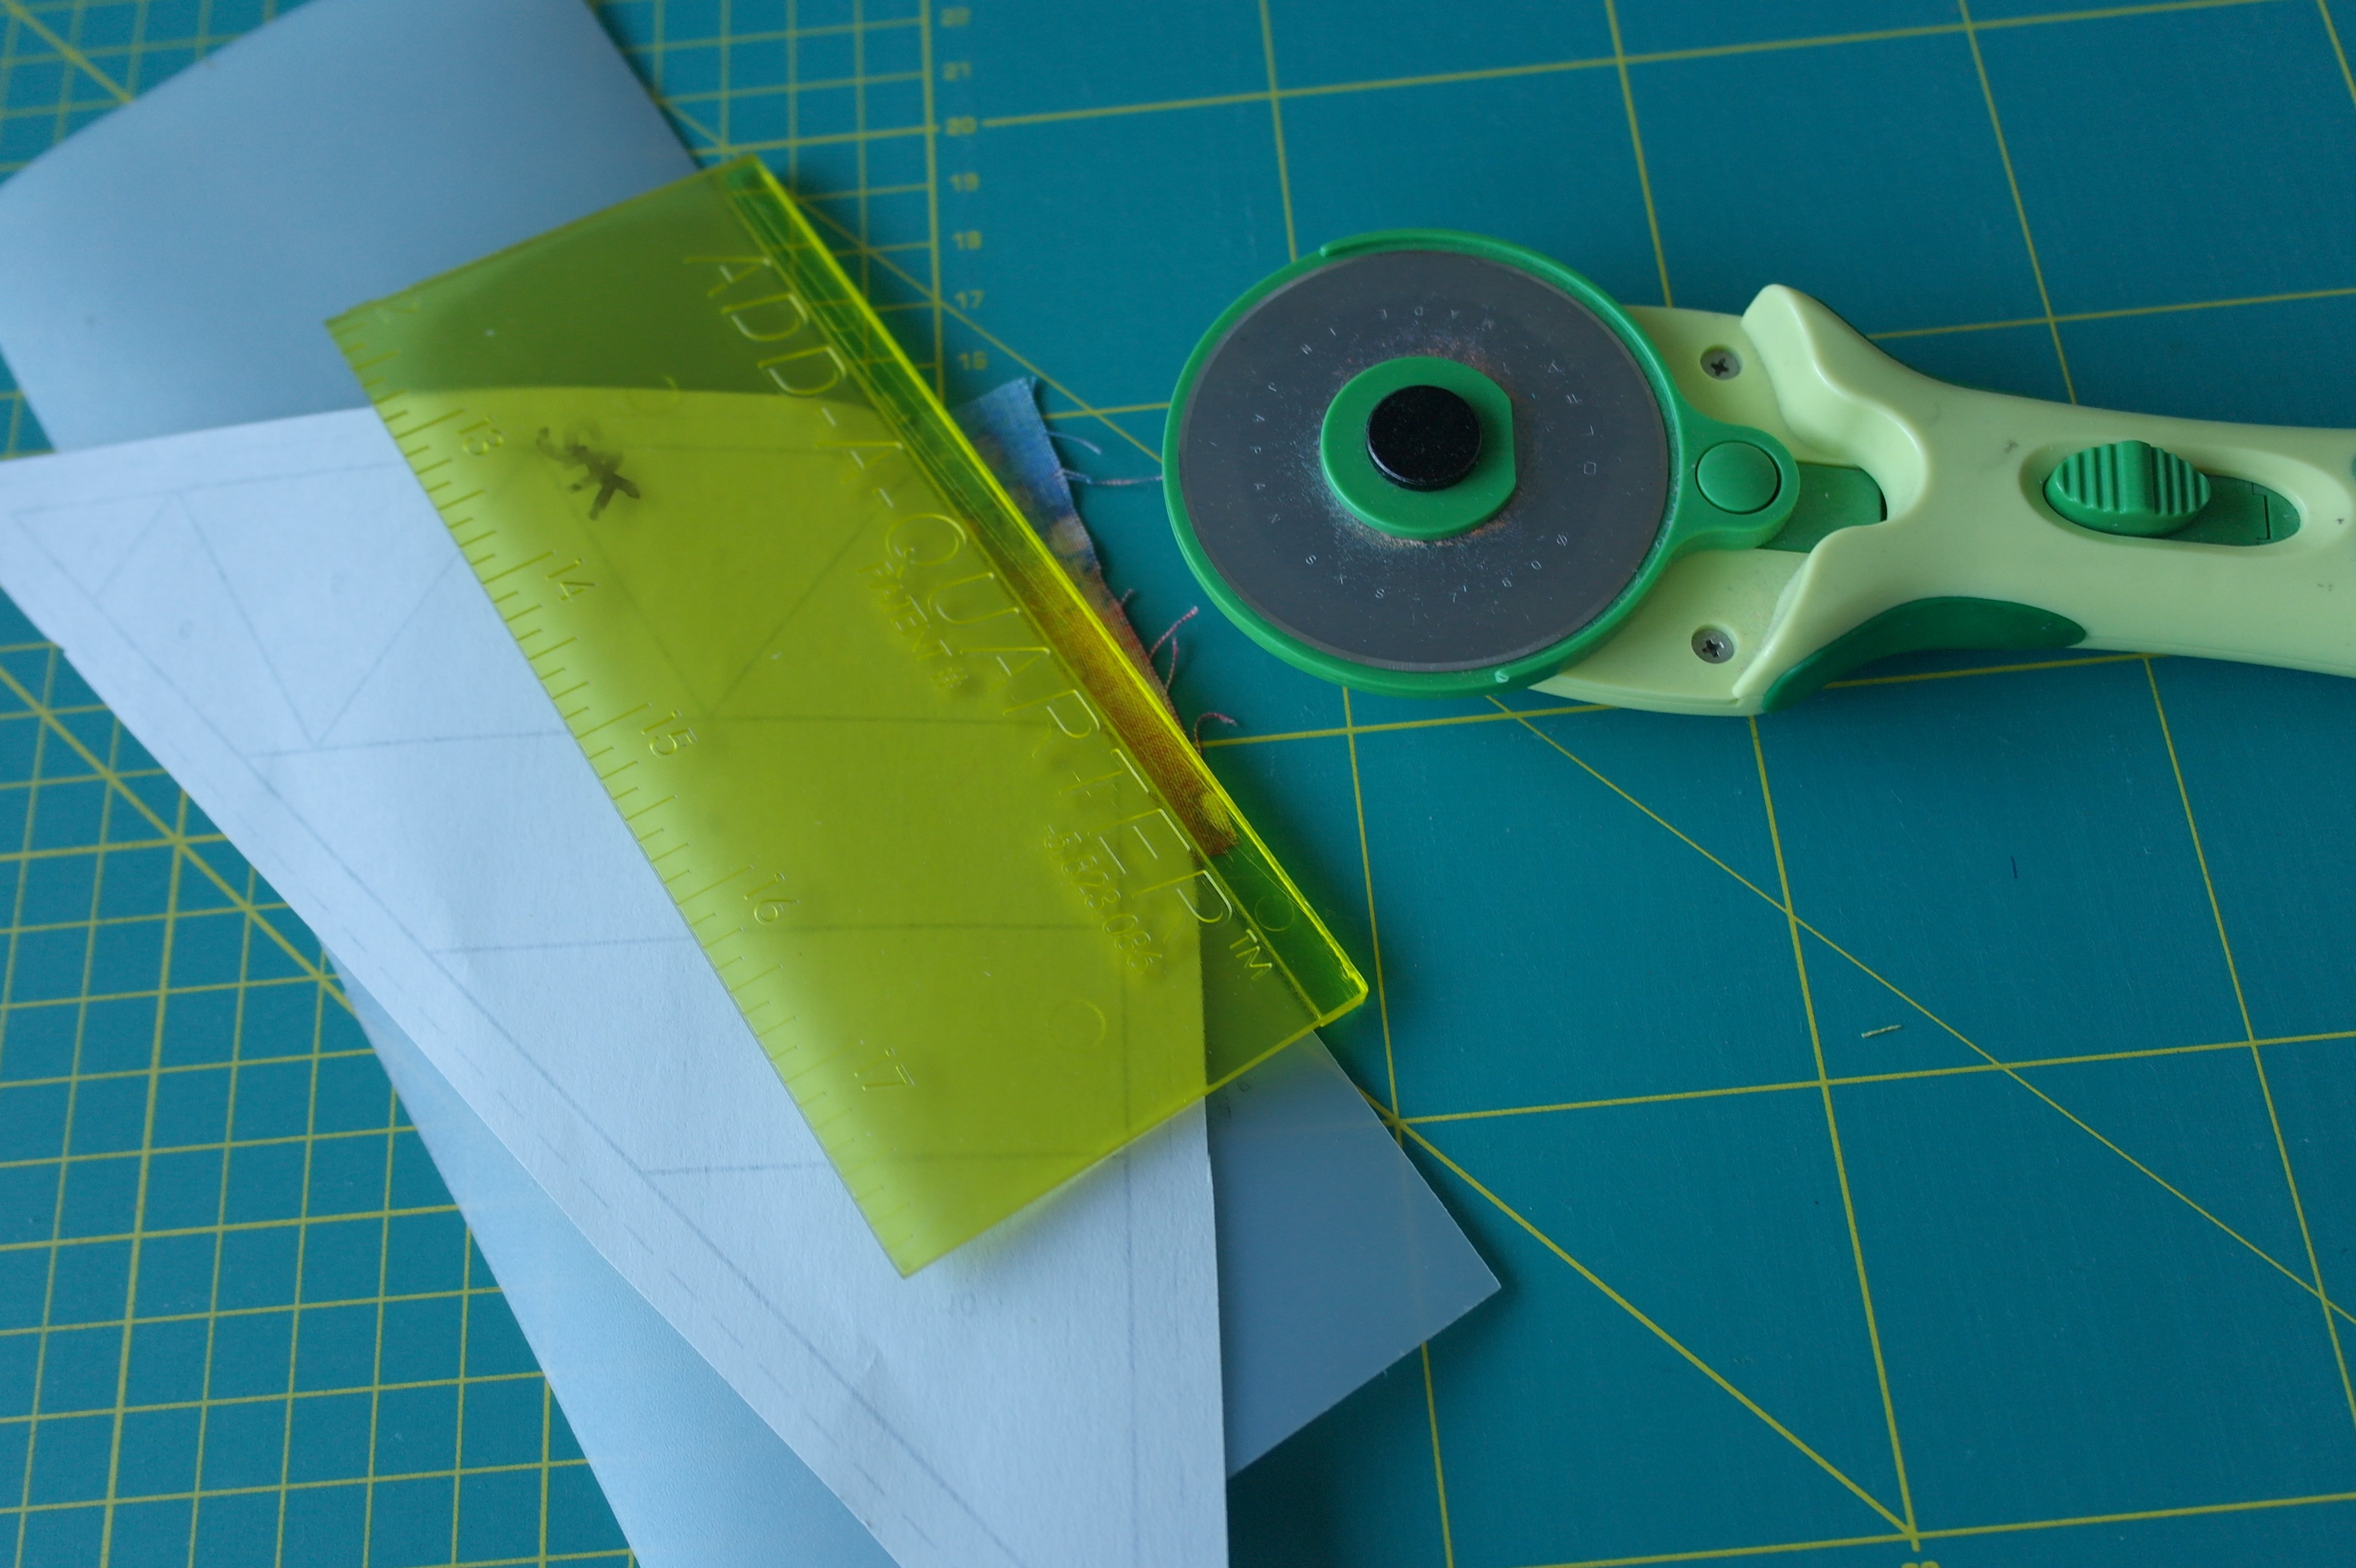
Use the Folding template, place this on the solid line between section 1 and 2, fold the paper pattern over this Folding template, push the Add-A-Quarter ruler to the Folding template, and cut the access fabric = a seam allowance of 1/4 inch.
This is how that should look: a 1/4 inch seam allowance, after cutting along the Add-a-Quarter ruler. Use this seam allowance to place the next fabric.
A strip (or piece of) fabric for the next section will be placed on top of the first fabric, right sides together. The line between 1 and 2 is sewn, use small stitches and be sure to begin and end with a couple of stitches beyond the sewing line.
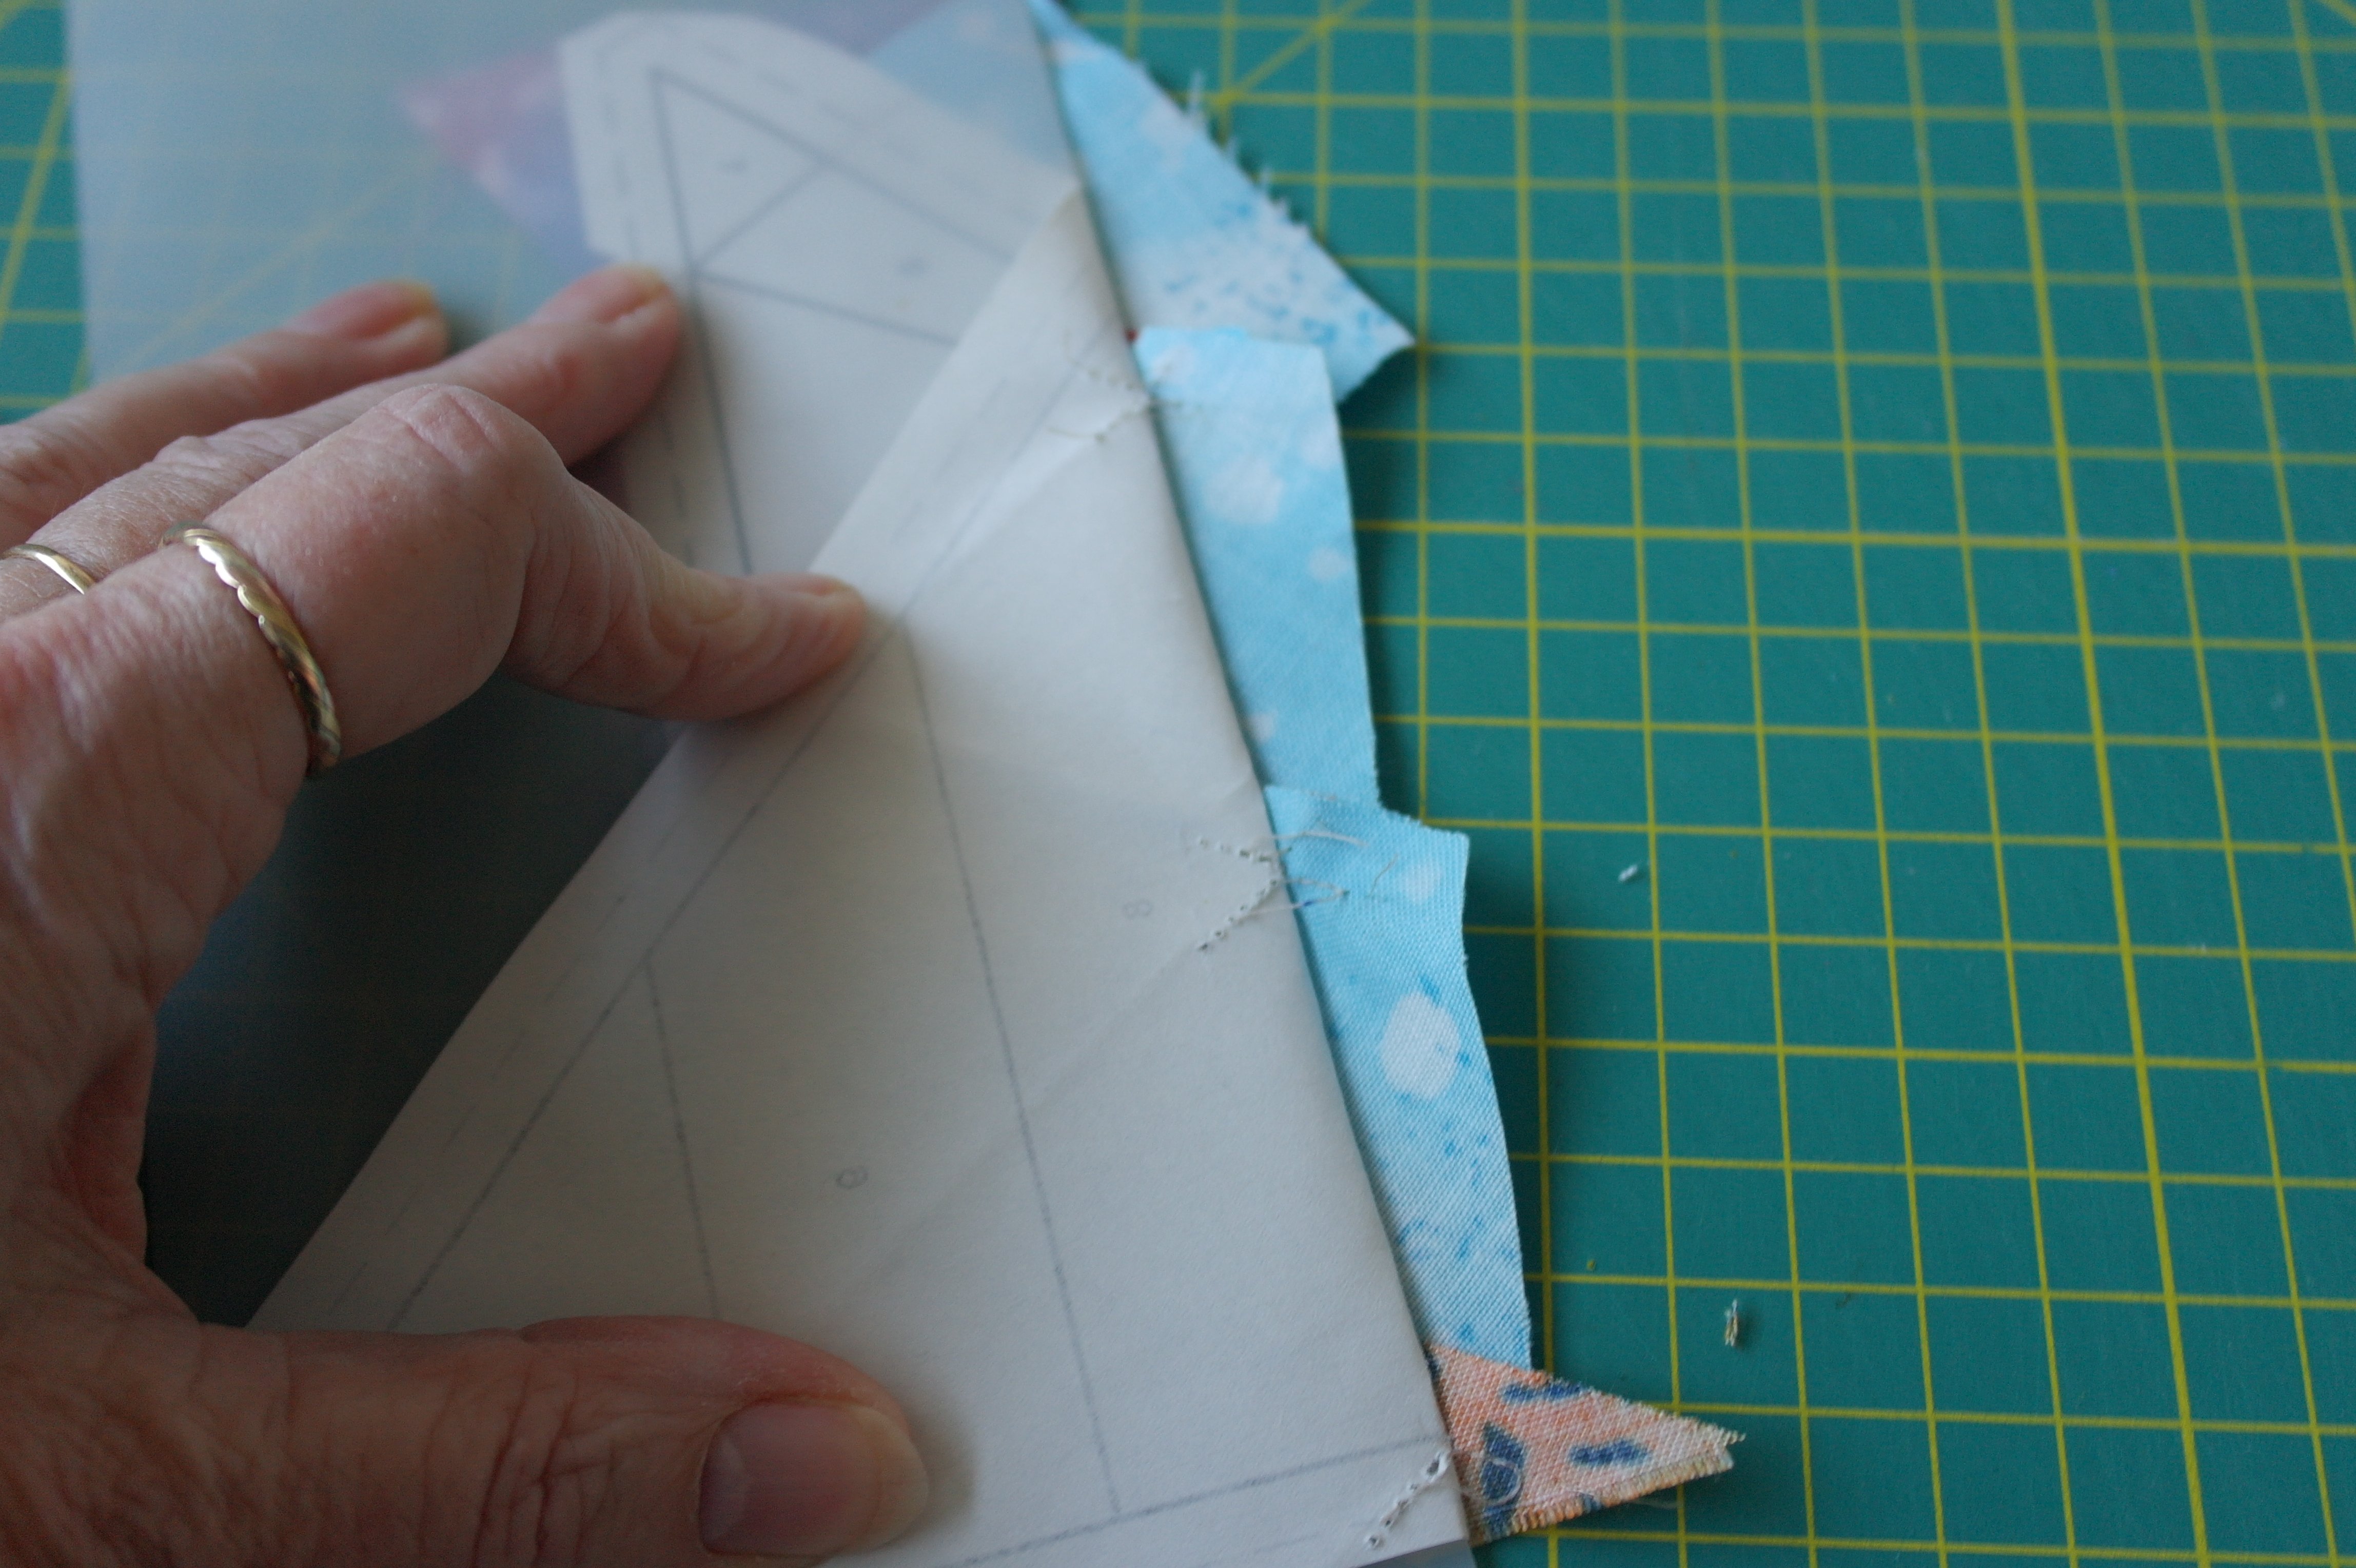
The picture above shows how to place the Folding template, before placing another piece of fabric for sewing. BUT REMEMBER: do not cut at this point. Fold the paper pattern over the Folding template, and push the Add-a-Quarter ruler against the Folding template/paper pattern to get a sharp 1/4 inch seam allowance.
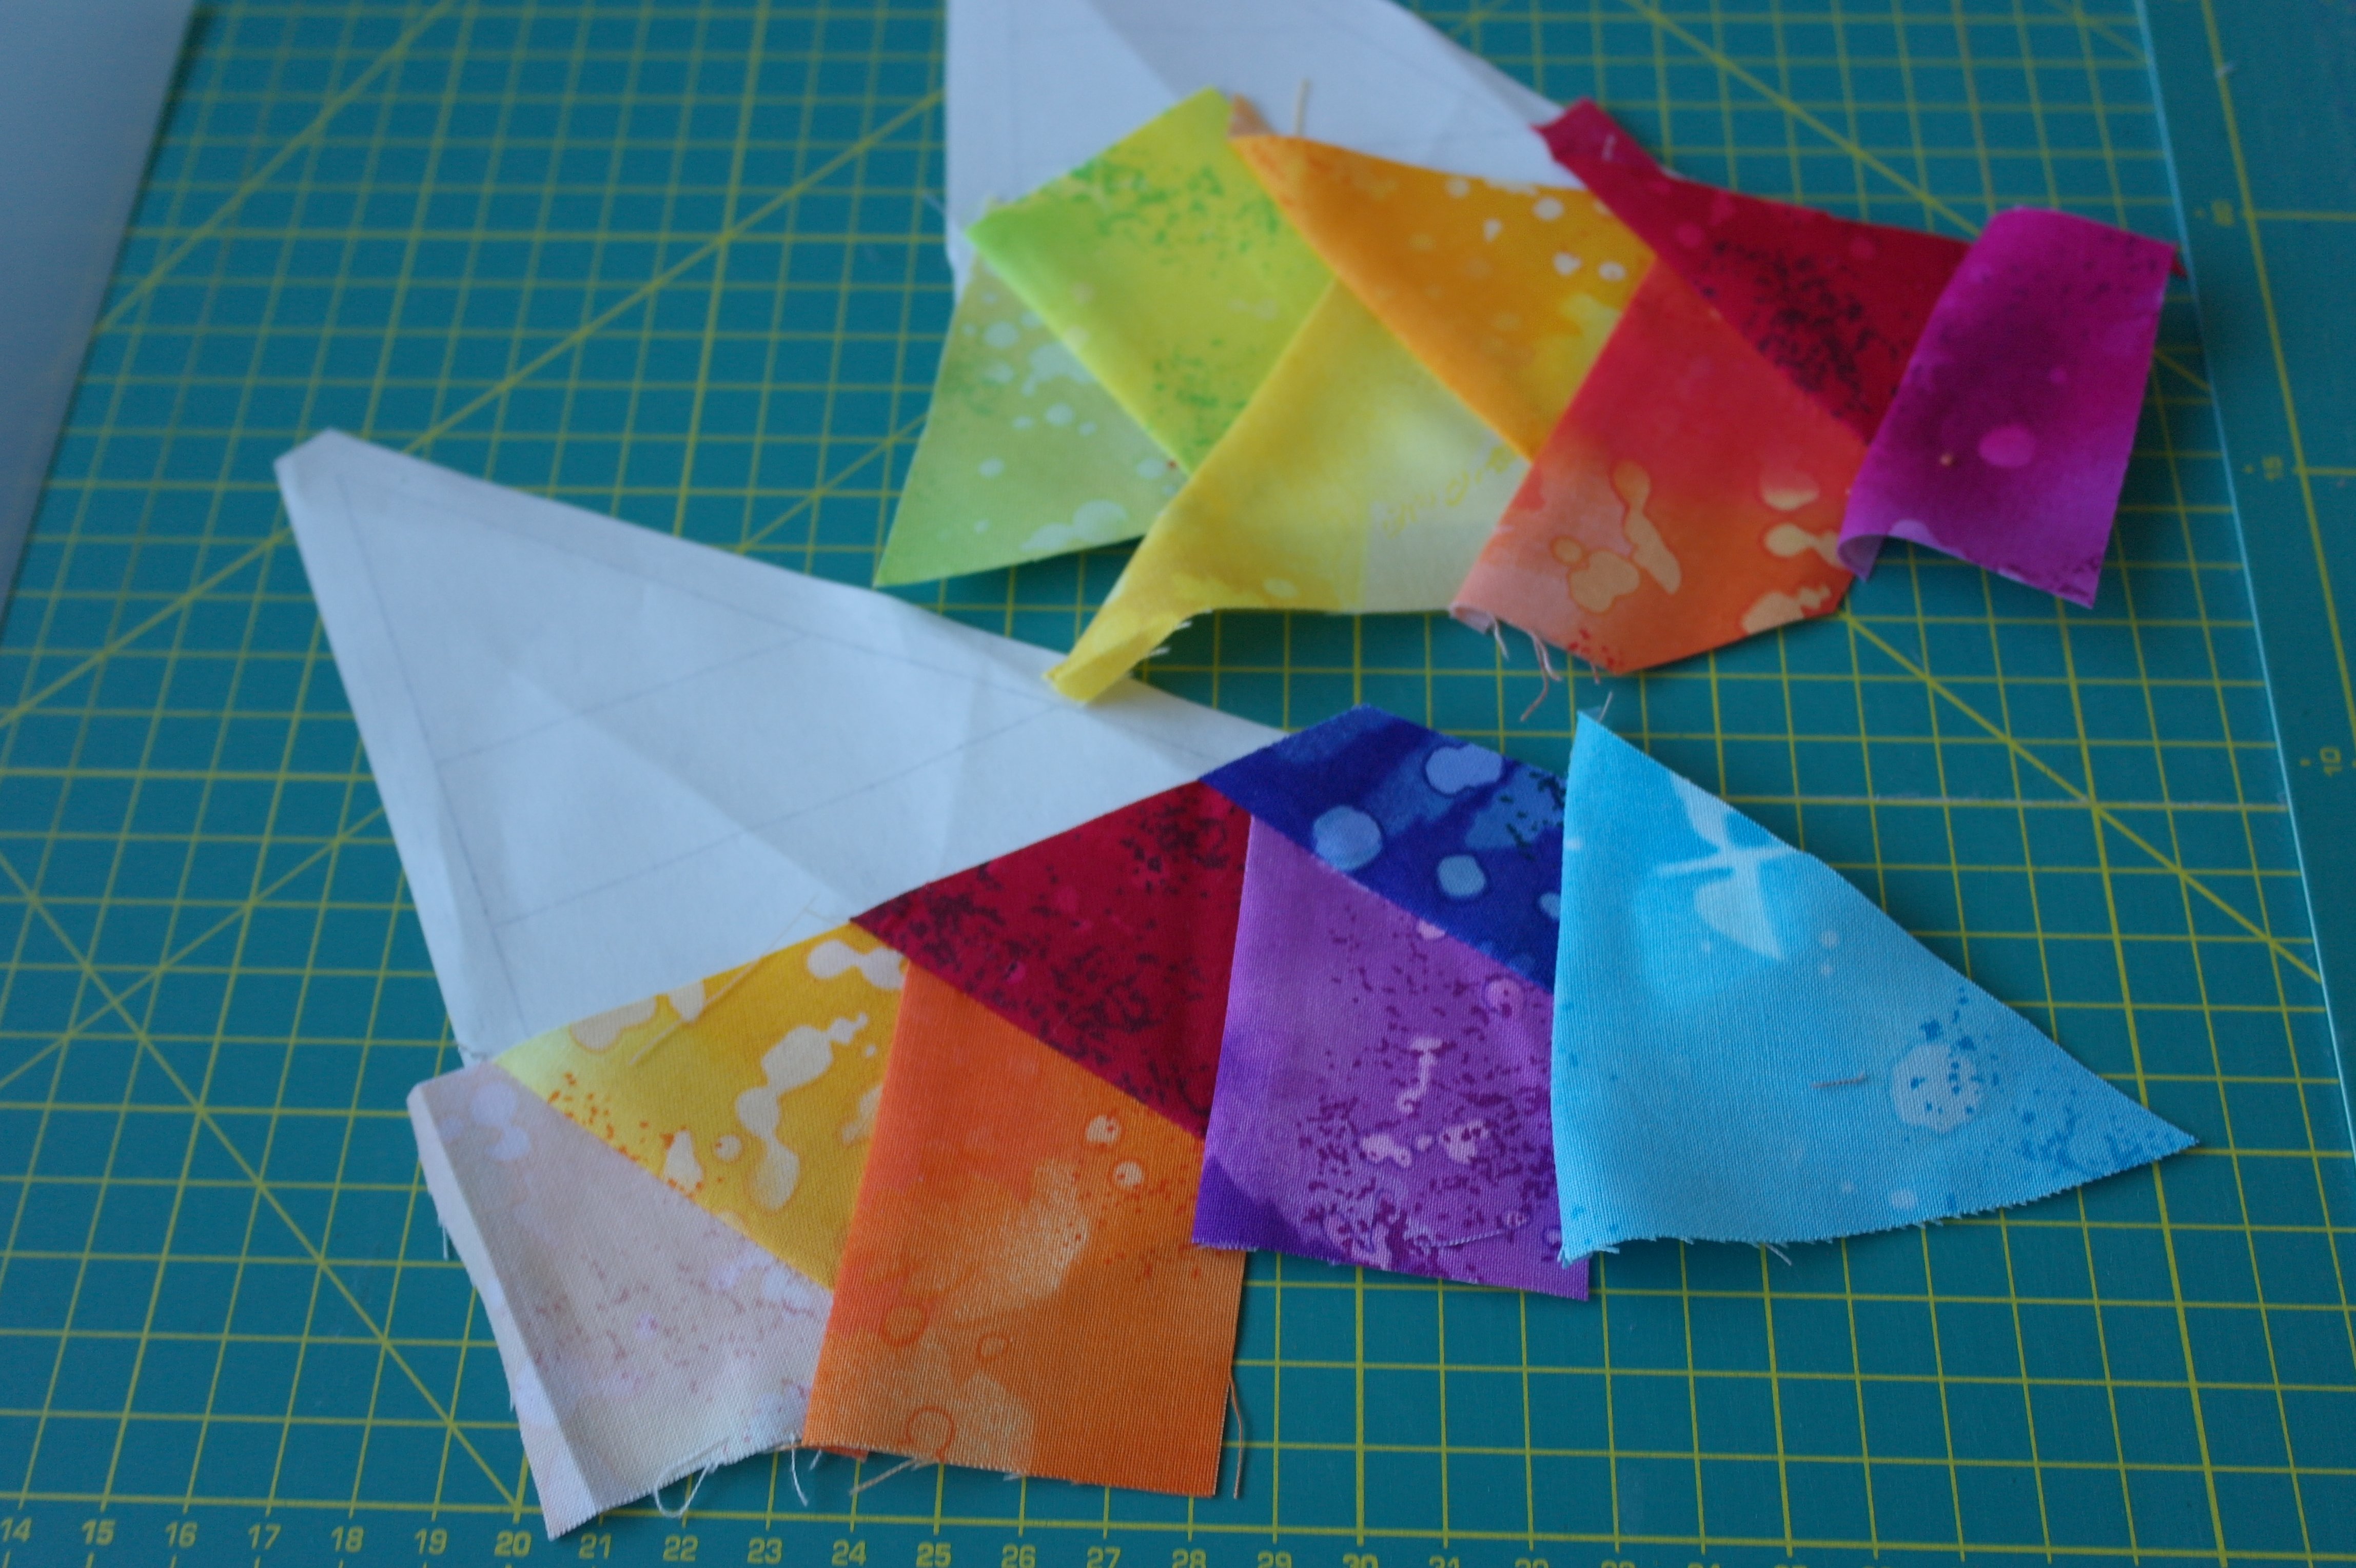
When all triangles/fabrics up to section 7 are added/sewn on, you will have a colorful effect already, as the picture above shows. It doesn’t matter if you add fabrics in a certain order or randomly!
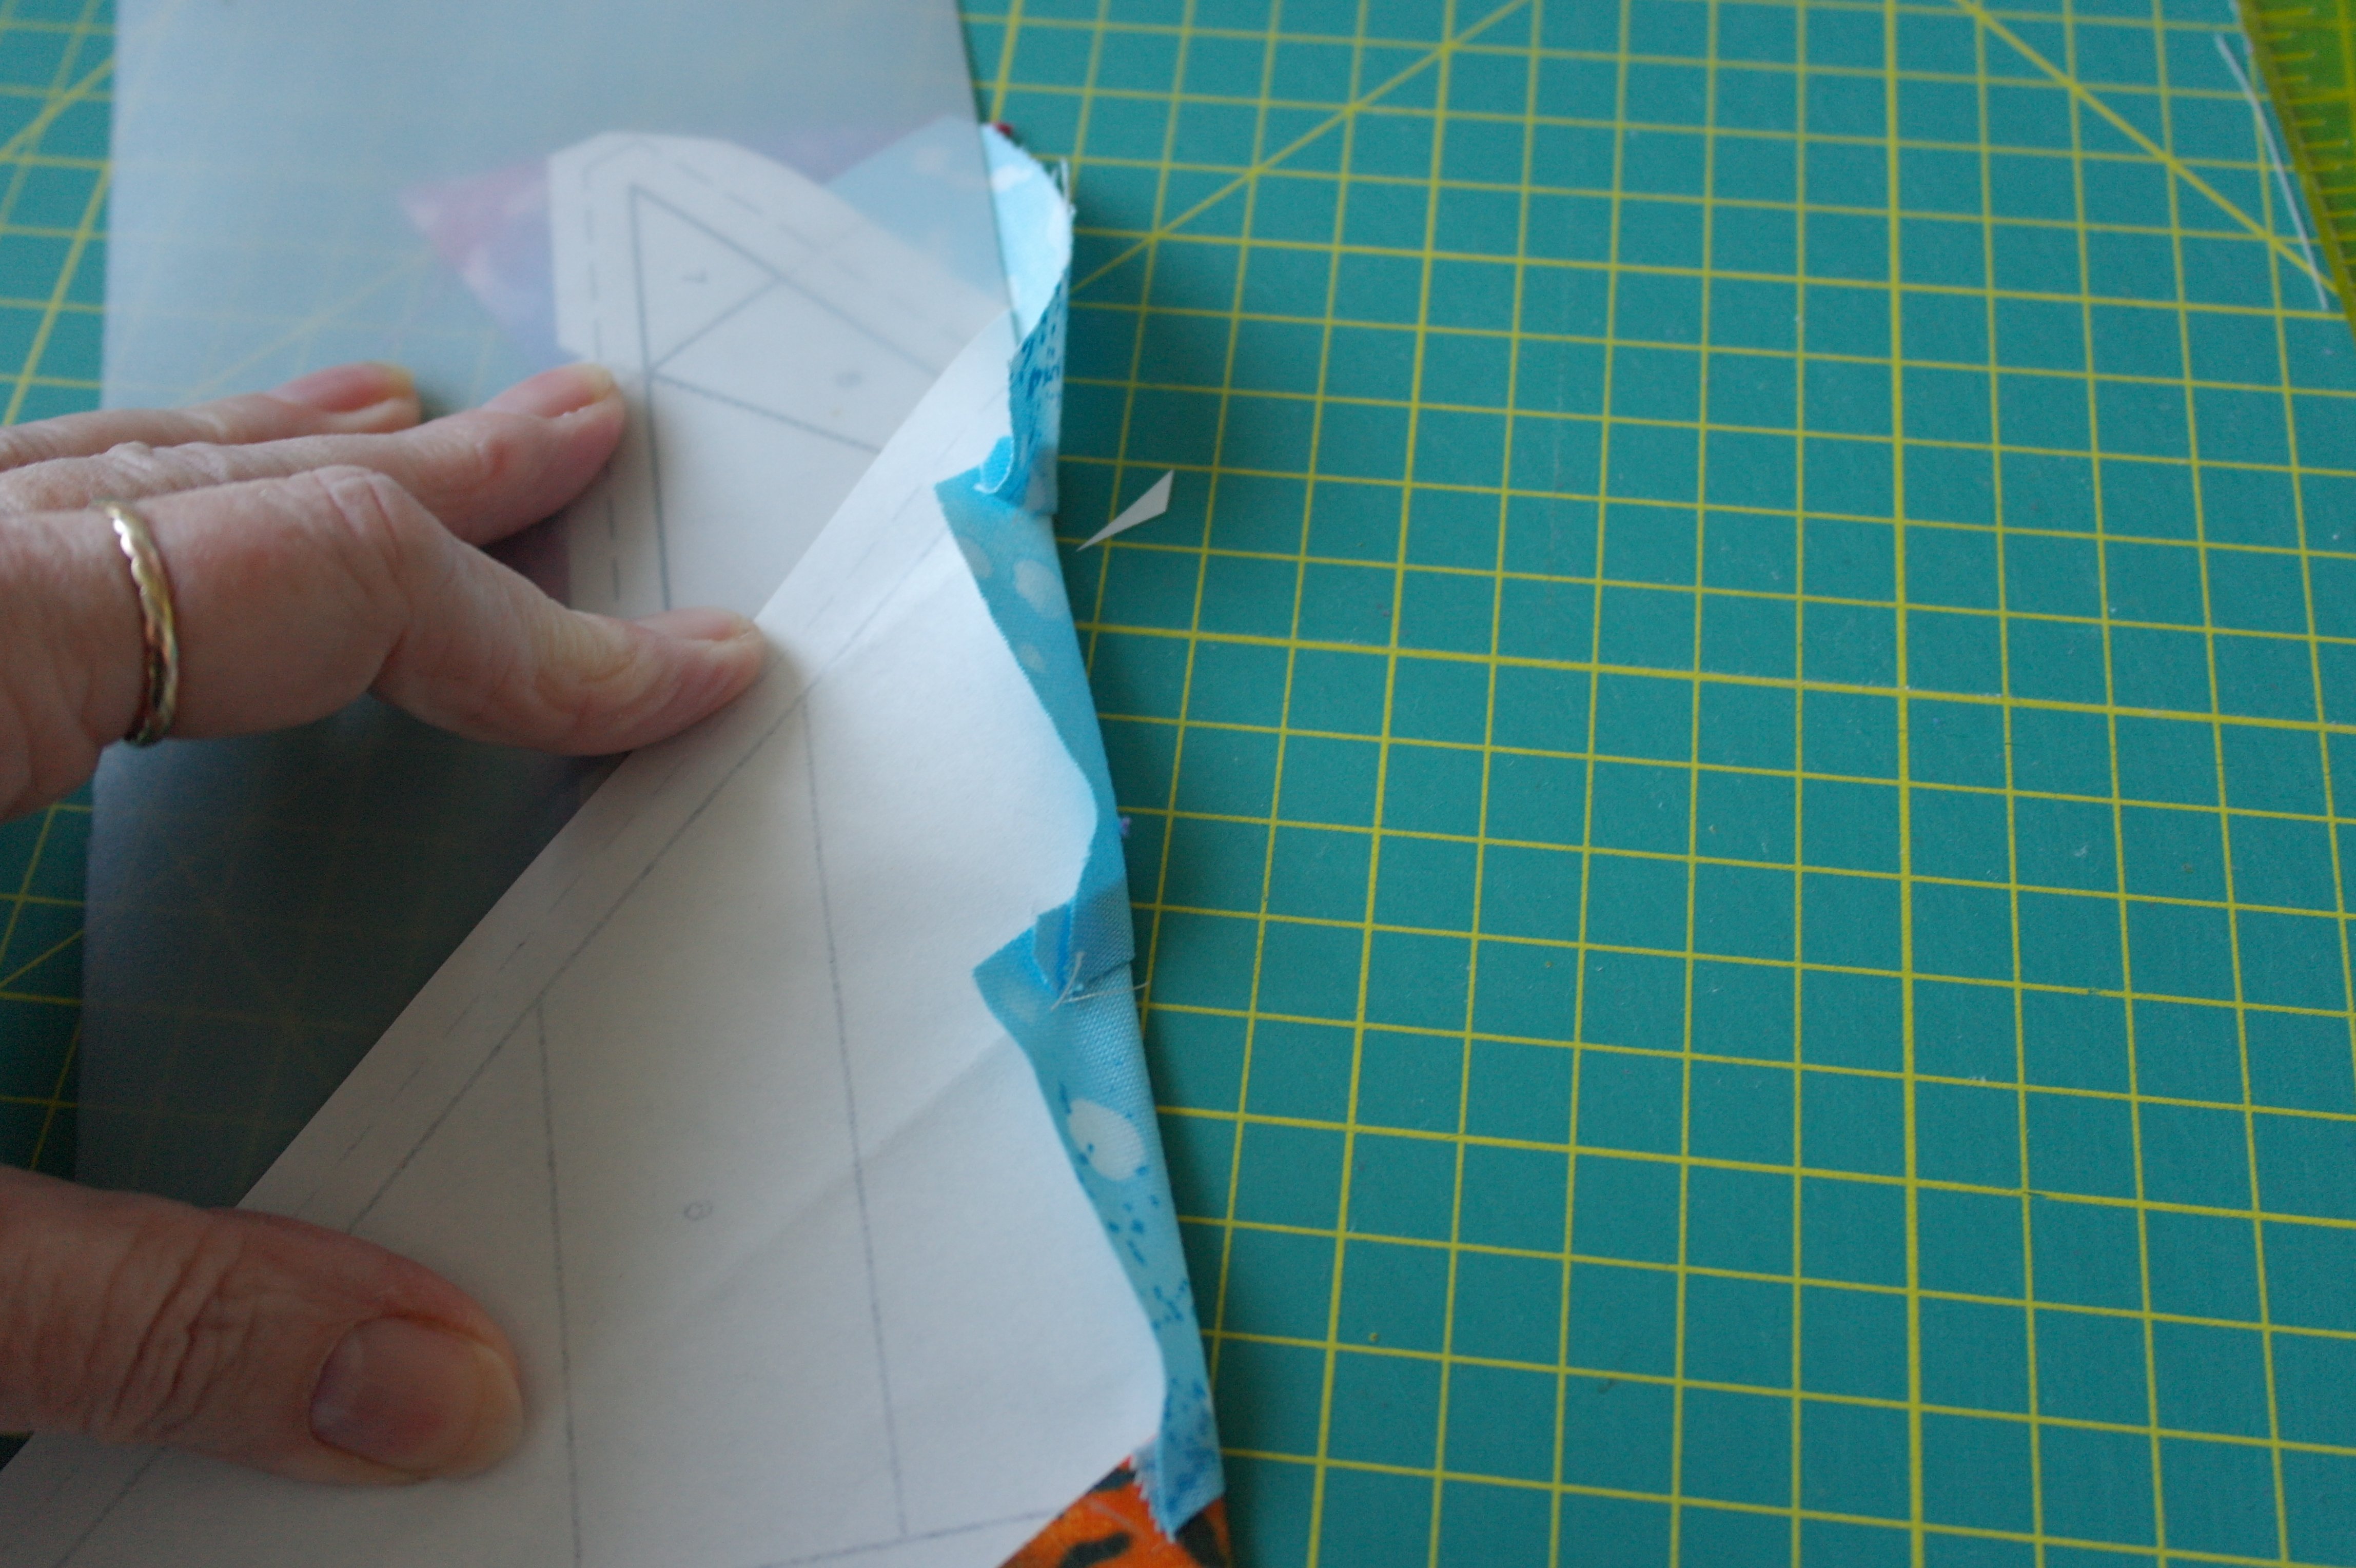
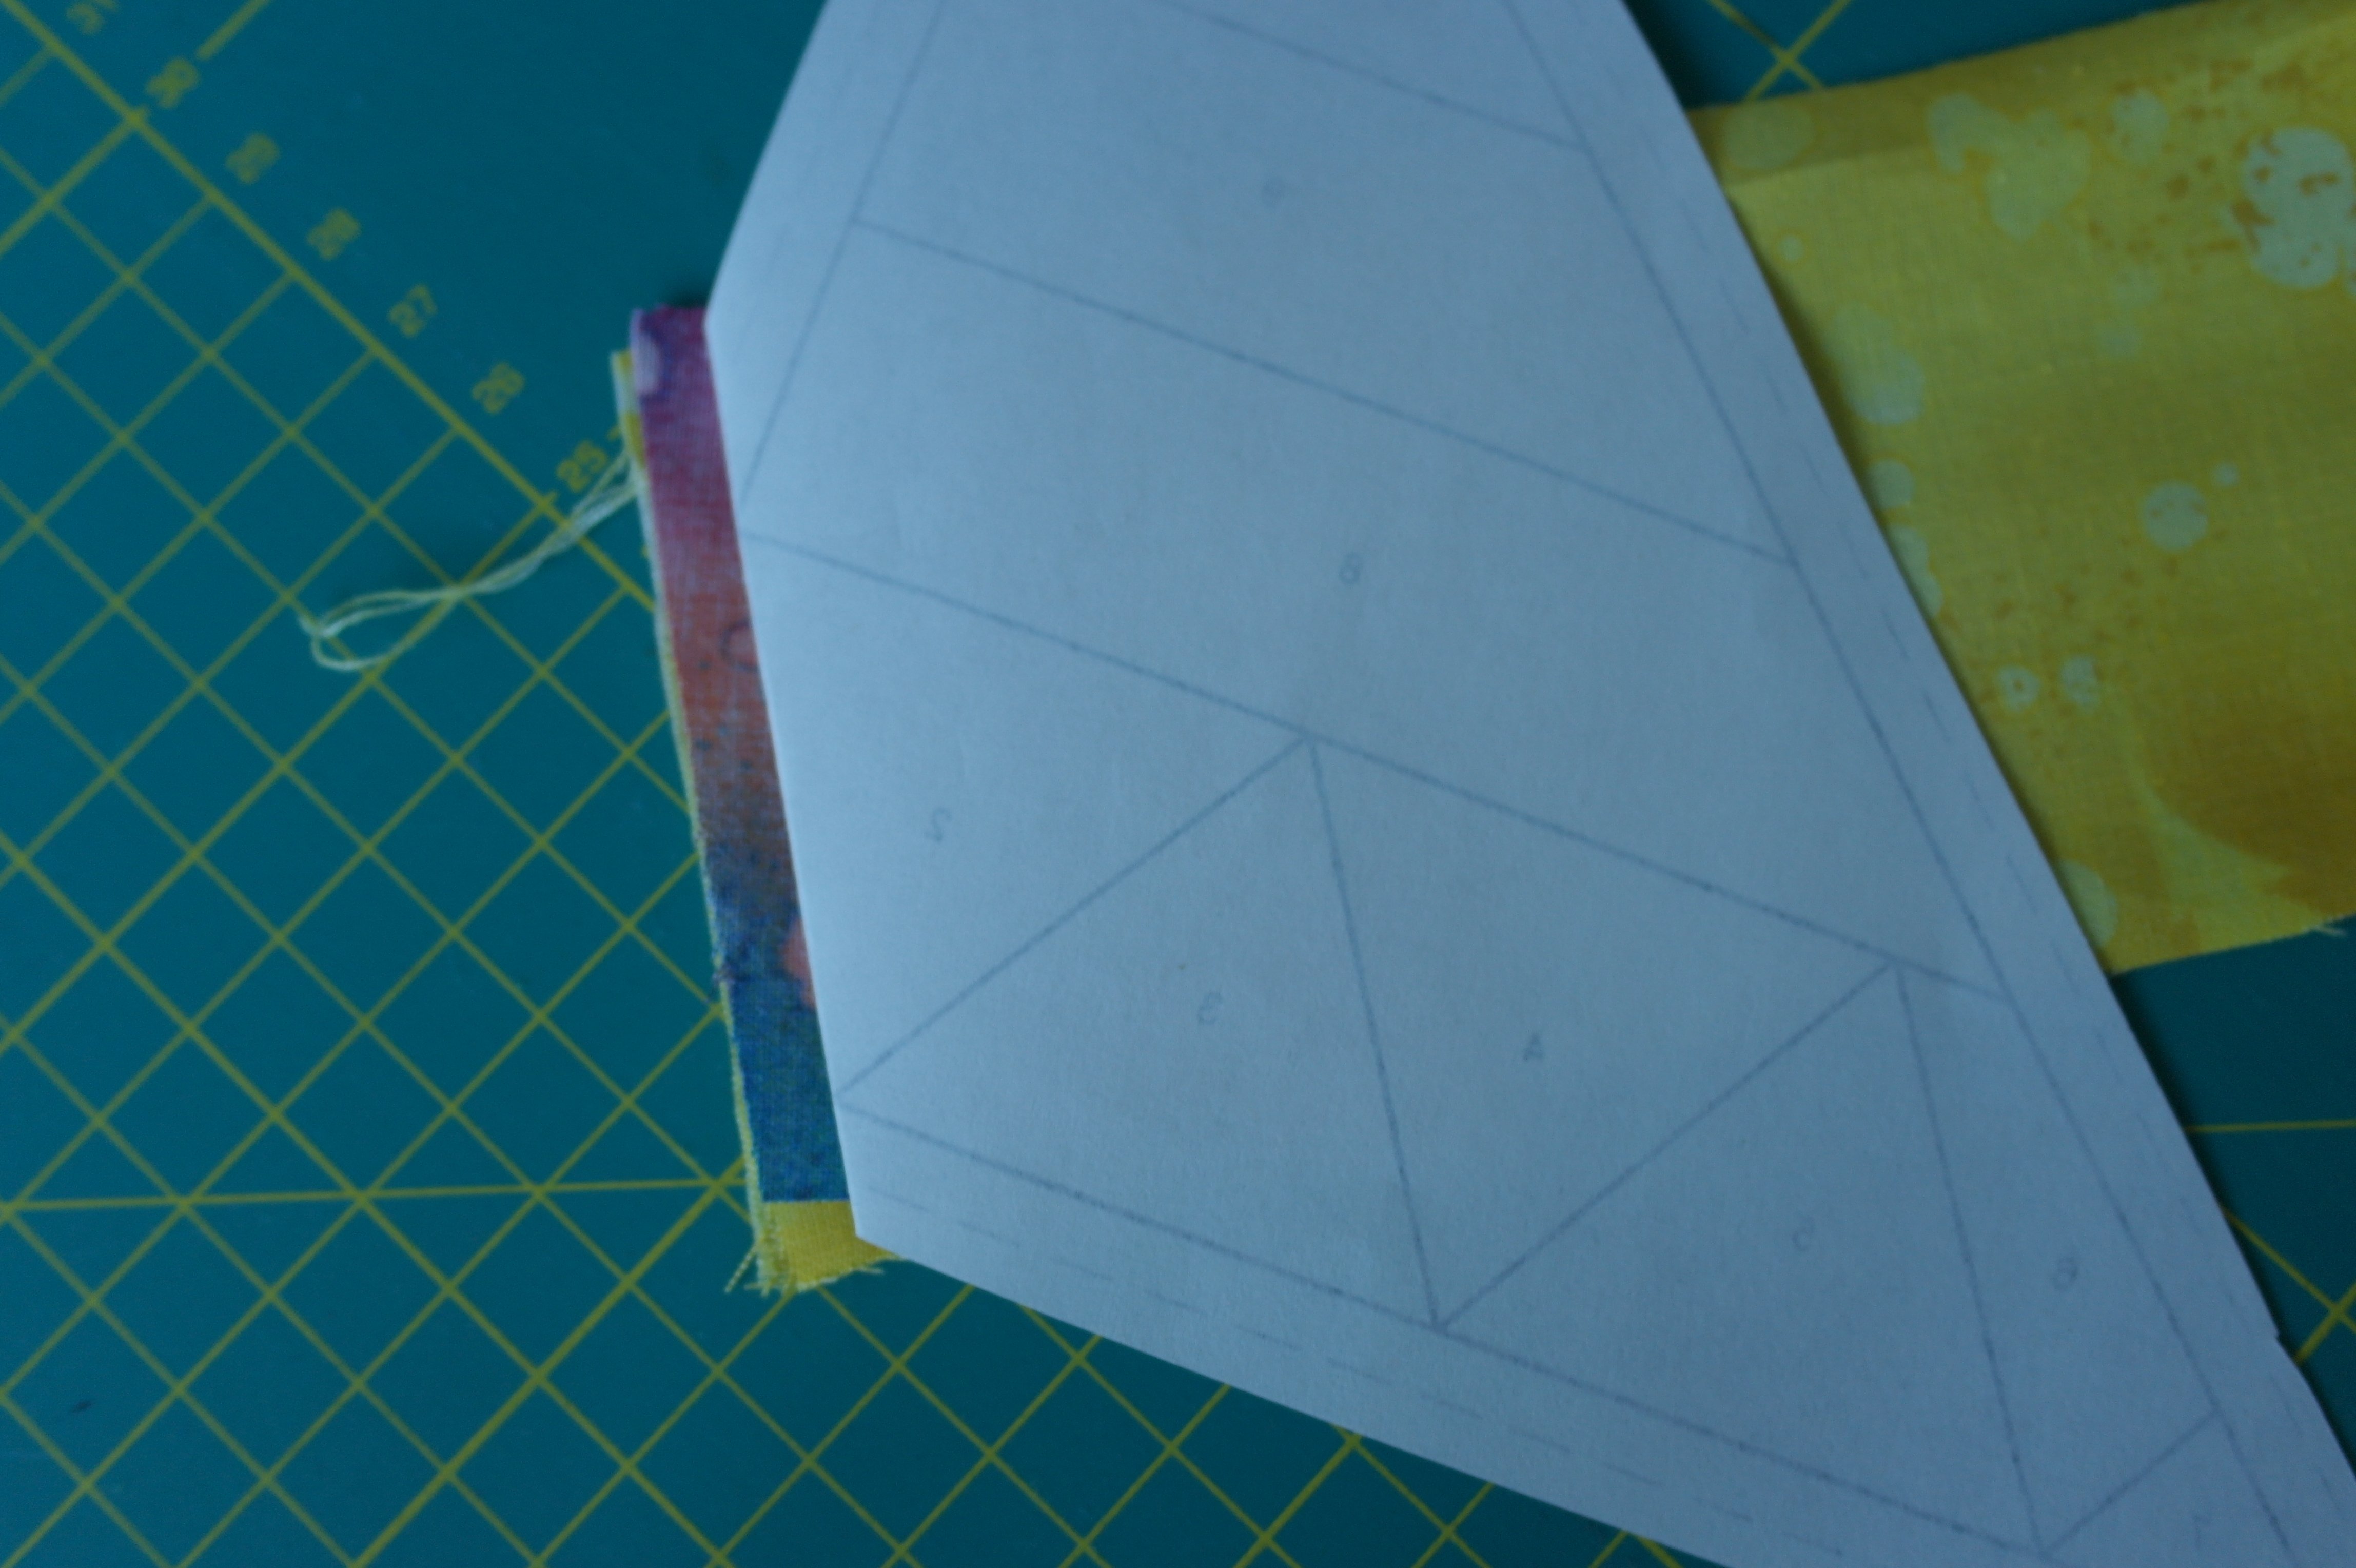
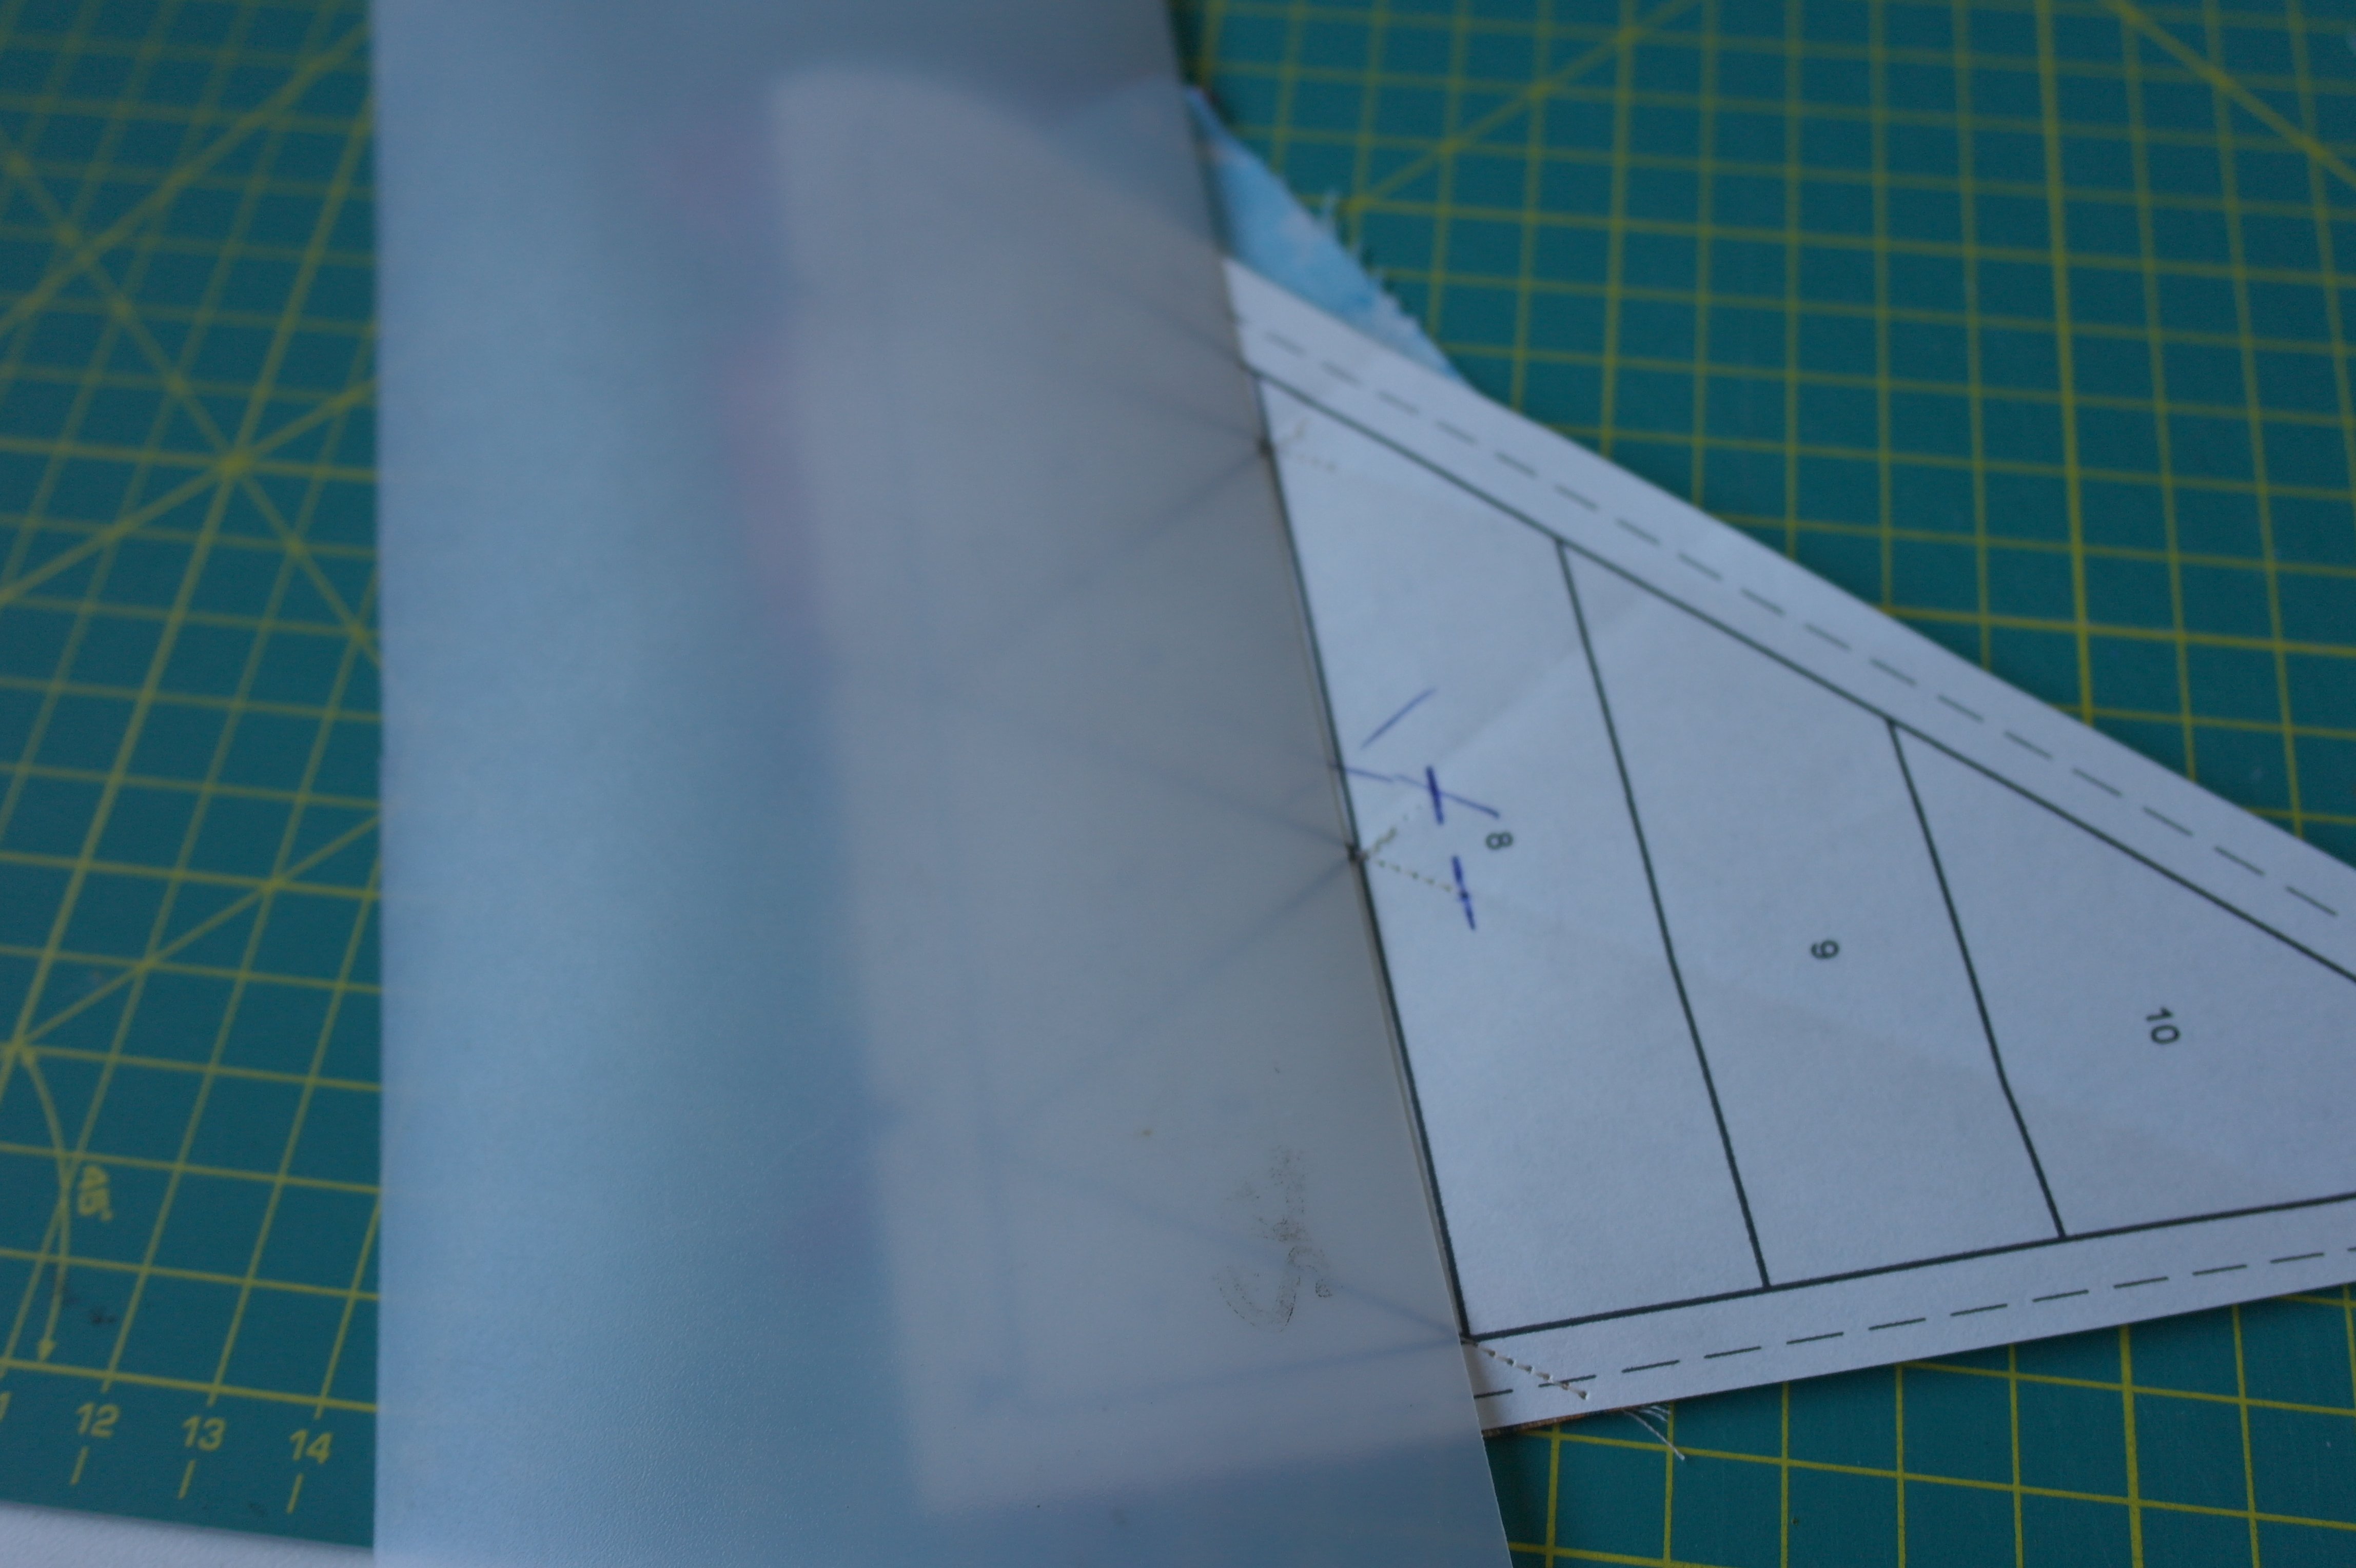
If you have to prepare cutting the fabrics of the sections 1 – 7 (Pattern A), just pull them away from the paper piecing pattern…
until the fabrics lies flat onto your cutting mat. Only then you can use the rotary cutter. …
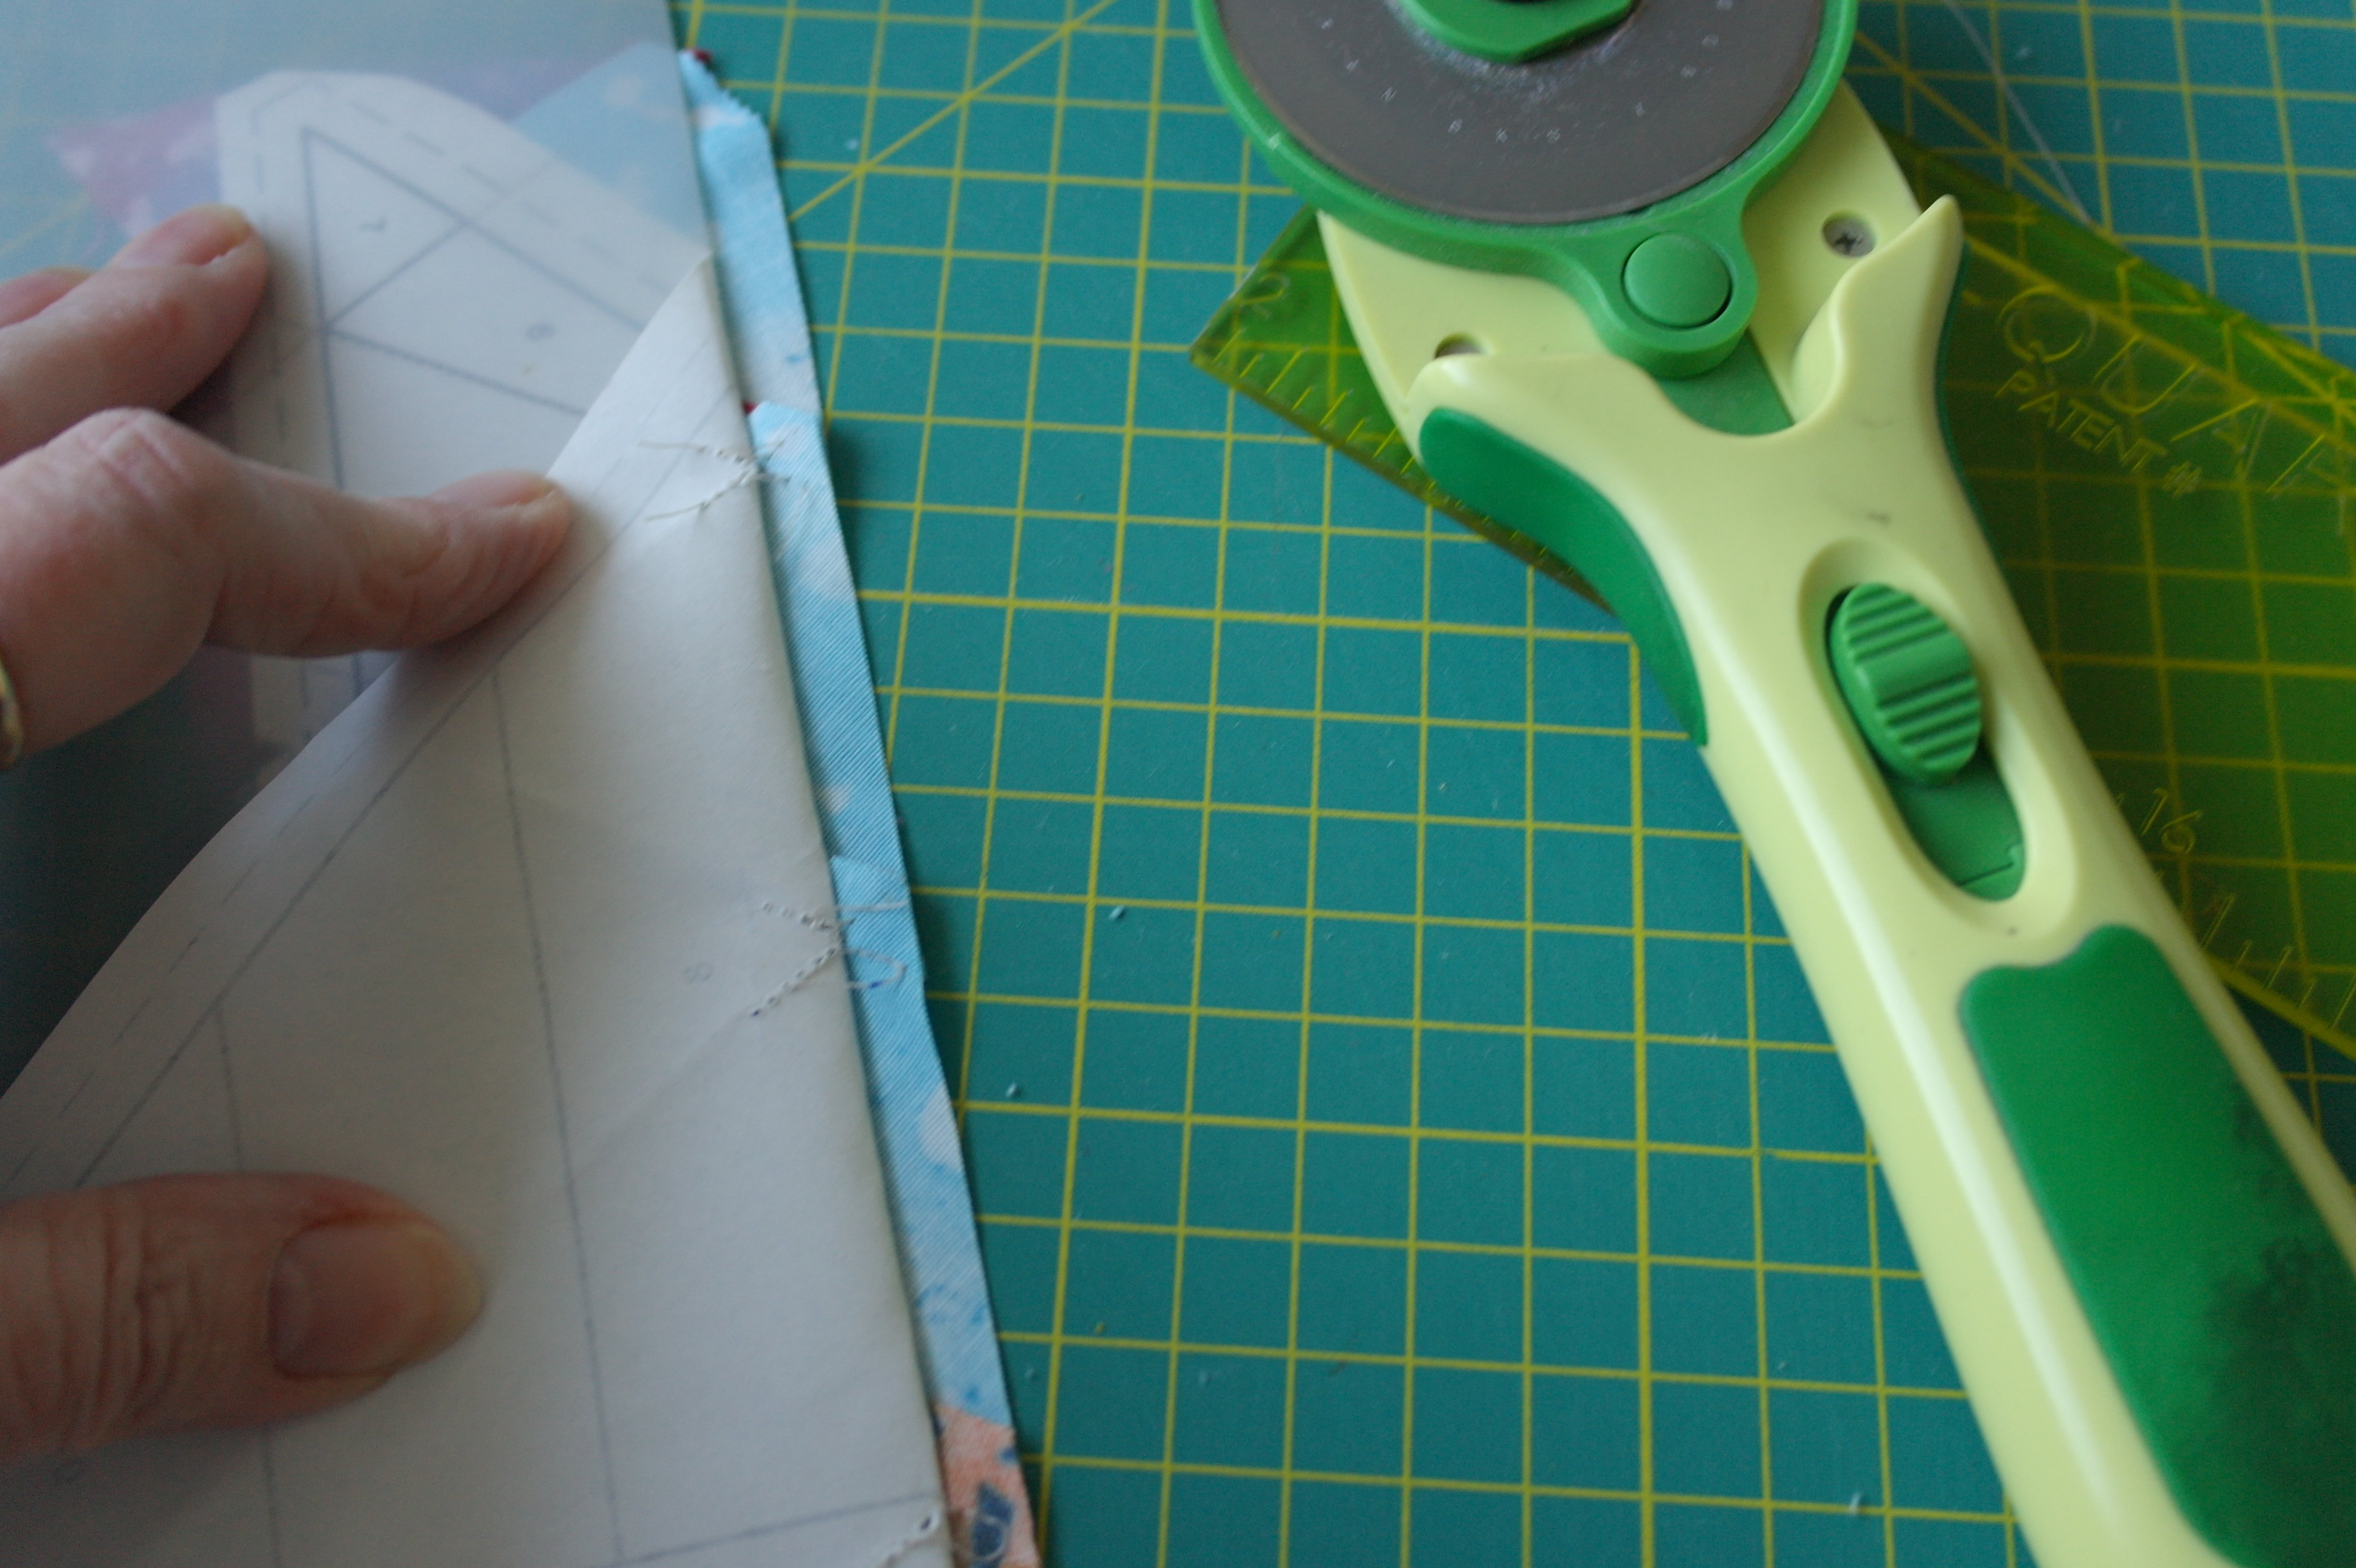
To get a sharp/clean 1/4 inch seam allowance, ready to place the next fabric(strip).
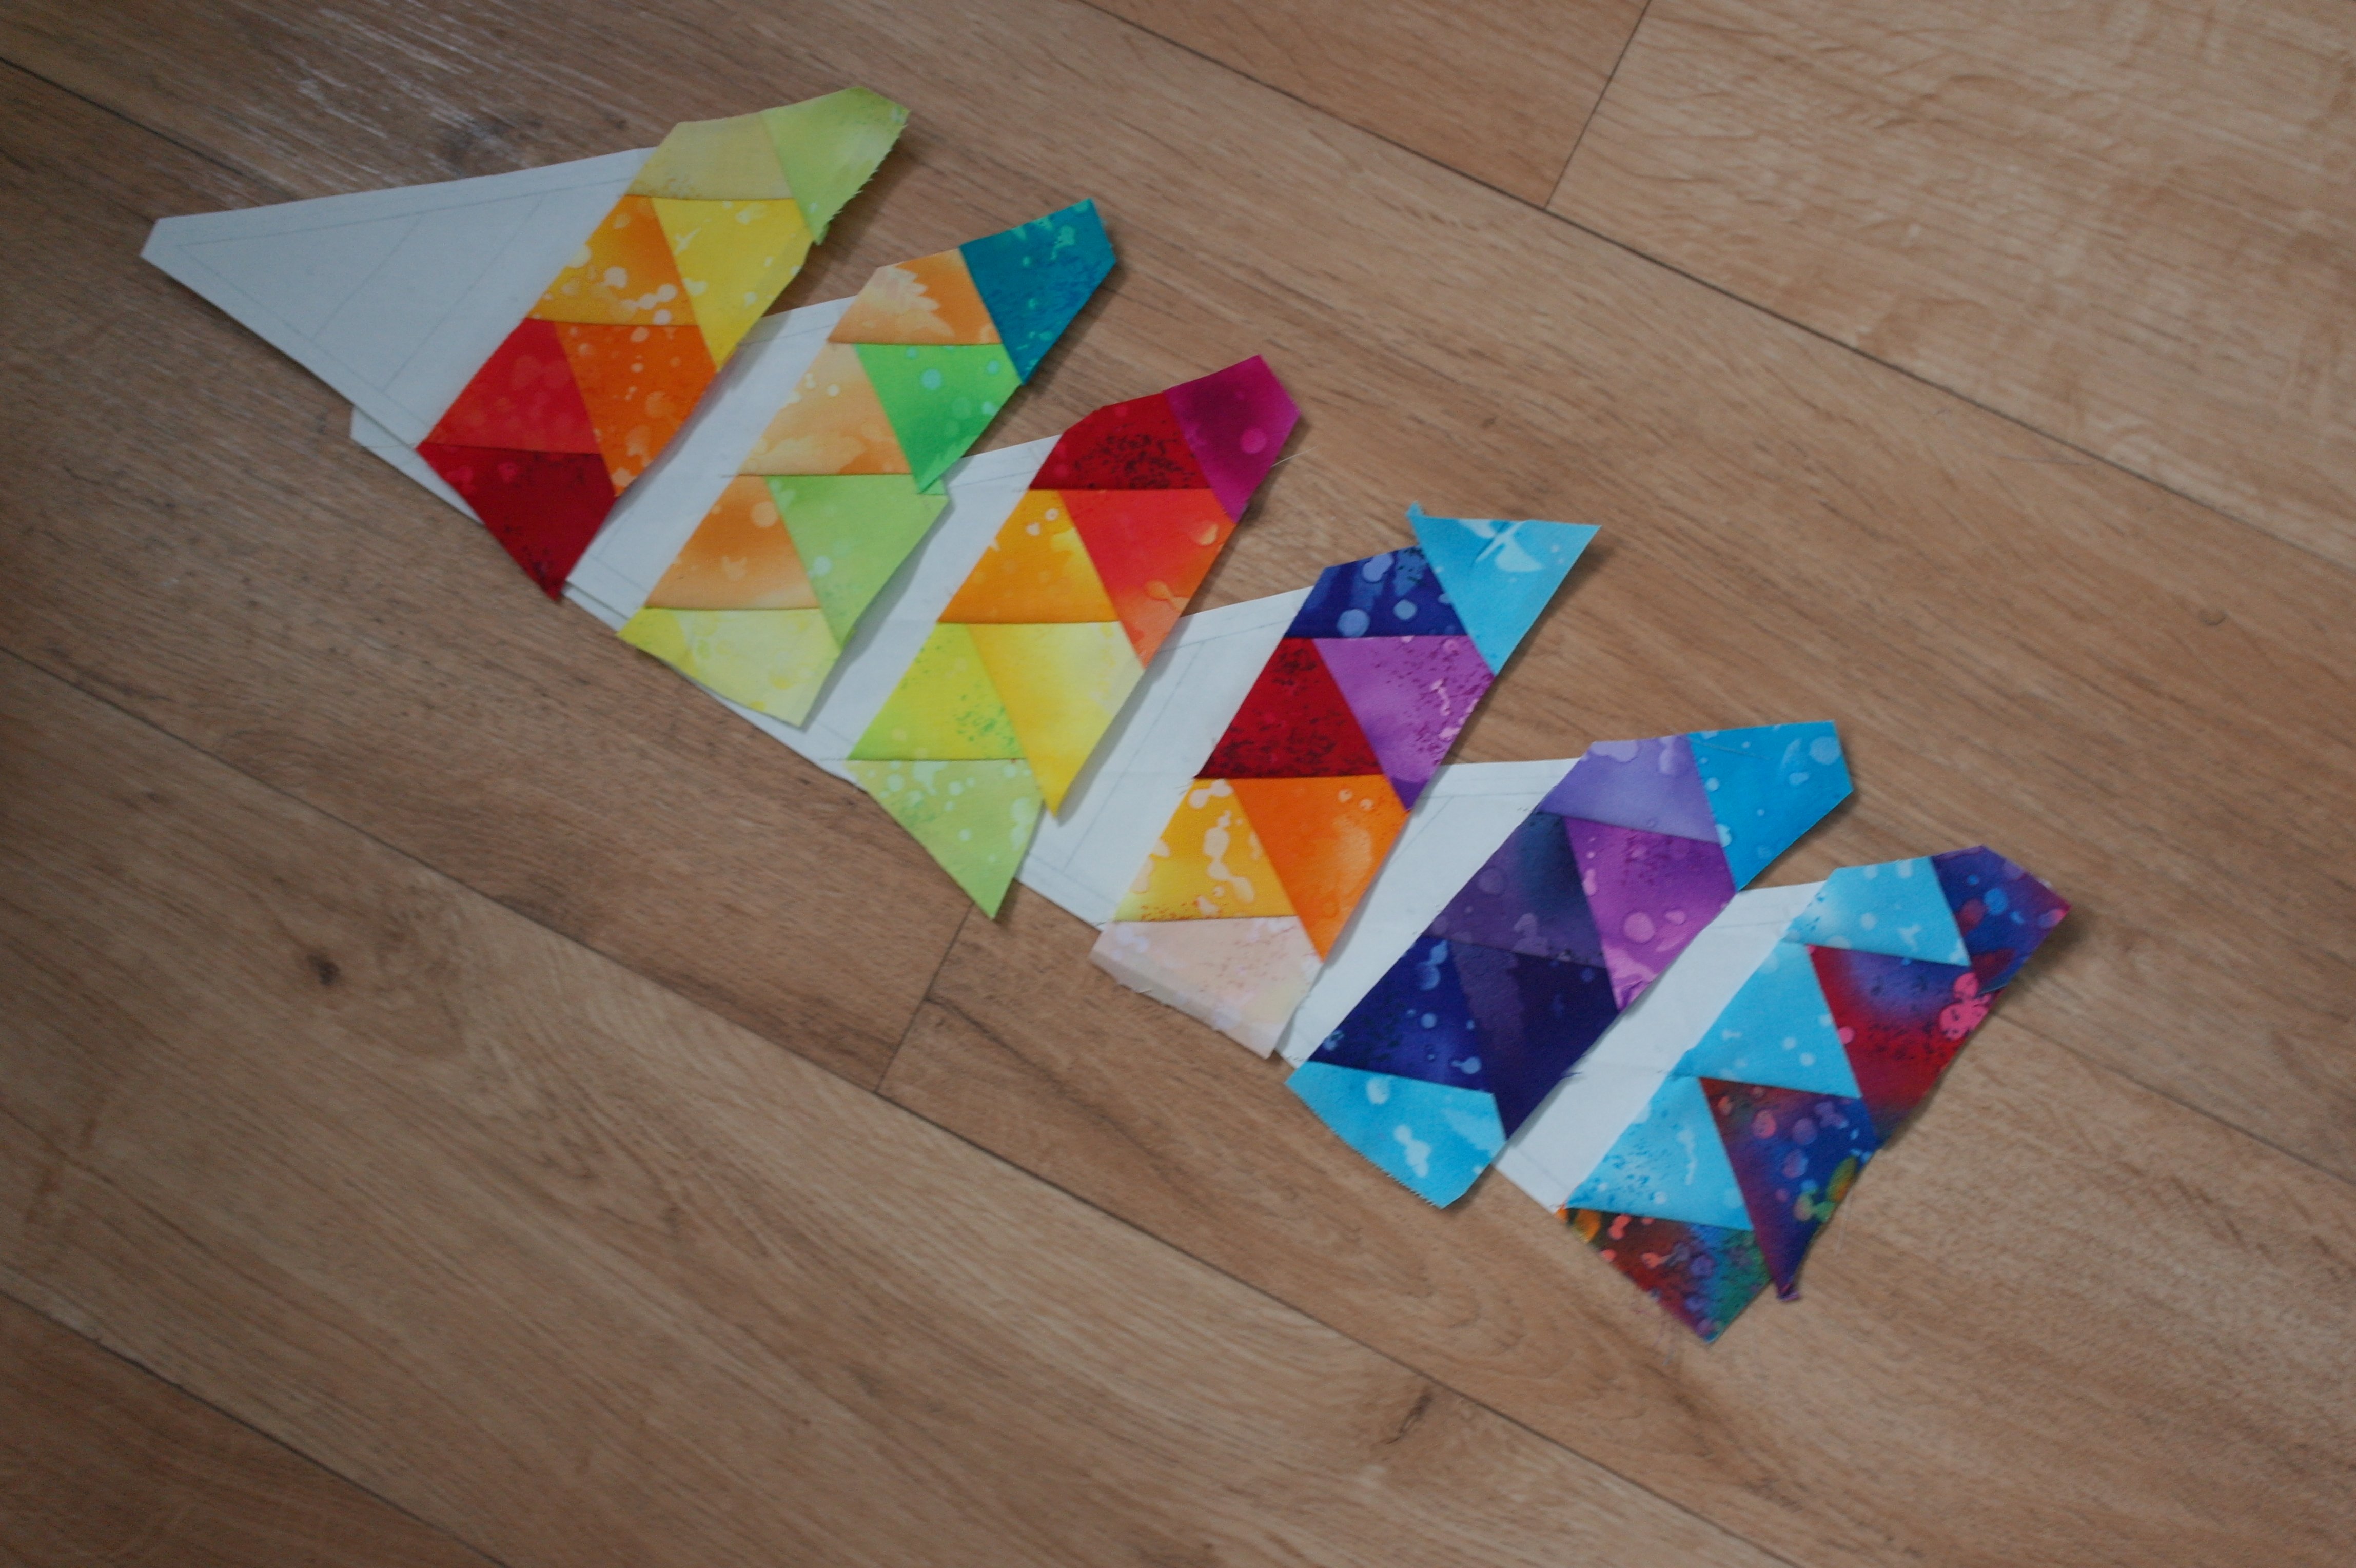
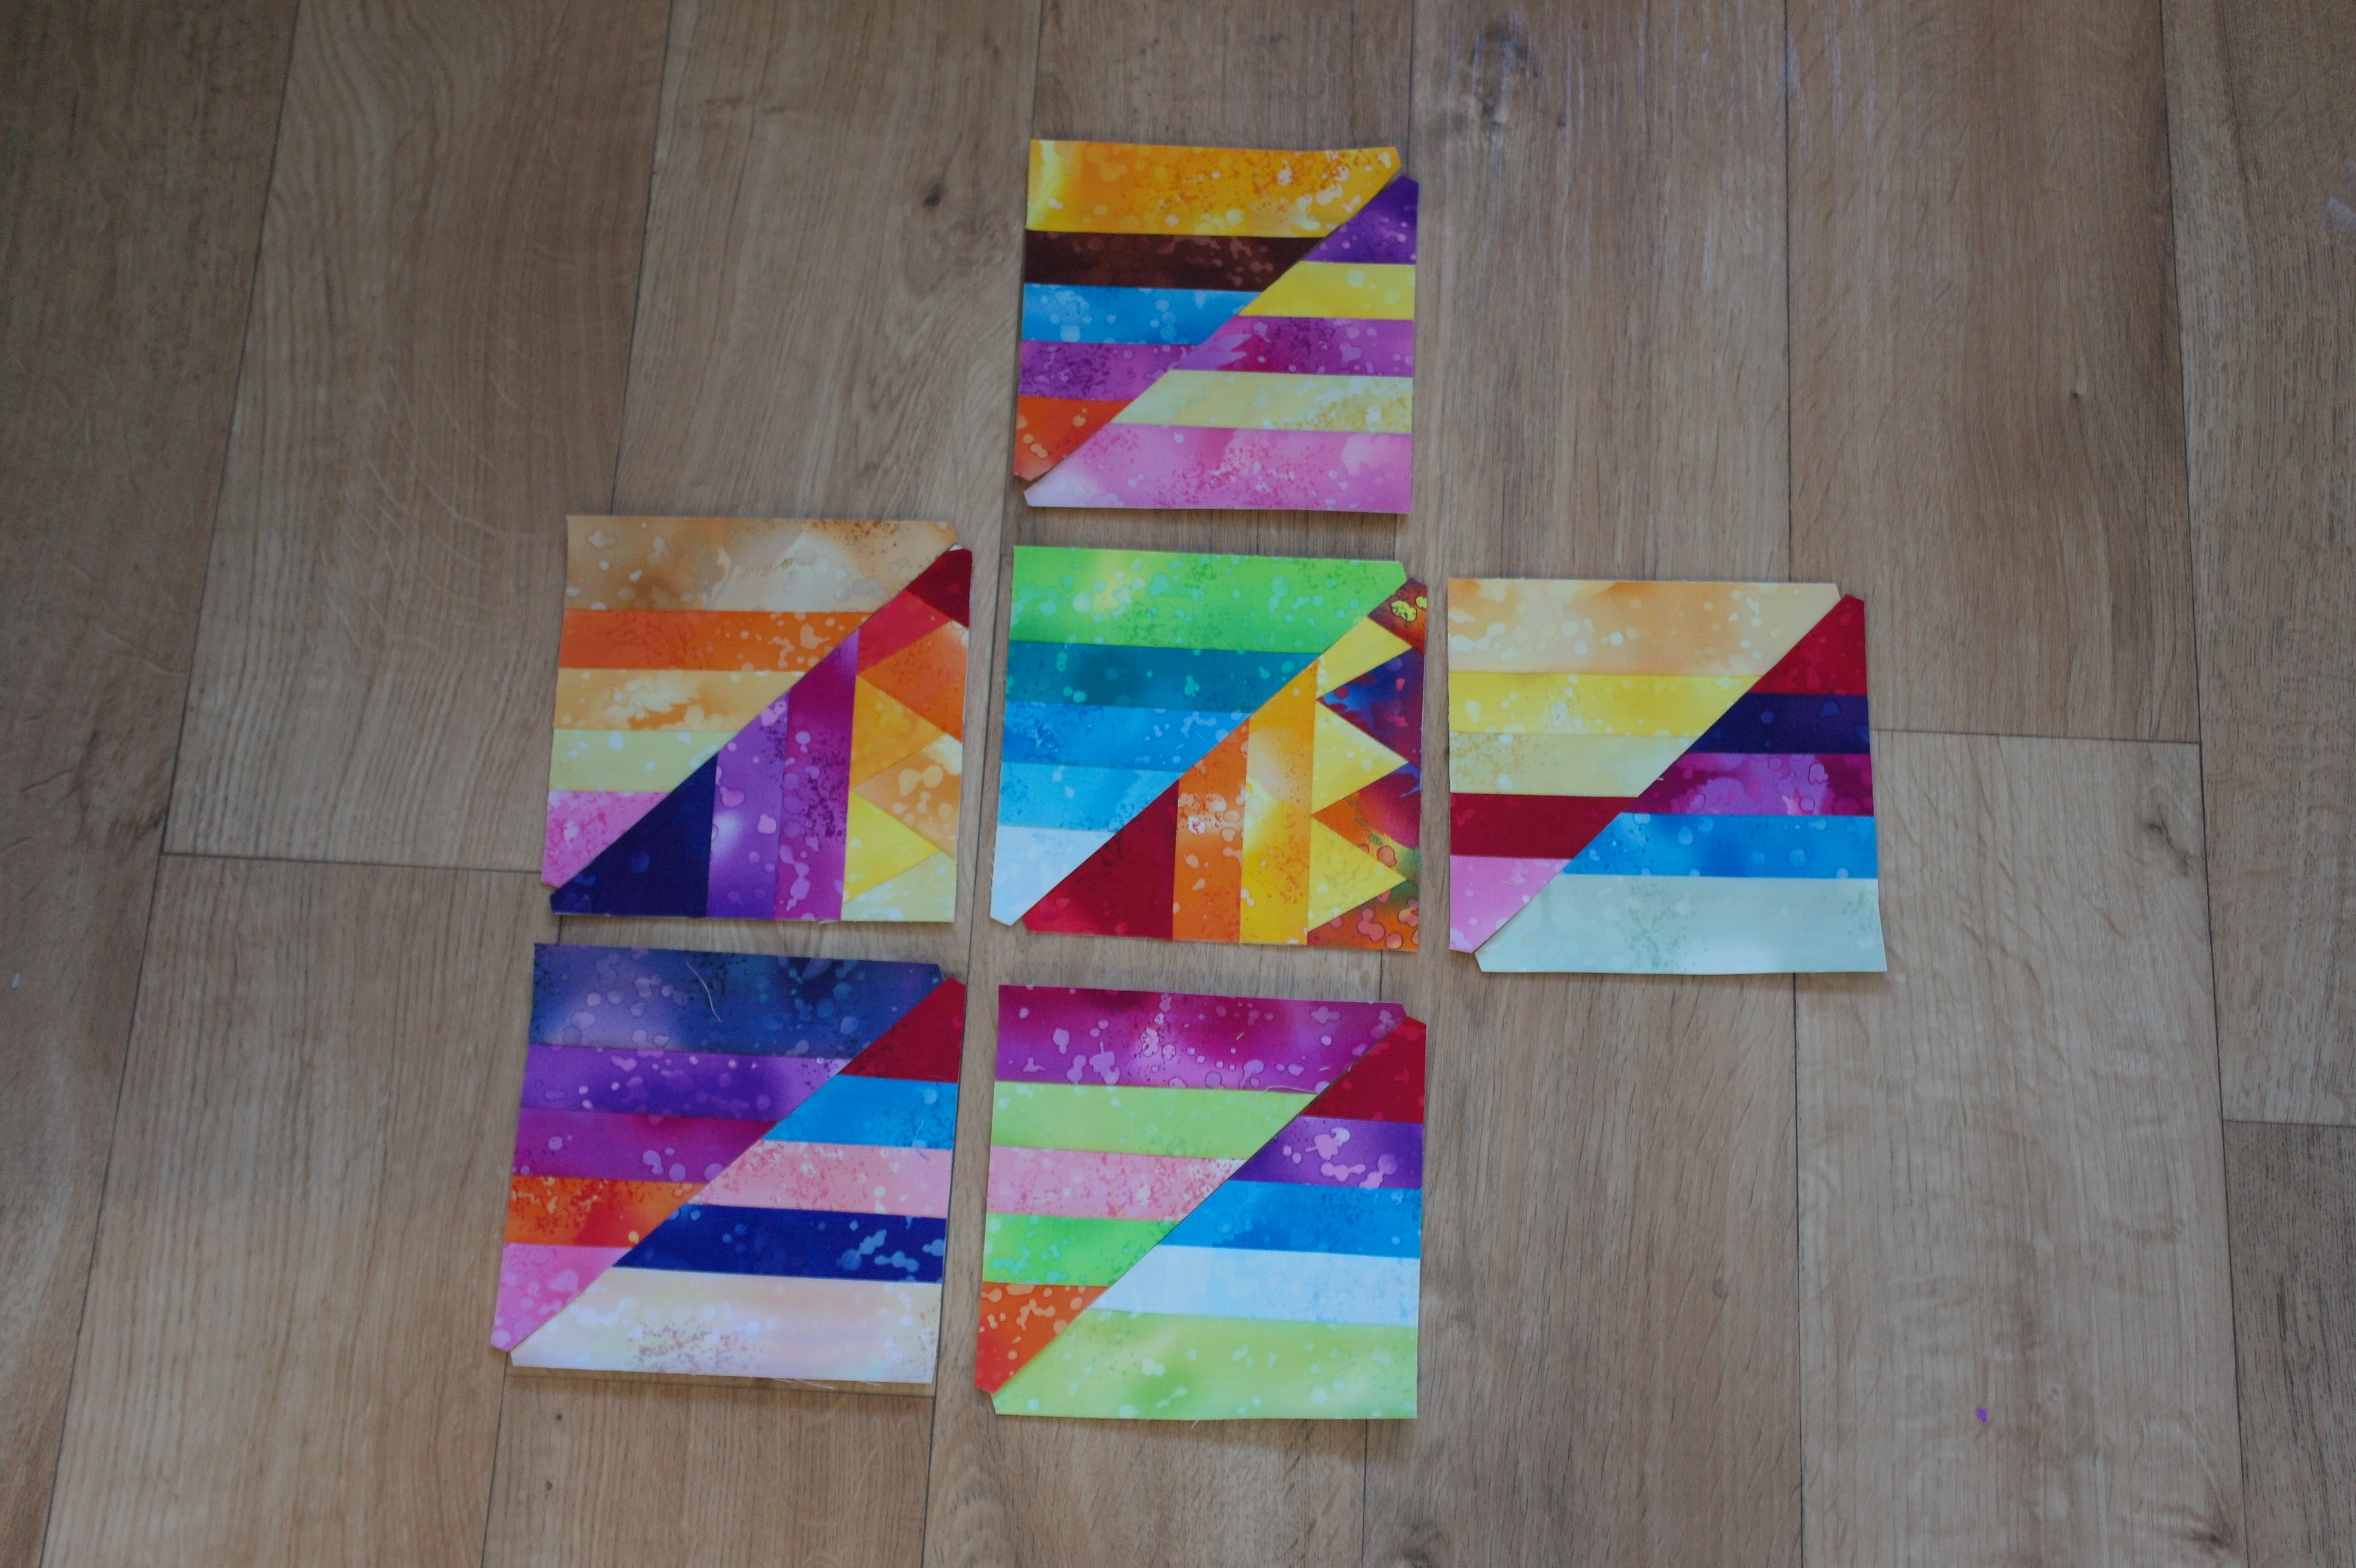
I’ve made a couple of Pattern A pieces, before adding strips.
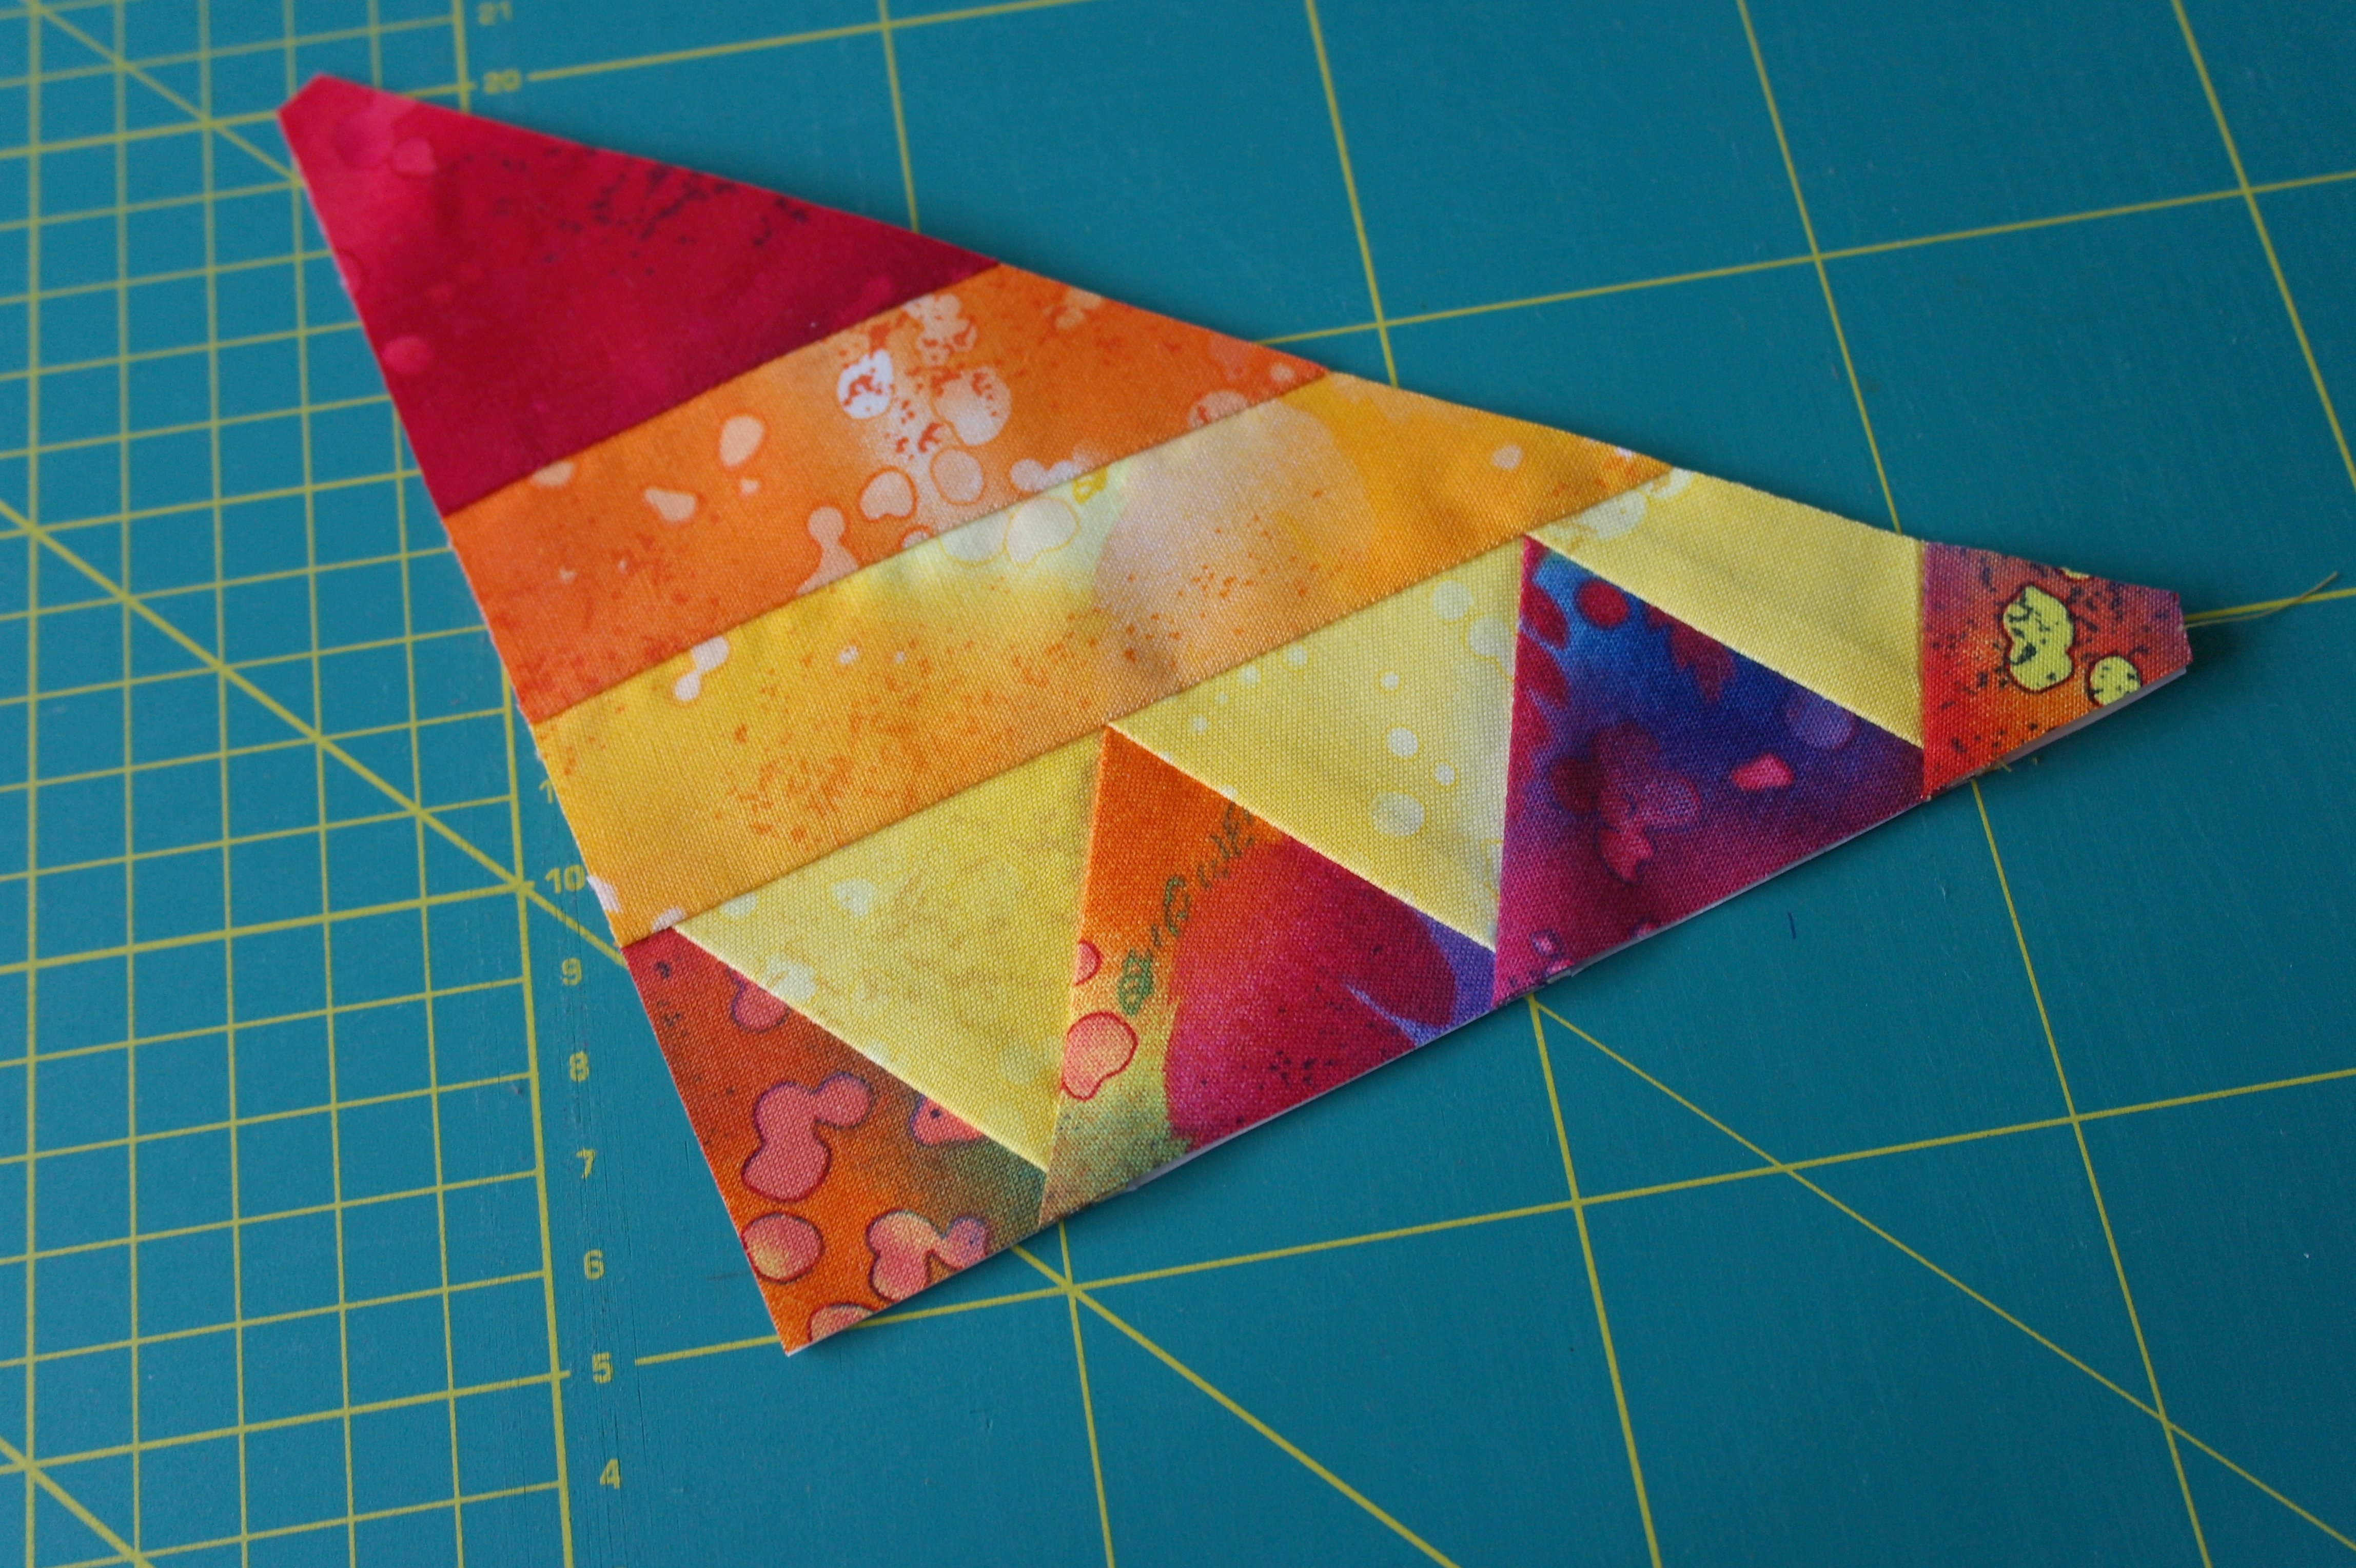
This is a complete block/triangle: I have cut it back to the actual size = ON the dotted line at the back. I’ve also made smart corners (already present at the patterns) to get rid of ‘dog ears’= pointy ends of fabrics/pattern. This makes it much easier when sewing them together.
Make as many as you want, both Pattern A and Pattern B, but BEWARE: it’s addicting! If you cannot stop, make enough for a quilt/bed spread. If you don’t want to make so many, use them for a wallhanging, a small quilt or perhaps even a couple of pillow cases.
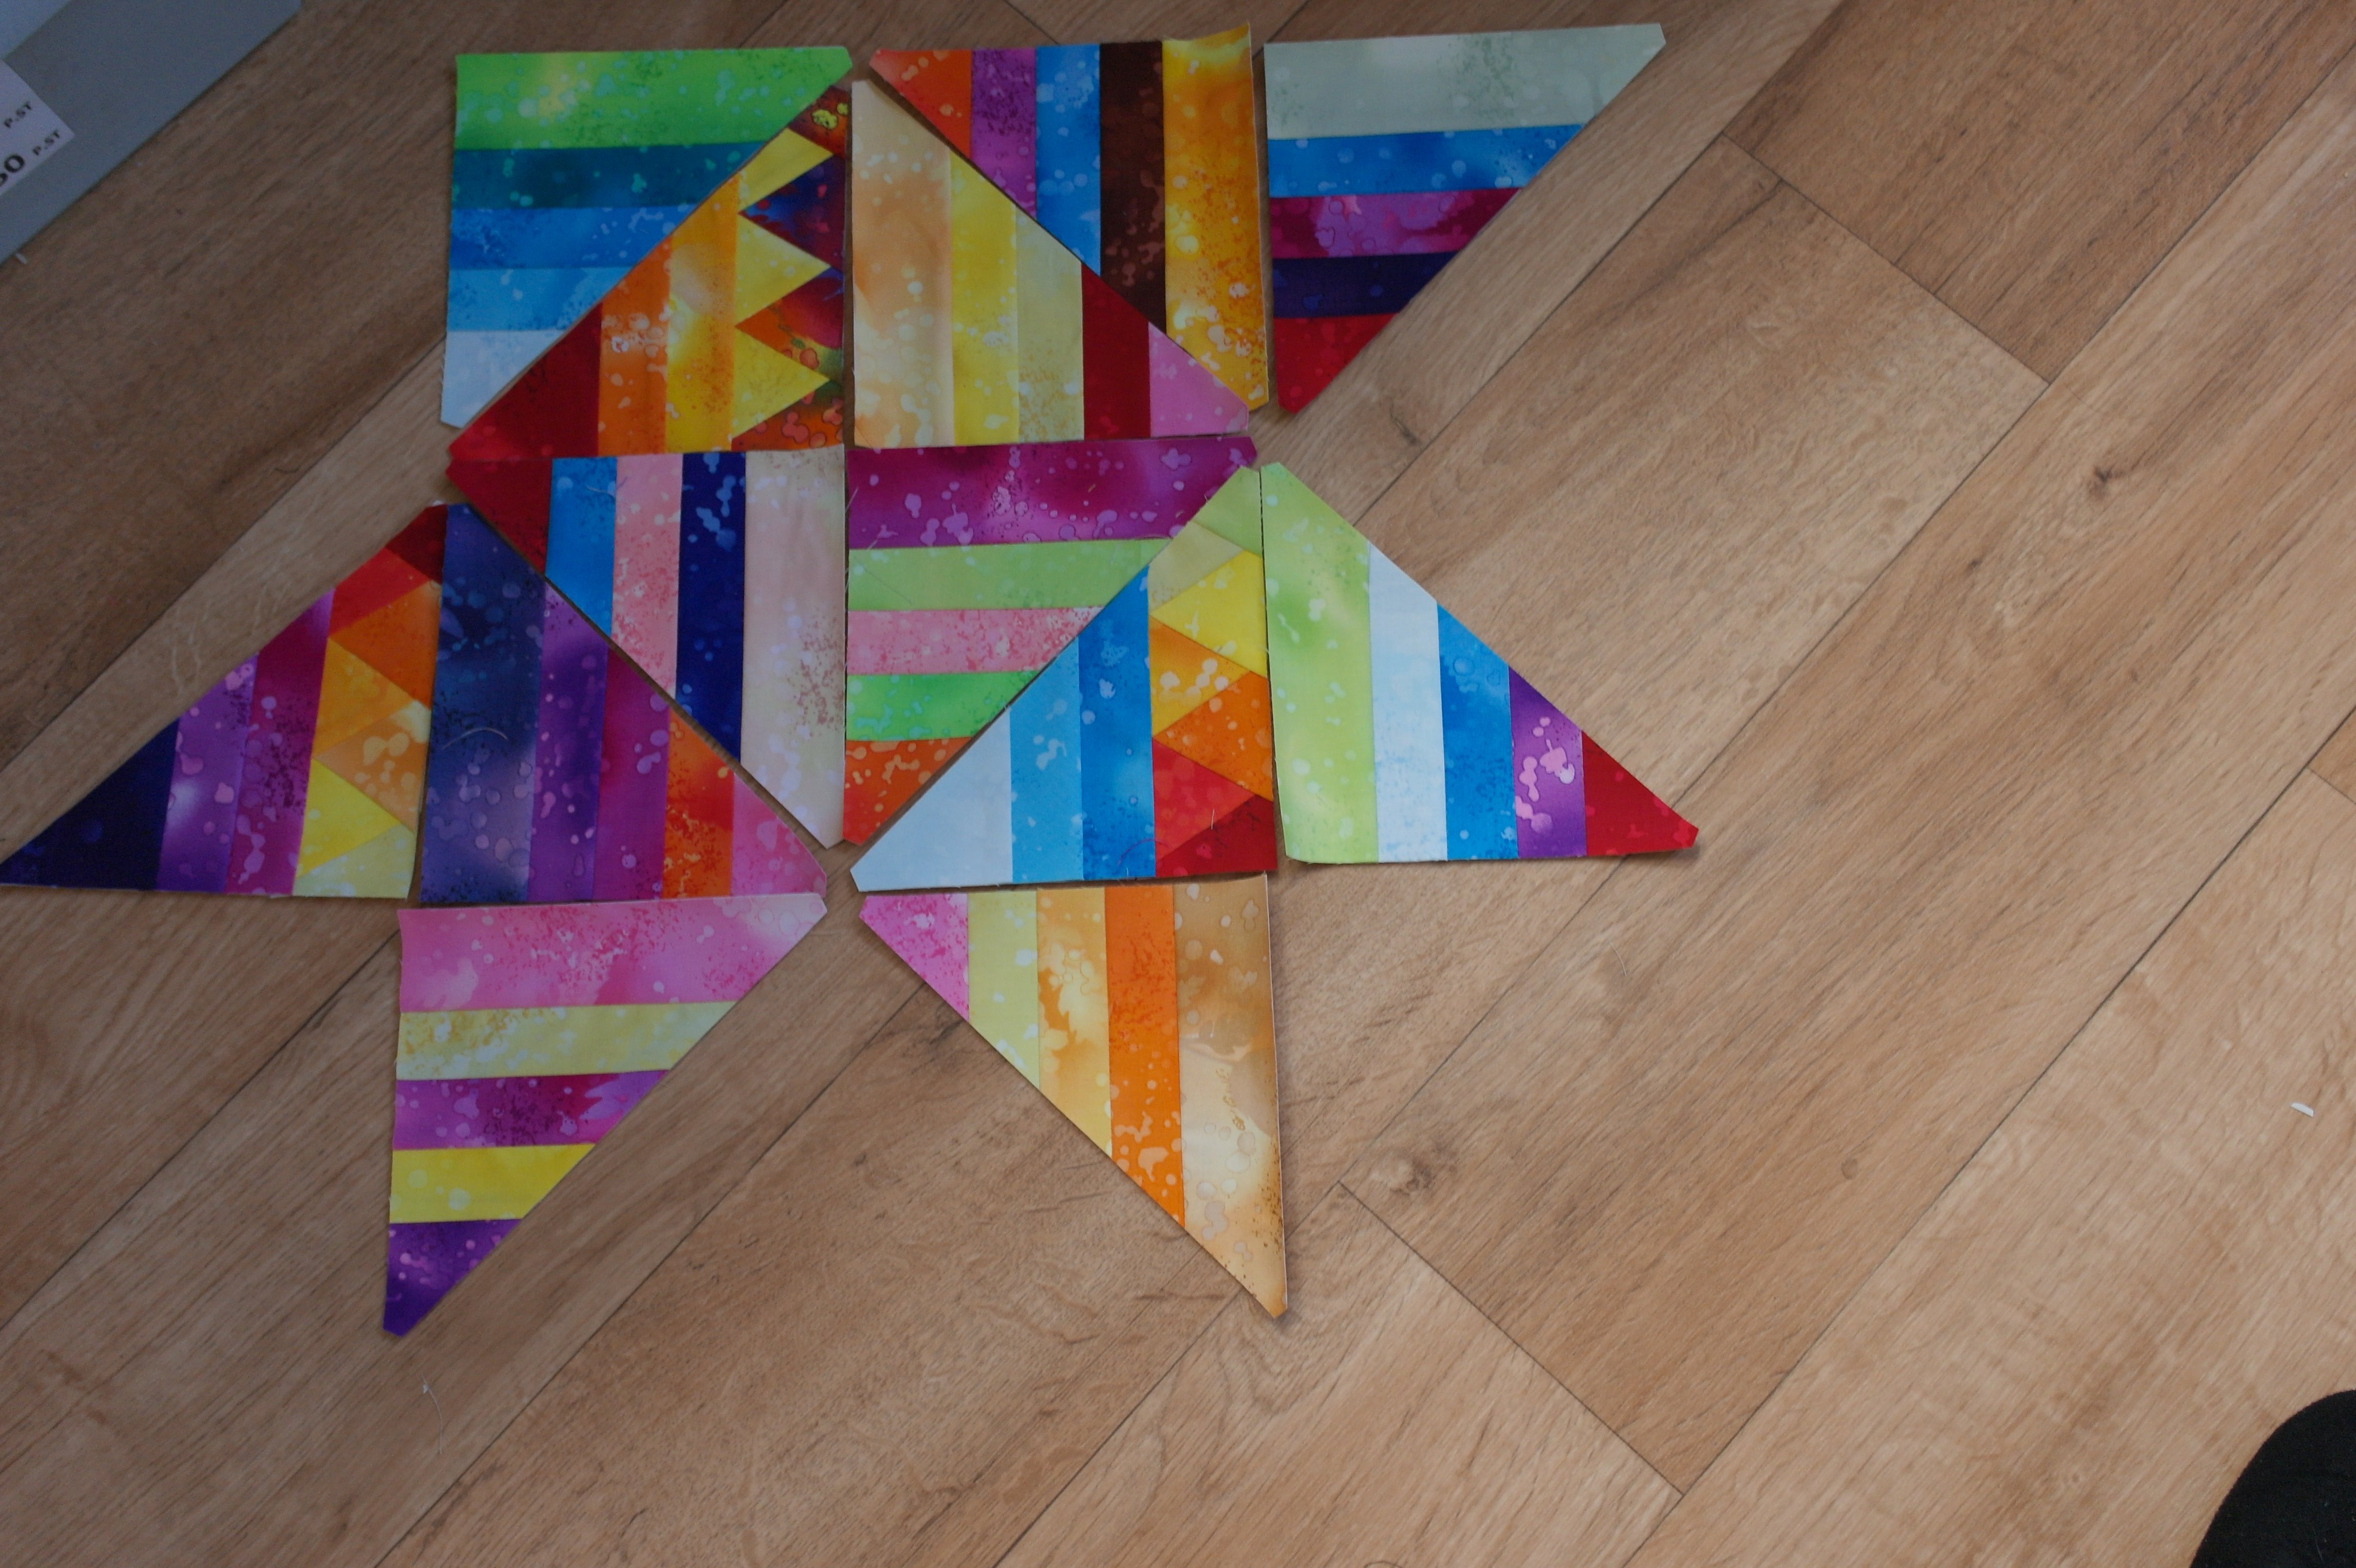
I have placed them in a star shape, just to show you a different way of placing the pieces together.
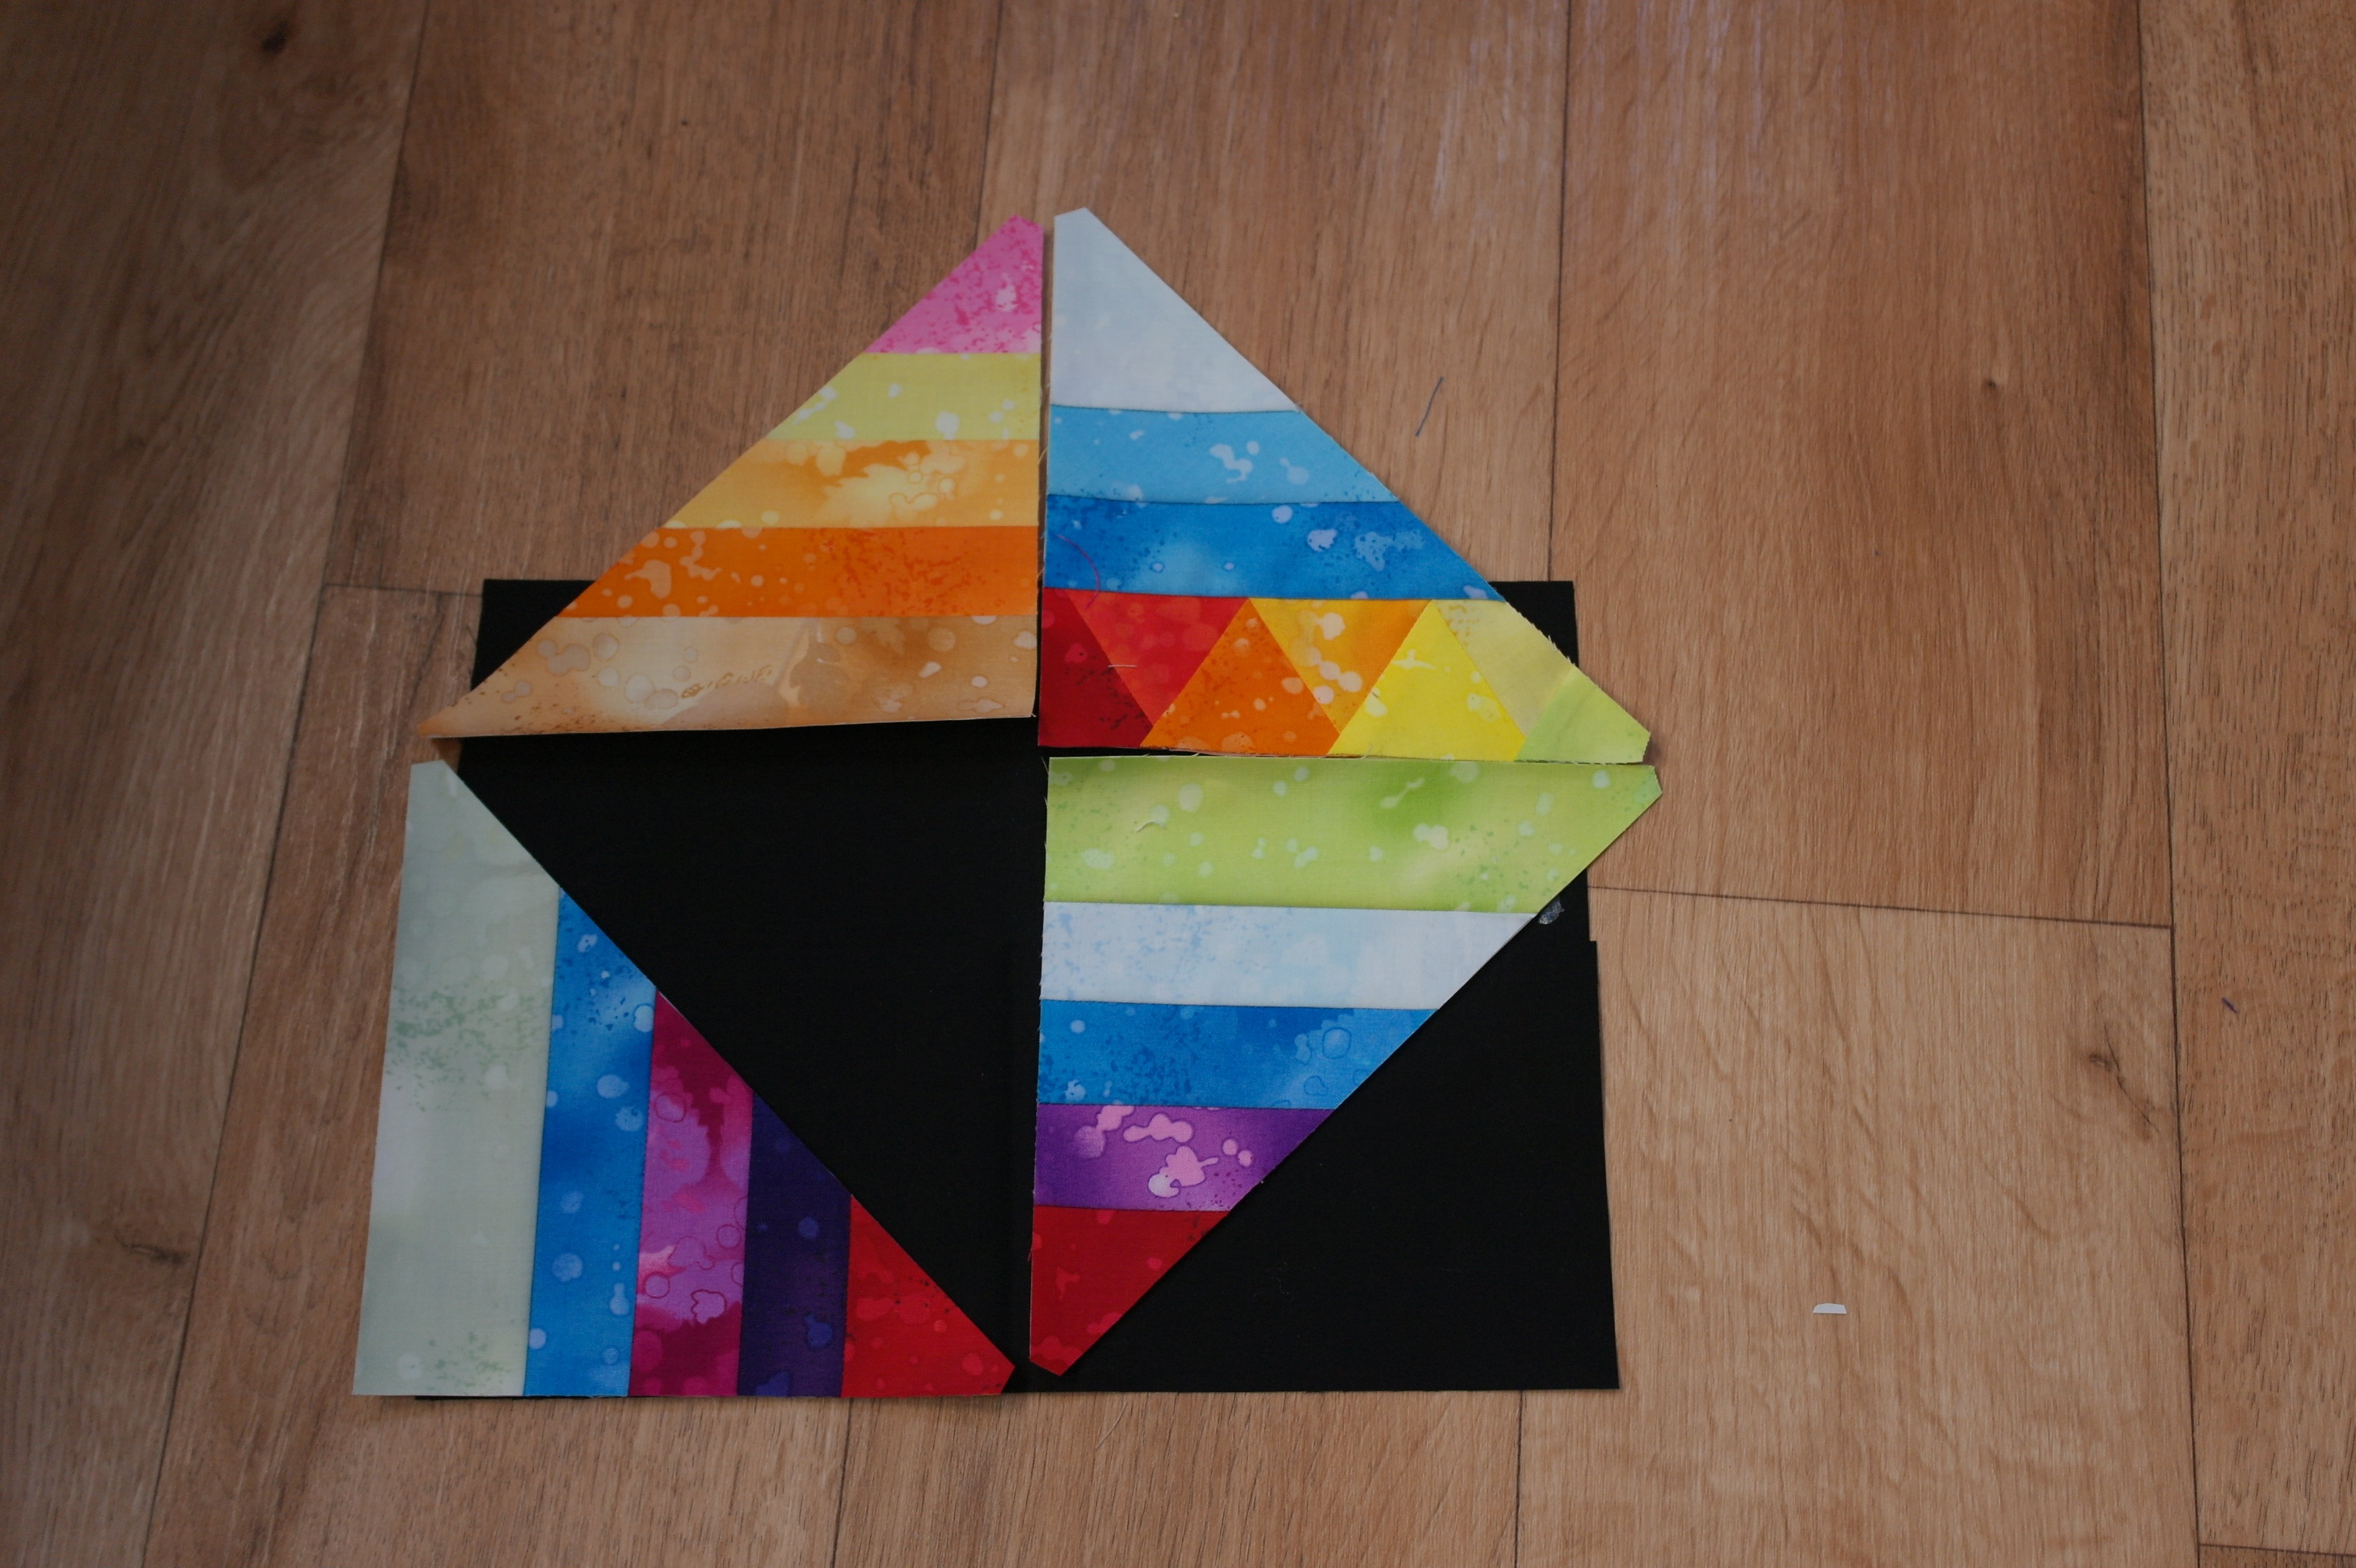
use a background fabric to make a quilt. You can use any color you want, but how about a black batik, like the picture above shows. All colors will stand out!
Have fun, mixing the fabrics and match the blocks.
Happy Stitching
Sylvia Kaptein
www.sylviasartquilts.nl
*If you find it difficult to order Fossil Fern fabrics, Paper for Foundation Piecing or Vlieseline L11 from my Dutch Webshop, just email me what you want to order via [email protected], and I will send you the information about payment etc.


0 Responses