There are a couple of blocks ready, for my SBS quilt. How I’ve started this project? If you missed it, just check the BERNINA post of January 3rd. It will be all in red white grey and black, via paper piecing and other patchwork techniques and some appliqué.
When you love paper piecing – like I do – you want to convert regular patchwork to this technique, as much as possible. It almost always can be done, although it is important to see if the conversion will make it easier, or just complicated. In the first case: convert! In the second case: just use the required technique.
An example.
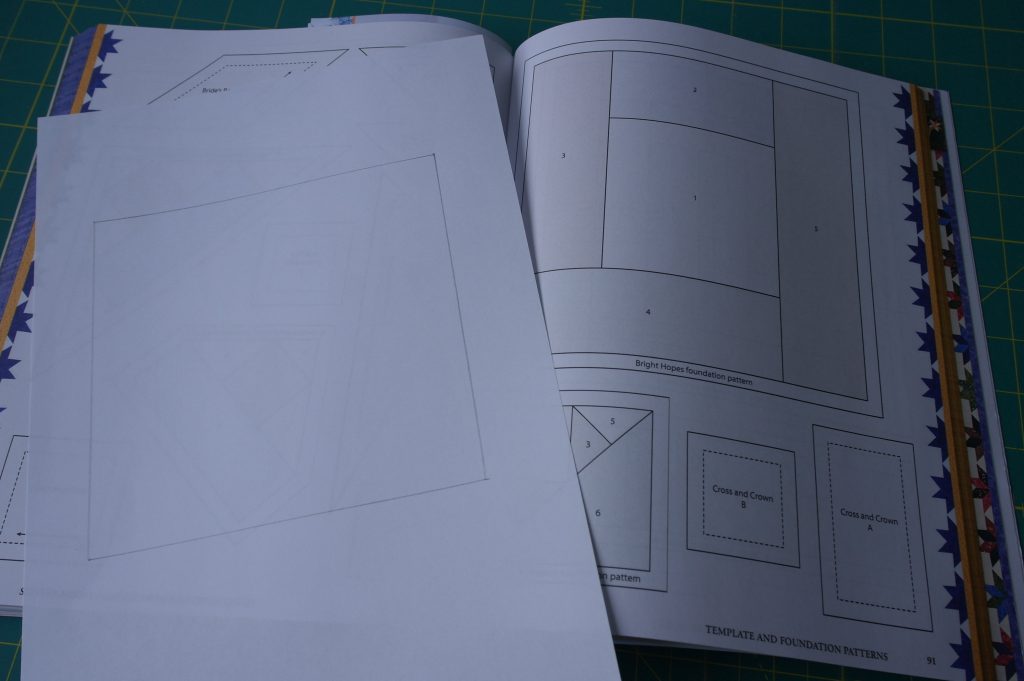
All blocks of this quilt are 6 x 6 inch, finished size. That means they are 6 1/2 x 6 1/2 inch including seam allowances – each seam allowance is 1/4 inch wide. It is essential to maintain these measurements to be able to match all when assembling the quilt. If you want to convert a regular patchwork block into paper piecing, make your own pattern. Find a ‘full’ paper piecing block in the back of the book – one that consists of just one piece. Place a thin white sheet of paper over that block and draw the inner solid lines, the ones that measure 6 x 6 inches.
TIP: Be sure your pencil is sharpened before drawing lines. Push the point against the quilt ruler, to make sure the drawings are accurate. If your pencil is blunt, the lines will be too thick, or to far away from the ruler, which will cause deviations. Normally a quilt ruler is used for cutting with a rotary cutter, which has almost no thickness at all. Draw lines, and measure the distances between them before moving on to the next, thus be sure all is accurate.
Of course you can draw a square ‘by hand’, with a common ruler. Again: be sure you have an exact measurement of 6 x 6 inches.
Converting a block.
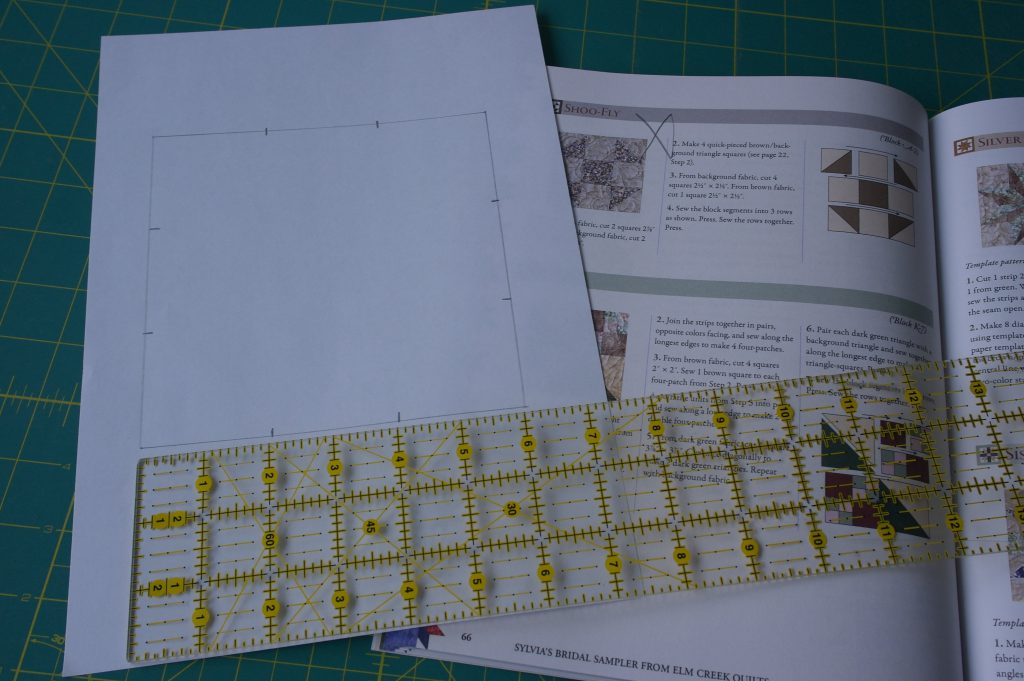
Find a patchwork block to convert to paper piecing. My choice fell on A2 – Shoo Fly, page 66. See how this block is divided into equal parts? Nine squares, each 2 x 2 inch finished size. The corner squares are divided into 2 equal triangles, so this is an easy block to start with. The square is drawn onto the paper, and markings are made on each side, 2 inch apart, to indicate the lines for the squares.
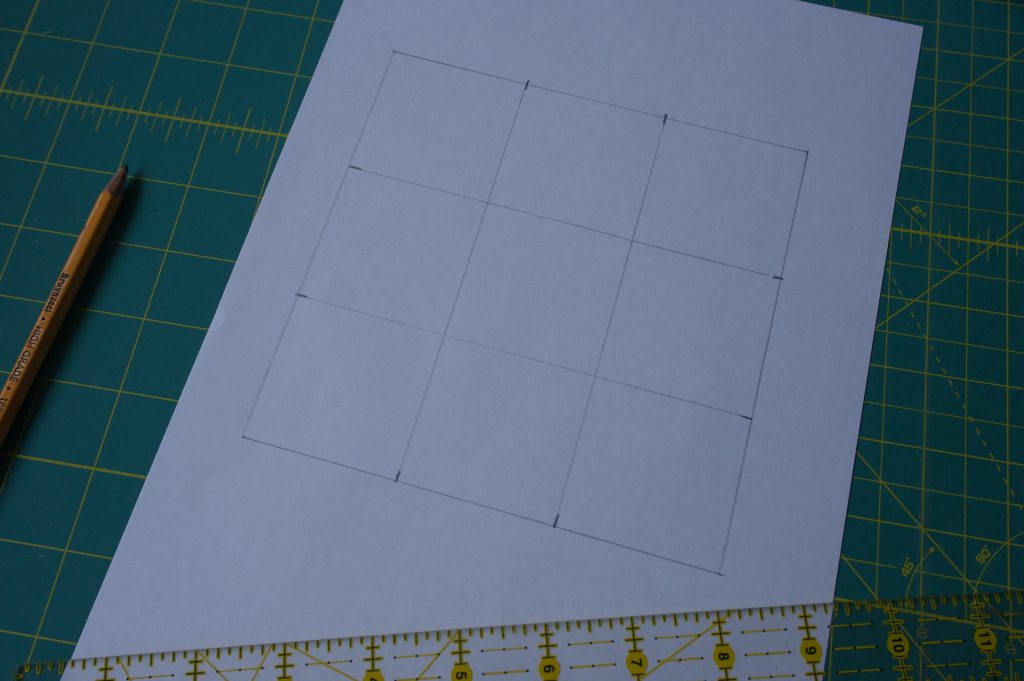
Draw these lines, to get the 9 squares, each 2 x 2 inch.
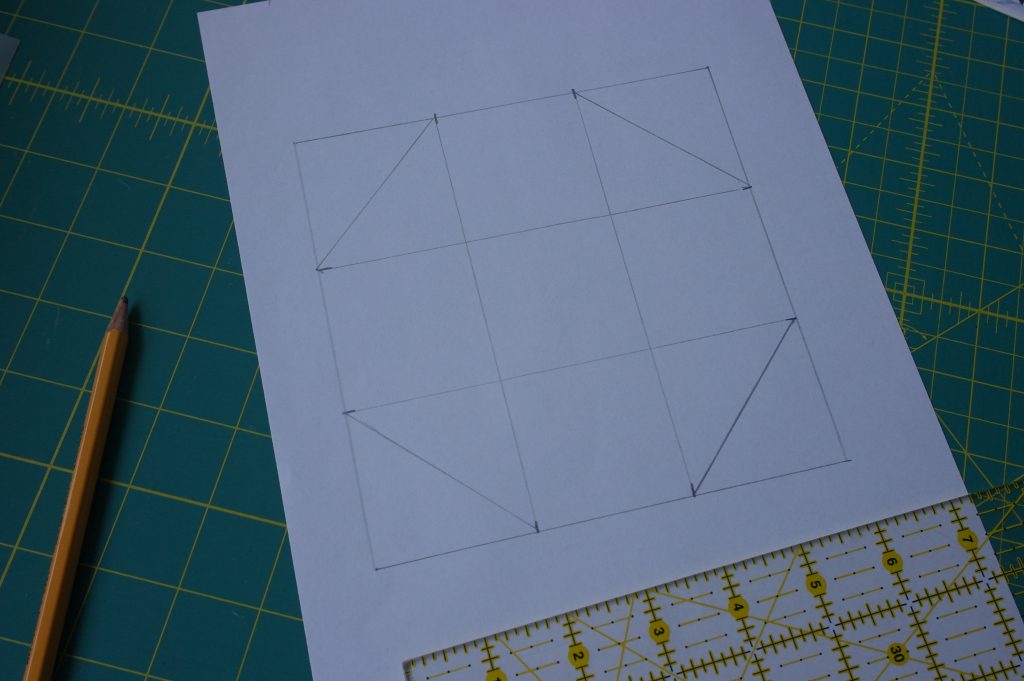
Draw the diagonal lines on the corner squares: check the block on page 66 how to do this.
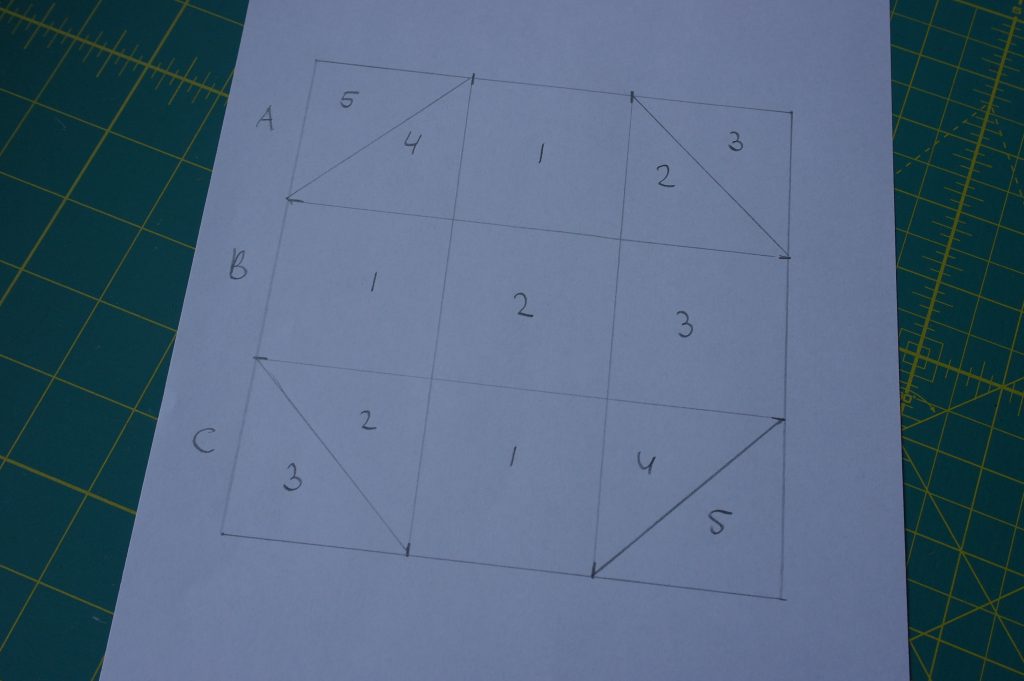
There are 3 paper piecing Units to make: A, B and C: check the picture above to see these horizontal units with the numbers for sewing sequence. If you have to determine the sequence yourself, find the most logical way. Check if crossing seam allowances lie as flat as possible, work from one side to the other or from the center to the sides, whatever works for you. Unit A and C are filled the same, to make things easier.
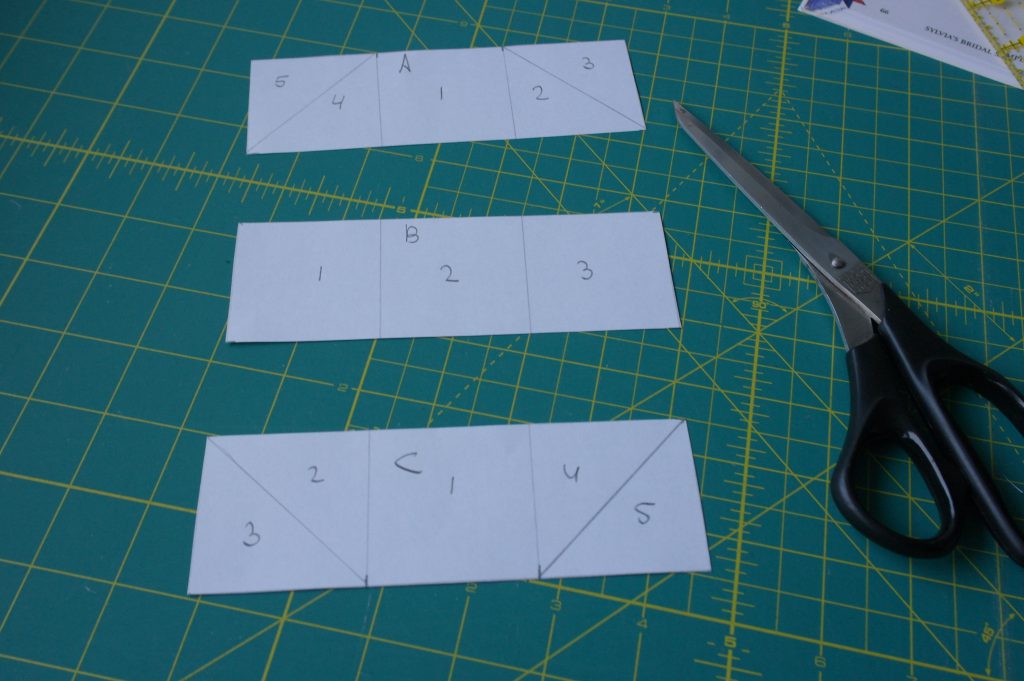
Cut the Units/strips apart – they don’t have a seam allowance. For some quilters this is ok, and they will add seam allowance + extra to their fabrics. For novice quilters, this will be difficult, because what you don’t see is something you will forget to add. For them it is better to make Units with seam allowances.
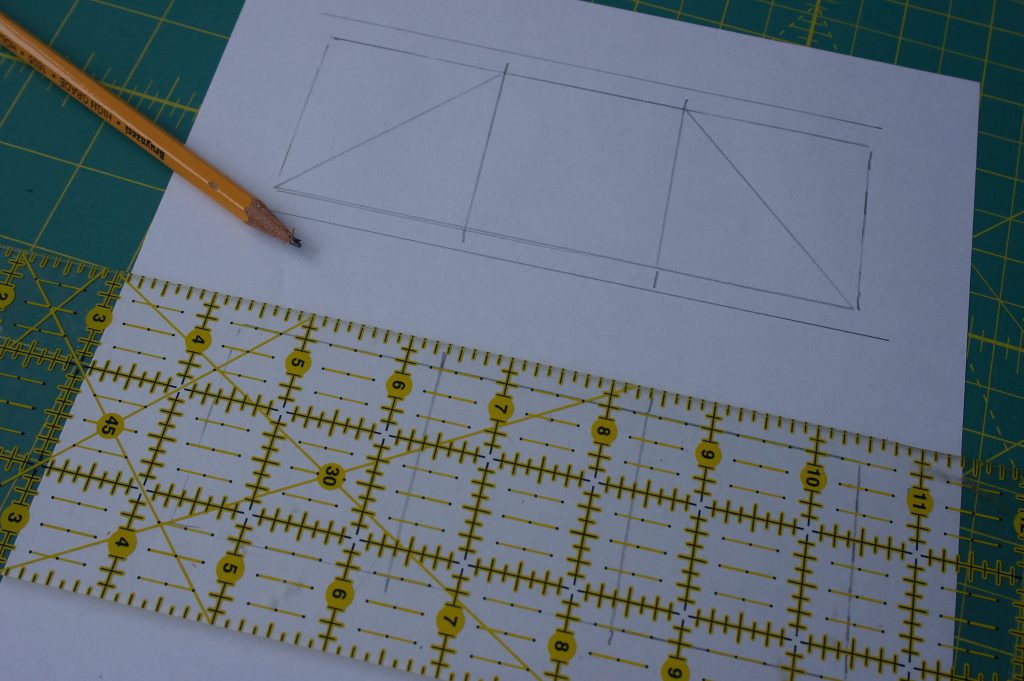
To do so, you can use the cut out Units, place them (apart) on a new sheet of paper, draw around them – be sure they are accurate – and add seam allowances around each of them.
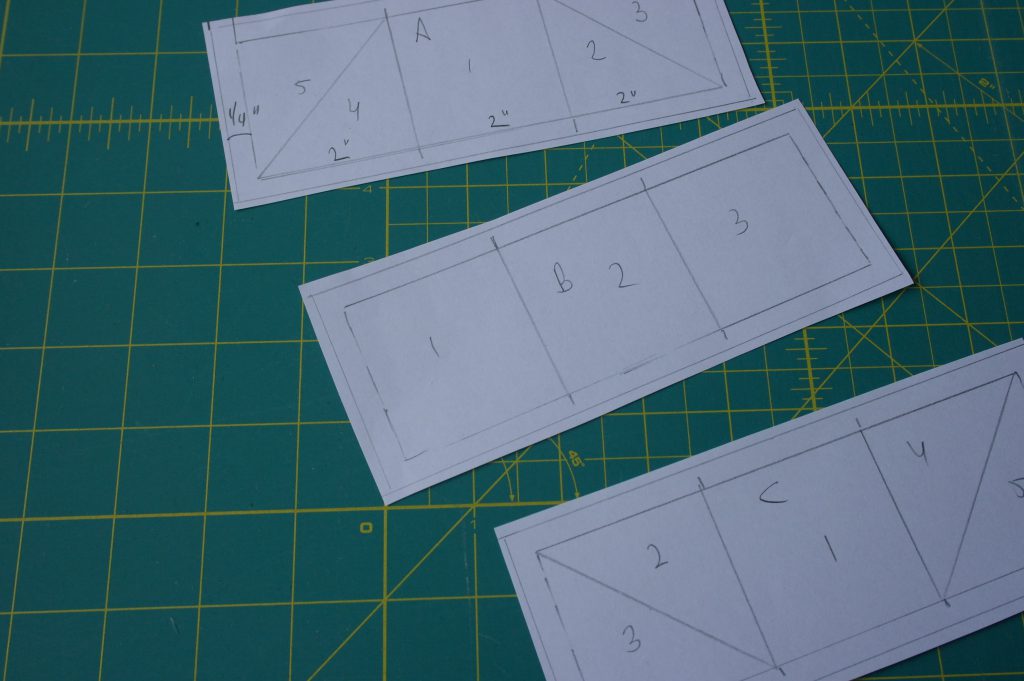
Cut these out BEYOND the outer solid line (edge of the seam allowances), to be sure all fabrics will be spaciously sewn over the edge of the Units.
Which block shall I make next?
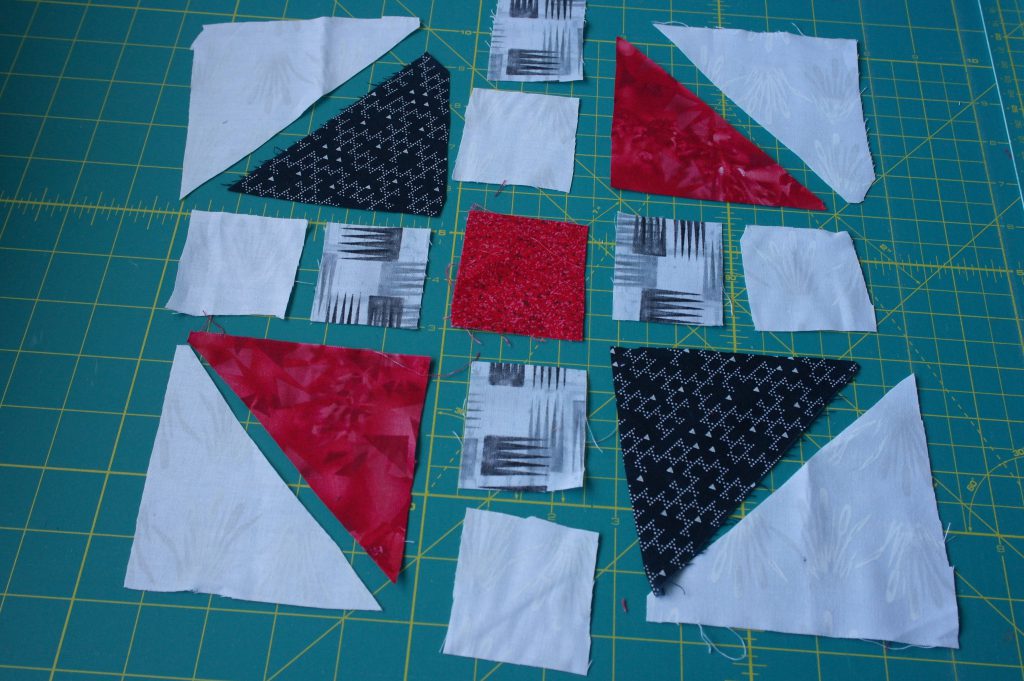
I have moved on to Chinese Coin – Block A9. The shape looks similar to A2, but the center is smaller. To convert to paper piecing, I have calculated it all and drawn three Units again, using my quilt ruler and pencil.
Gathered quilt fabrics, cut them in shape – much larger than needed – and placed them in order of sewing. As you can see, it won’t give a symmetric block, but that’s the idea.
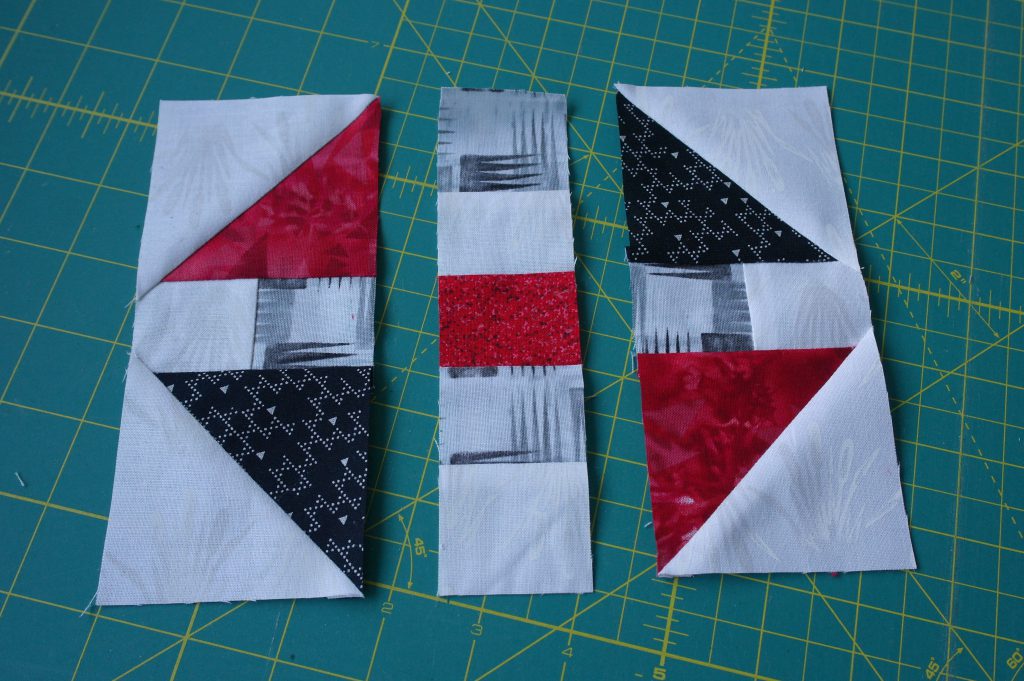
Sewn the three Units with fabrics: sewing, folding the fabrics to the right side, ironing them and cutting back the seam allowances with my Add-a-Quarter ruler and folding template, before placing the next fabric.
With assembly, to complete the block, I tore the paper away, and used my presser foot #97D for making accurate 1/4 inch seam allowanced.
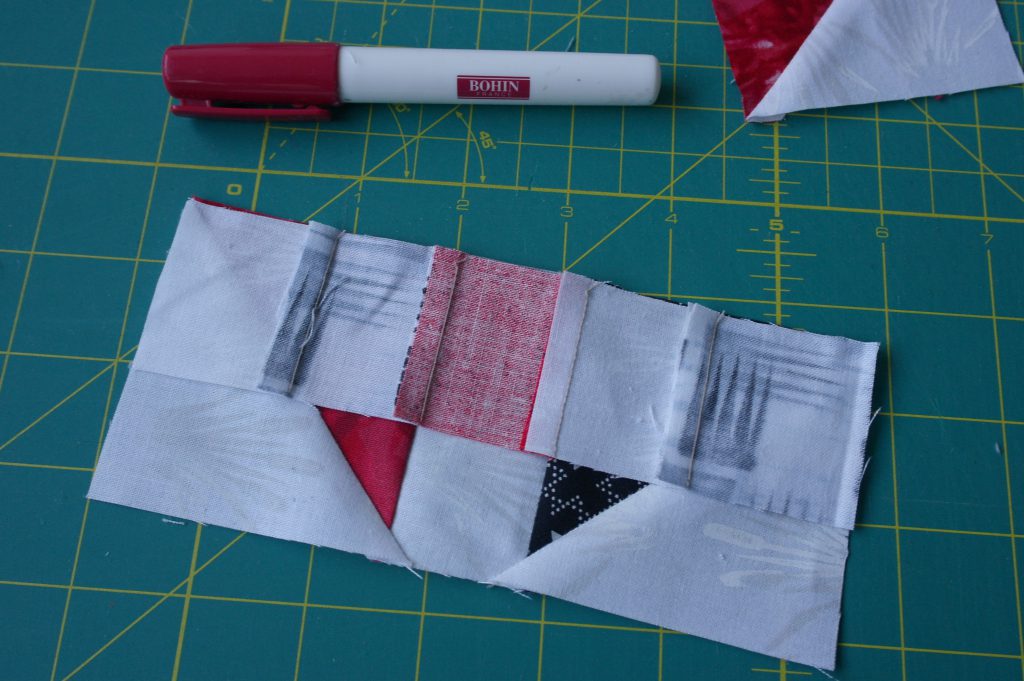
I have used the Bohin Glue pen on the seam allowances, instead of pins. This works fine to me, because nothing will shift while sewing.
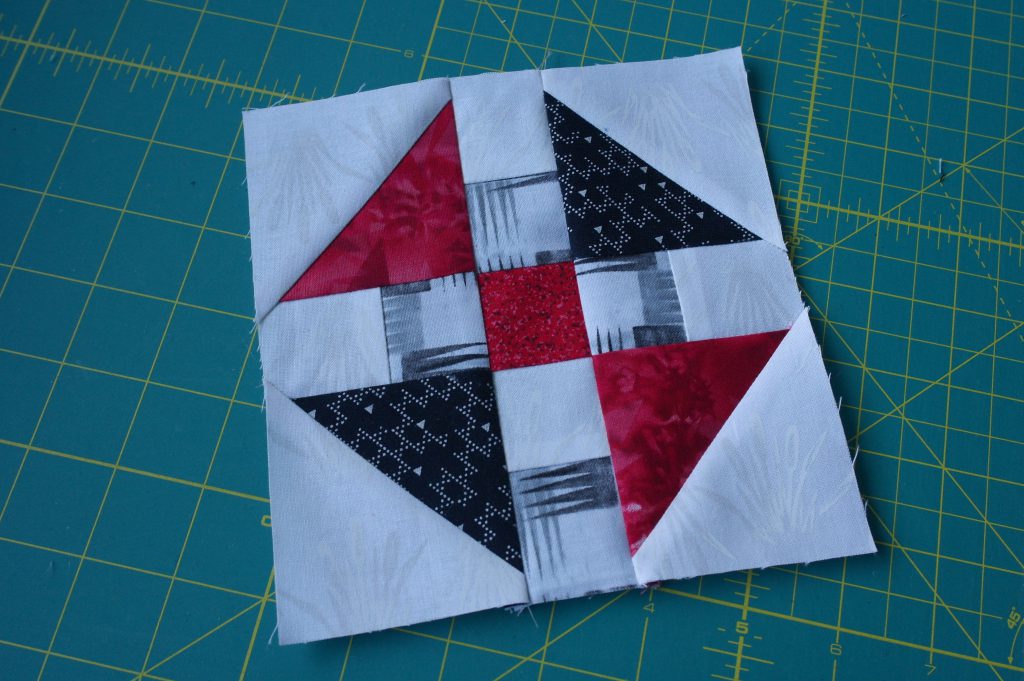
And this is my block A9. I have ‘added’ a ‘secret message’ with this block, like many quilters did in the past centuries. Can you see it? E
On to the next blocks. If you have made blocks, please show them in Community of this BERNINA Blog: so we can all enjoy them.
See you next time!
Sylvia Kaptein
Sylvia’s Art Quilts Studio
 BERNINA Corporate Blog -


0 Responses