 BERNINA Corporate Blog -
Sometimes it is fun to combine two different techniques: paper piecing patchwork and crochet. I’ve designed a Folklore style quilt, making paper piecing blocks*, using strips and triangles to create the top, and added crocheted flowers. Size approx. 92 x 125 cm.
The fabrics.
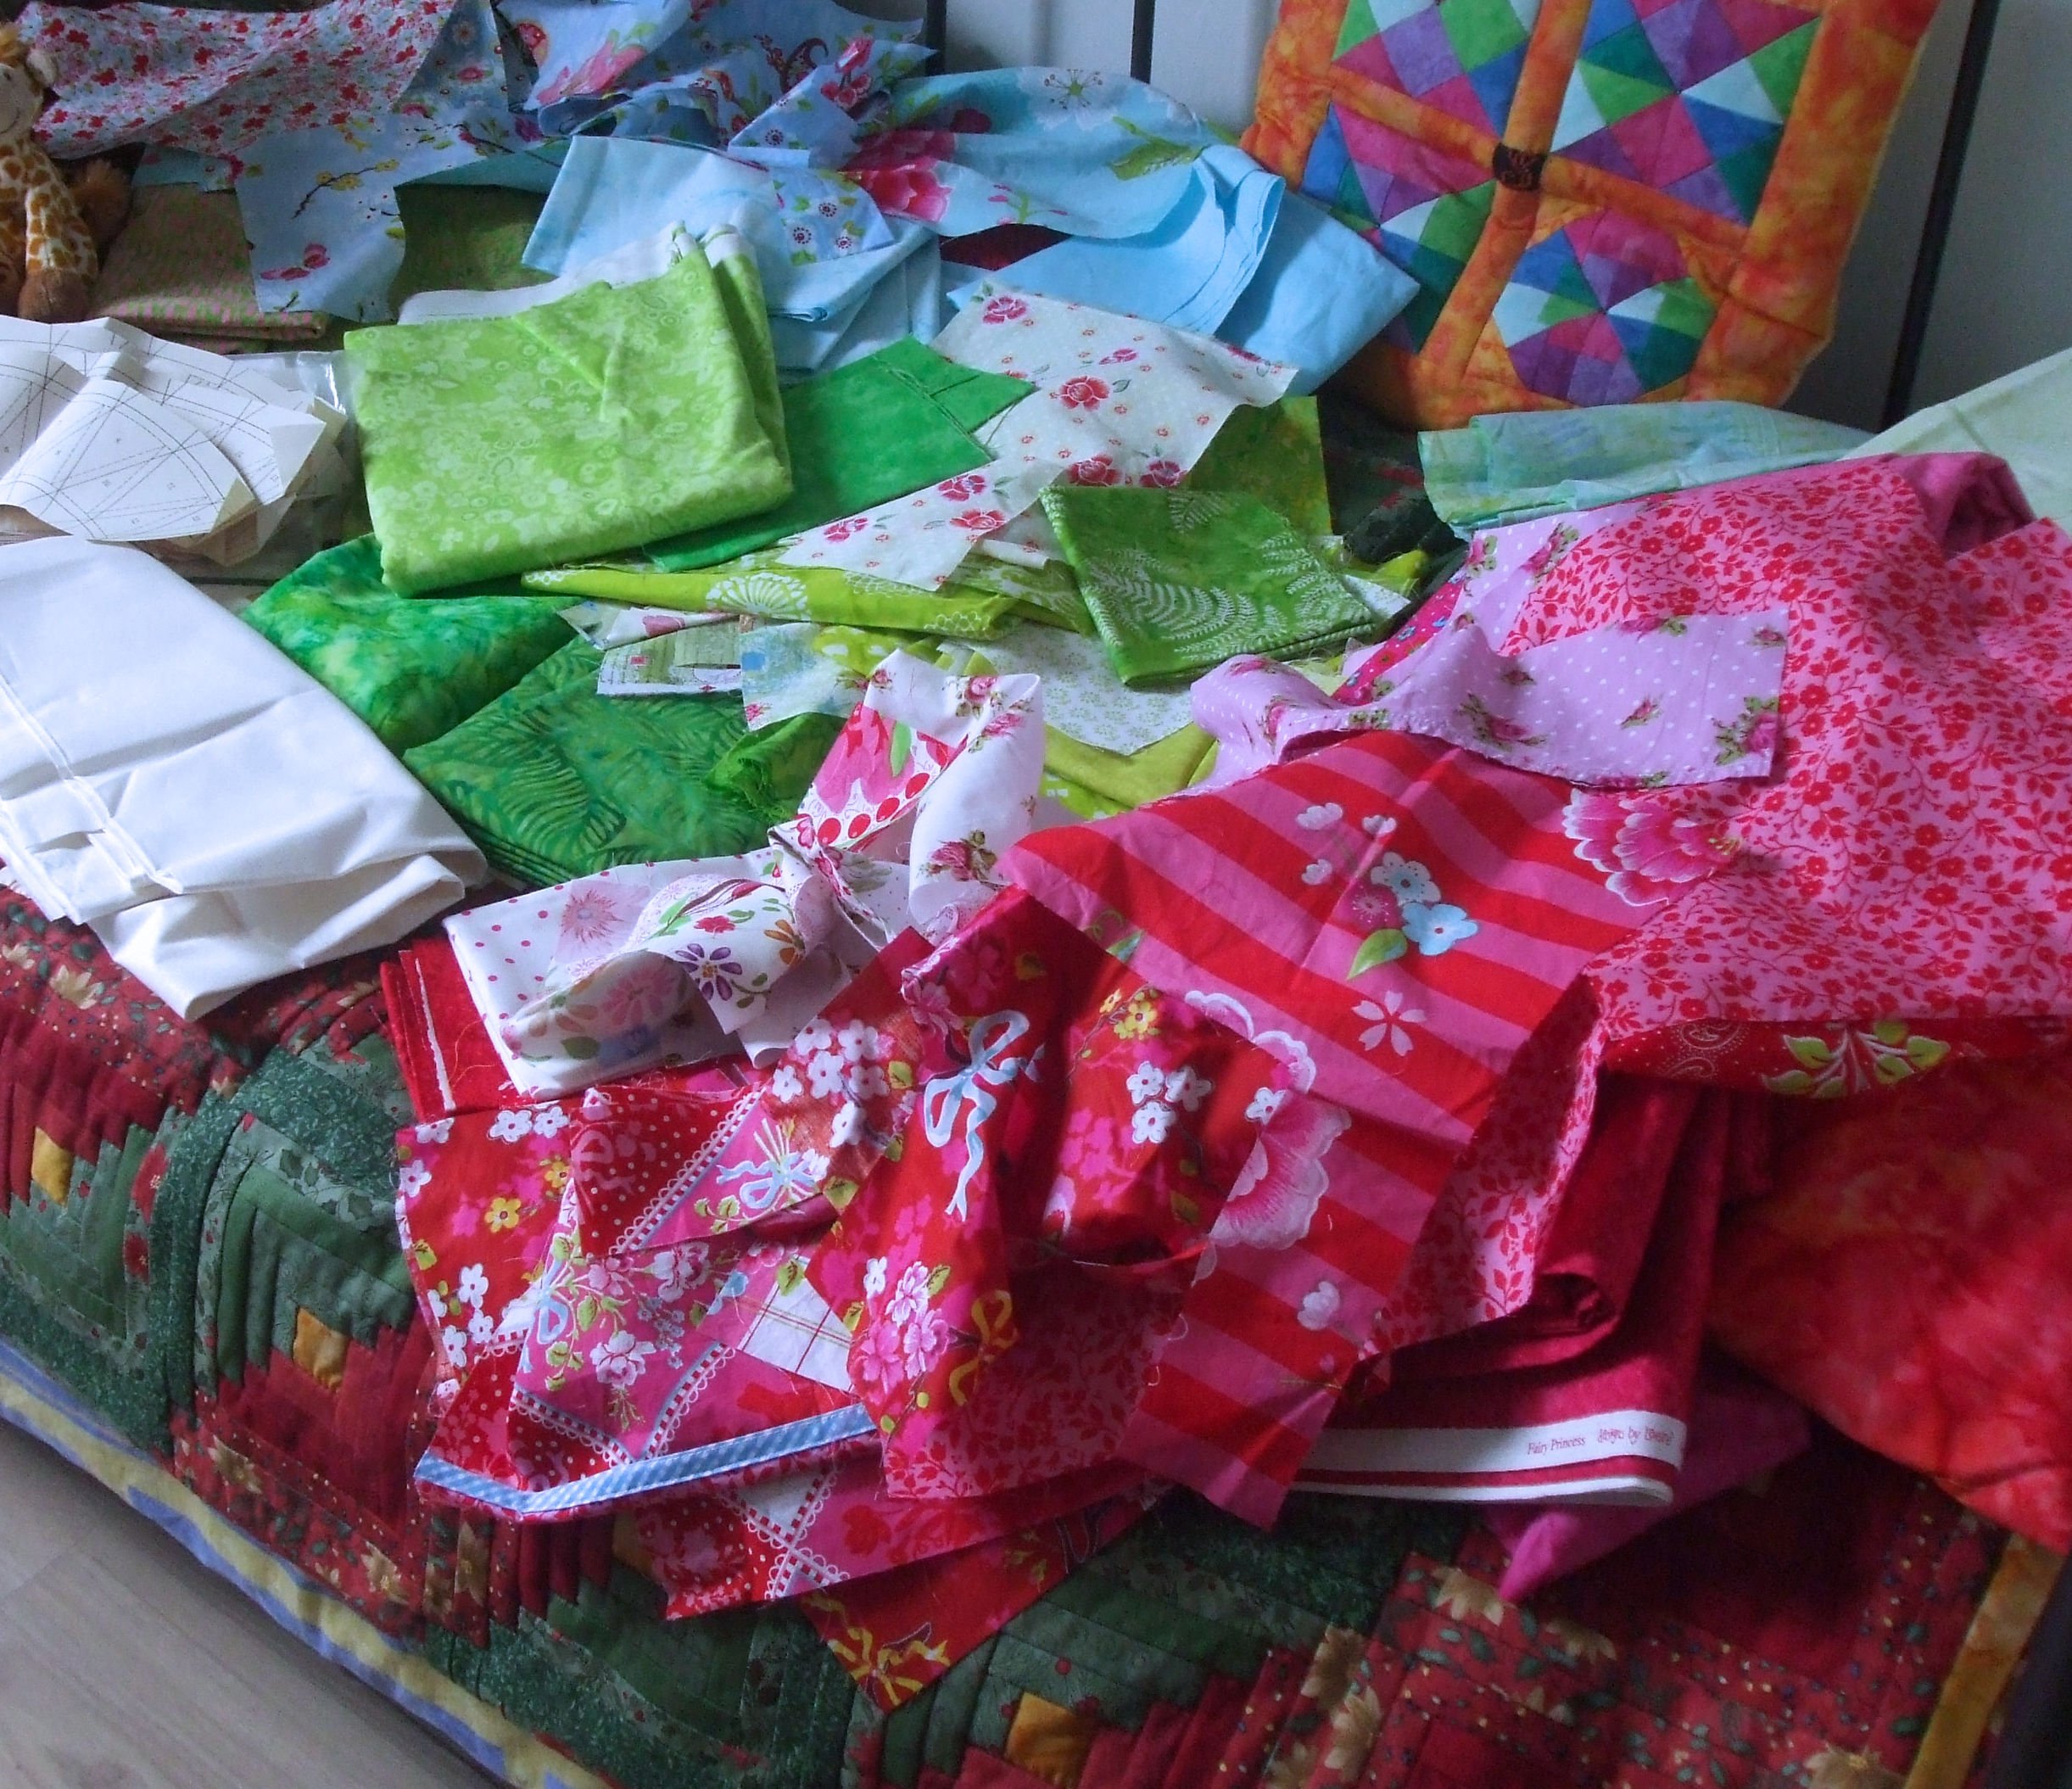
Combine different colors and prints of fabrics, bright and fresh. I have used pinks, reds, greens, light blues, mixing them up. The picture above shows my collection, but while making the quilt, I’ve added some more fabrics or small pieces. You will need small pieces for the Pineapple blocks, but also a lot of strips. Larger fabrics for the triangles, strips between it all and binding. To create the outer border, use remnants of this all.
- Use many different (remnants) of Folklore fabics, small and large, for the Pineapple blocks. Try to mix as much as possible. You will also need 15 squares with a large print for the center of each Pineapple block. I have found birds, butterflies and flowers.
- Dard pink/red fabric for the large triangles and the binding – 0.75×1.10m
- Light pink fabric for the triangles – 0.30×1.10m
- Bright green fabric for the long strips and sashings – 0.40×1.10m
- Bright colored bias strips: flowers, stripes etc, matching the fabrics (optical)
- Batting, 100% bambo0 – 1.35×1.10m
- Backing fabric – 1.35×1.10m
- Matching machine thread, machine quilting
- Bohin Glue Pen
Verder nodig:
- A .pdf pattern of a Pineapple block (blad 1) for making the paper piecing blocks 15×15 cm, and the .pdf pattern for the triangles A and B and the quilt layout (blad 2): you need to download these two pages. Use the red links
- Papers for Foundation Piecing – to print the .pdf paper piecing pattern on actual size, 15 x, or thin printer paper
- Template sheets, for the triangle templates A and B
- For crochet: Cotton 8/Scheepjes to make the flowers
- Pattern crocheted 3D flowers = .pdf, you can download it HERE
- Crochet needle (Soft Touch) 2.5mm or 3.0mm
Preparing the Pineapple blocks.
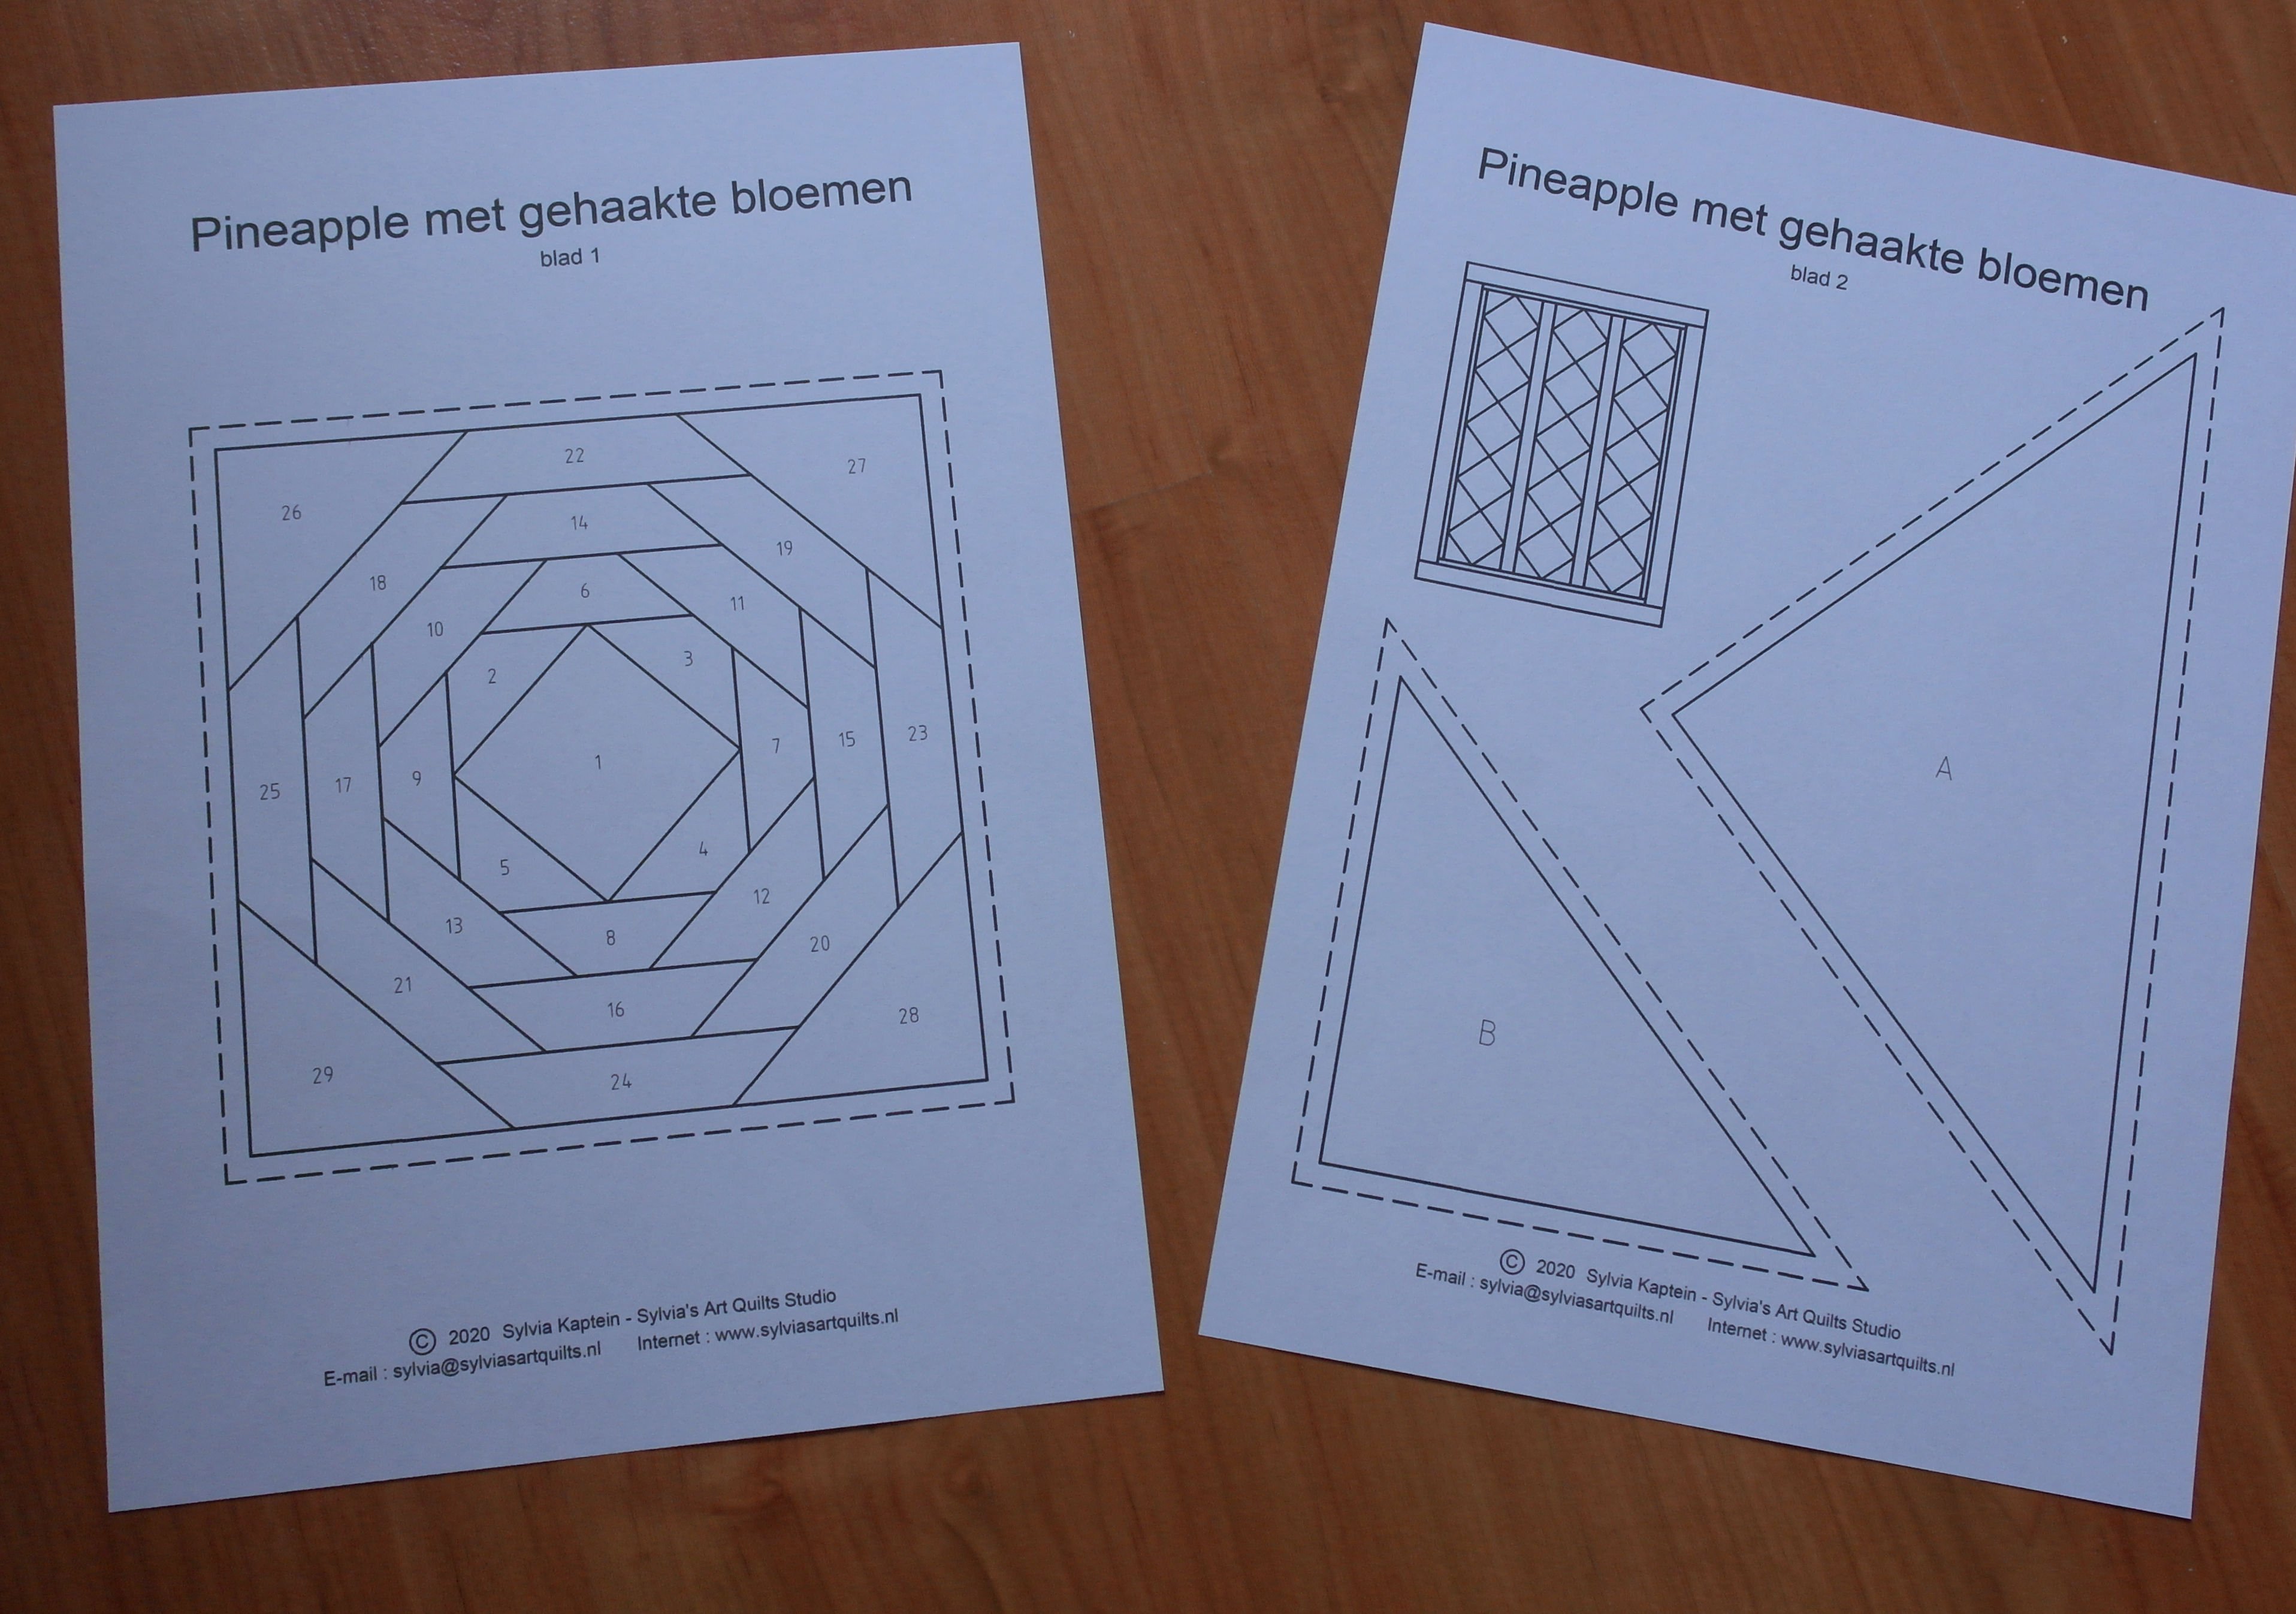
Print the .pdf pattern of the Pineapple block (blad 1) – 15x times, use Papers for Foundation Piecing = special paper piecing paper, or thin printer paper. Be sure to set your printer to 100%/actual size. You will make 15 blocks for this quilt. Print page 2/.pdf also – you will need this 1x.

- Cut squares for the center of the 15 blocks, each approx. 6 x 6 cm = section. 1. Use a large print; bird, butterfly, flower etc. PAY ATTENTION: because the blocks are set on point, cut the squares that way too. you don’t want a bird upside down or sideways.
- Cut strips of approx. 3.5 cm wide for the strips of the Pineapple blocks. You will use them randomly, mixing colors and prints during paper piecing.
- Cut fabrics for the small triangles at the four corners of each block. Cut them large enough to cover the section + seam allowance + add extra fabric to be sure all is covered.
TIP: you can cut a 10x10cm square, cut it diagonally to get 2 triangles. Both will be large enough to use for the corners of the blocks.
Creating the blocks via paper piecing.
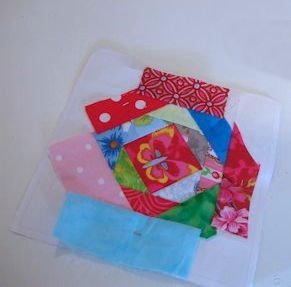
Glue the fabric for section 1 = center of the block, on the ’empty side’ of the paper foundation. Be sure the print is visible, even after adding the strips for the next sections. Again, the block will be positioned on point in the quilt, remember that.
Cut back the seam allowances, add the next strip for the next section on sewing line between 1 and 2, sew this onto the paper foundation.
Fold the fabric to the right side, press it when needed and add strip for section 3. Continue with 4, 5 etc. Be sure the fabric of the strips touching the sides are protruding.
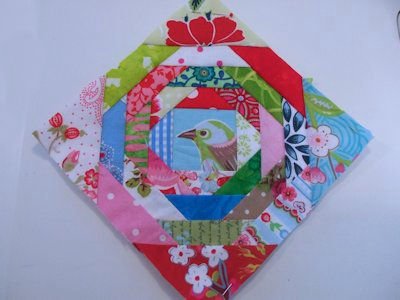
Last the triangles for sections 22, 23, 24 and 25 are added. These should be larger than the paper piecing block too.
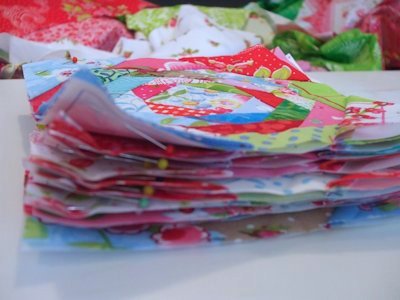
That’s a pile of bright colored Pineapples. Cut each block on the dotted line = outer edge of the seam allowance. You can remove the paper at this point, but PAY ATTENTION: each seam allowance is 0,5cm. Working with your quarter inch presser foot is not an option. Therefore it is better to leave the paper behind the blocks until the entire top is ready.
Next, fabrics for strips and triangles.
Cut 5 strips of 4 cm x 1.10m from the dark pink/red fabric: put this aside to use for the binding, when the quilting is finished.
Cut two templates, each for a triangle A and B, seam allowances included. If you find it easier, cut two more templates without seam allowances, each for A and B. You will need sewing lines, first the larger template is placed on the back of the fabric to draw around, then the smaller template is placed inside these lines to draw the actual size with sewing lines.
Draw around the large triangle A template (seam allowance included, afterwards use the template without seam allowances to draw a sewing line) at the back of the dark pink/red fabric. You will need a total of 16 triangles. Alternate direction but keep them aligned in length.
Draw around the smaller triangle B template (seam allowance included, afterwards use the template without seam allowances to draw a sewing line) at the back of the dark pink/red fabric. You will need a total of 8 triangles. Alternate direction but keep them aligned in length.
Draw around the large triangle A template (seam allowance included, afterwards use the template without seam allowances to draw a sewing line) at the back of the light pink fabric. You will need a total of 8 triangles. Alternate direction but keep them aligned in length.
Draw around the smaller triangle B template (seam allowance included, afterwards use the template without seam allowances to draw a sewing line) at the back of the light pink fabric. You will need a total of 4 triangles. Alternate direction but keep them aligned in length.
You can place the templates for A and B without seam allowances inside the lines, to draw sewing lines.

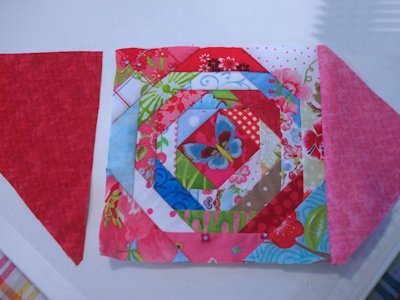
Place the 15 Pineapple blocks on point, position them on a flat surface/table the way they will be positioned in the quilt, forming 3 rows. Be sure the center squares with the large print are pointing upwards. Place the large dark red/pink triangles on each side of the blocks in the middle, and on the left/right side of the left/right row. Place the light pink triangles at both sides of the outer rows.
Place the smaller triangles at top and bottom, dark red/pinks matching the colors, and light pinks at the sides. TIP: use the quilt layout of the .pdf for placement.
If you want to mix the dark red/pinks and light pinks, it is up to you.

Sew two triangles onto a Pineapple block – be sure to pick the fabrics/block up, sewing it, and replace them to keep your overview. Move on with the next block and triangles etc.
With some Pineapple blocks, the smaller triangle B is sewn onto one side: be sure to use the right side.
Sew each block with triangle onto the next to create the larger rows, each with 5 Pineapple blocks.
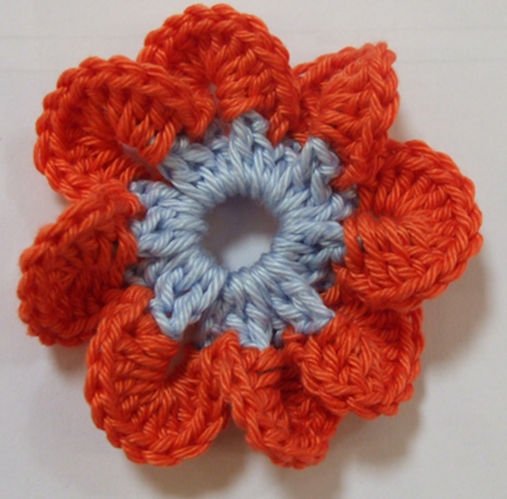
Next time assembling the quilt and sewing the crocheted 3D flowers: the directions for crocheting can be found on the separate .pdf, above. Making these flowers is fun to do: in front of the TV or while commuting. I have made 62, each with a white heart but with different colors.
Of course you can make them after finishing the quilt. Or leave them out if you don’t want to crochet.
See you next time!
Happy quilting
Sylvia Kaptein
Sylvia’s Art Quilts Studio
*Knowledge of paper piecing is required. There are a lot of older Blog posts where you can find how to work via the paper piecing technique.


0 Responses