 BERNINA Corporate Blog -
Hello my sewing friends
Today I have another bra-related post for you! Now, DISCLAIMER this is the way I sew my elastics and I have had a very good experience with these methods in the 100+ bras und undies I’ve sewn. This might be different for you, so leave a comment with your preferred method. Also, please note that I’ve used a contrasting thread color on purpose so you can actually see the stitching – on a regular project I would use matching thread of course!
This is part 1 of the elastic series. Part 2 will follow tomorrow and I’ll link to it here.
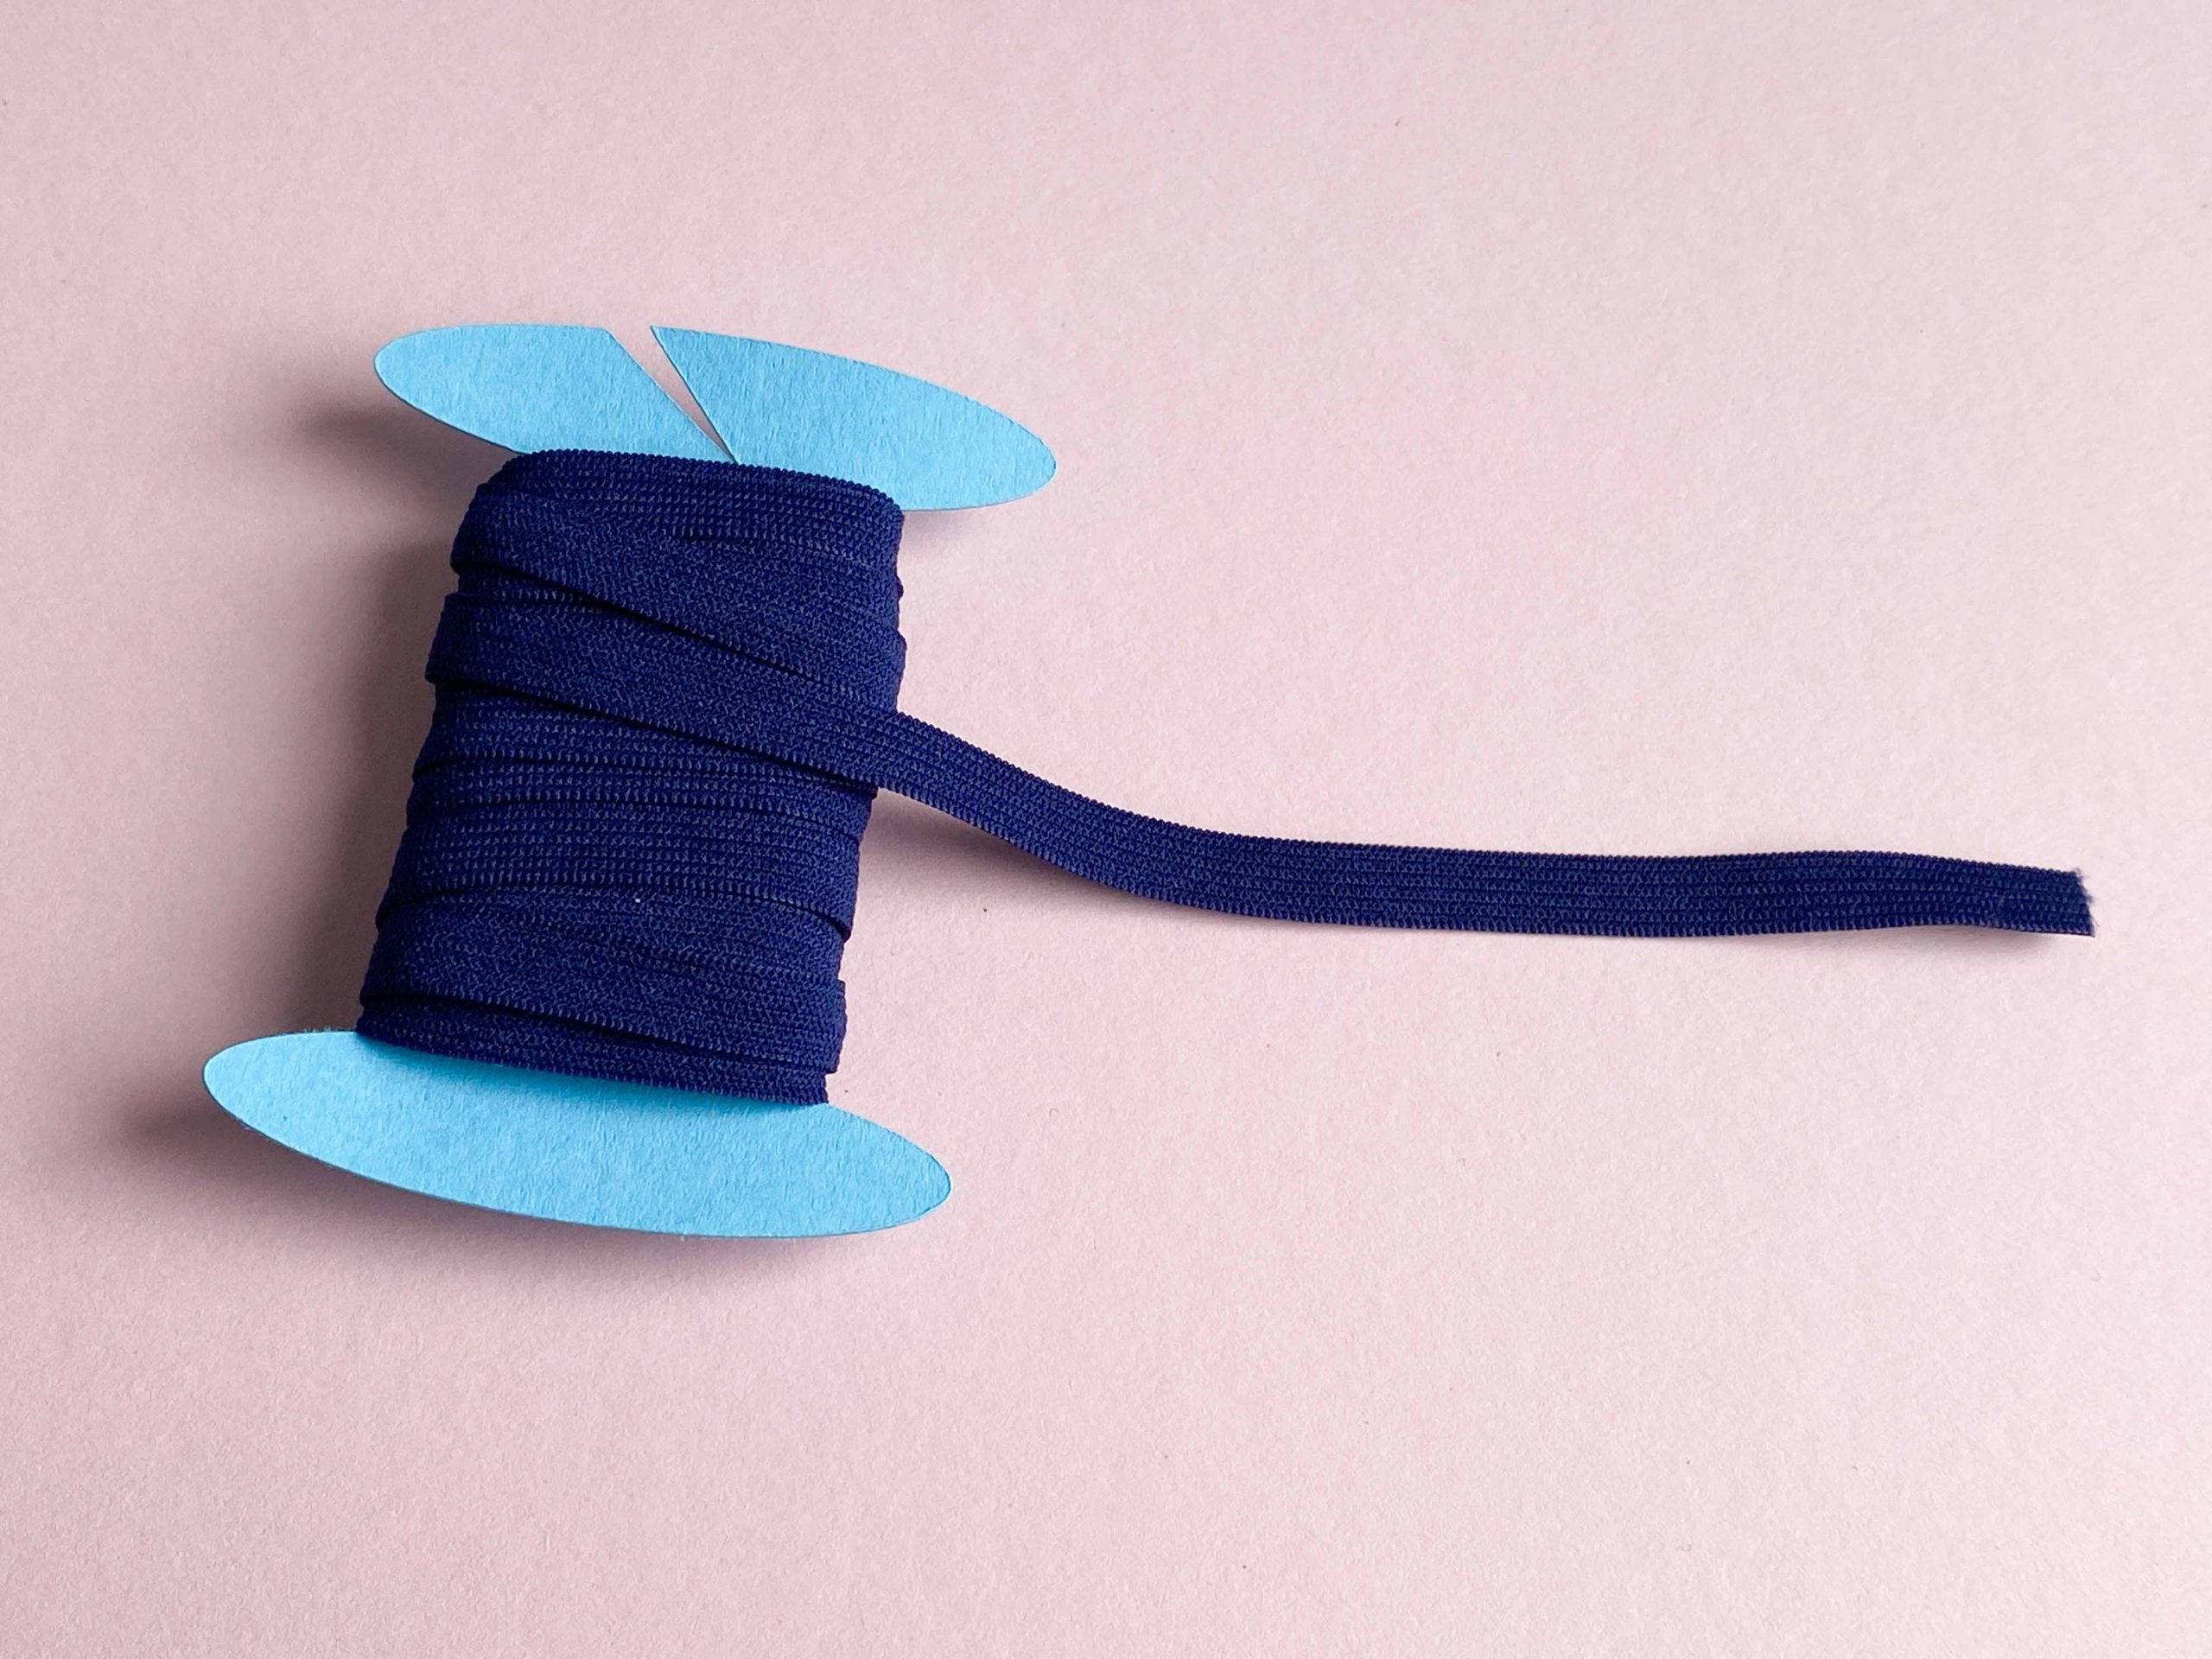
Wide Elastic
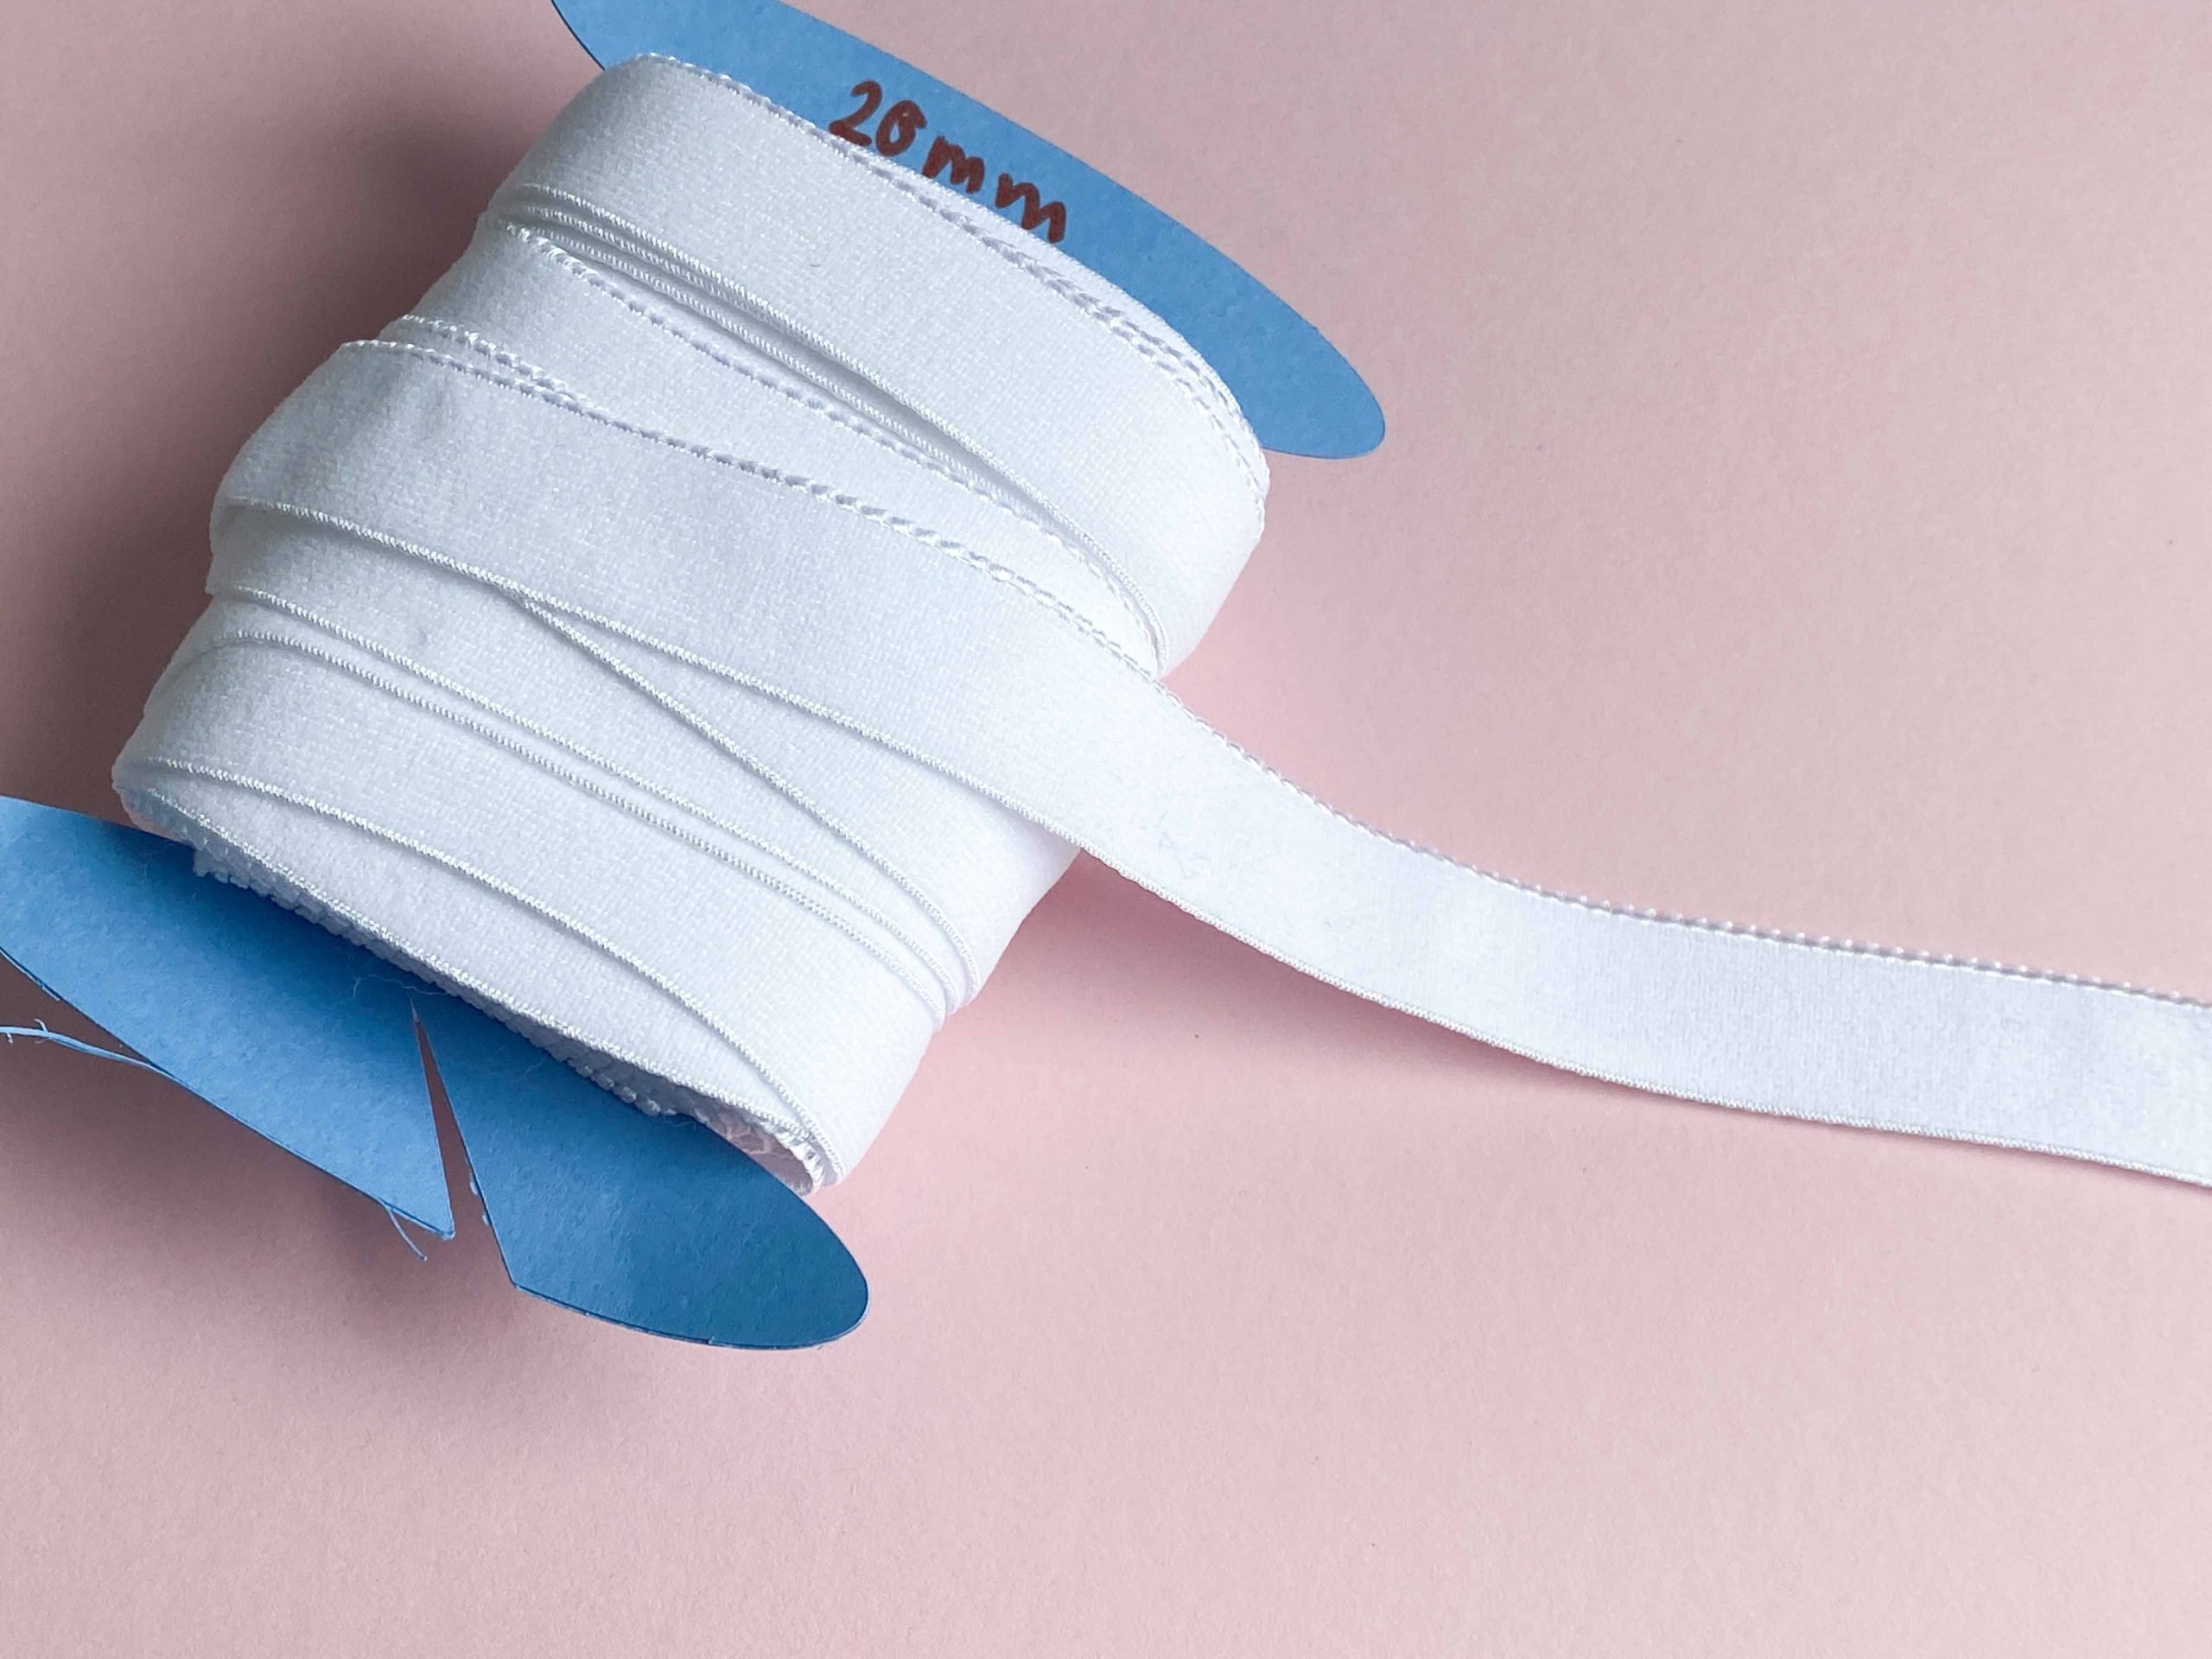
Underband or underarm picot elastic
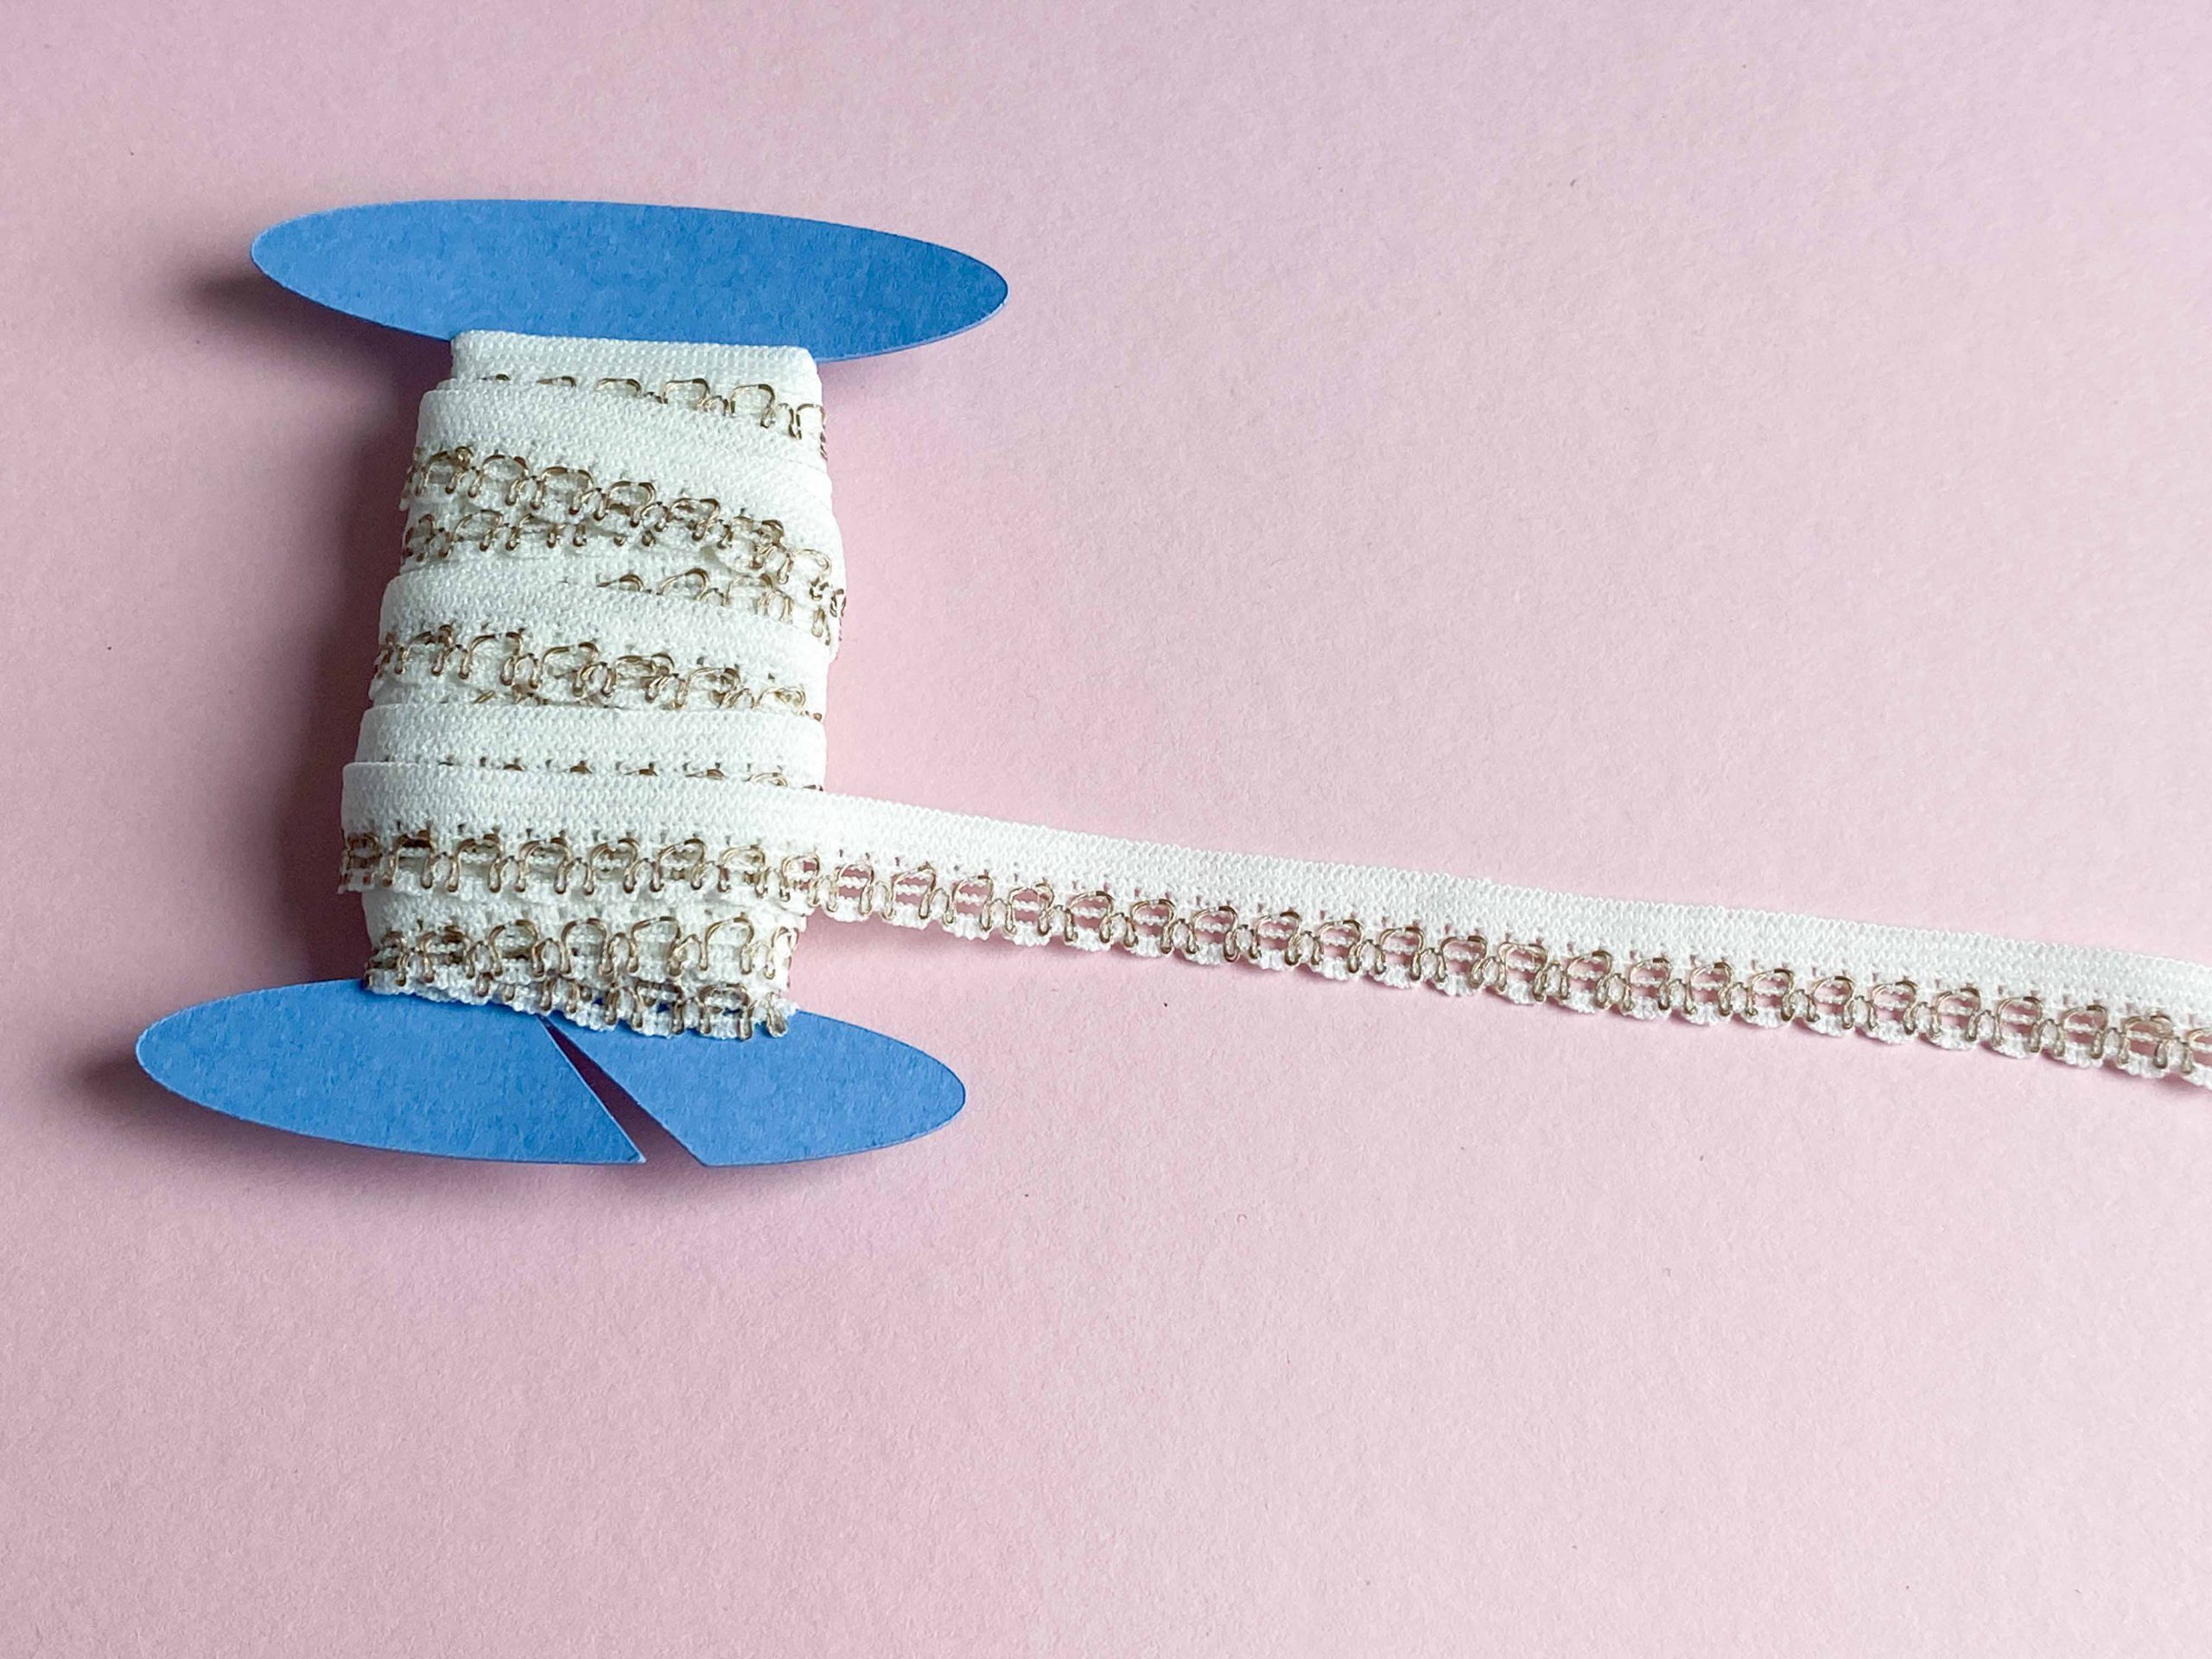
Narrow picot elastic (for undies)
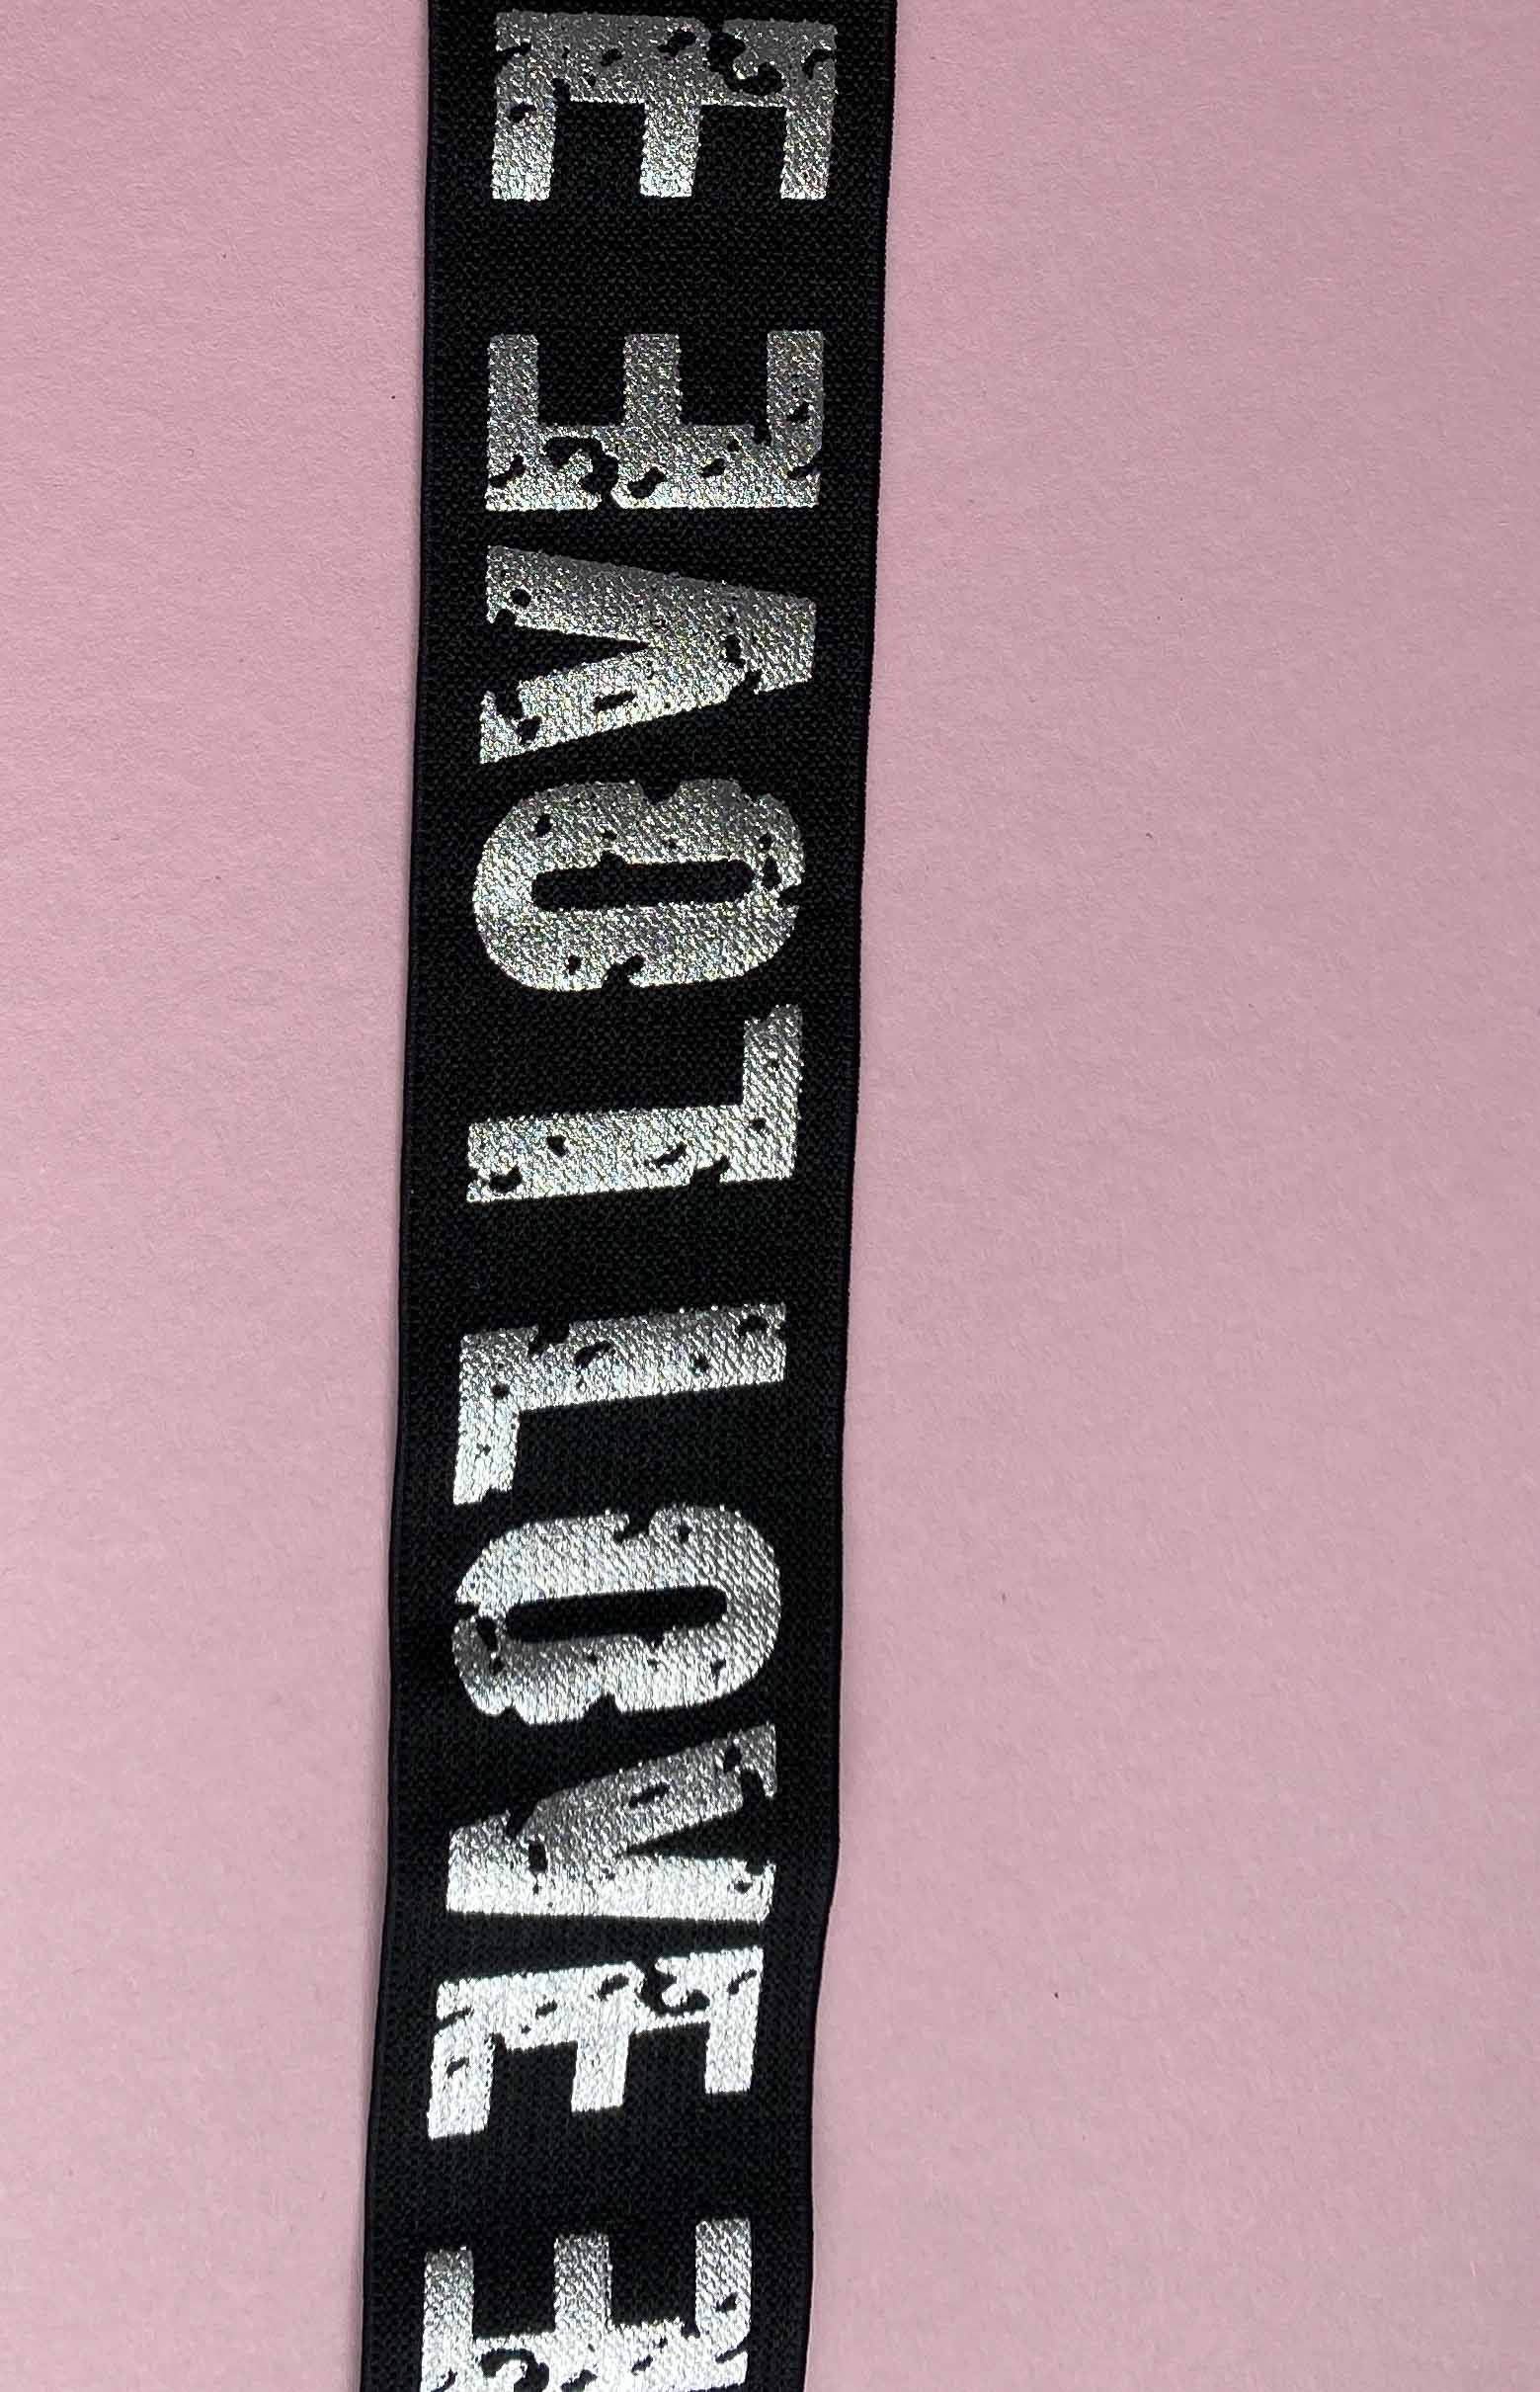
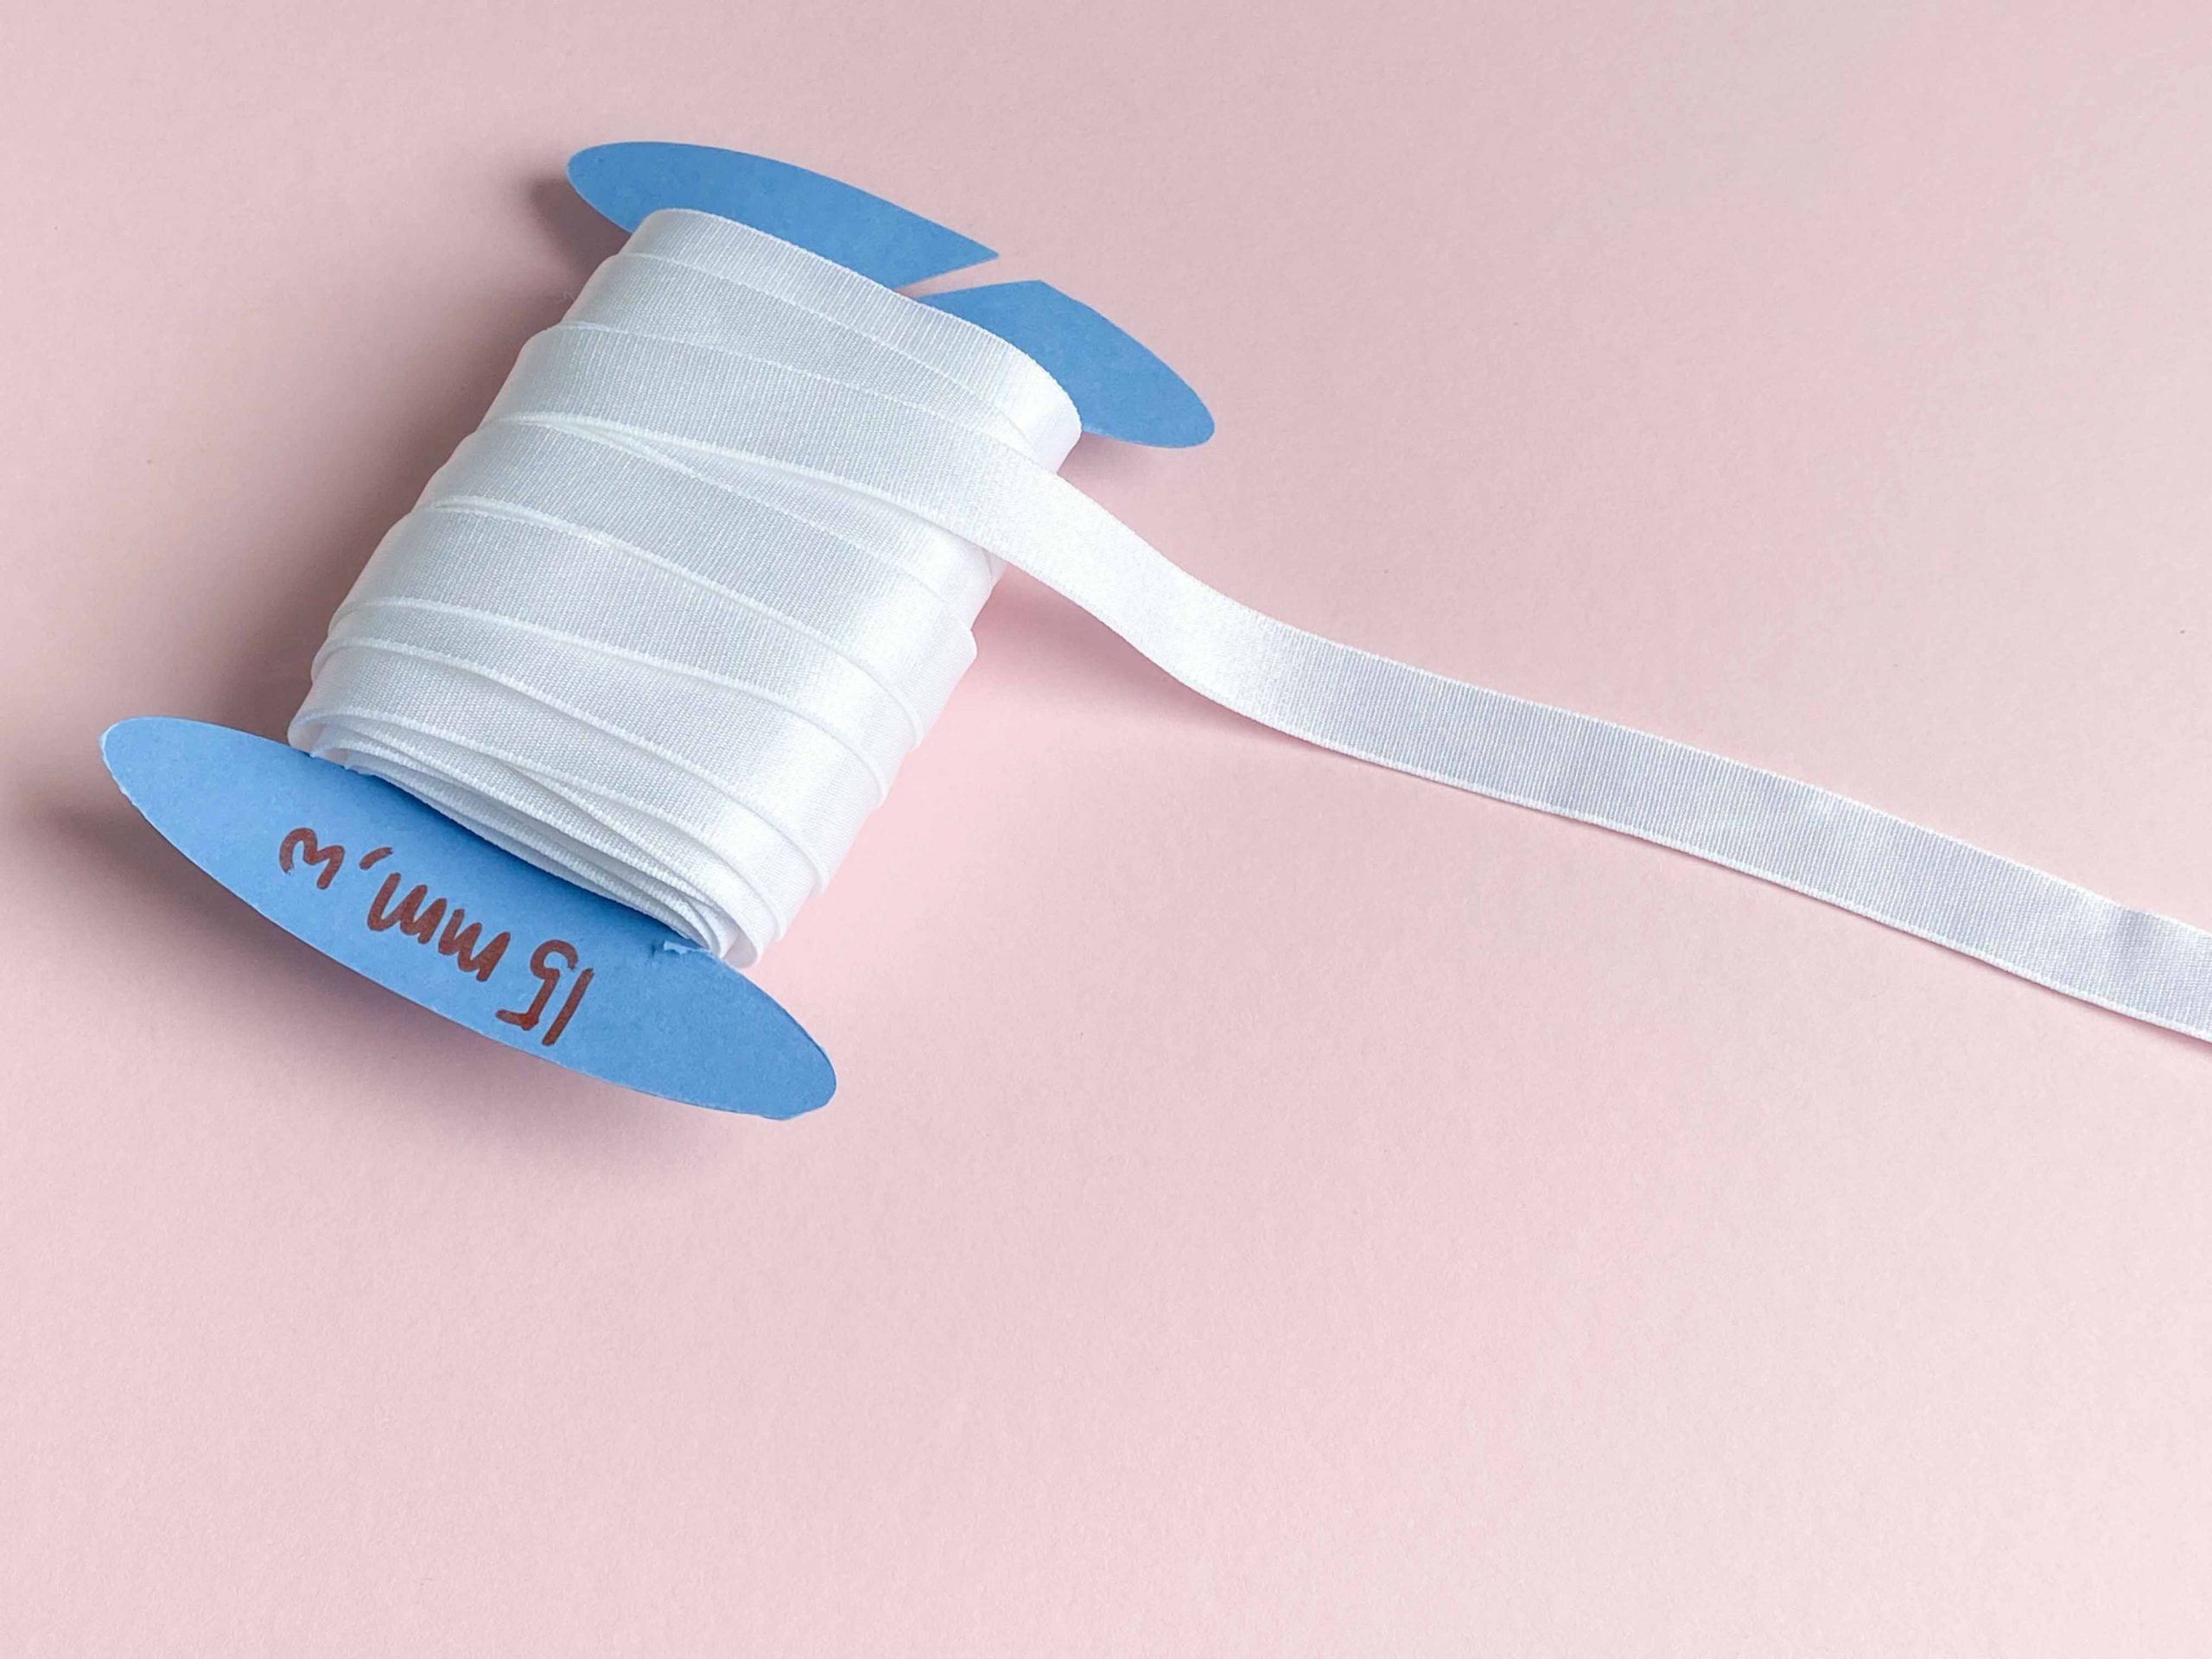
Fold-over elastic (FOE)
Fold-over elastic with pattern (picot edges)

Piping elastic
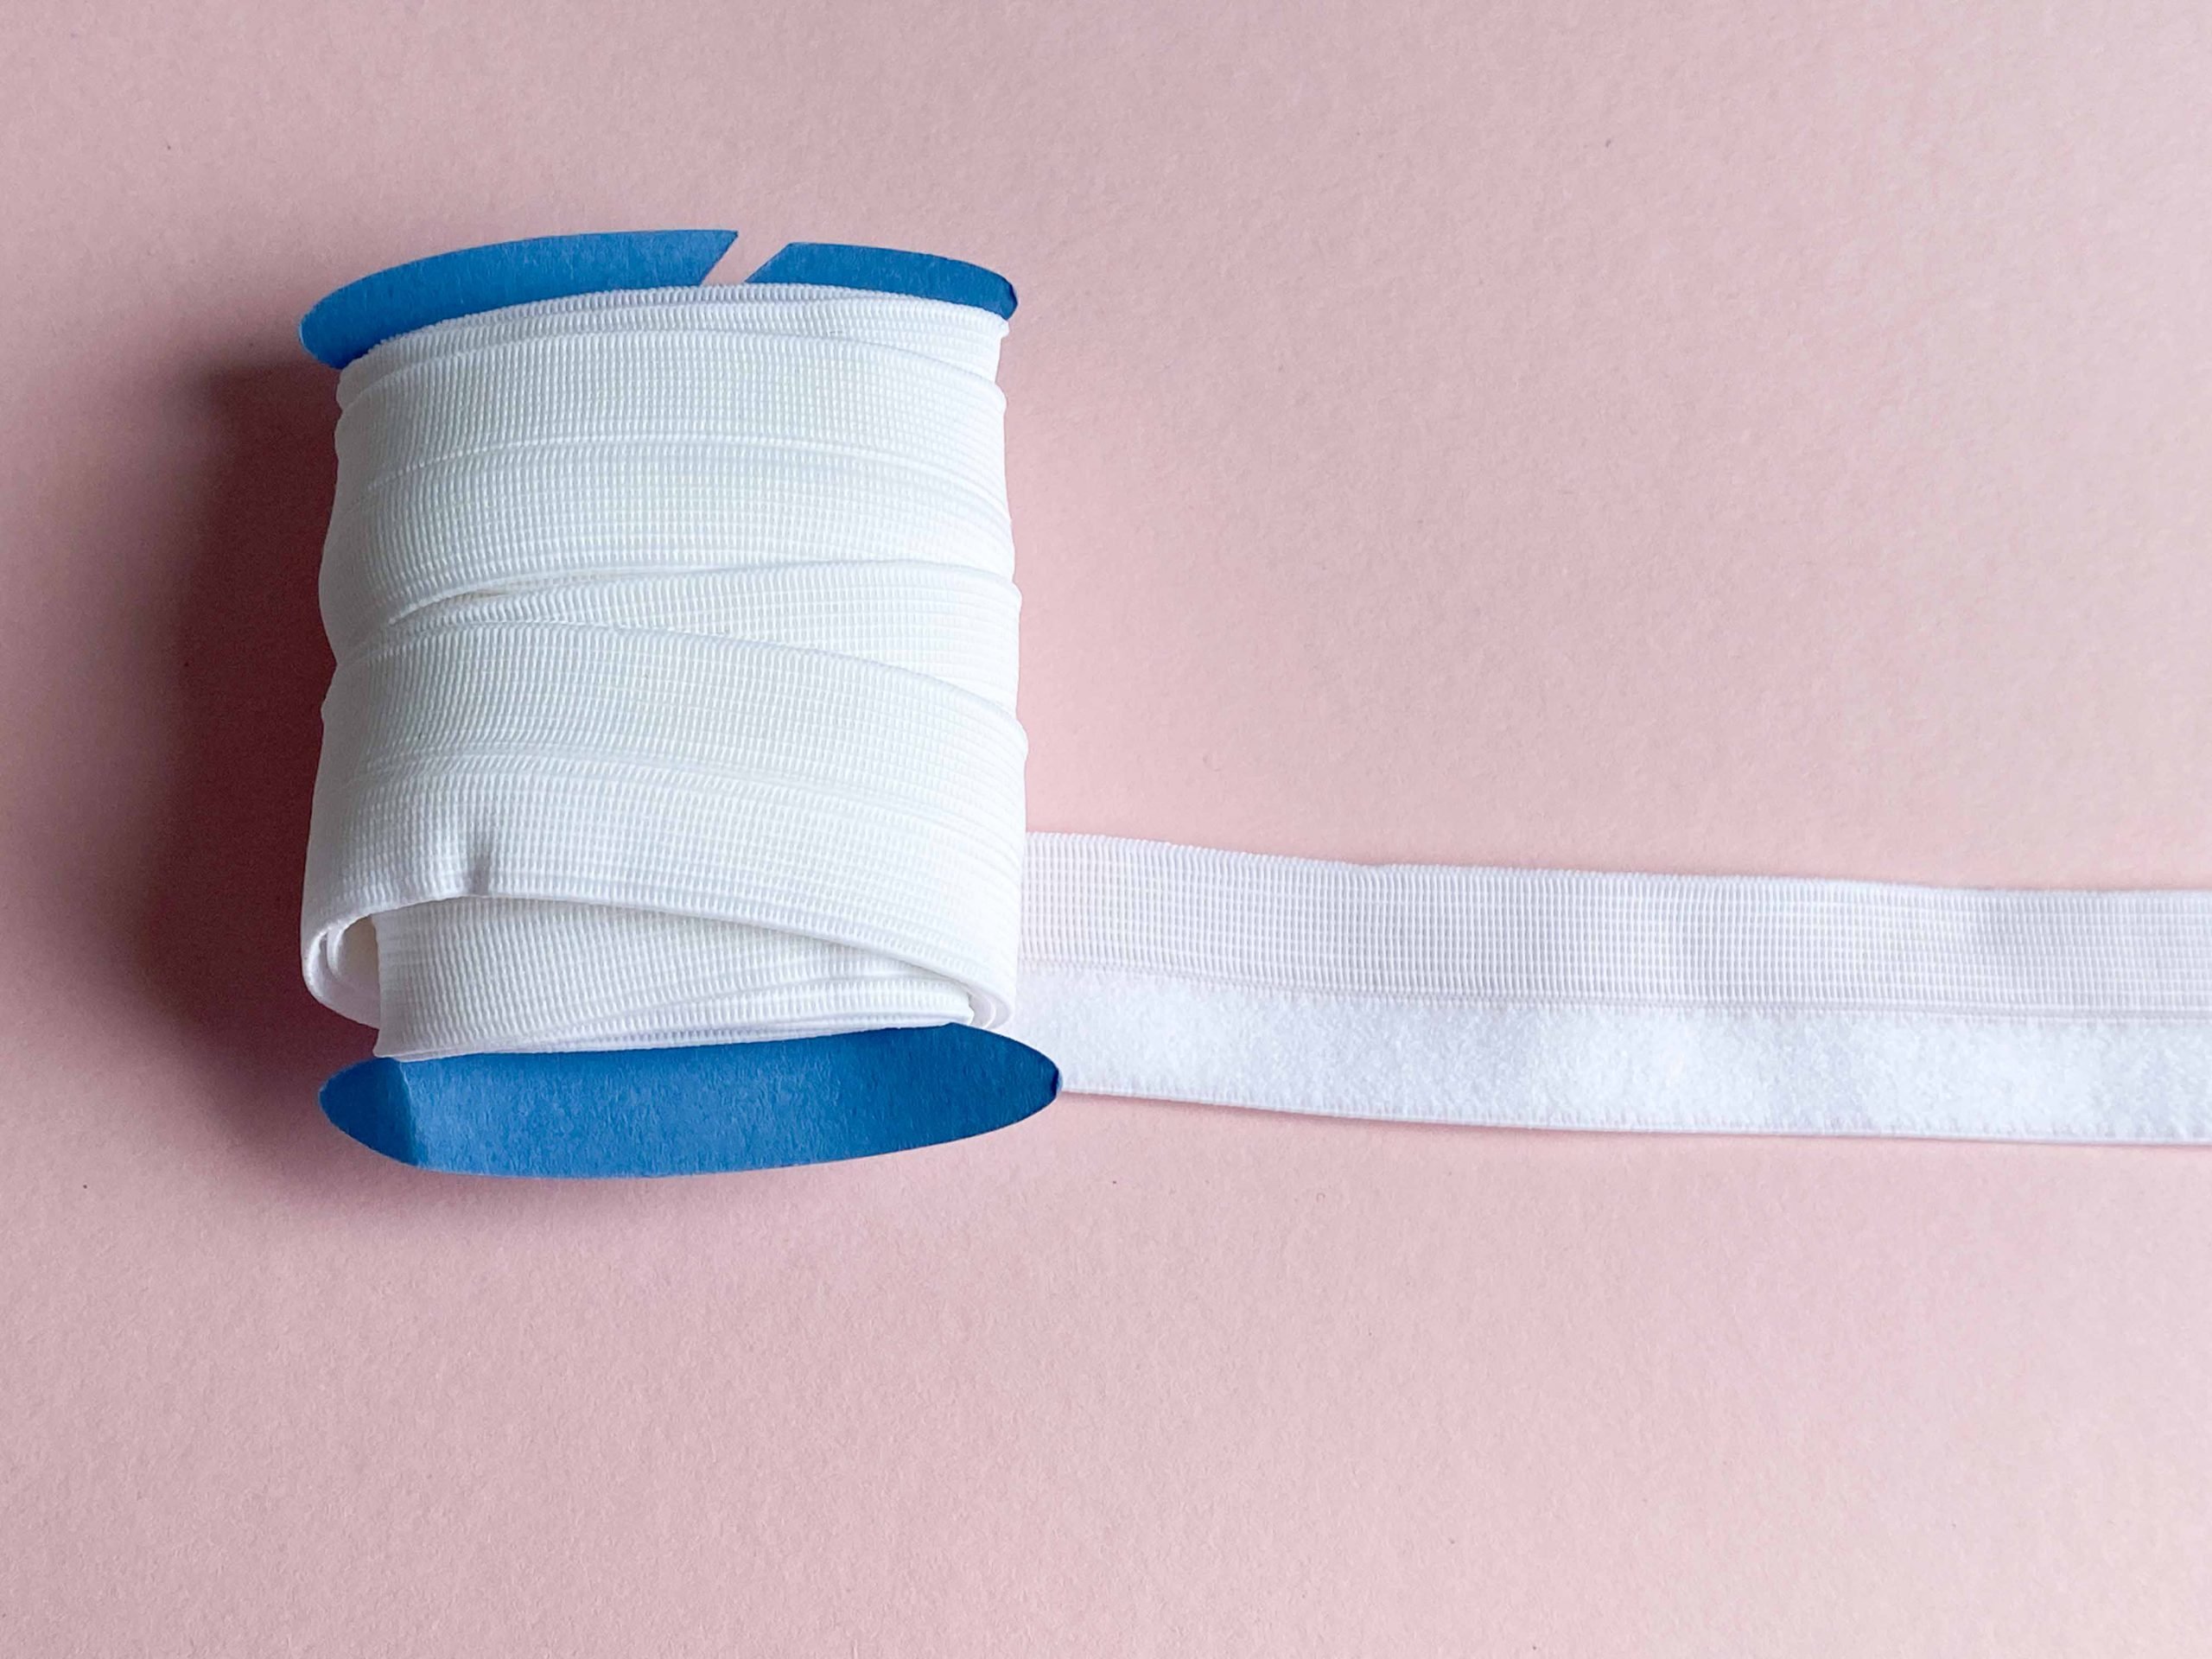
Regular underwear elastic
Swimwear elastic
Strap elastic
Basic info
If I used a regular zigzag I chose to sew it 2.5 length and 3.5 width on my Bernina B590. If I used a three-step zigzag it’s a 3.9 wide and 1.15 length. If I used a straight stitch I used a stitch length of 2.5.
As a rule I hold the elastic taught while sewing. It just needs a bit of resistance – don’t let it just glide through your fingers.
I used basic cotton jersey leftovers from my Fulton Sweater Blazer project to illustrate these techniques. This particular print and substrate are from Spoonflower.
I will link all the sources of the different elastics below, so you can check them out for yourselves.
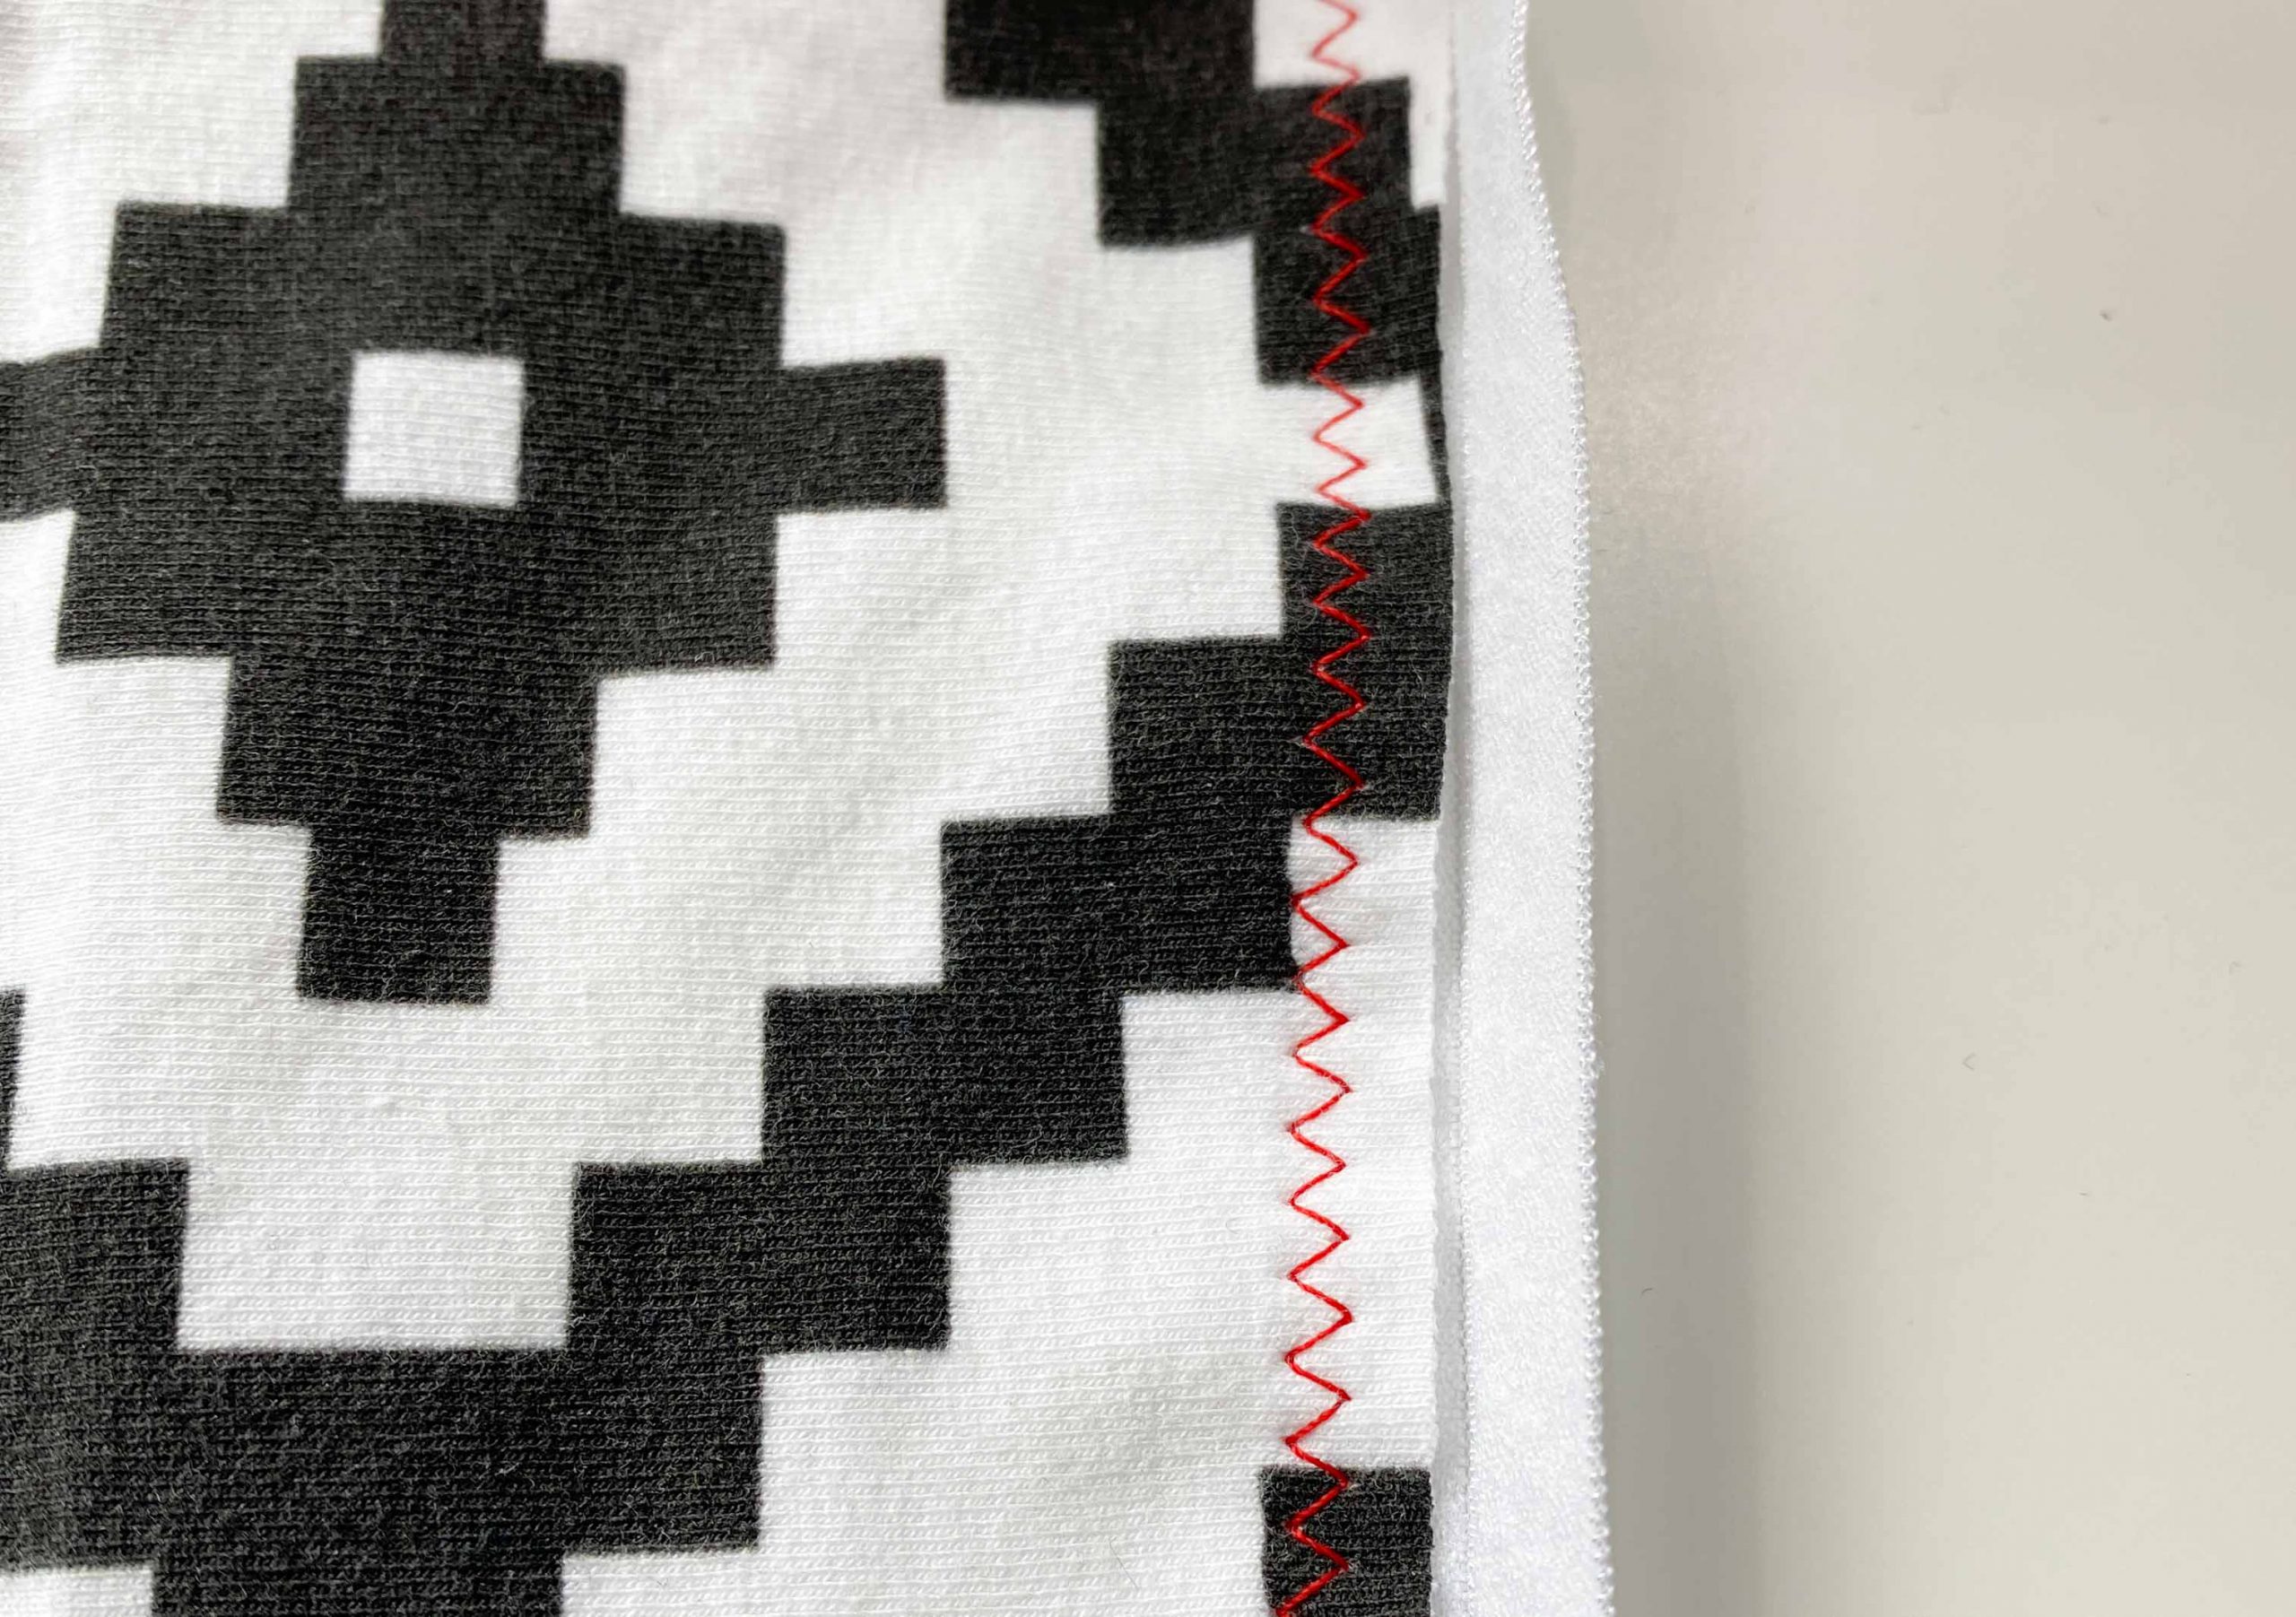
Wide Underwear Elastic
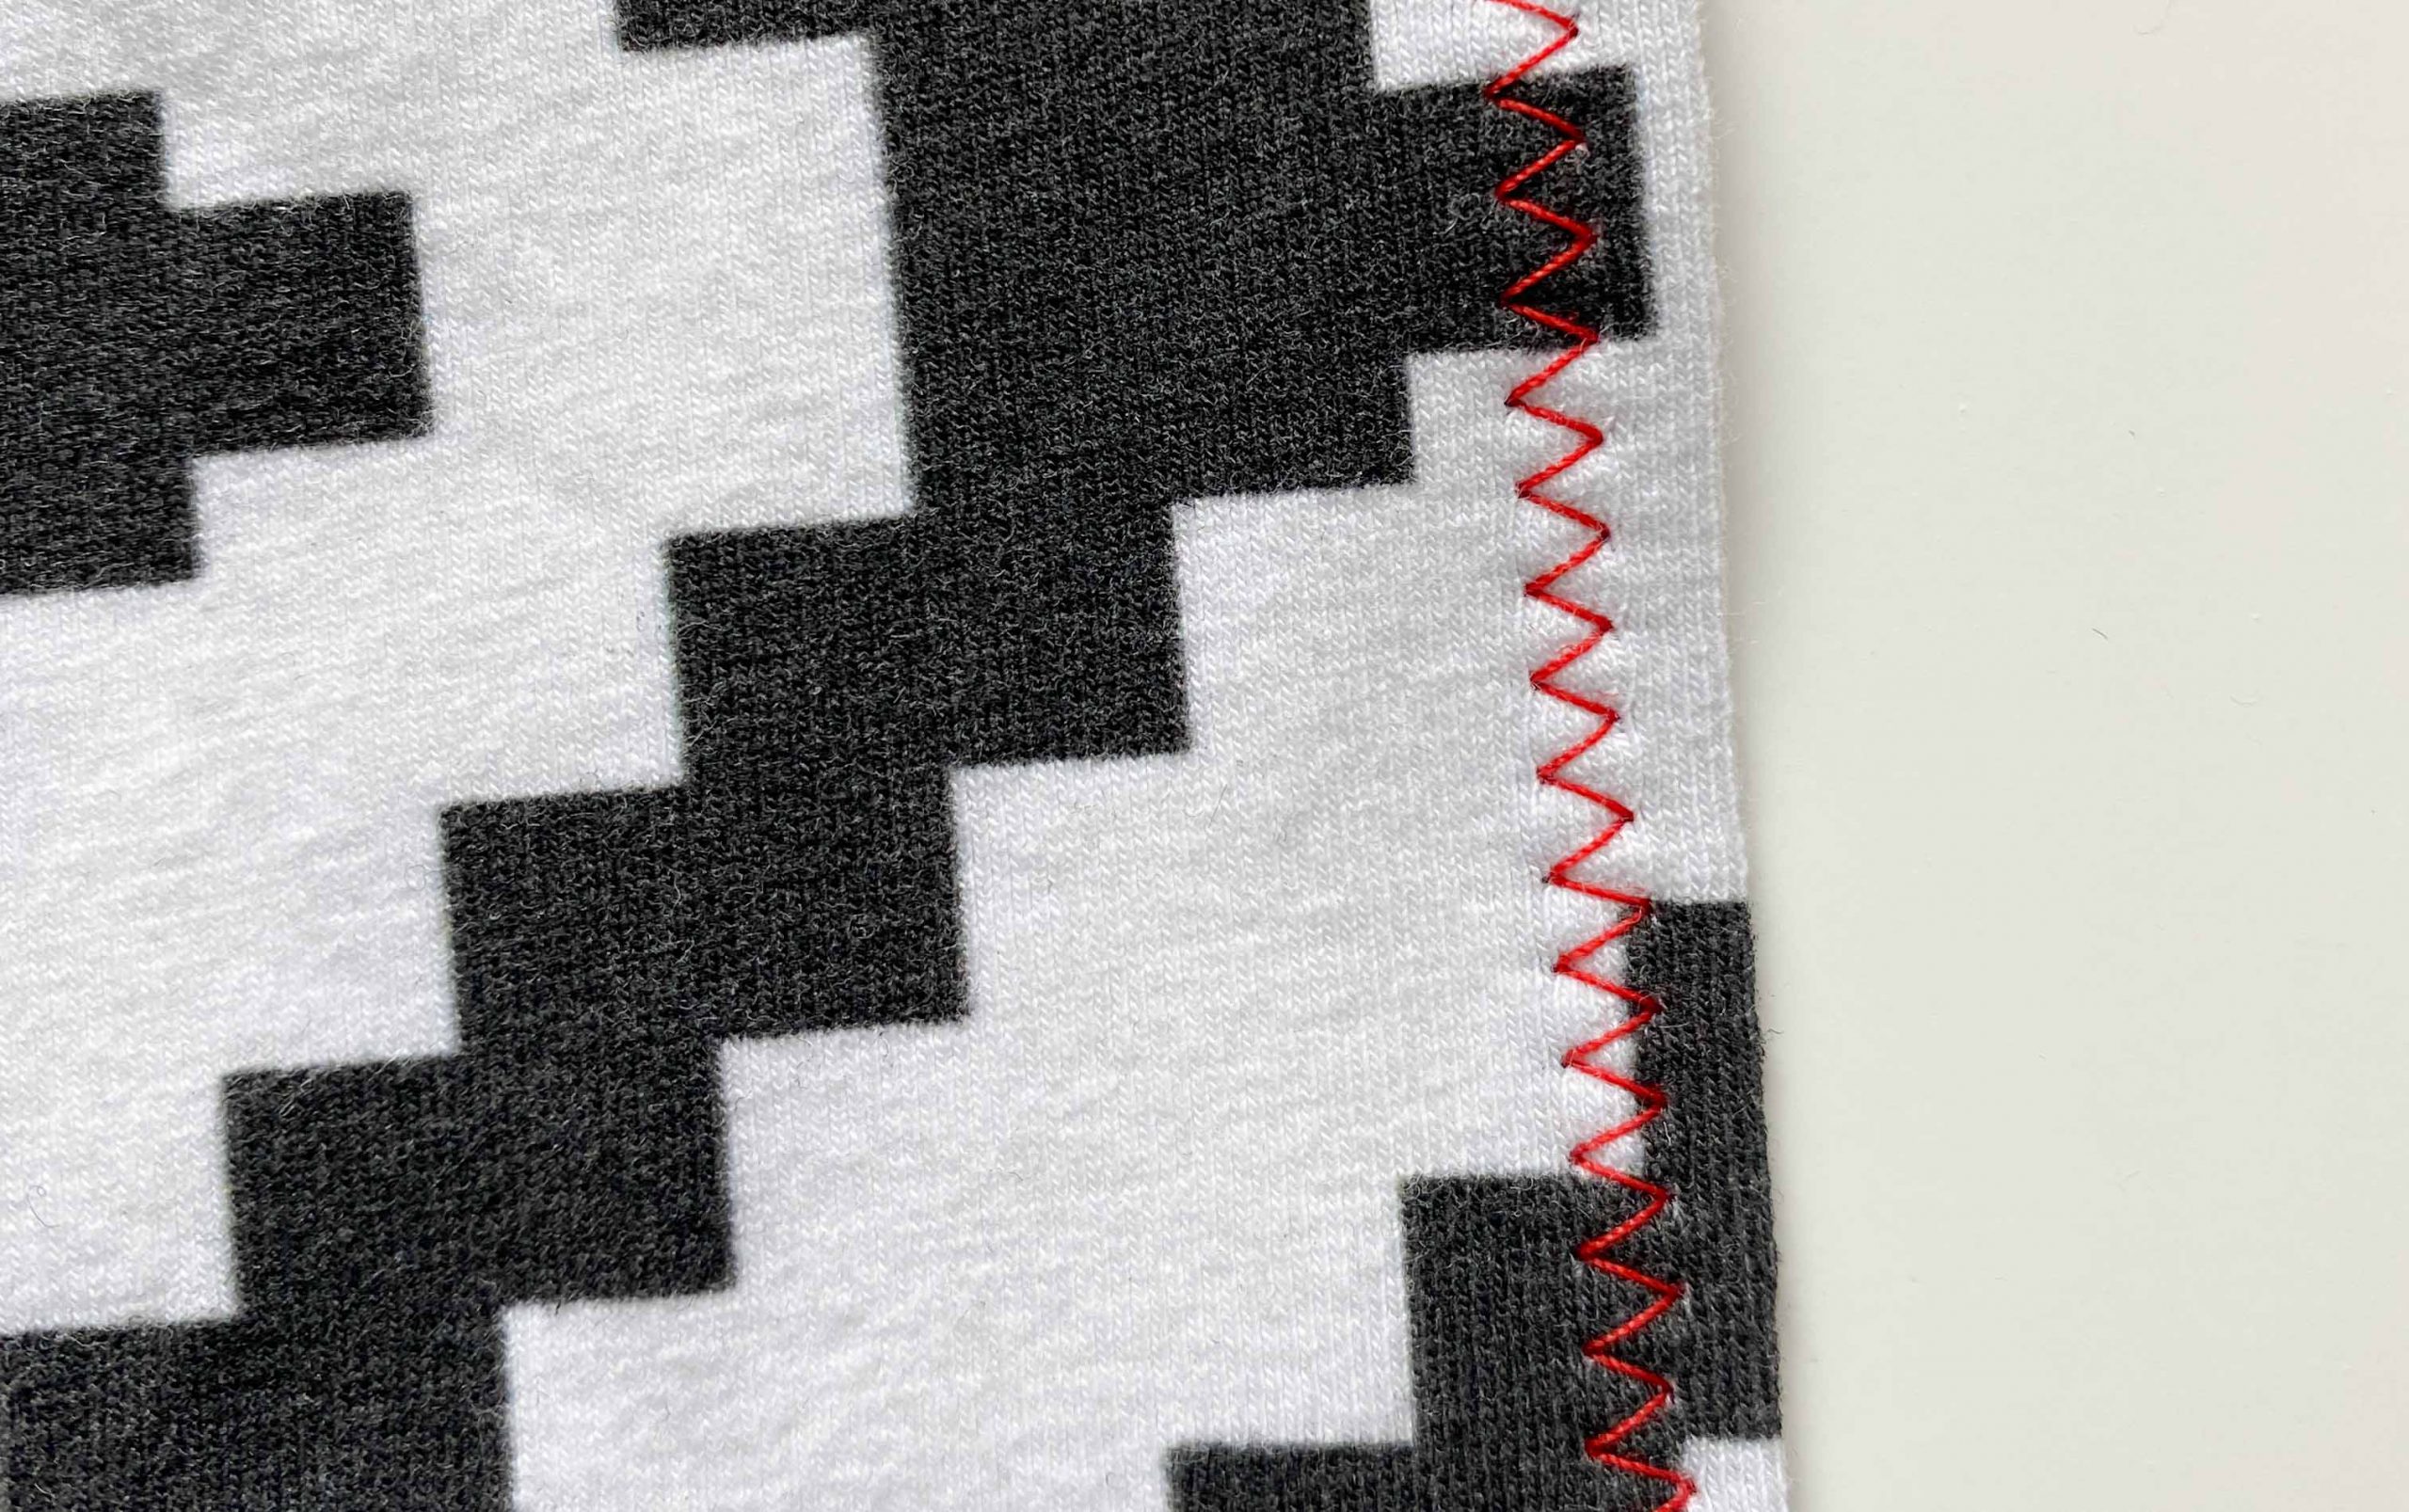
I want to see the print on the elastic on the outside. So I will sew the left side of the elastic to the left side of the fabric and sew a first row of zigzag stitches.

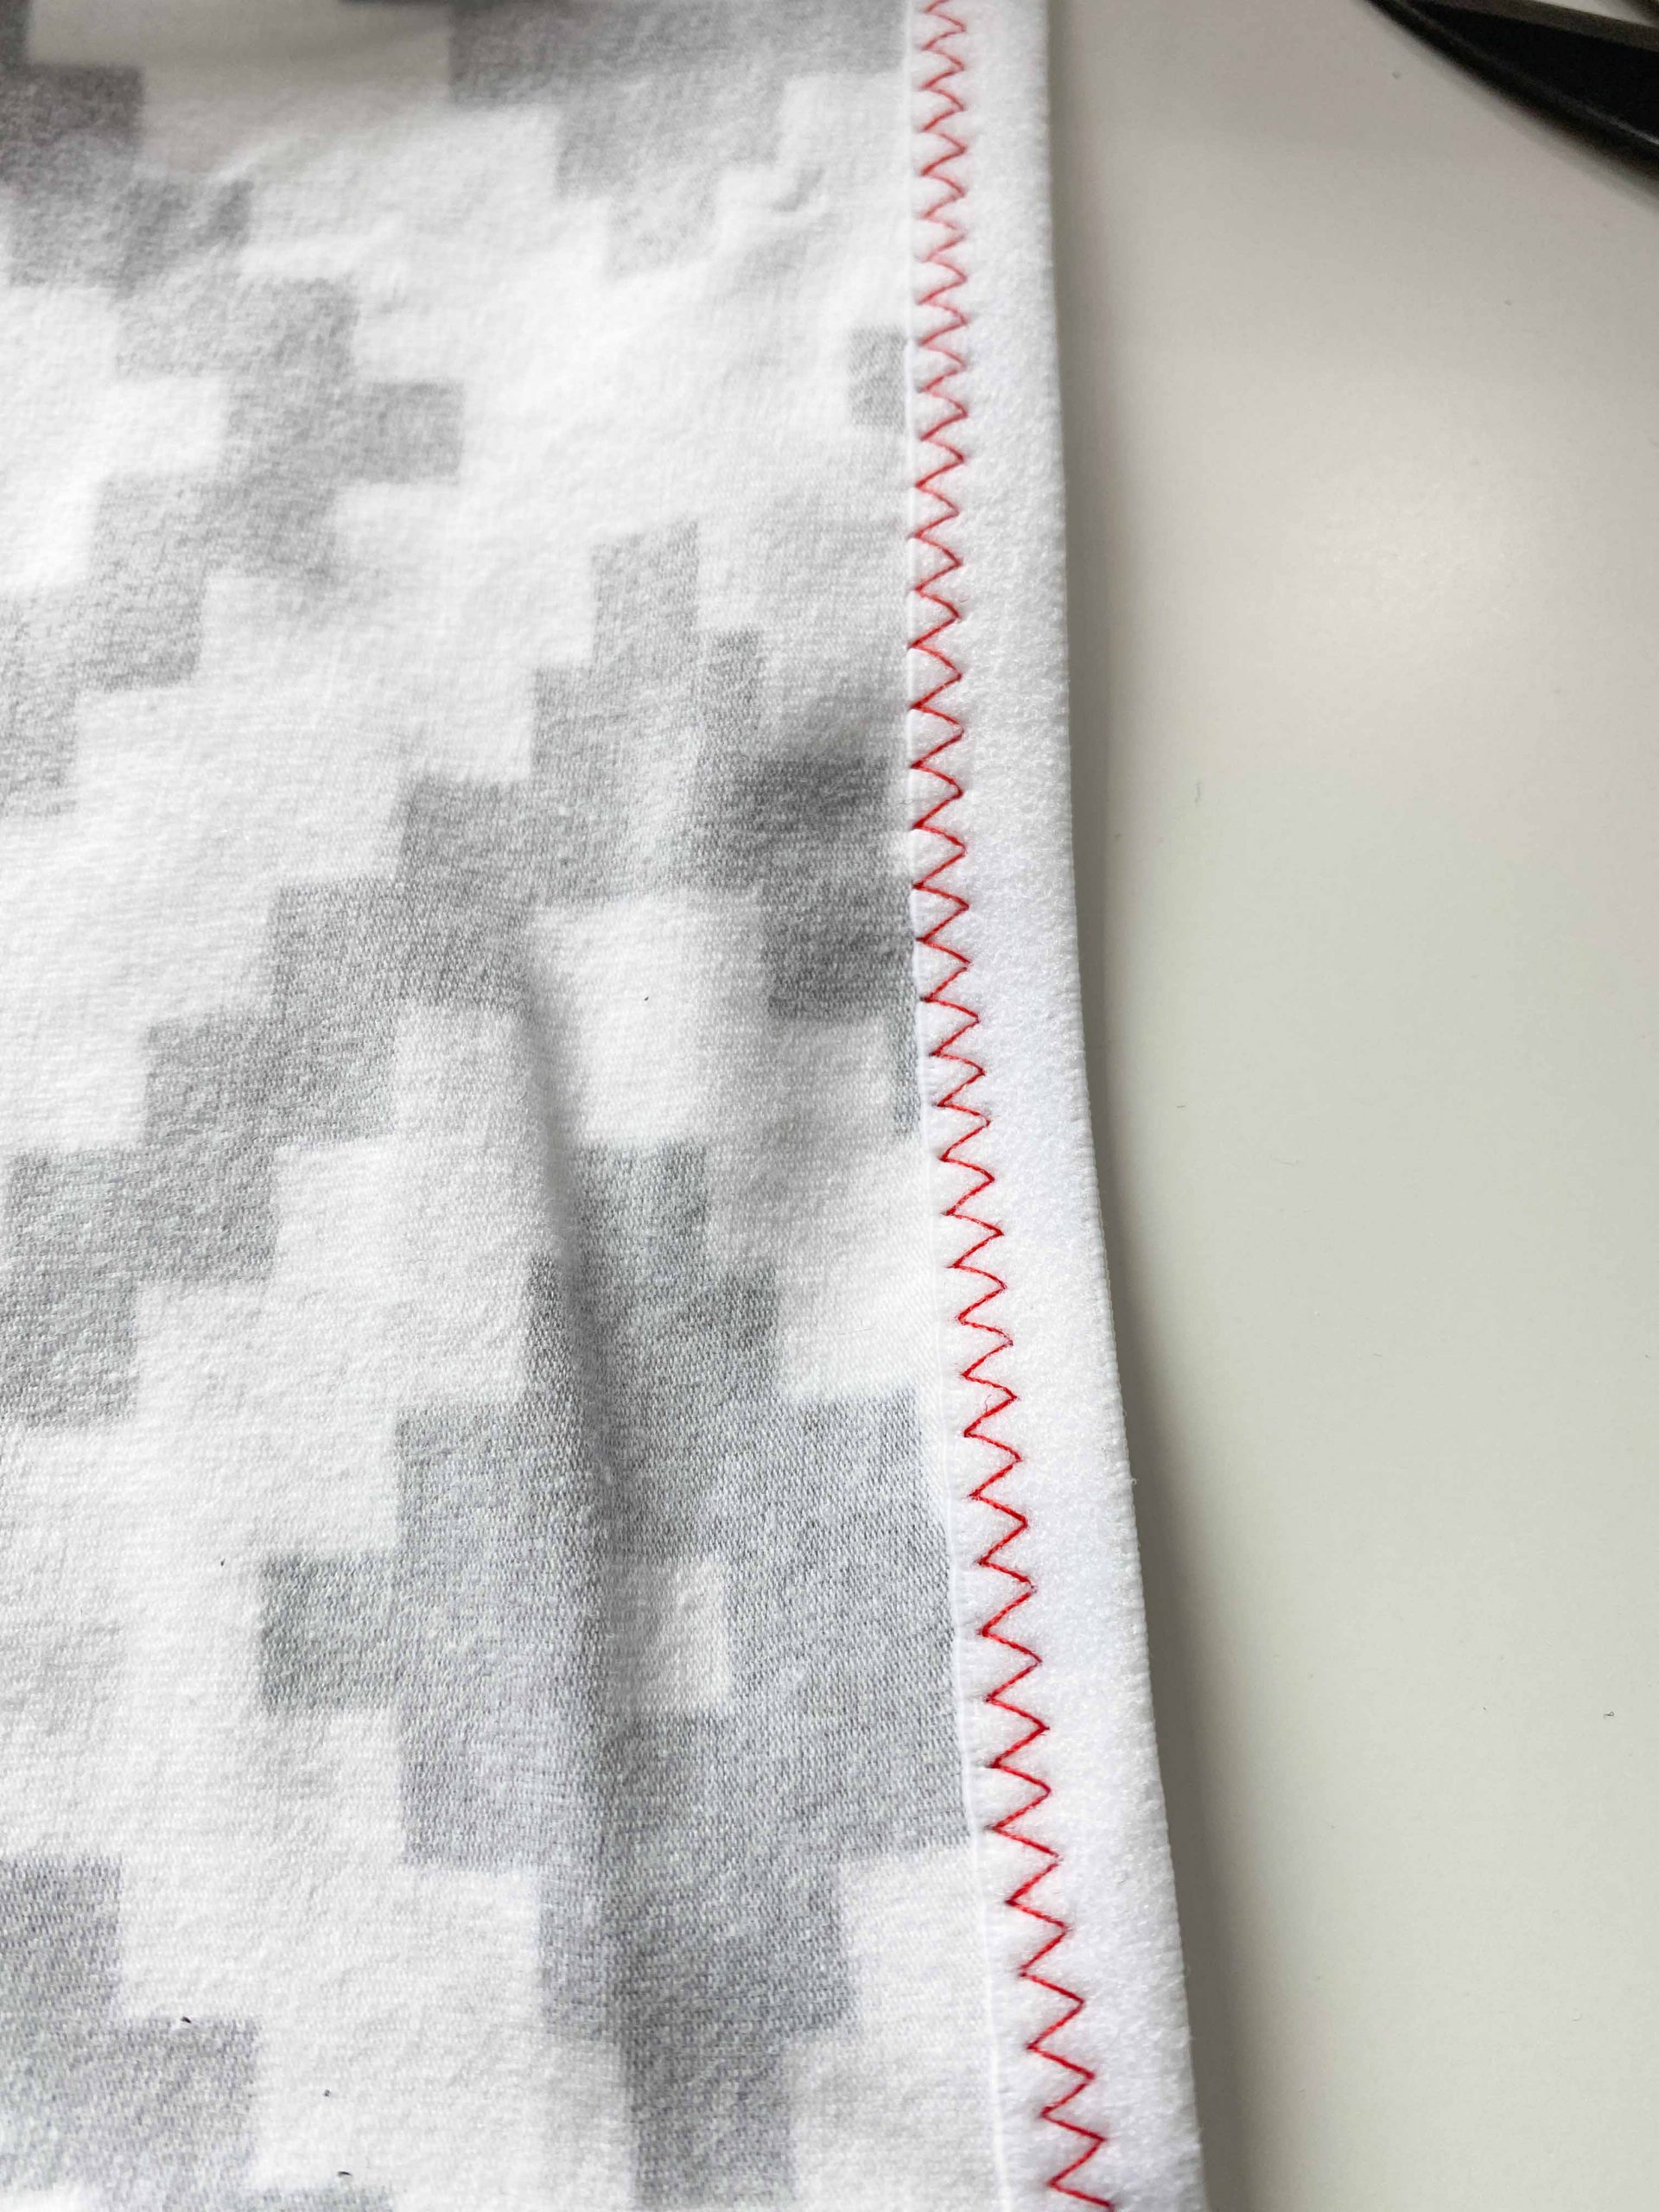
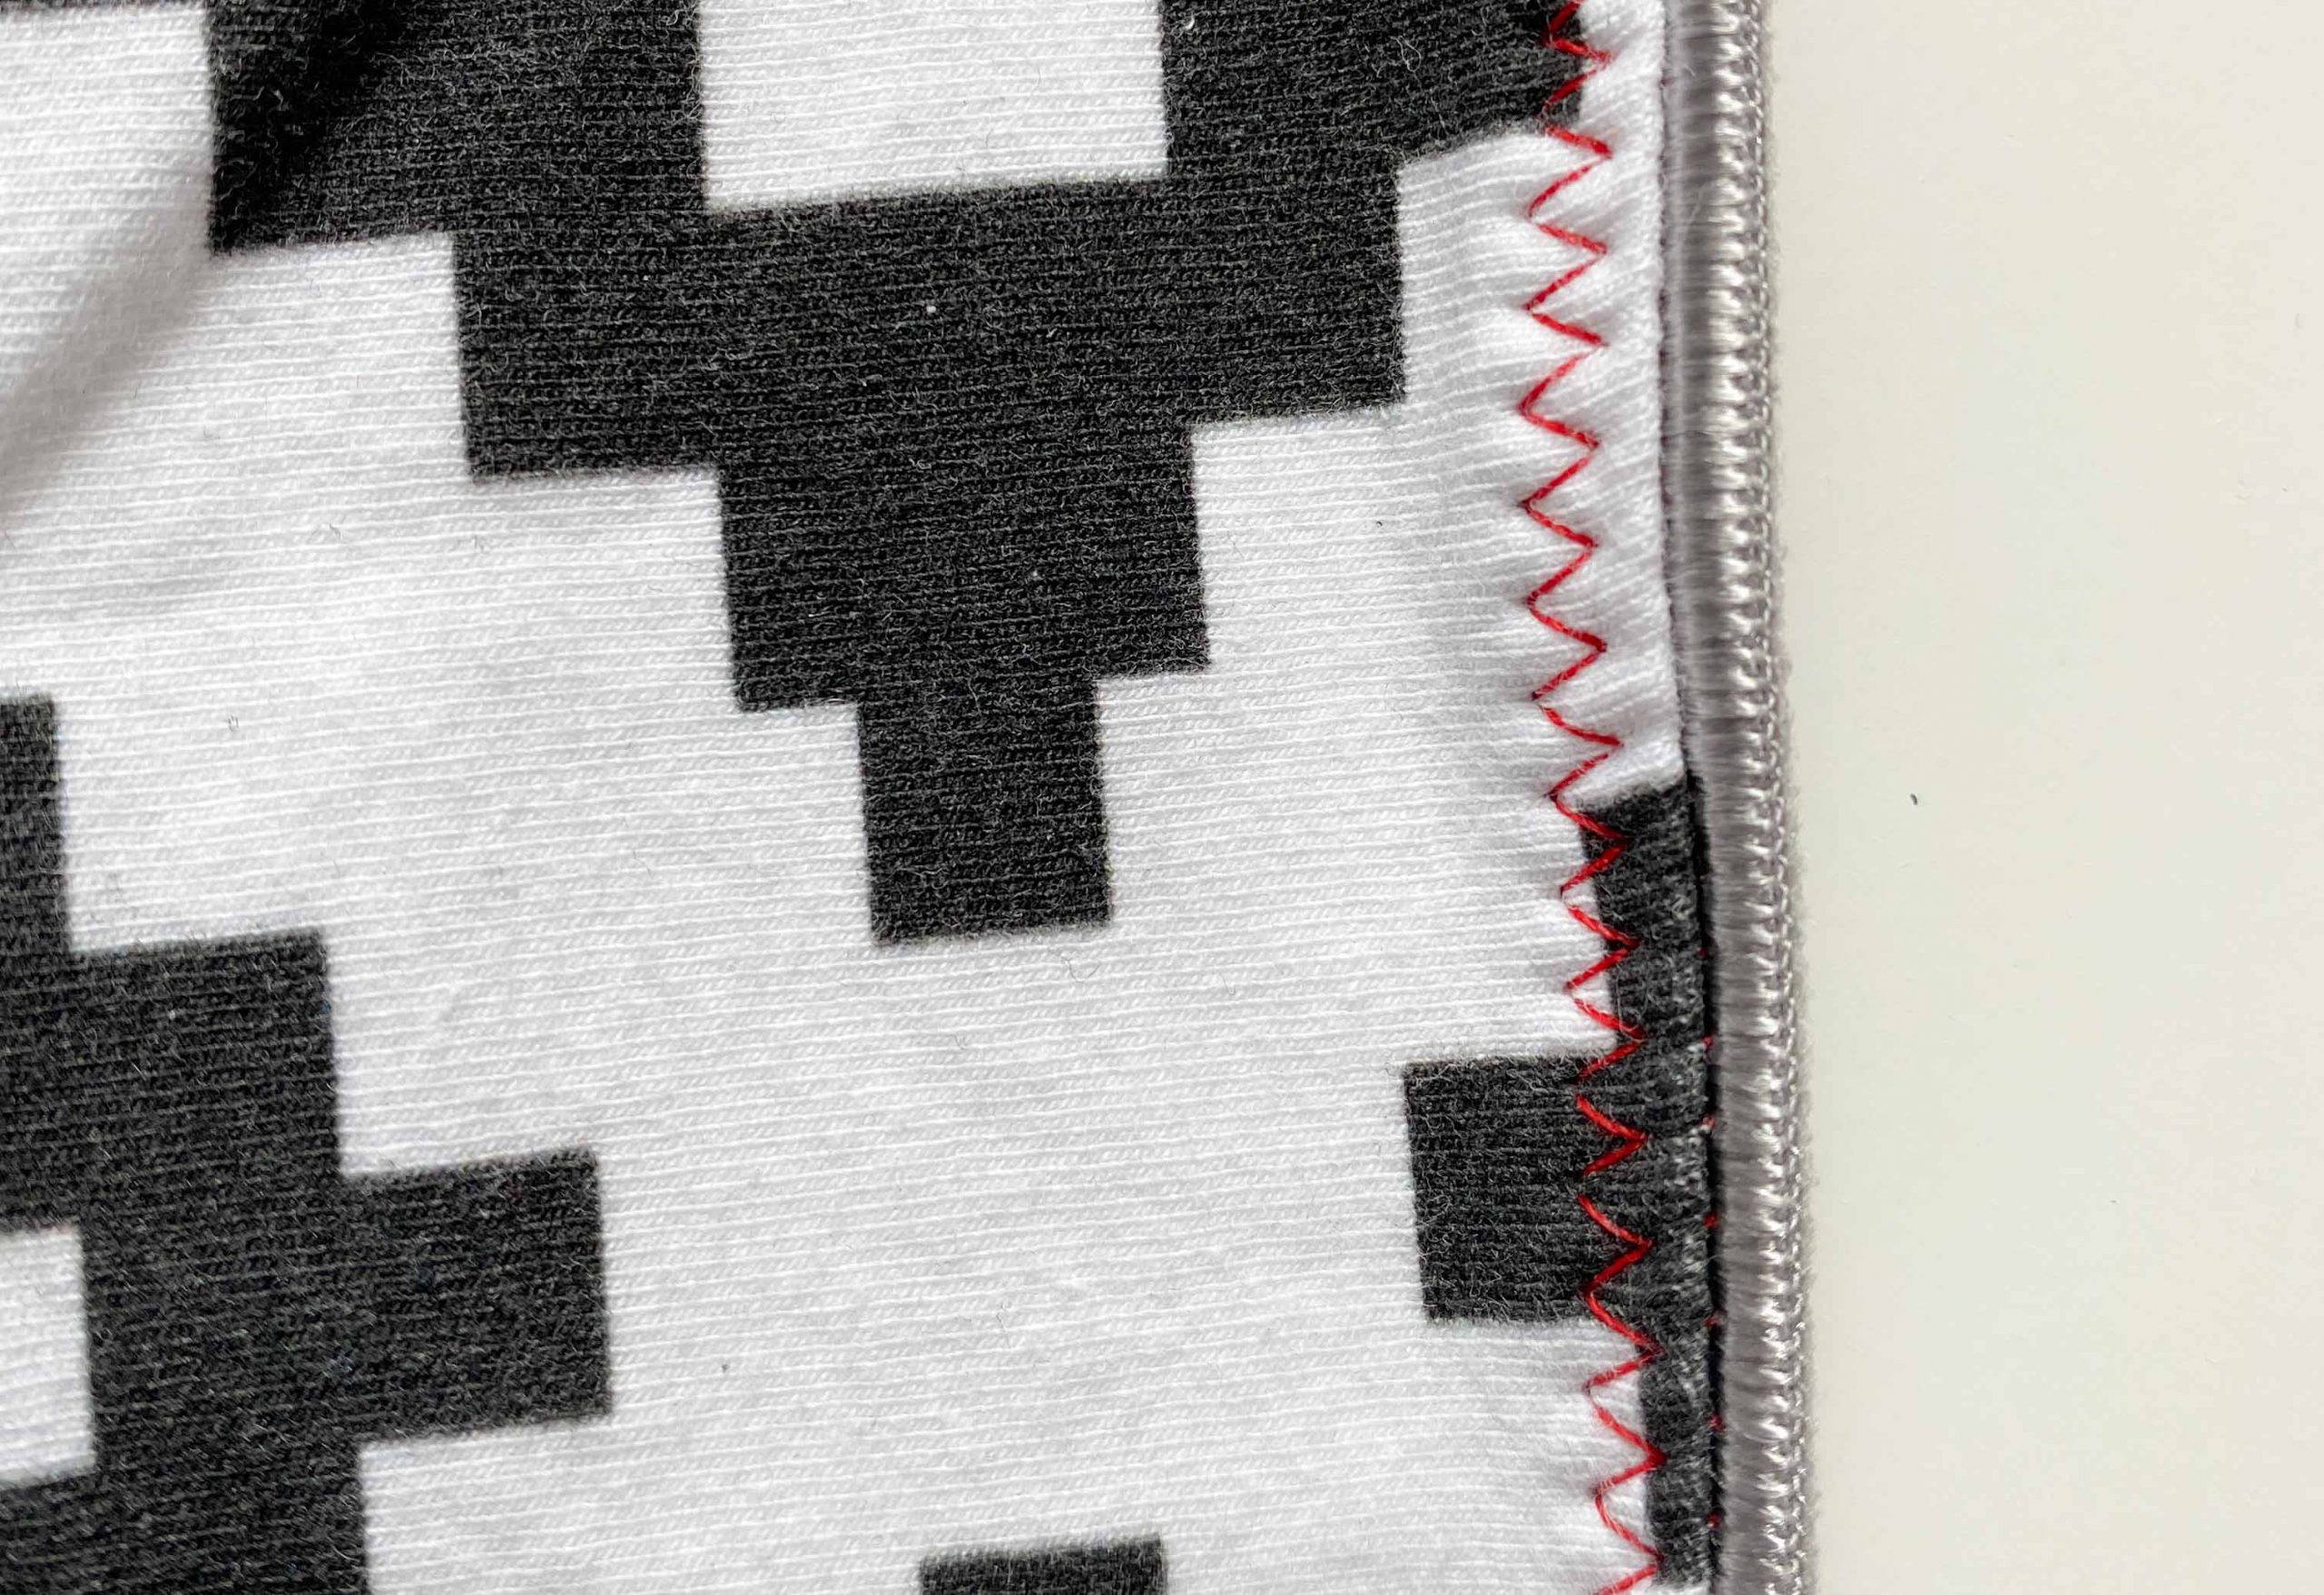
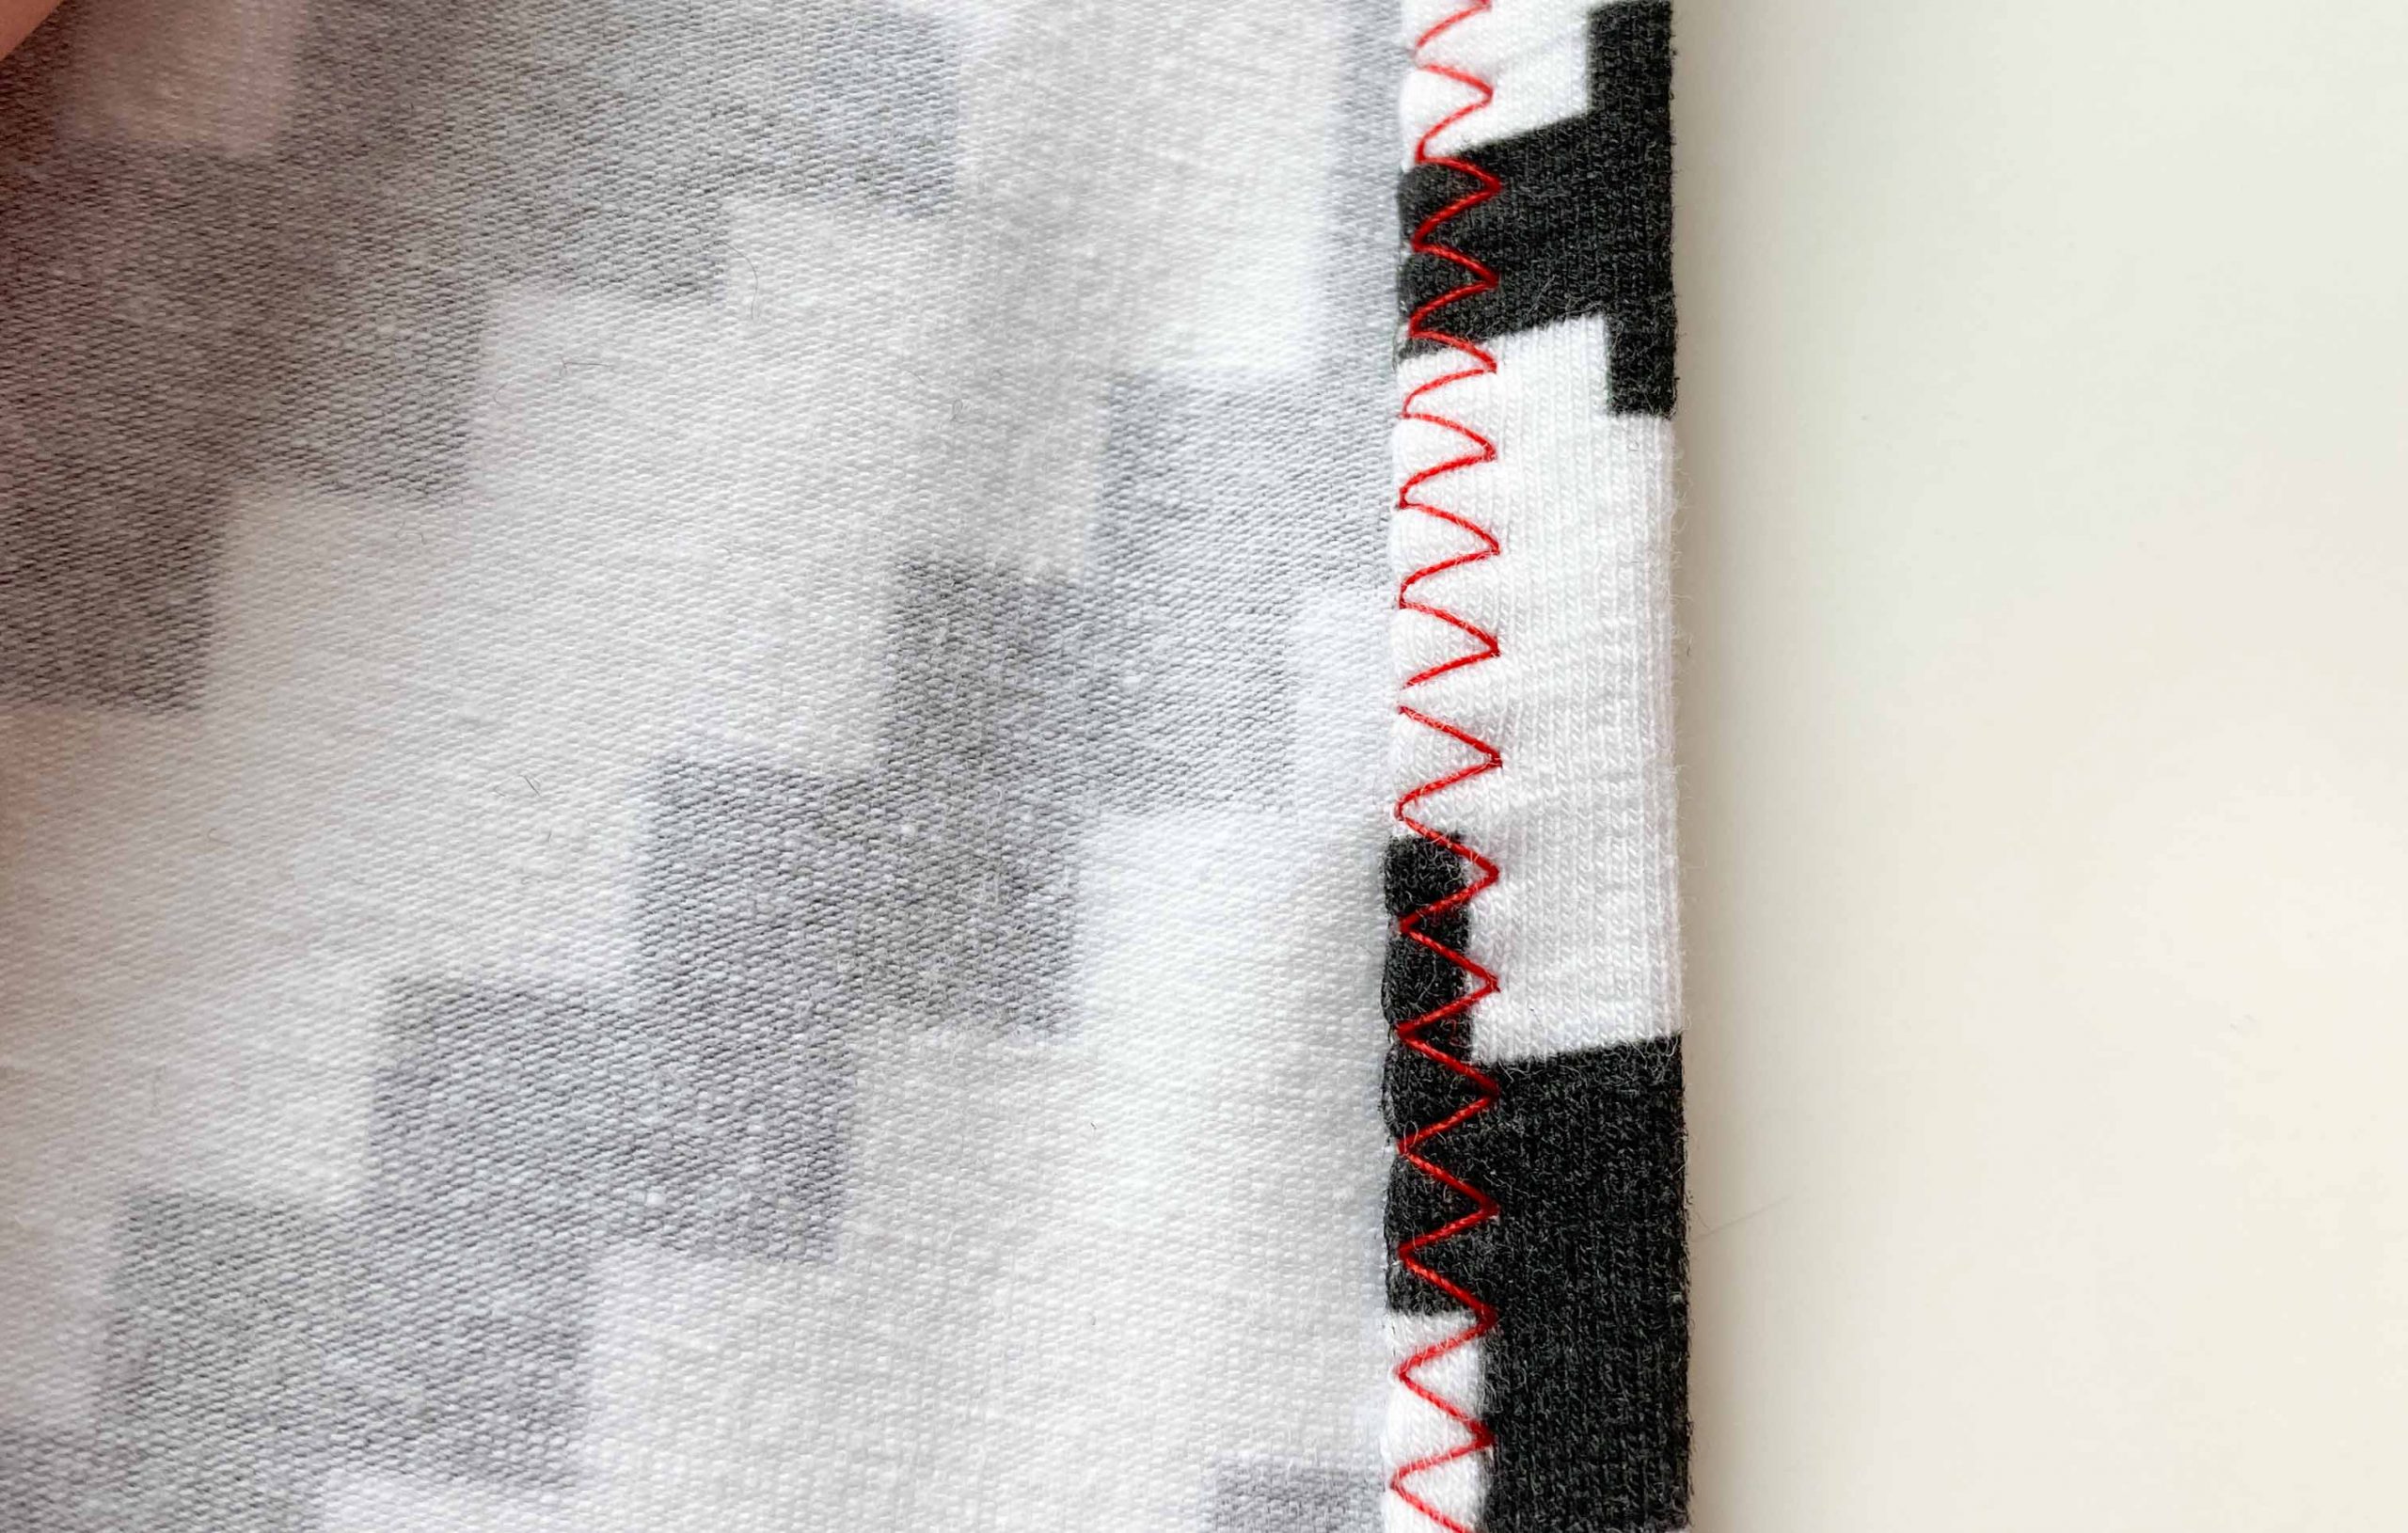
Flip the elastic up so it lies on top of the fabric and sew your second row of stitches. Make sure you sew close to the edge. As a result you will not have any raw edges on the inside (even though knits don’t fray) and a very neat look.

From the outside

From the inside
Fold-Over Elastic (FOE)
Method One
First sew a pass with a regular zigzag making sure your fabric does not go over the middle “line” on the inside of the FOE. Close your FOE and sew a second pass of zigzags close to the edge.


Method Two
Close the FOE and start sewing a few stitches, put the needle in a down position, lift the presser foot and open the FOE up to insert the fabric. Put the presser foot down again and then start sewing close to the edge. You’ll need a bit of practice with this method but it’s fast.

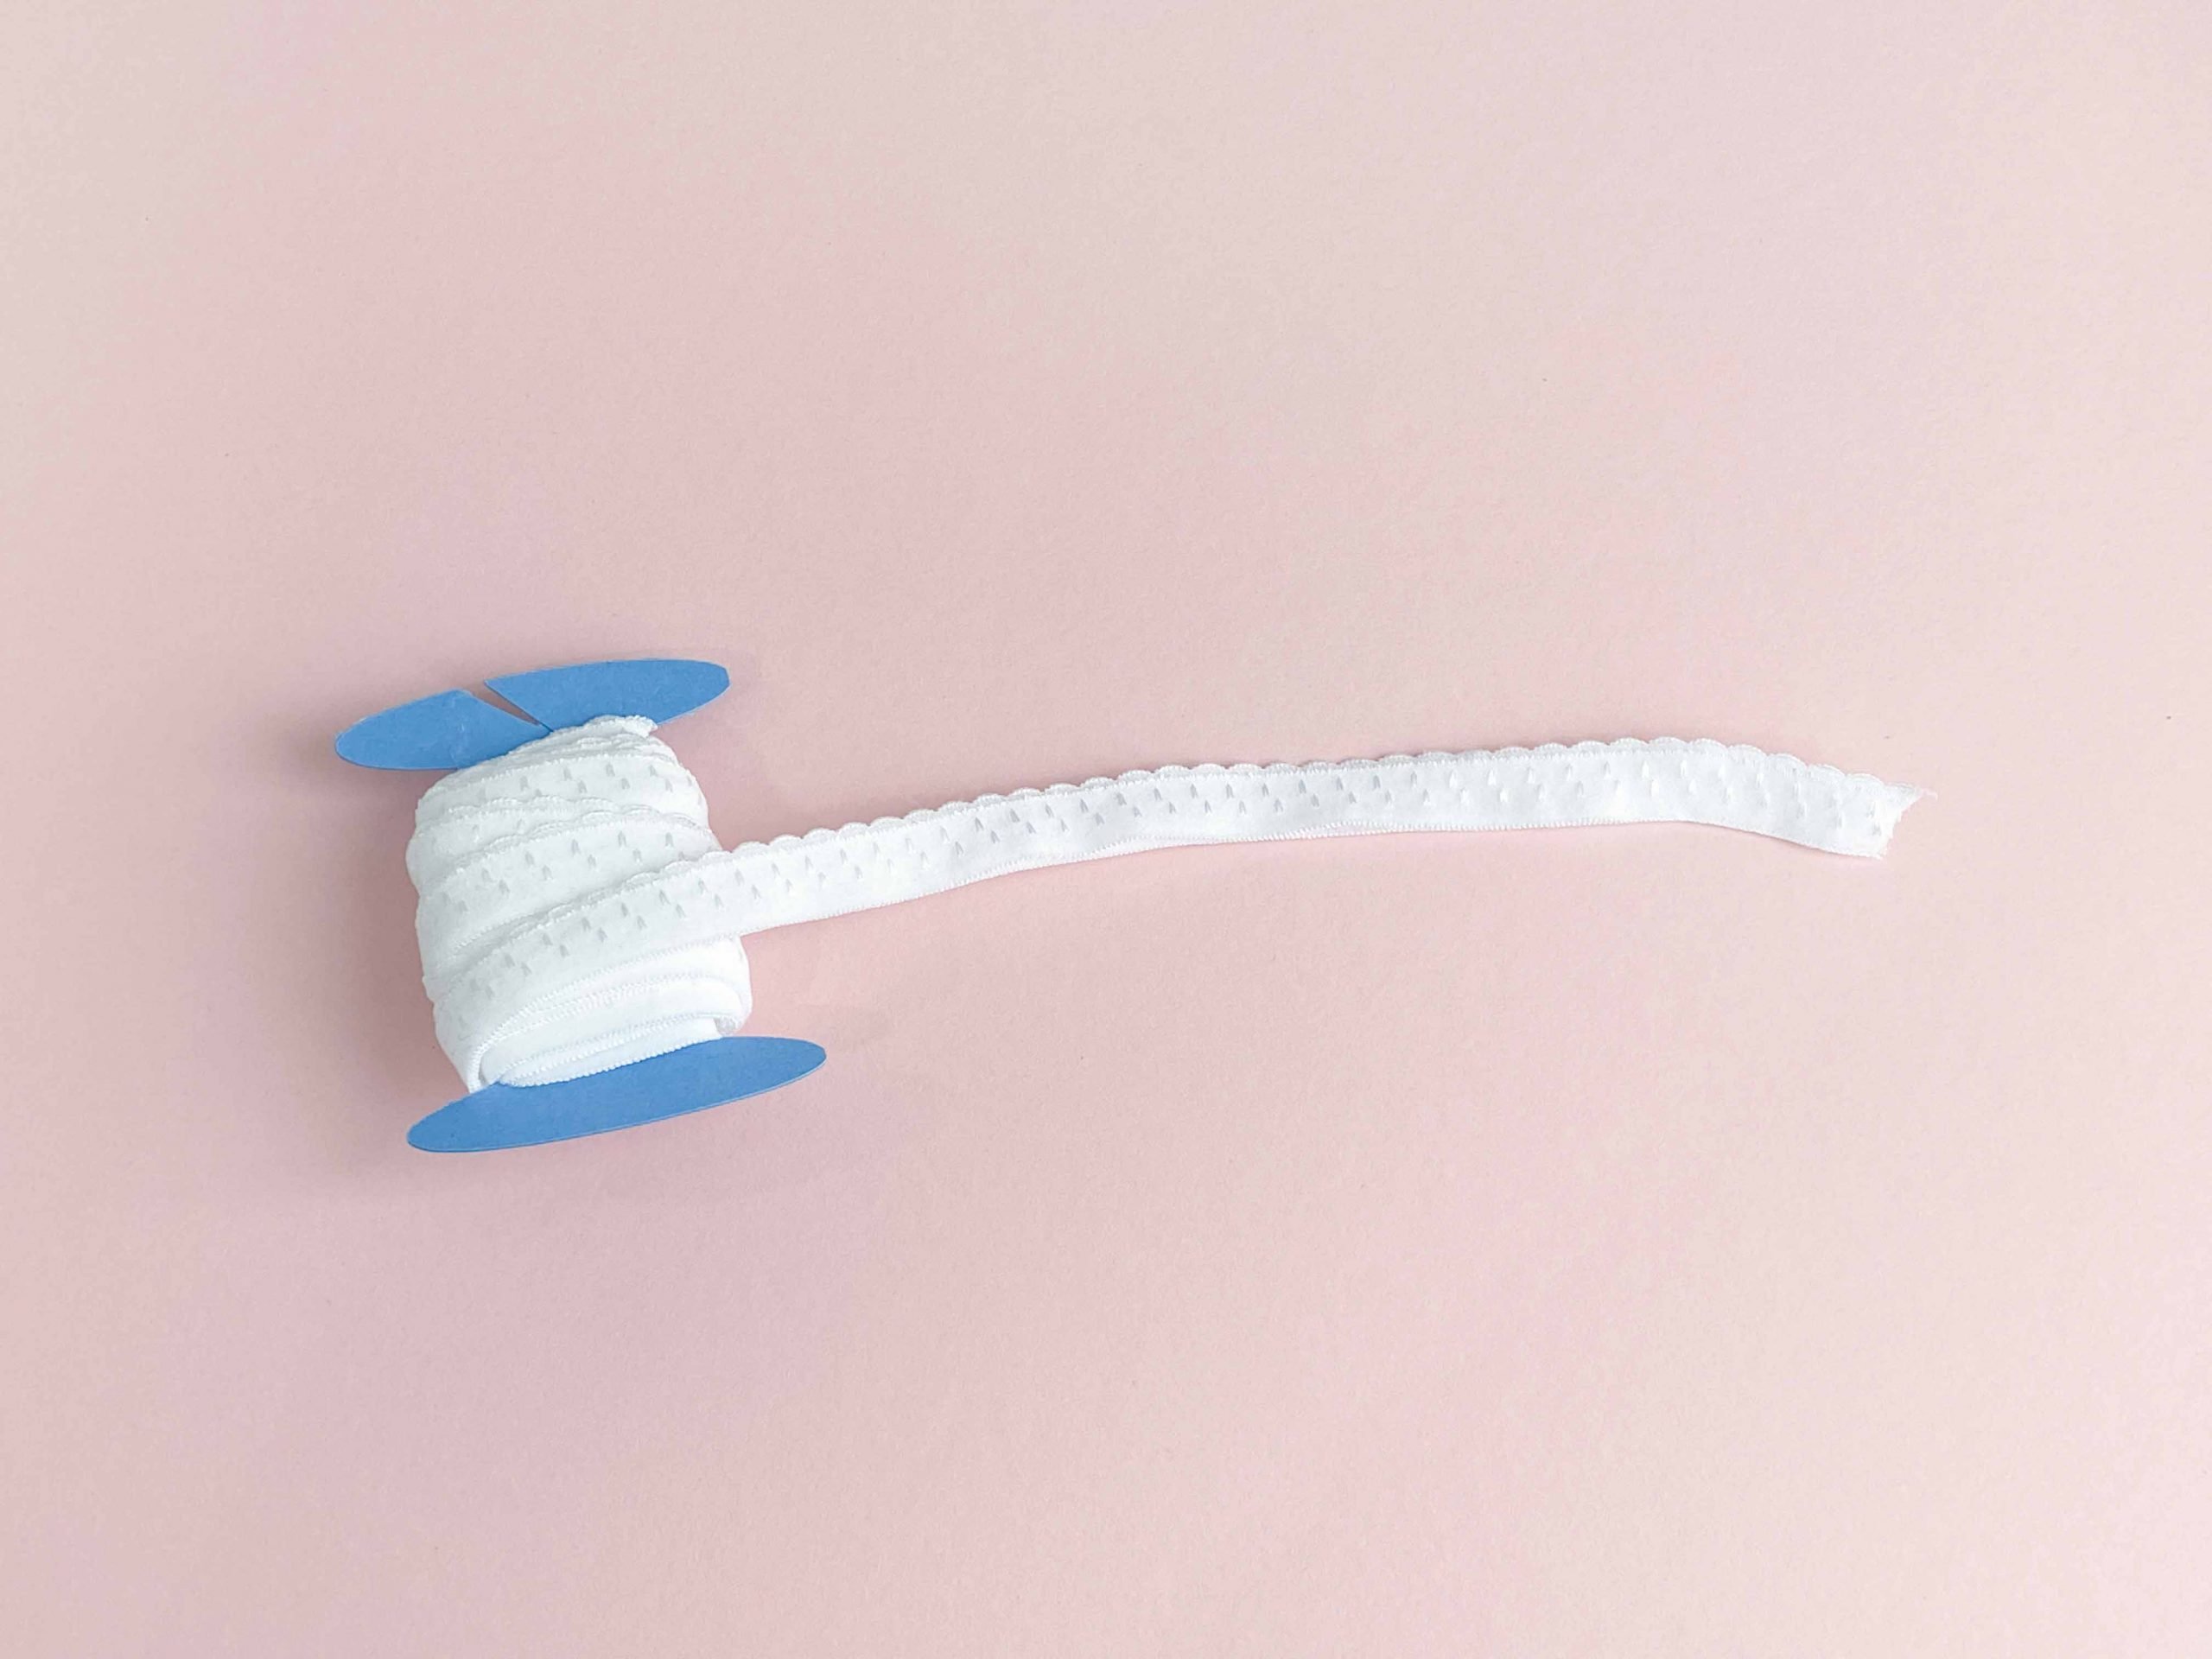
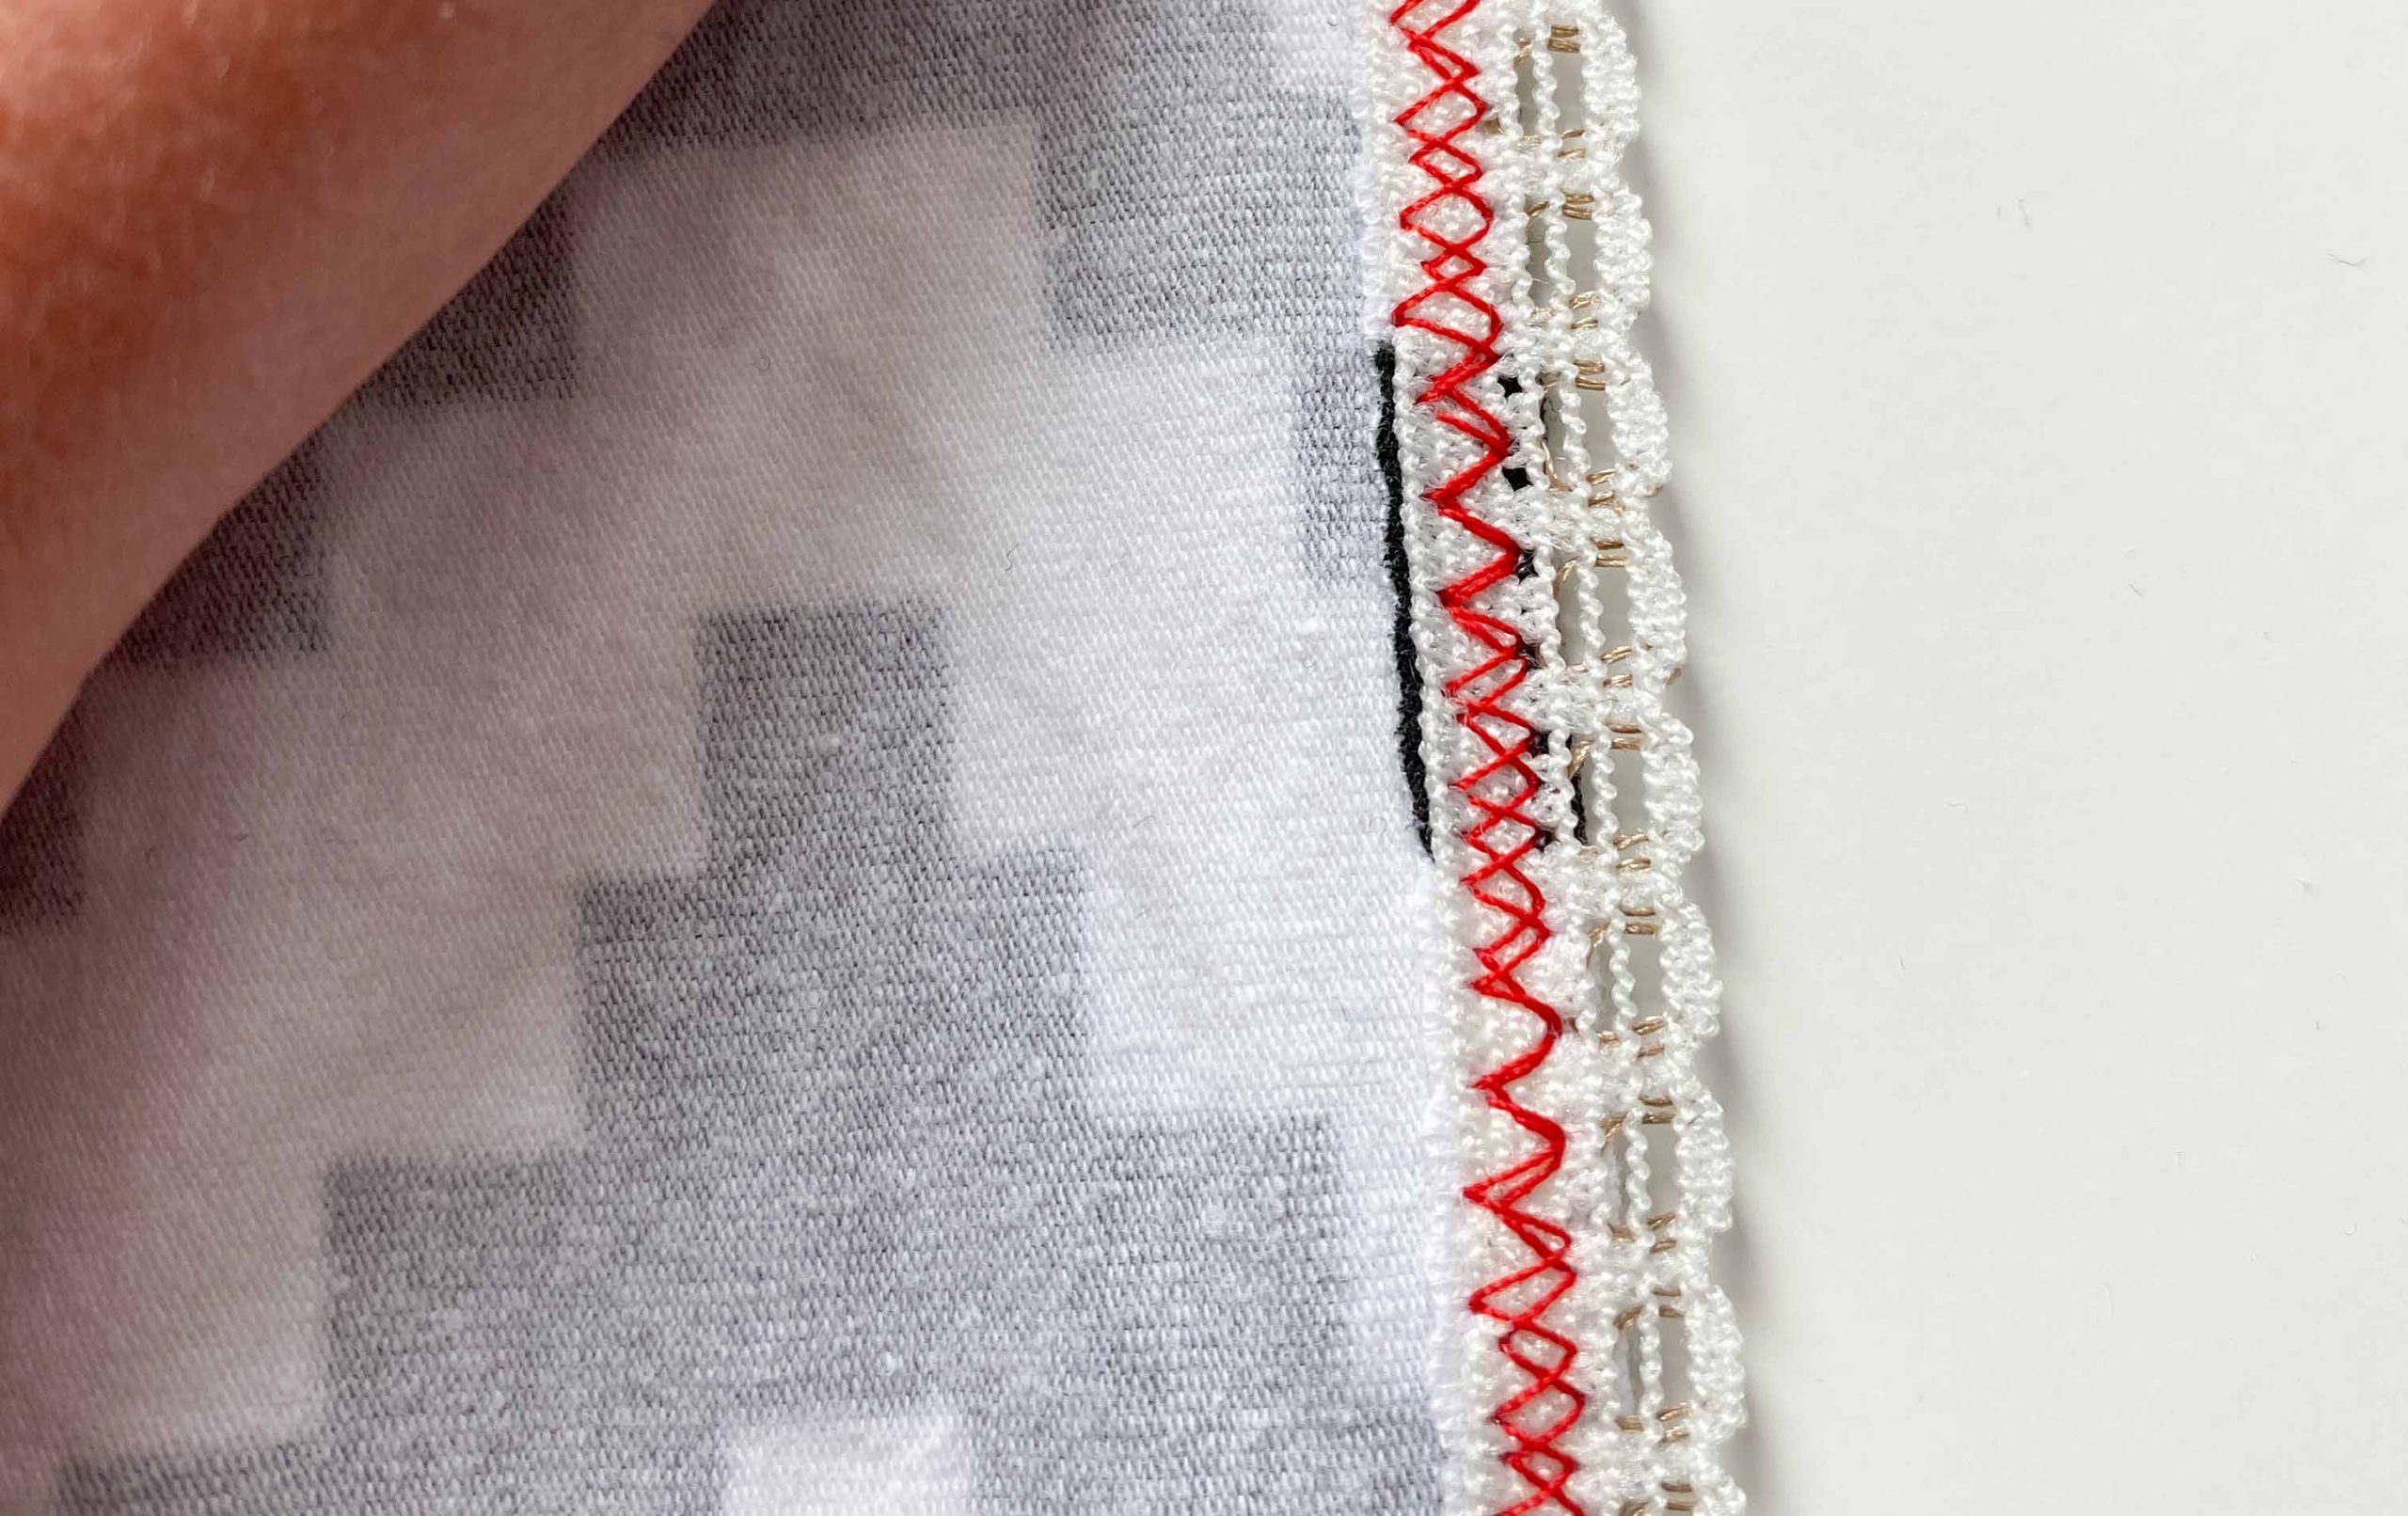
Picot Elastic (underbust and underarm elastic)
Line up the left side of the elastic with the right side of the fabric. You want the picots facing the fabric (not the edge because it will be flipped later) and the plush side facing you. Sew a row of zigzags very close to the picots. 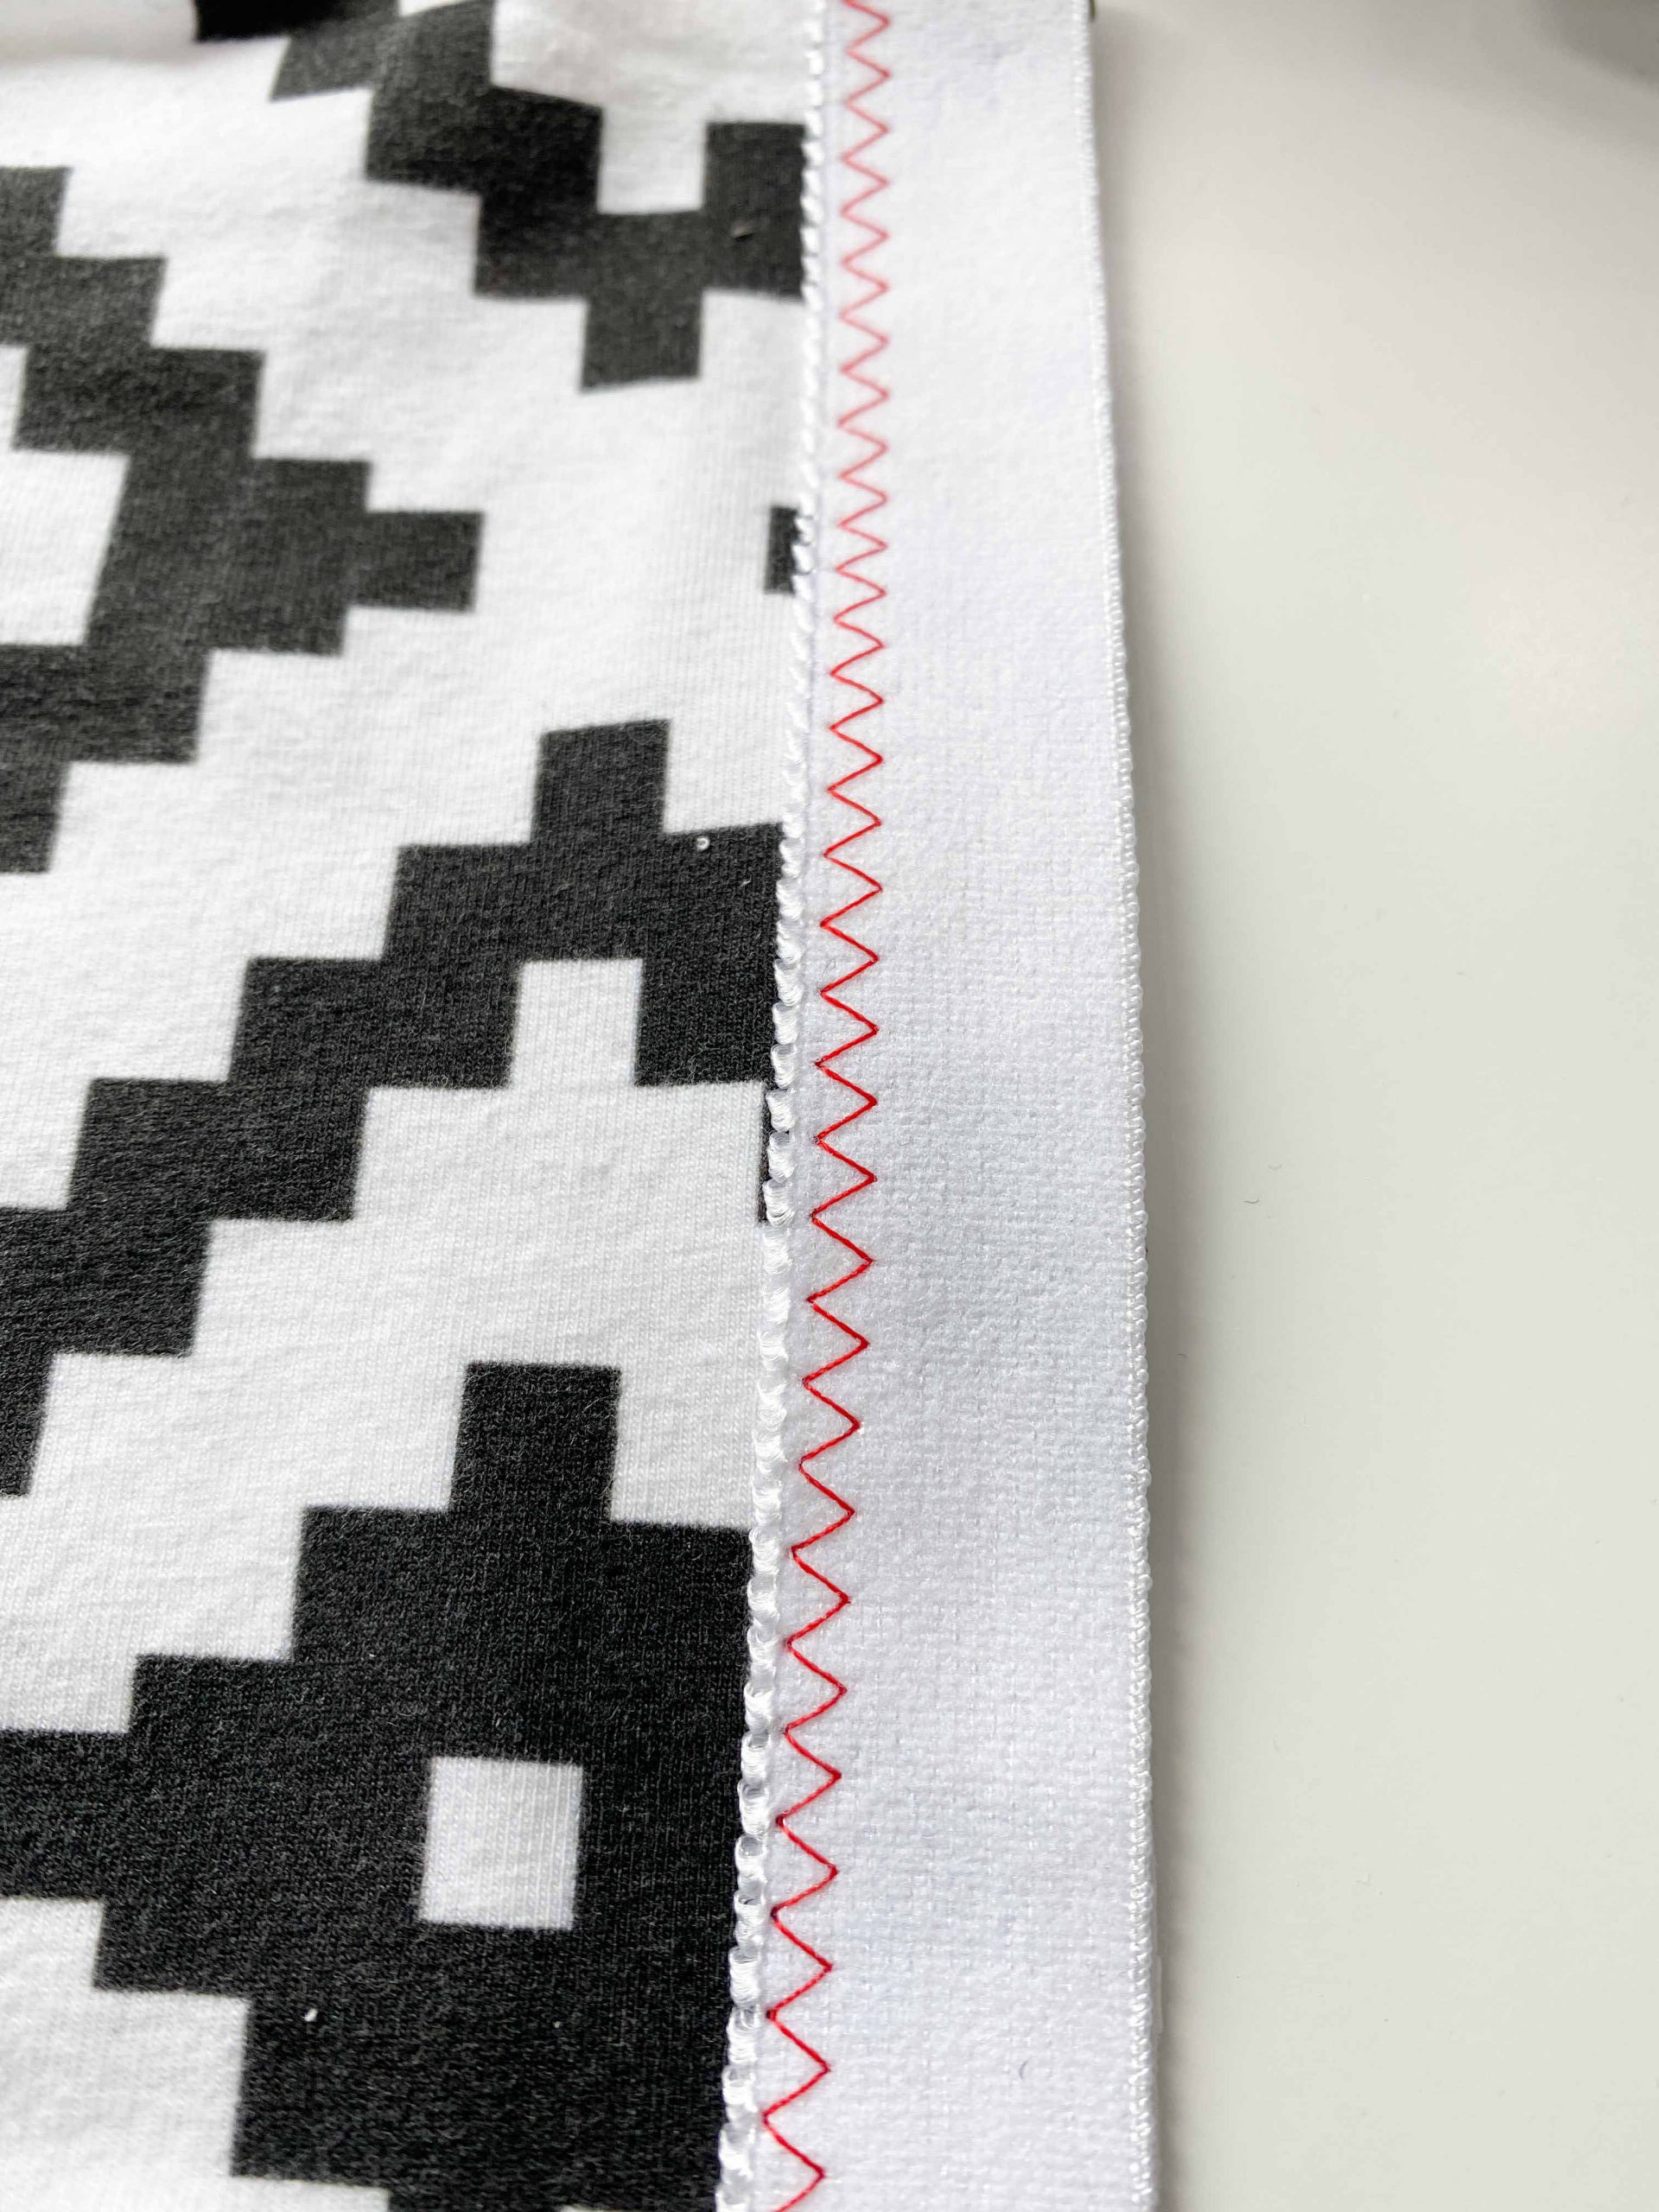
Flip and then sew a row of three-step zigzags right where the elastic ends under the fabric. You want to sew on the elastic though but if you sew somewhere in the middle your elastic will start to roll.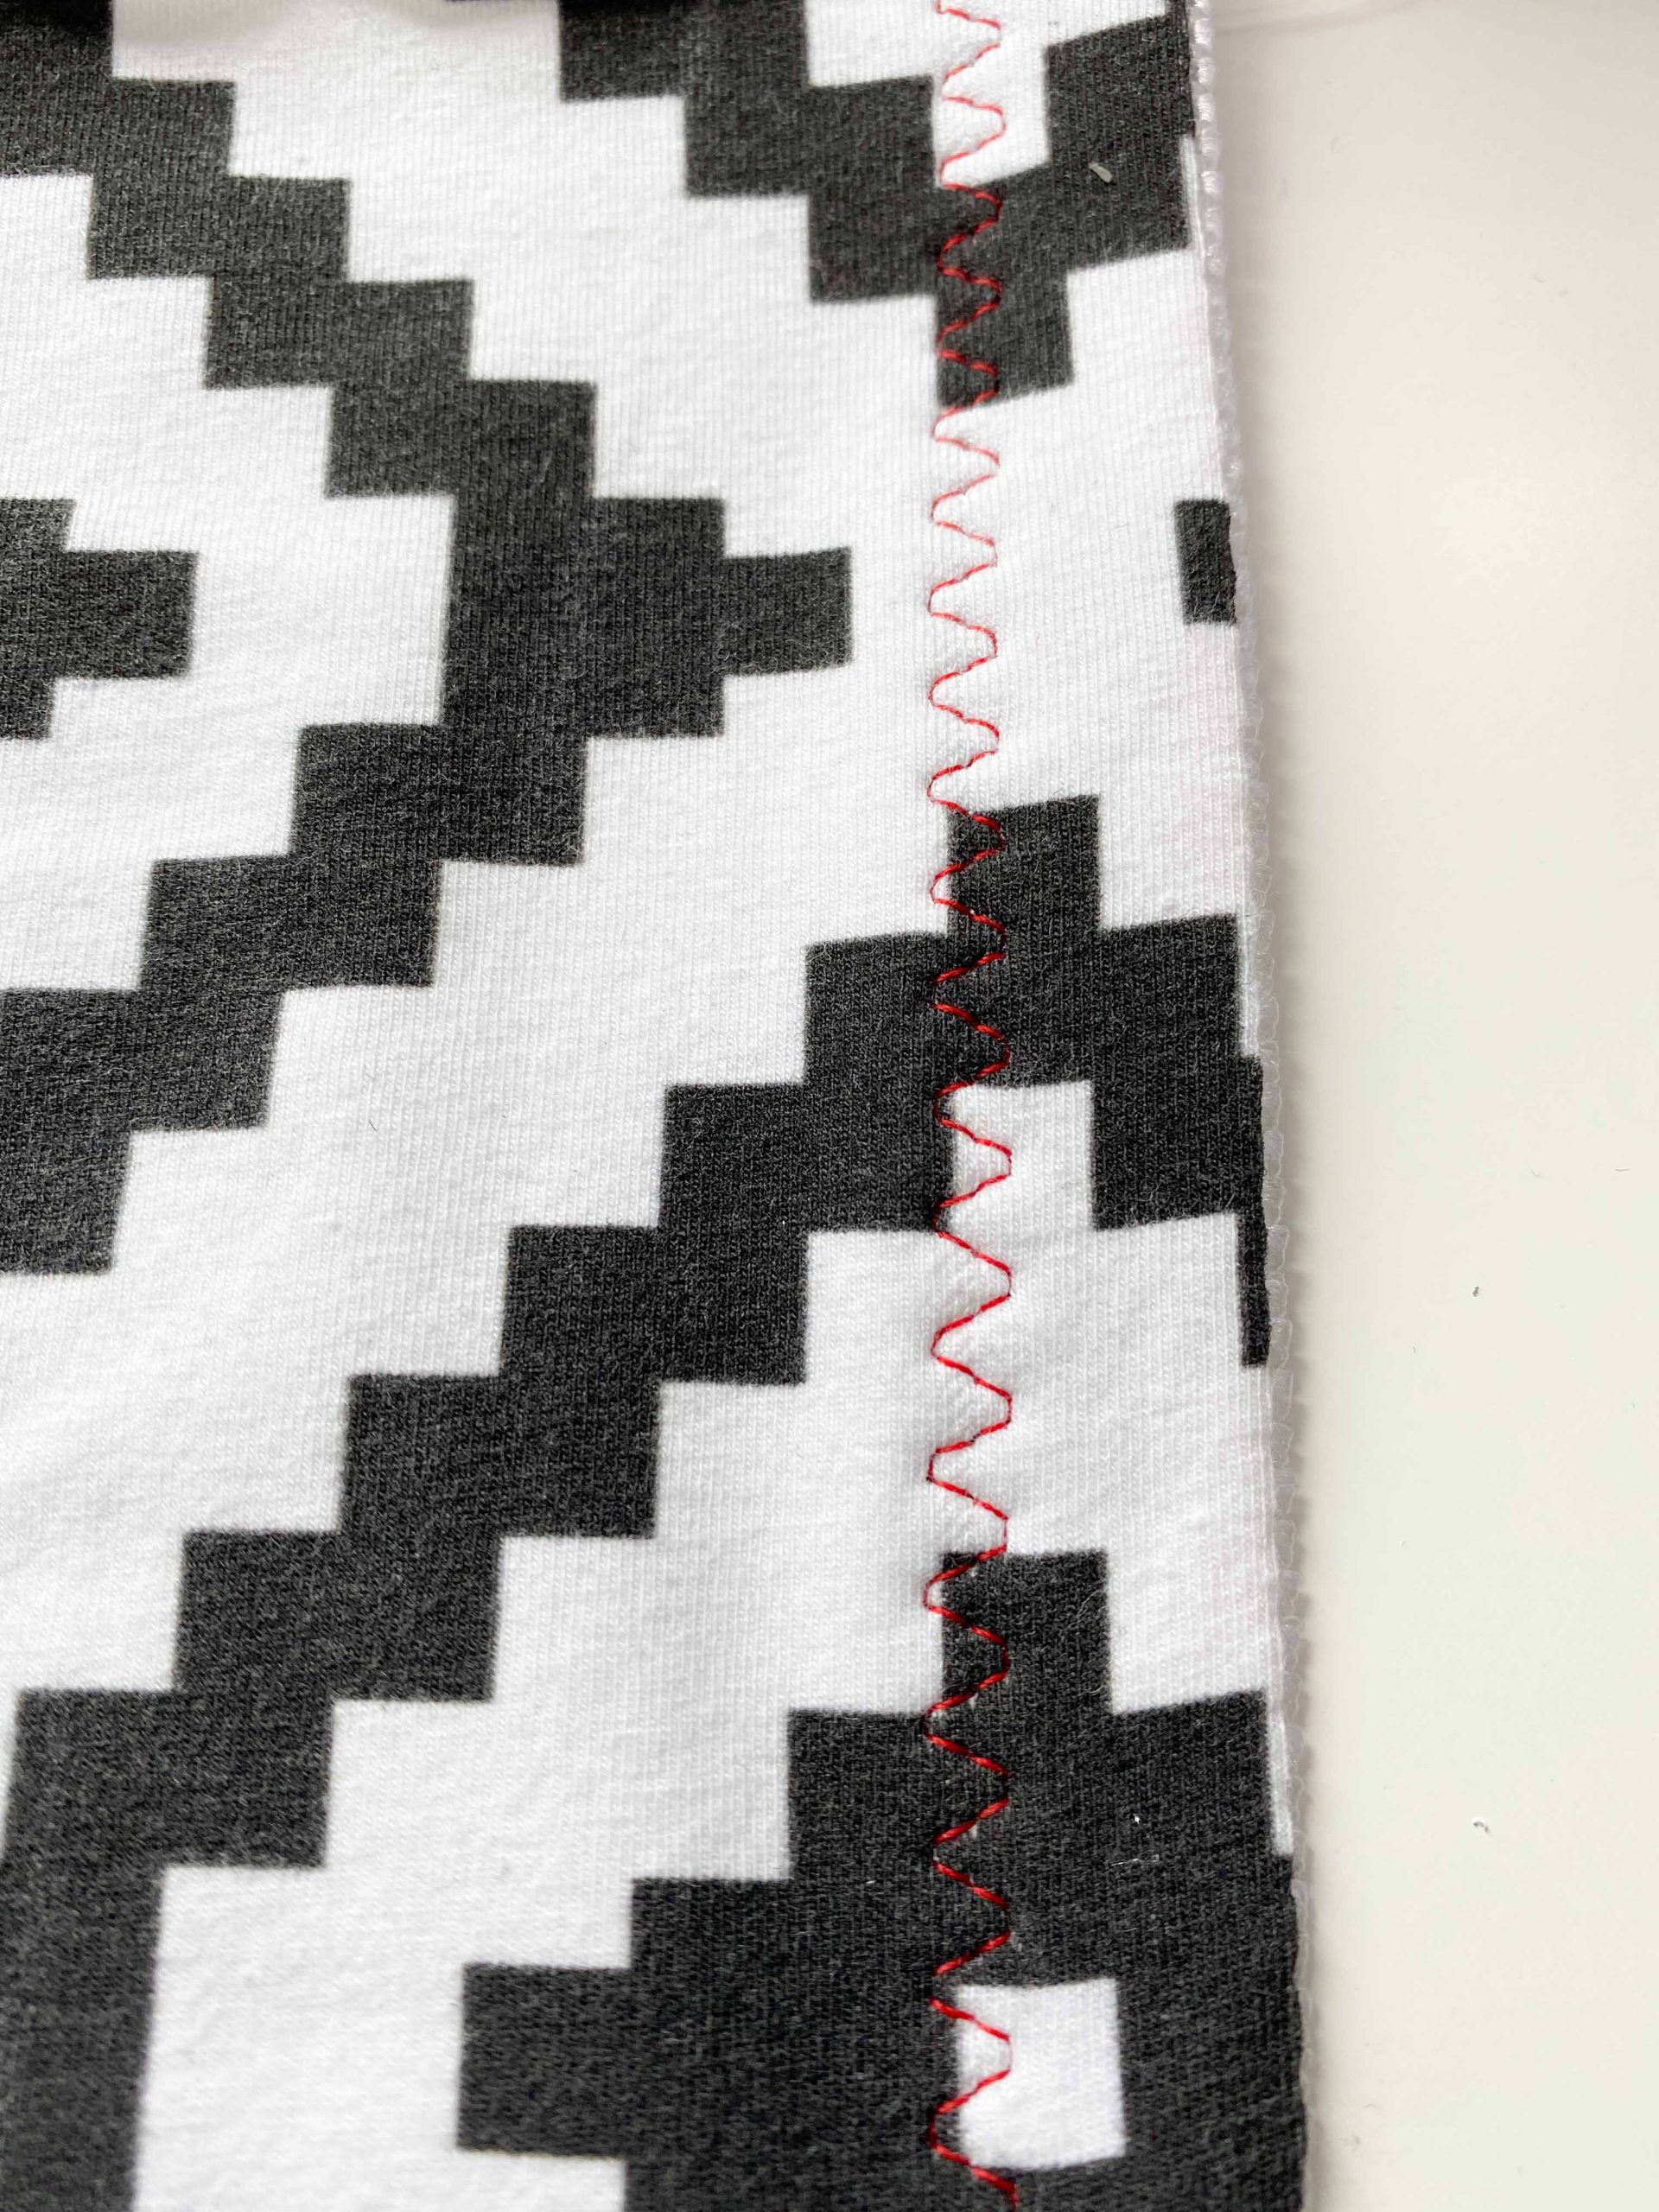
You may want to trim back the seam allowance before sewing the second pass for a neater look. This will not change the end position of the elastic so don’t worry. 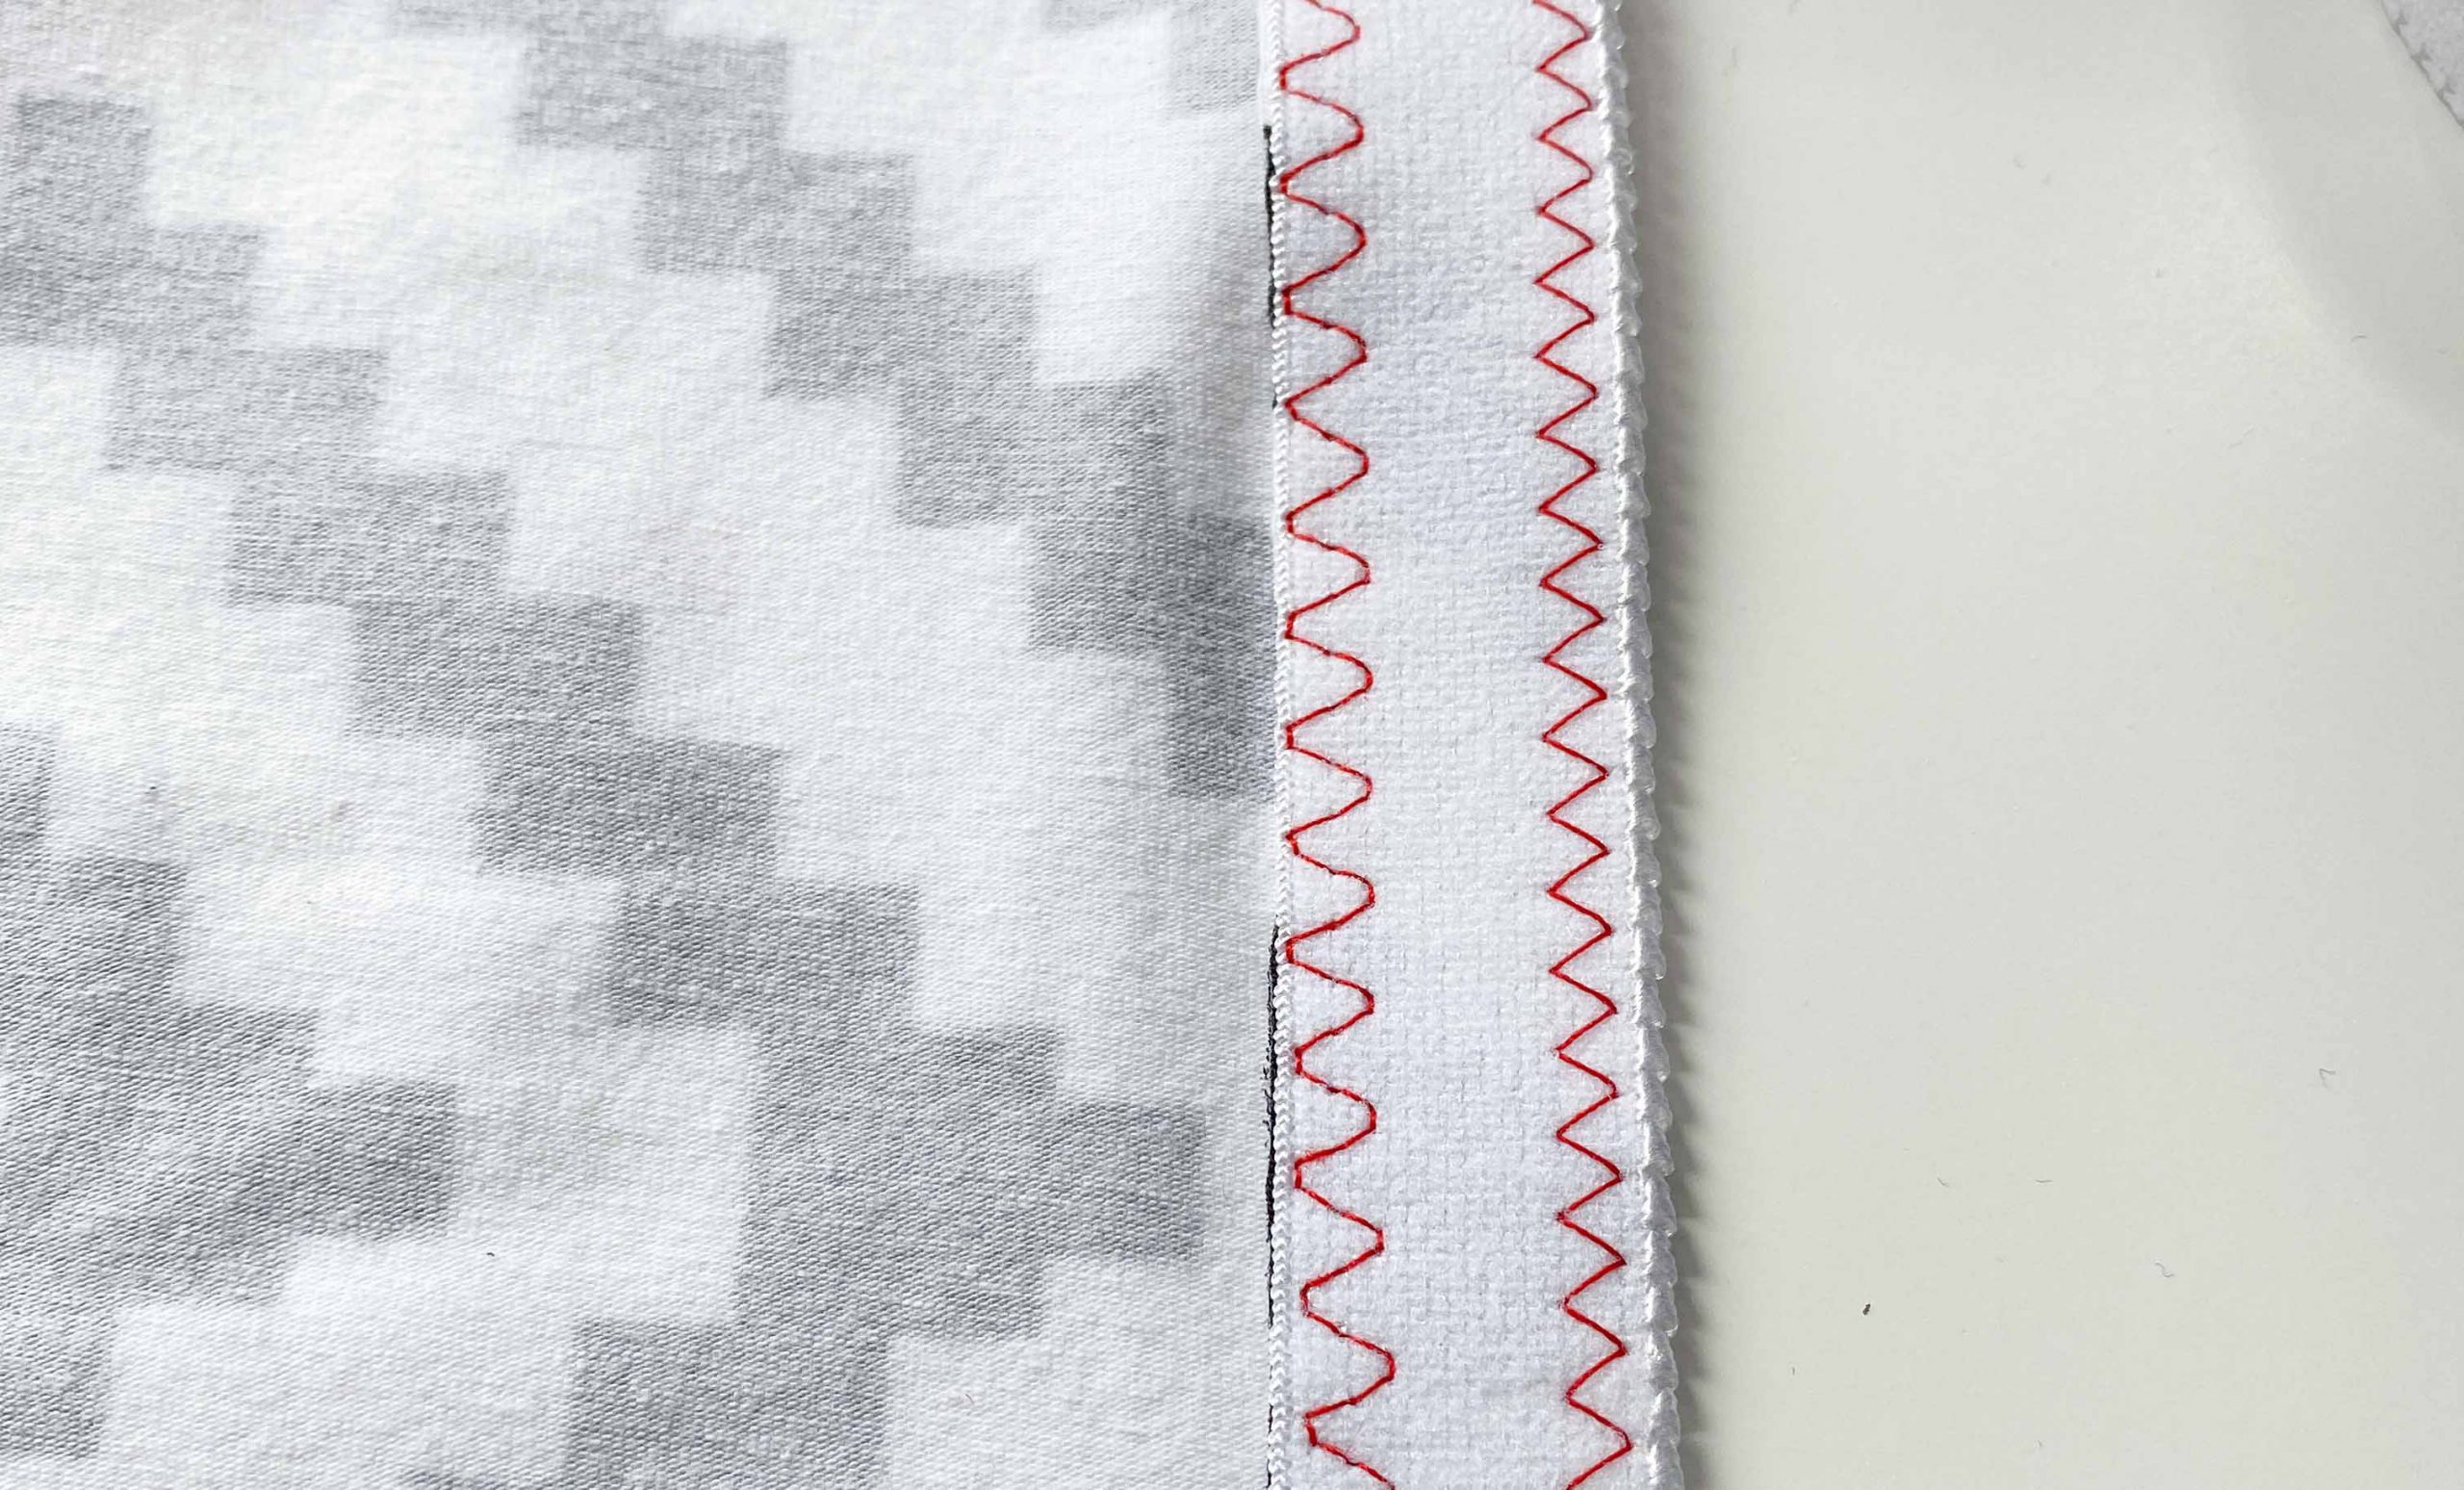
Picot Elastic (narrow for undies)
The process is pretty much the same as above. But you since this is a narrow elastic you will sew the second row of stitches (regular zigzag) on top of the first row after you’ve flipped the elastic.

Piping Elastic
Same process as with the narrow or wide picot elastic depending on the with of your piping elastic.
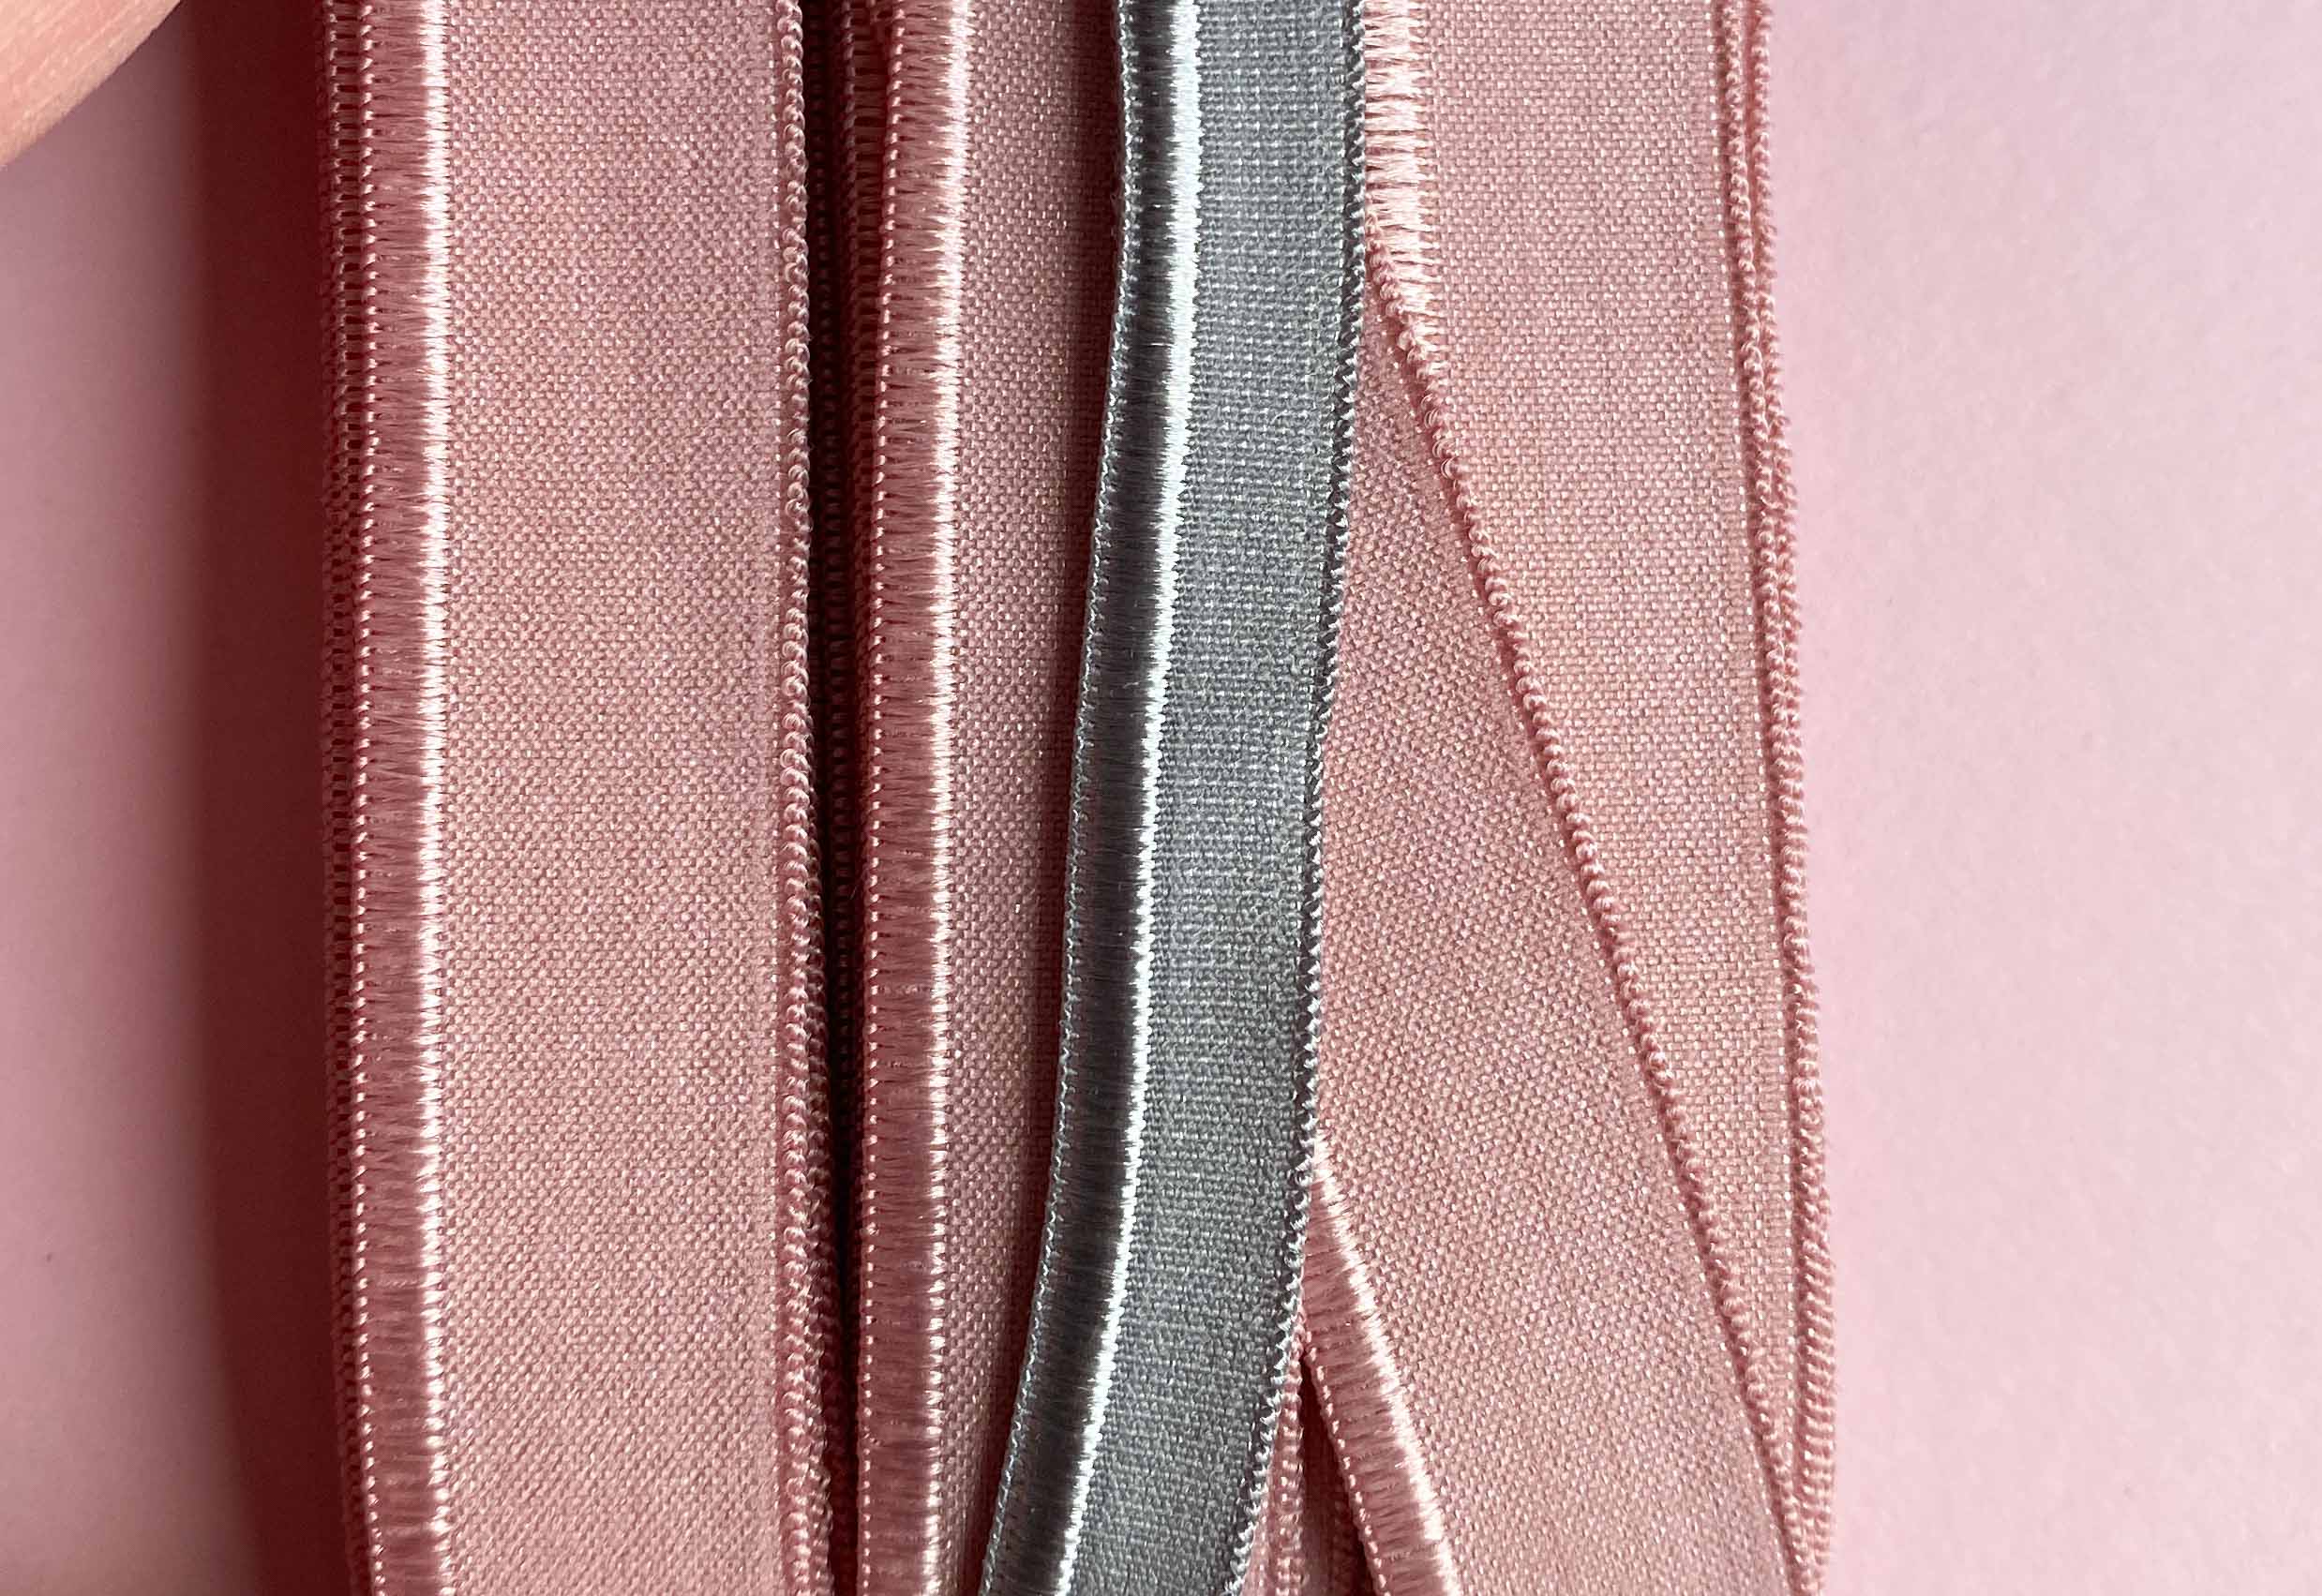
If you have wide piping elastic (pink) you’ll use the same method as in sewing the wide picot. If you’re sewing the narrow piping elastic you will be sewing it the same as the narrow picot elastic.
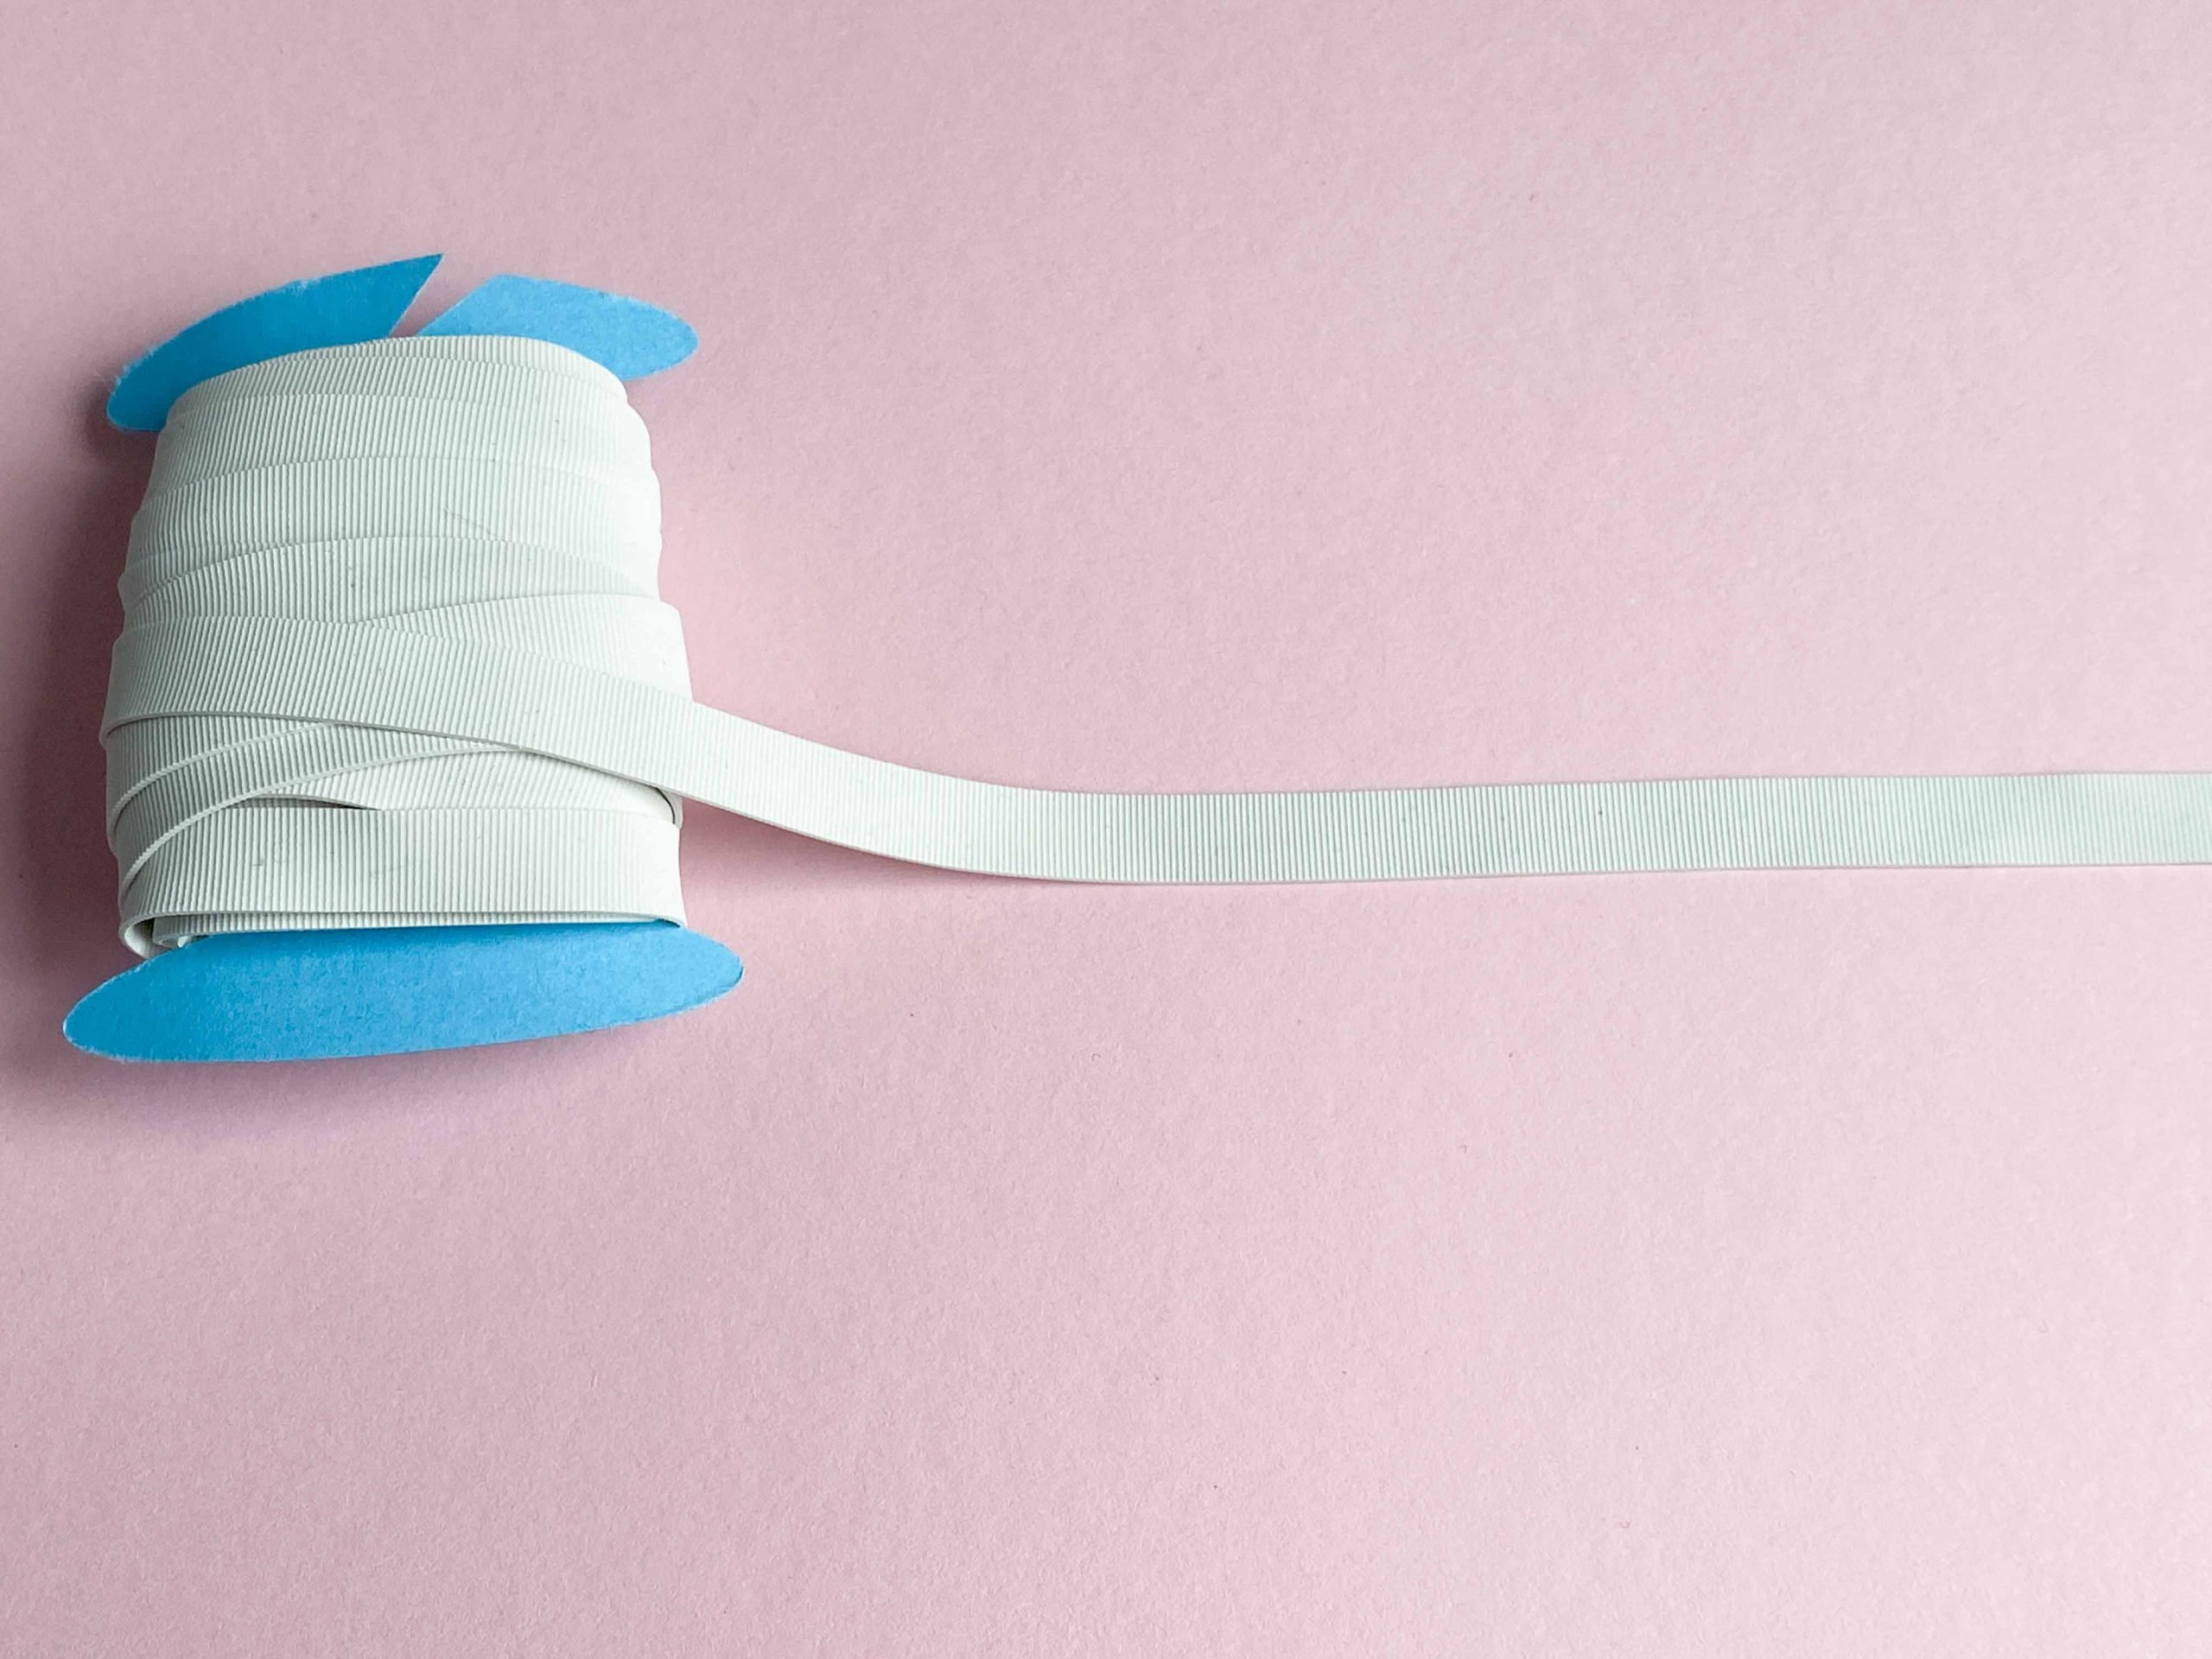
Plain underwear elastic or swimwear elastic
Sew the first pass of zigzags with the elastic on top of your fabric left side up; the egdes are matching up. Then flip to the inside and sew a second pass of zigzags.

Swimwear elastic are preferrable to regular elastics when sewing swimwear you intend to use in chlorinated or salt water. It’s a little more robust under these conditions whereas your regular elastic might wear out very quickly and loose its elasticity. On swimwear you might prefer to turn it in twice before stitching your second pass of zigzags (on undies I think this will be too bulky but that’s just my preference).
Swimwear elastic with twice turned edge
This is it for part 1. Part 2 will follow tomorrow! We will look at stretch lace trim, strap elastic and how to finish your elastics “on the round”. Until tomorrow then. Happy Sewing!
Nadine (@heart.pleat)
Materials Used (the link will take you directly to the product)
- Wide elastic: BWear
- Fold-over elastic: Spitzentraum
- Fold-over elastic with pattern: BWear
- Picot elastic: BWear
- Narrow Picot elastic: Spitzentraum
- Piping elastic: BWear
- Regular elastic: Spitzentraum
- Swimwear elastic: Emerald Erin
- Stretch lace trim: Spitzentraum – out of stock
- Strap elastic: BWear
Do you use an elastic presser foot when sewing elastic? I am sewing swimwear. Thank you
Hy Kathy,
Since this is an older article, I am not sure if Nadine will answer. However, in one picture I can see the presser foot #1D with the Dual transport activated. Hope this helps a bit!
Merci pour toutes ces explications, je n’ai pas encore osé posé de l’élastique avec ma Bernina, je vais essayer