 BERNINA Corporate Blog -
Time to shine! Sewalong part 5 – Hacks
This last in the series of five Megan sew-along blogs is all about hacks. I discuss some additions to the pink version of the Megan blouse that give it even more of the LIESL signature. I think the best thing about sewing is that you can adjust the garment to your own liking.
Klik hier voor de Nederlandse blog
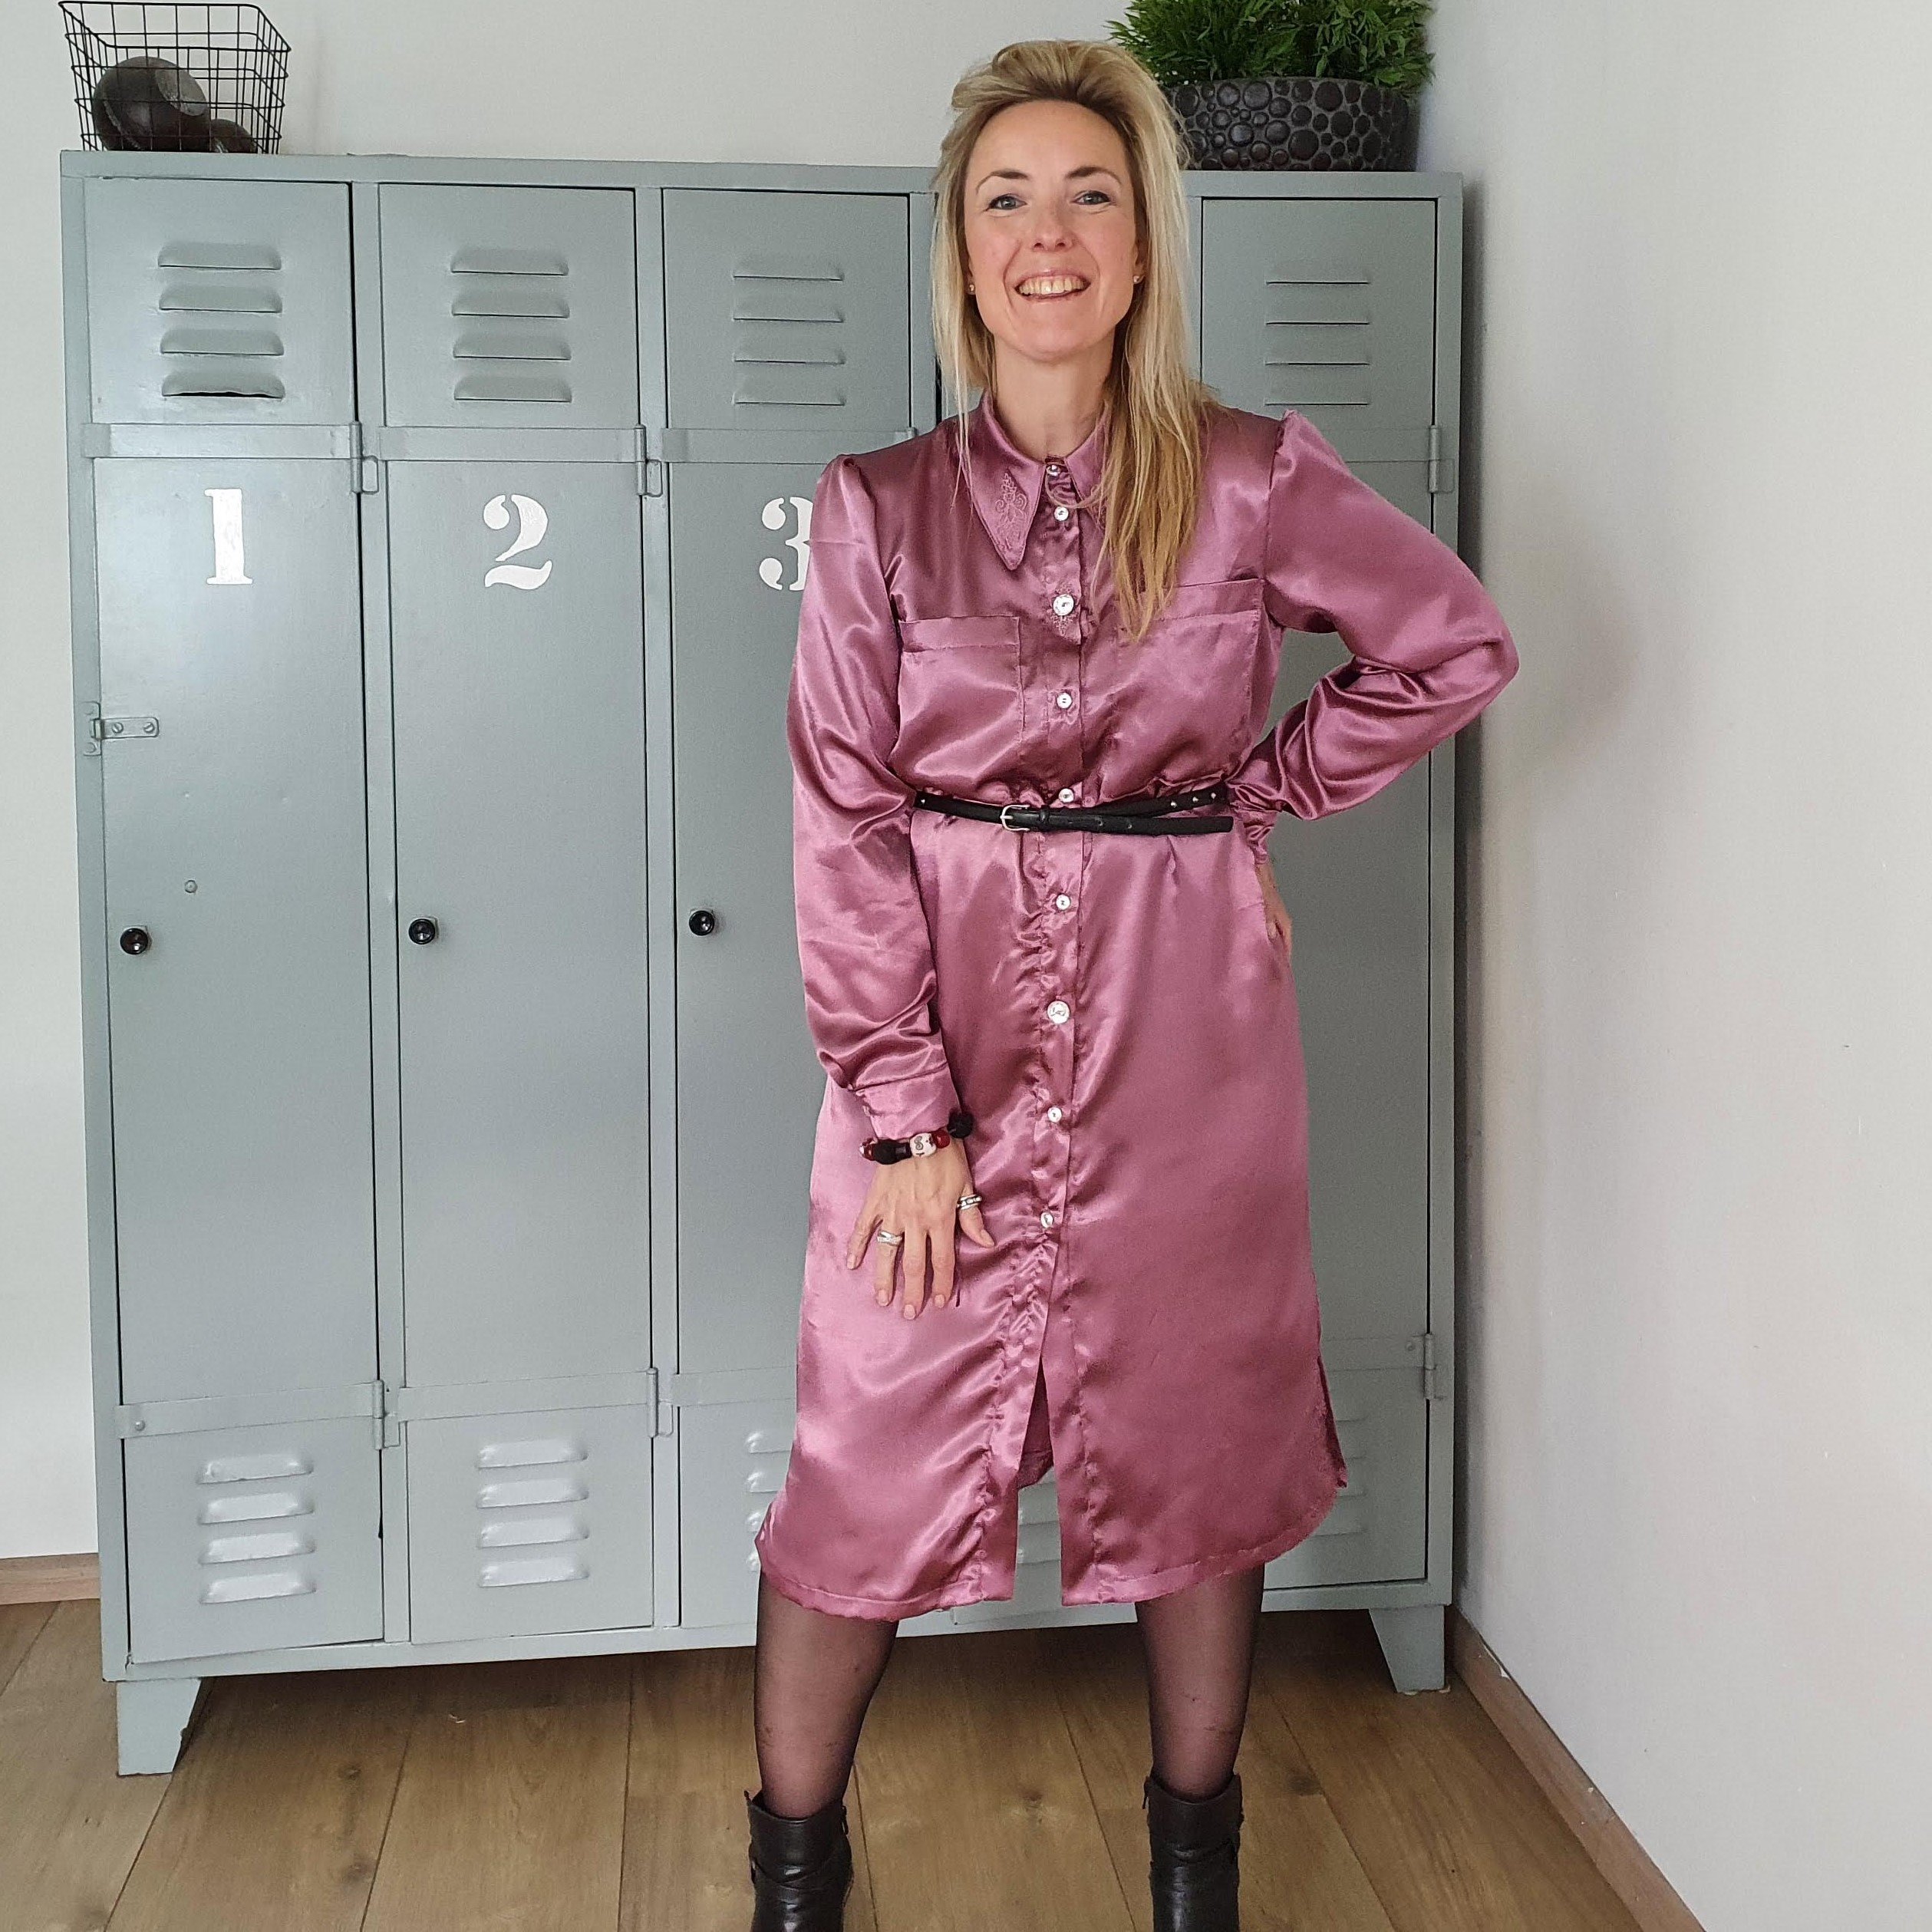
This Megan blouse has been transformed into a dress with subtle puff sleeves. In this blog I will discuss these two hacks. In addition, I discuss how you could adjust the collar, if you feel the pointed collar of the Megan pattern is a bit too much .
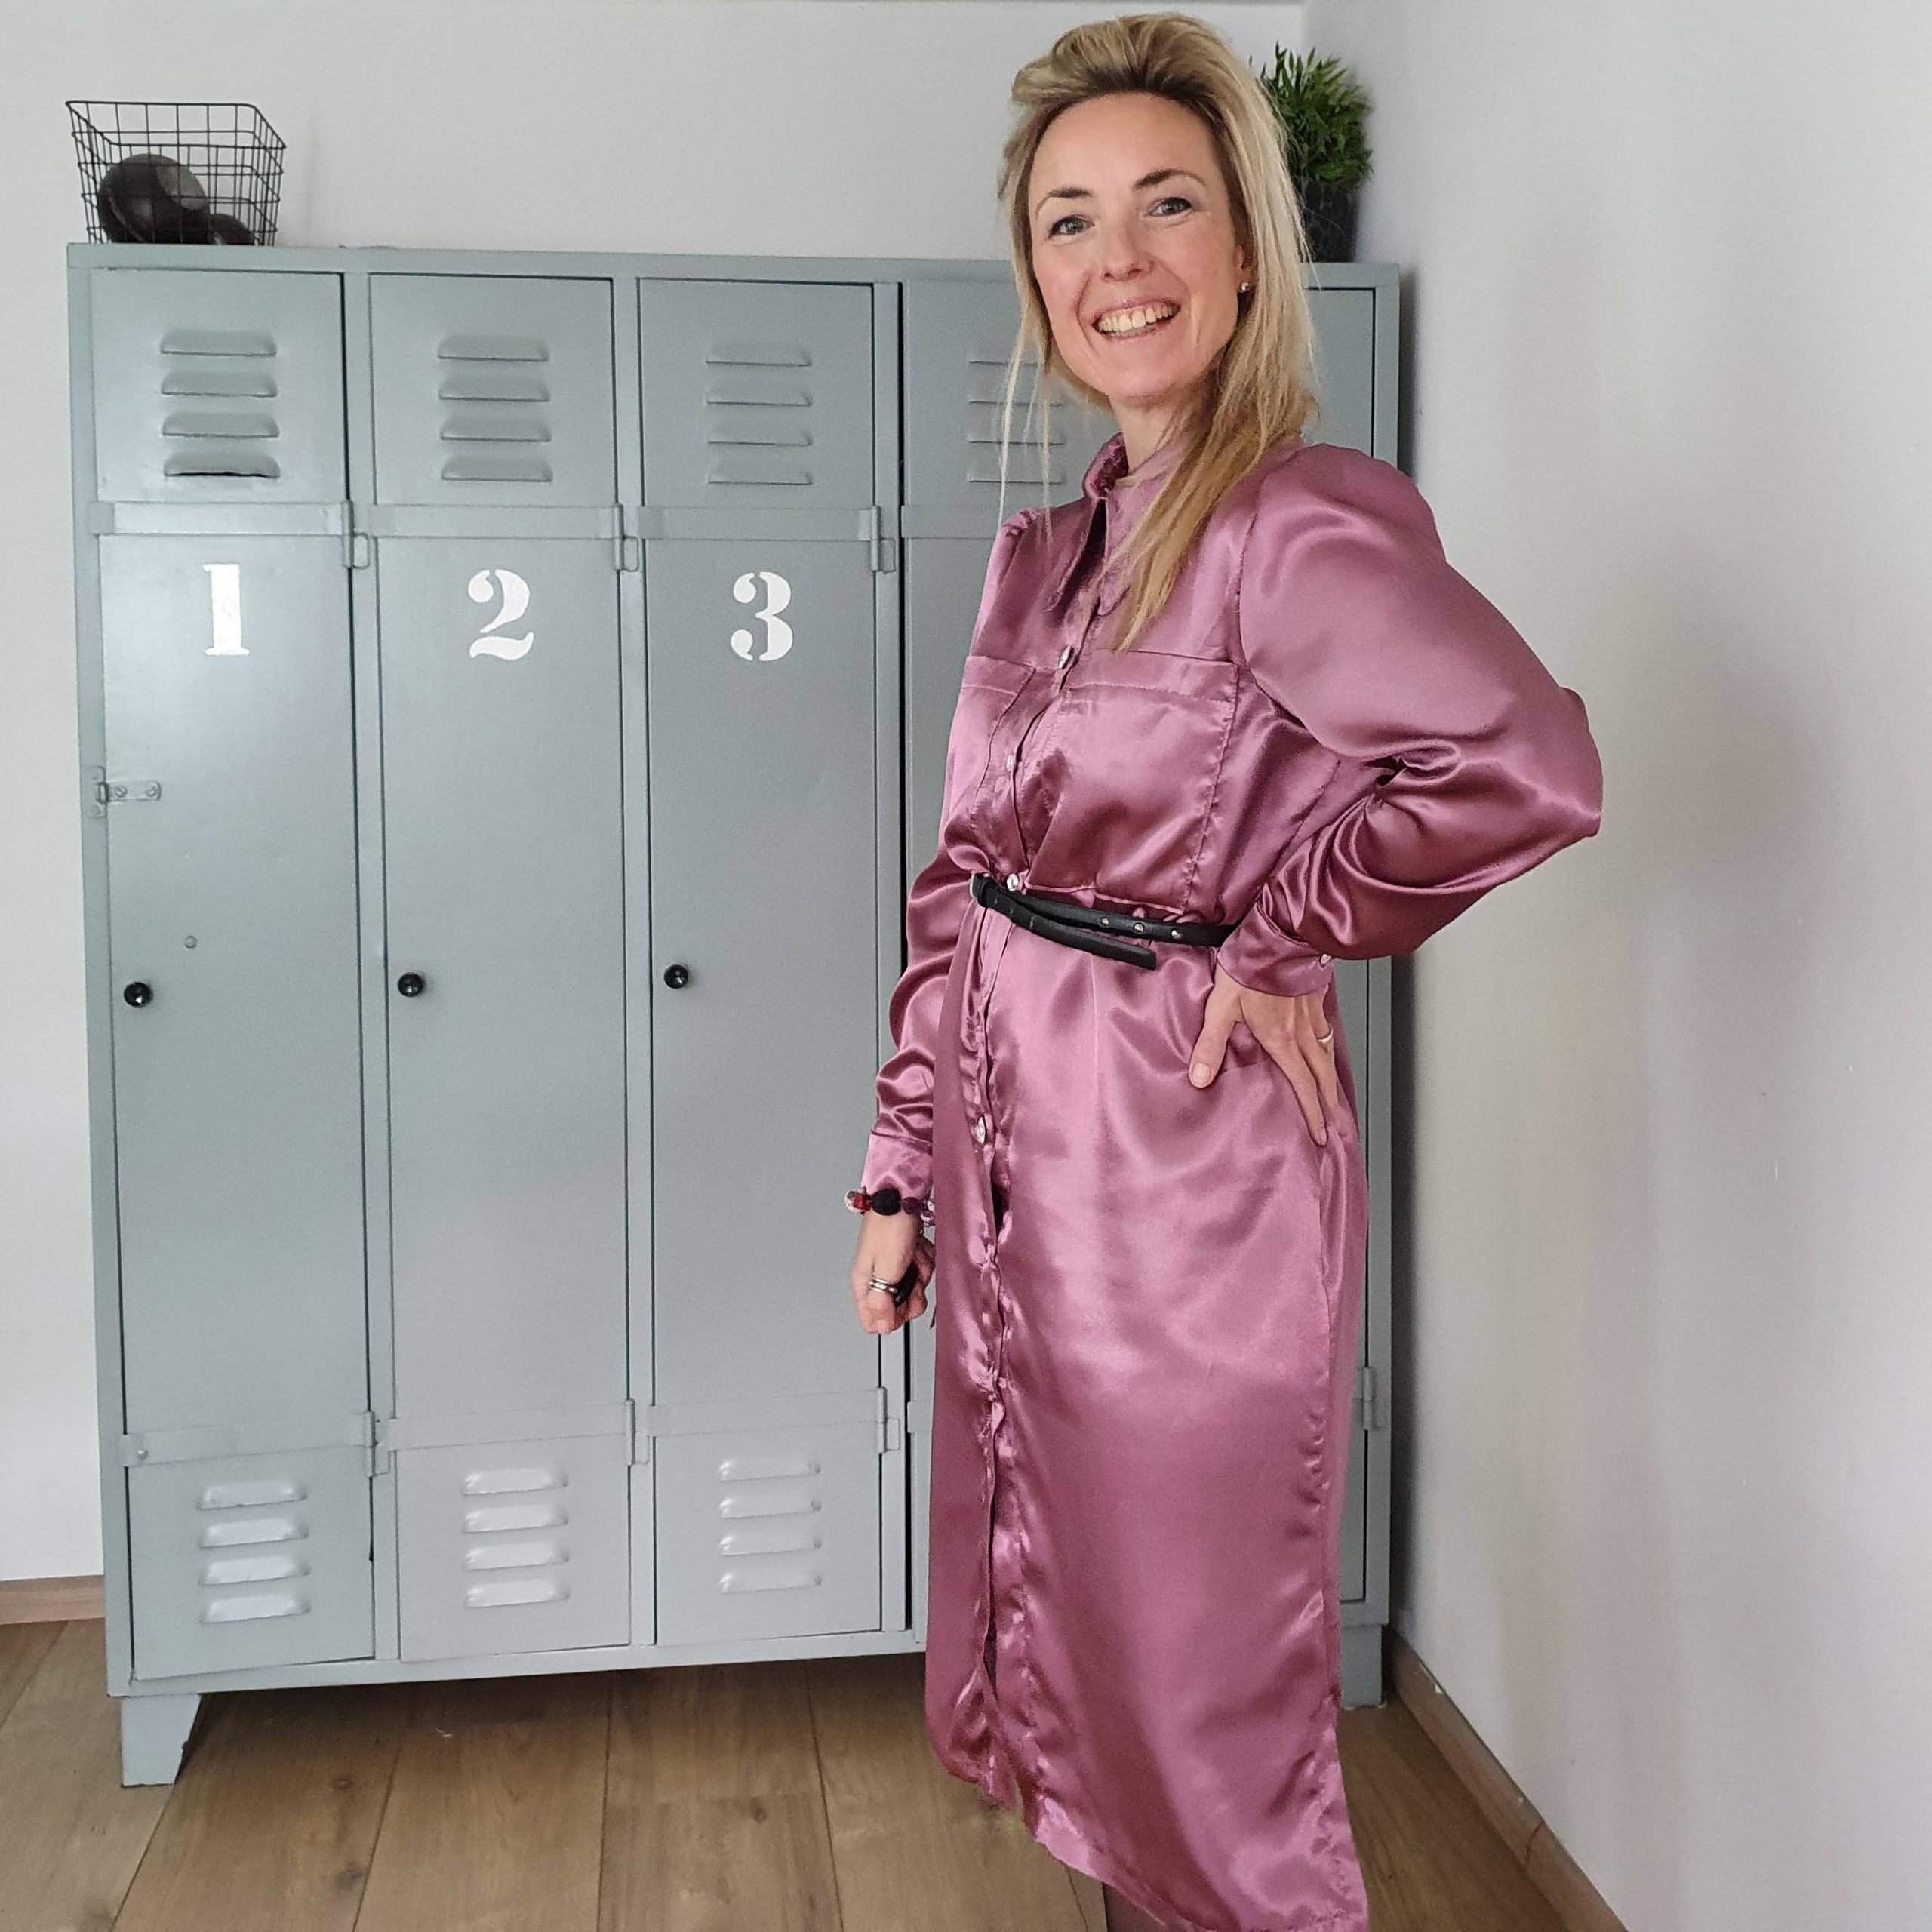
Megan dress
This relatively simple hack with great results can be approached in two ways.
- You can simply add length to your blouse by lengthen the front and back pattern piece centre front and at the side seam. Make sure you have enough space at the hip. Measure twice. You can, if necessary, draw more space from the waist, so that you have sufficient room to move at the height of the hip. From there you can descend in a straight line until you reach the desired length.
- You can also use another well-fitting pattern, of a (shirt) dress. Include the reference points such as shoulder, waist and mid-front. Slide the pattern pieces over each other and copy the bottom part of the pattern to create the desired length.
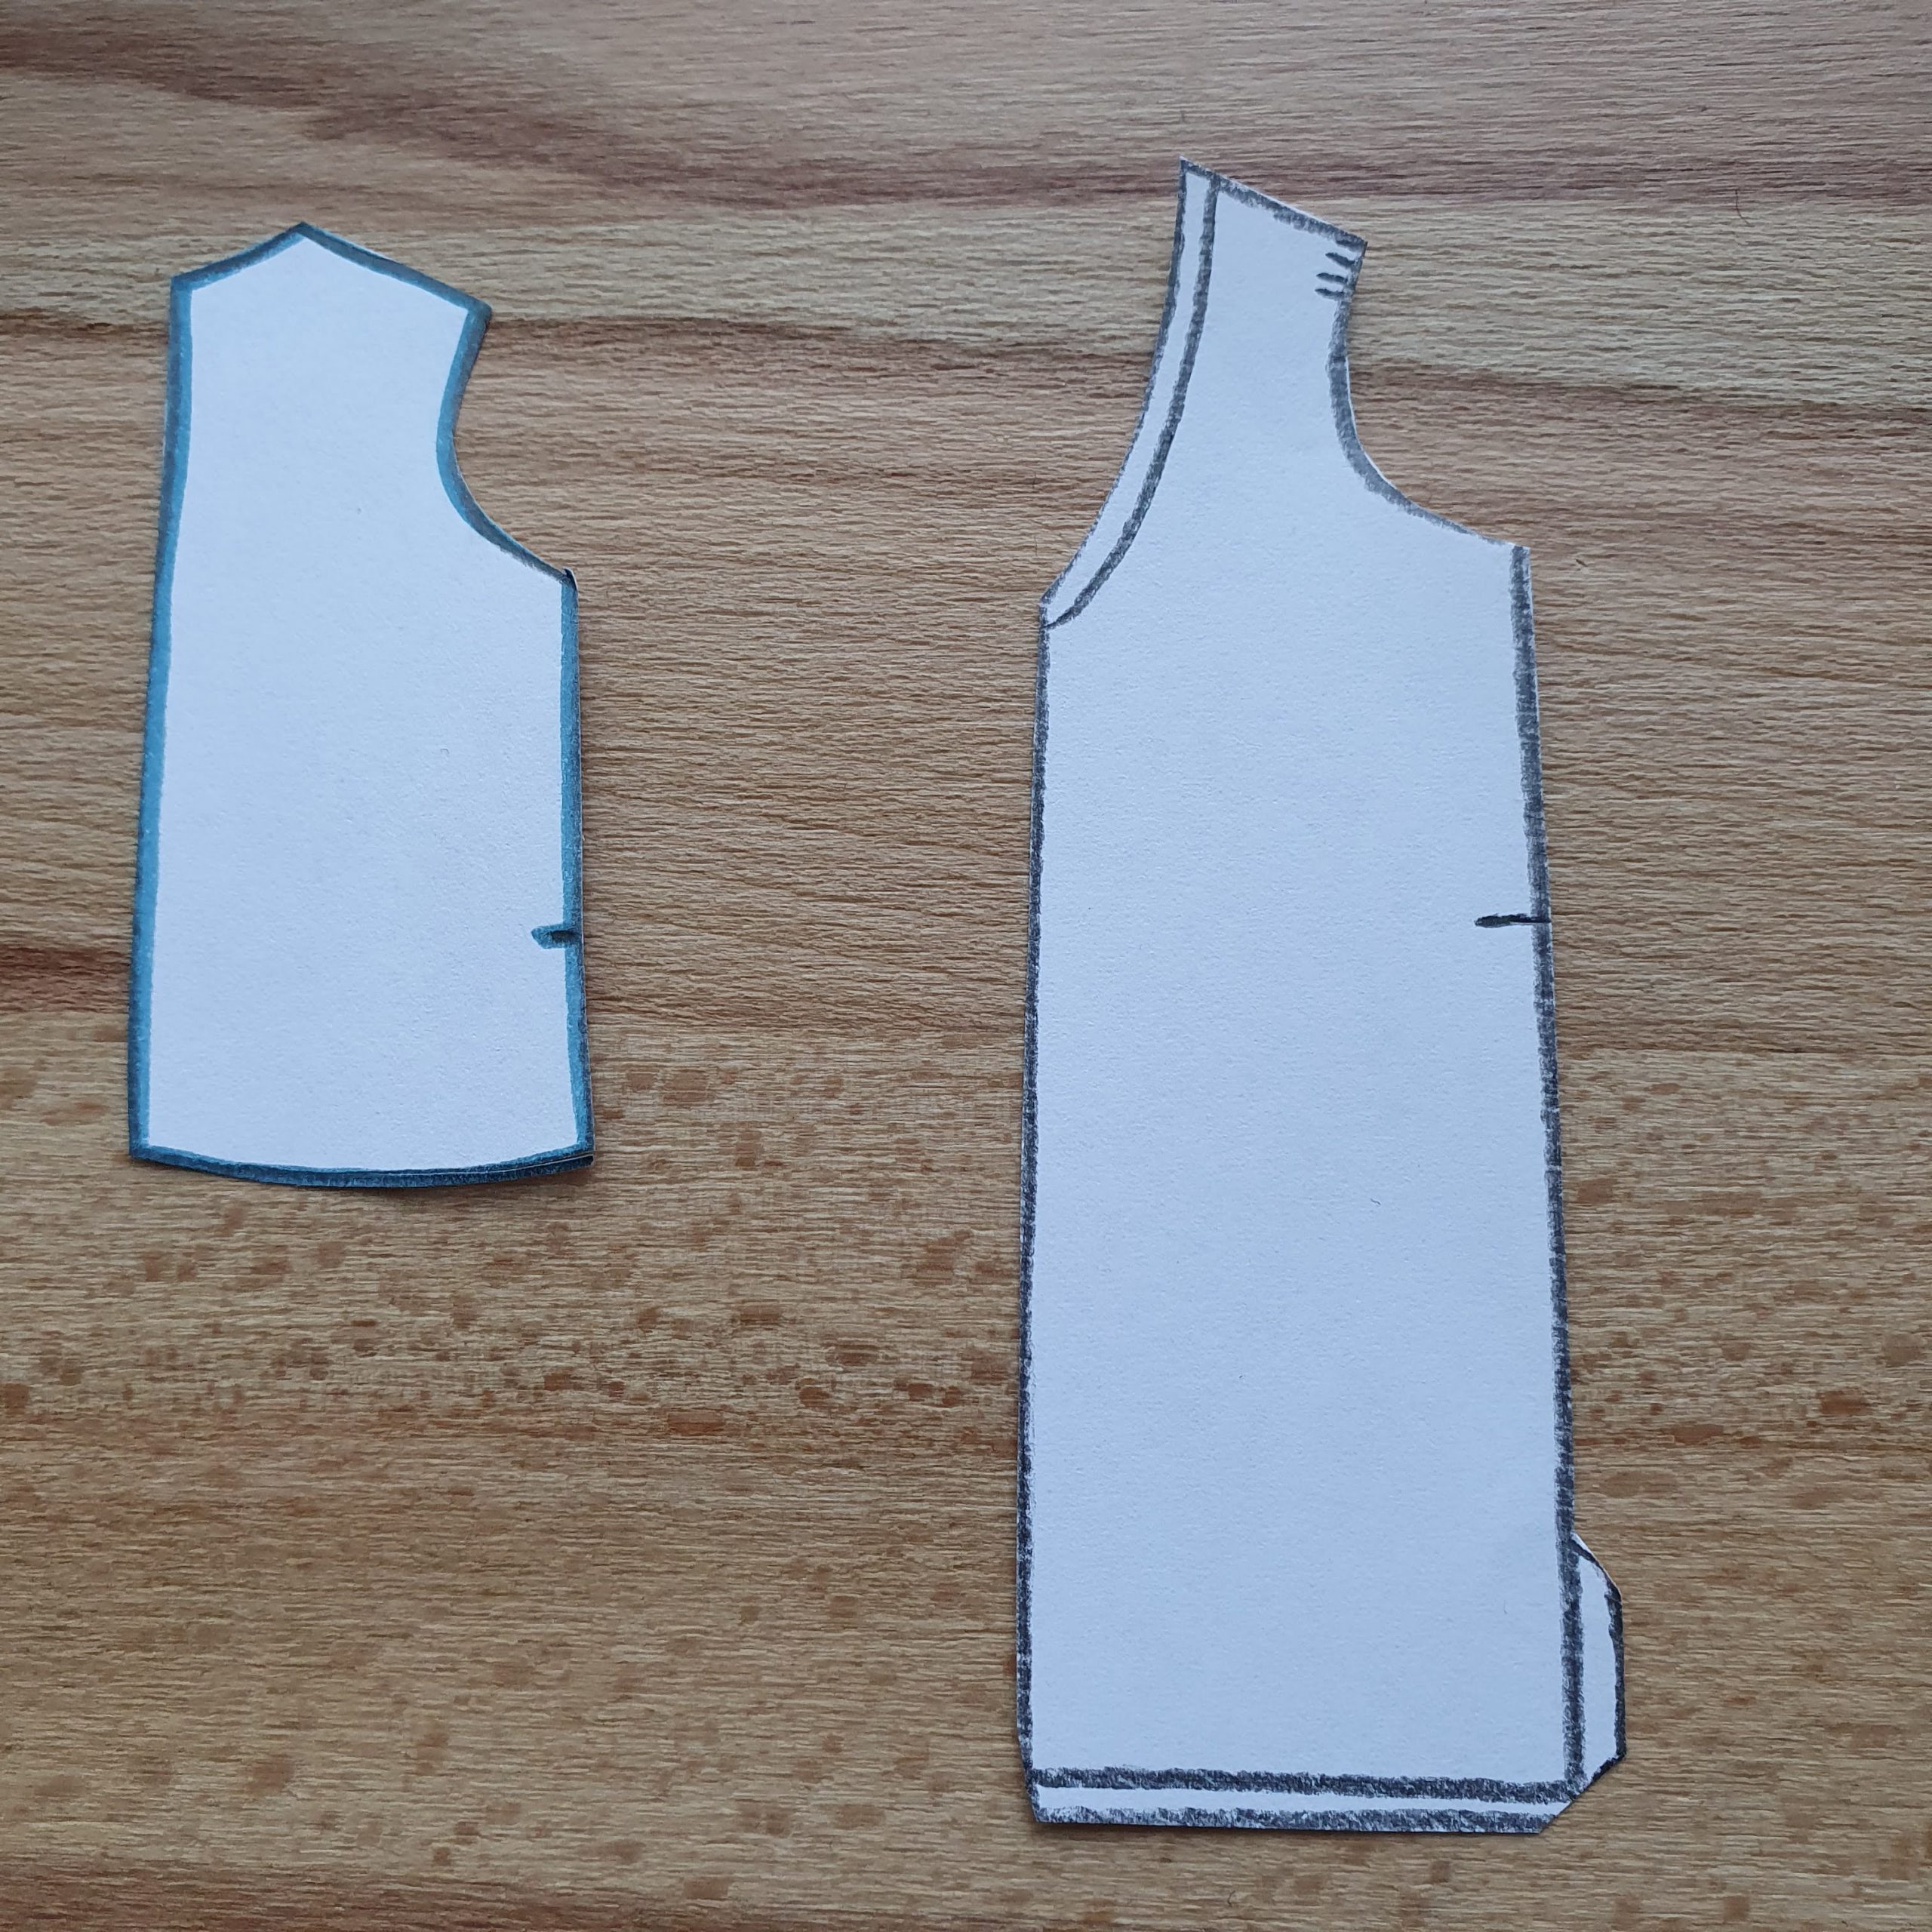
Left: Megan blouse Right: Shirt dress

Match waist, shoulder and centre front as best as possible
Add loops if you want to wear a belt. Make a belt from the same fabric or use a nice one from your closet.
Puff sleeve
For a puff effect with a little more room in the sleeve cap, the pattern for the sleeve has been adjusted. Many examples can be found online on how to approach this. I used this timeless pattern drawing book, found at a second-hand book fair.
Such a pattern book is a great help if you want to apply hacks to a pattern.
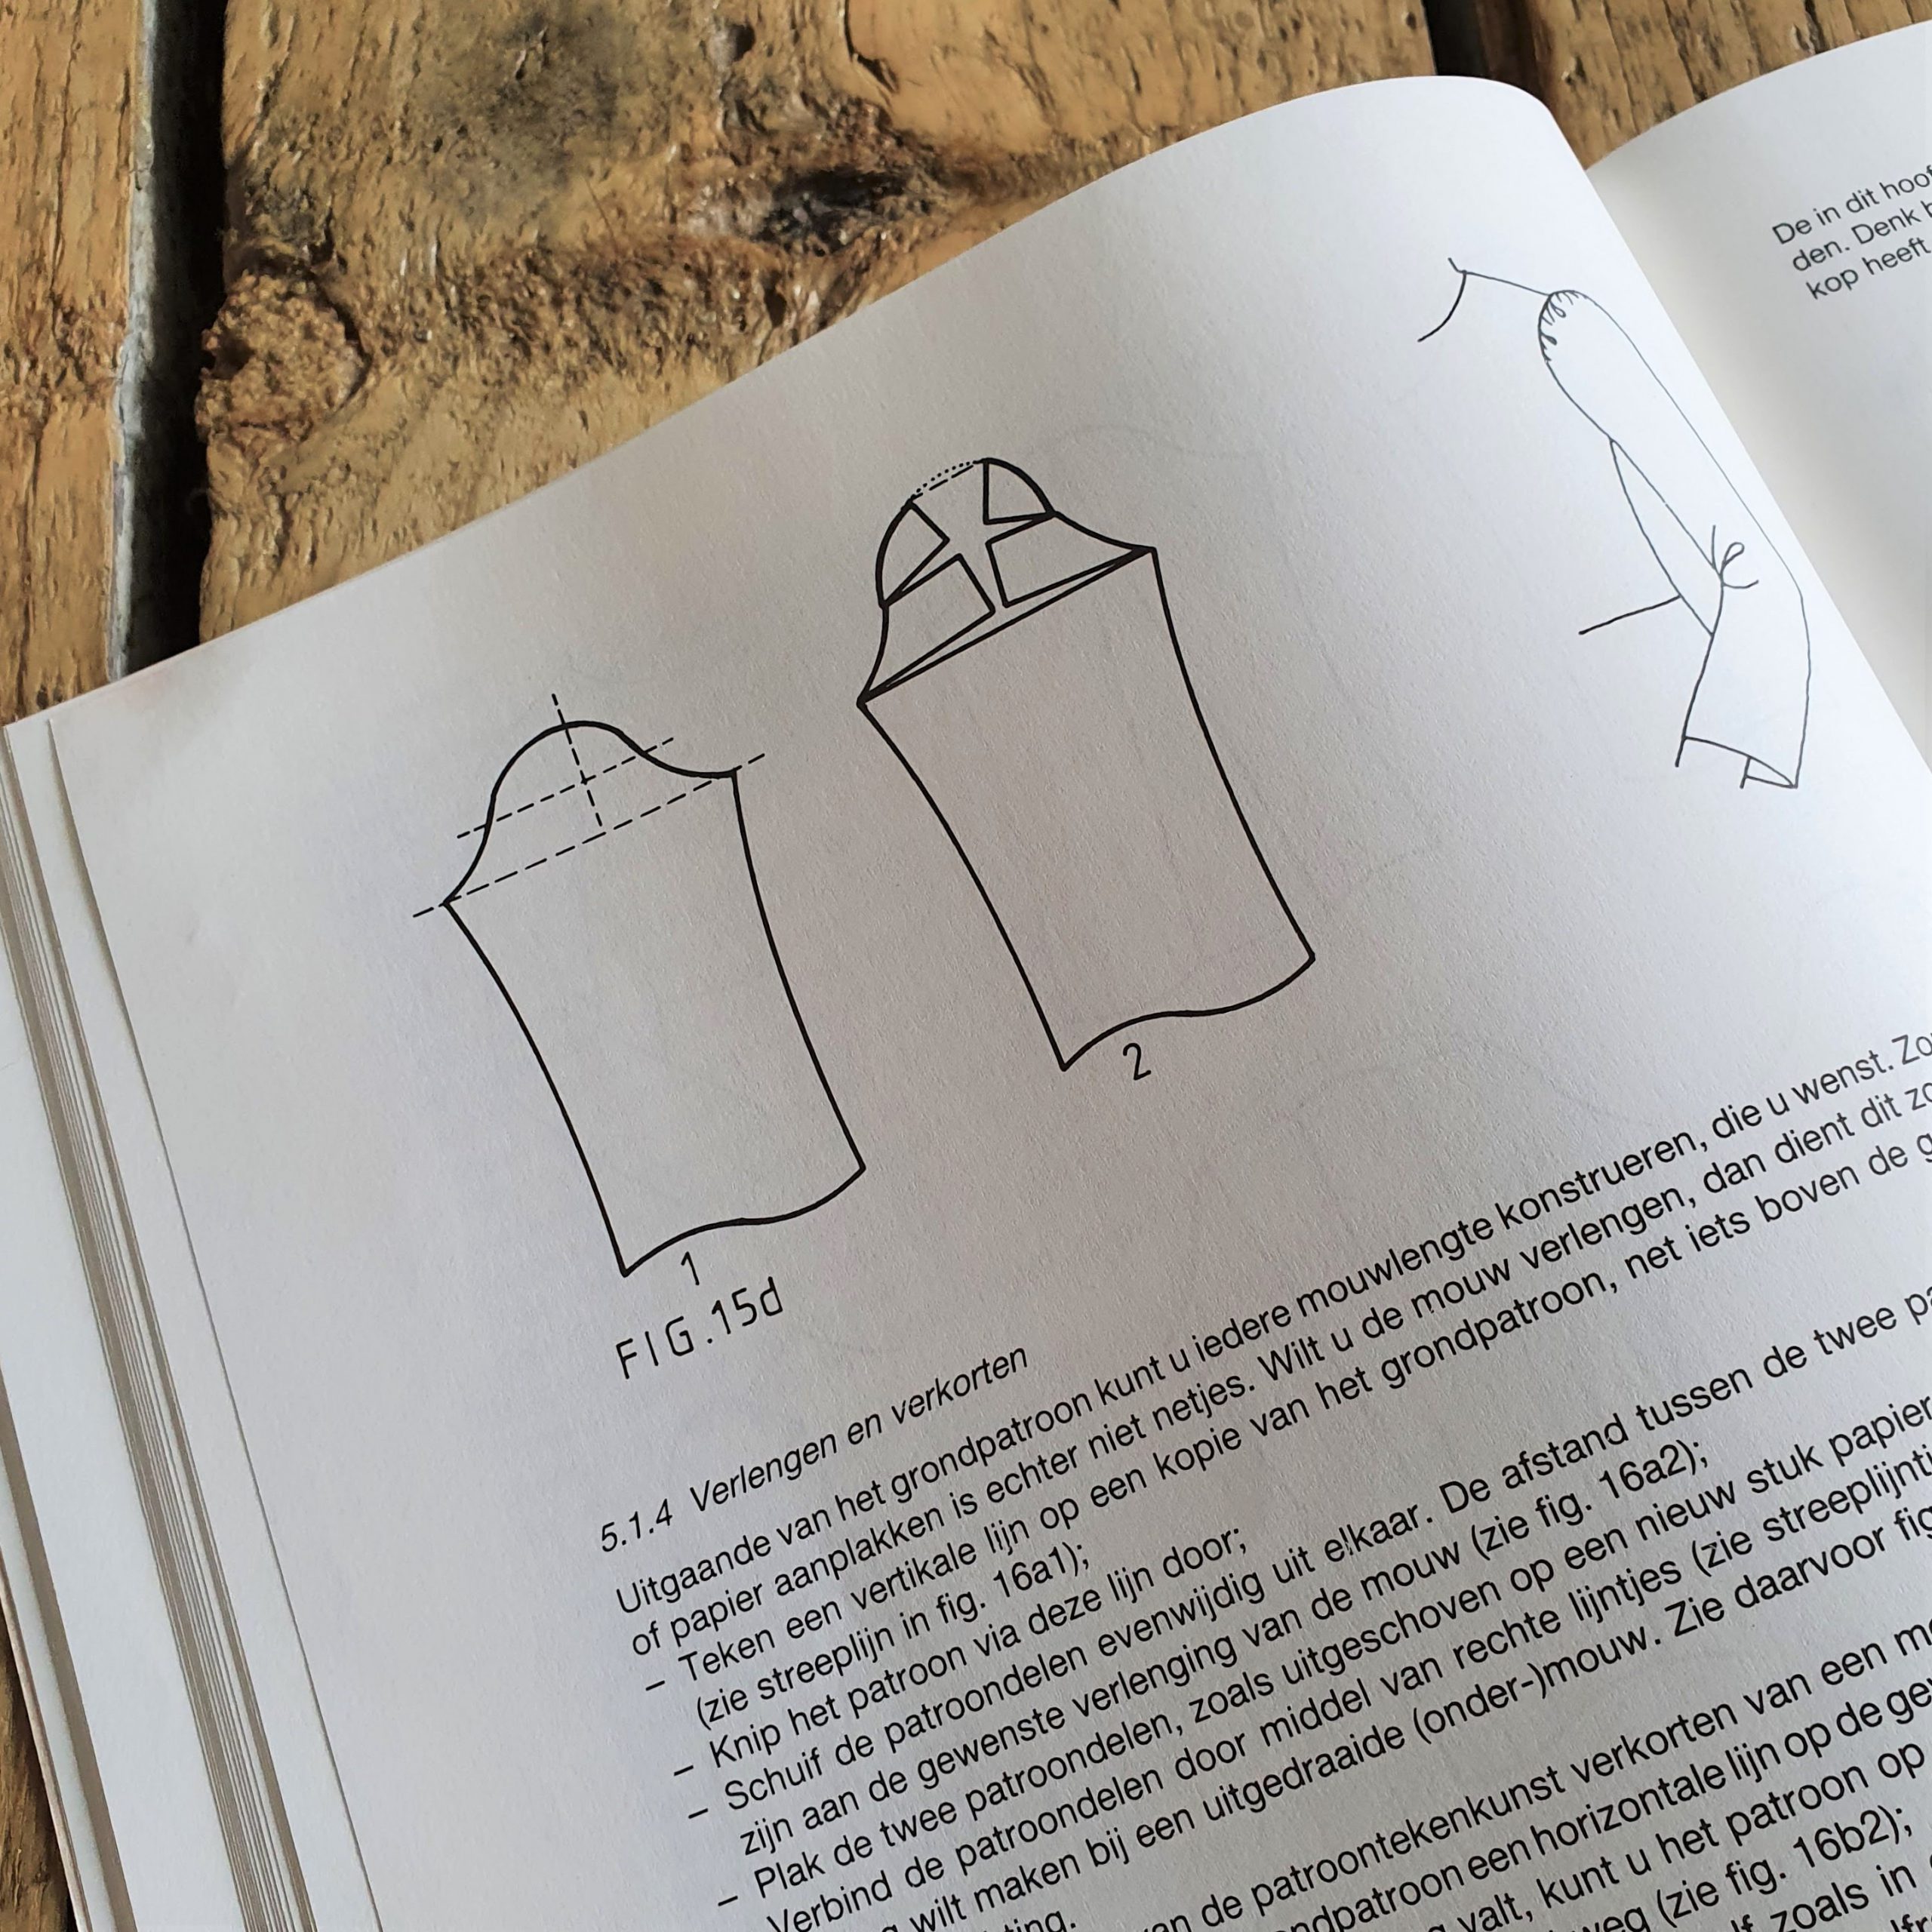
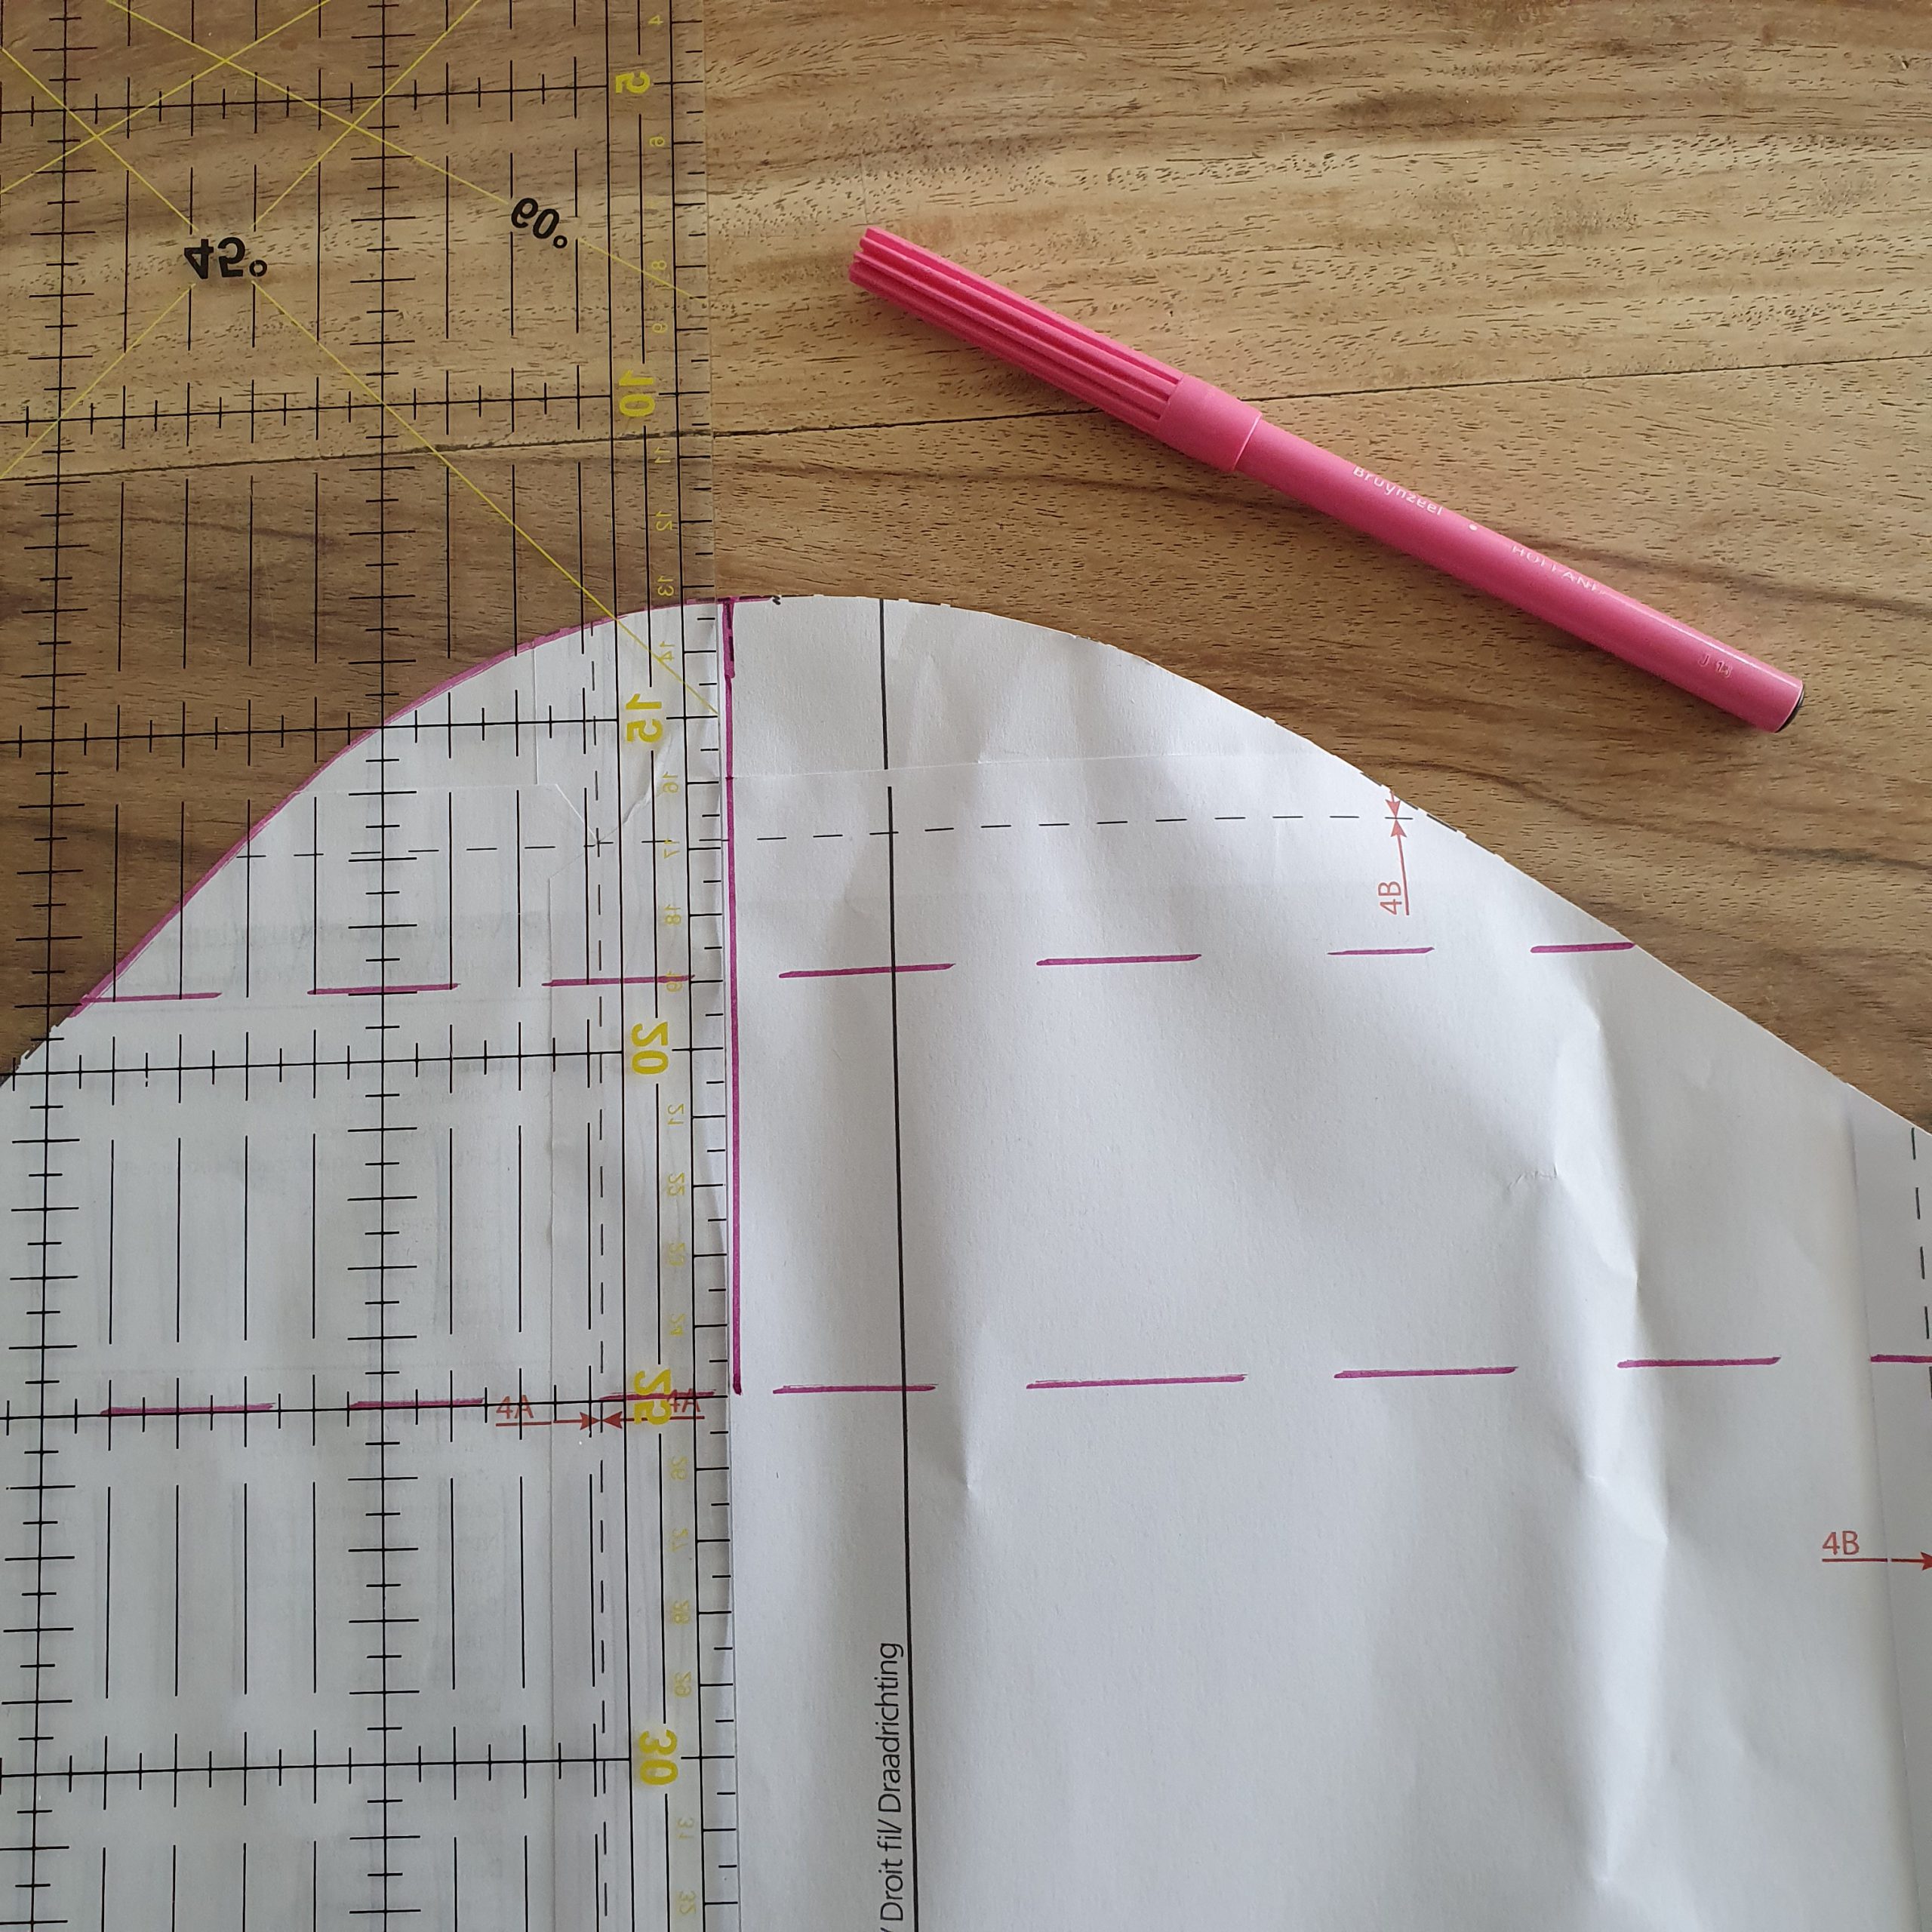
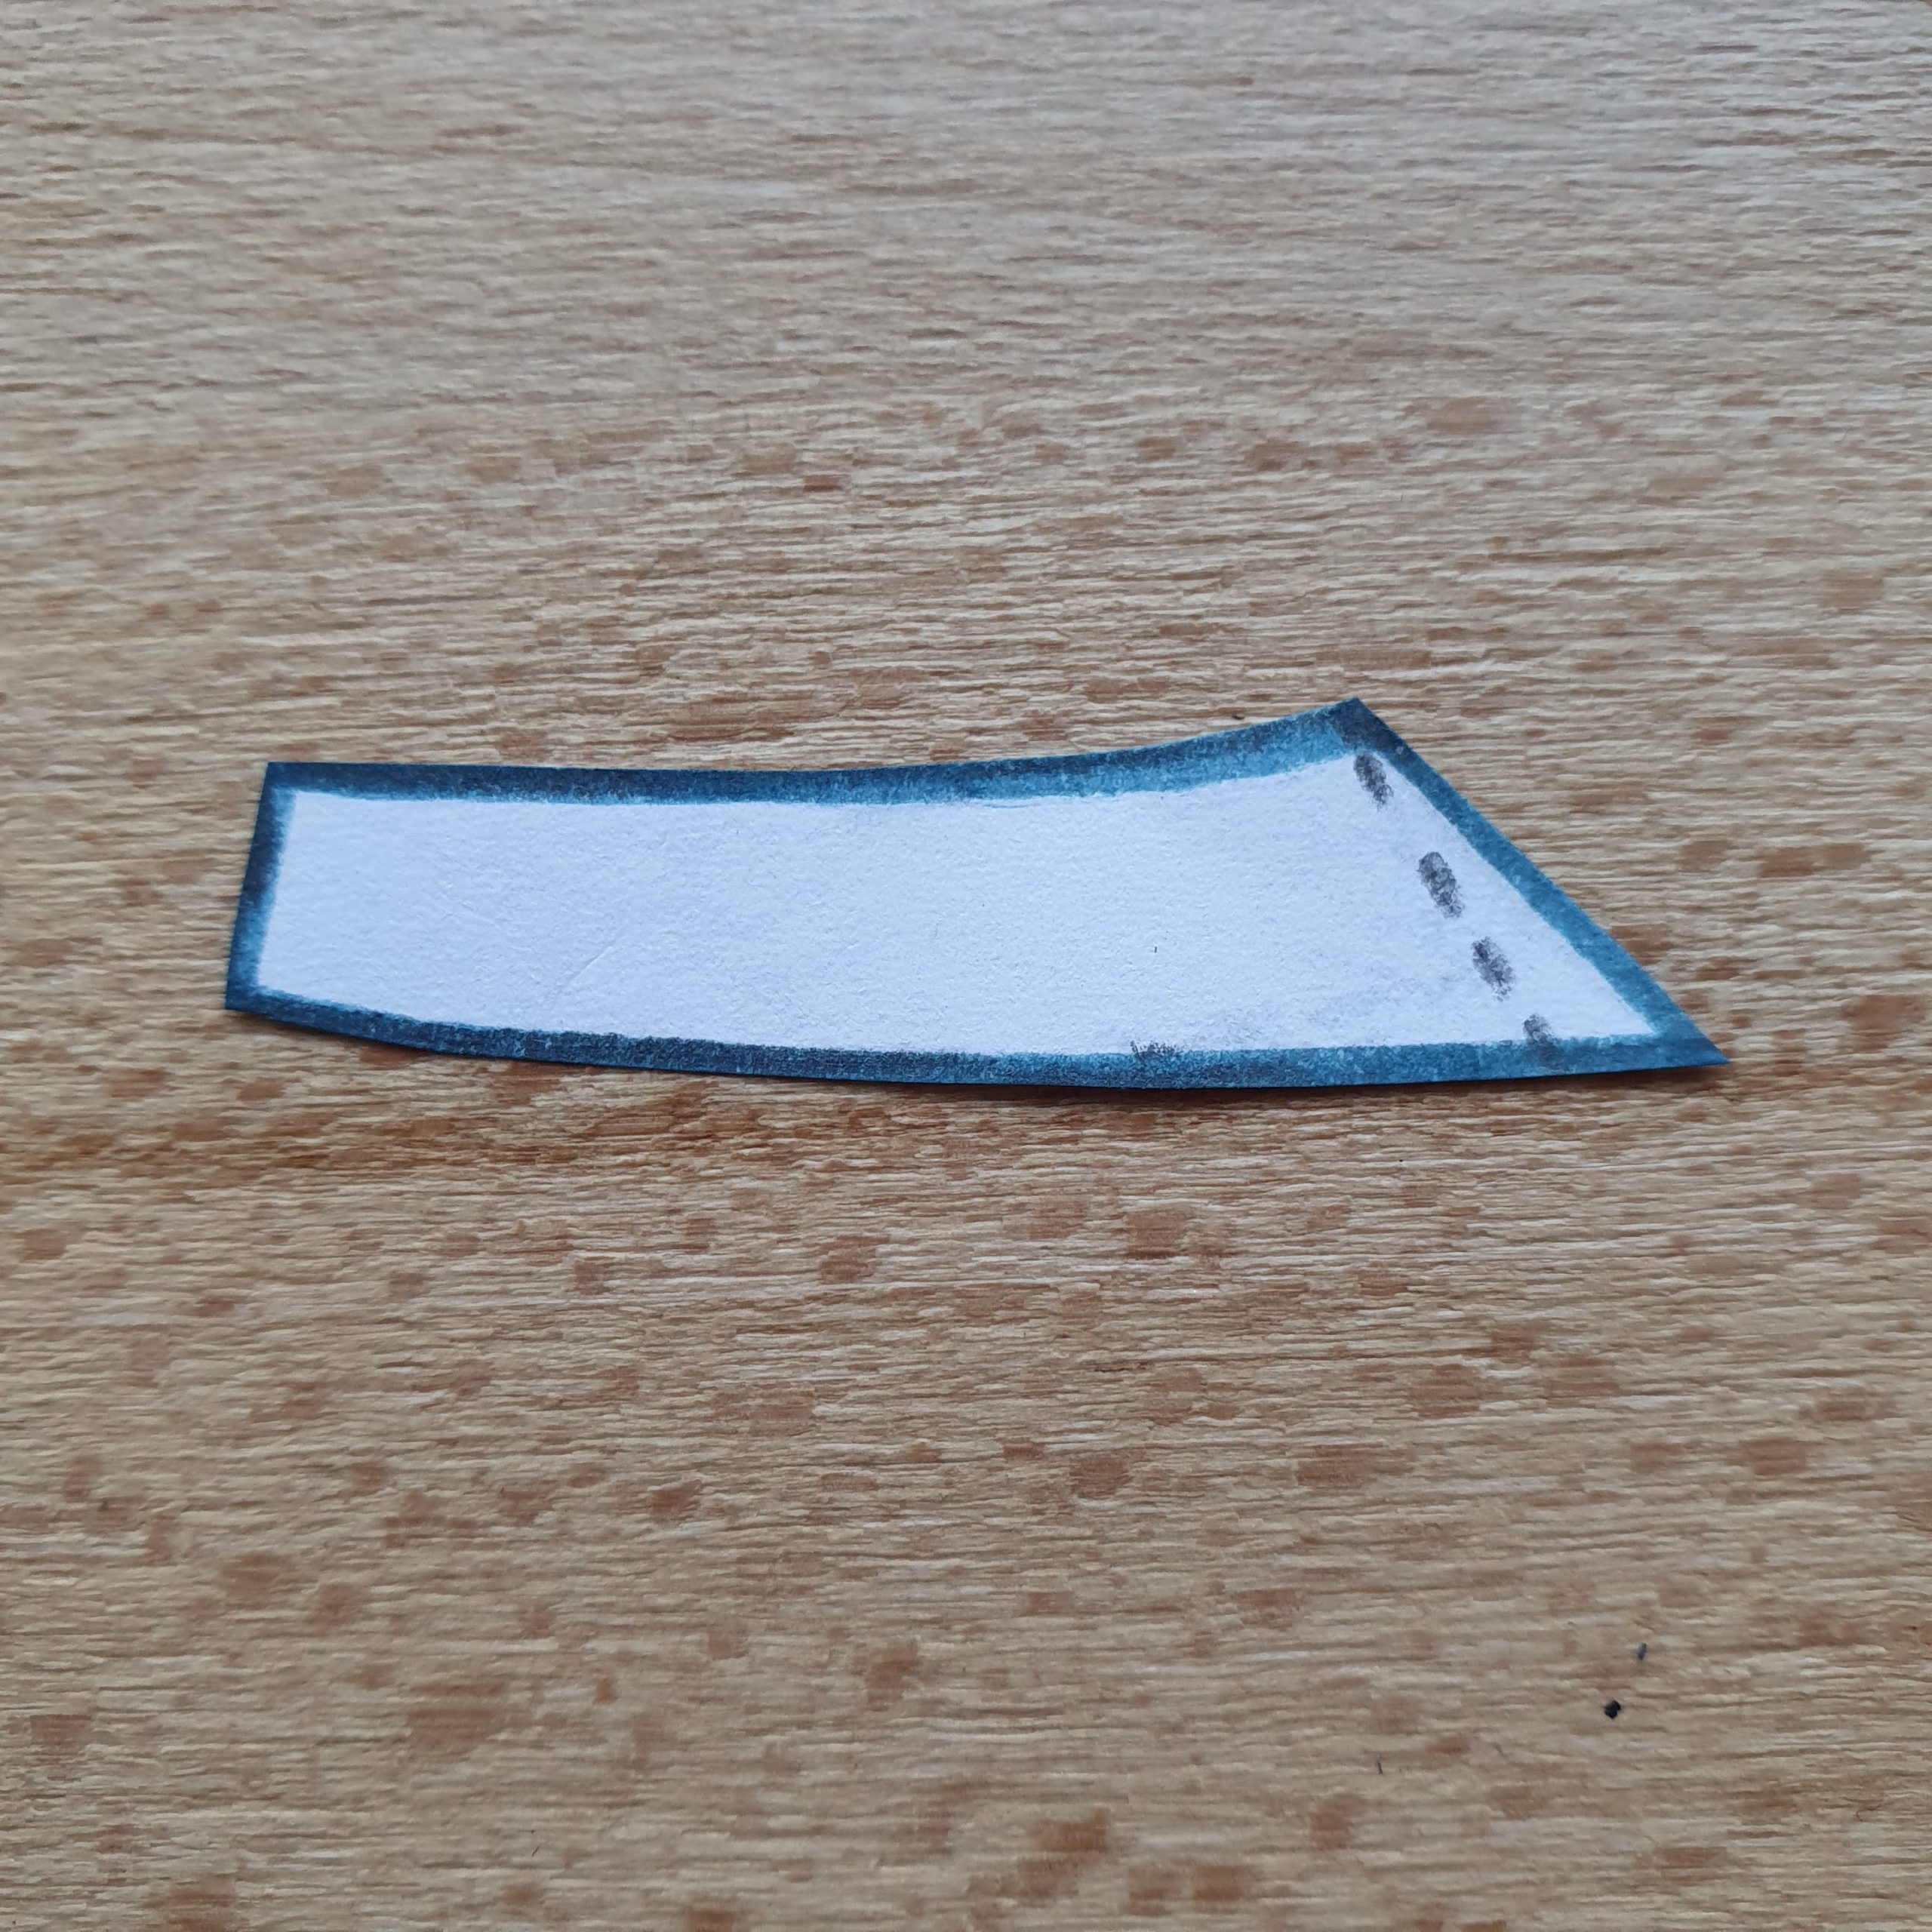
Draw a horizontal line from armpit point to armpit point. Then a proportional line half the distance from the line just drawn to the shoulder mark. From the shoulder mark you then draw a line perpendicular to the two previously drawn lines. These are your cutting lines. Cut from the top and then sideways. Cut until the paper still is attached.
Place the cut pattern on a new piece of paper and turn out the pattern. Tape it and then draw the sleeve head like the example from the book. Cut out the pattern again, cut the fabric and make the sleeve as described.
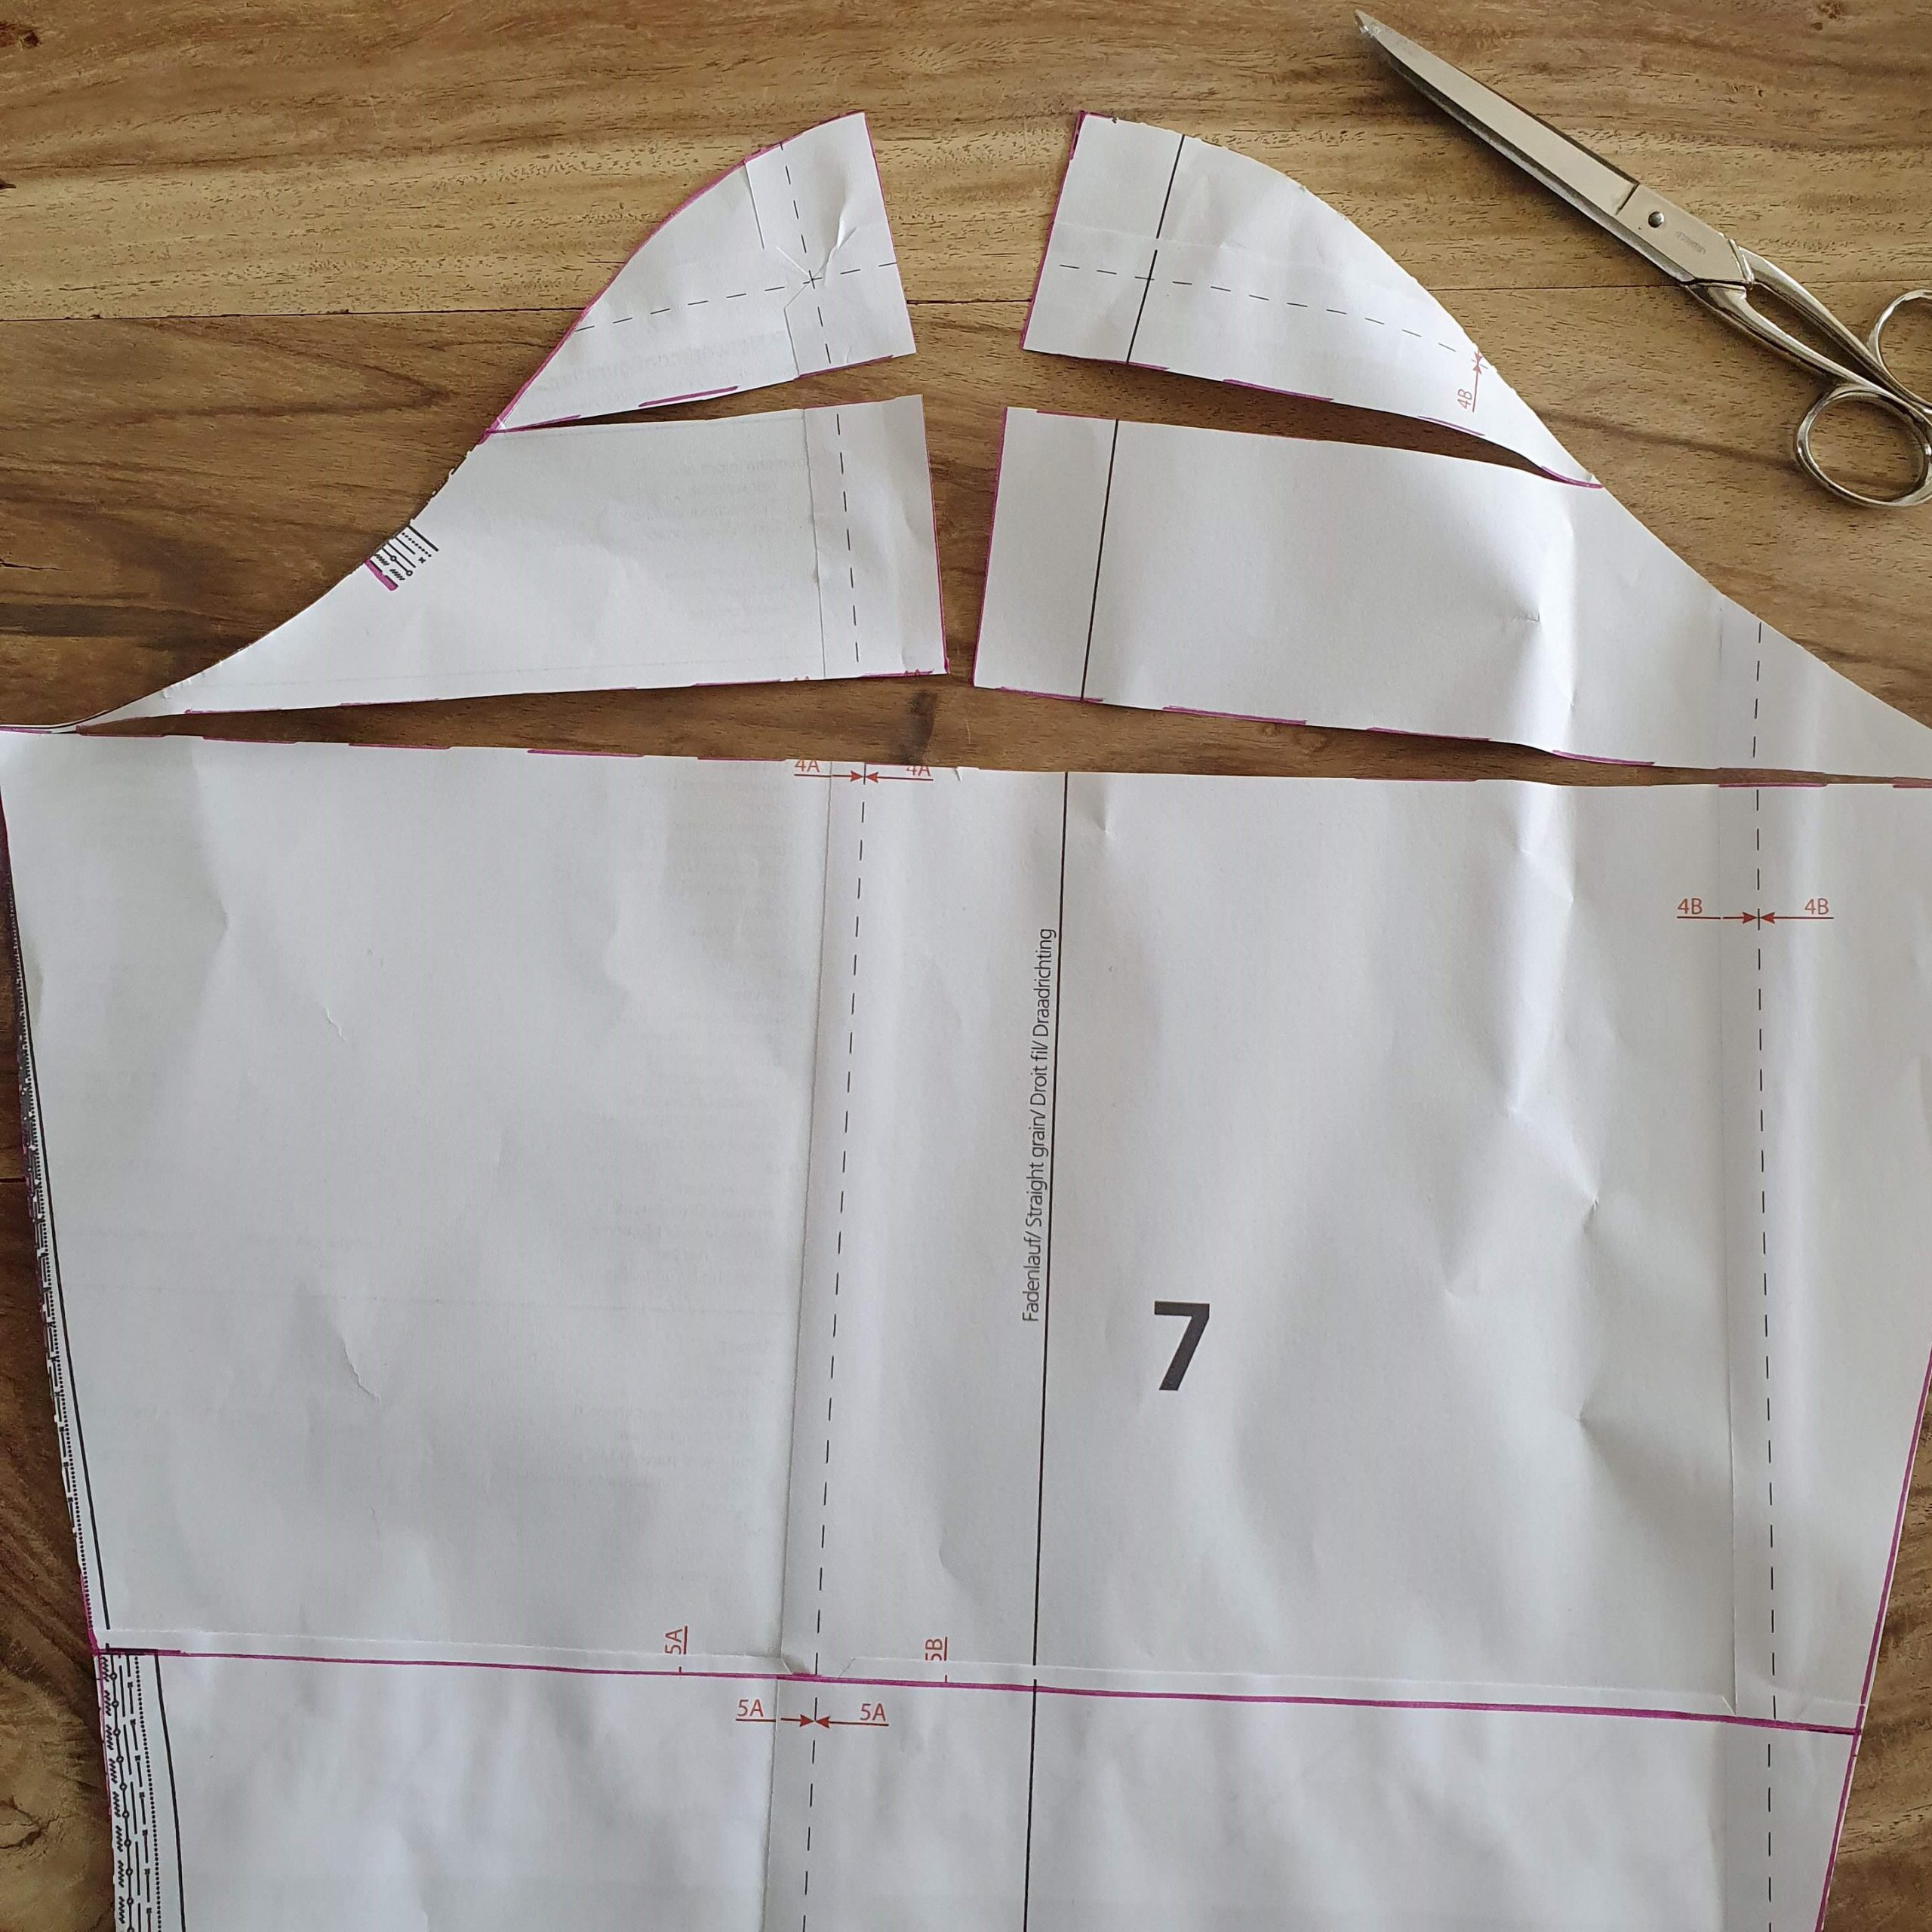
Cut and turned out

To insert the sleeve sew two parallel basting lines (largest stitch length, in this case stitch length 6) along the cap of the sleeve. About 10 cm on each side of the shoulder marking. 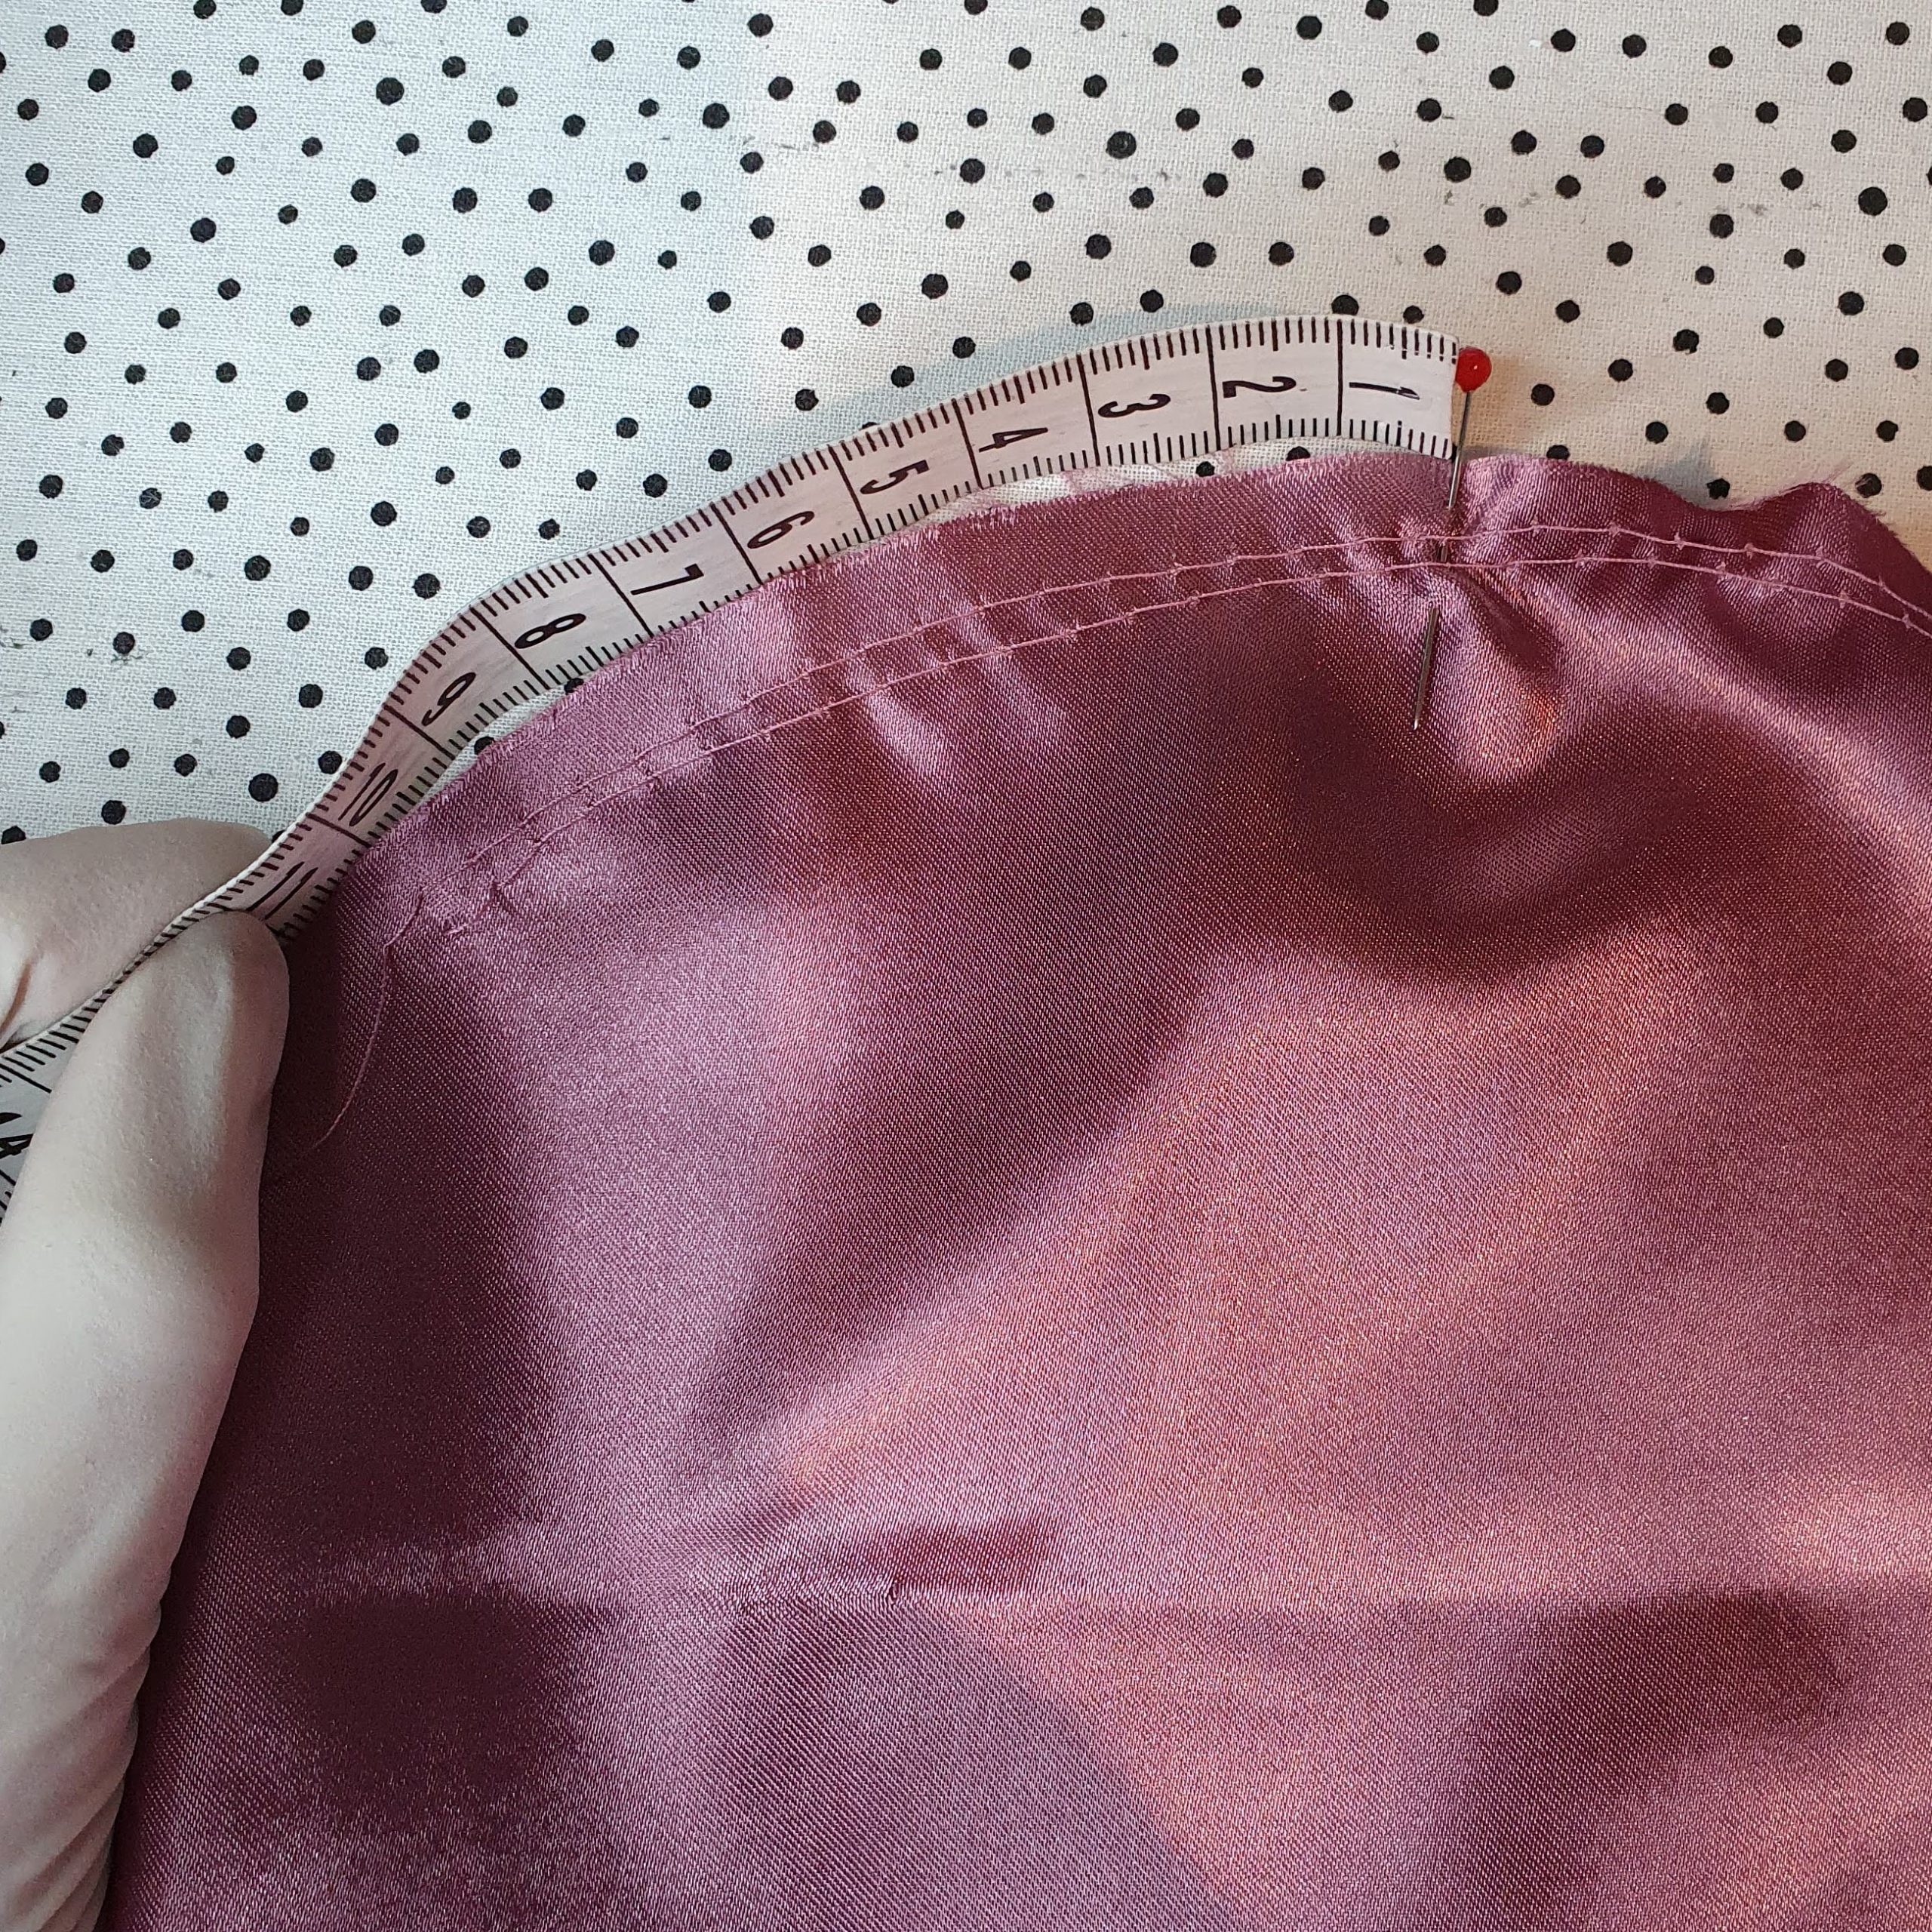
Insert the sleeve from the armpit up to the markings, match the shoulder marking to the shoulder. Gather the sleeve in such a way that it is evenly distributed in the armhole. Sew and finish the seam with a zigzag stitch or overlock machine. Et voilà, pouf!
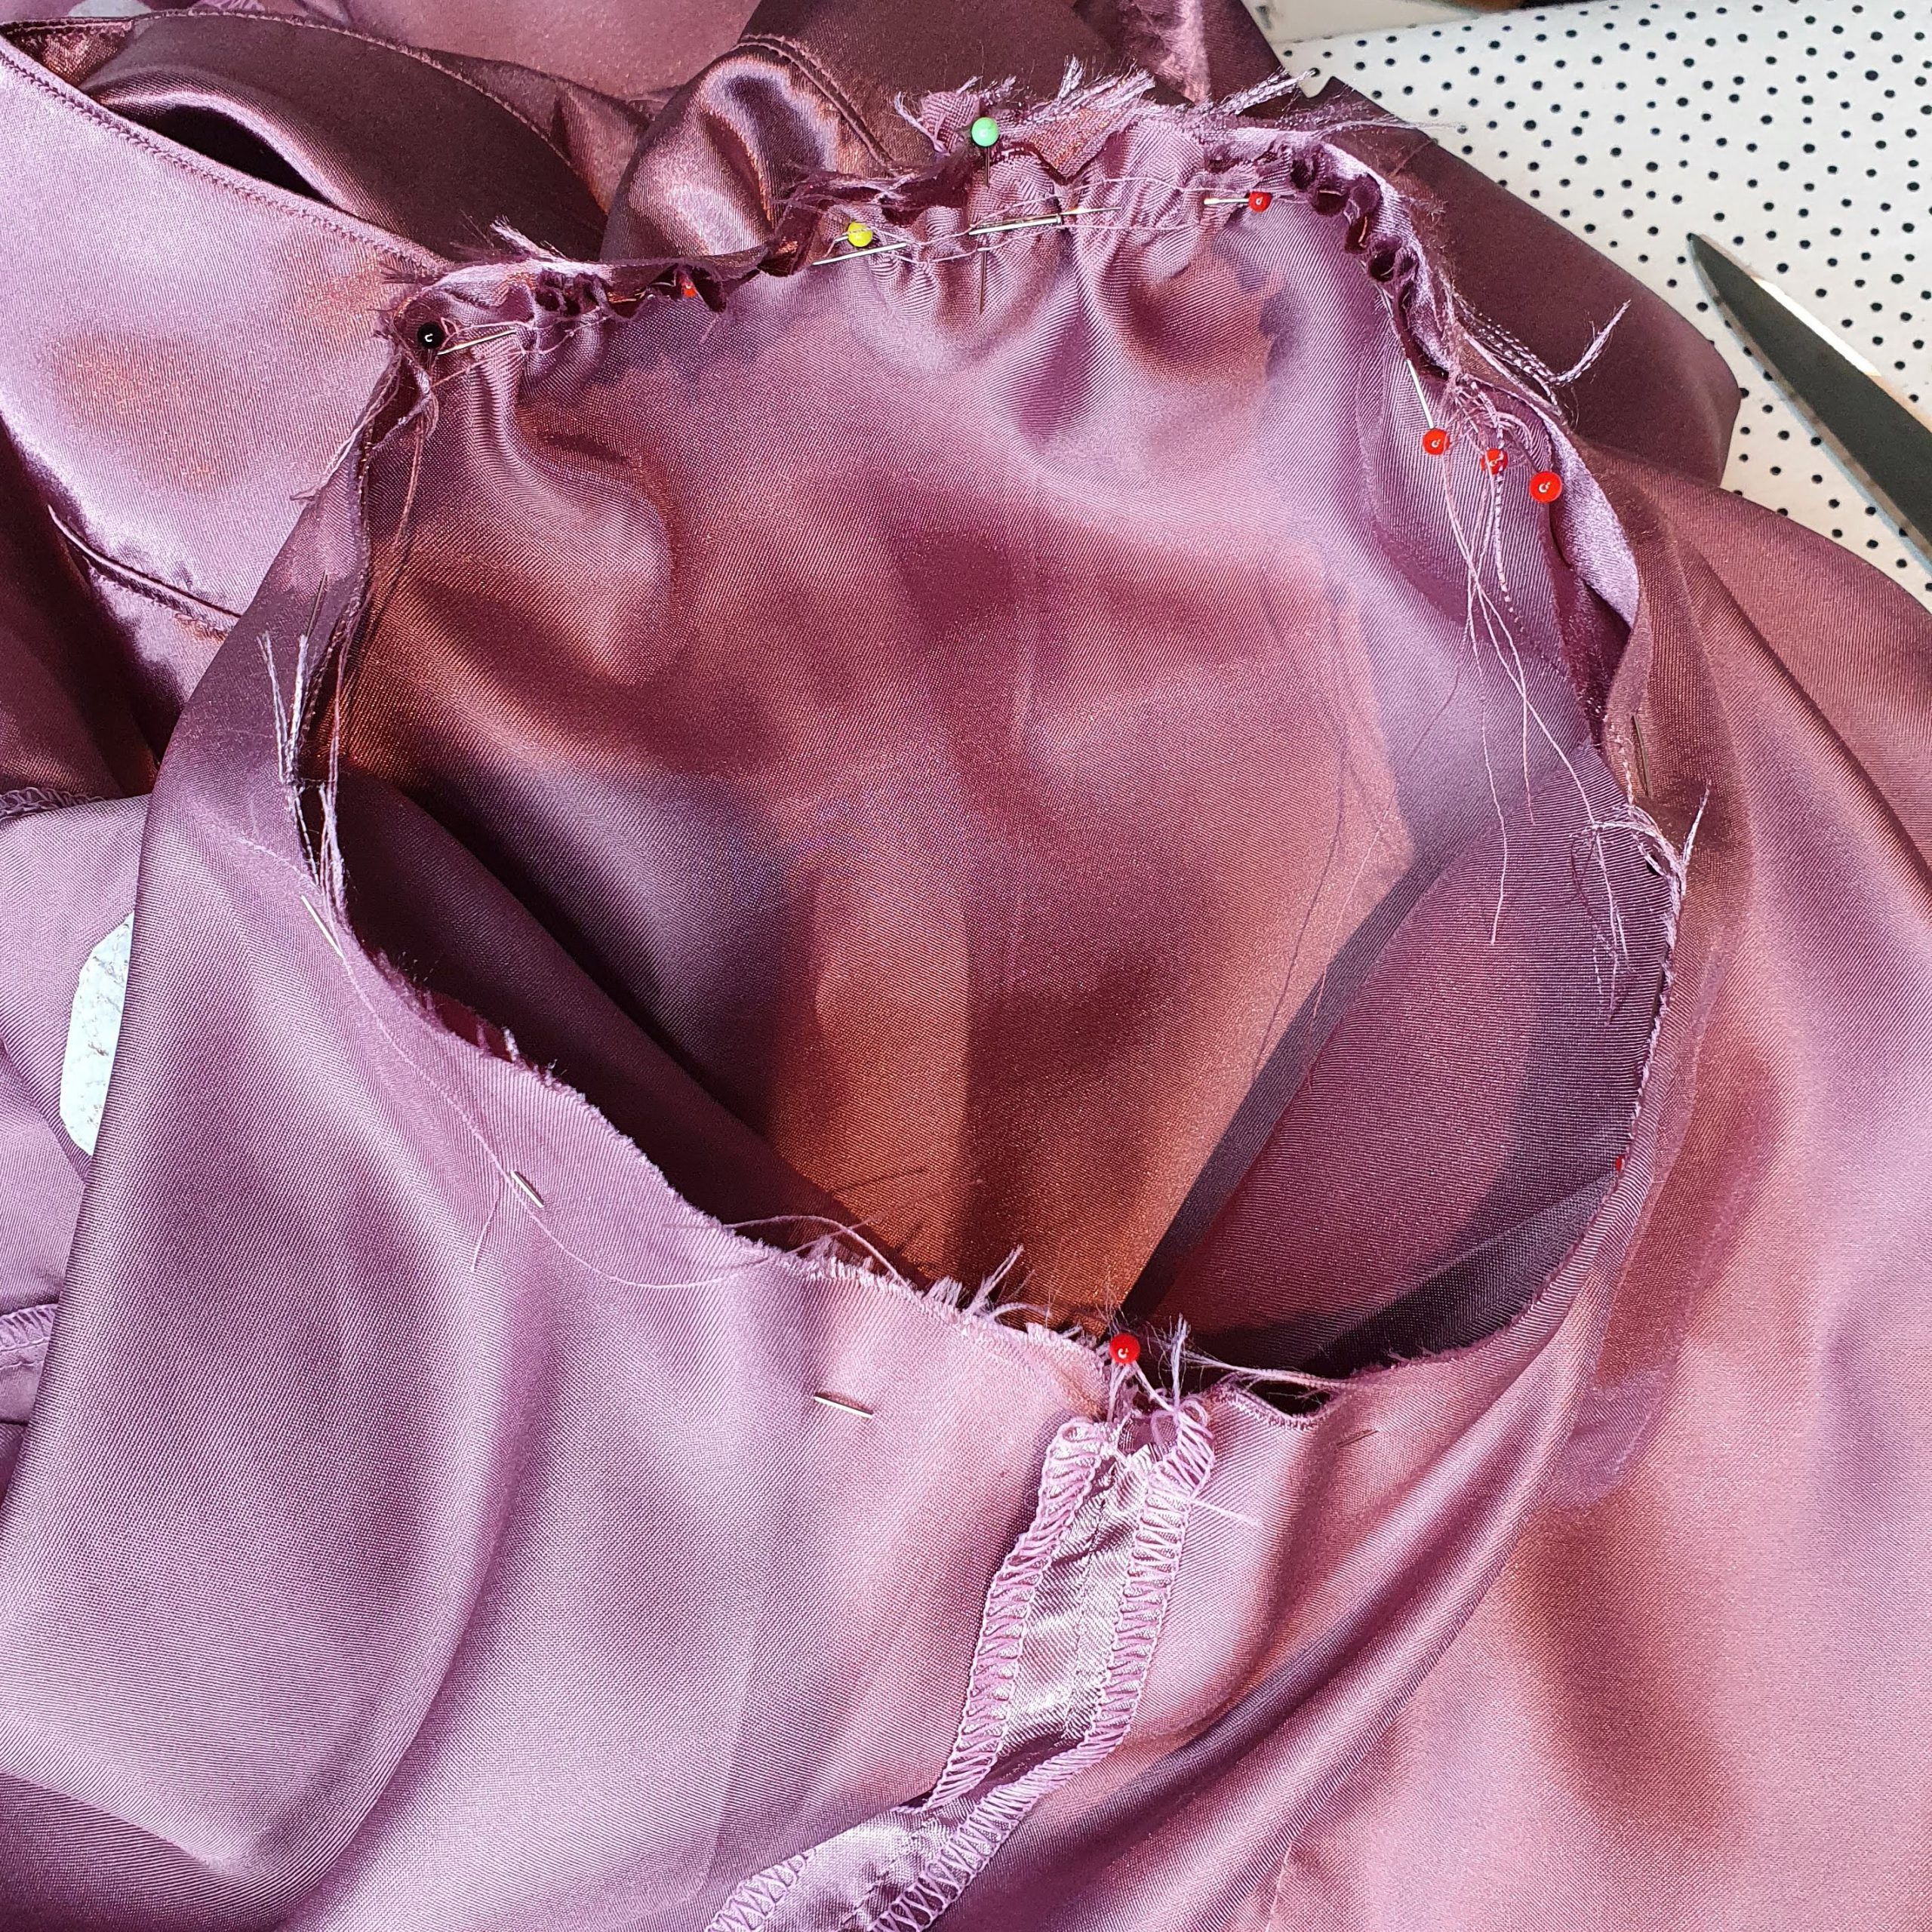
Start pinning from armpit to markings, divide rest of sleeve gathered in armhole
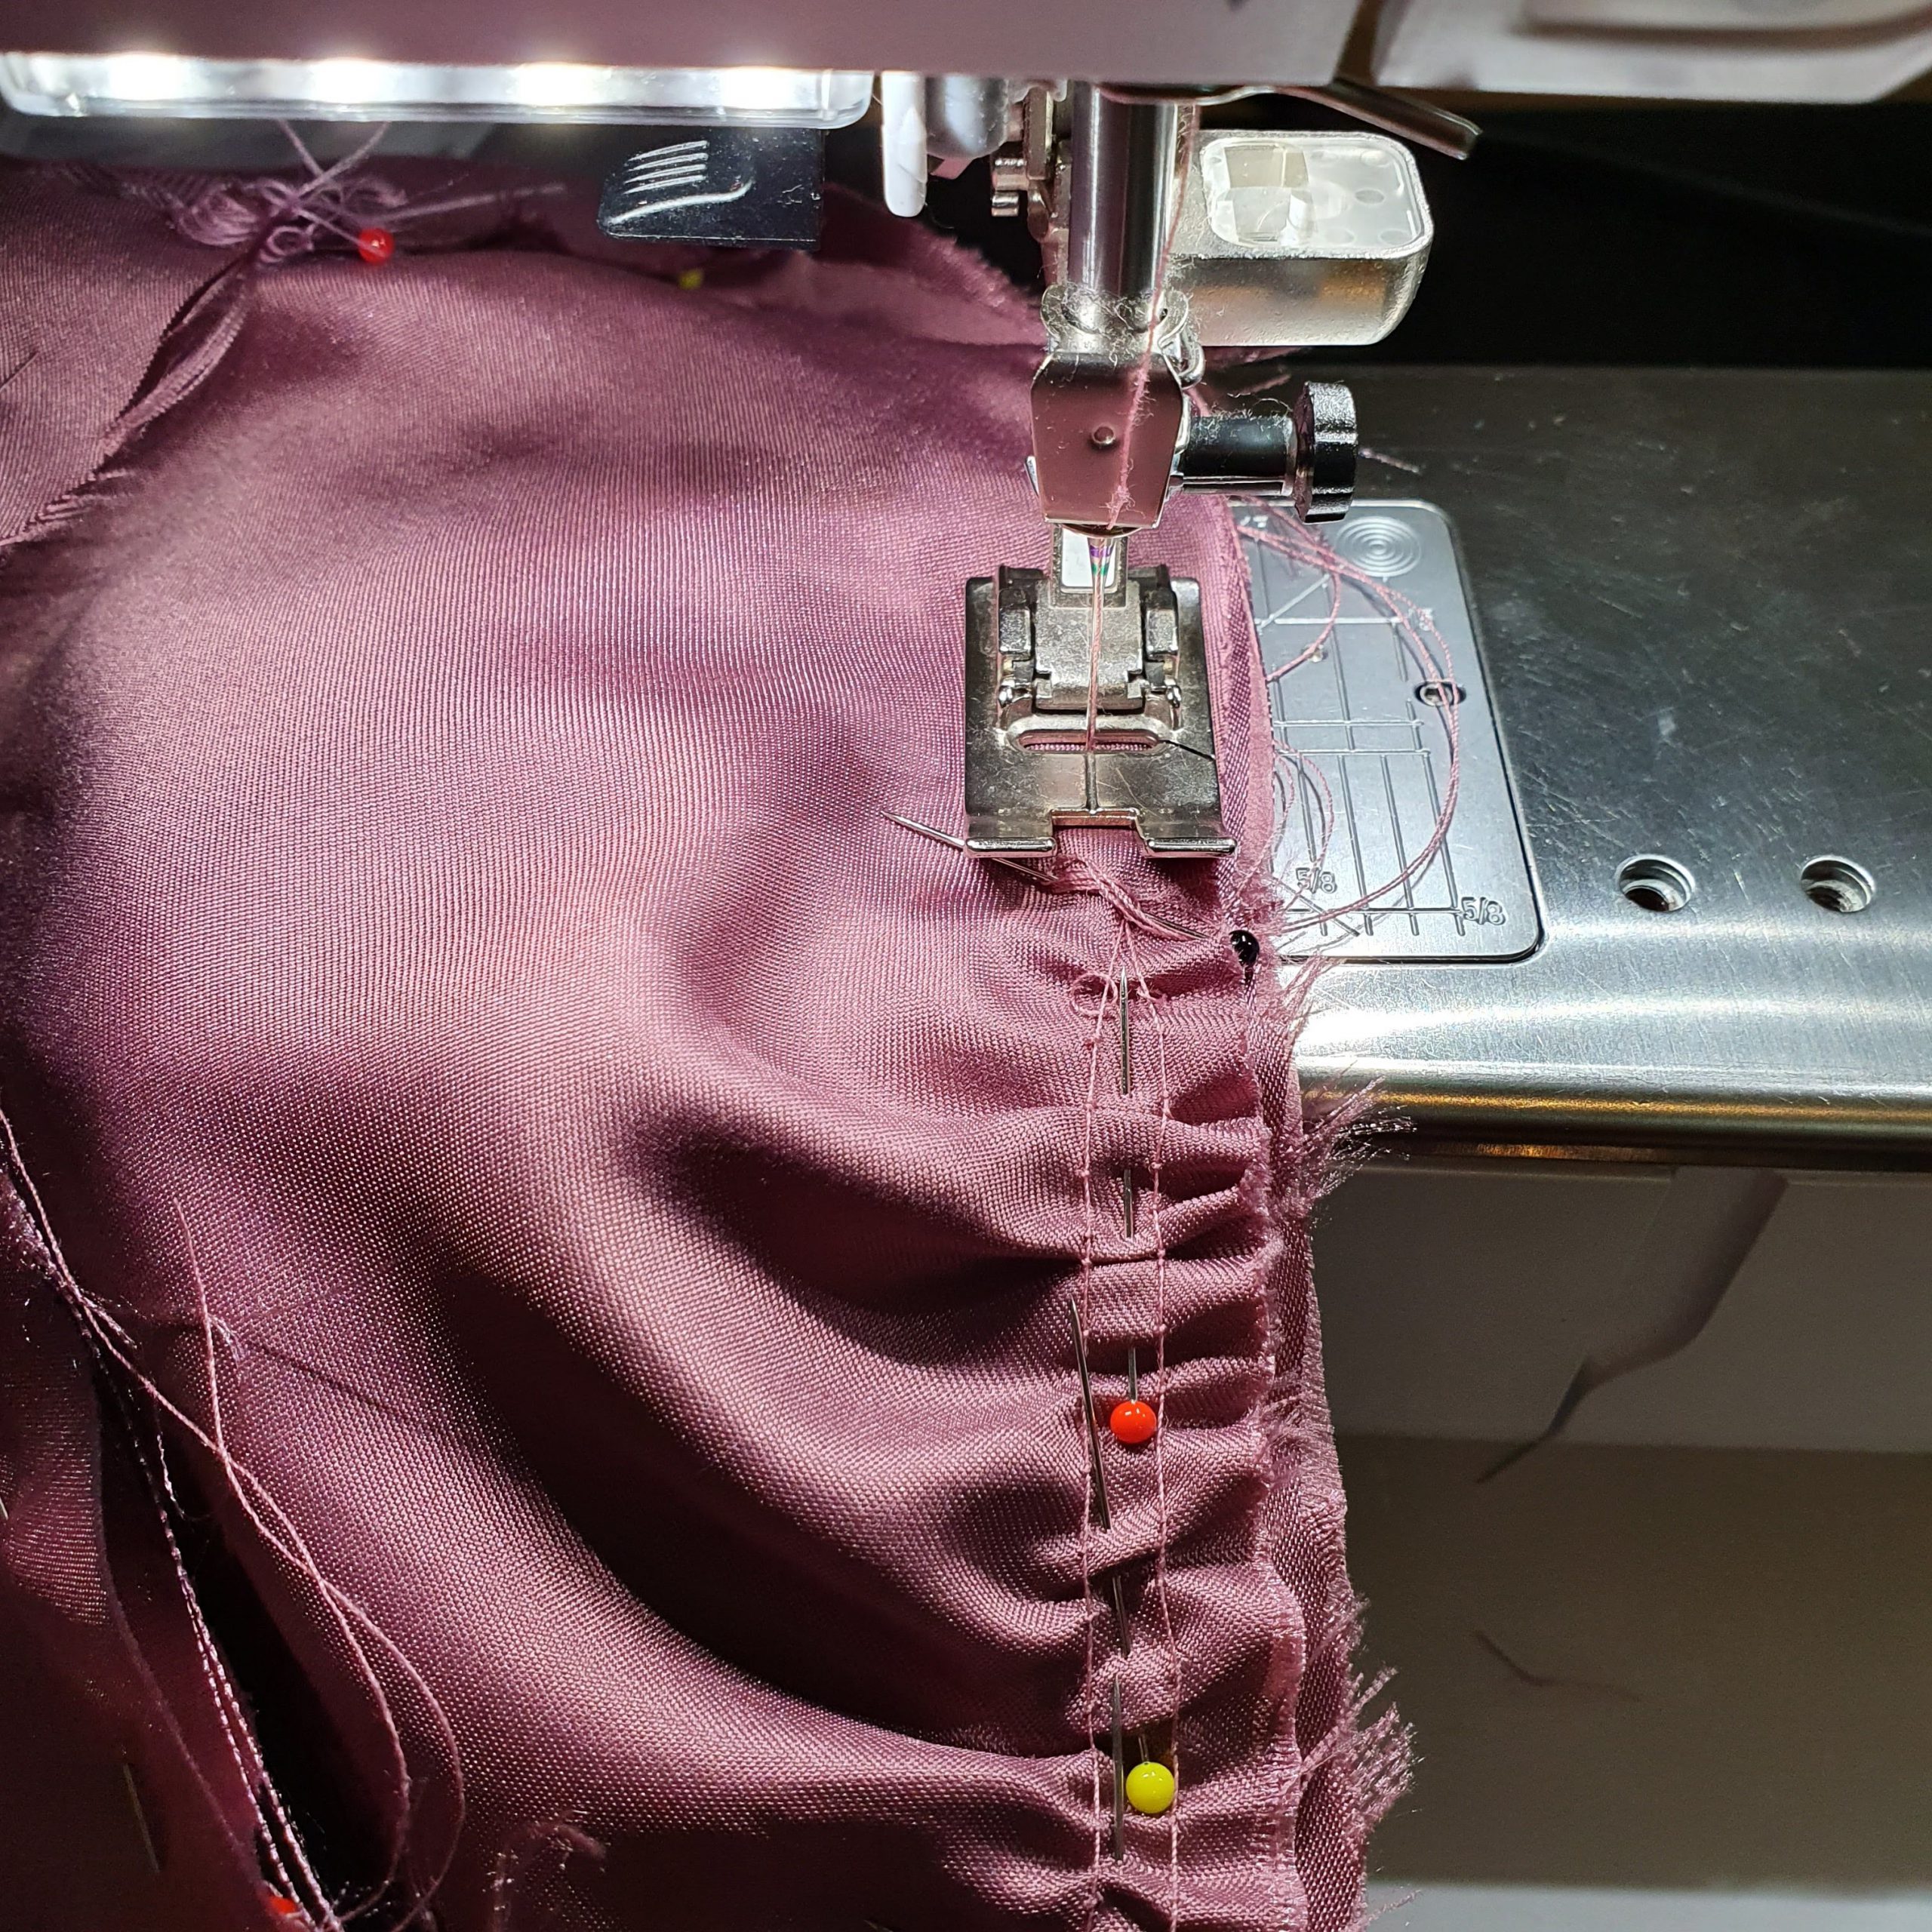
Stitch between basting threads
There are of course plenty of hacks for the sleeve. Instead of pleats at the bottom of the sleeve, you can also gather there. Many variations in length are of course possible. With a shorter length, I would choose a narrower cuff with bow trim.
Collar options
Finally the collar hacks. Here too you can vary endlessly. A number of possibilities. Would you prefer a less pointed or rounder collar? Then adjust the collar part:
Less pointy

(More) round
Do you prefer no collar, use the collar stand as a stand-up collar. Add a ruffle for a fun effect.
Finishing touch
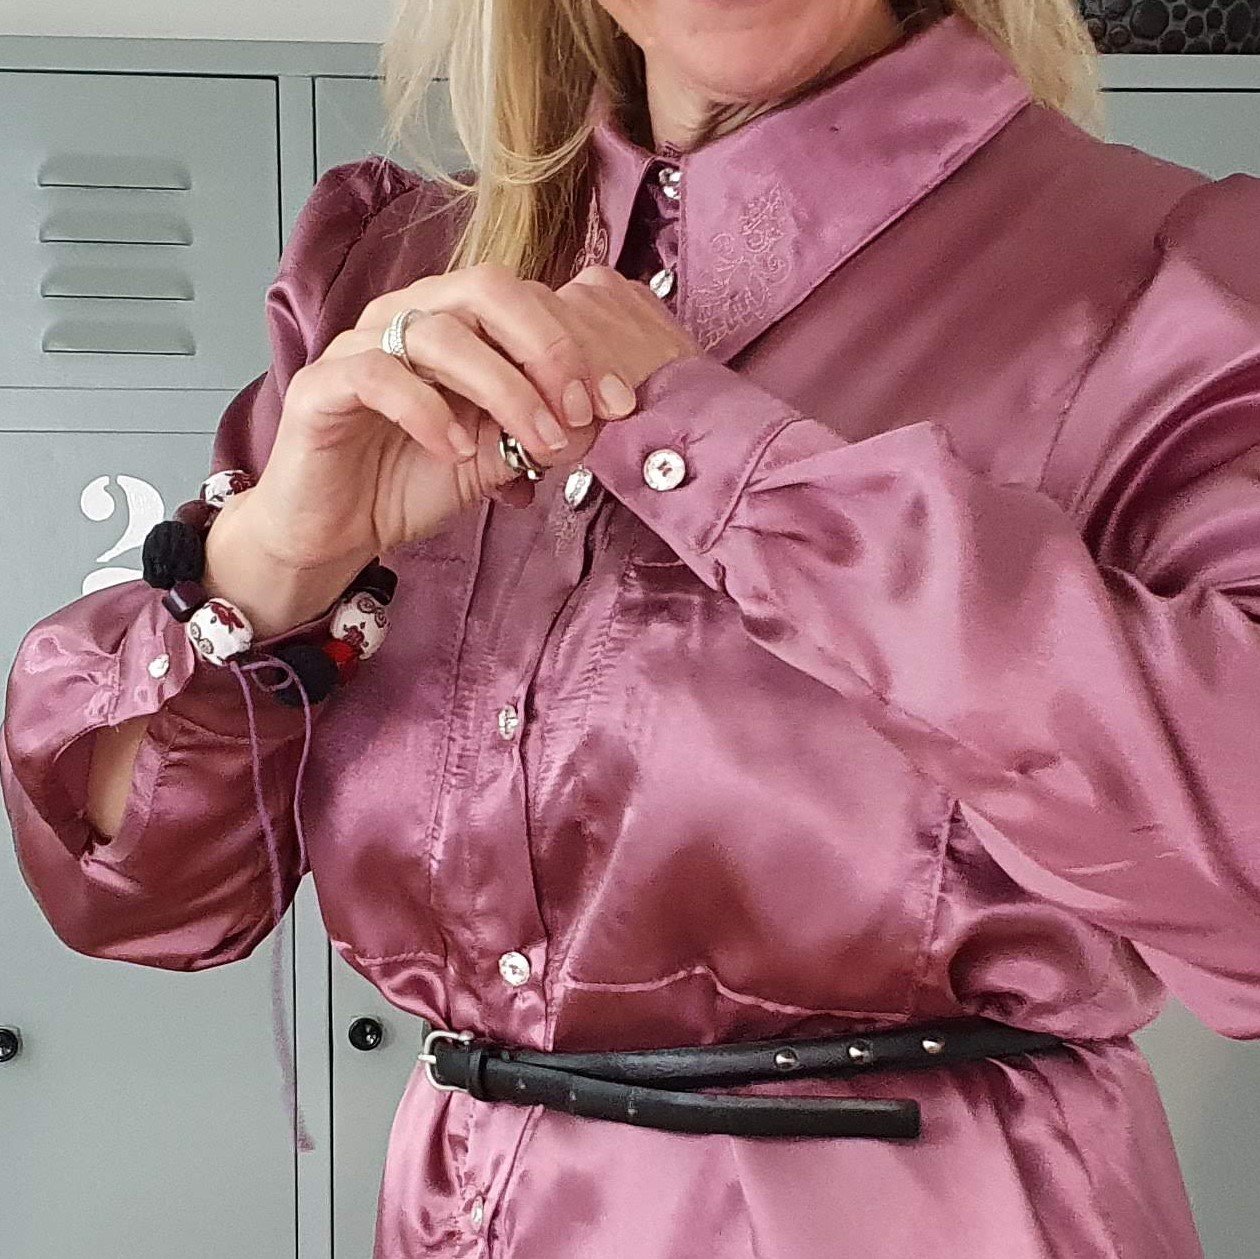
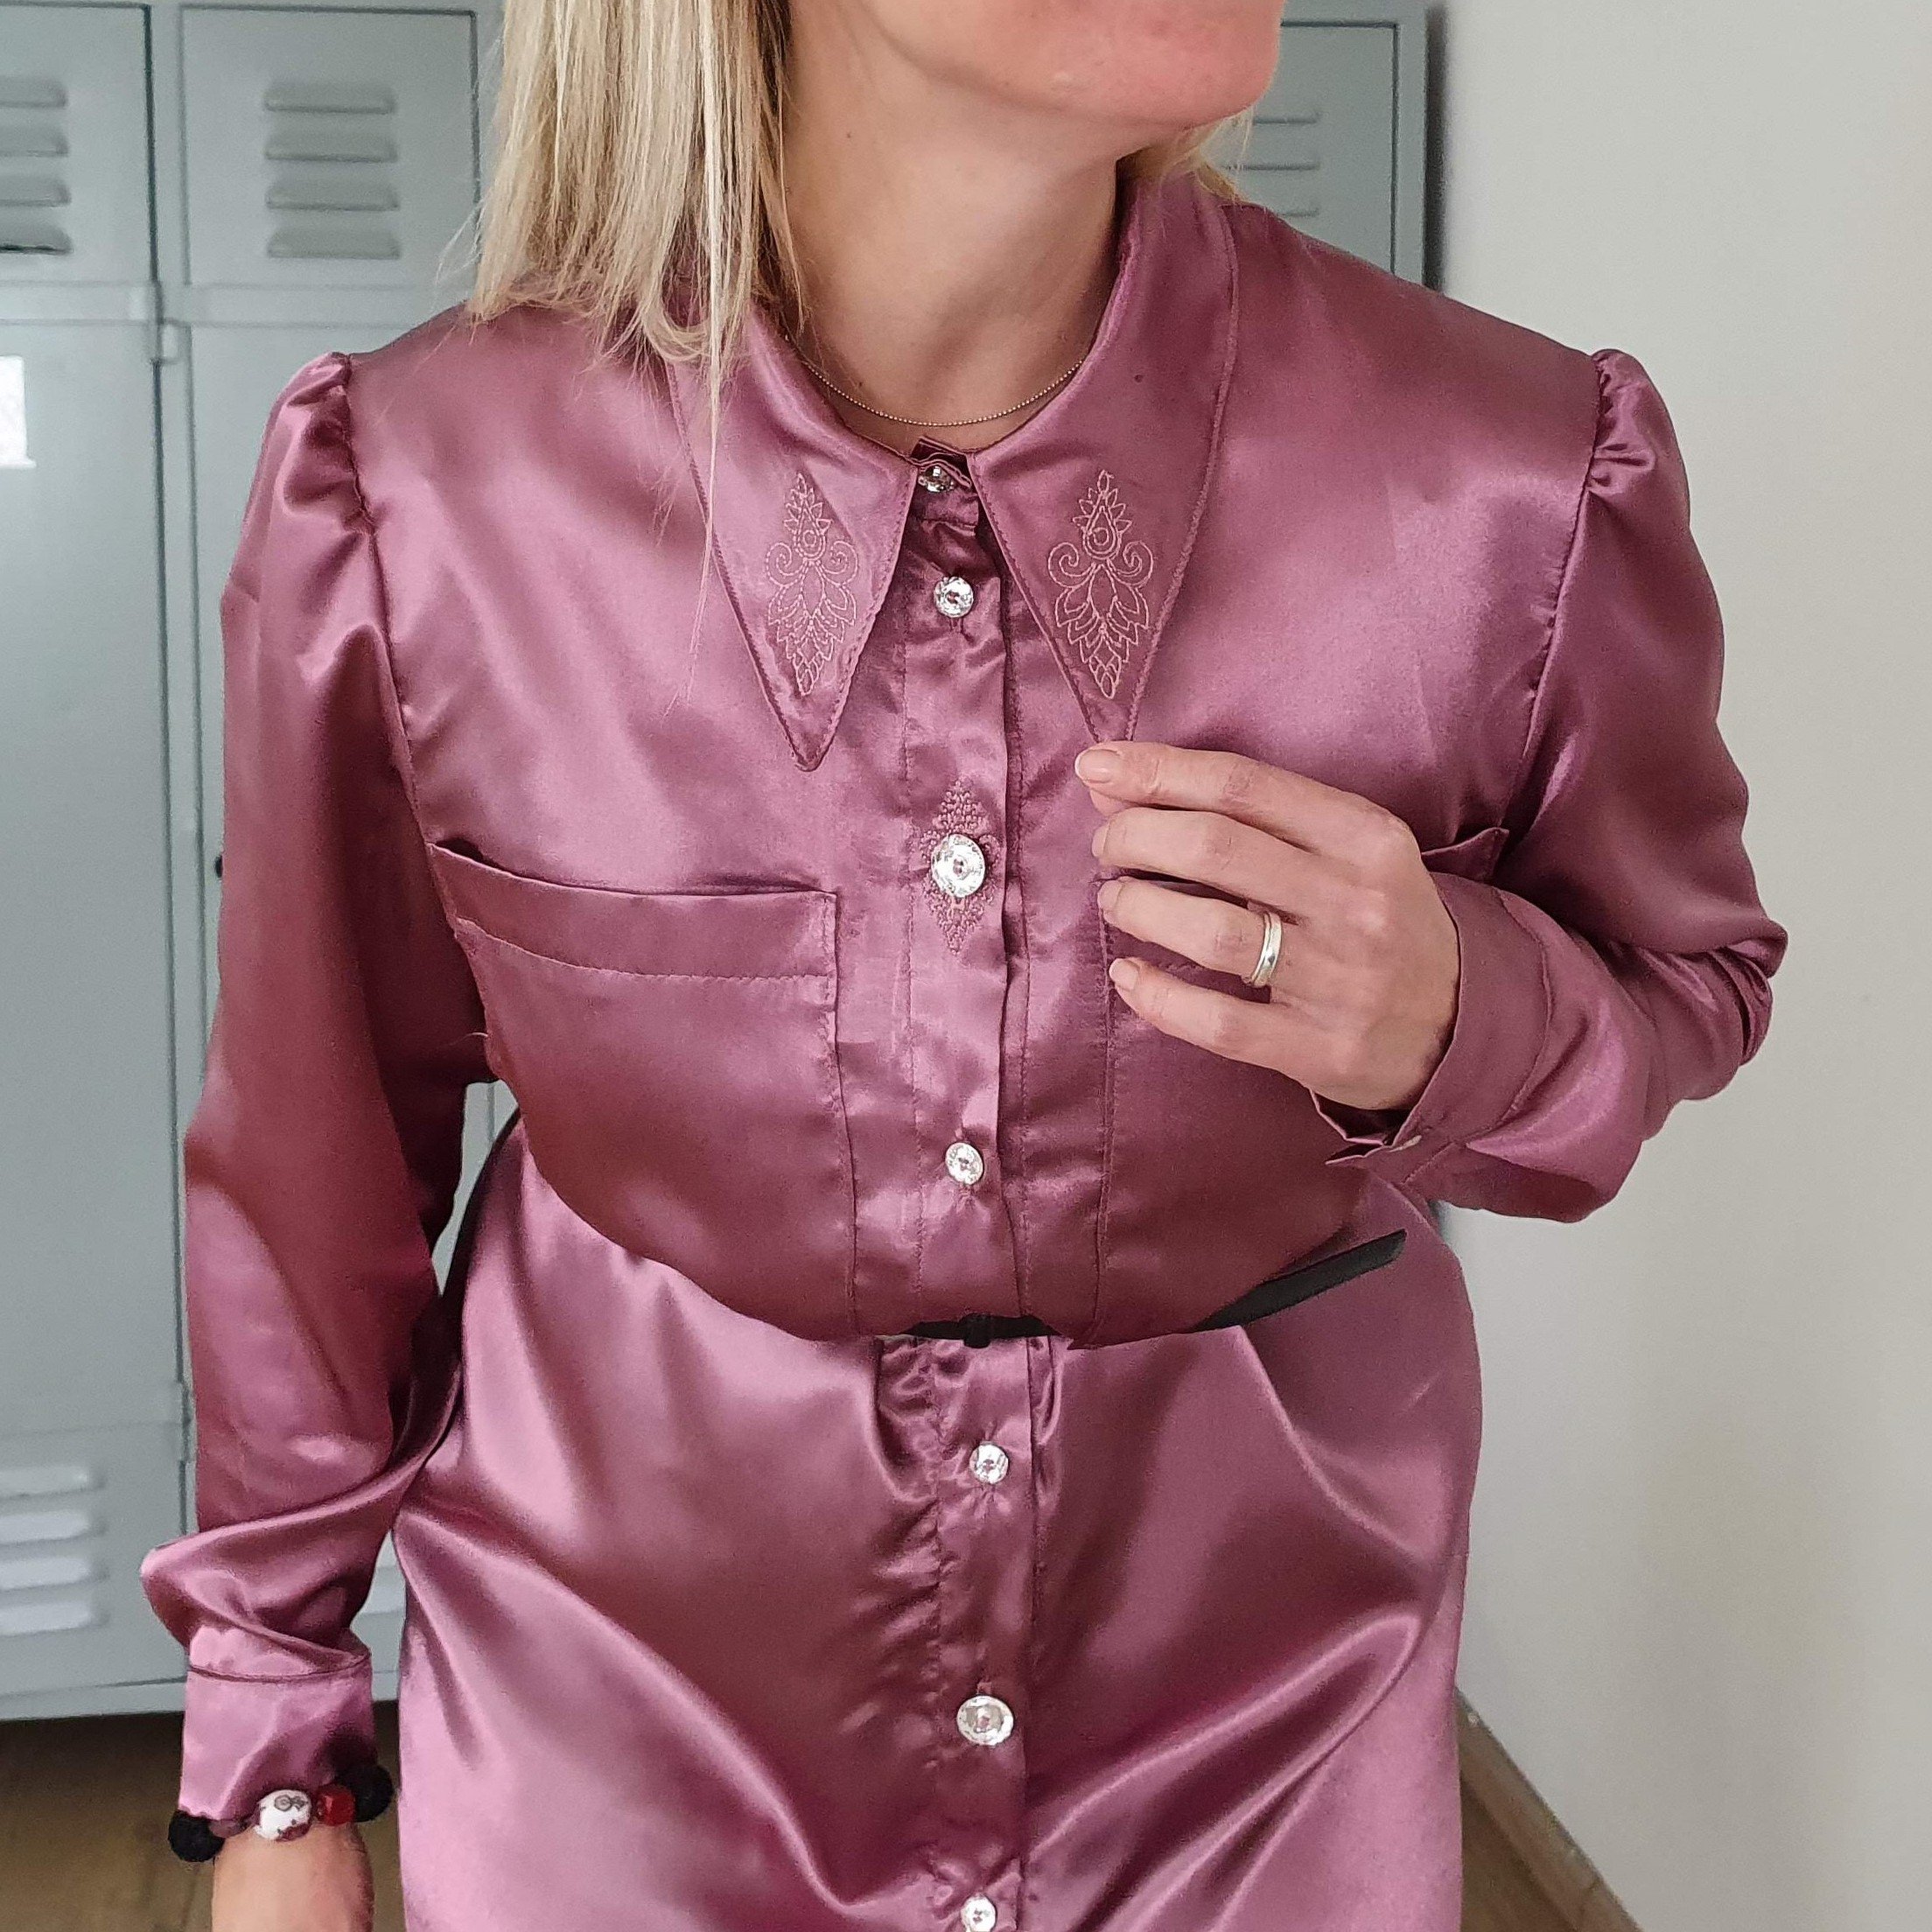
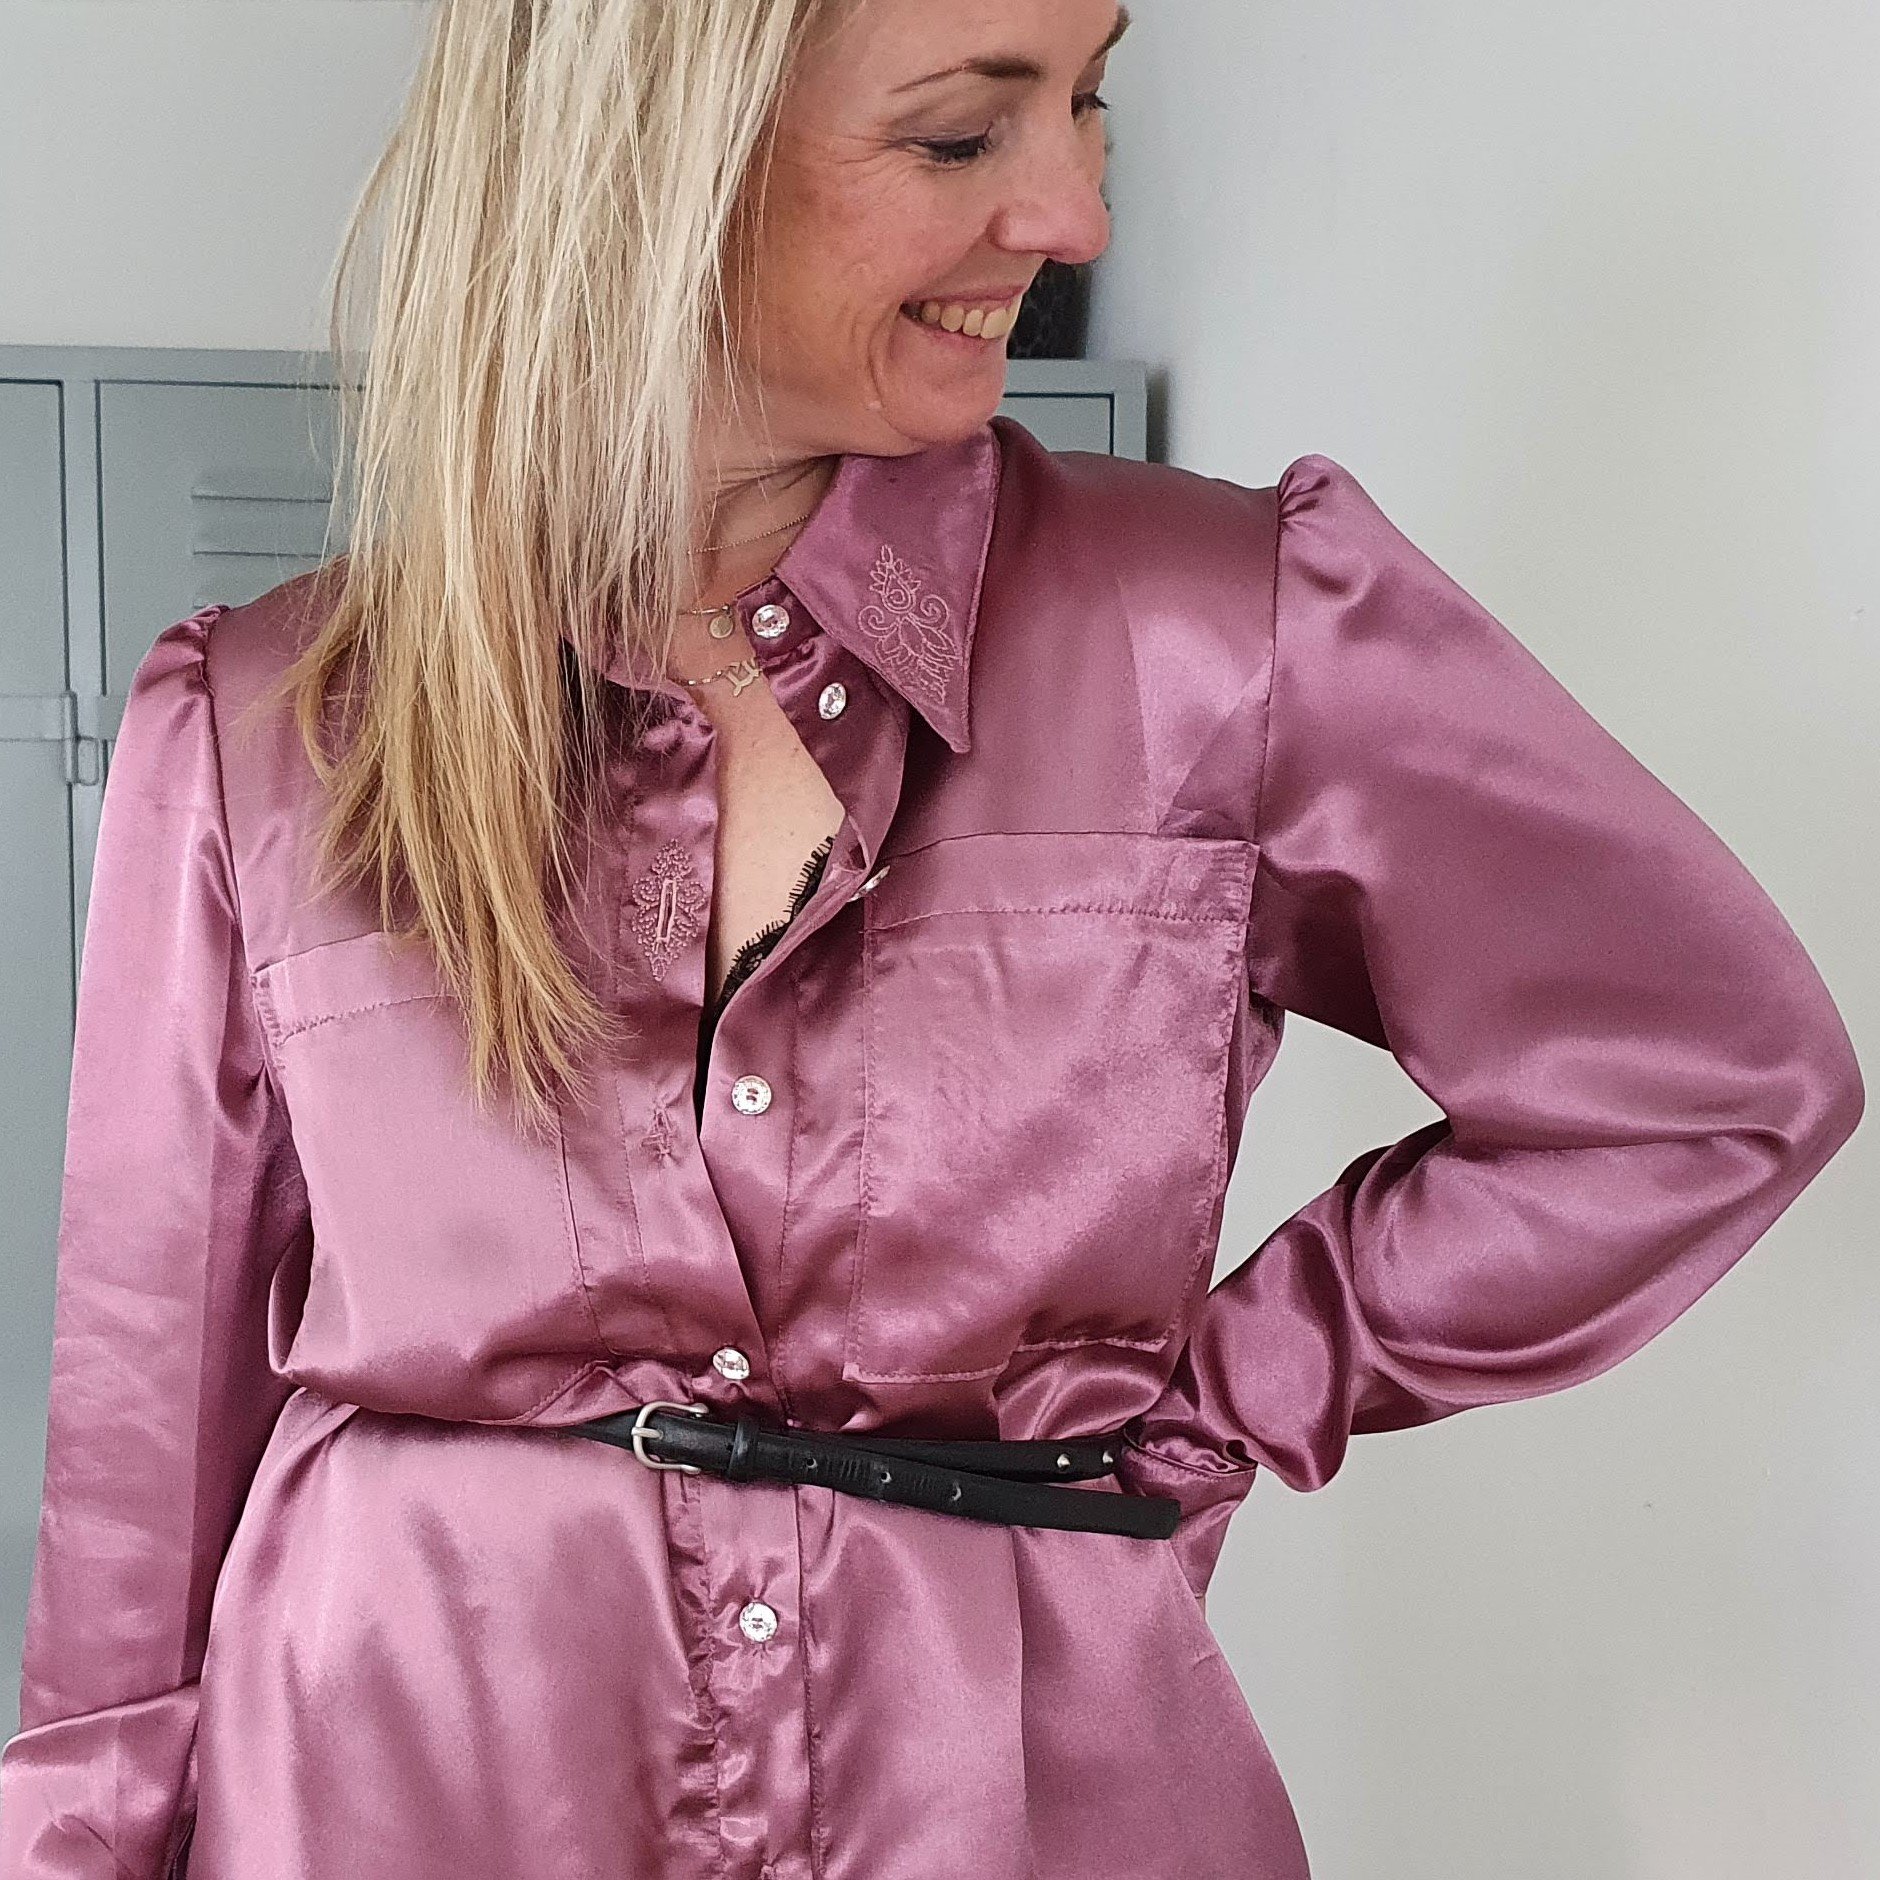
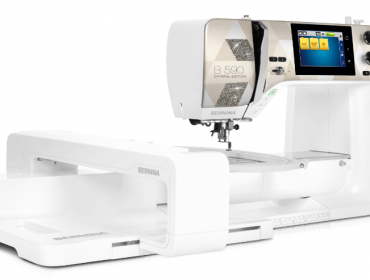
Now that the hacks have been shown I can finally show you this shiny pink Megan blouse. The finishing touch is the addition of the beautiful Swarovski buttons that you receive with the BERNINA 590 Crystal Edition in the Inspiration kit.
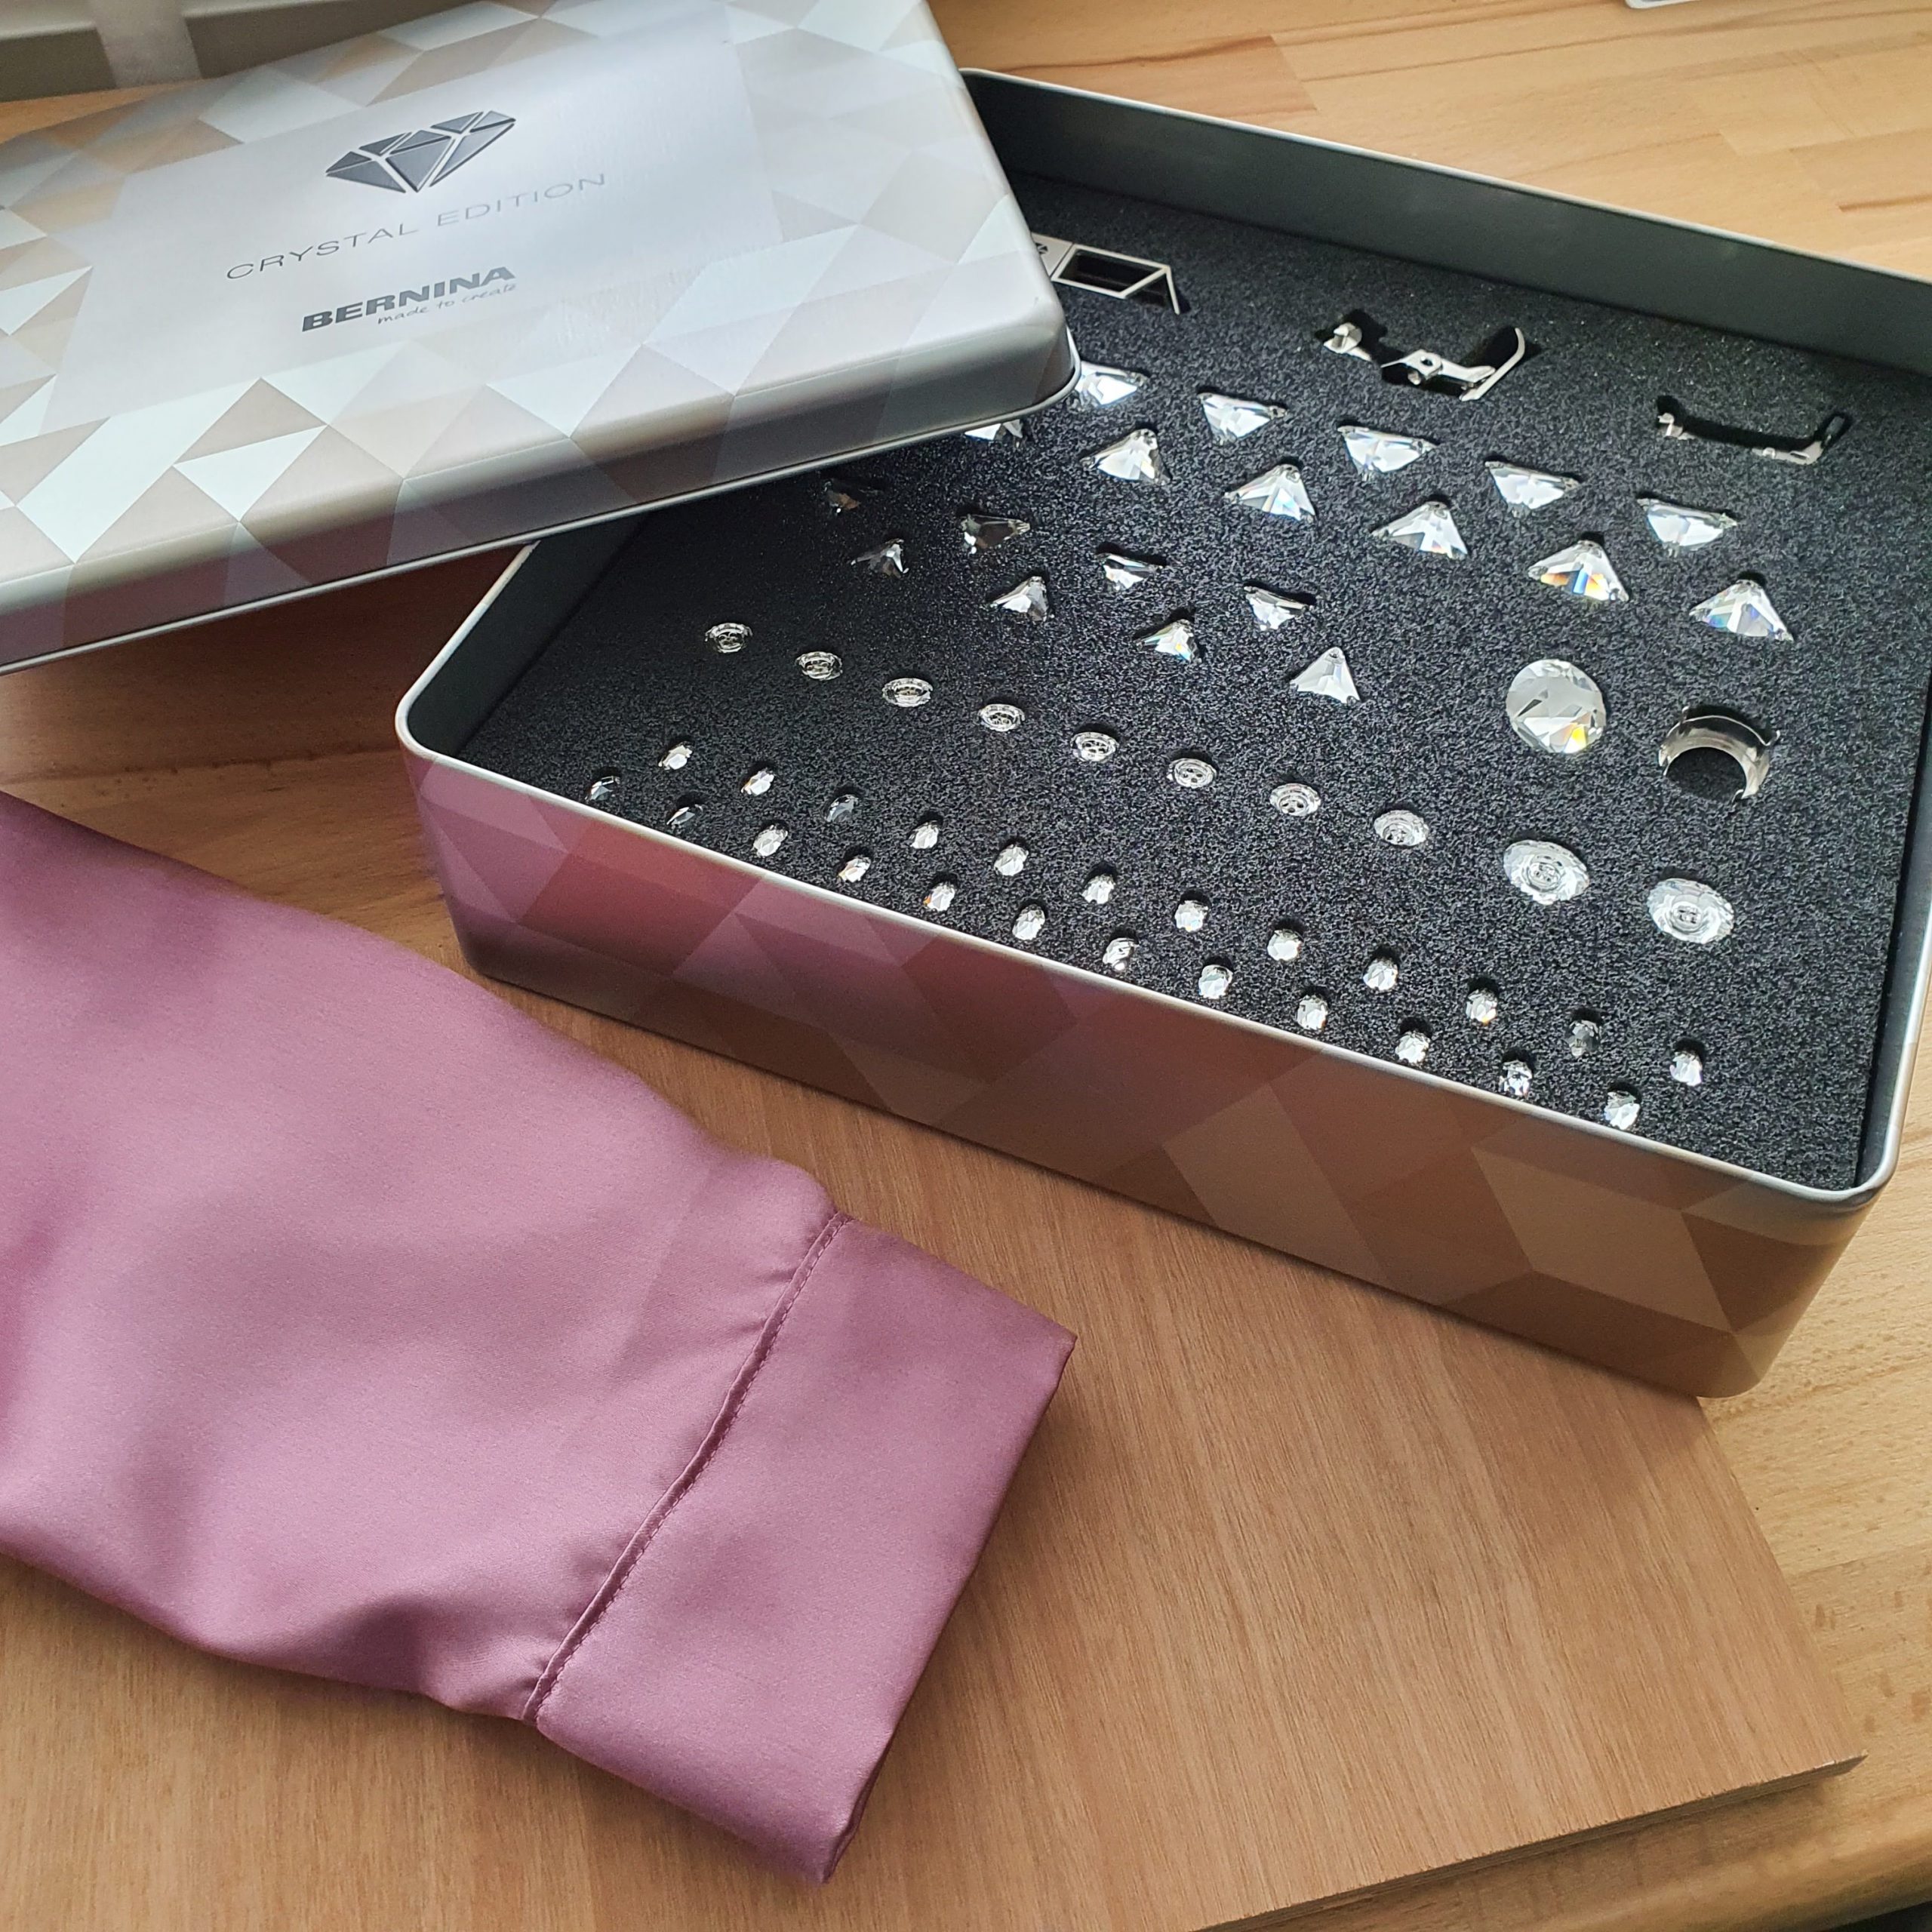
Not only buttons adorn this Megan hack, also the Swarovski crystals. At the back of the dress I attached two in the embroideries.

Swarovski Crystals

Did someone say time to shine! With this Megan blouse you certainly succeed. It can be worn as a dress, but also very casual with (black) jeans. The capsule wardrobe is taking shape.
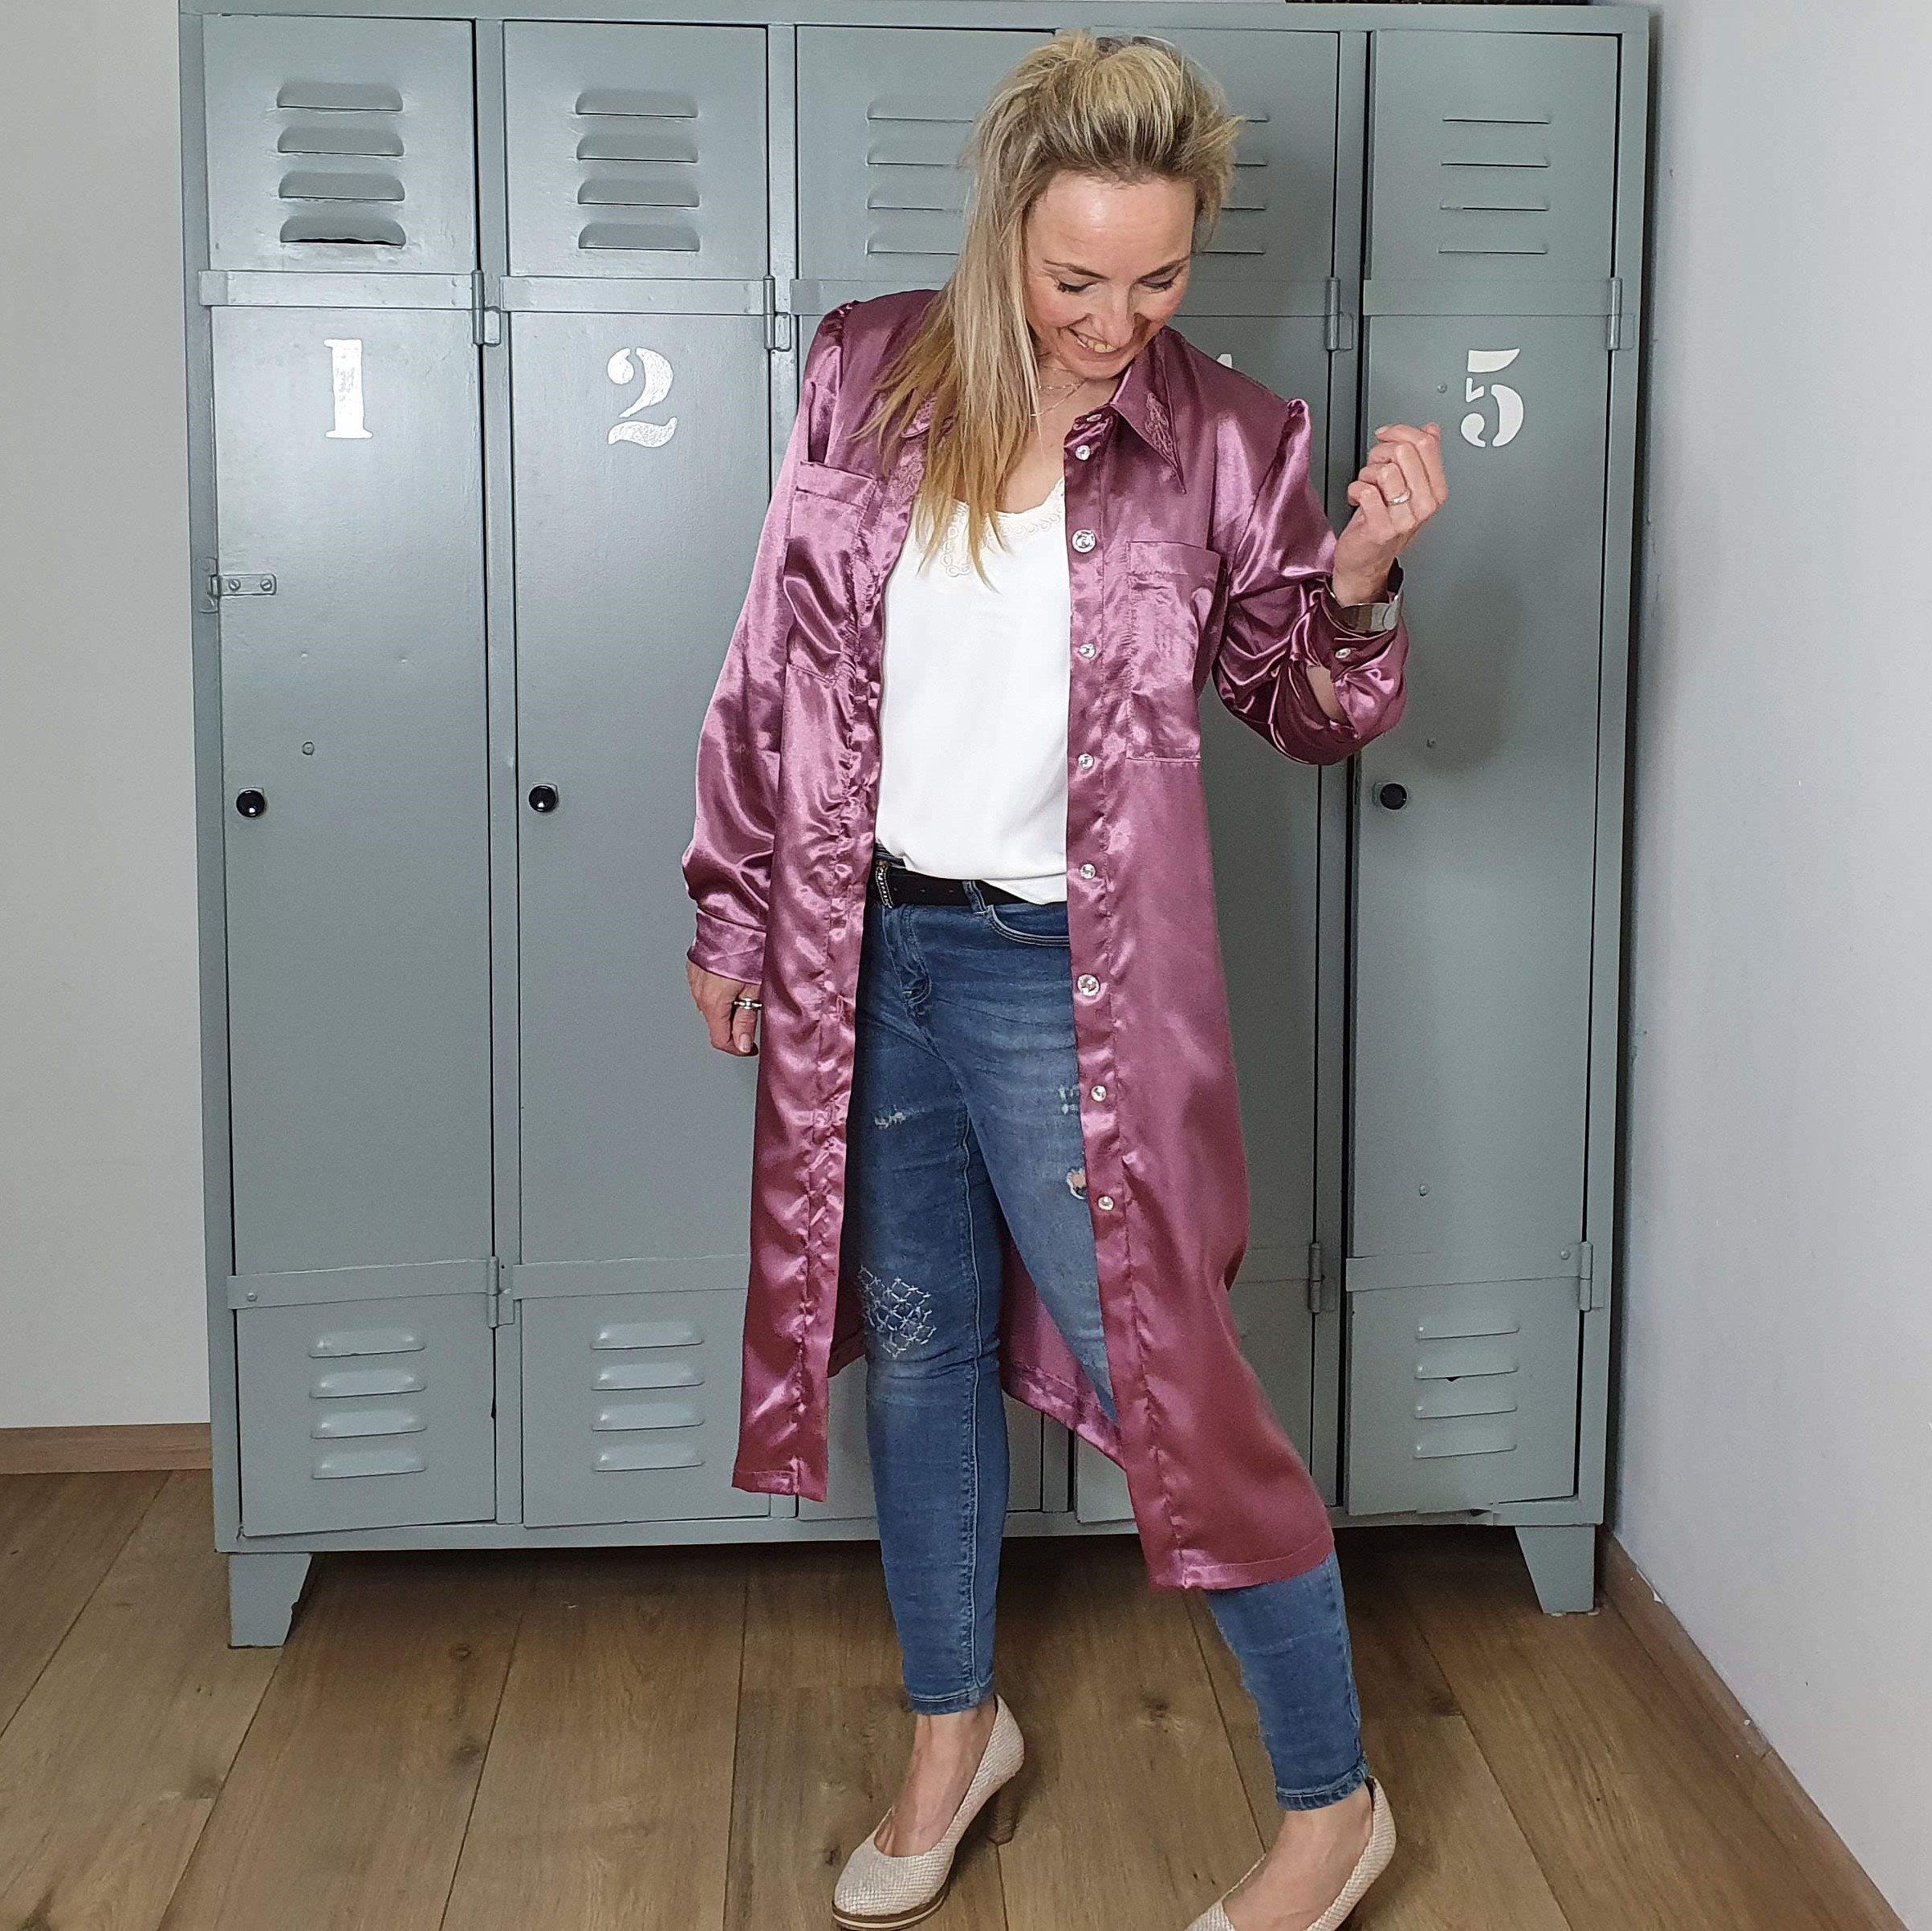
Casual jeans
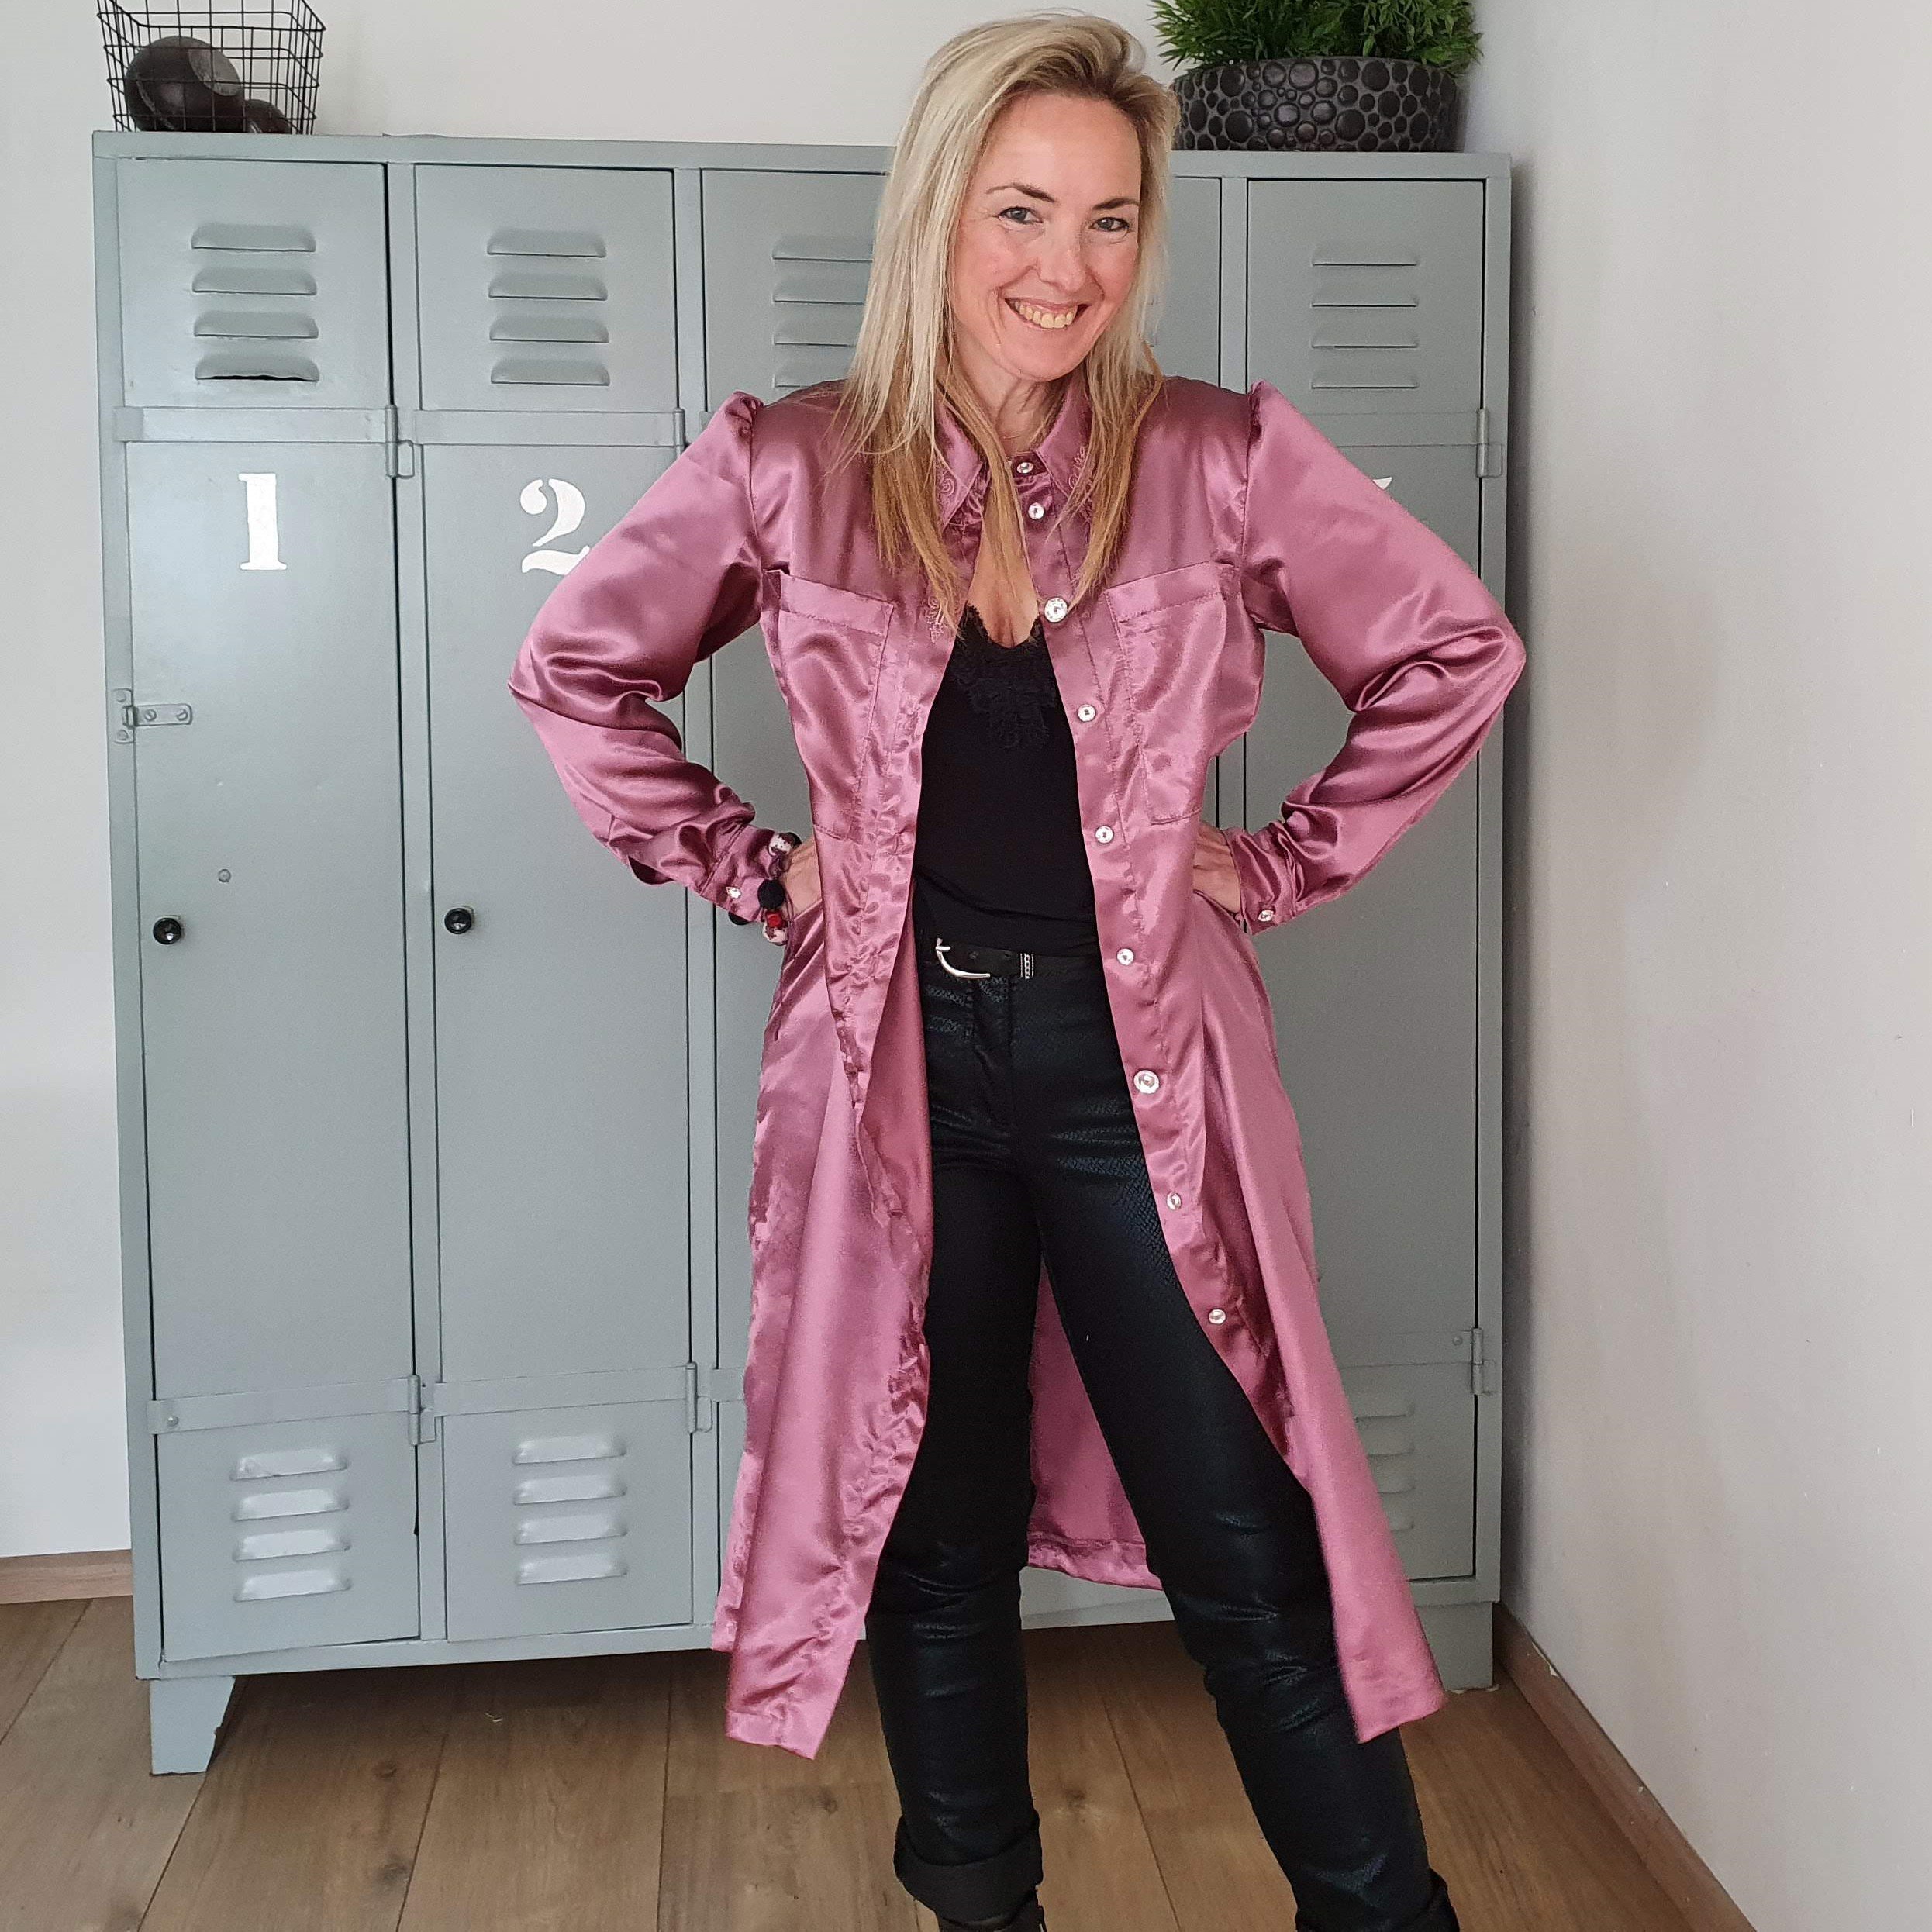
Casual black
Thank you for reading/participated in my first sew-along. Did you miss the first four blogs? You can always read the blogs again.
I’ll list them here for you:
The sewing adventure for the Time to shine Capsule wardrobe goes even further. The next project will be a real suit. Stay tuned!
Love,
Marlies


0 Responses