 BERNINA Corporate Blog -
Let’s wrap up #REFEBULOUS2023
The month of February for me was all about #REFEBULOUS, the sustainable sewing challenge. As was for many enthusiasts sewists on Instagram. A lot of cool sewing projects were shared in the various categories: Repair, Refashion & Reuse. It was a great success!
My #REFEBULOUS2023 consisted mostly of projects within the last two categories. In March, I will venture into the repair pile in the next Instagram sewing challenge:#MendMarch

Projects #REFEBULOUS2023
I used shopping bags, different knits, reused many scraps in different ways and even picked up my crochet hook. In this blog, I share some of these projects. You can find more information and fun videos on my Instagram profile:@madebyLIESL
Check out the hashtags #REFEBULOUS and REFEBULOUS2023 and you’ll also see everyone else’s projects.
REFEBULOUS Refashion
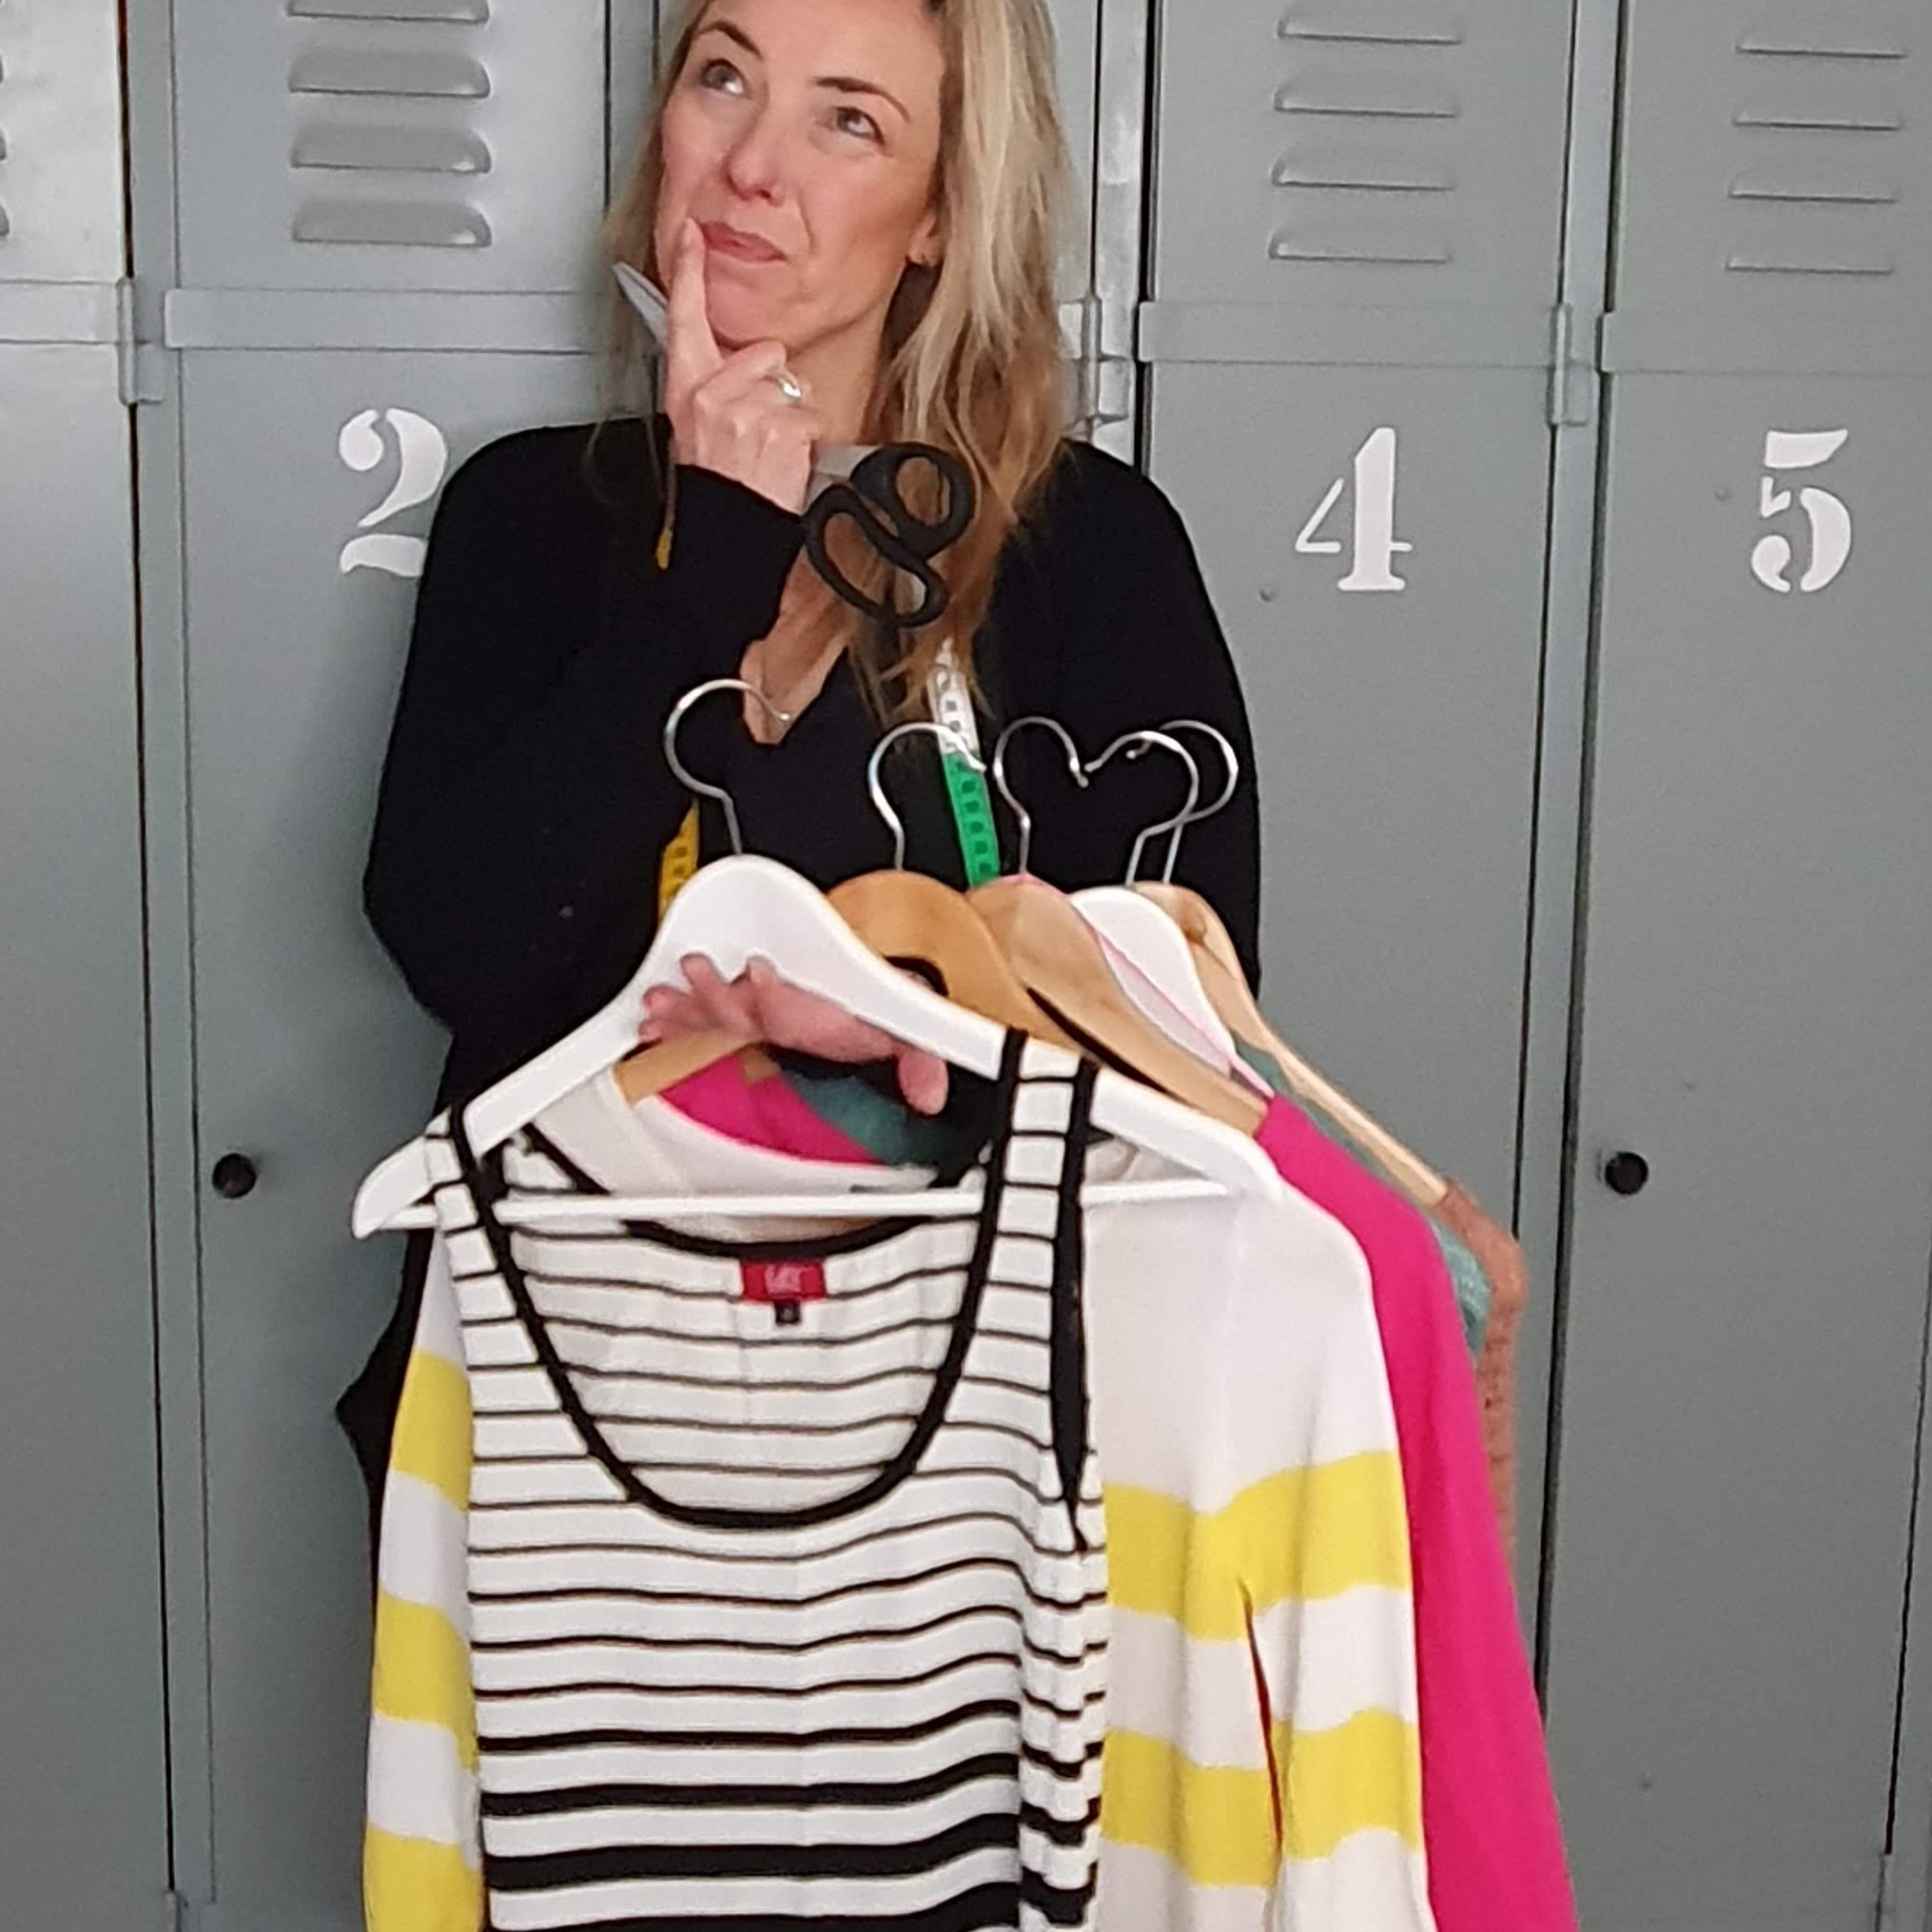
Colourful cardigan
From various knits, I made a new over-the-top colourful cardigan. I’m a fan of crocheted or knitted jumpers and cardigans with oversized sleeves in a cool stitch. Well, I can knit and crochet, but it would take me forever to make it. So I started sewing it from garments found at the thrift store or in the back of my closet that were no longer fitting or had irremovable stains. I ended up reusing a jumper, a cardigan and two dresses.
Options
I gave it an extra colour boost with crocheted polka dots, cuffs and the pink part of the front panels. It was a project through which I also rediscovered my love for crochet. The new cardigan was mainly put together again with the sewing machine. But only after I fixated the seams with seam tape and the bernette 64 AIRLOCK. I fastened the cuffs to the sewn sleeves crocheting it. Watch it in this video.

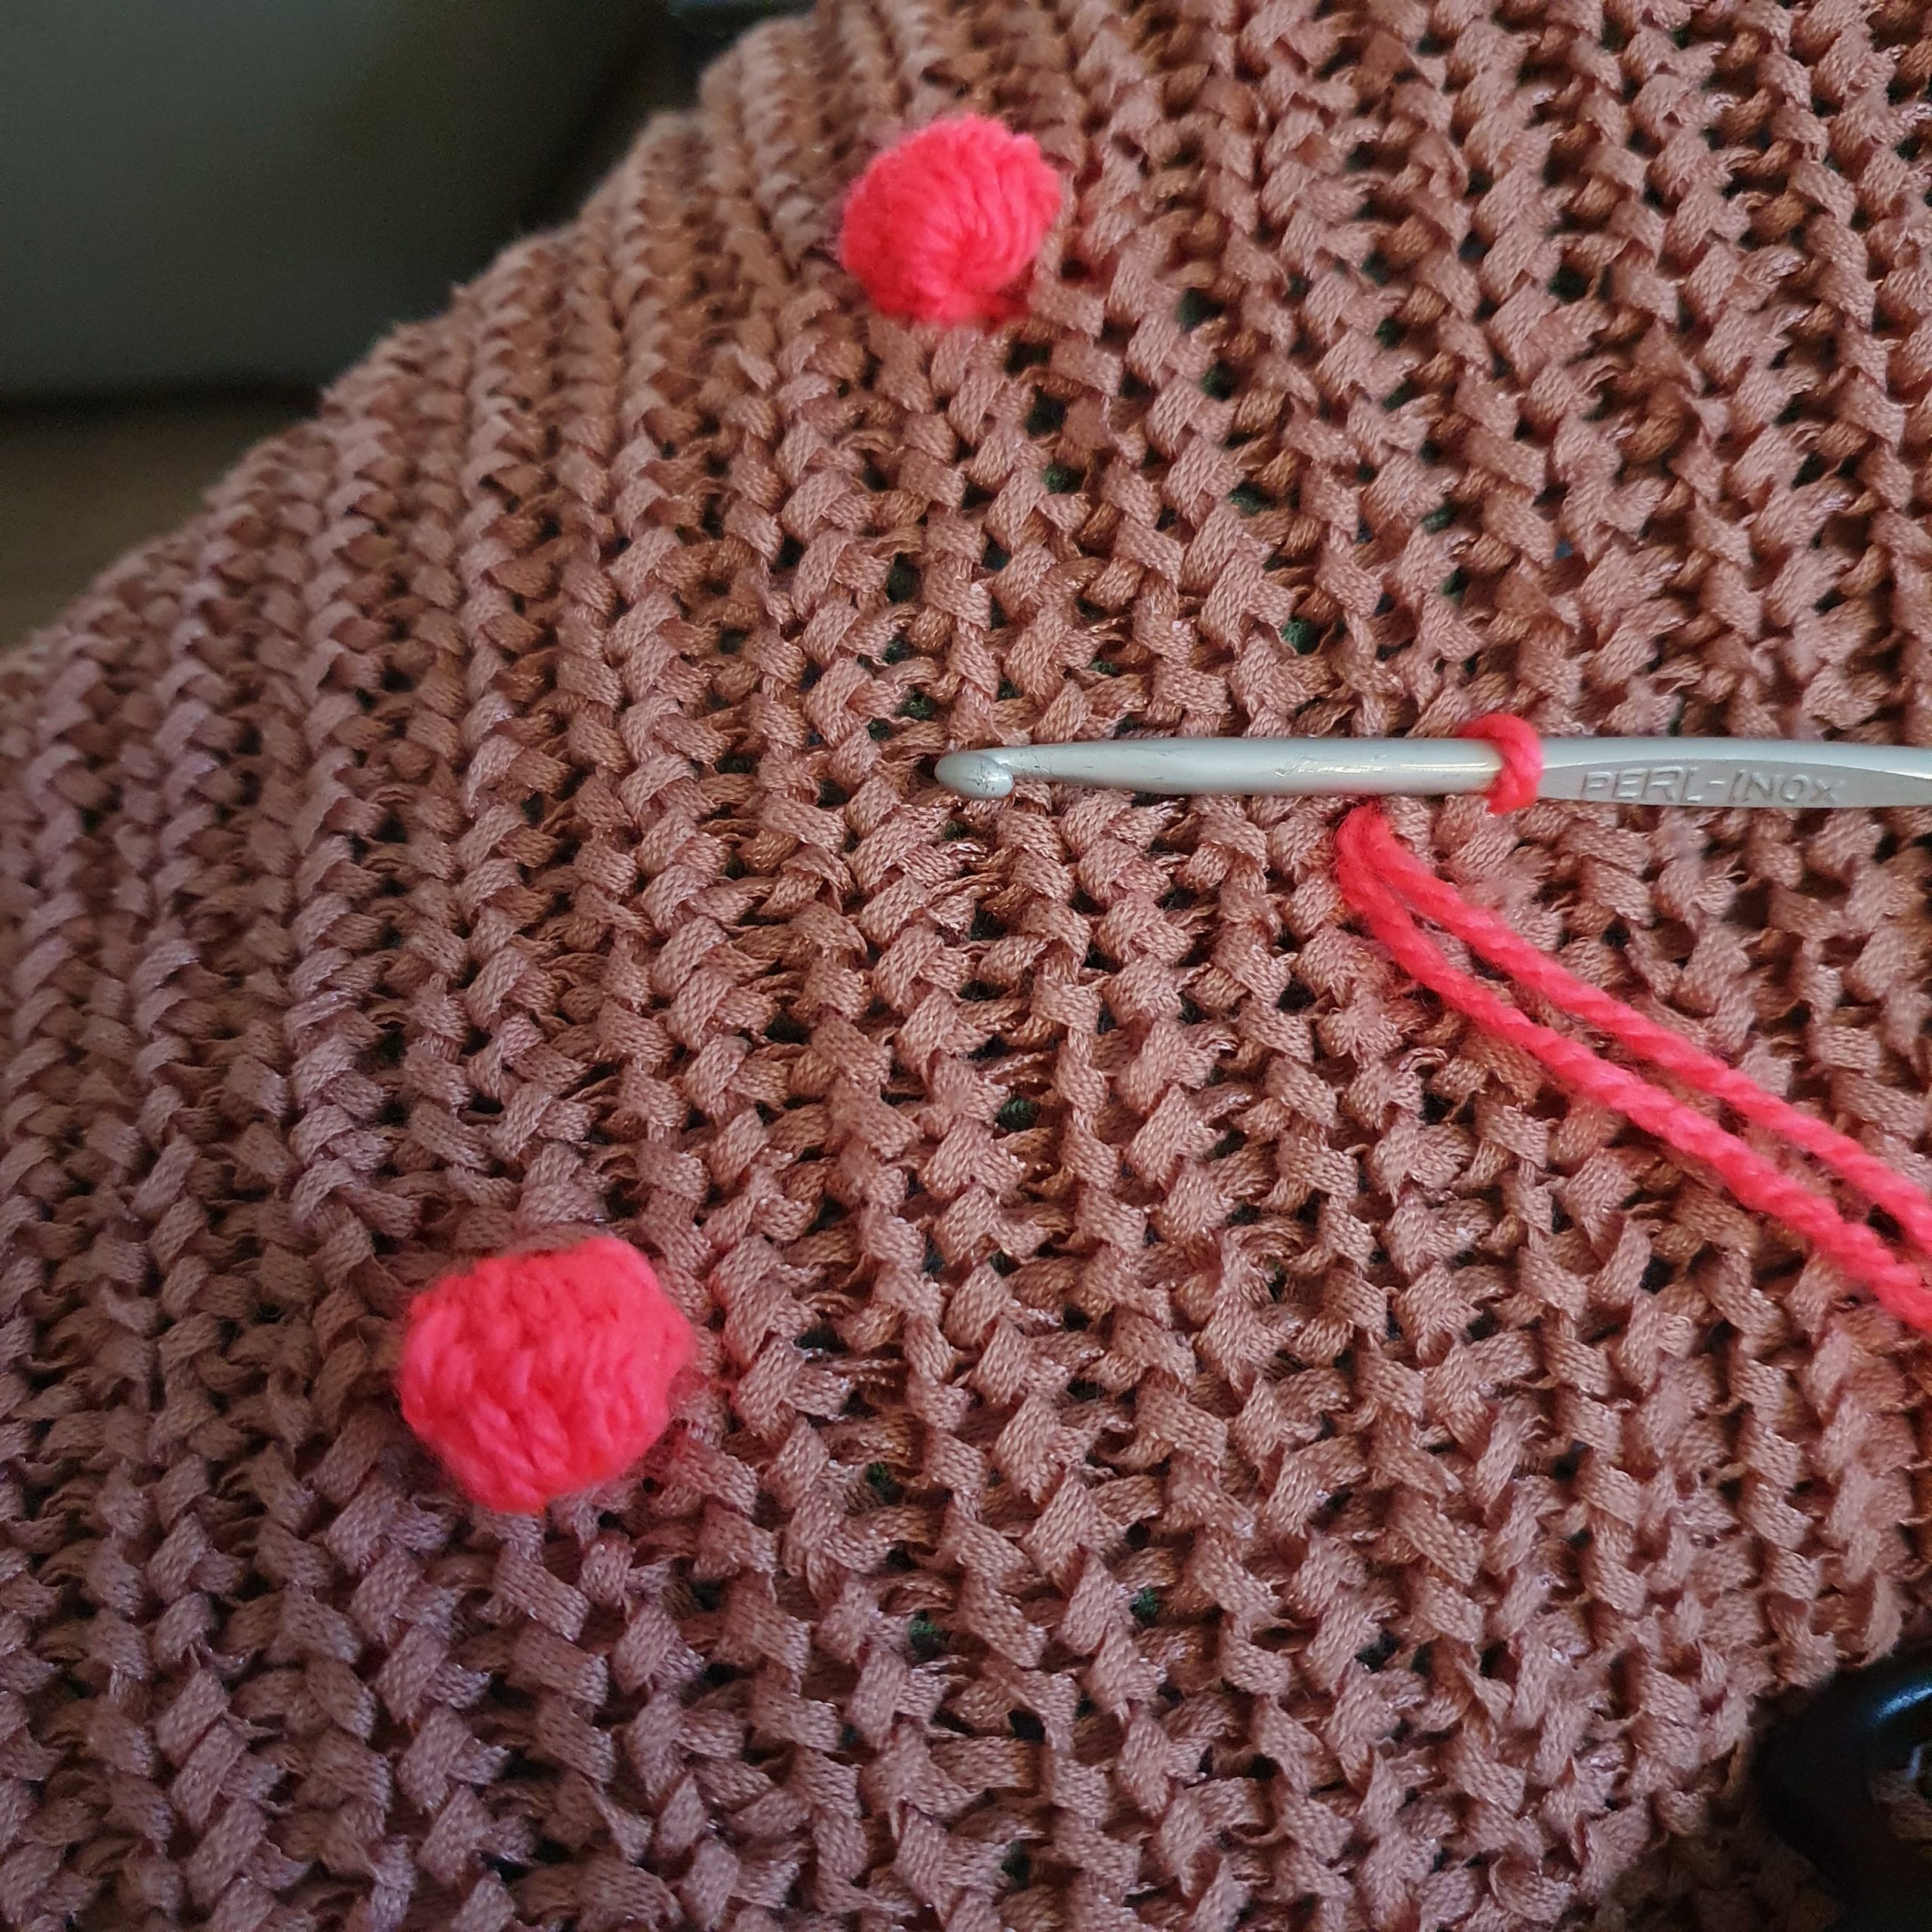
Polka dots
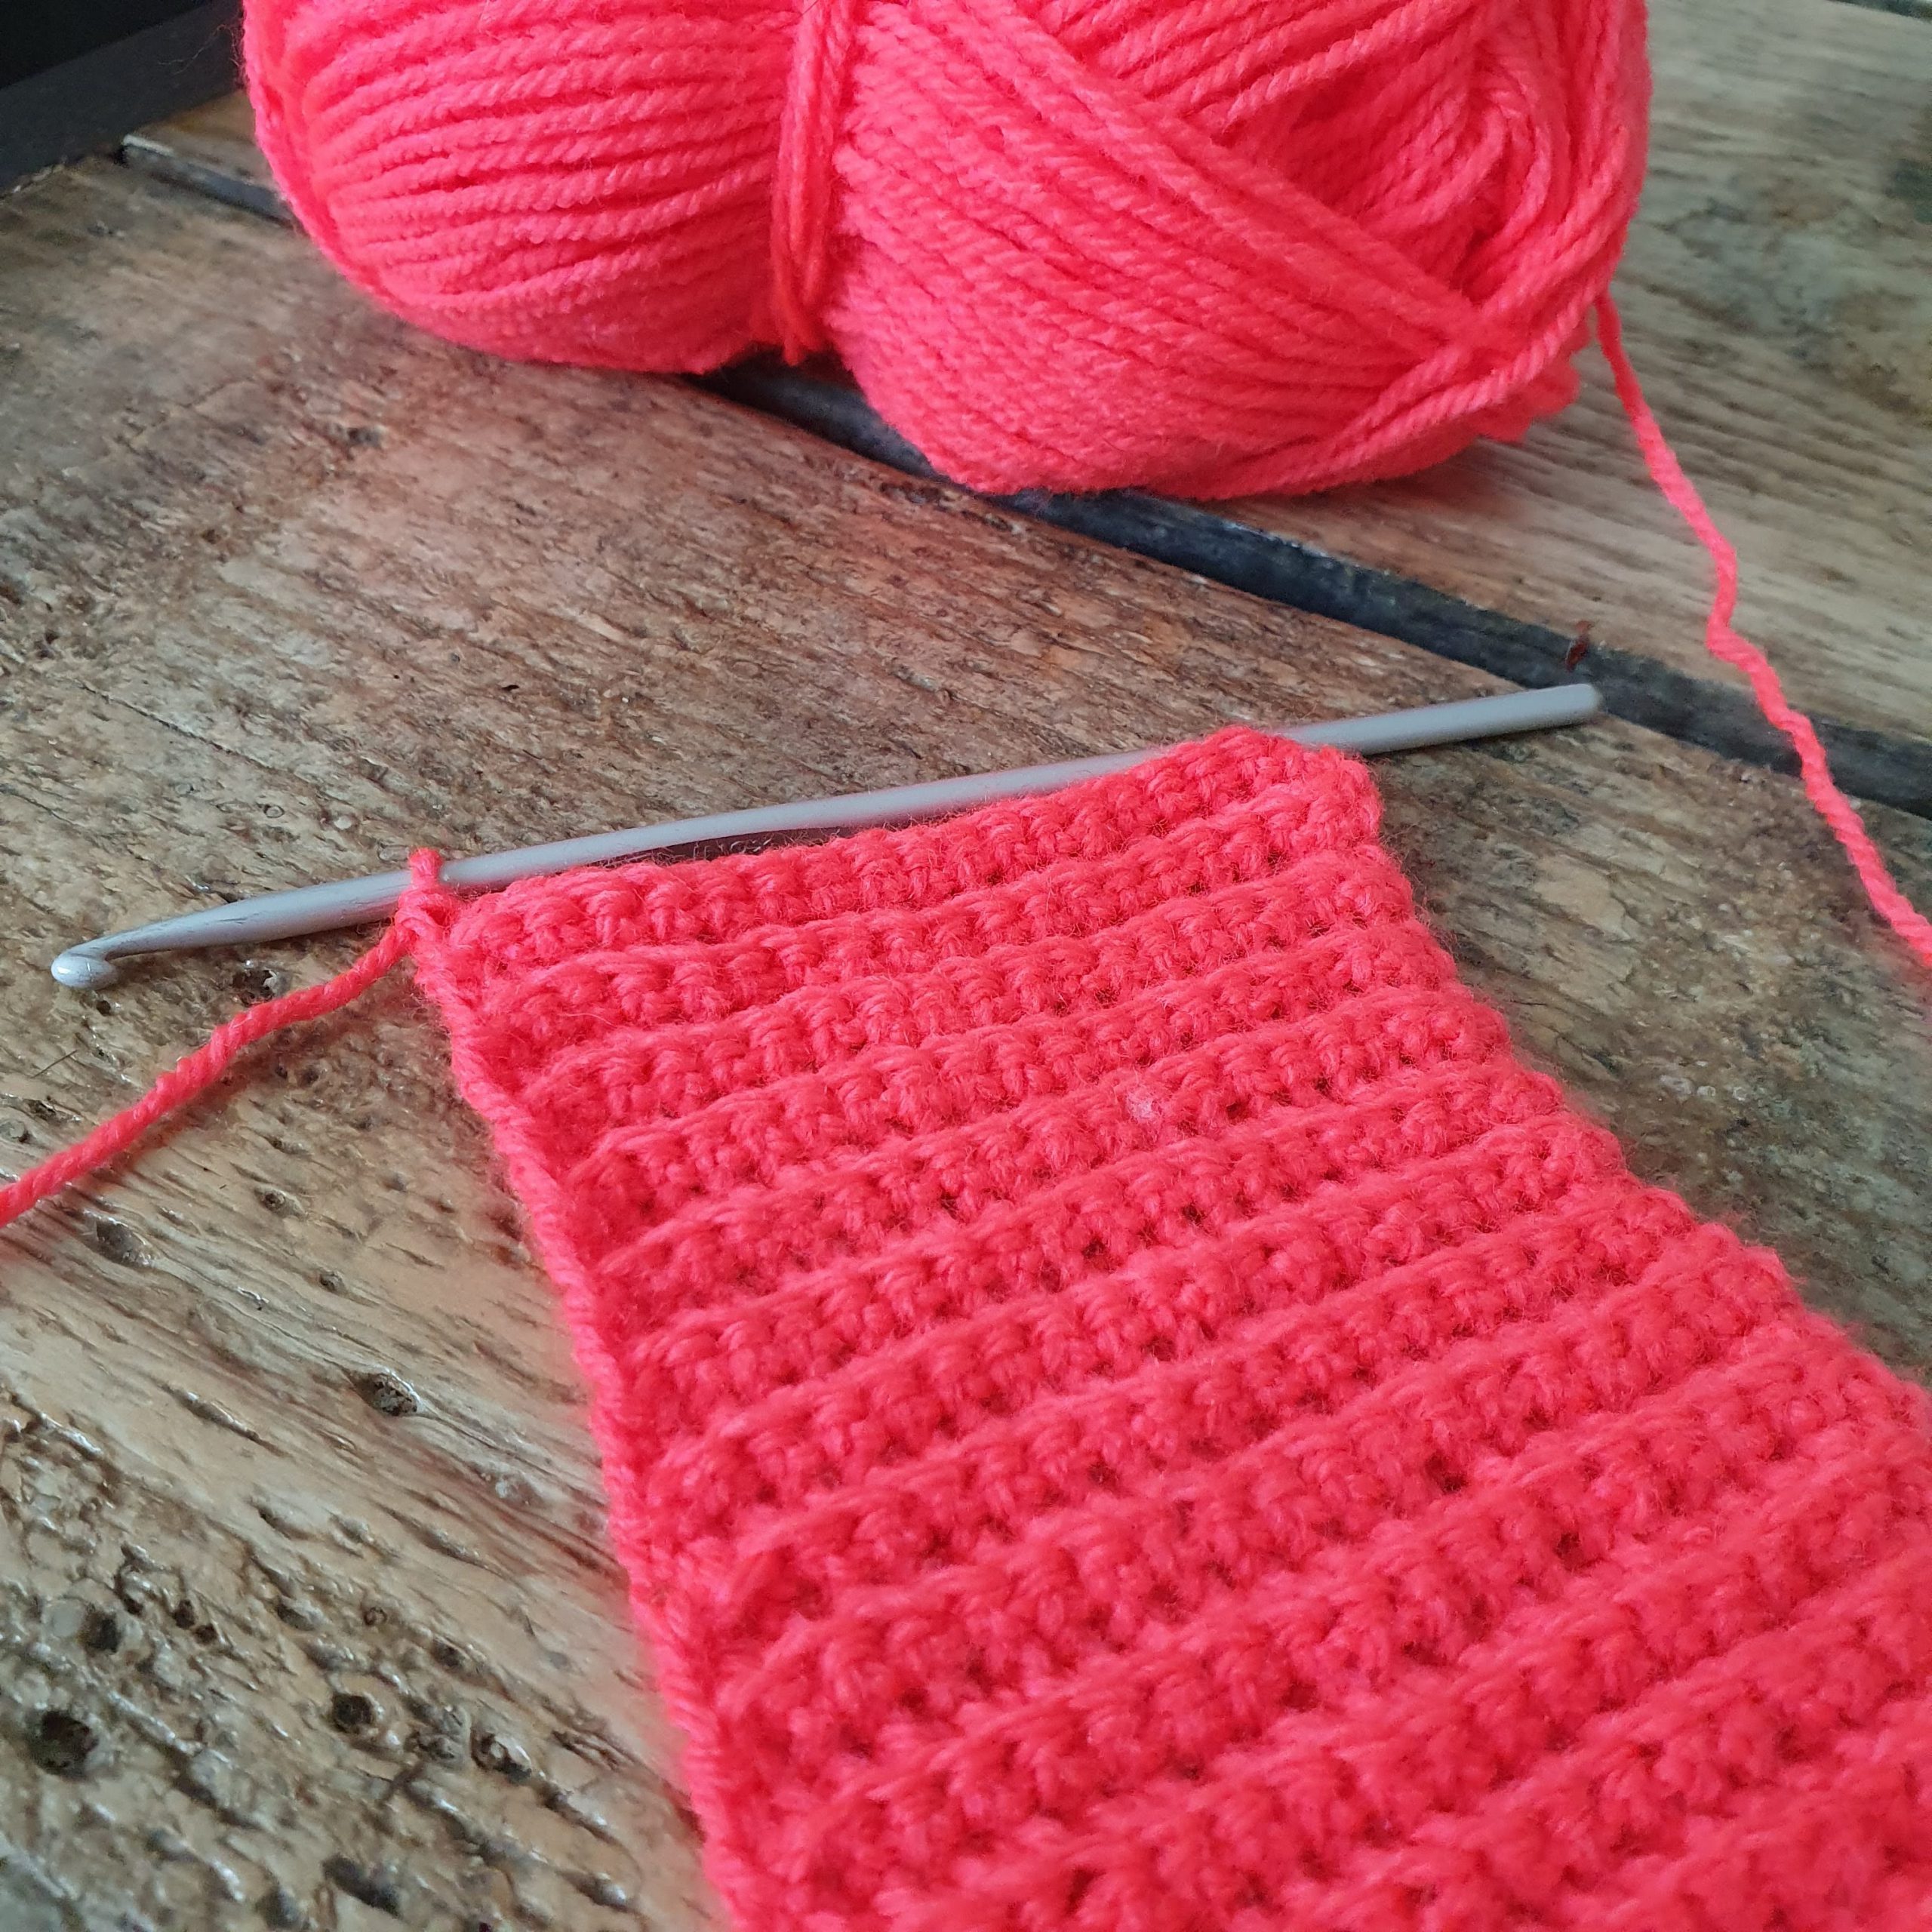
Crocheting cuffs
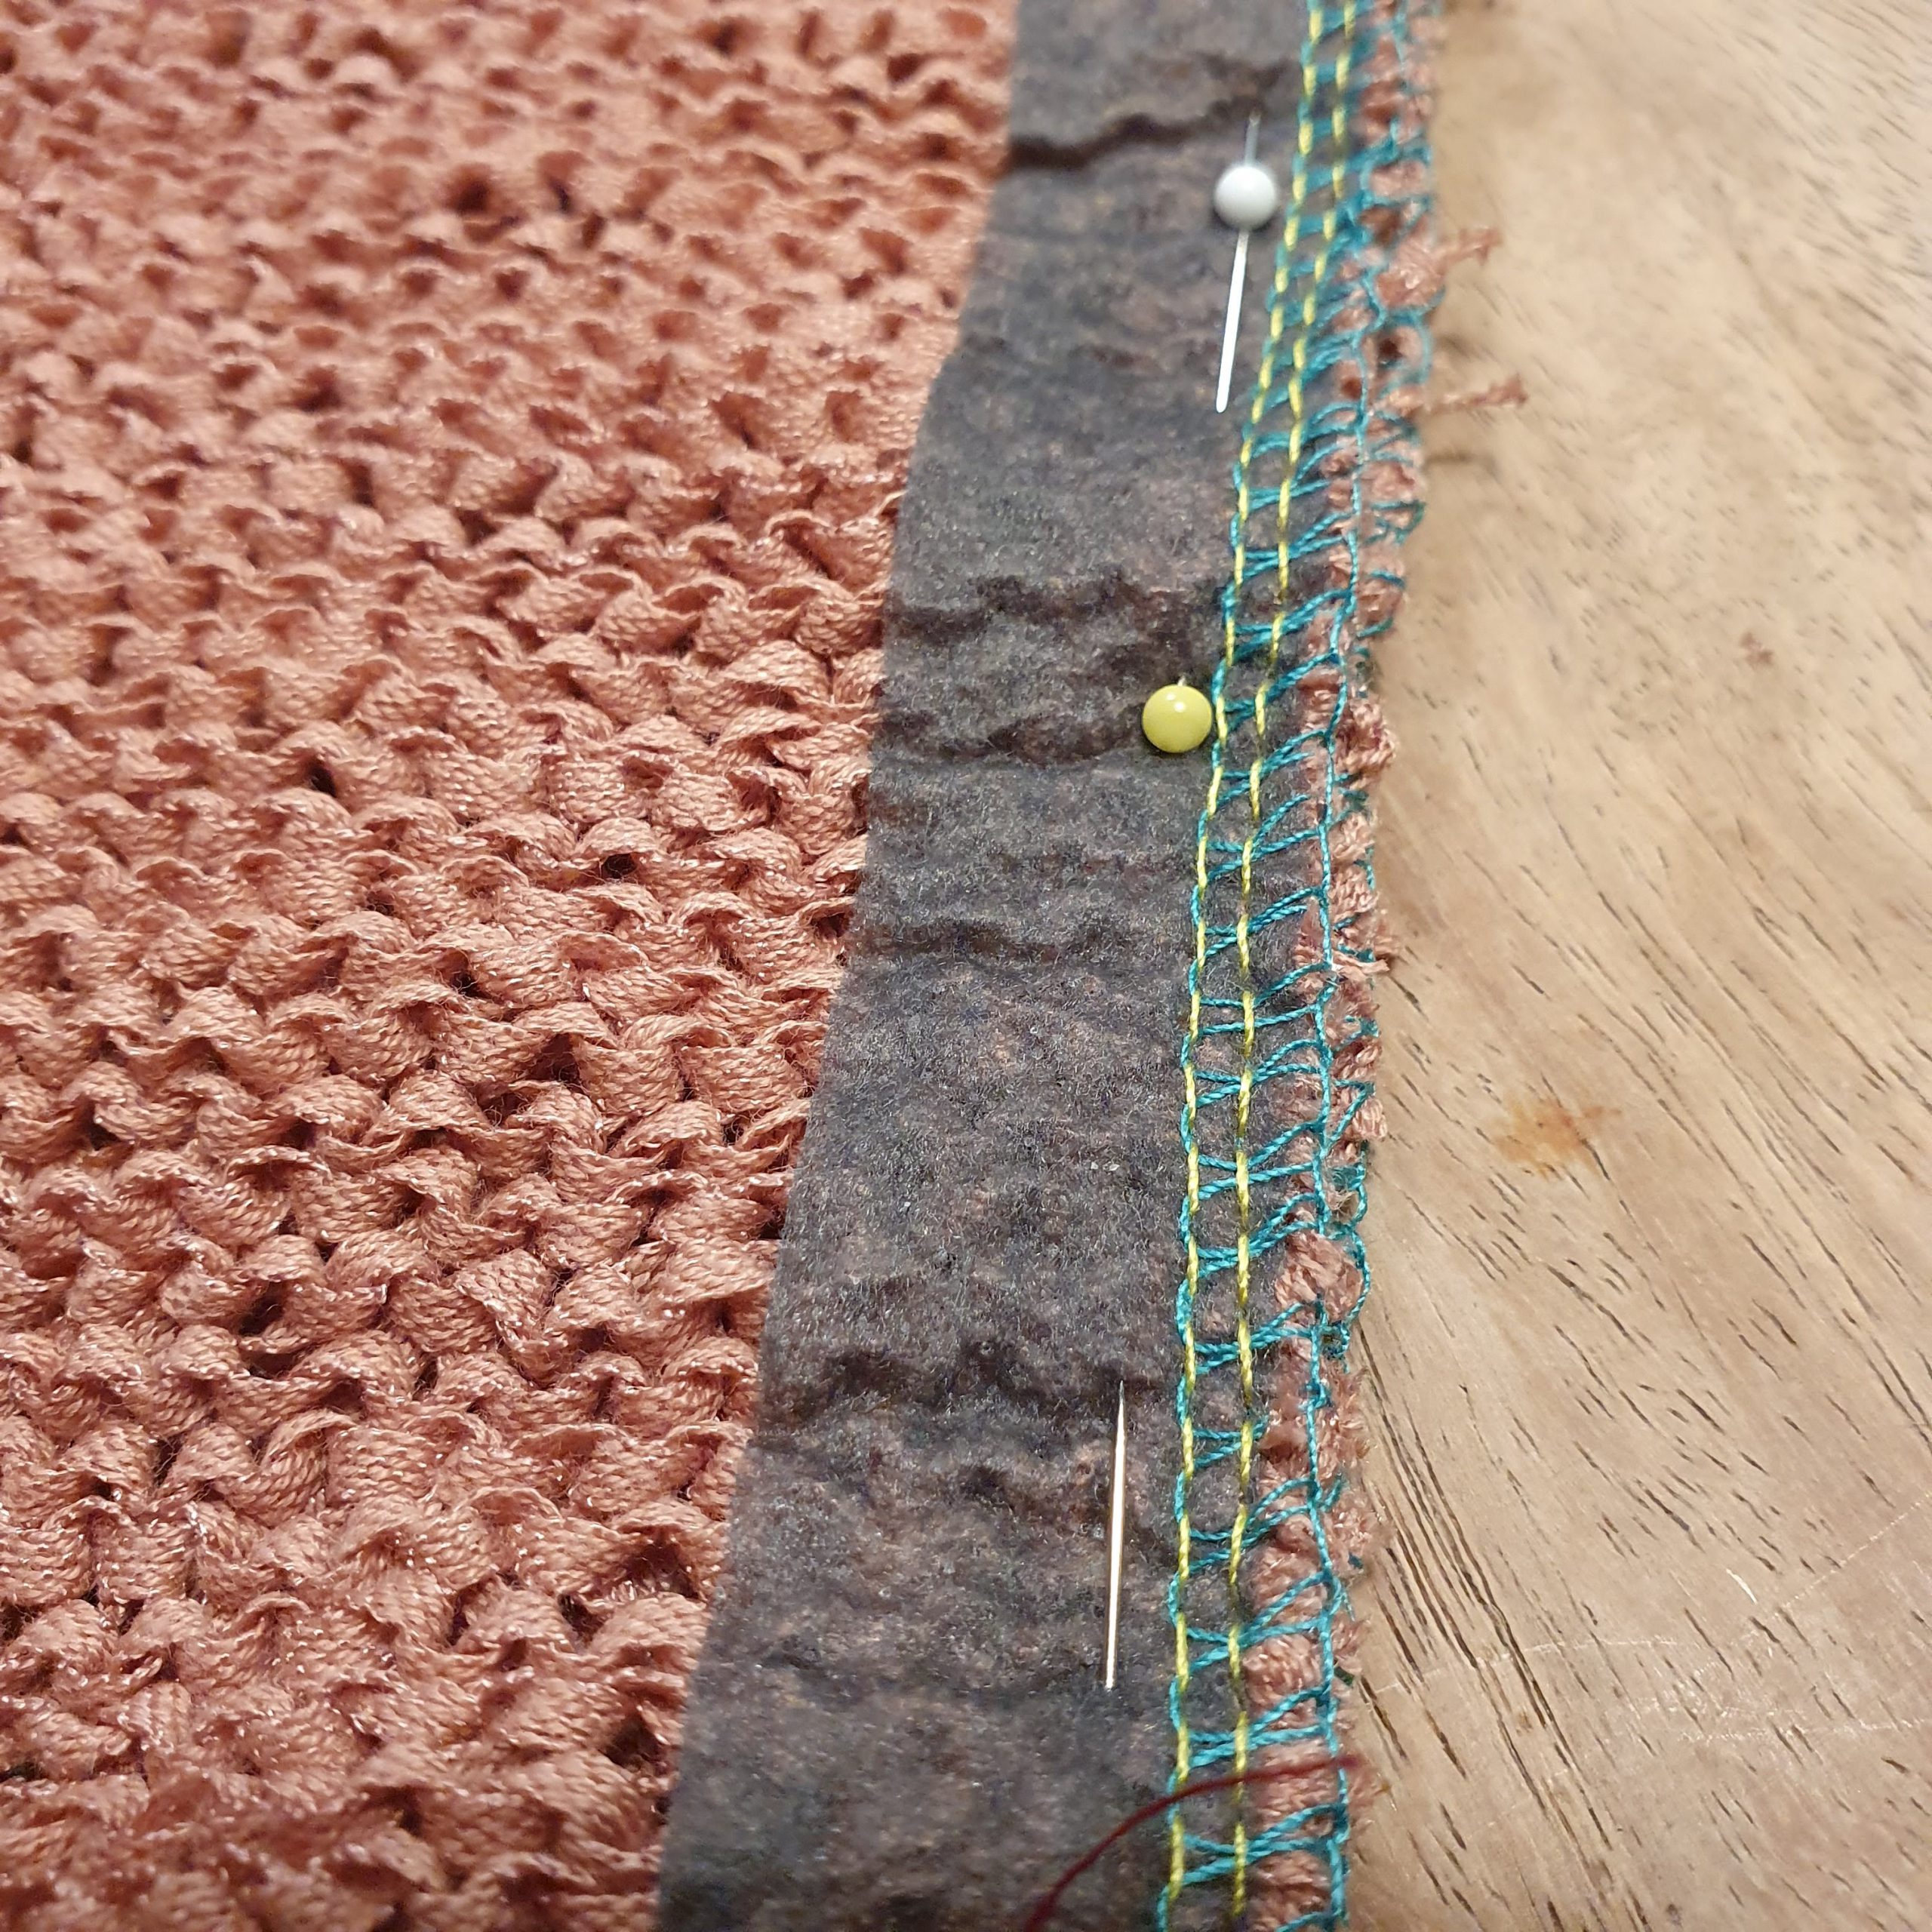
Fixated seams
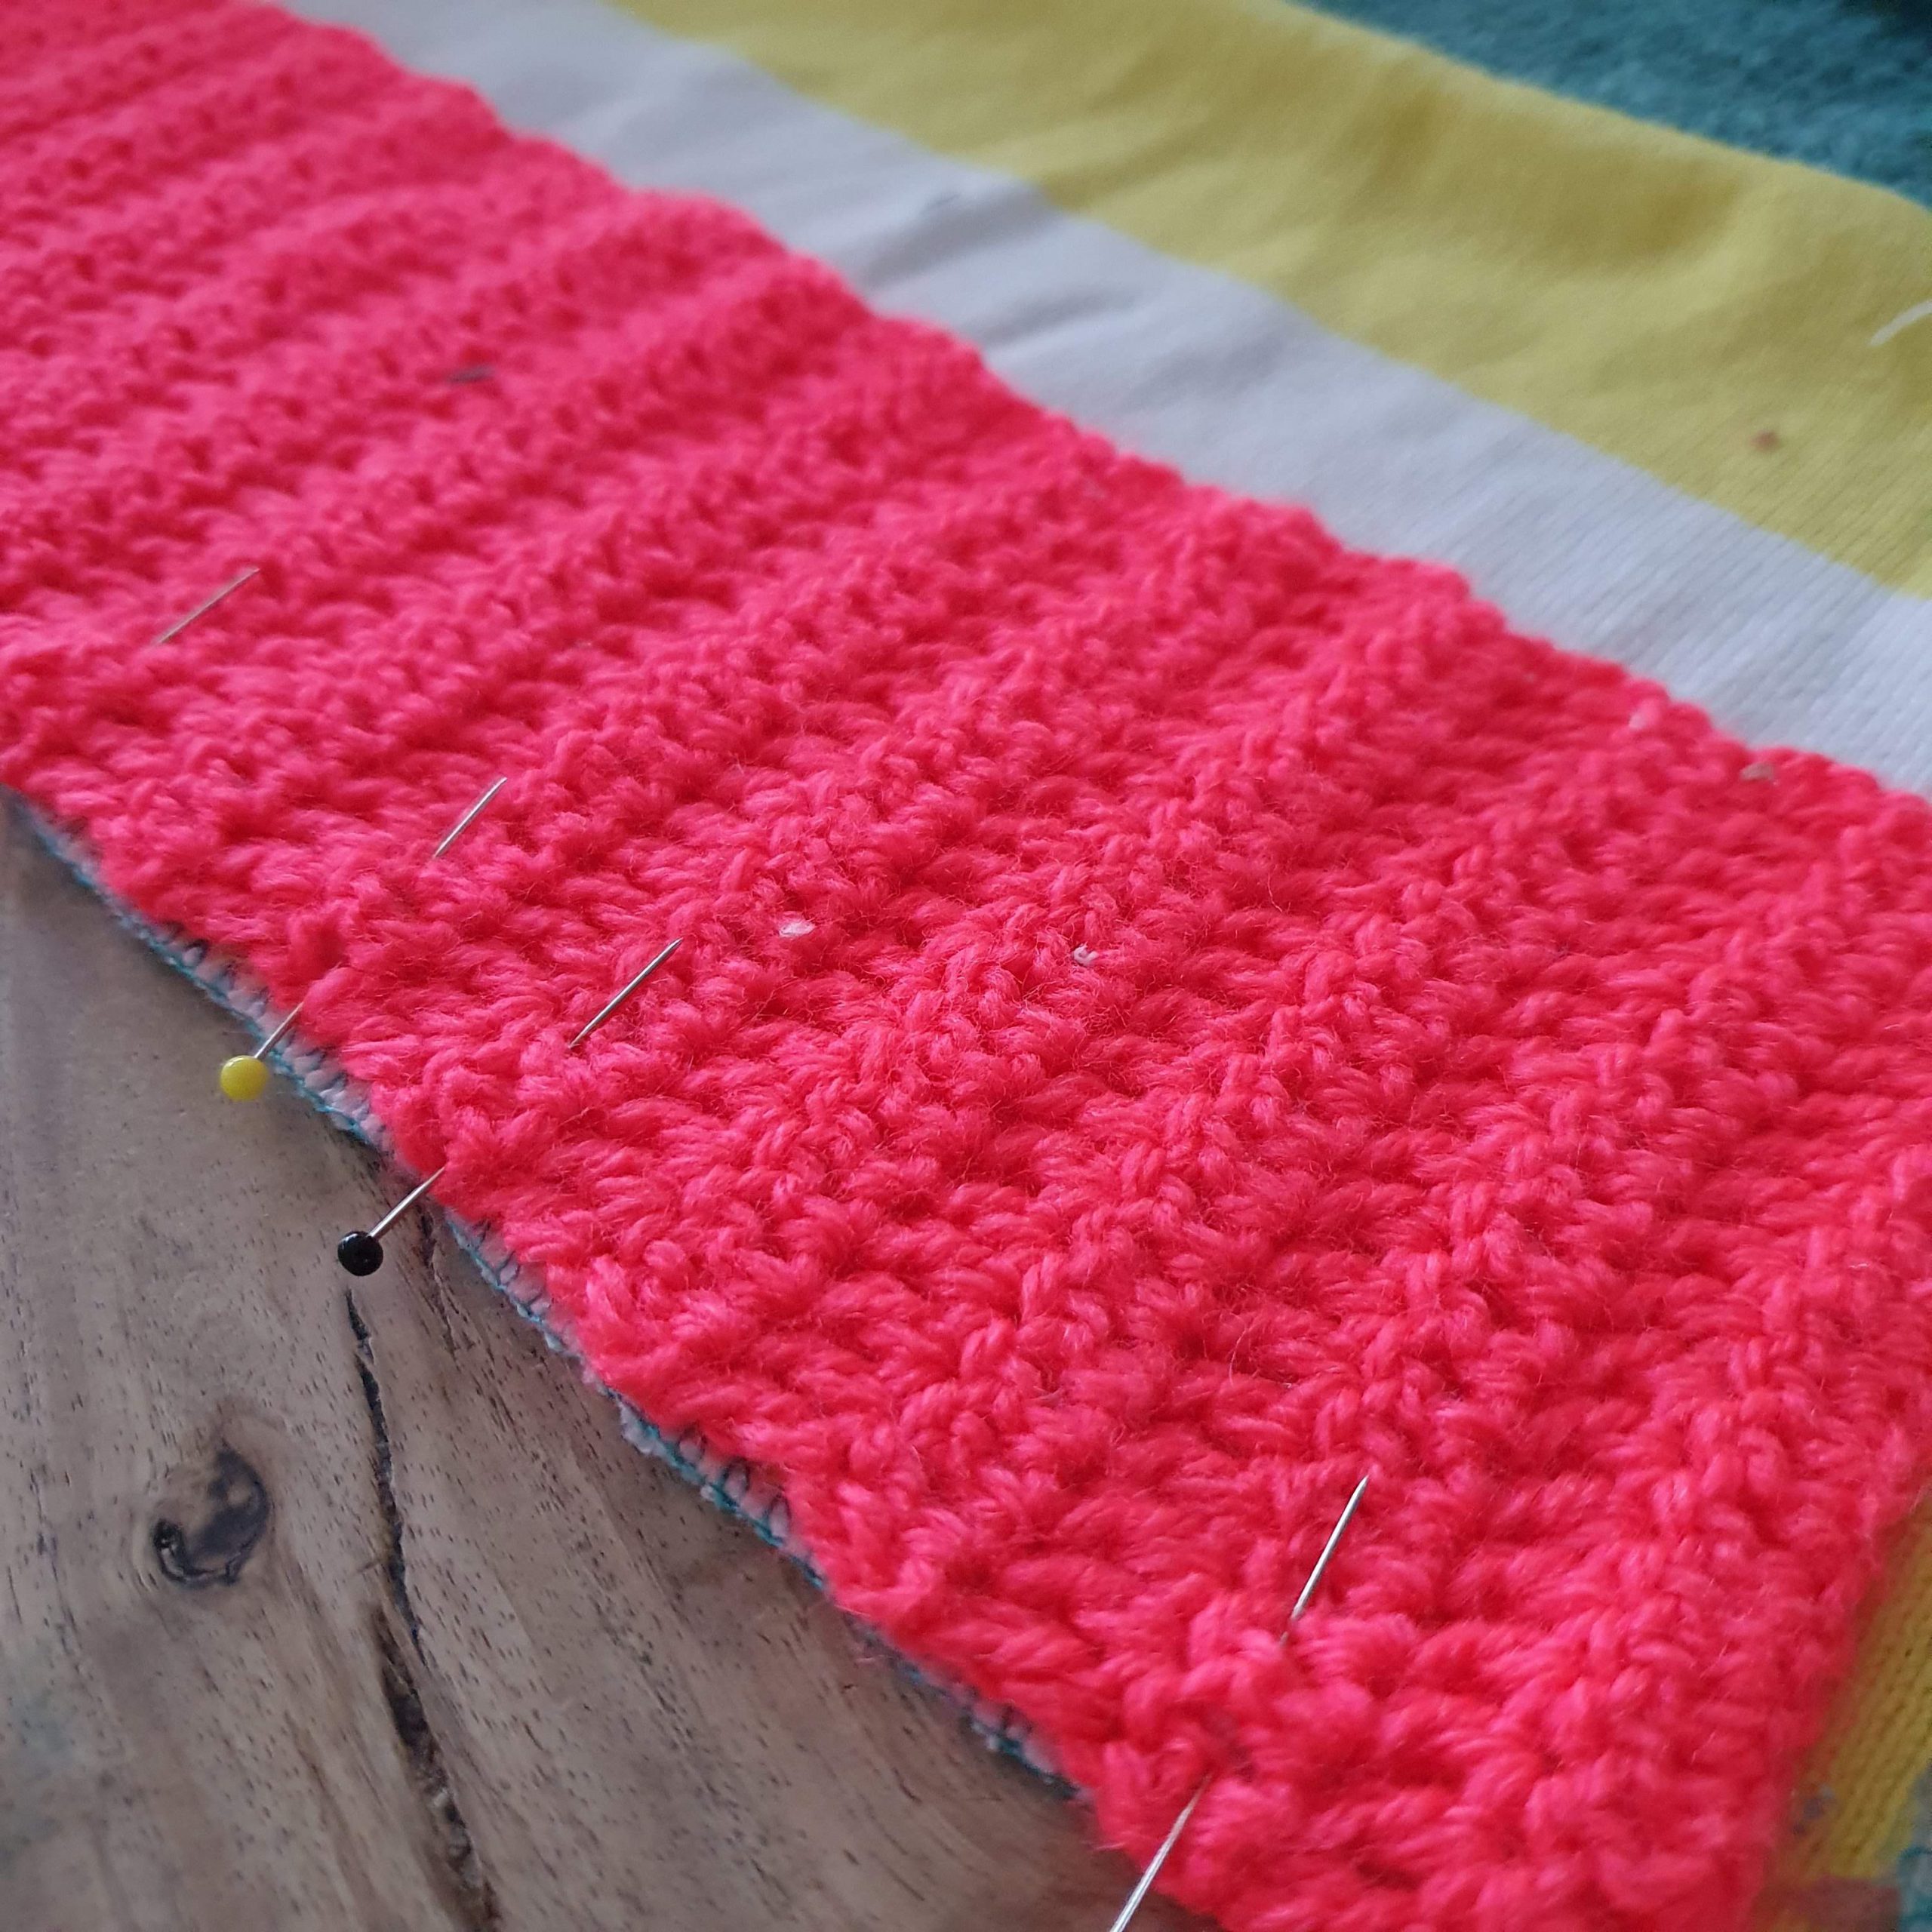
Crocheted piece is sewn on

Cuff is crocheted on

Looooove it!
Fibre Mood Harper top
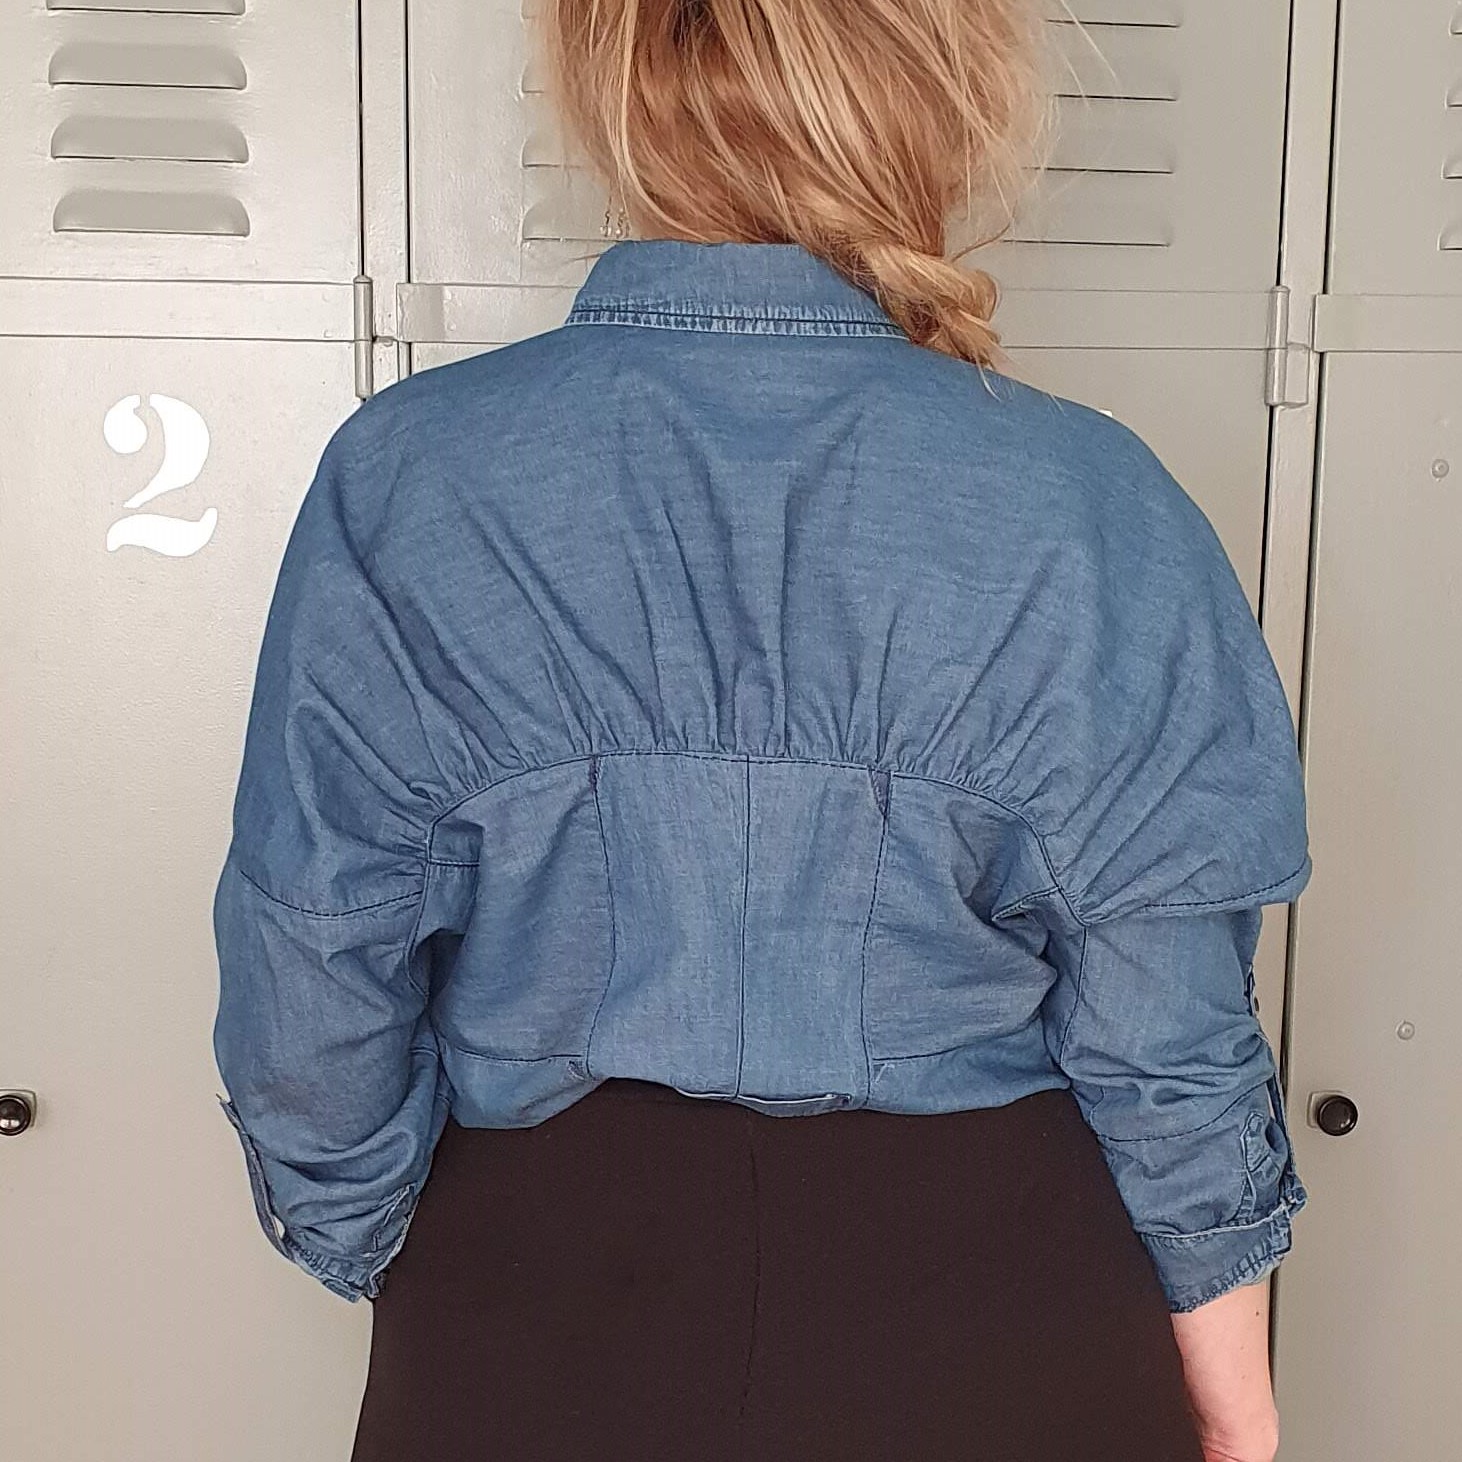
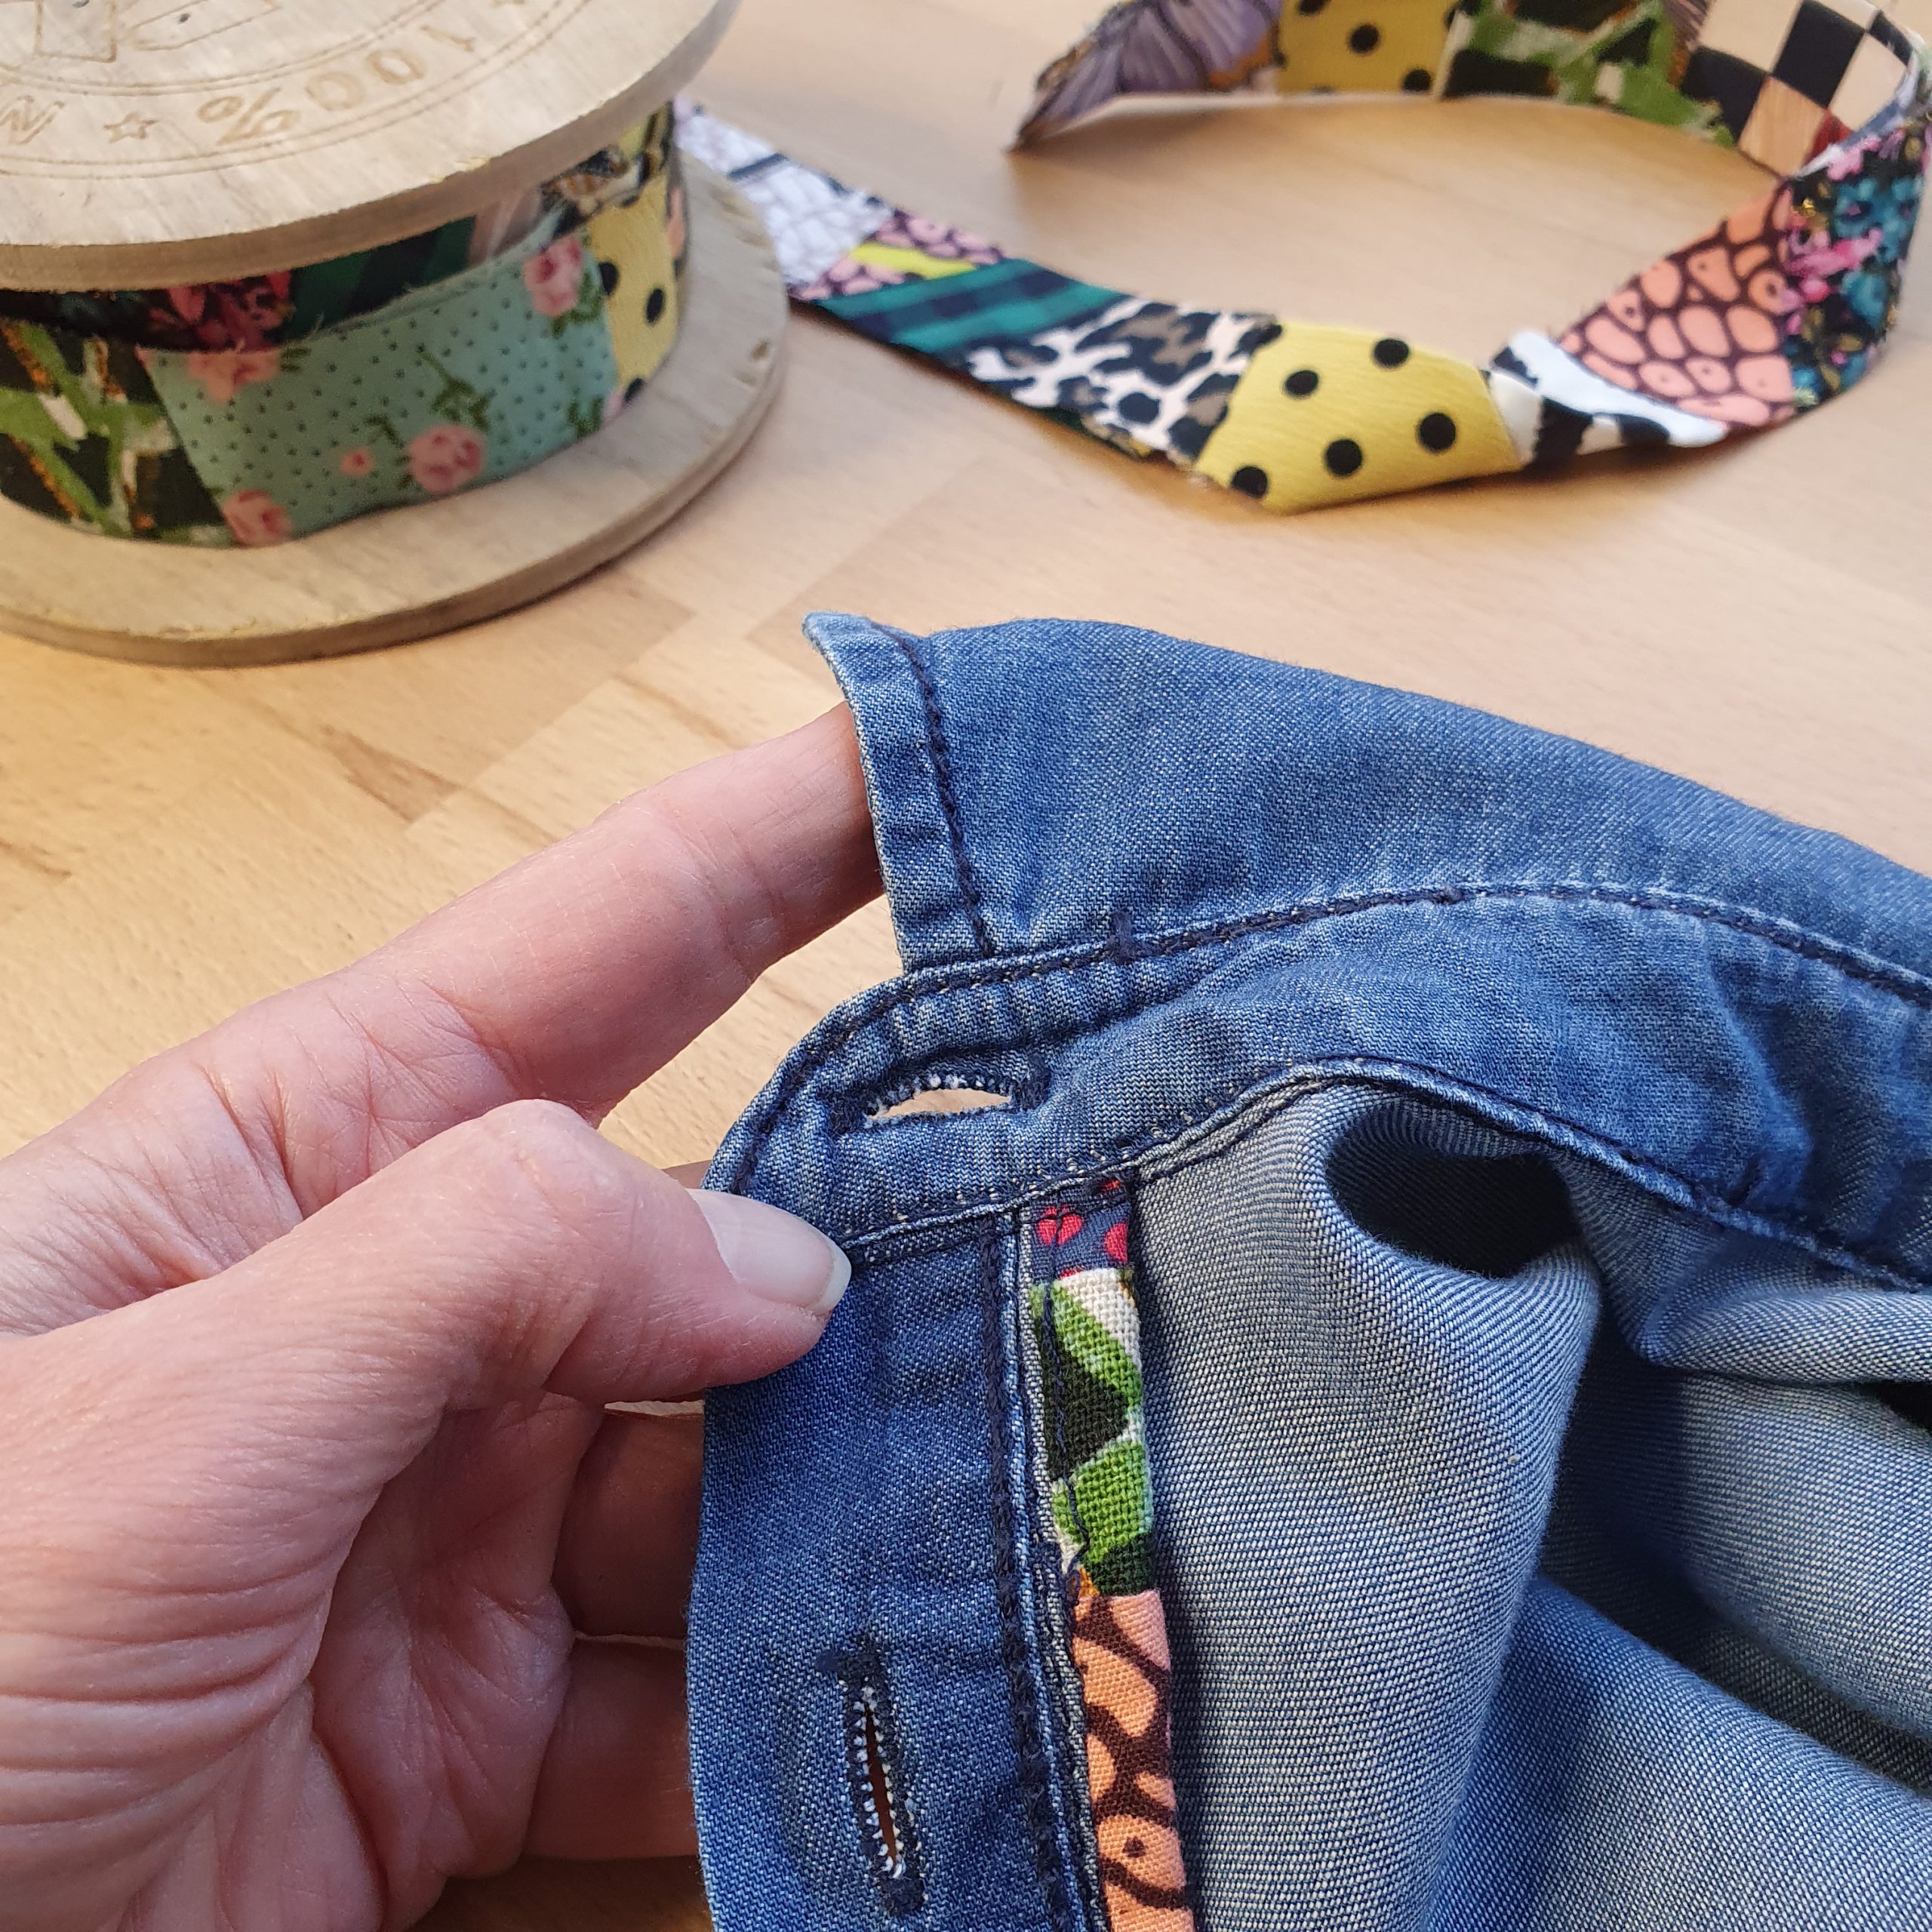
In the midst of REFEBULOUS month was Fibre Mood’s Link Party. Enthusiastic Sewistas are then allowed to choose a pattern in advance to show off during the appearance of the new Fibre Mood. A great moment for another Refashion project. I transformed a thrifted denim shirt dress, which I no longer wear, into a cool Harper top. I hacked the pattern so that I could reuse the collar, cuffs and button closure.
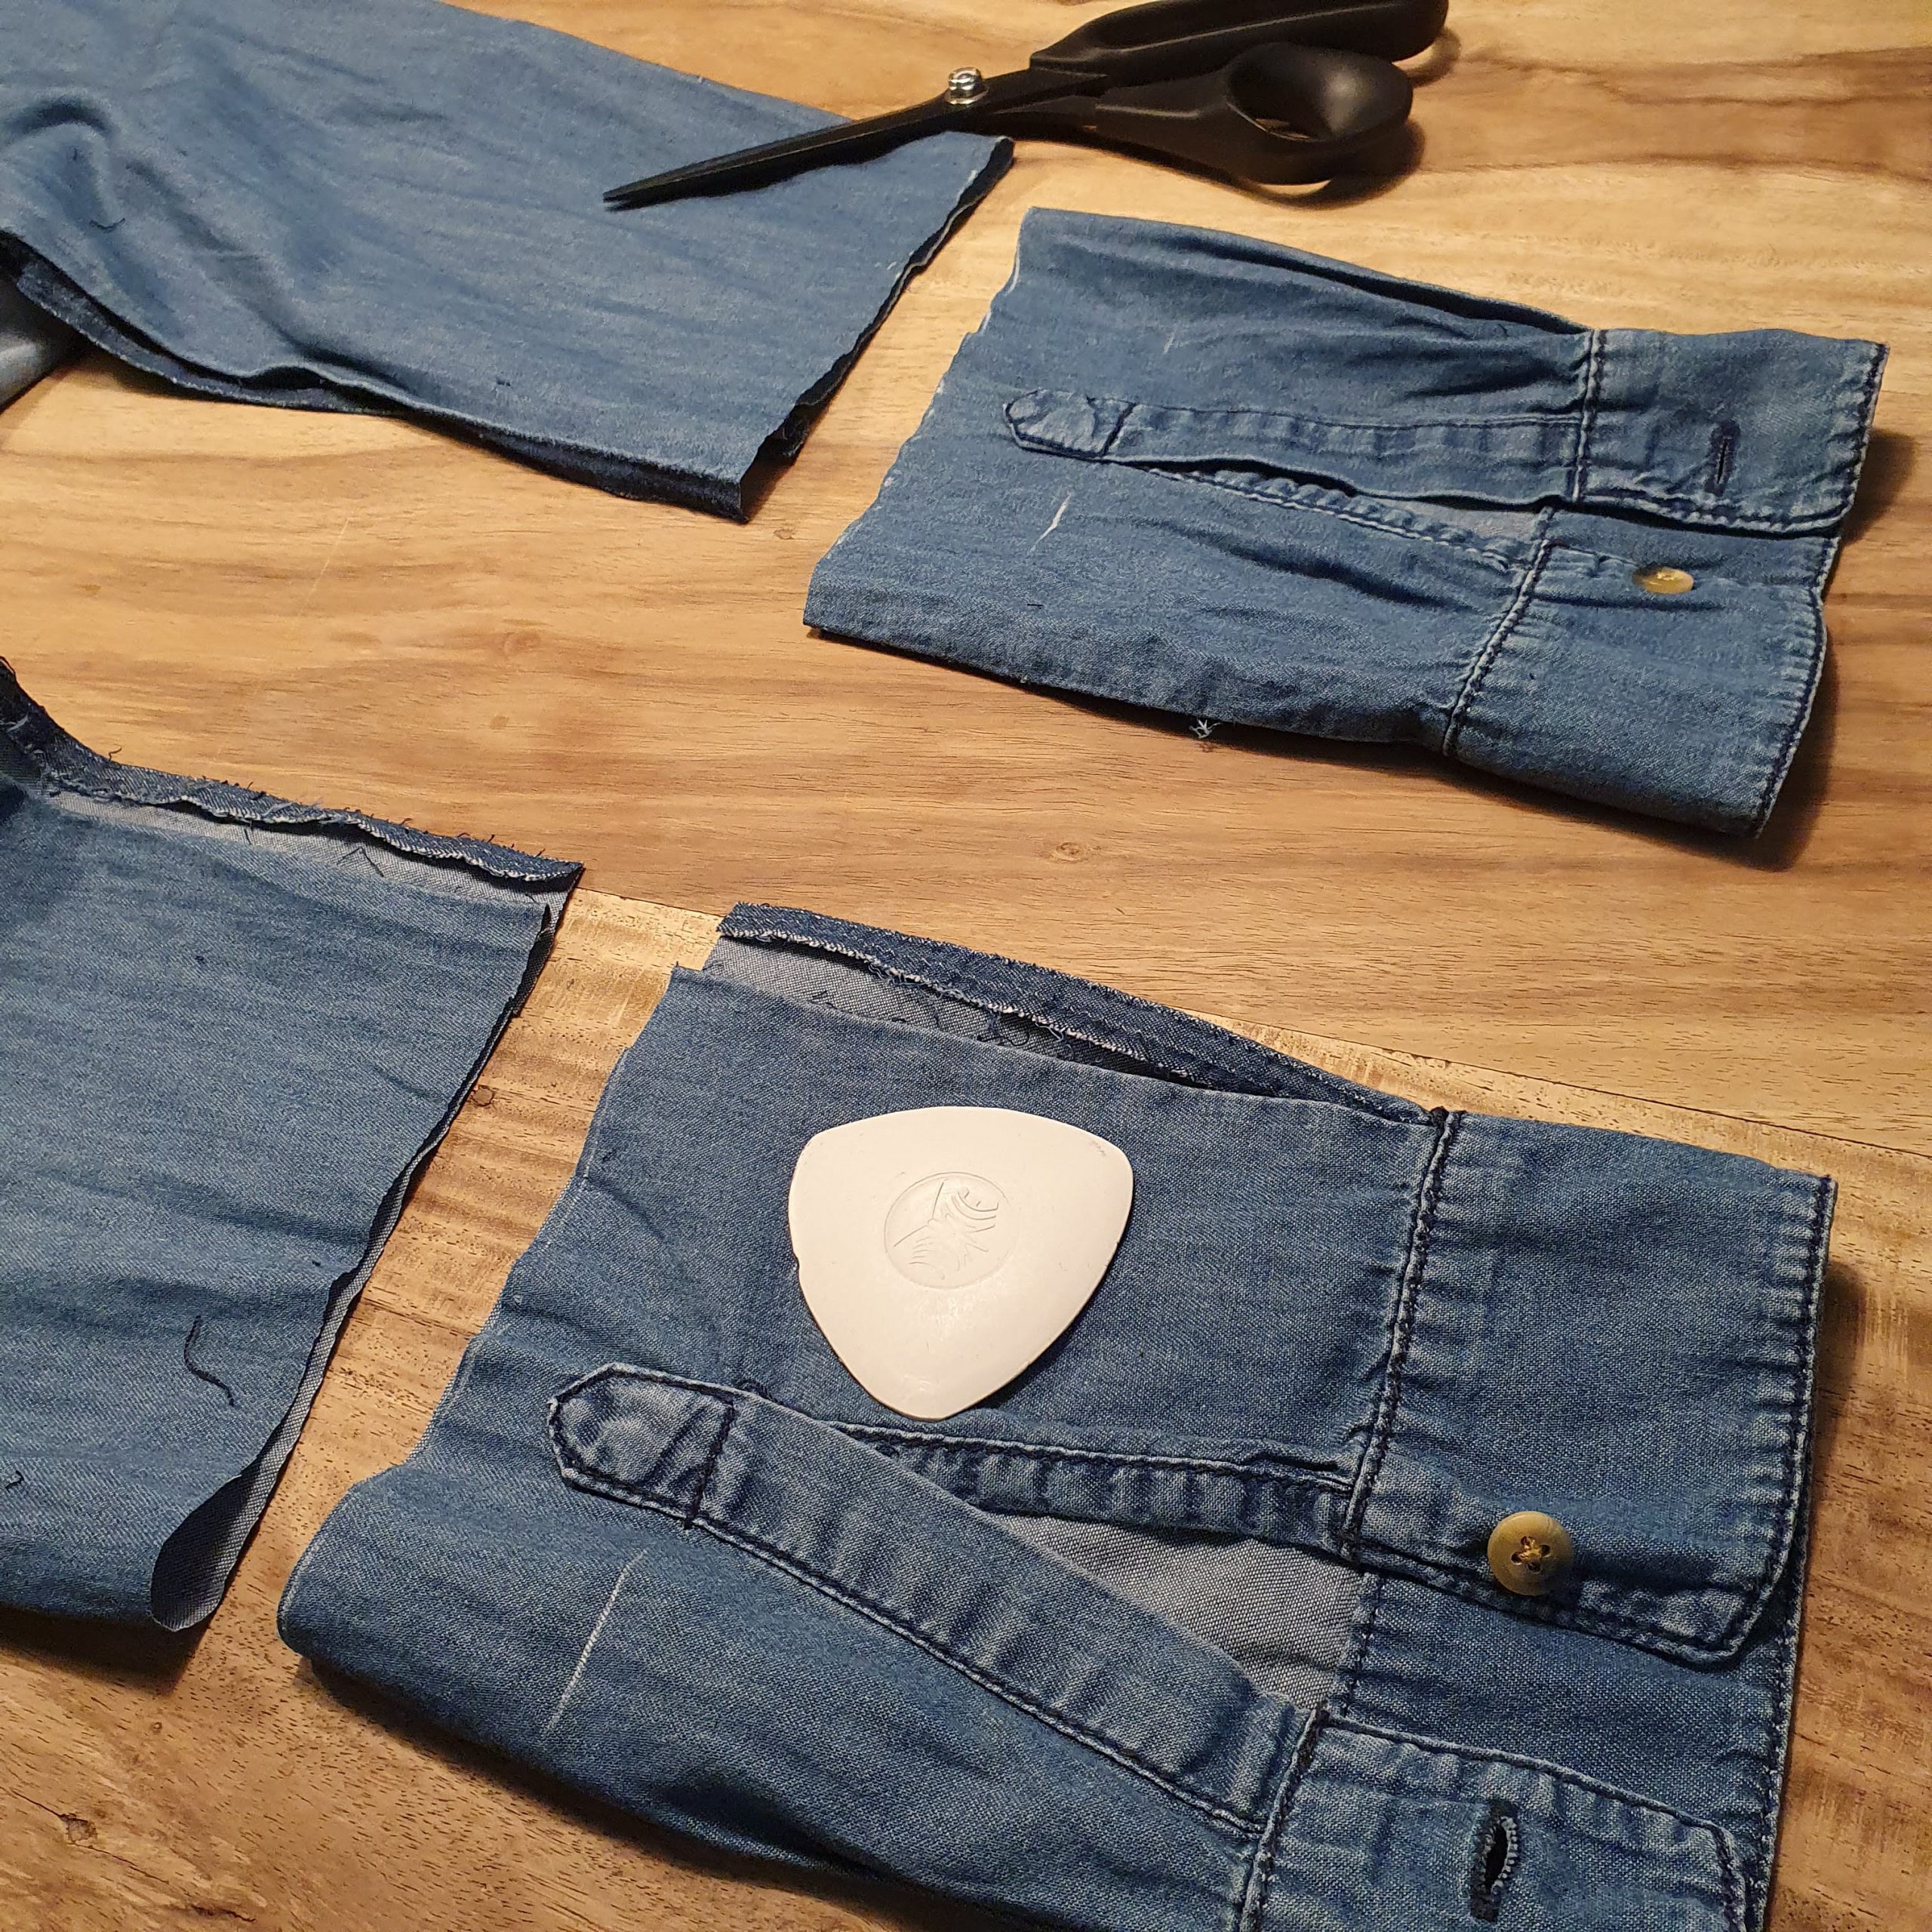
Cuffs

Collar and button placket
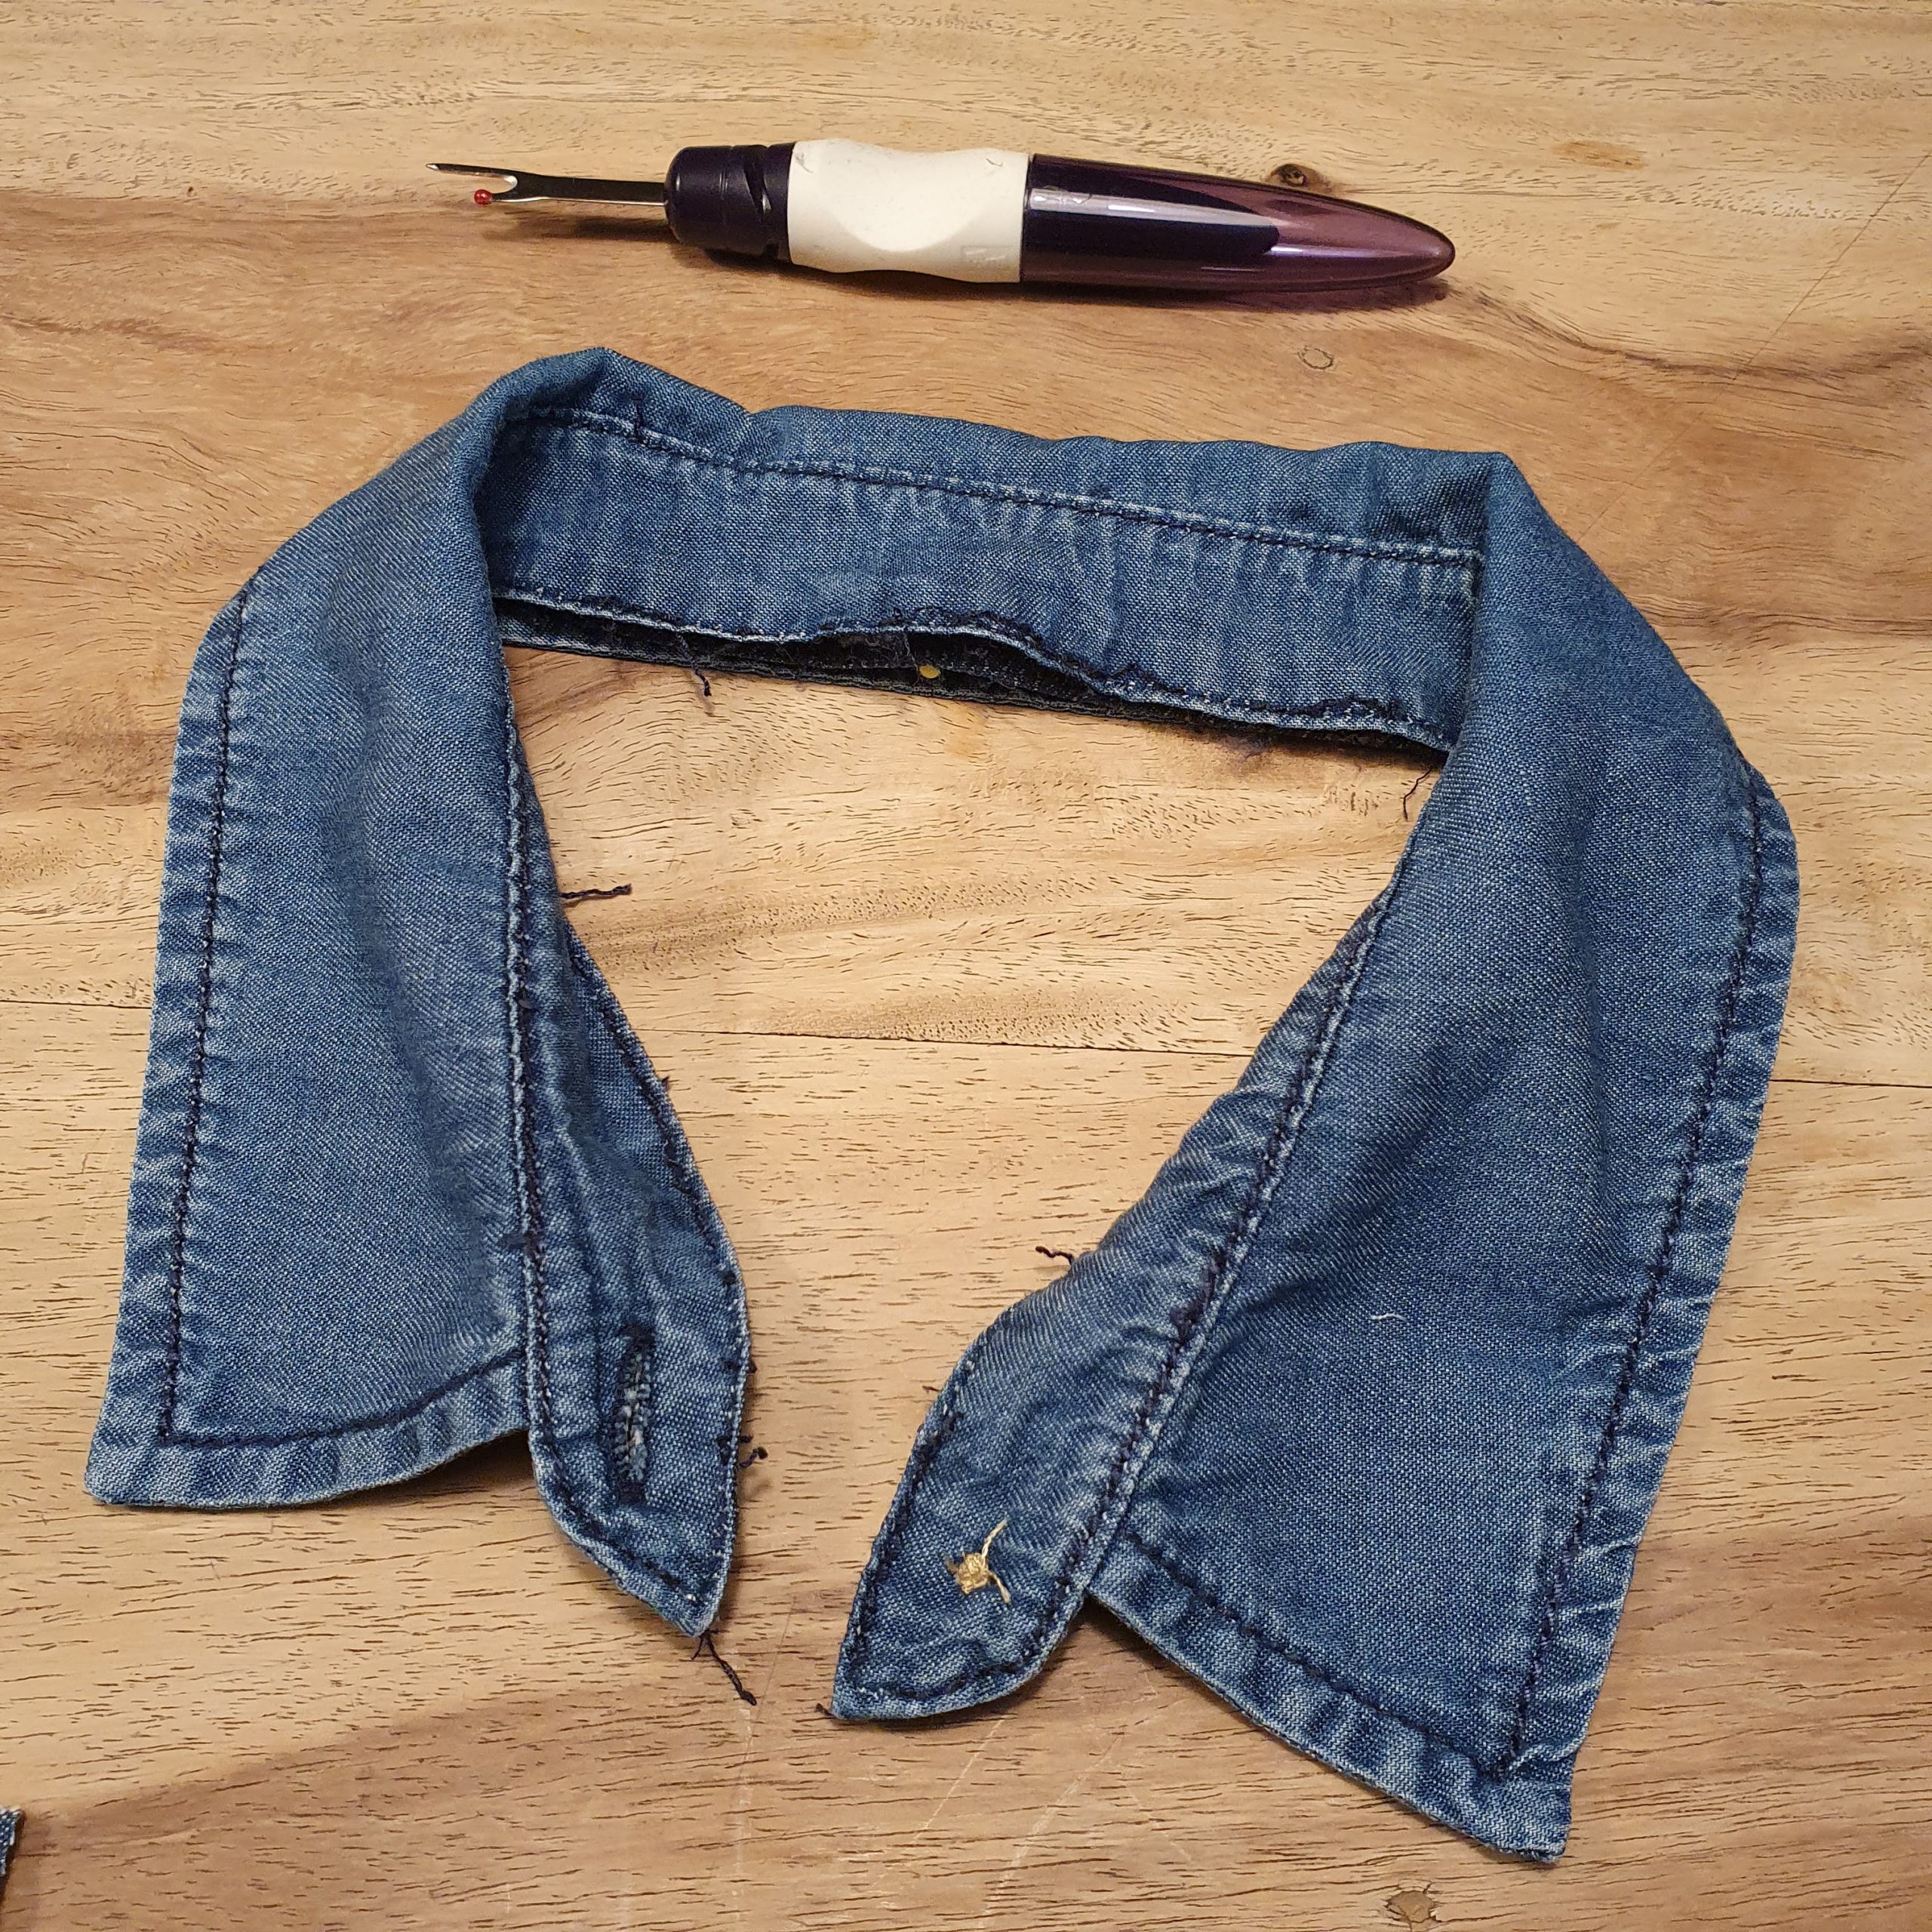
Loose collar
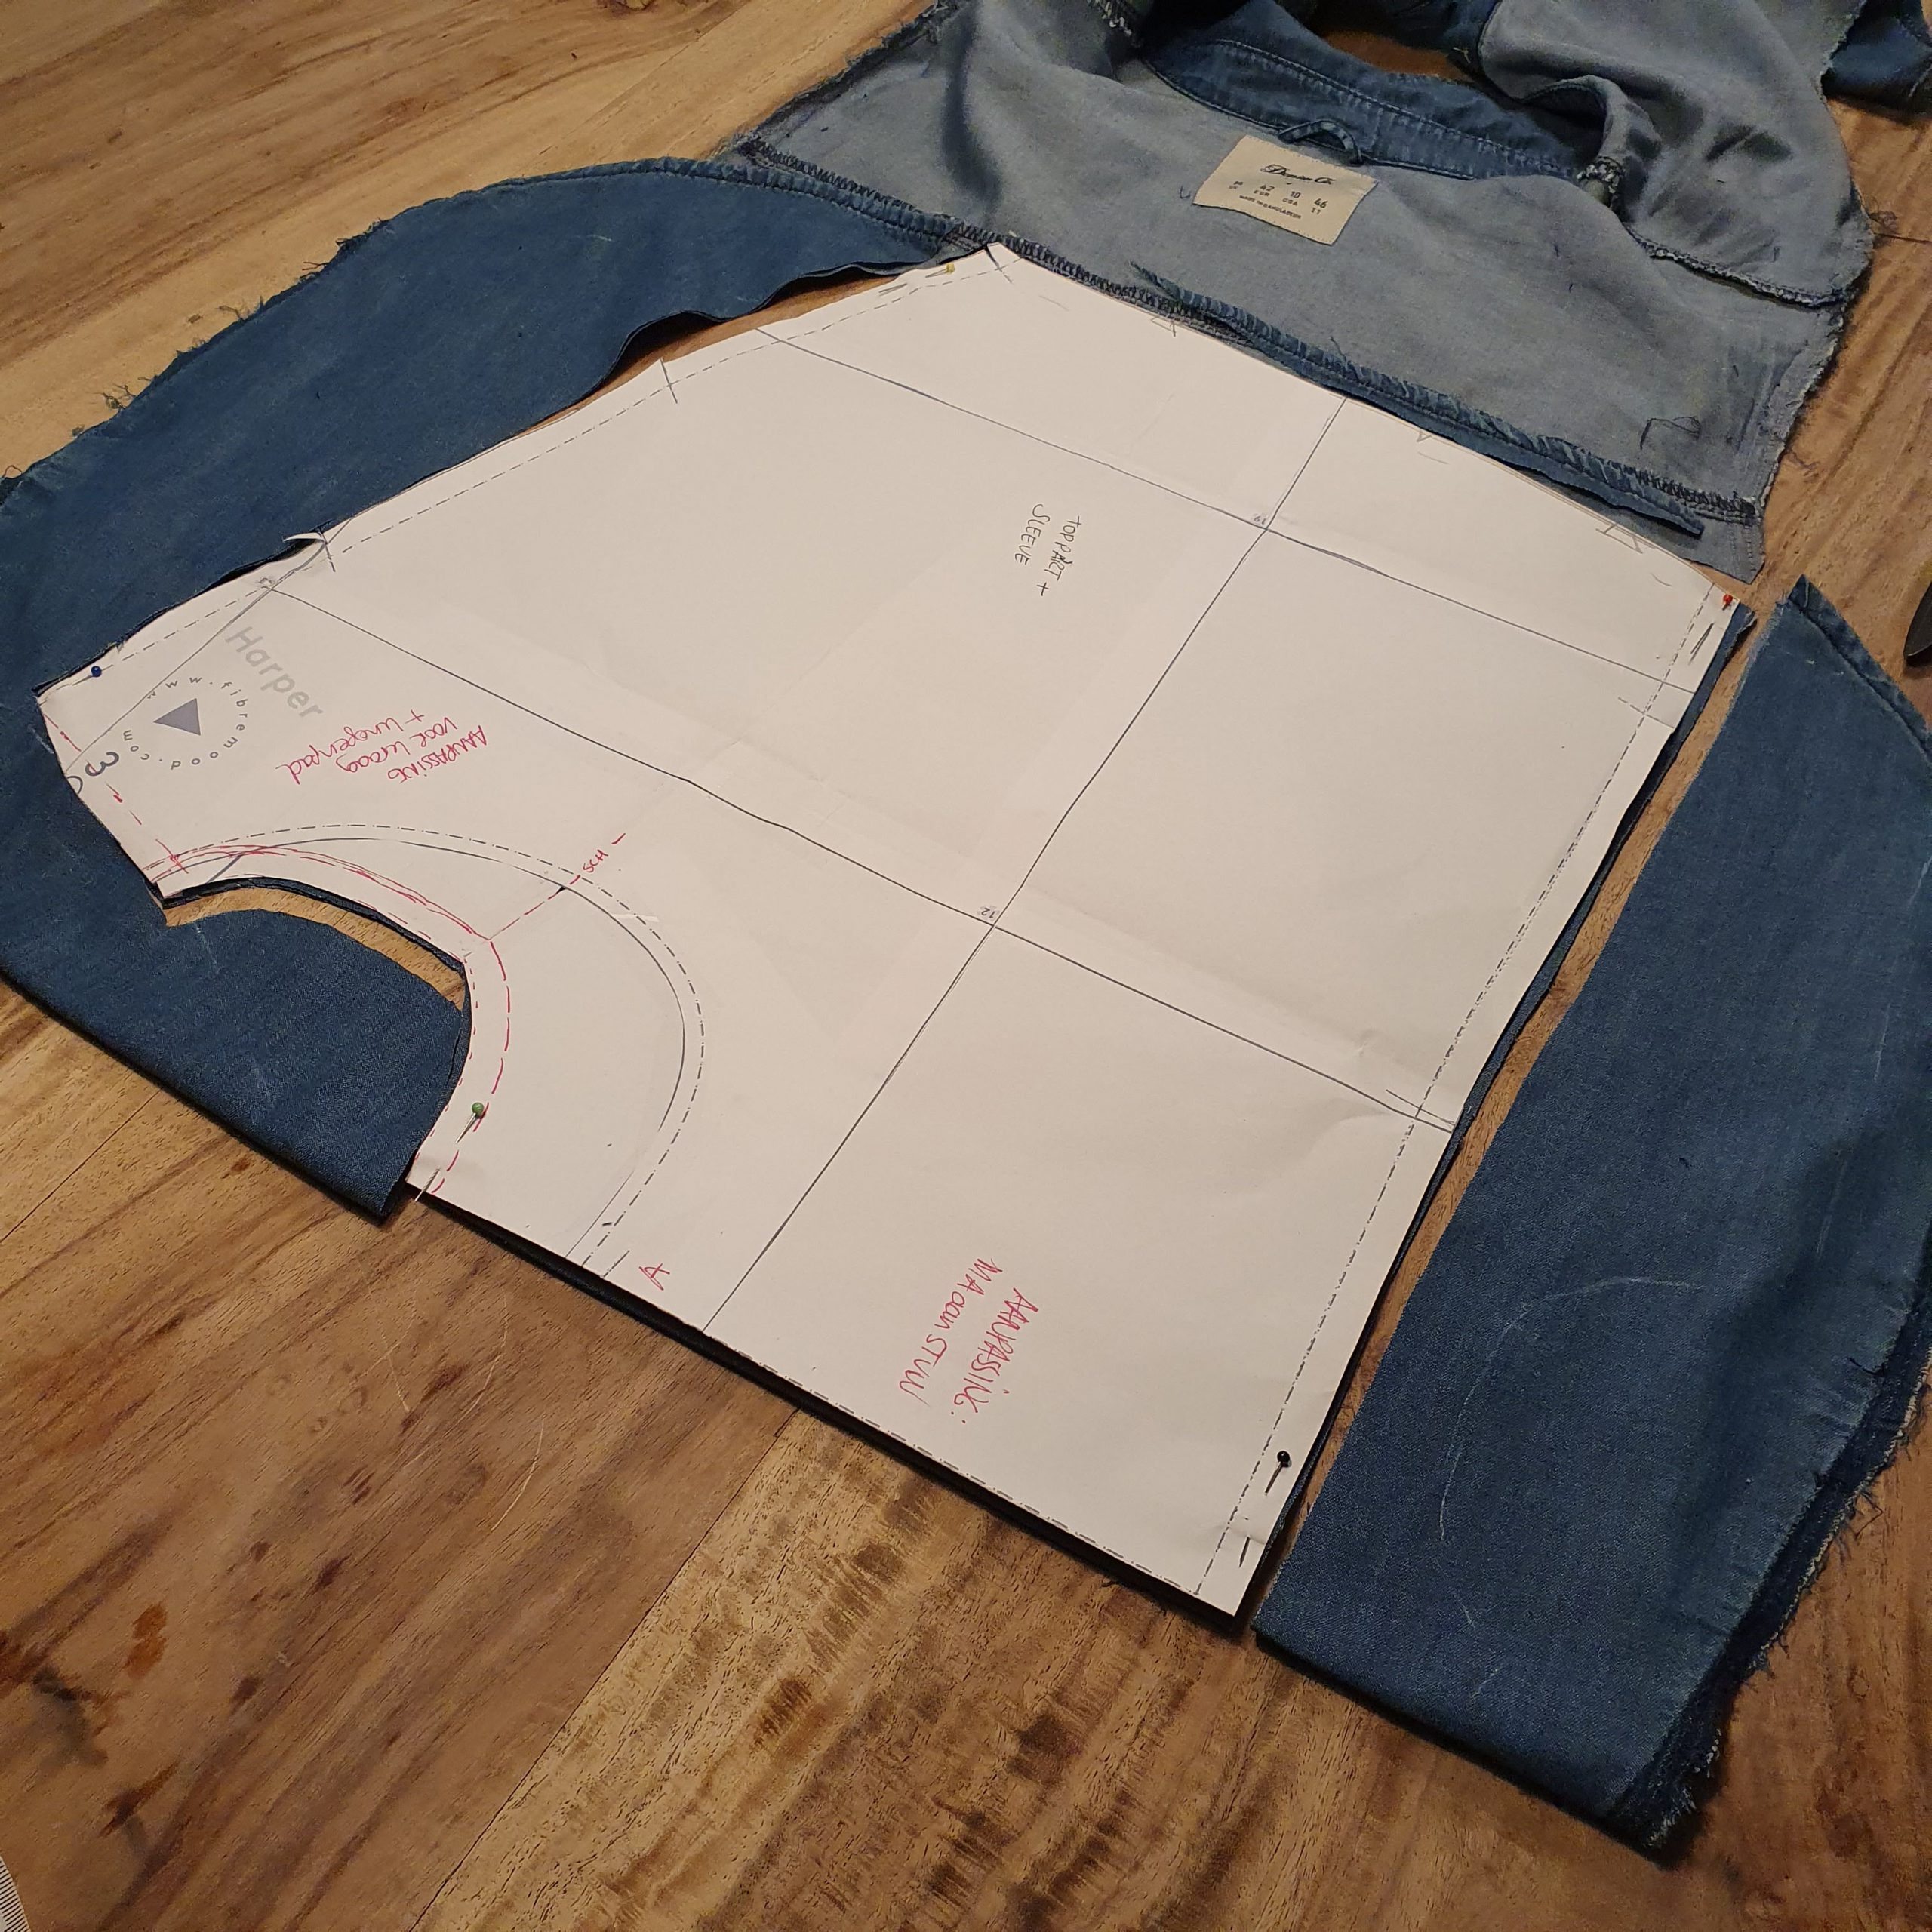
With this pattern, I do deviate from my own ultimate refashion tip: Choose a pattern with many small parts. This Harper pattern consists mainly of three large pattern pieces. The front part and the shoulder/sleeve part (which is one pattern part) I was able to get reasonably whole from the available fabric. The back part ended up being a huge jigsaw puzzle.
Big pieces

Smaller

Smallest
Jig saw back
The sleeves were lengthened by putting the cuffs and slit back on. The strap to hold up the sleeve is still in the right place. Happy coincidence!

Sleeve strap
I was able to leave the button placket intact. Only at the top the finish wasn’t neat. I solved this with some colourful bias tape. I will show you how to make this tape a little further on in this blog. It is one of the reuse projects.
Colourful bias tape

Neatly finished
A cool outcome, my Hacked Harper:

REFEBULOUS Reuse
Small Tailor’s ham & Yoga bolster
Two projects in which I used leftover fabrics both on the inside and the outside: a small Tailor’s ham and a yoga bolster.
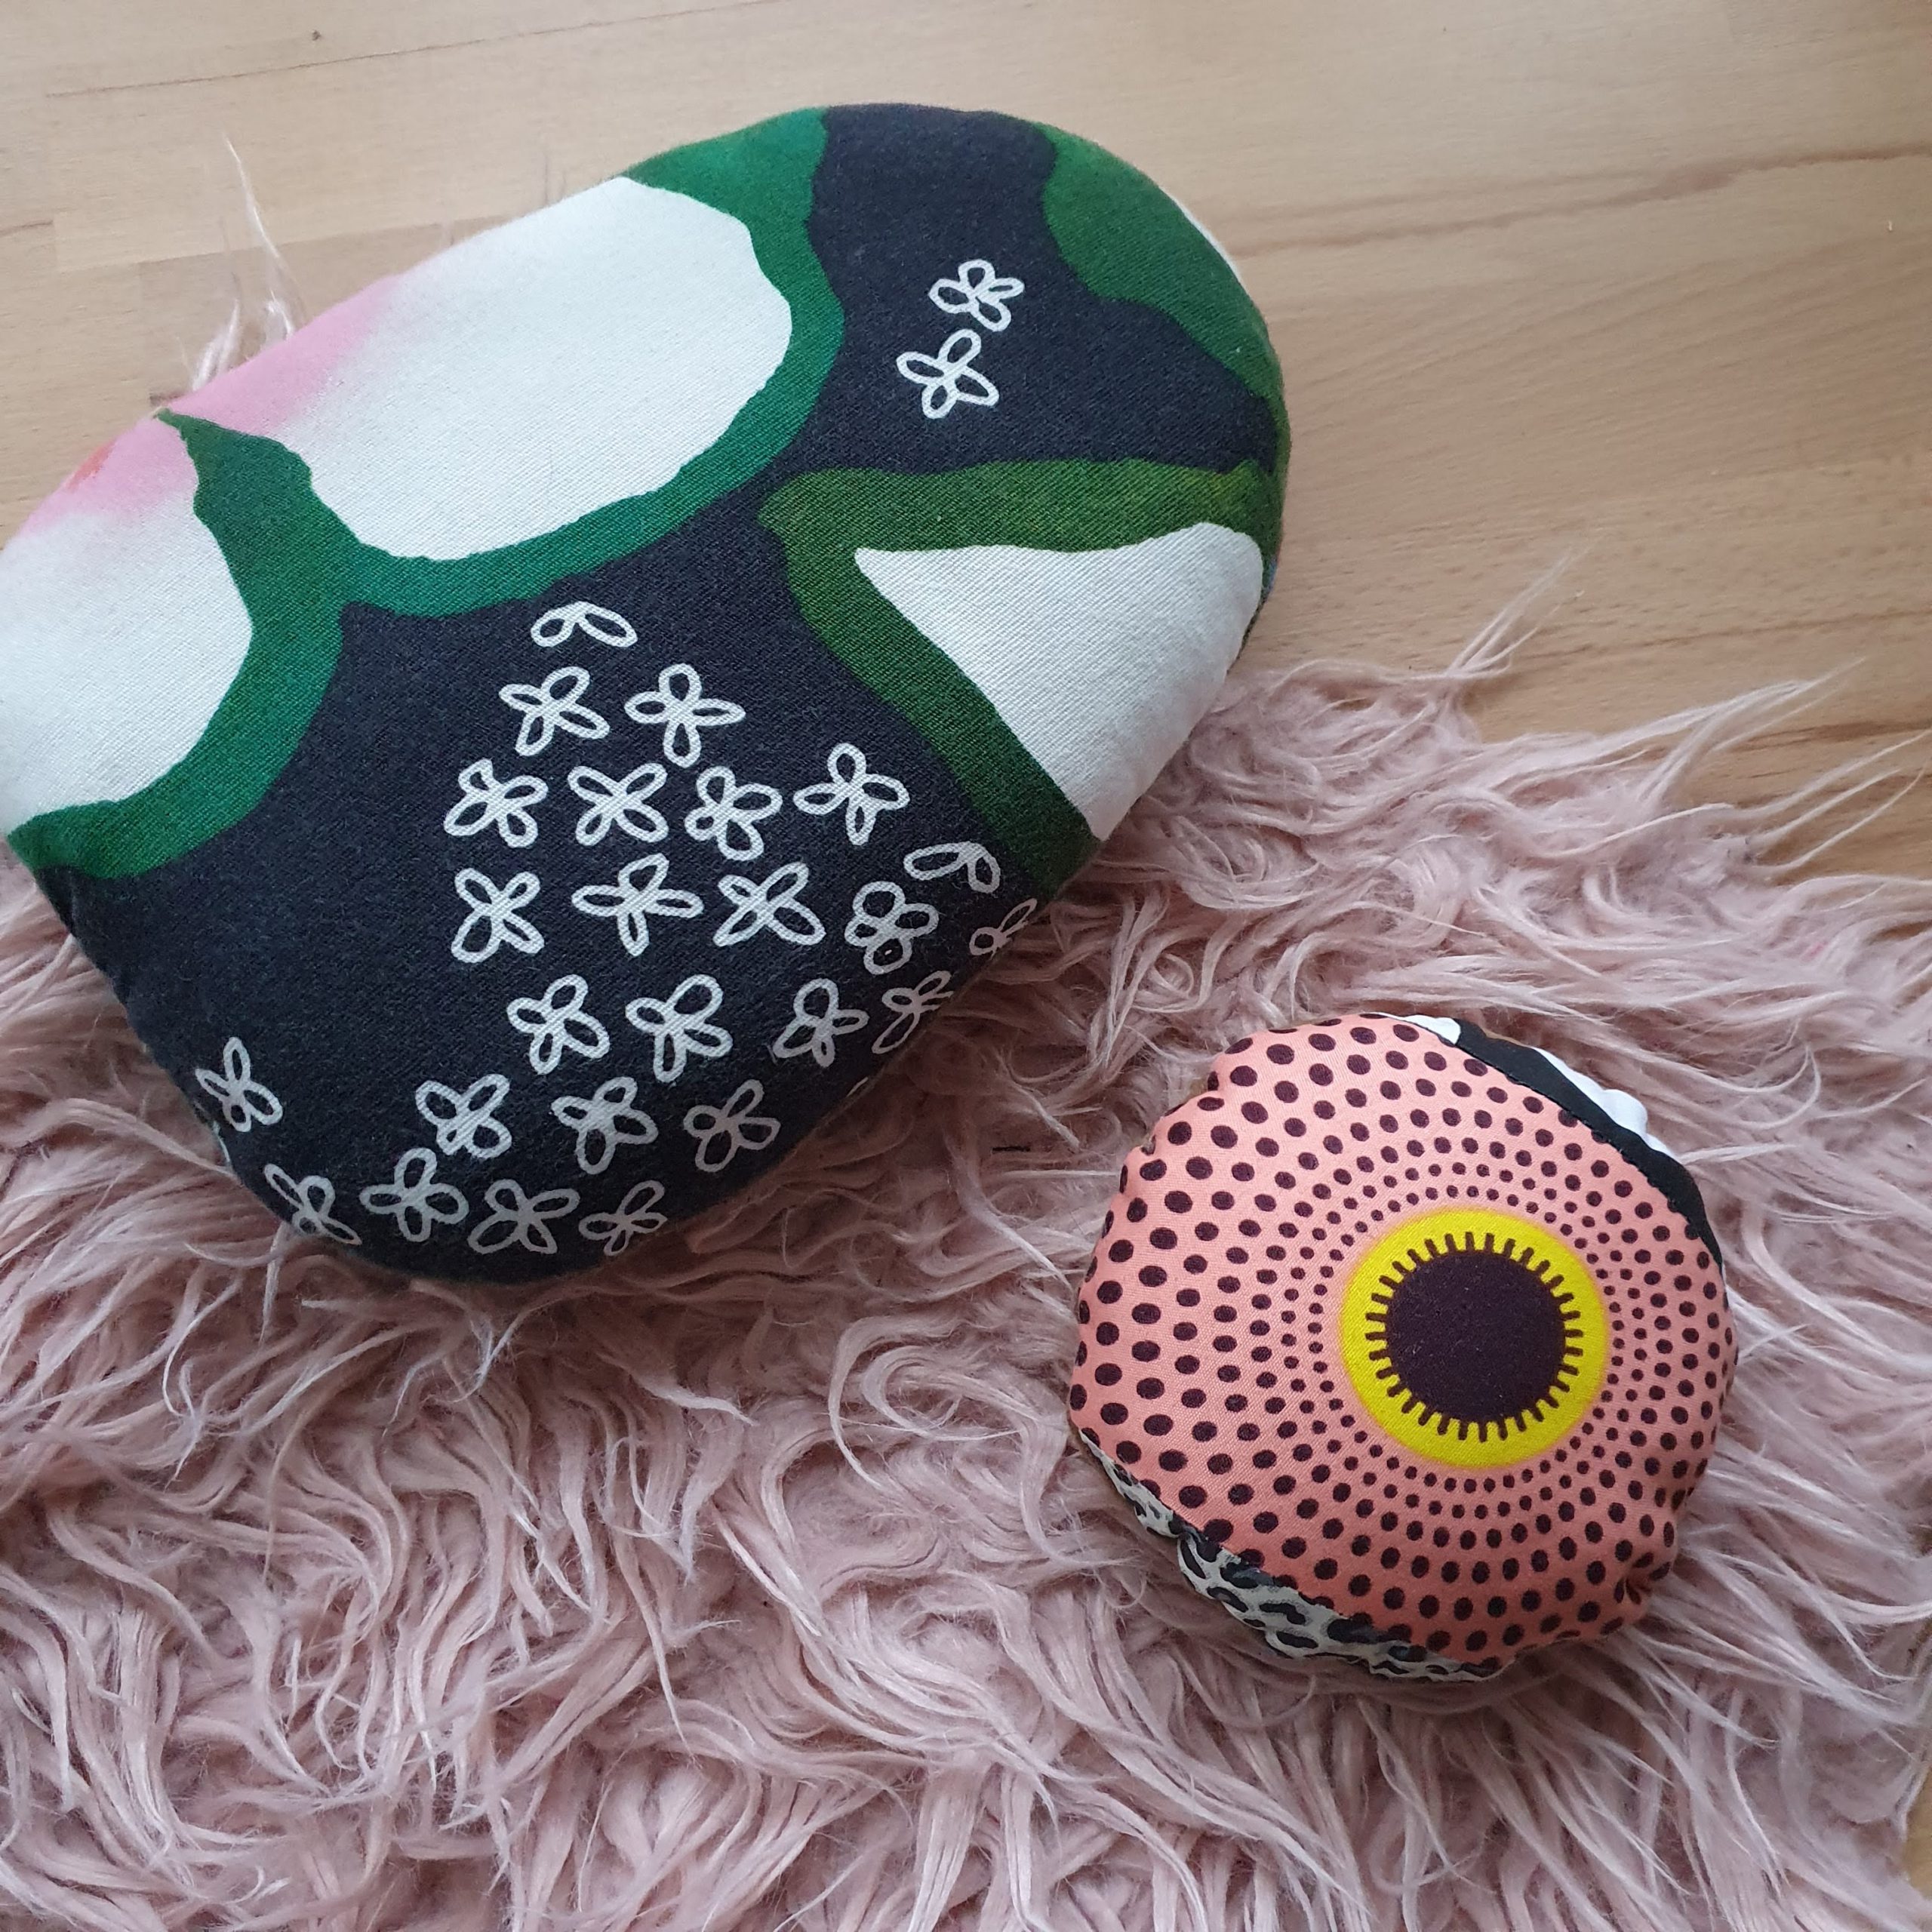
Tailor’s ham
After I made a normal-sized Tailor’s ham in previous REFEBULOUS challenge, it was now time for a handy small version ideal for ironing smaller curves, for example when making a bustier.
You can read the blog about the normal-sized Tailor’s ham here and download that pattern from my website.
I took two circles (7 cm diameter) from a leftover Vegan Wool and one equally sized (patchwork) circle from cotton. When drawing the circles, bear in mind that after stuffing they become 3D and thus smaller in circumference. You cut slightly wider circles than the final desired size.
Normal and small
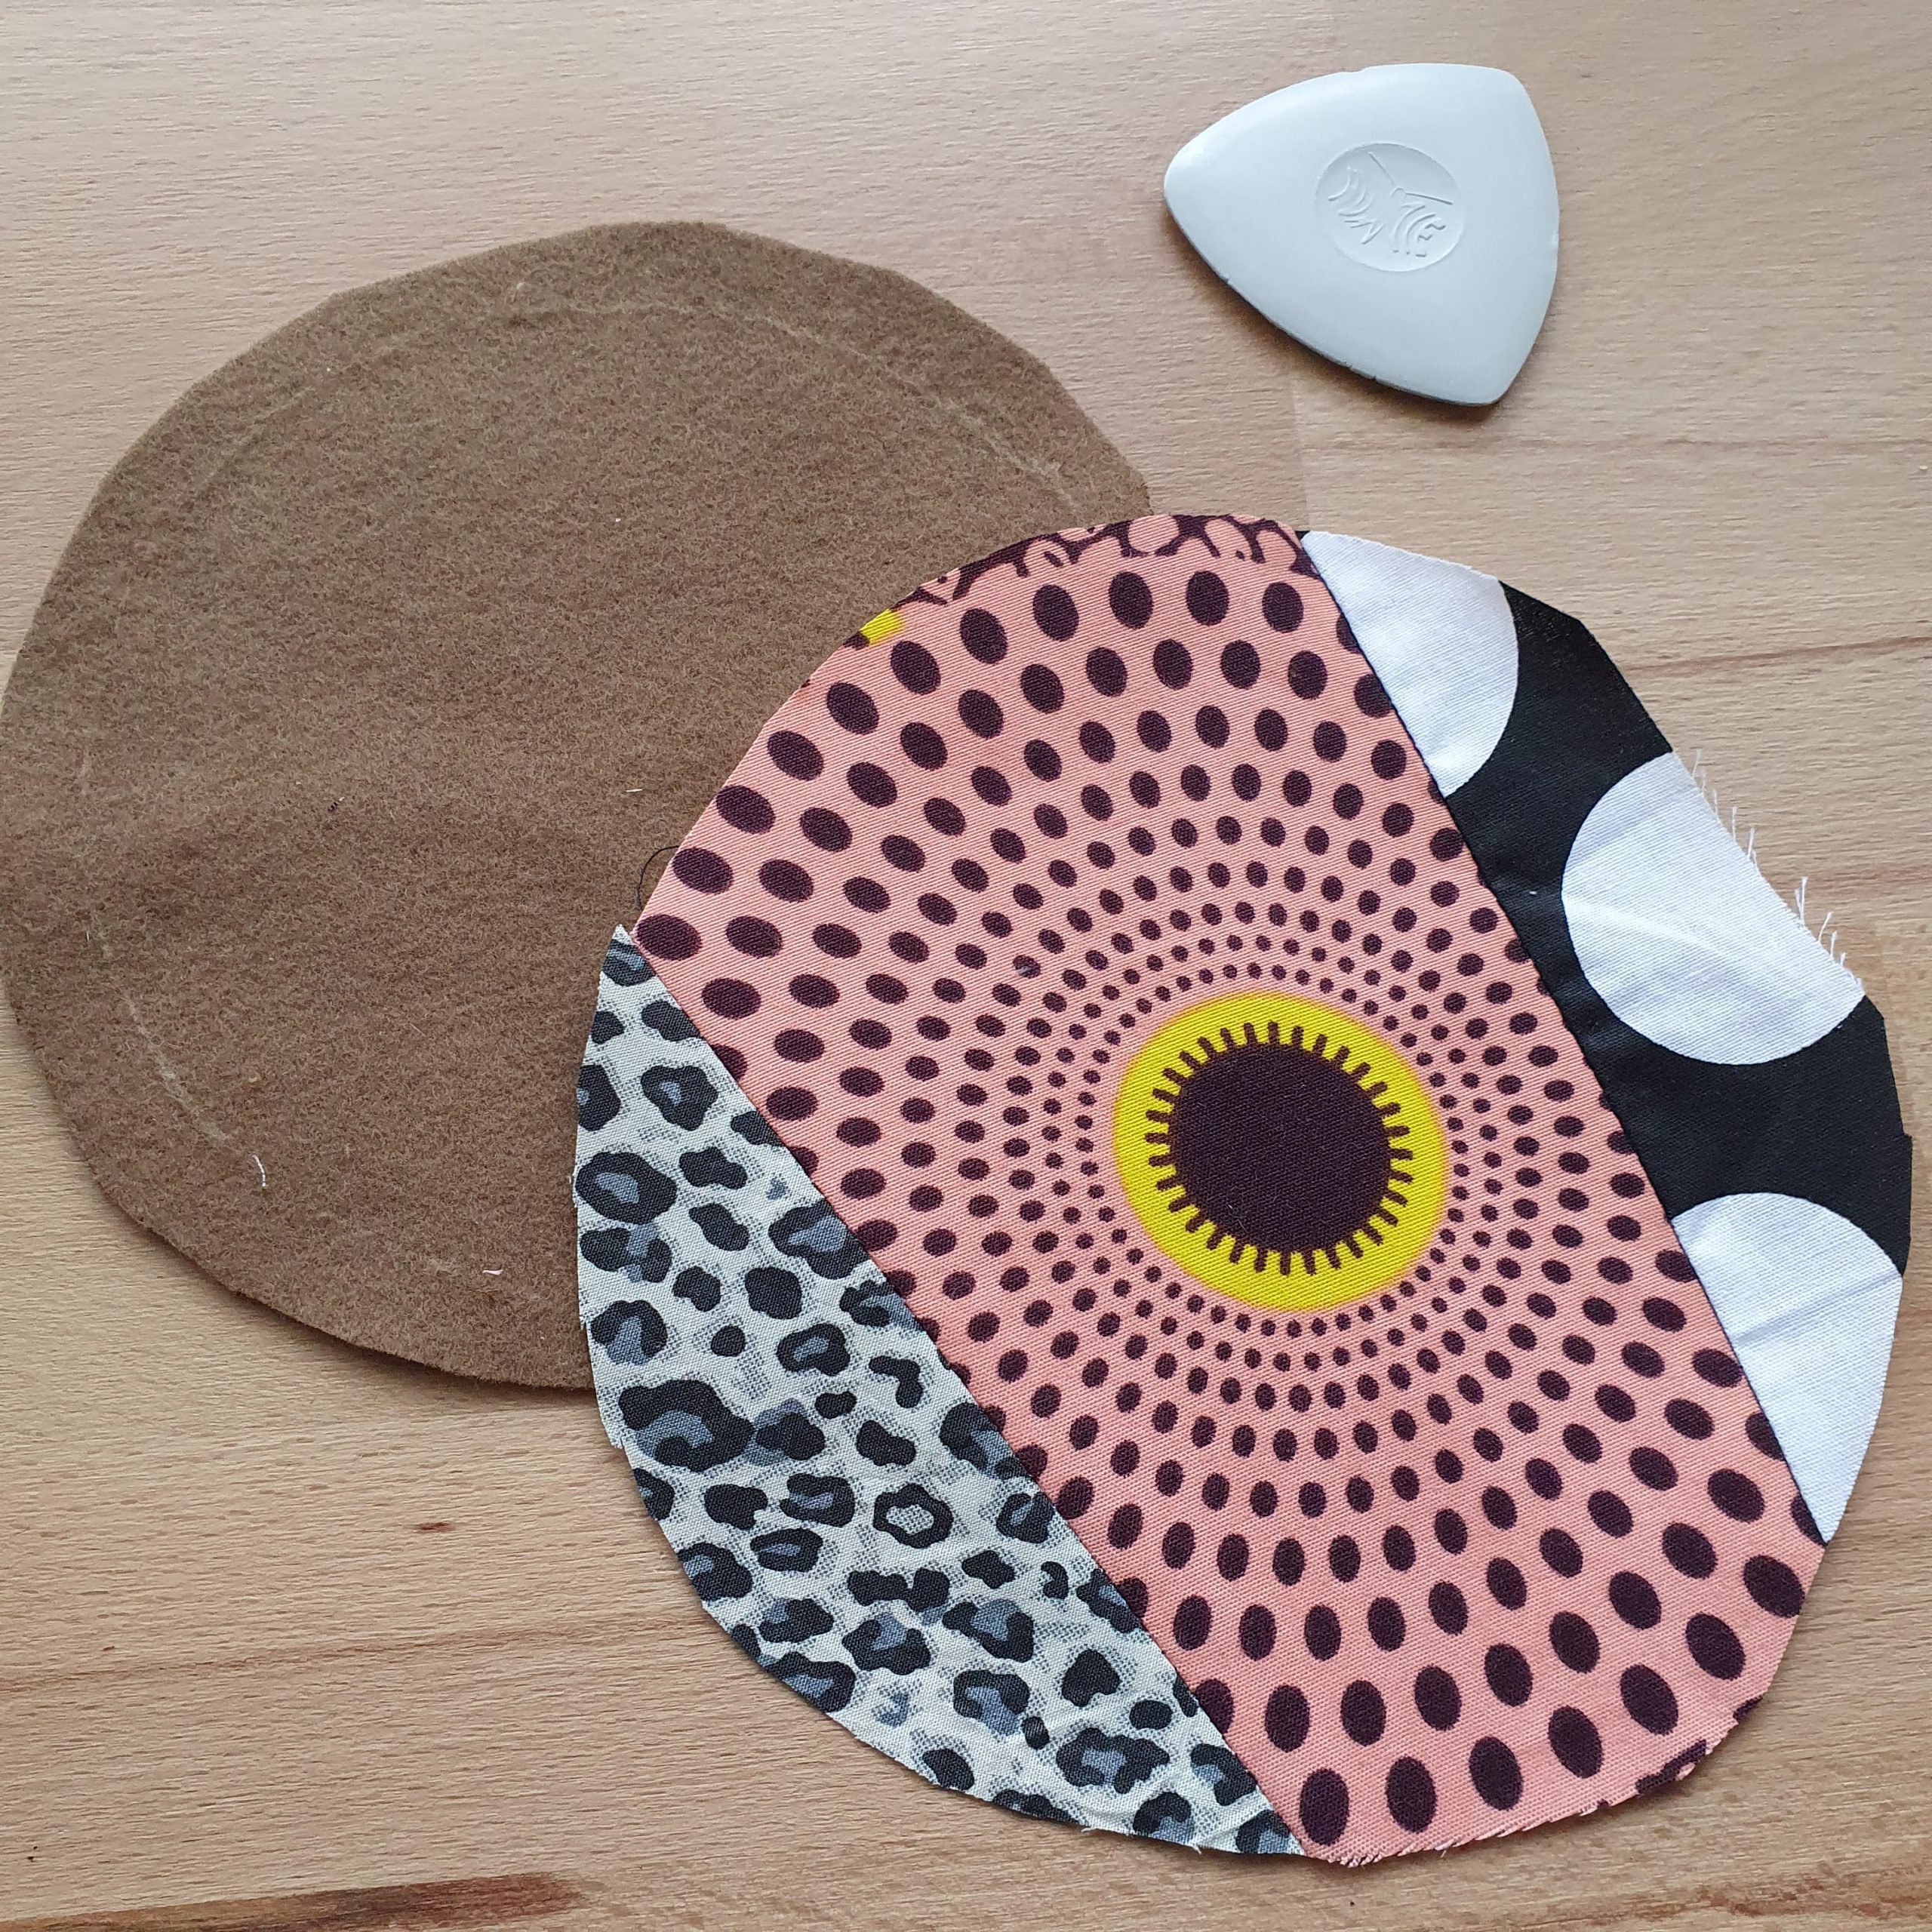
Circles
You sew the circles right sides together. On one side are two layers, the Vegan Wool and the cotton. Leave a turning hole open. When turning, make sure the cotton layer is facing right side out again after turning.

All the leftovers from last year’s #REFEBULOUS colour blocked sweat suit went in. I made sure the small ham is quite sturdy by pushing the smaller cut scraps in really well. My tool (a chopstick) just about broke. It really does hold more than you think. All scraps are (mostly) cotton, as it must be able to withstand the heat of the iron. Finally, close the filling opening by hand.

Opening for filling

Leftovers
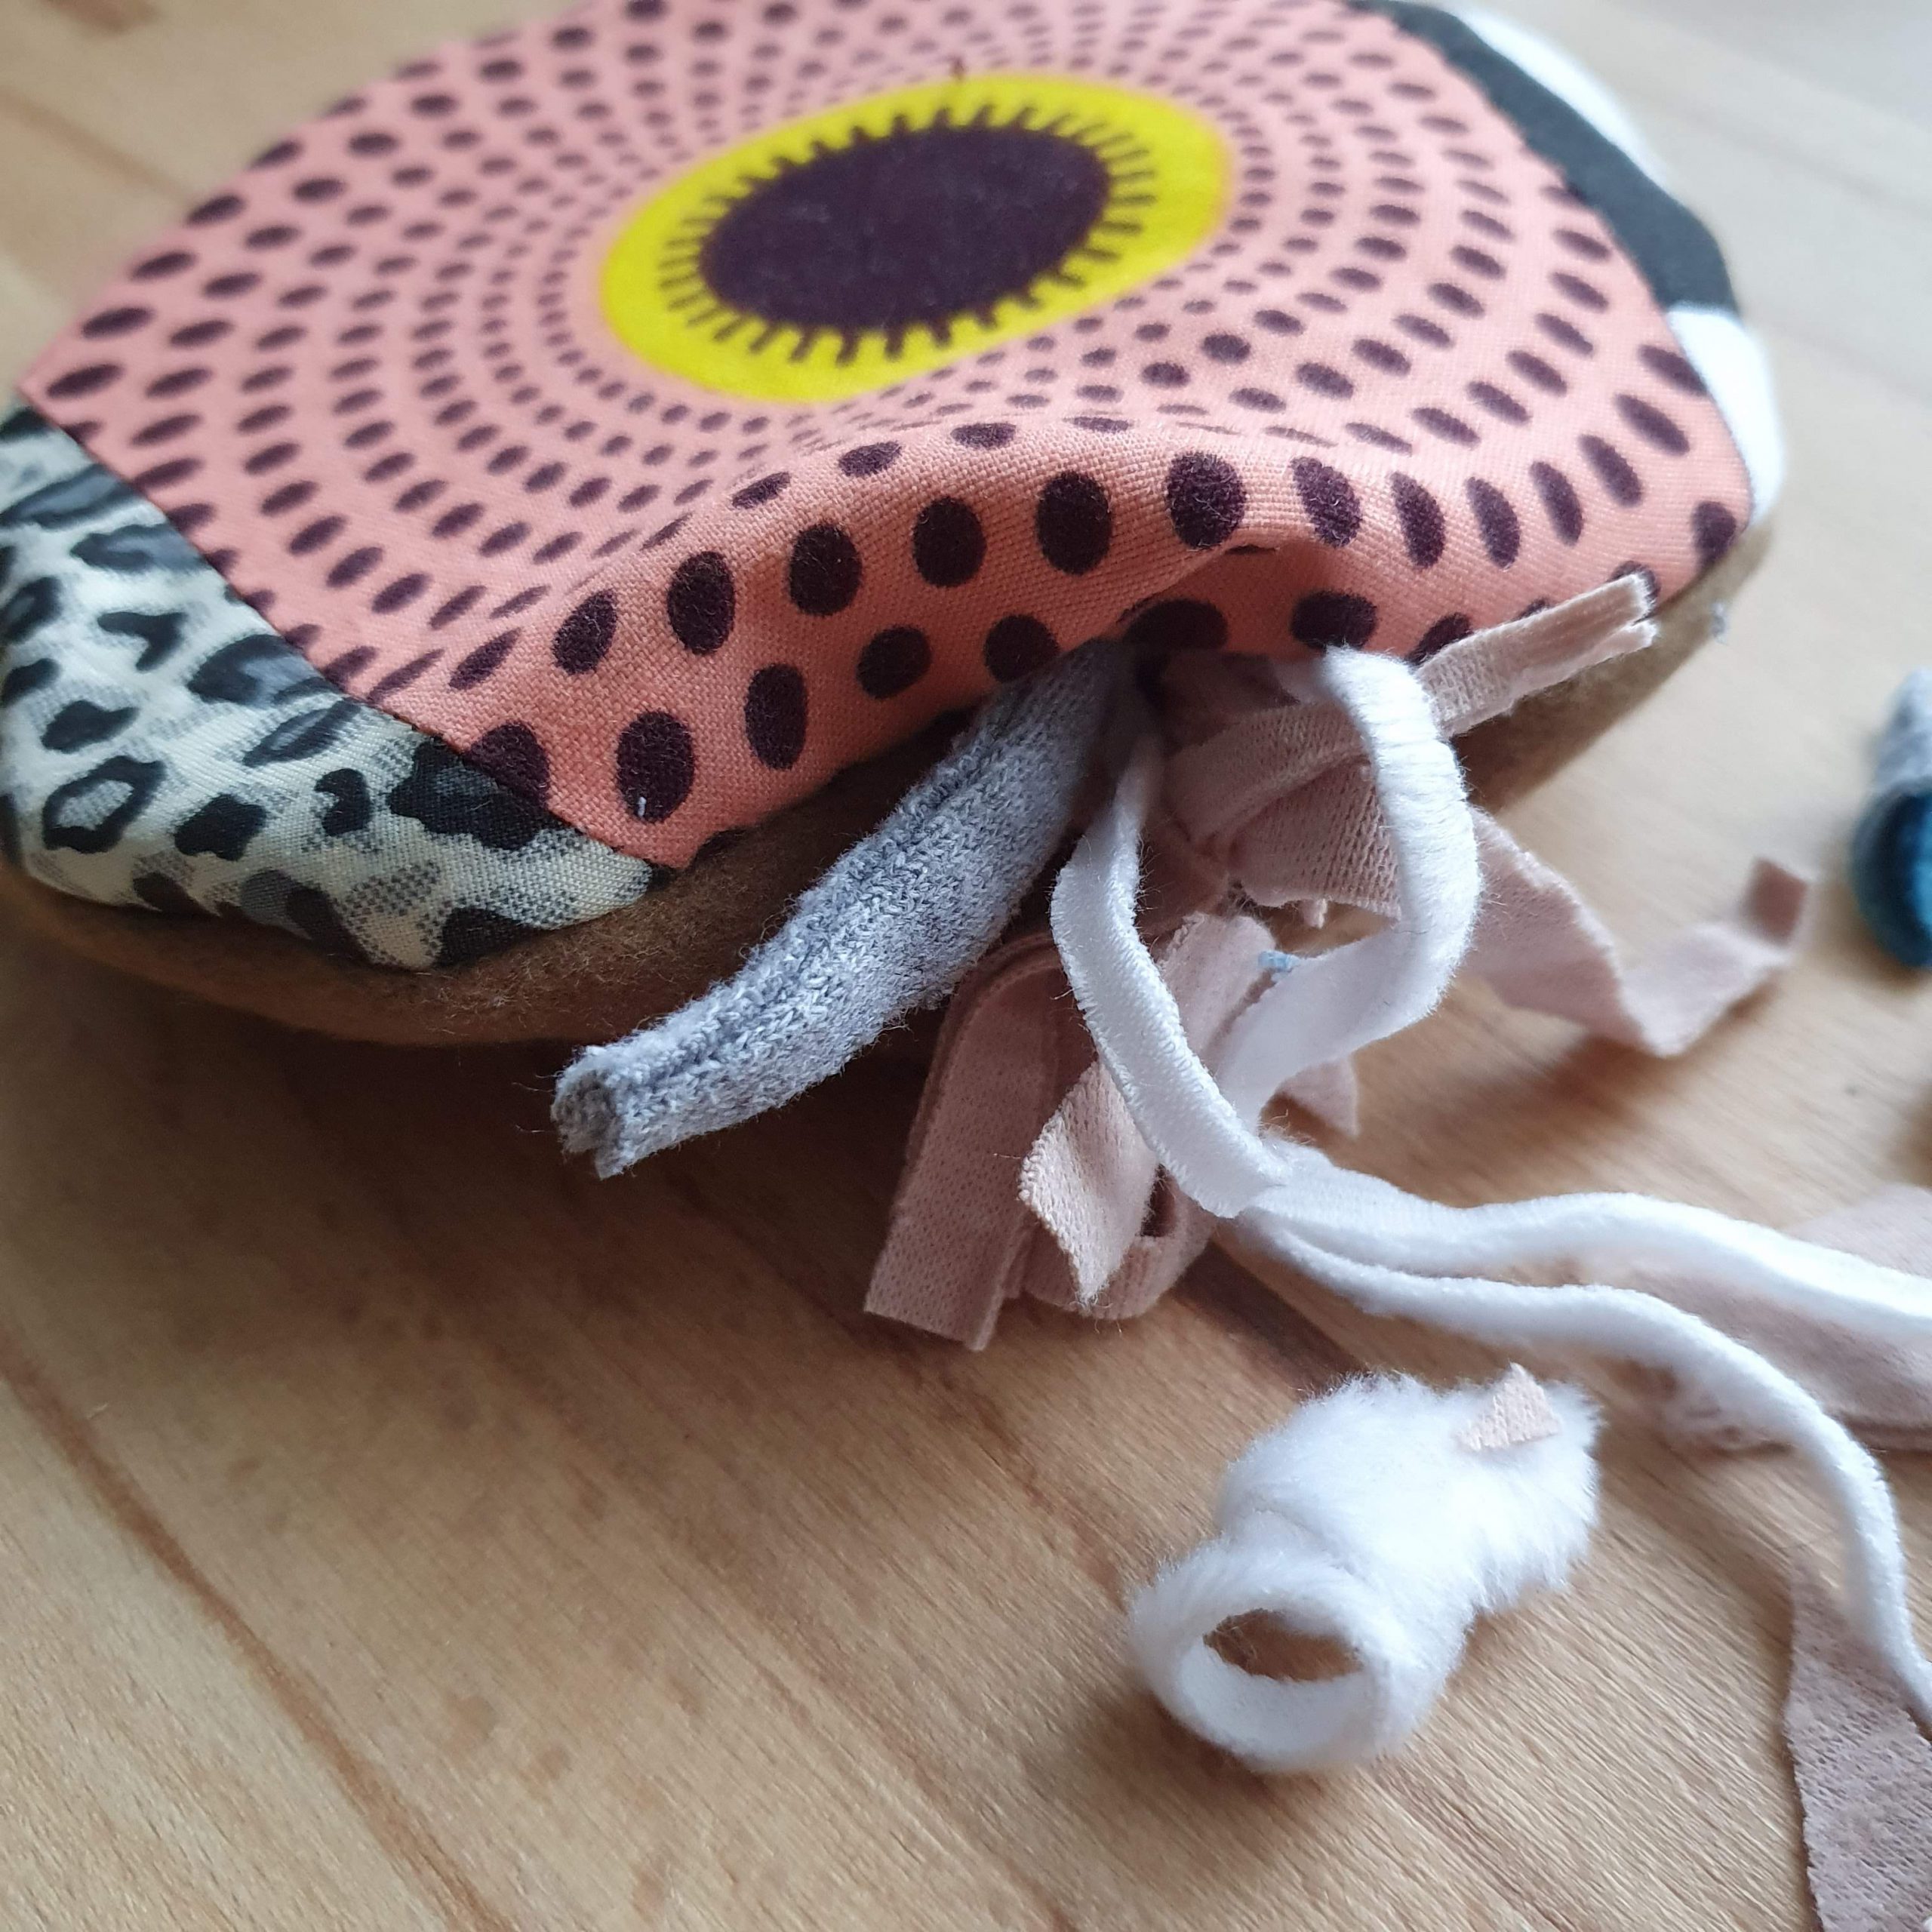
There is more room…
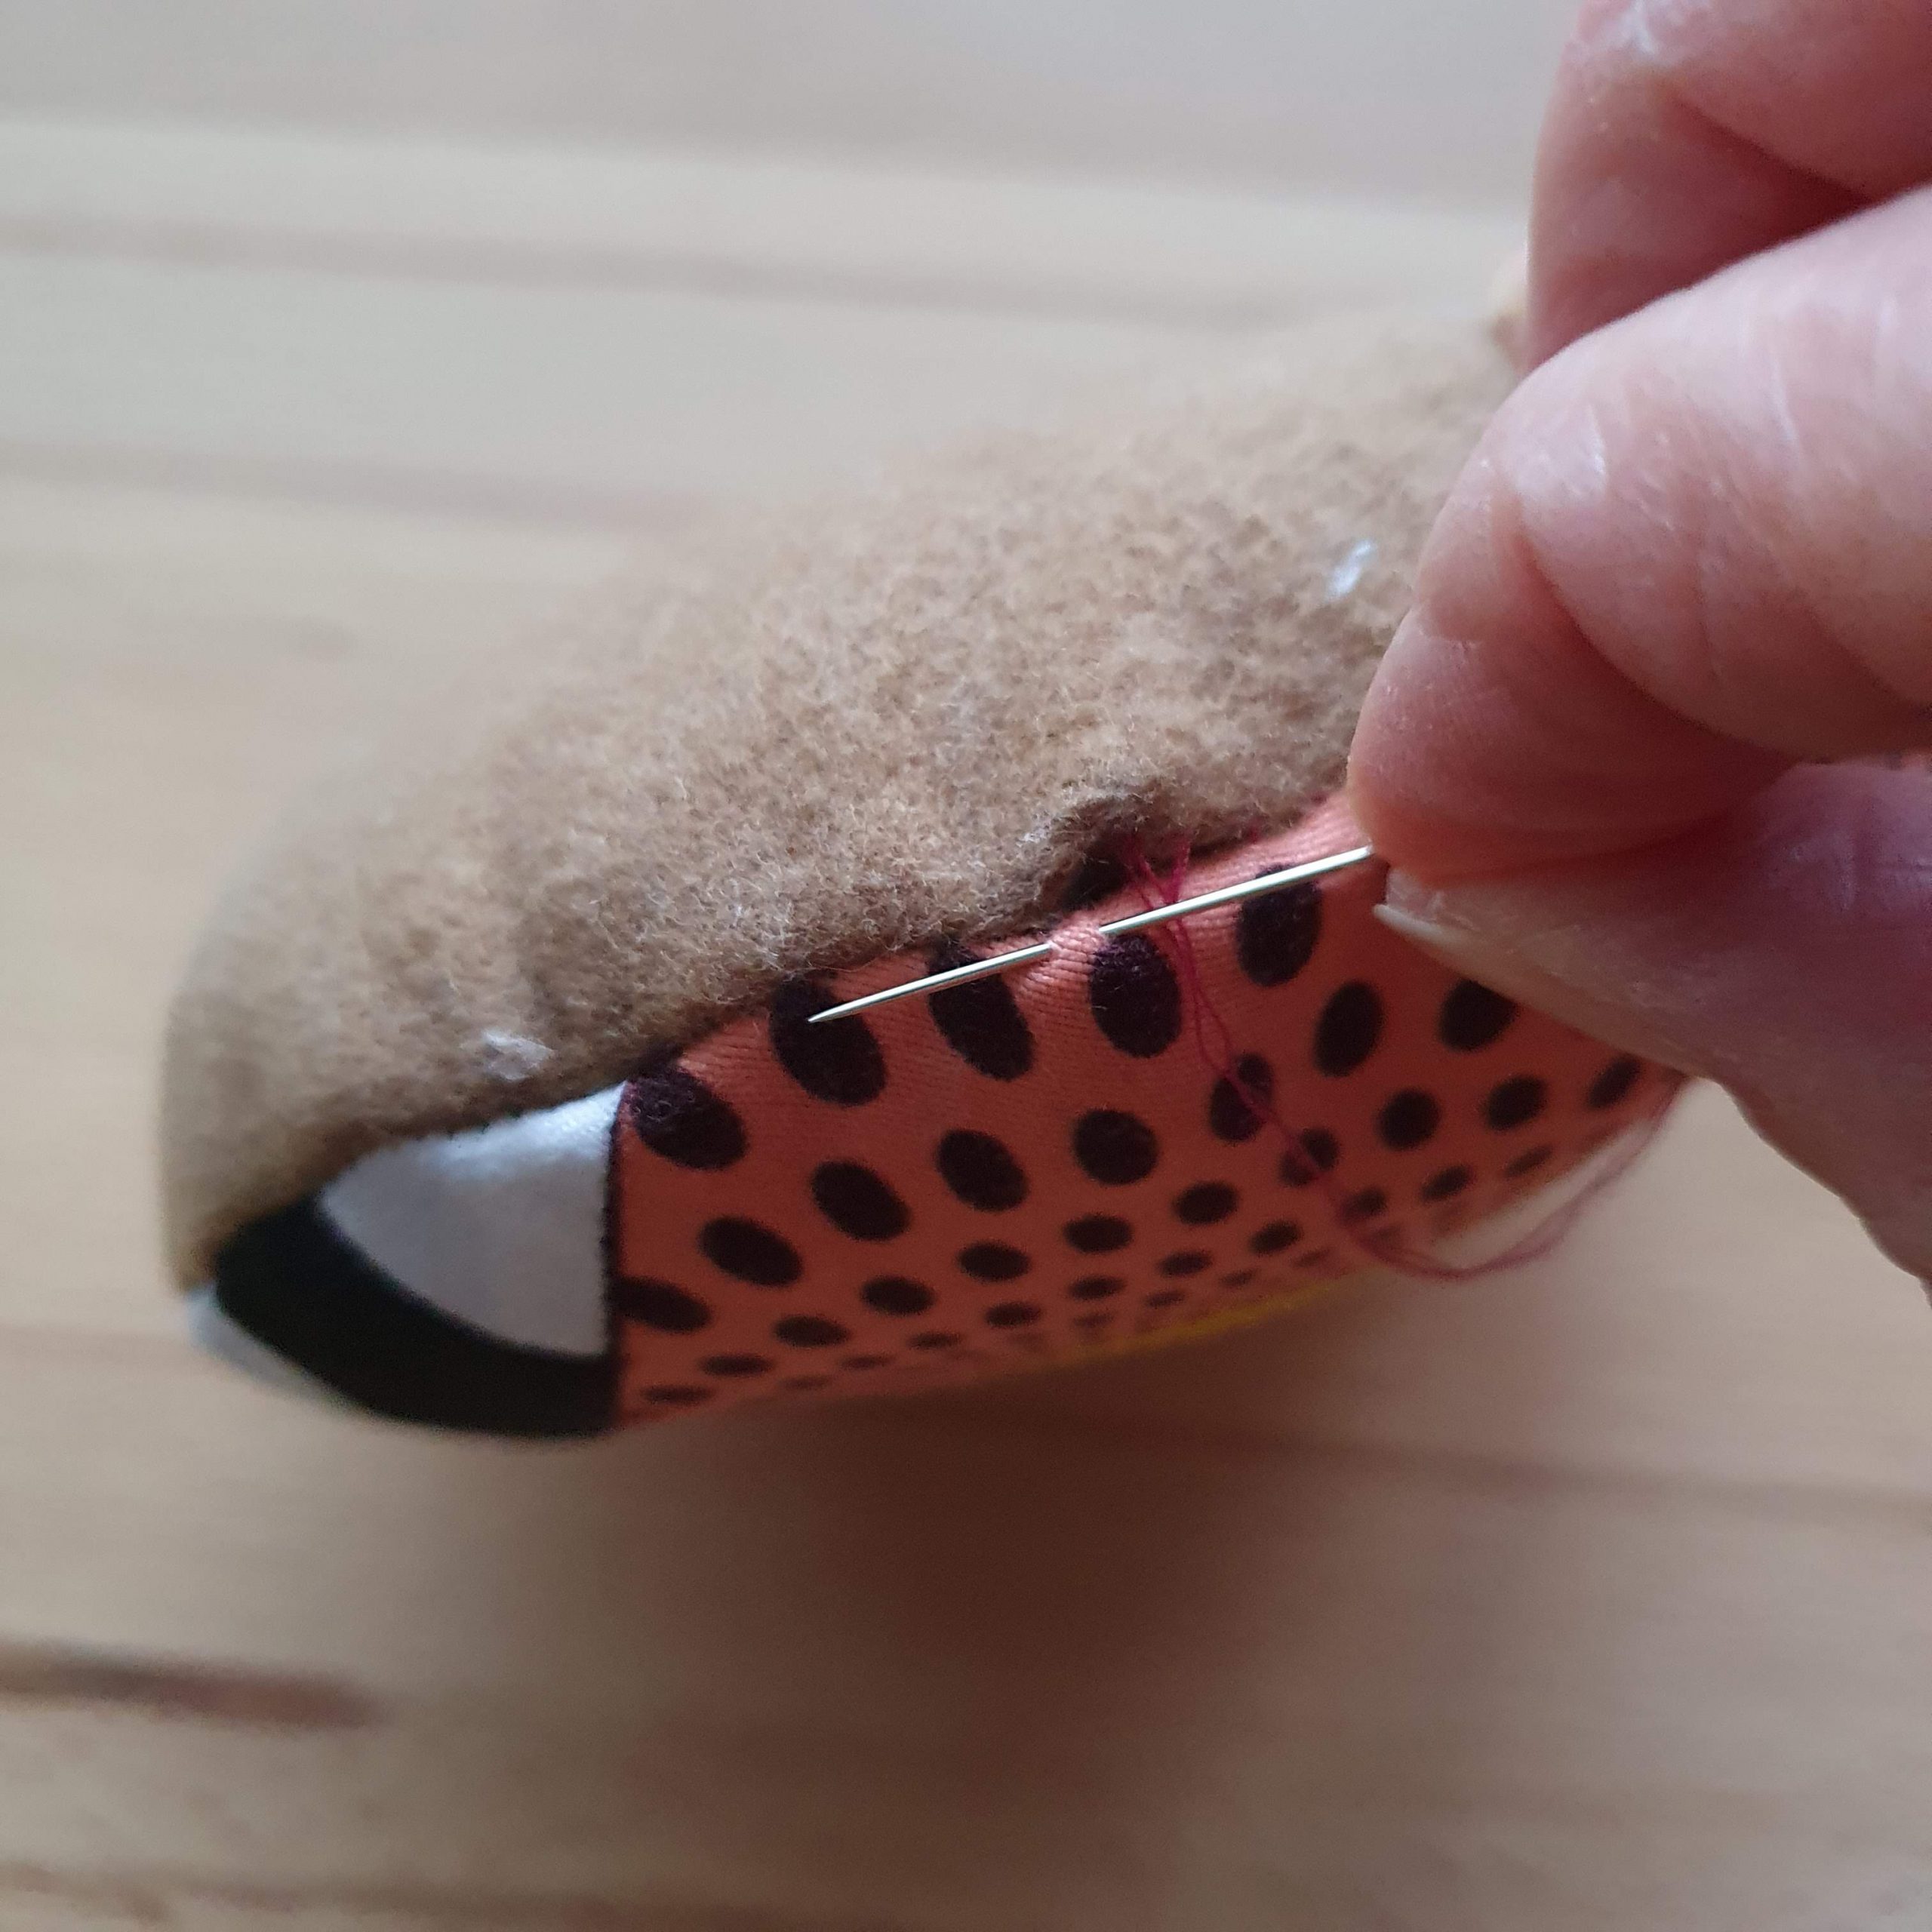
Closing
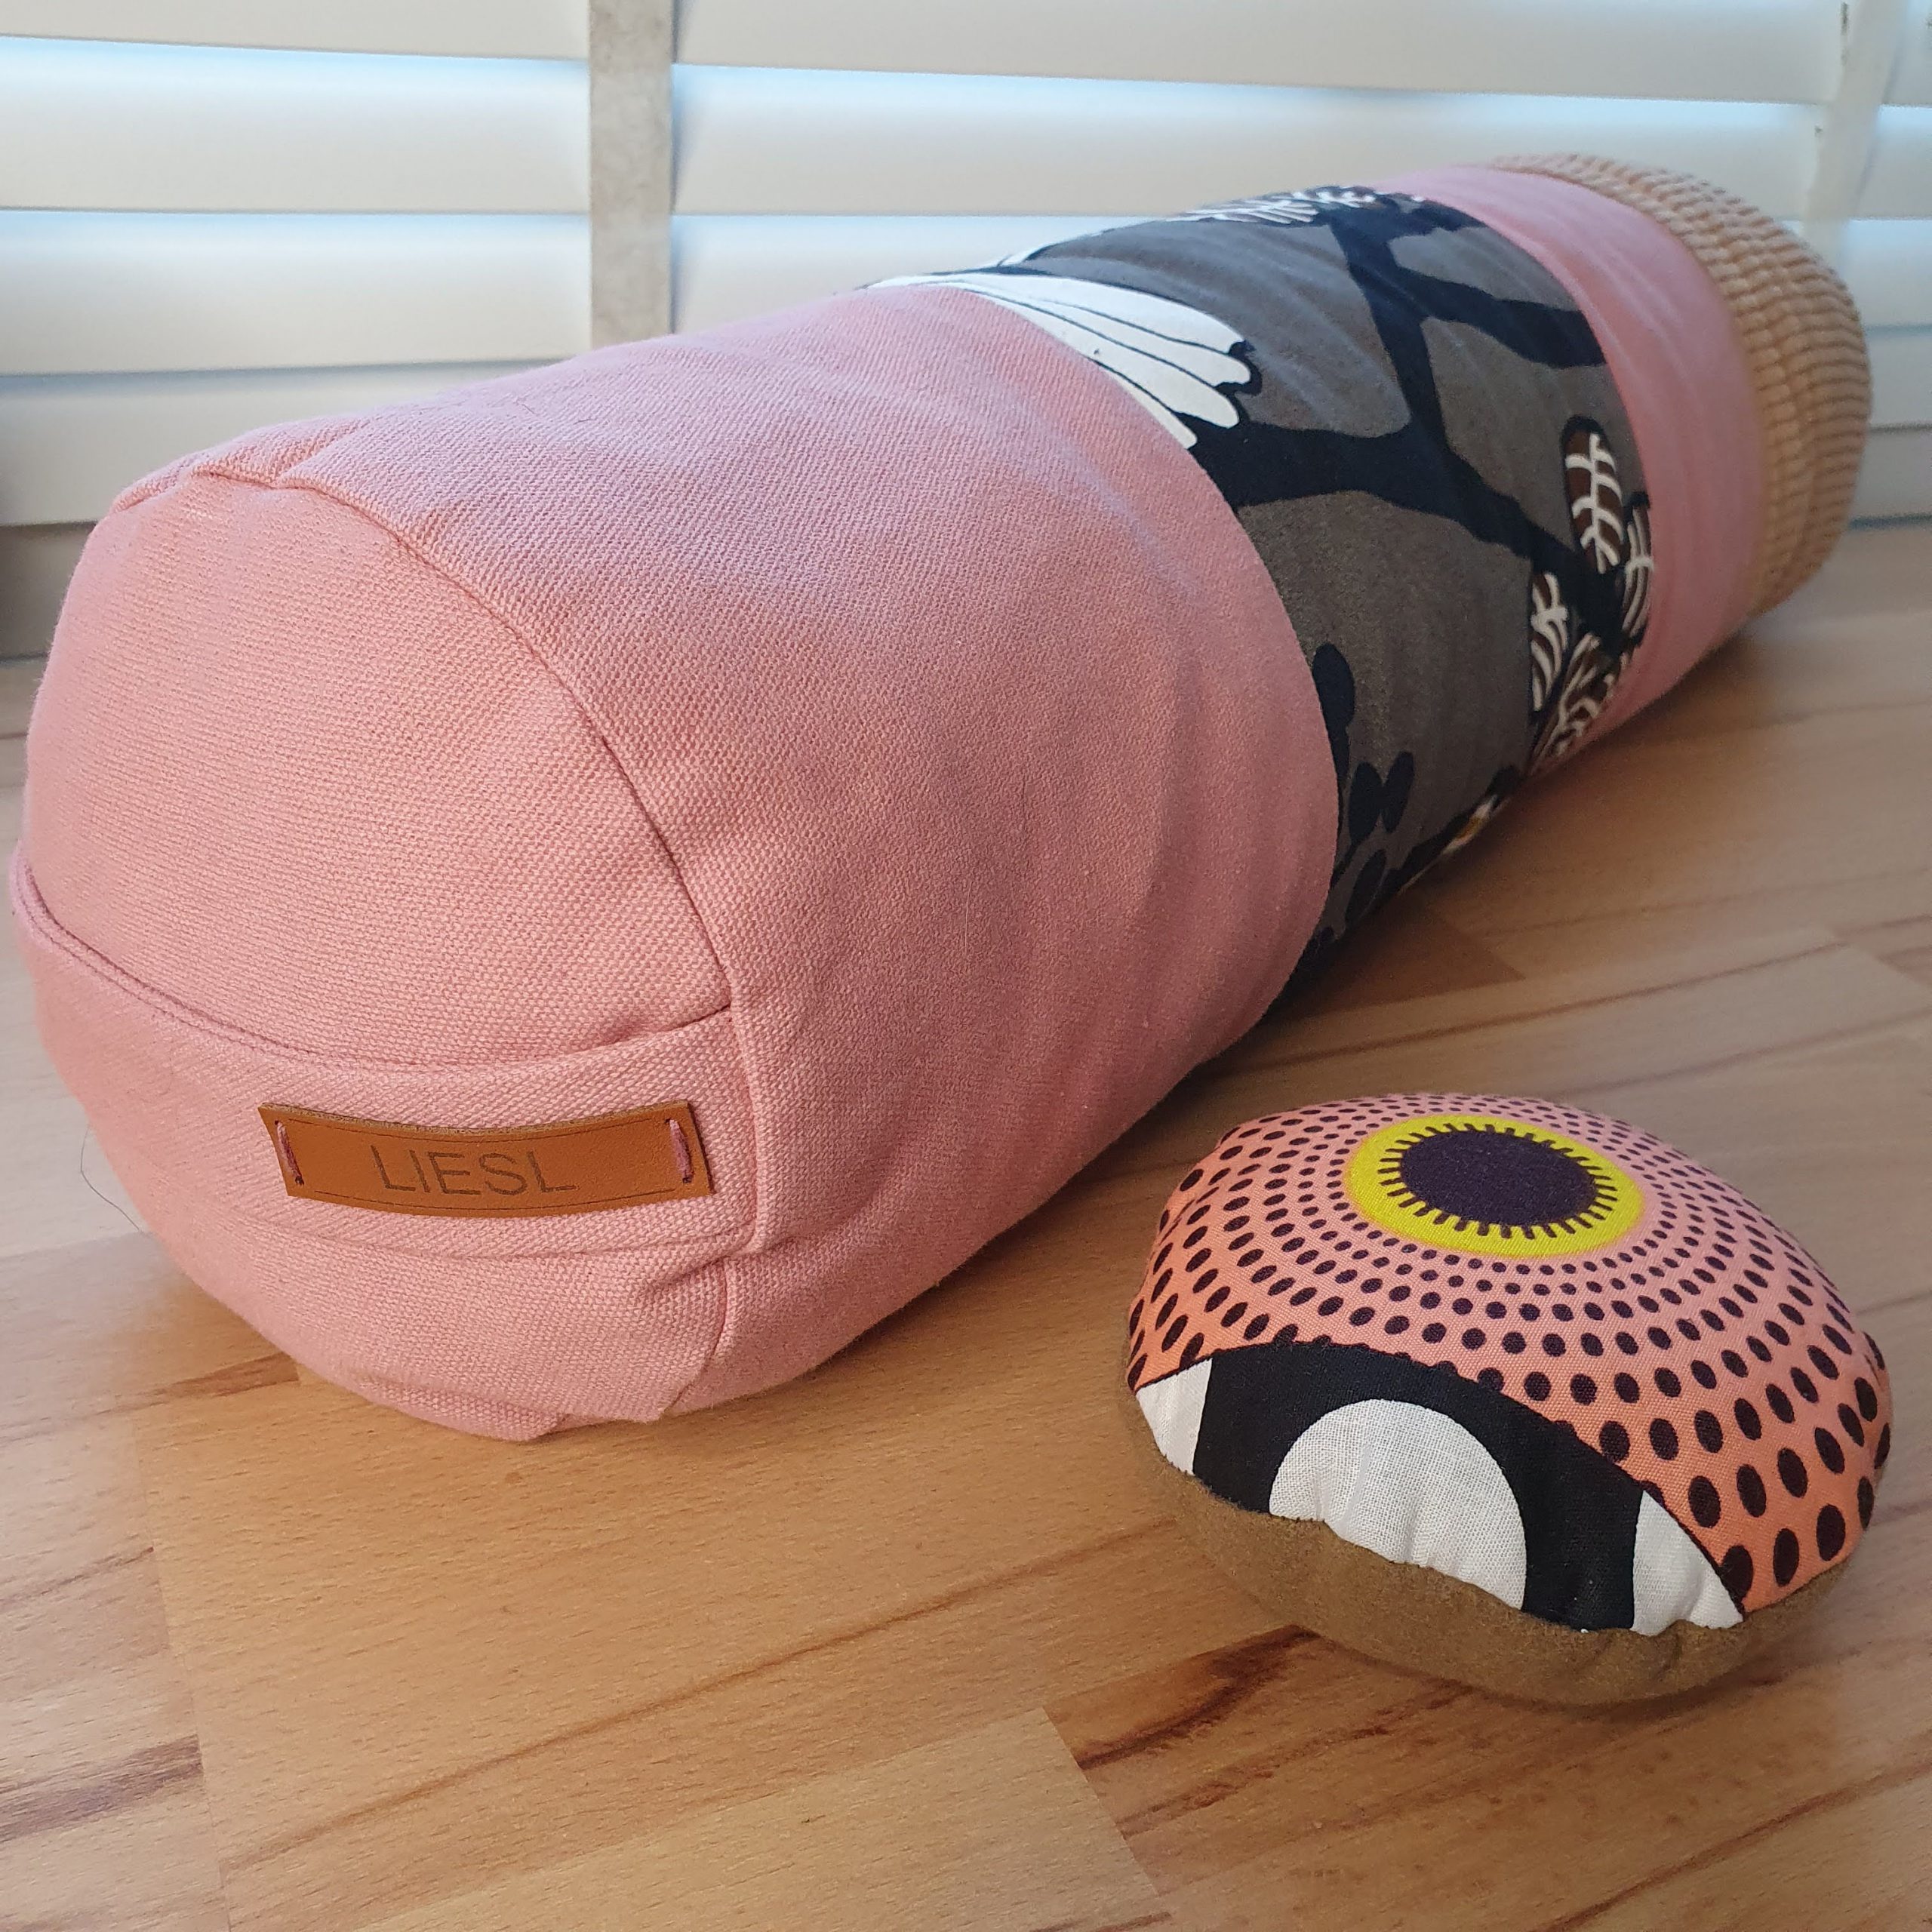
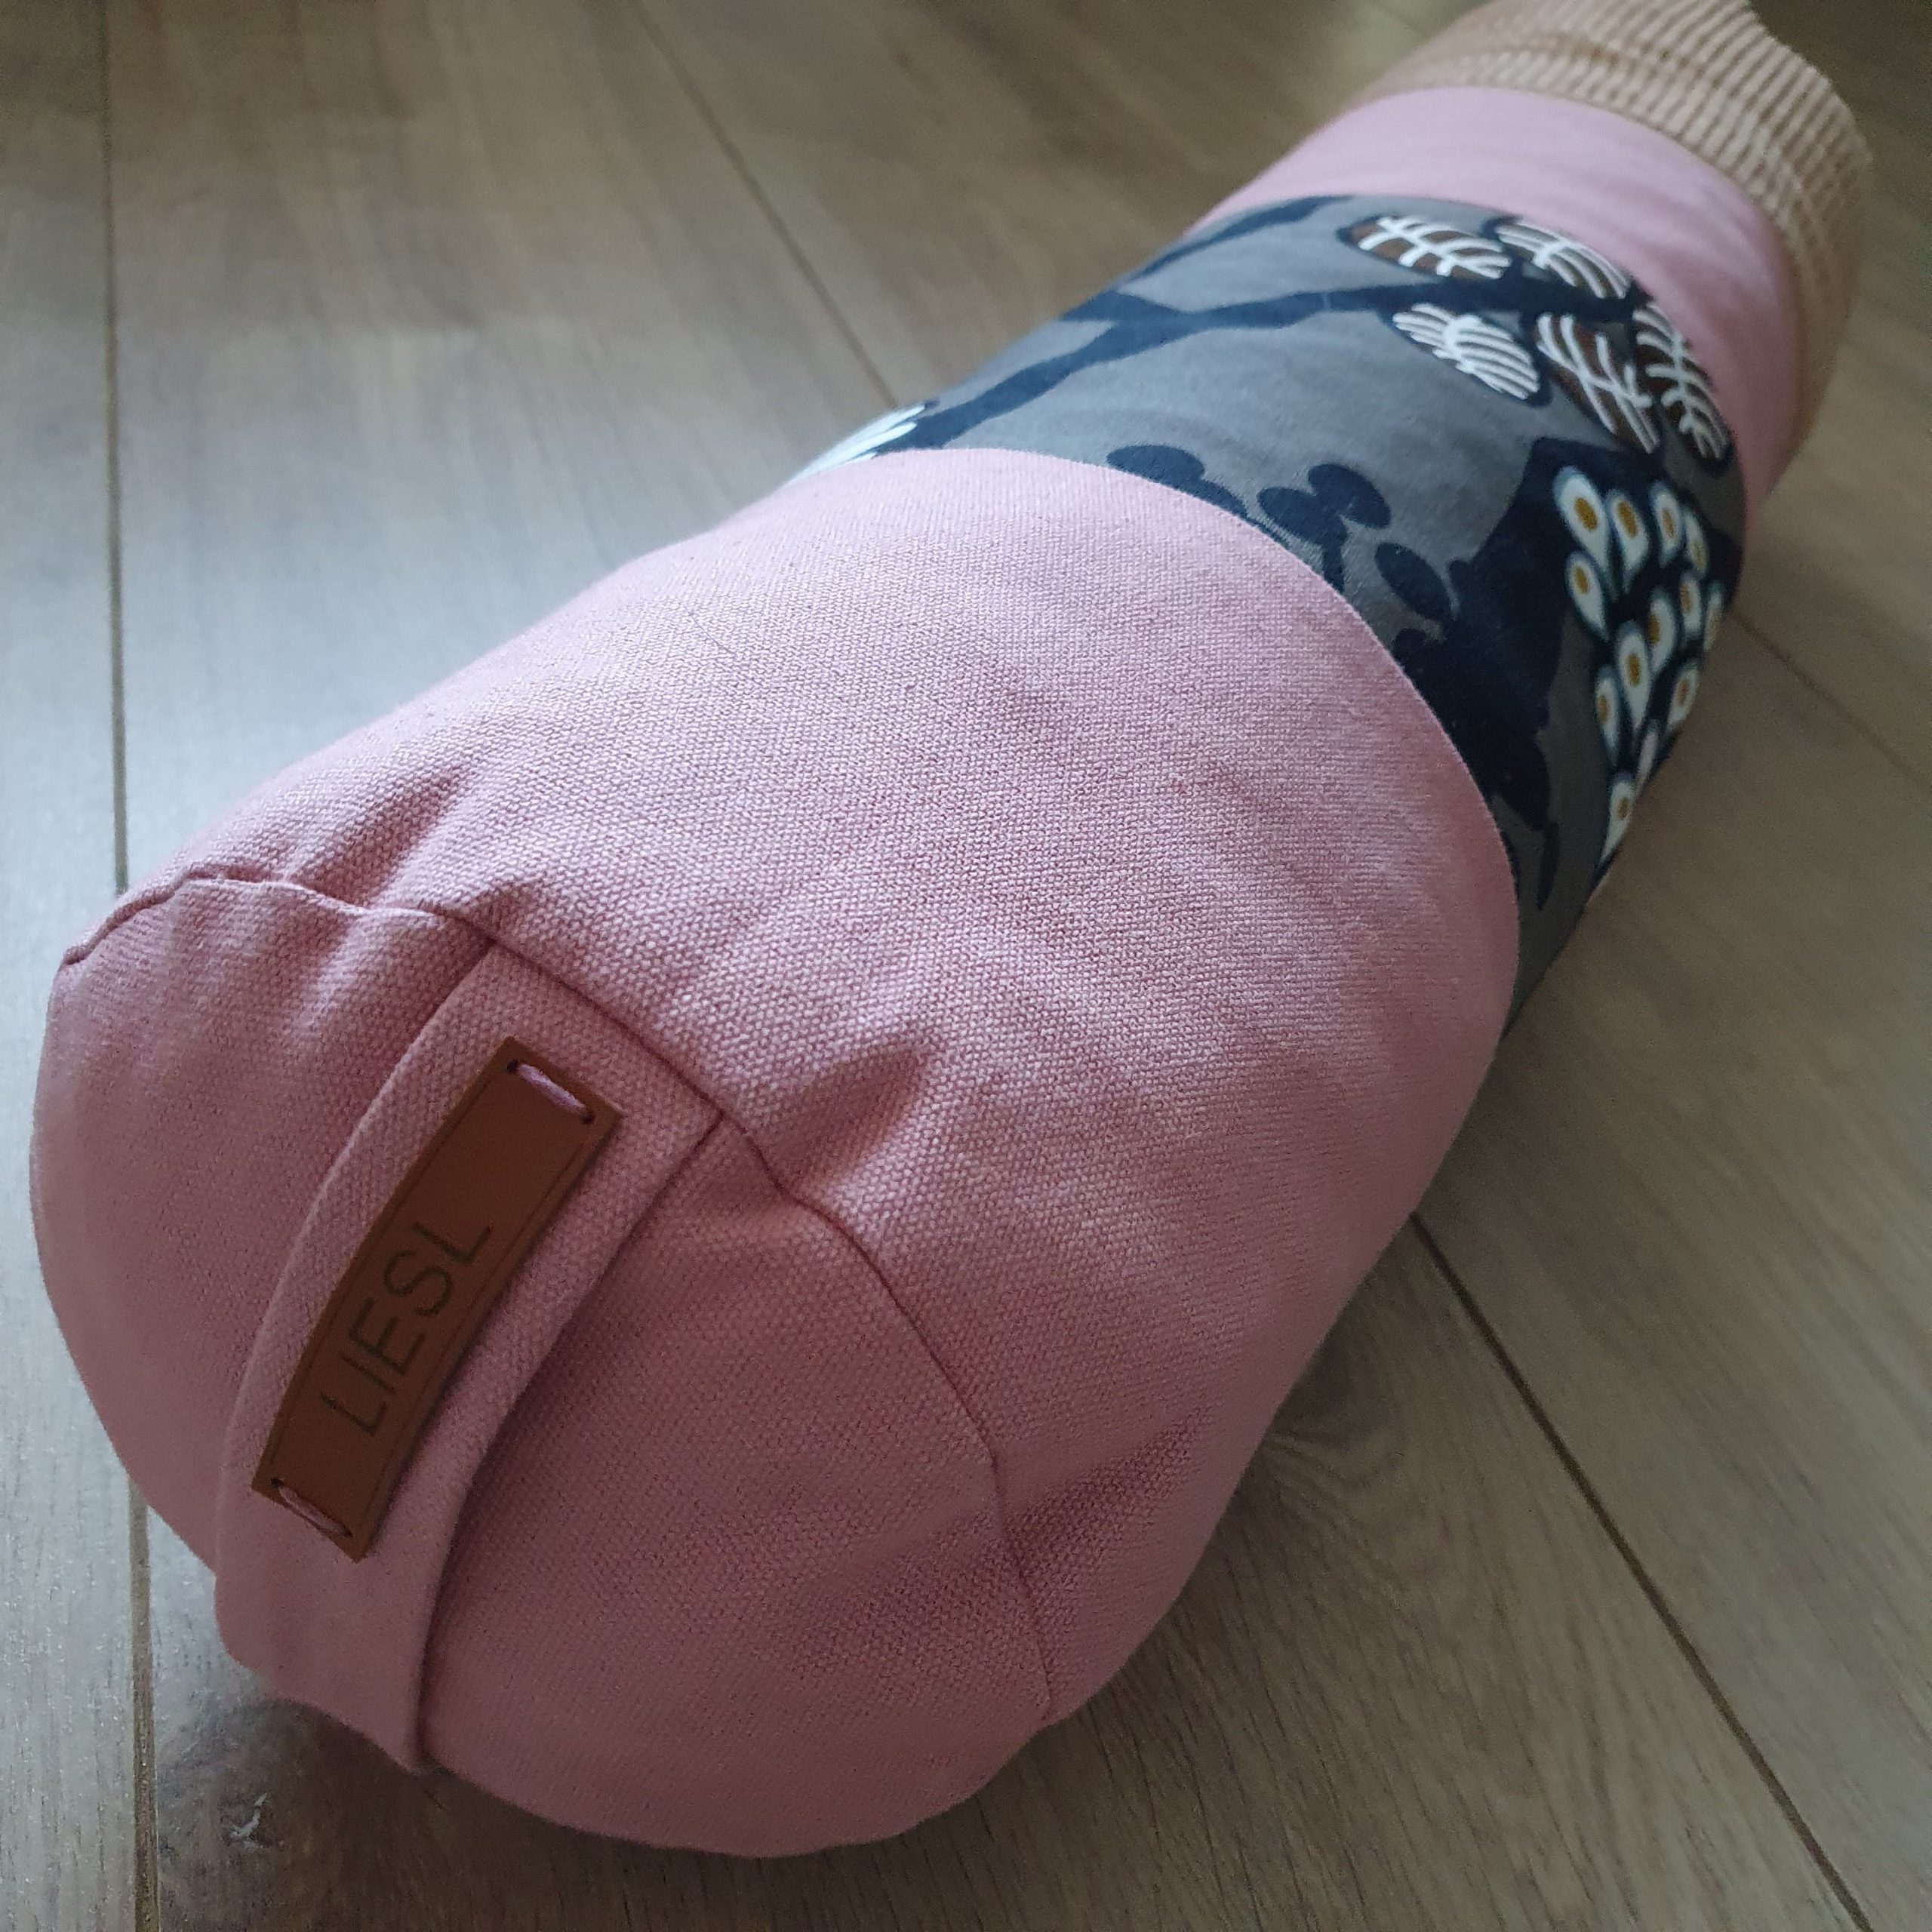
Yoga bolster
The second ‘filler project’ is a yoga bolster or meditation cushion. Made with canvas and corduroy fabric. The fabrics are second-hand or left over from a previous project. I took the measurements from an online example, which made it way too big.
The dimensions I ended up using (in cm, without seam allowance):
1. 15 x 50
2. 10 x 50
3. 20 x 50
4. 15 x 50
In addition, cut two circles 8 cm in diameter and a 16 x 6 cm handle.
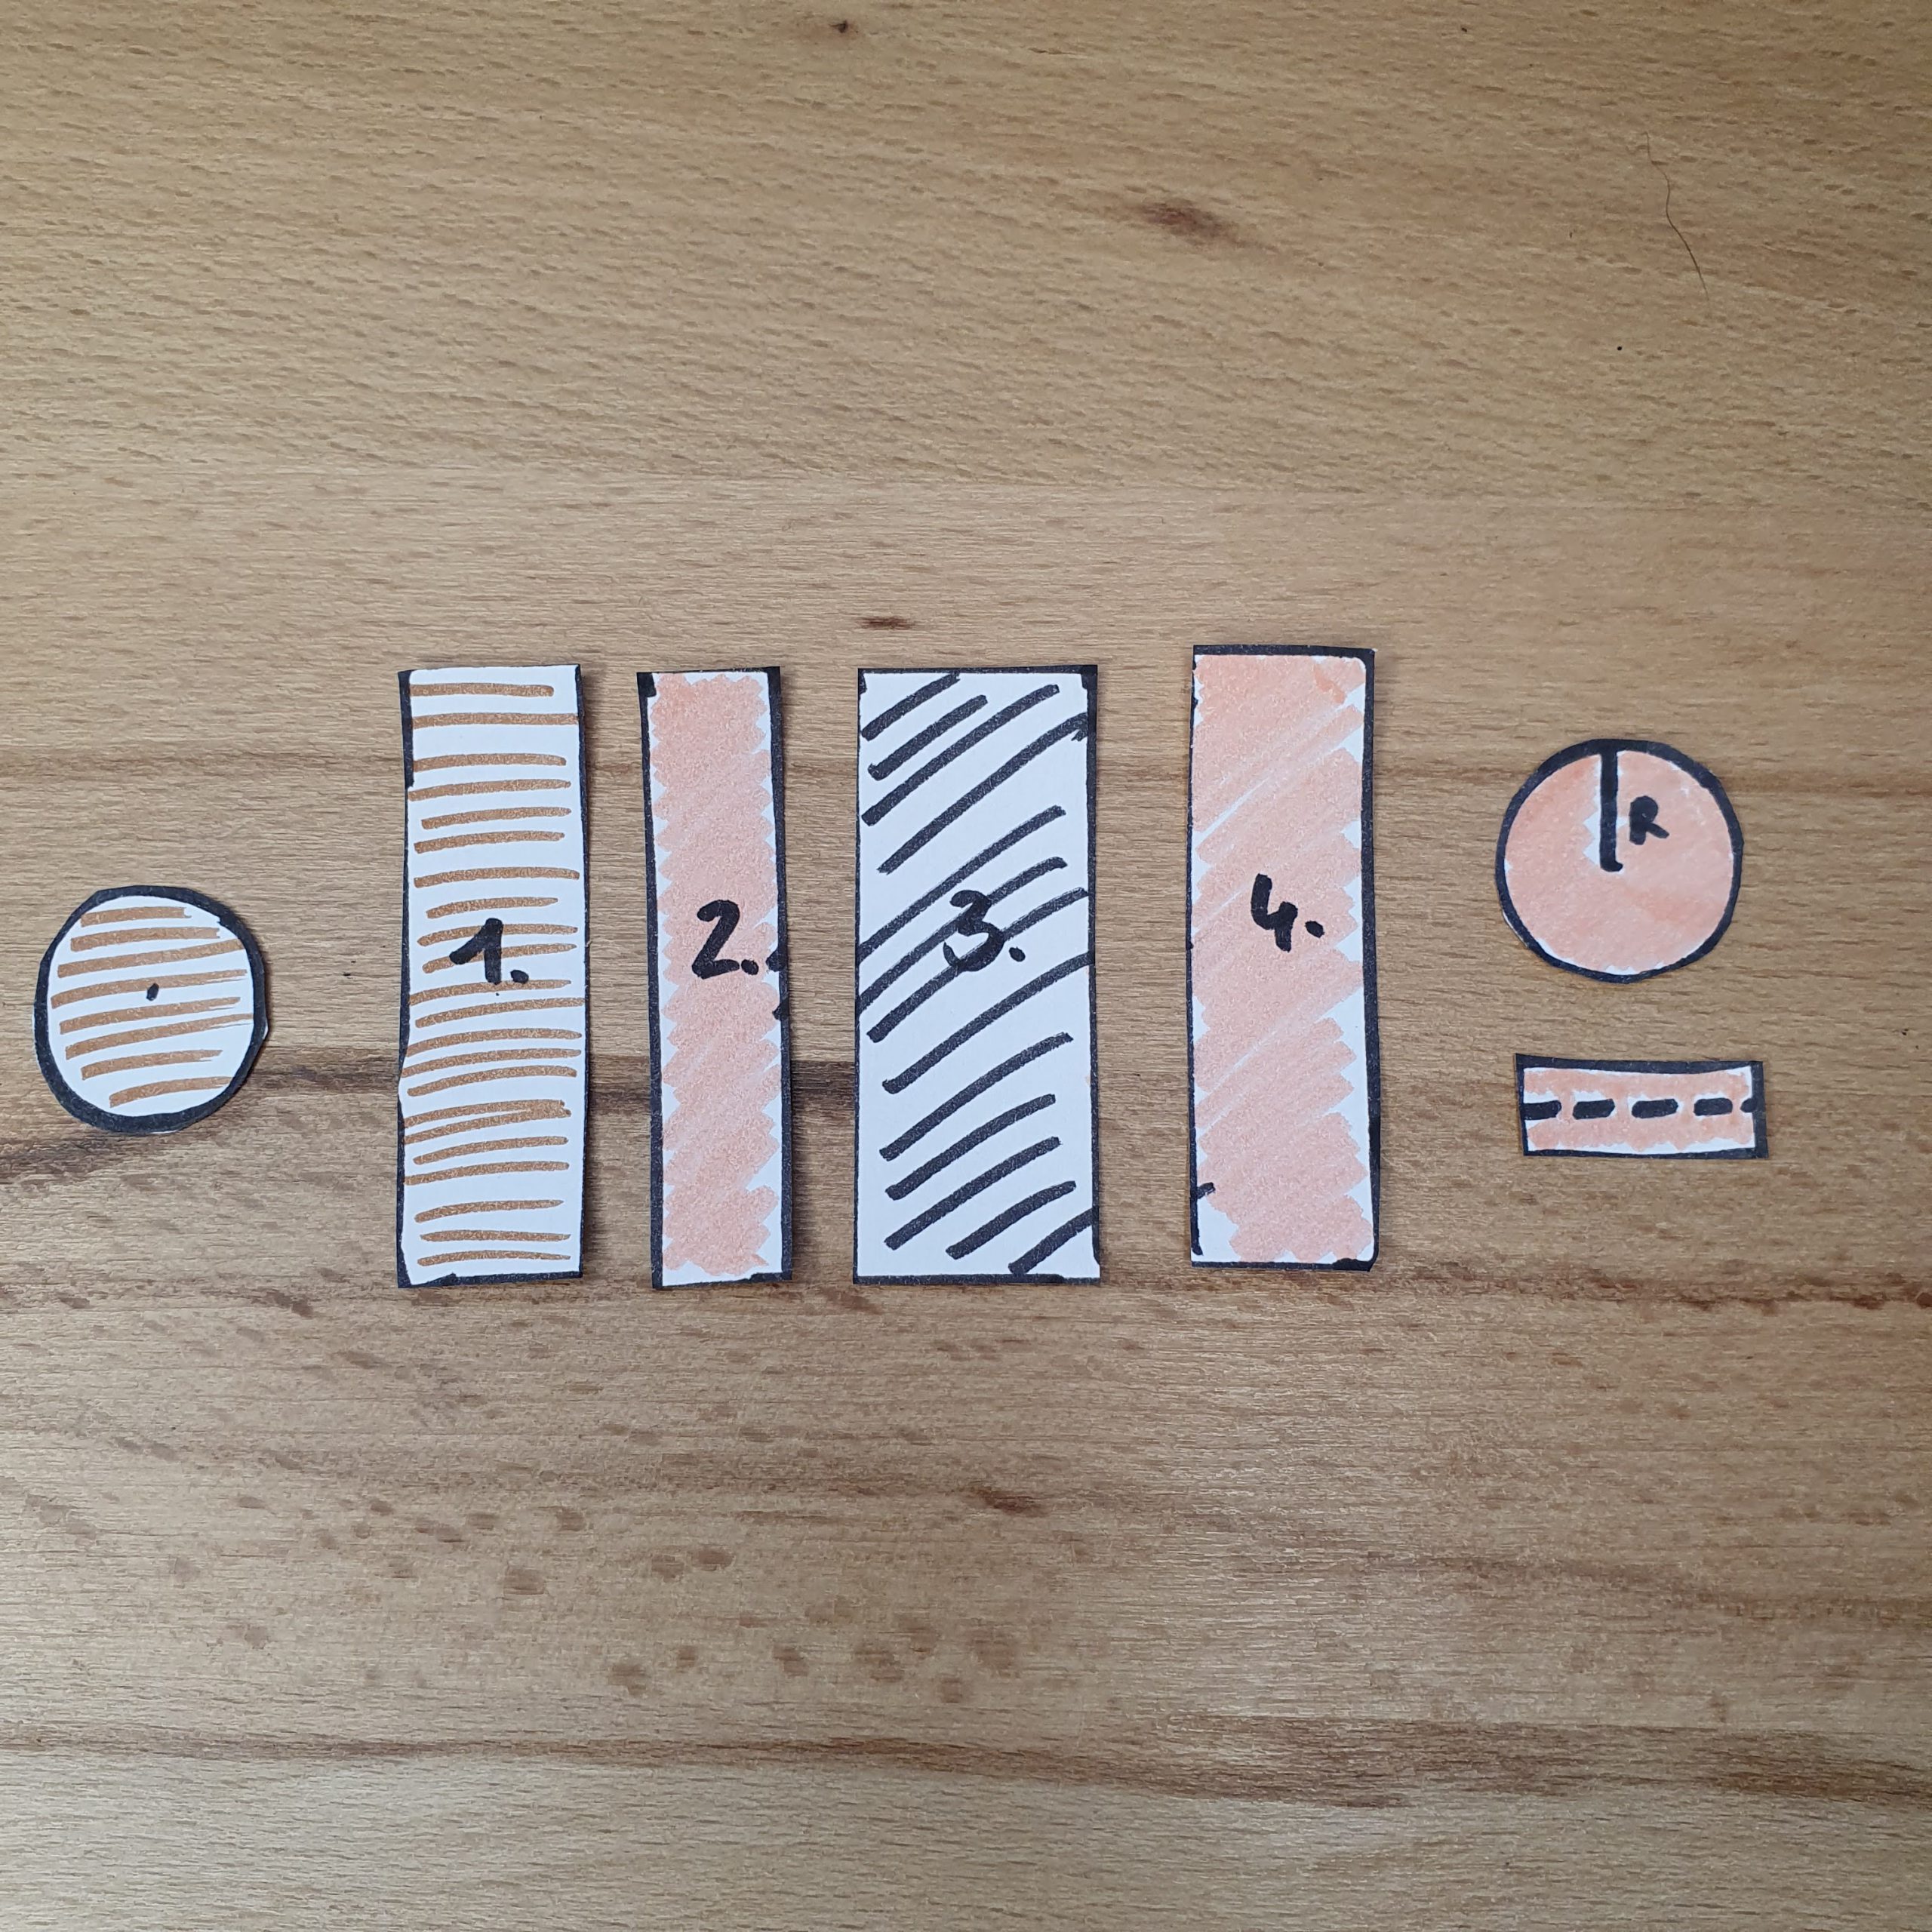
You can also cut everything out of one colour. The size will then be (60 x 50). Or you can make a different division. Of course, this depends on how big your scraps are. Take a firm fabric, without stretch.
Sew the separate straight parts together. You now have a large rectangle. Close the long side, leaving a turning hole in the middle. Close the long side of the handle piece and turn. Attach and sew the circles, one on each side, right sides together. On one side, stitch the handle at the same time. Now turn the bolster inside out and fill it via this turning hole.
I filled it with a large bag of leftovers. I didn’t necessarily cut them smaller, as in the Tailor’s ham. The bolster ended up weighing 2.5 kg⚖️🤩. Close the turning/fill hole. Having already used the bolster a few times, I think some more fabric can be added in a while.
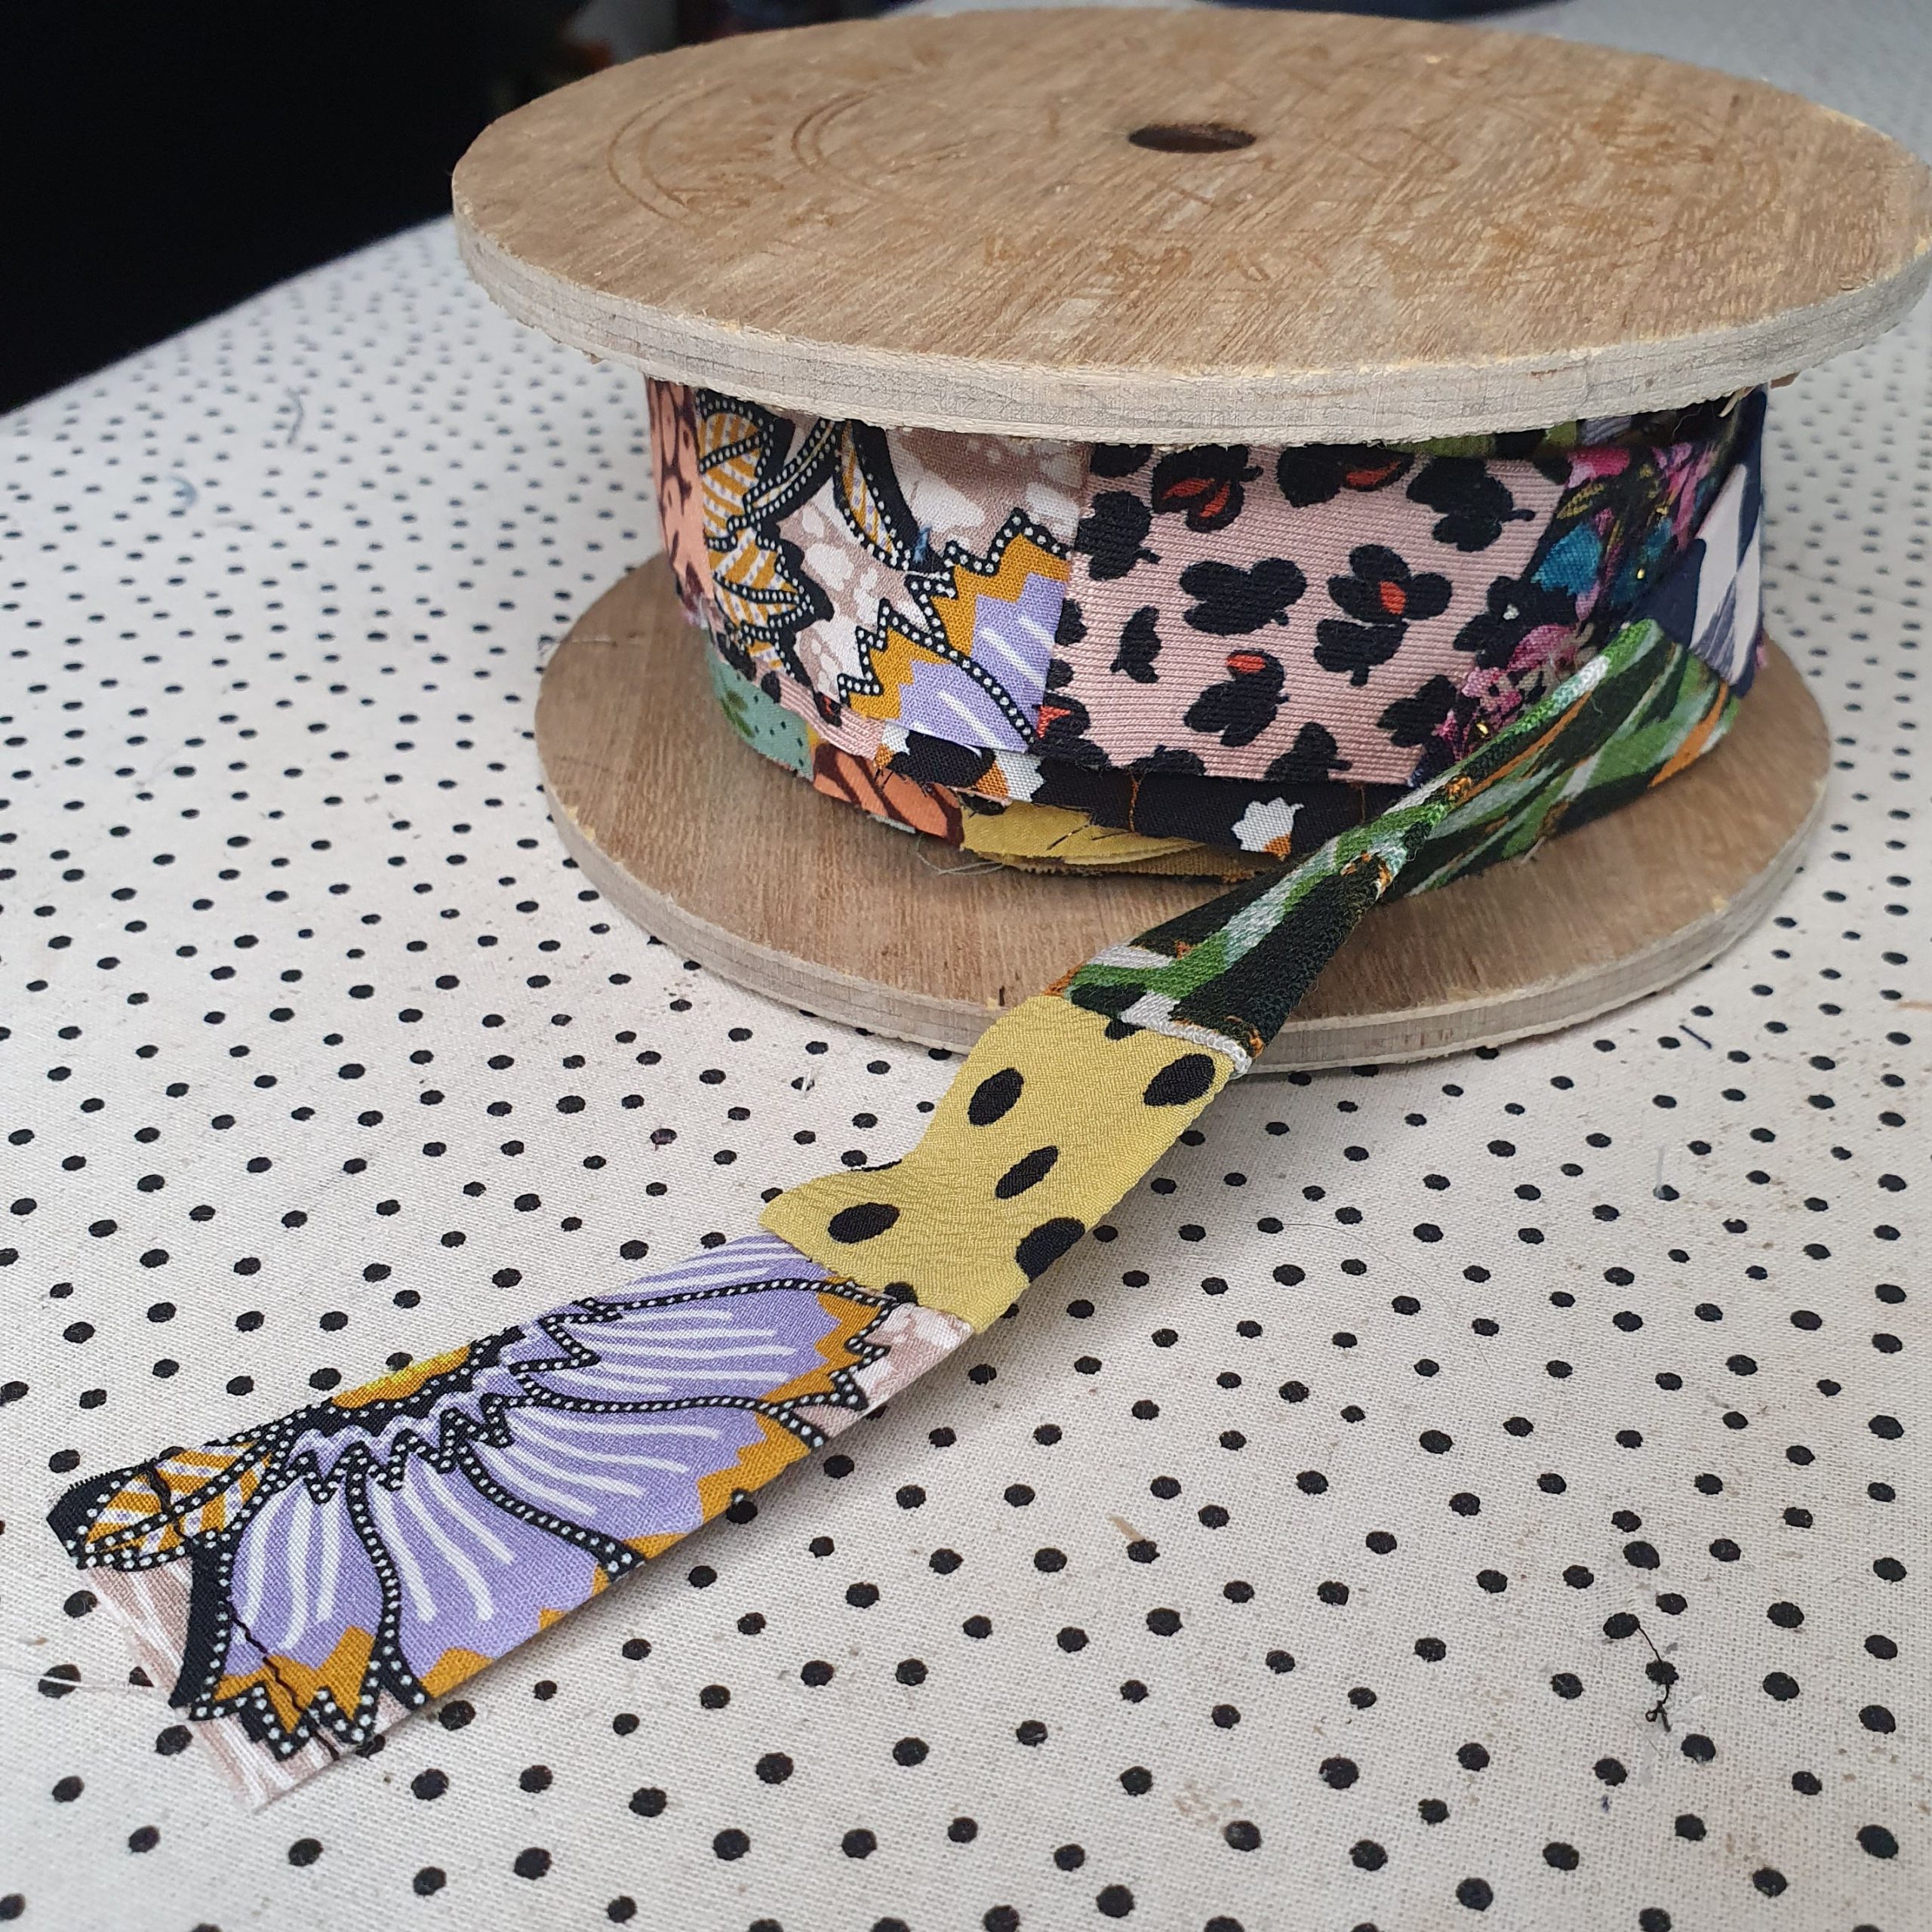
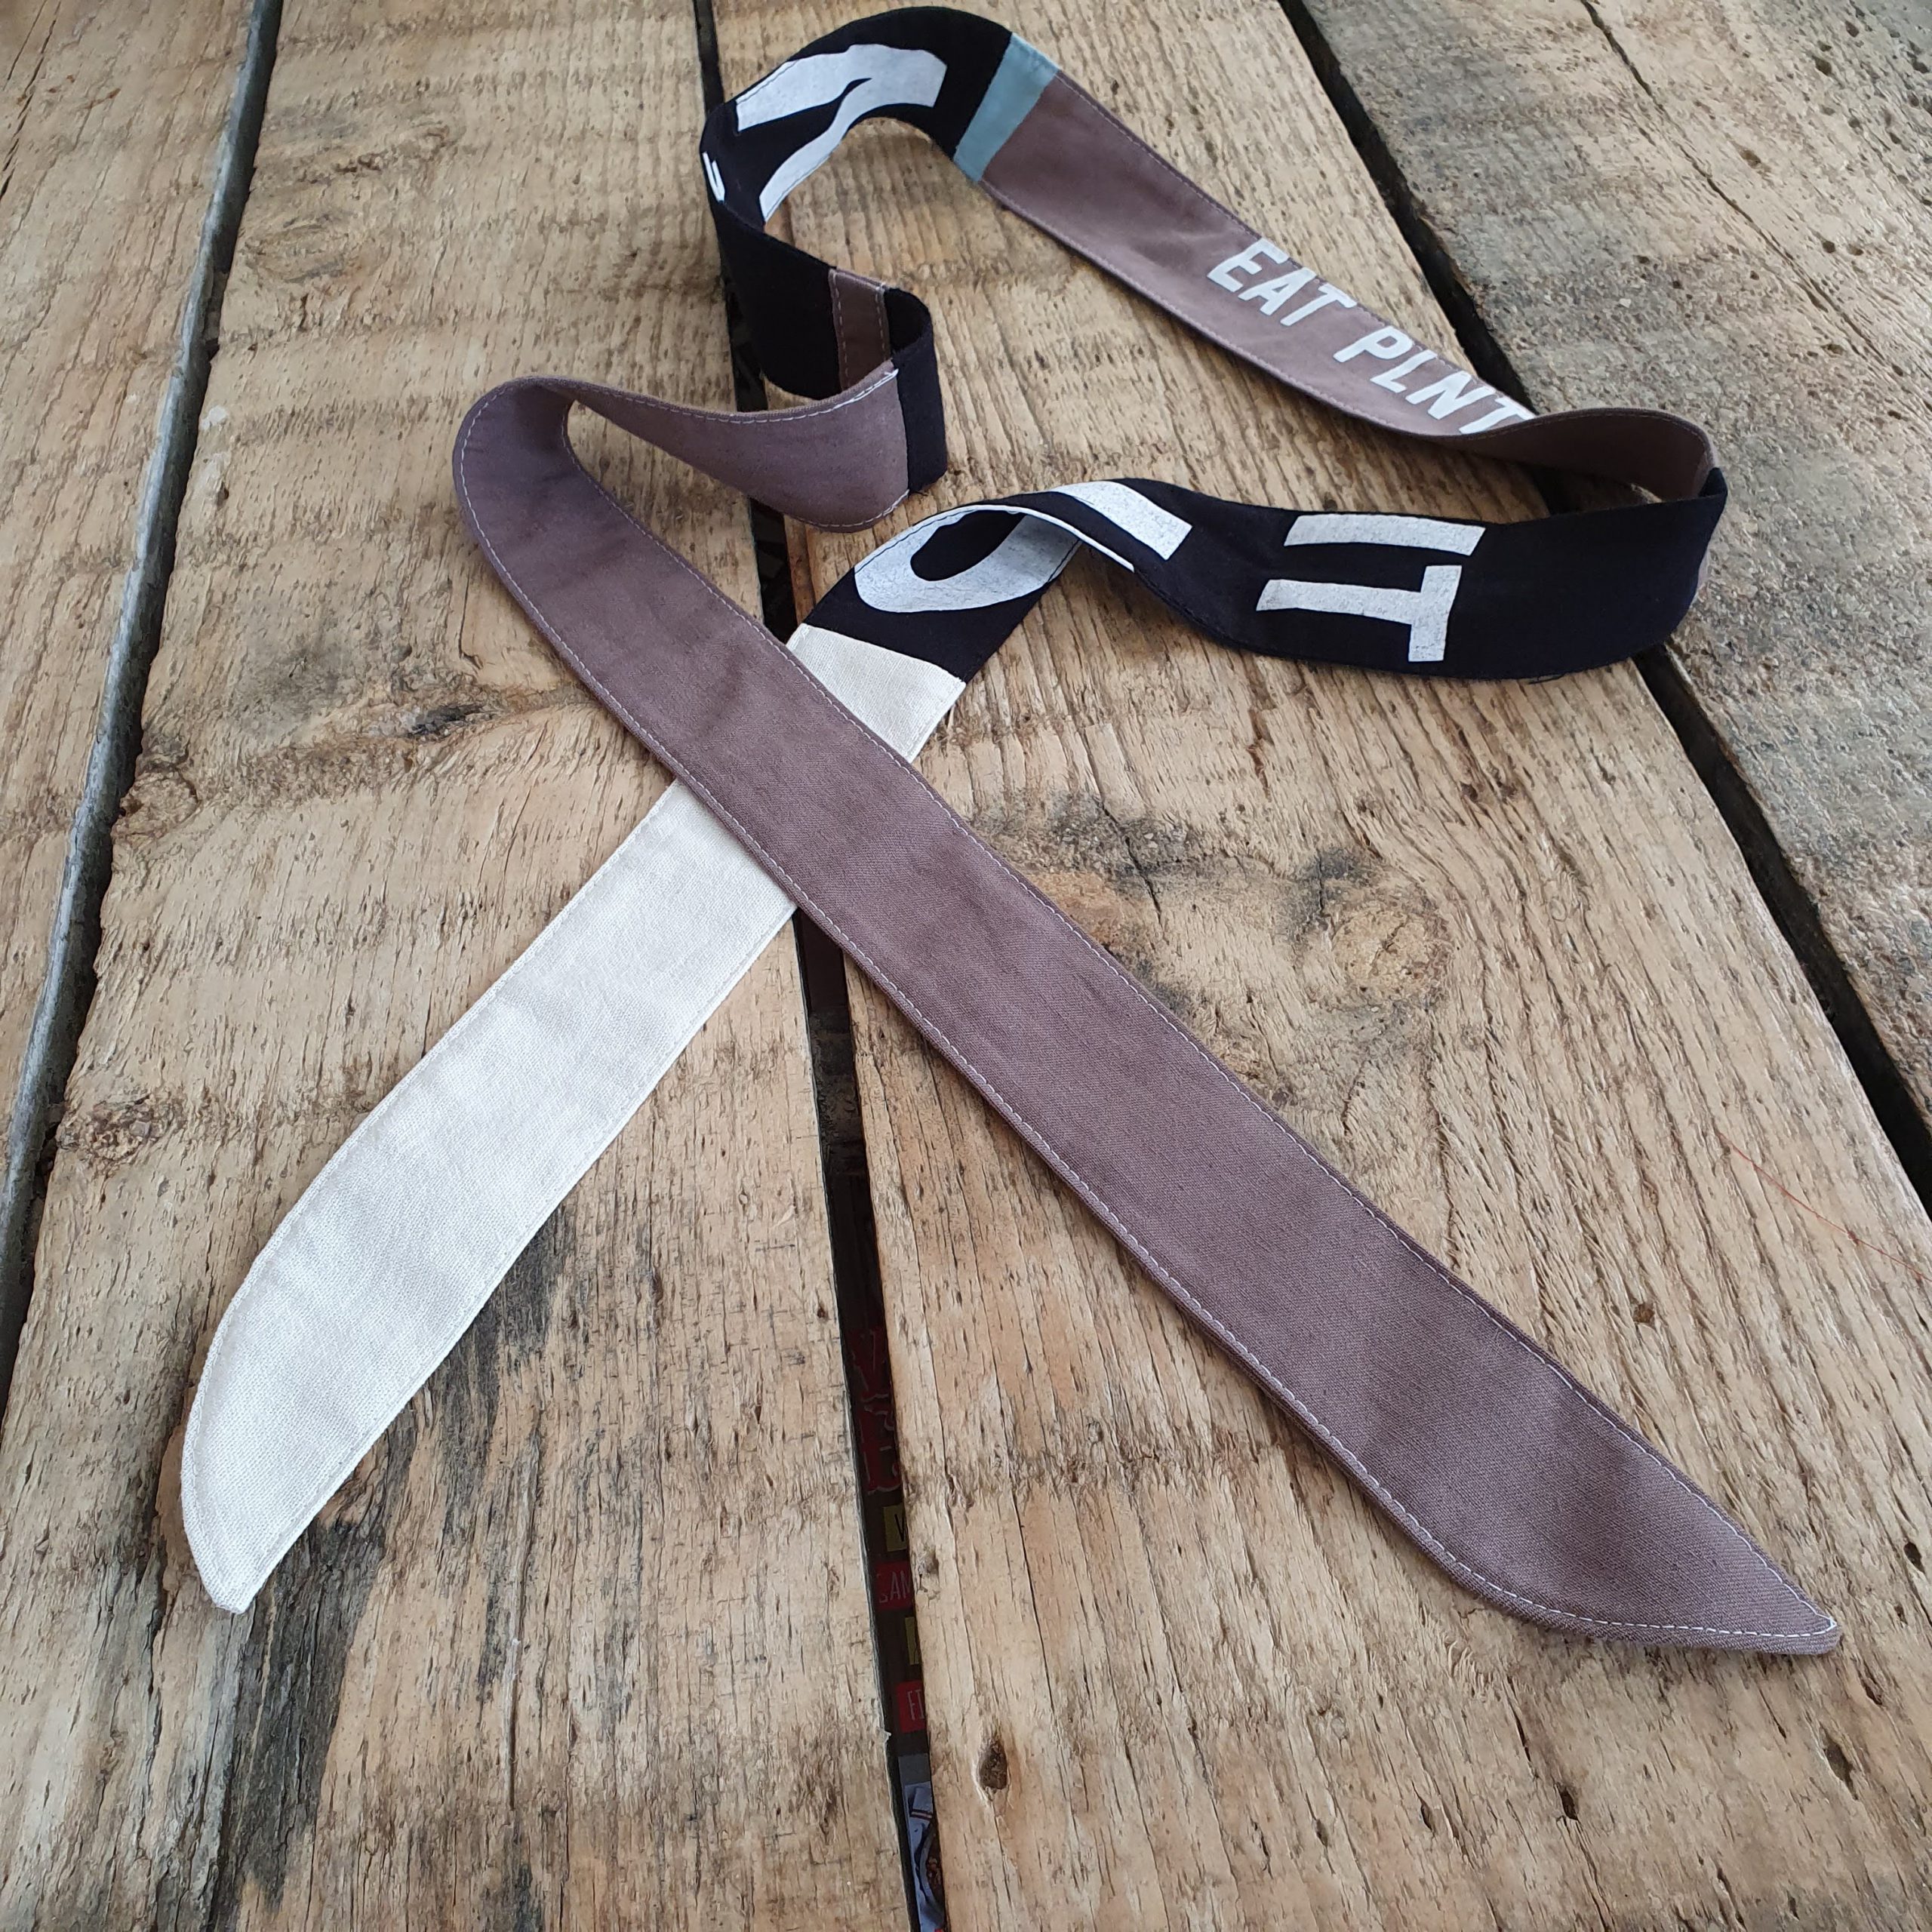
Colourful bias tape
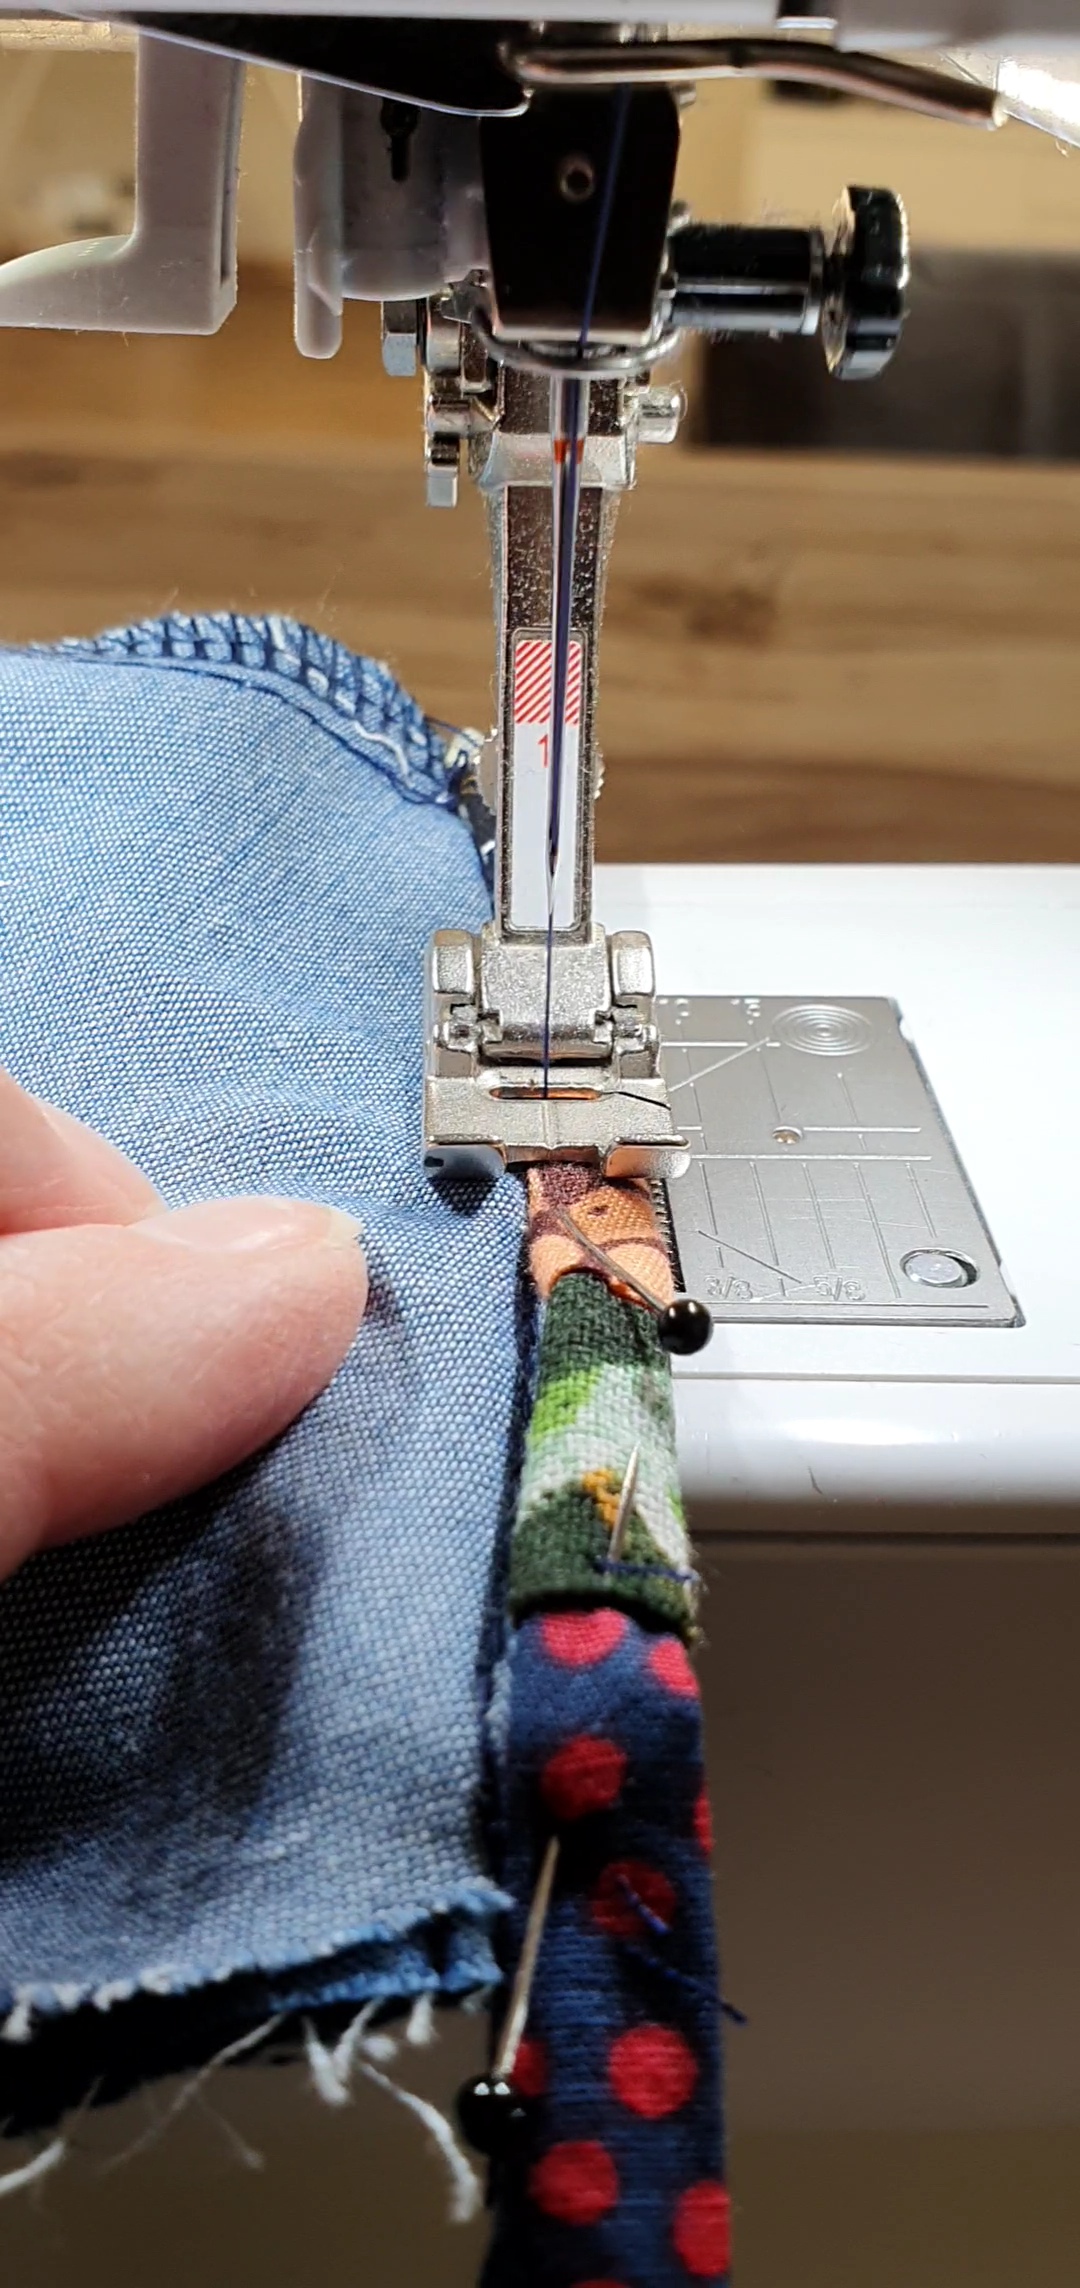
Save the prettiest scraps for this patchwork project. Sew small patches of fabric together using 5 cm wide fusible webbing. I’ll explain how.
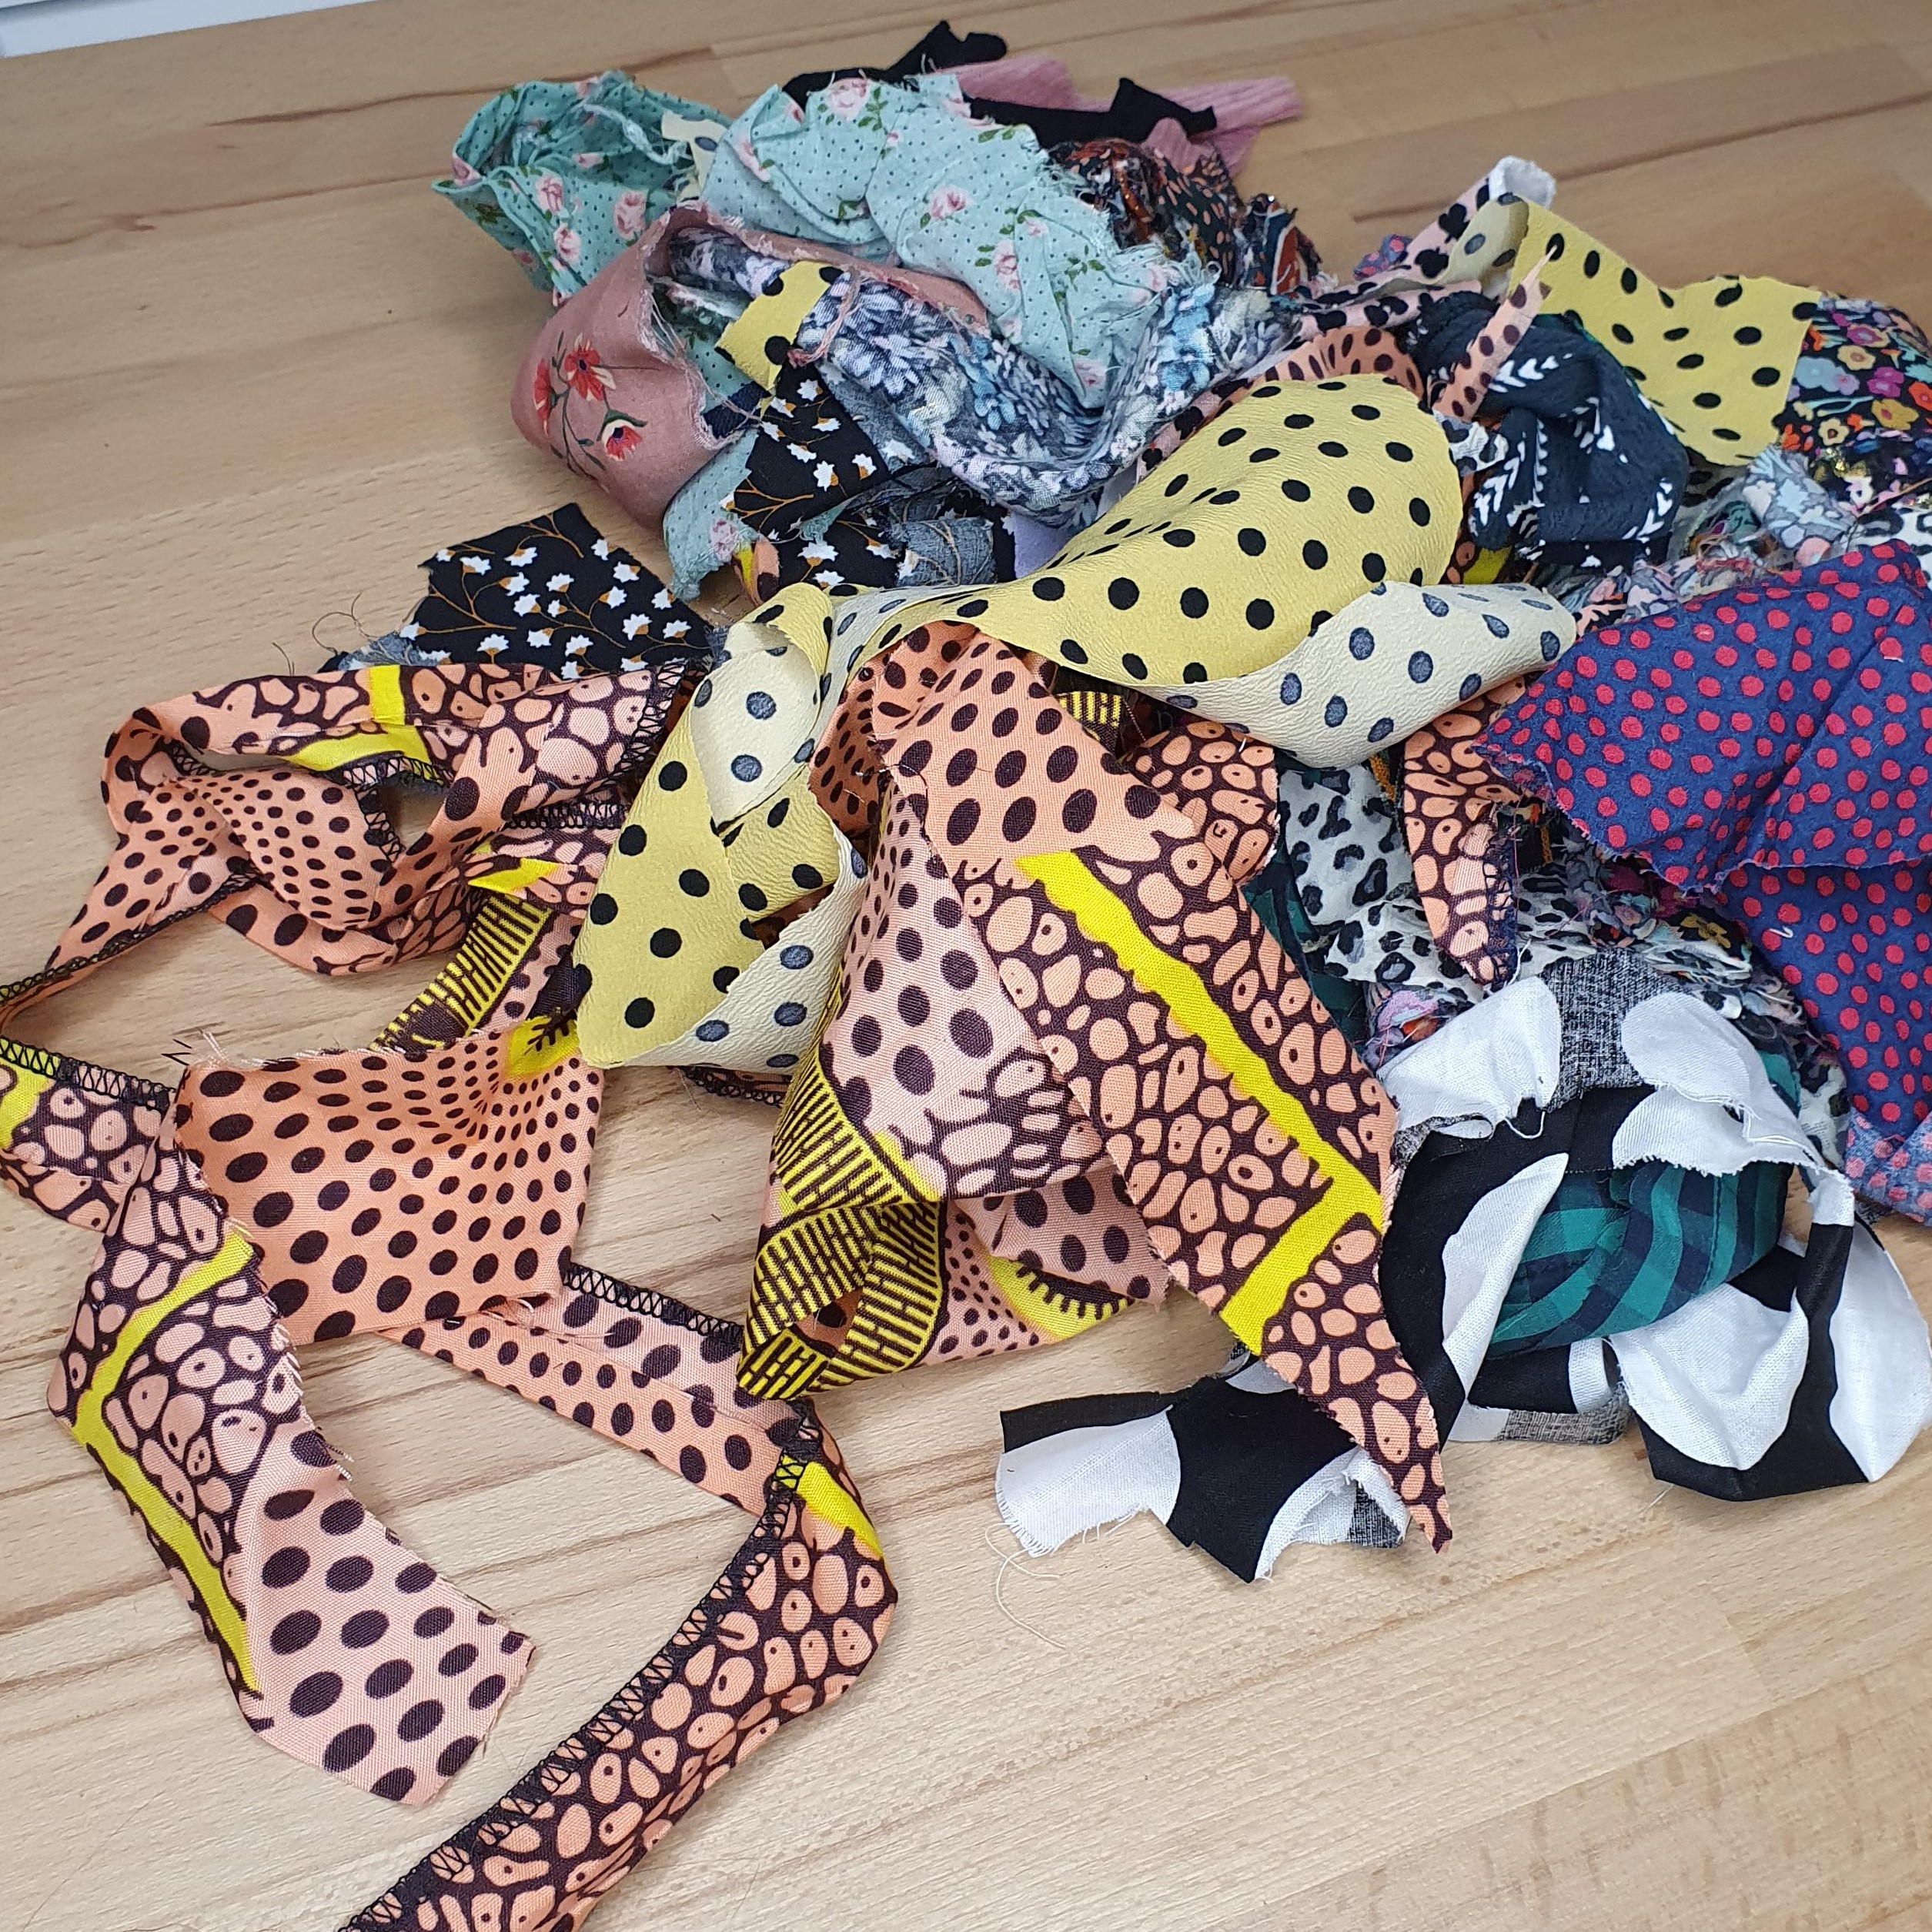
The best pieces
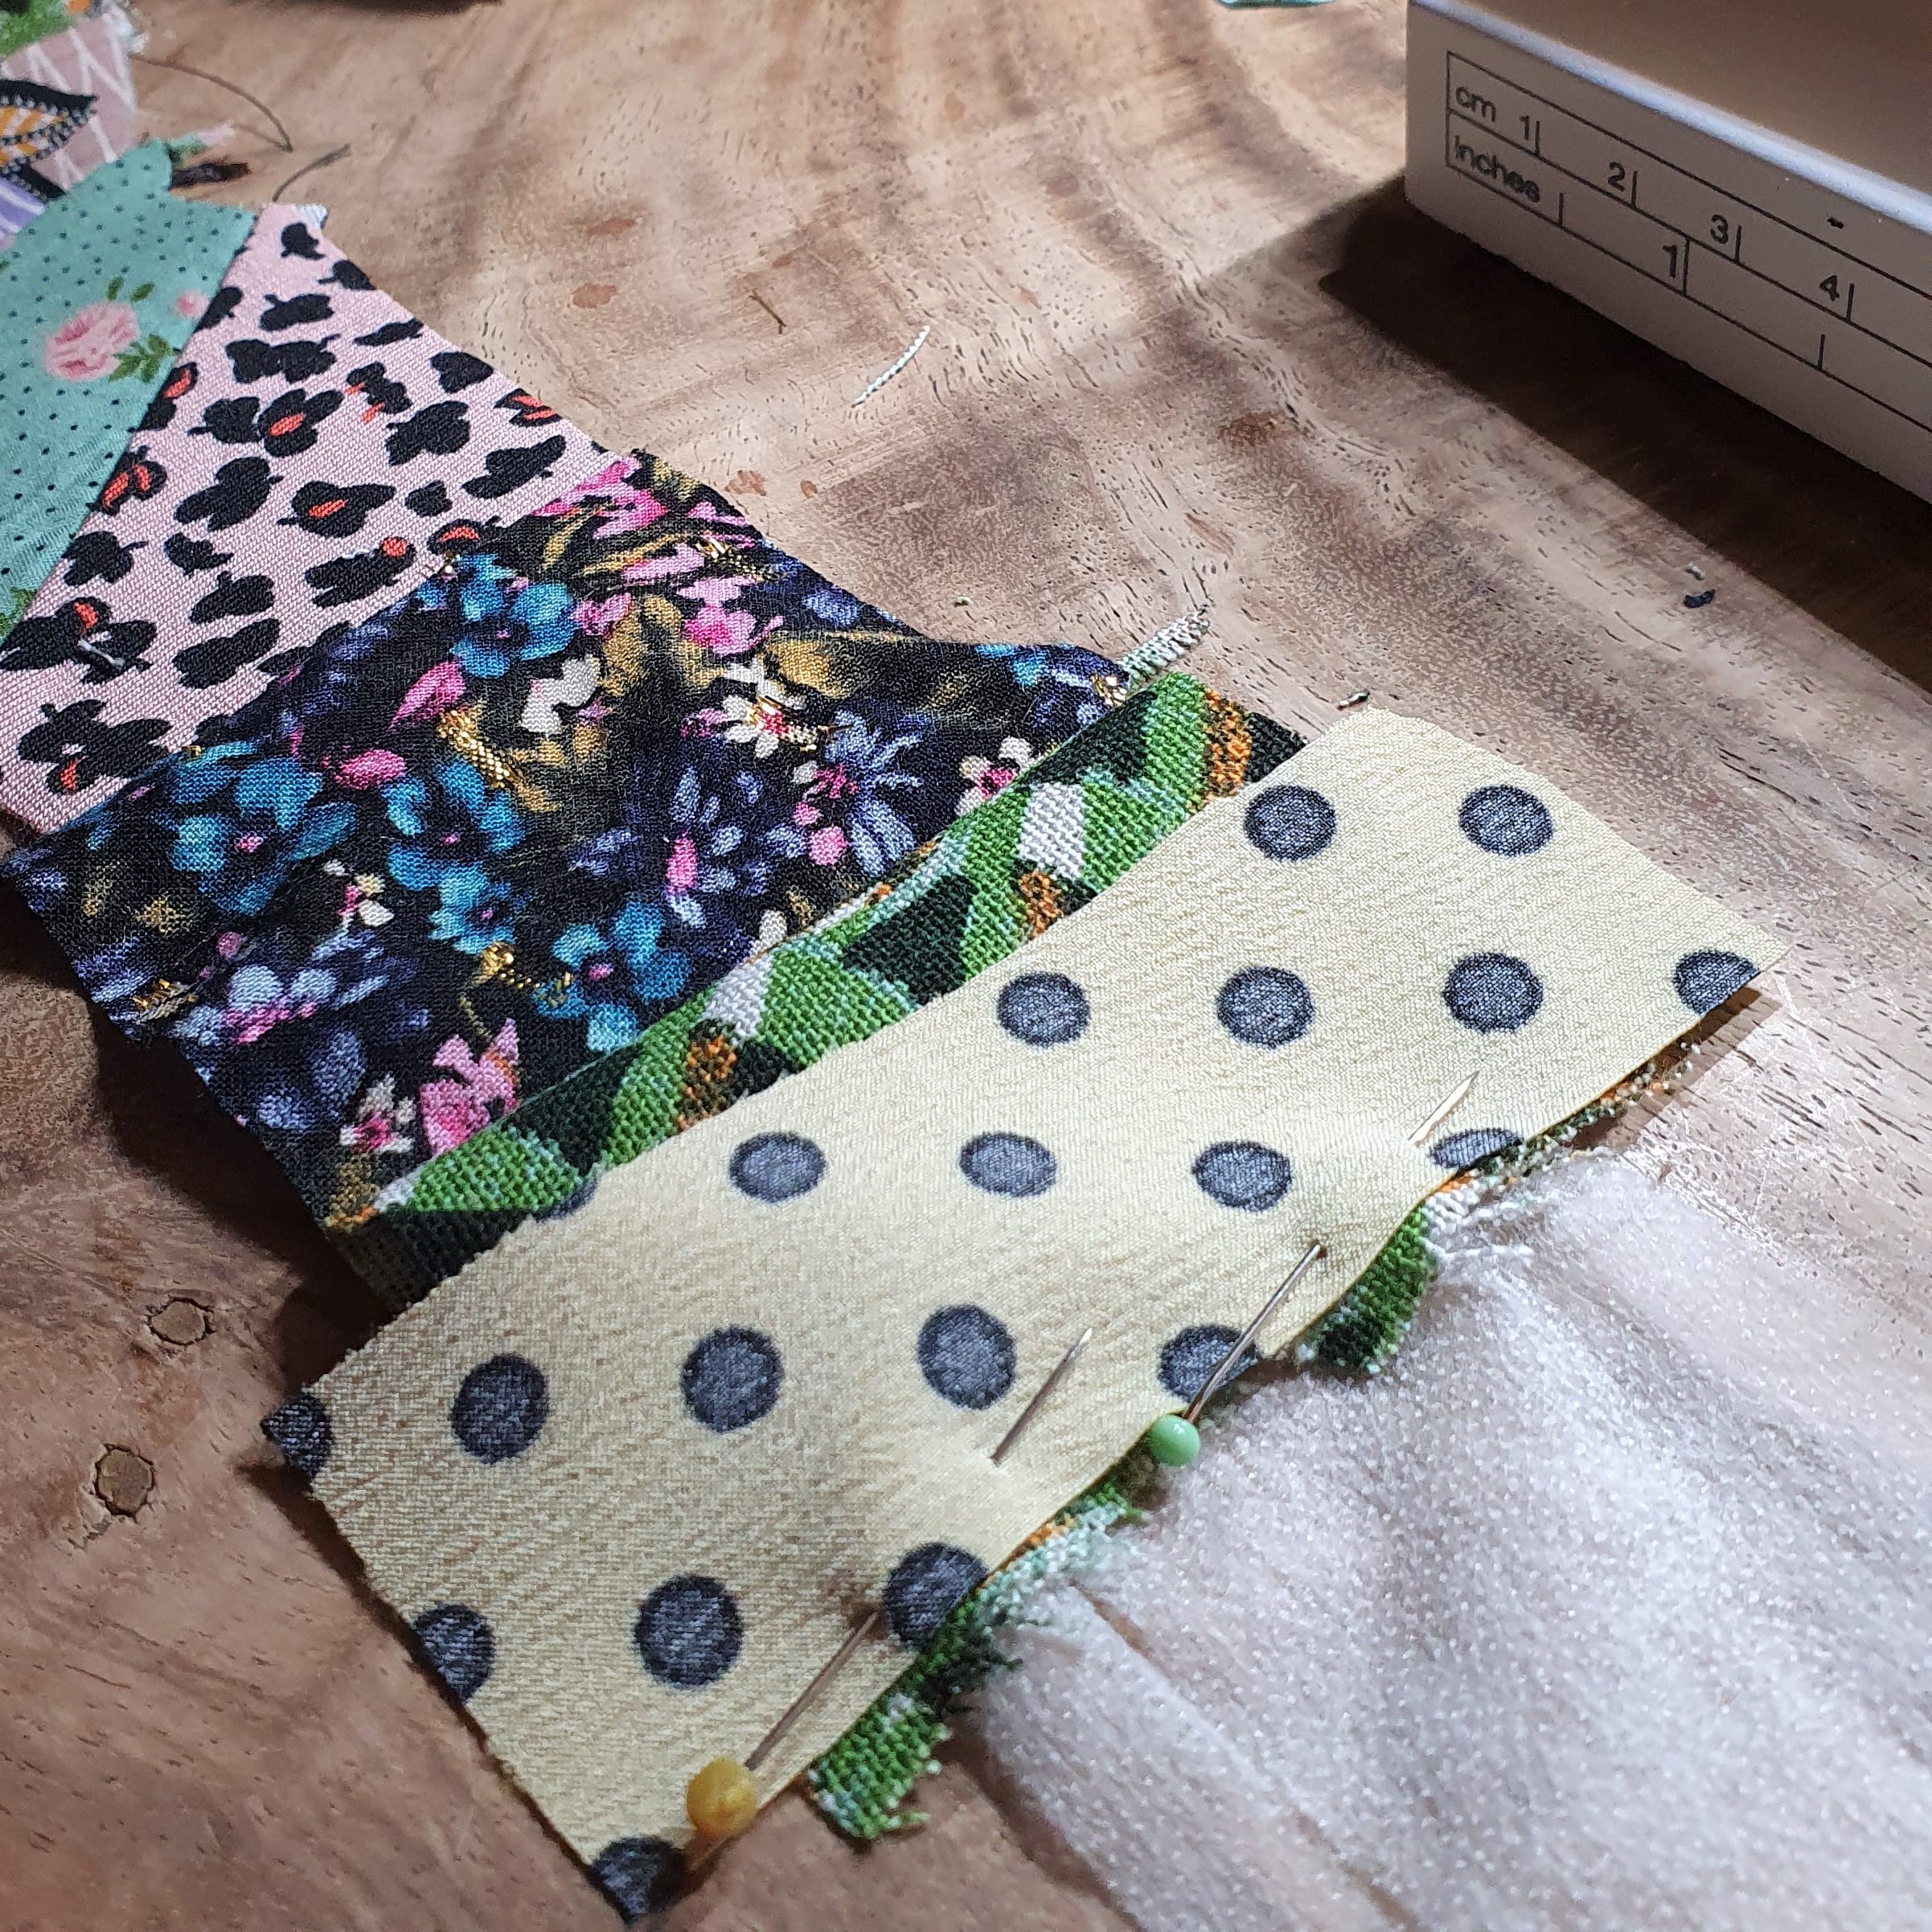
Start with a piece of fabric, the wrong side facing the sticky side of the fusible web. Then lay another piece right side up and stitch them together with a narrow seam. You stitched the fusible web right along with it. Fold the leftover piece of fabric with the wrong side to the fusible web side and take a new piece and repeat the steps.
To clarify, watch this video.
Patchwork
Play with the direction of the stitching. You can also stitch the patches at an angle. Make sure that when the patch is folded over, it falls well onto the fusible web. I prepared a bunch of patches.
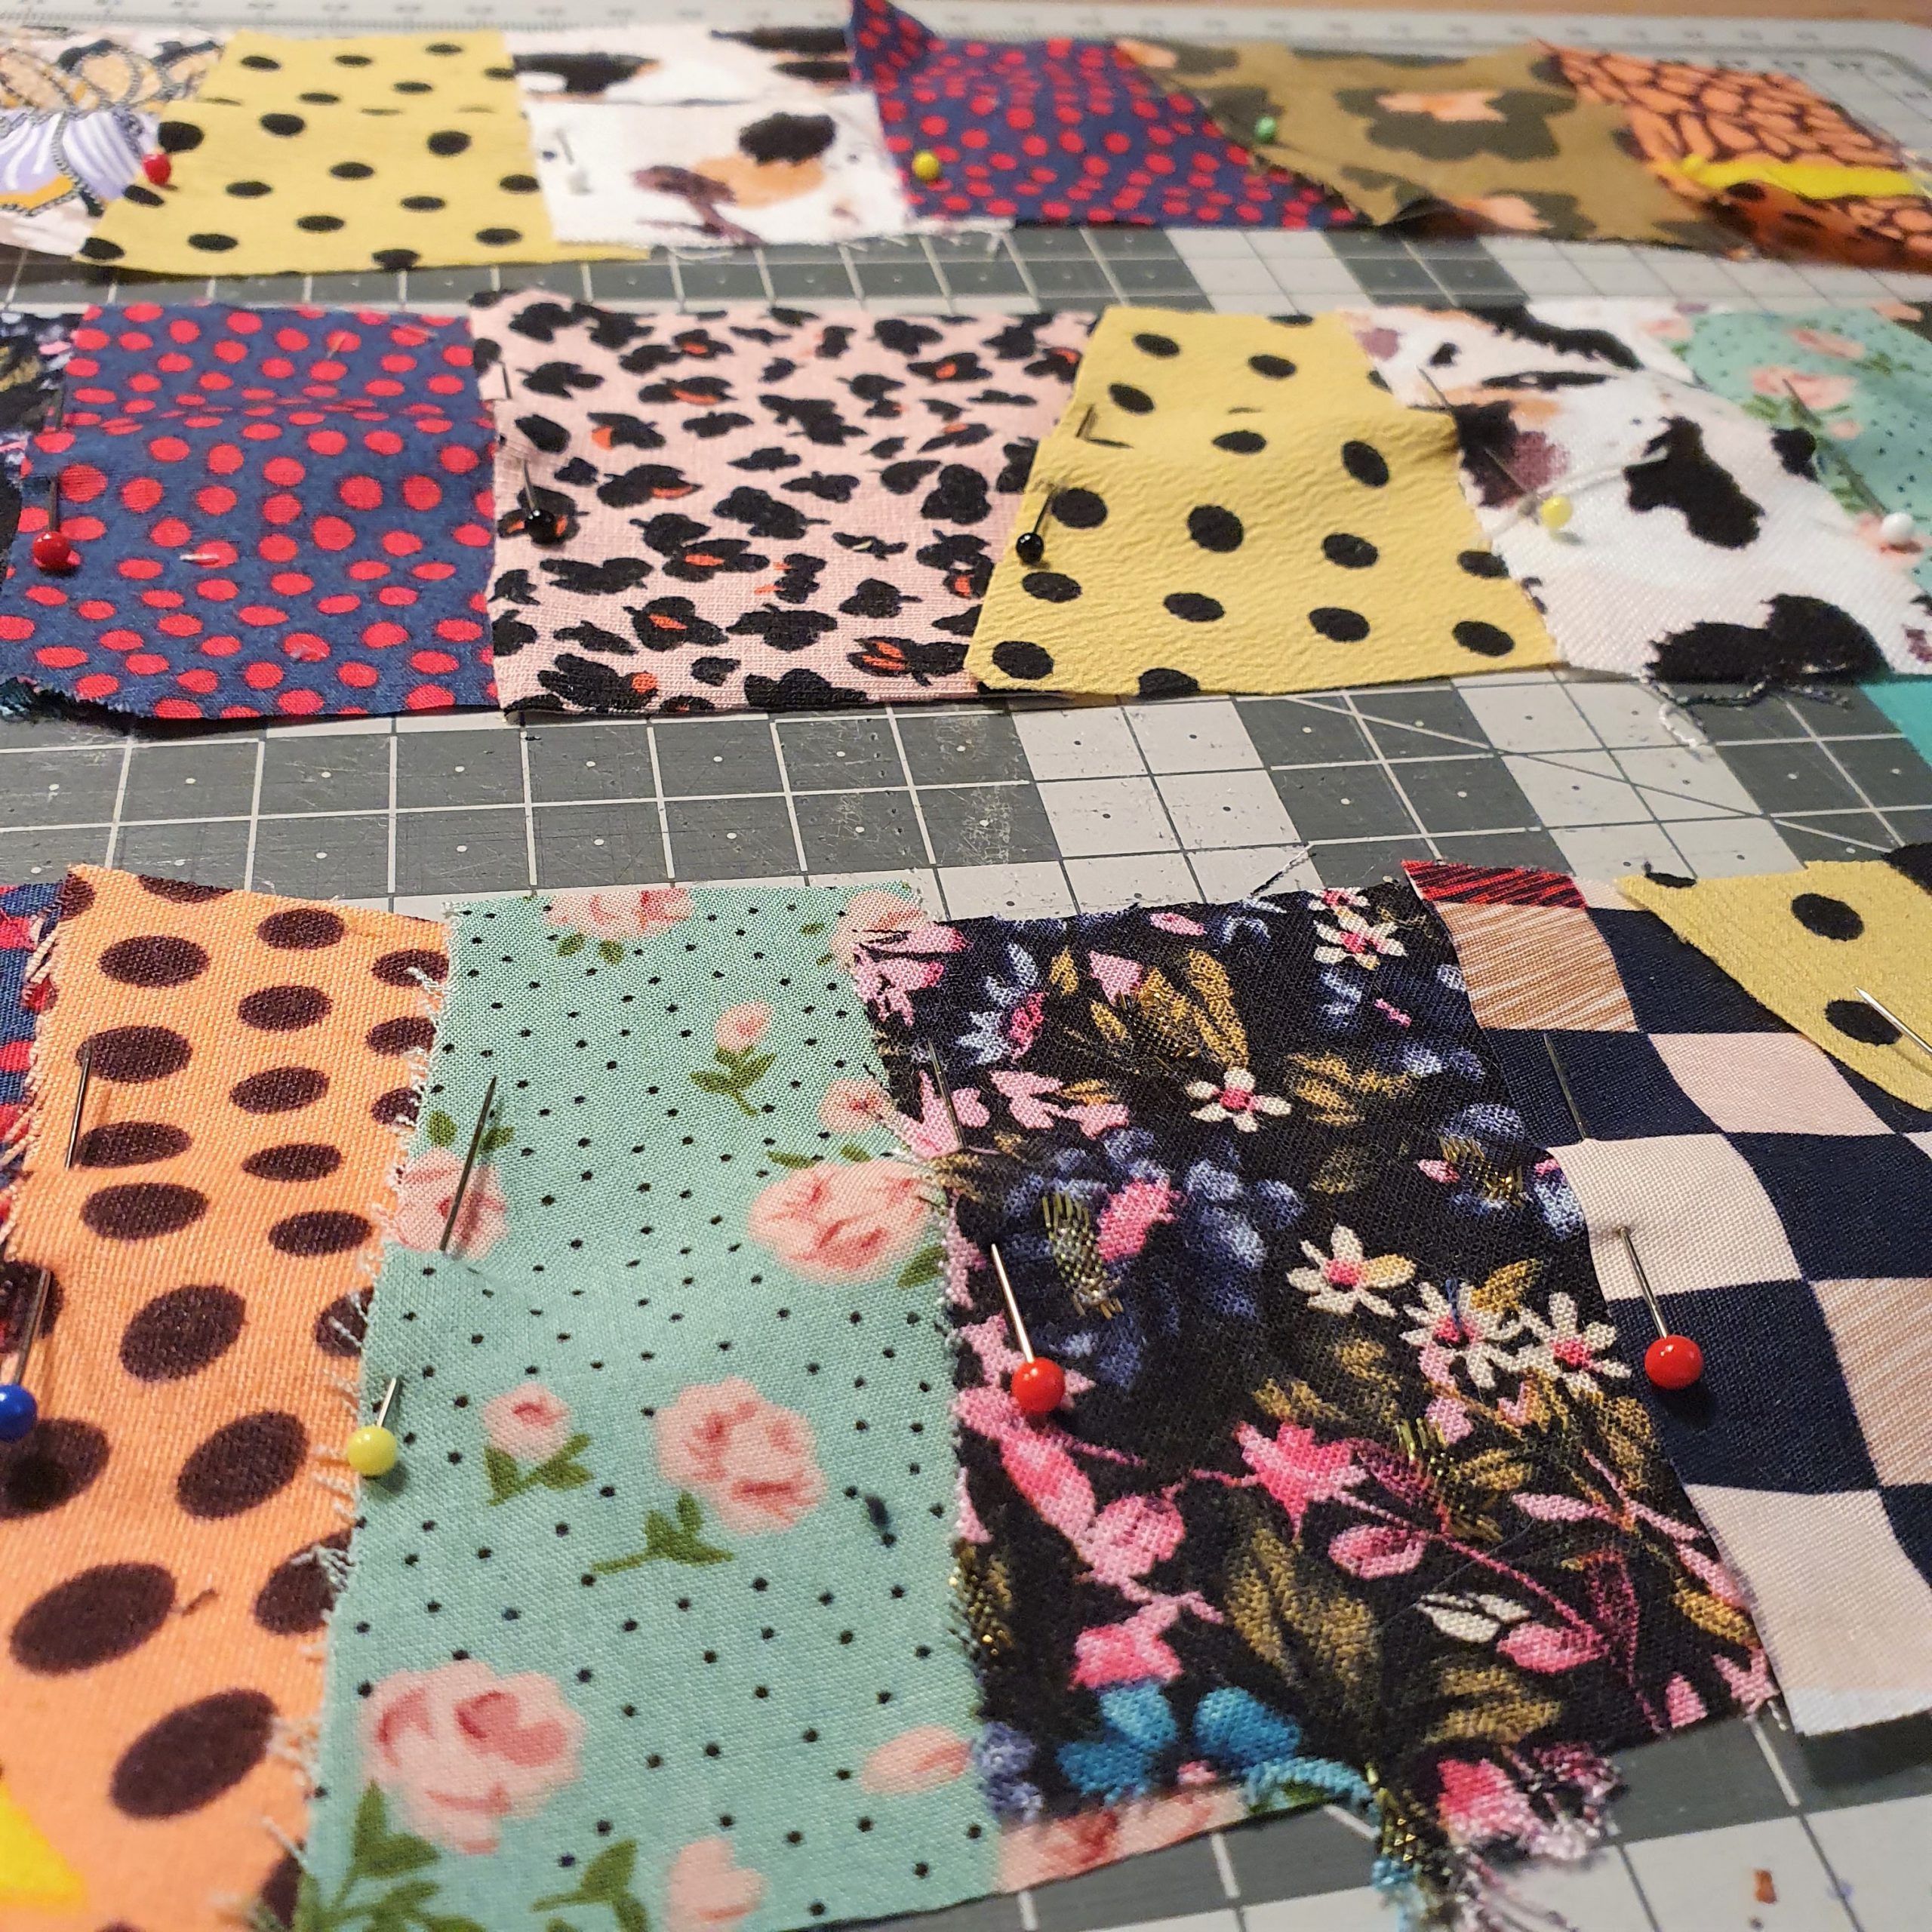
Preparing
When you have the desired length, iron the patchwork This will fasten the patches to the fusible web. Trim the patchwork with a rotary cutter. In the end, my patchwork is 6 cm wide and 3 metres long.
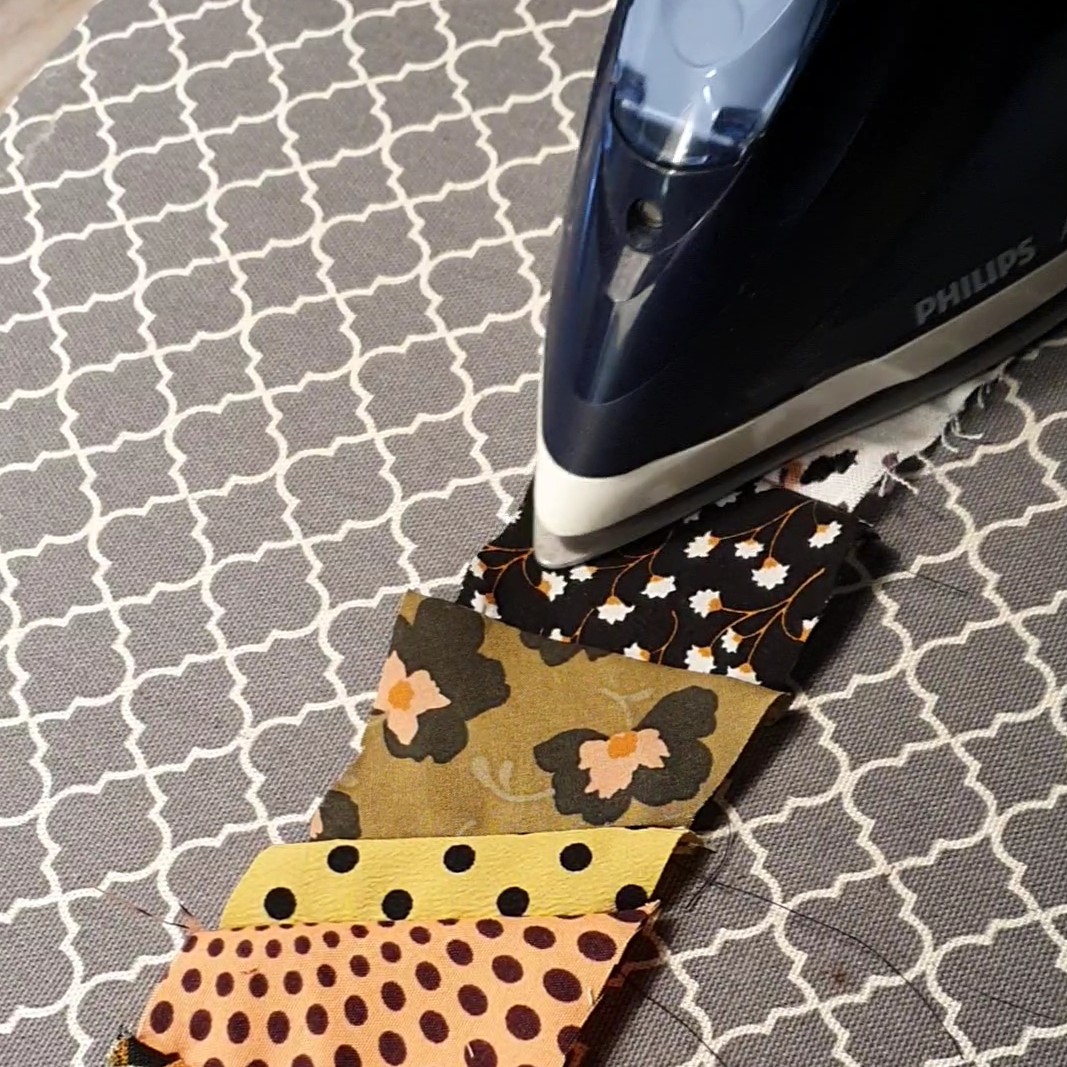
Iron
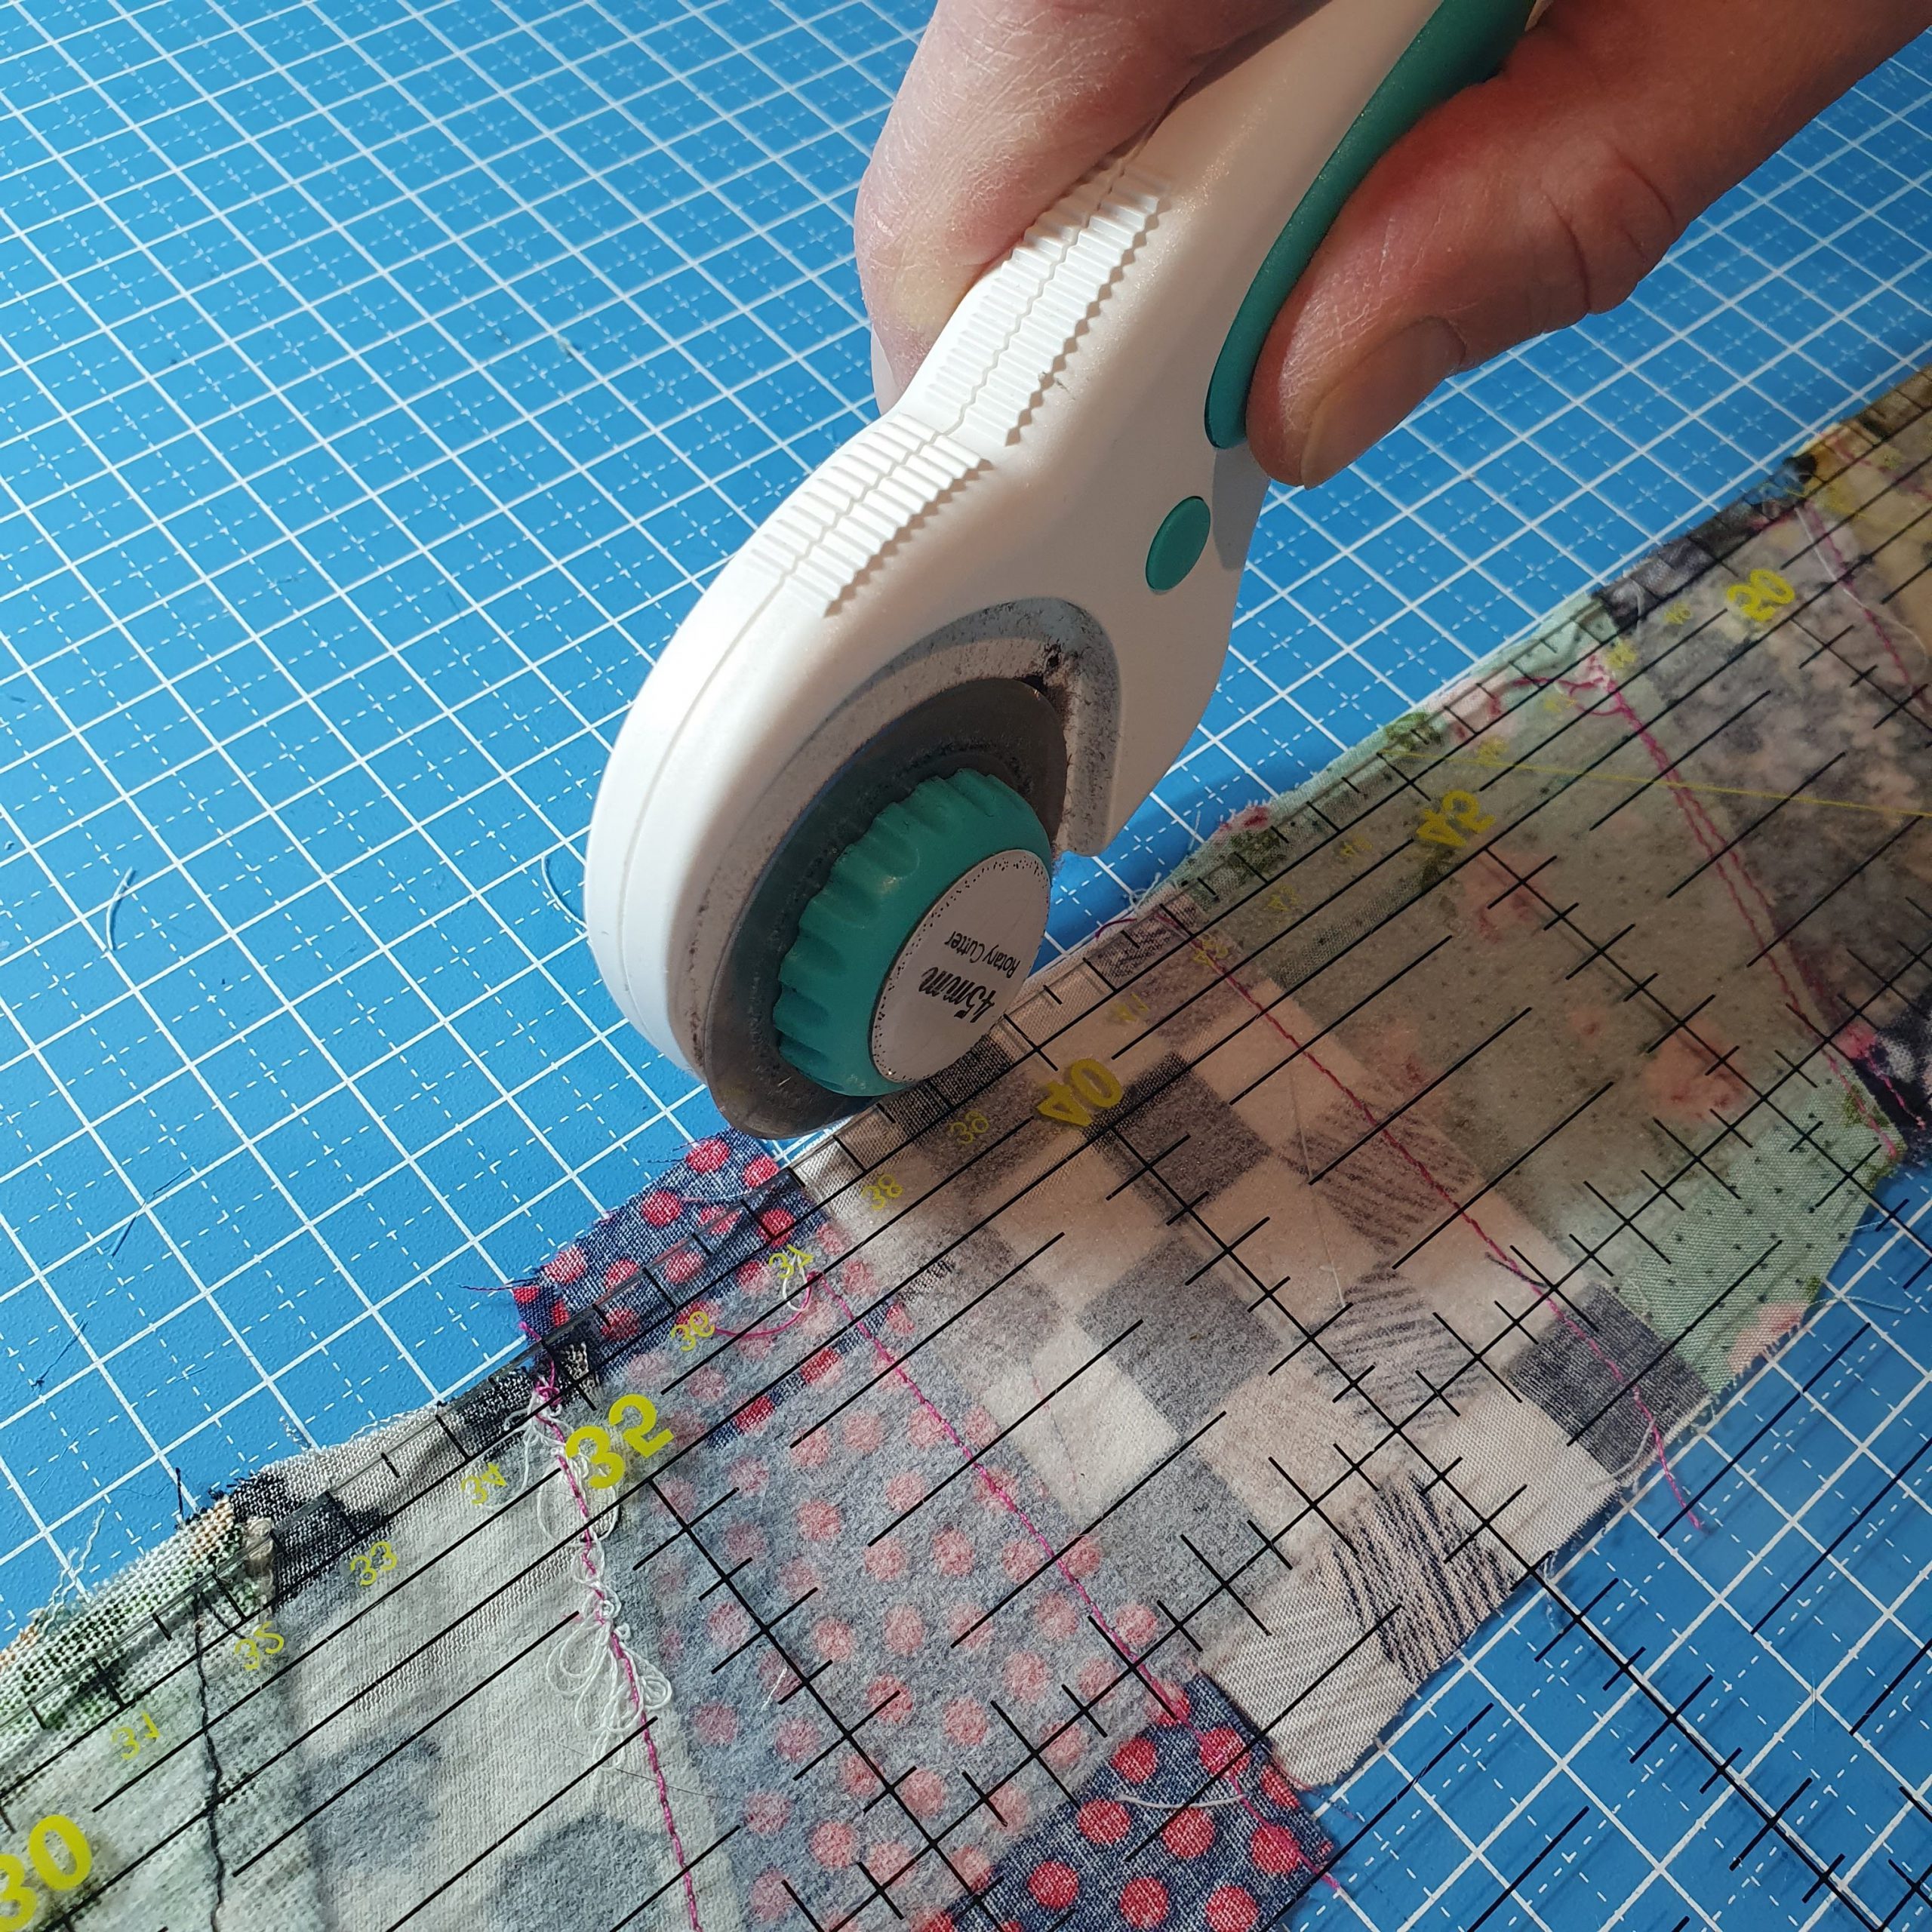
Cut
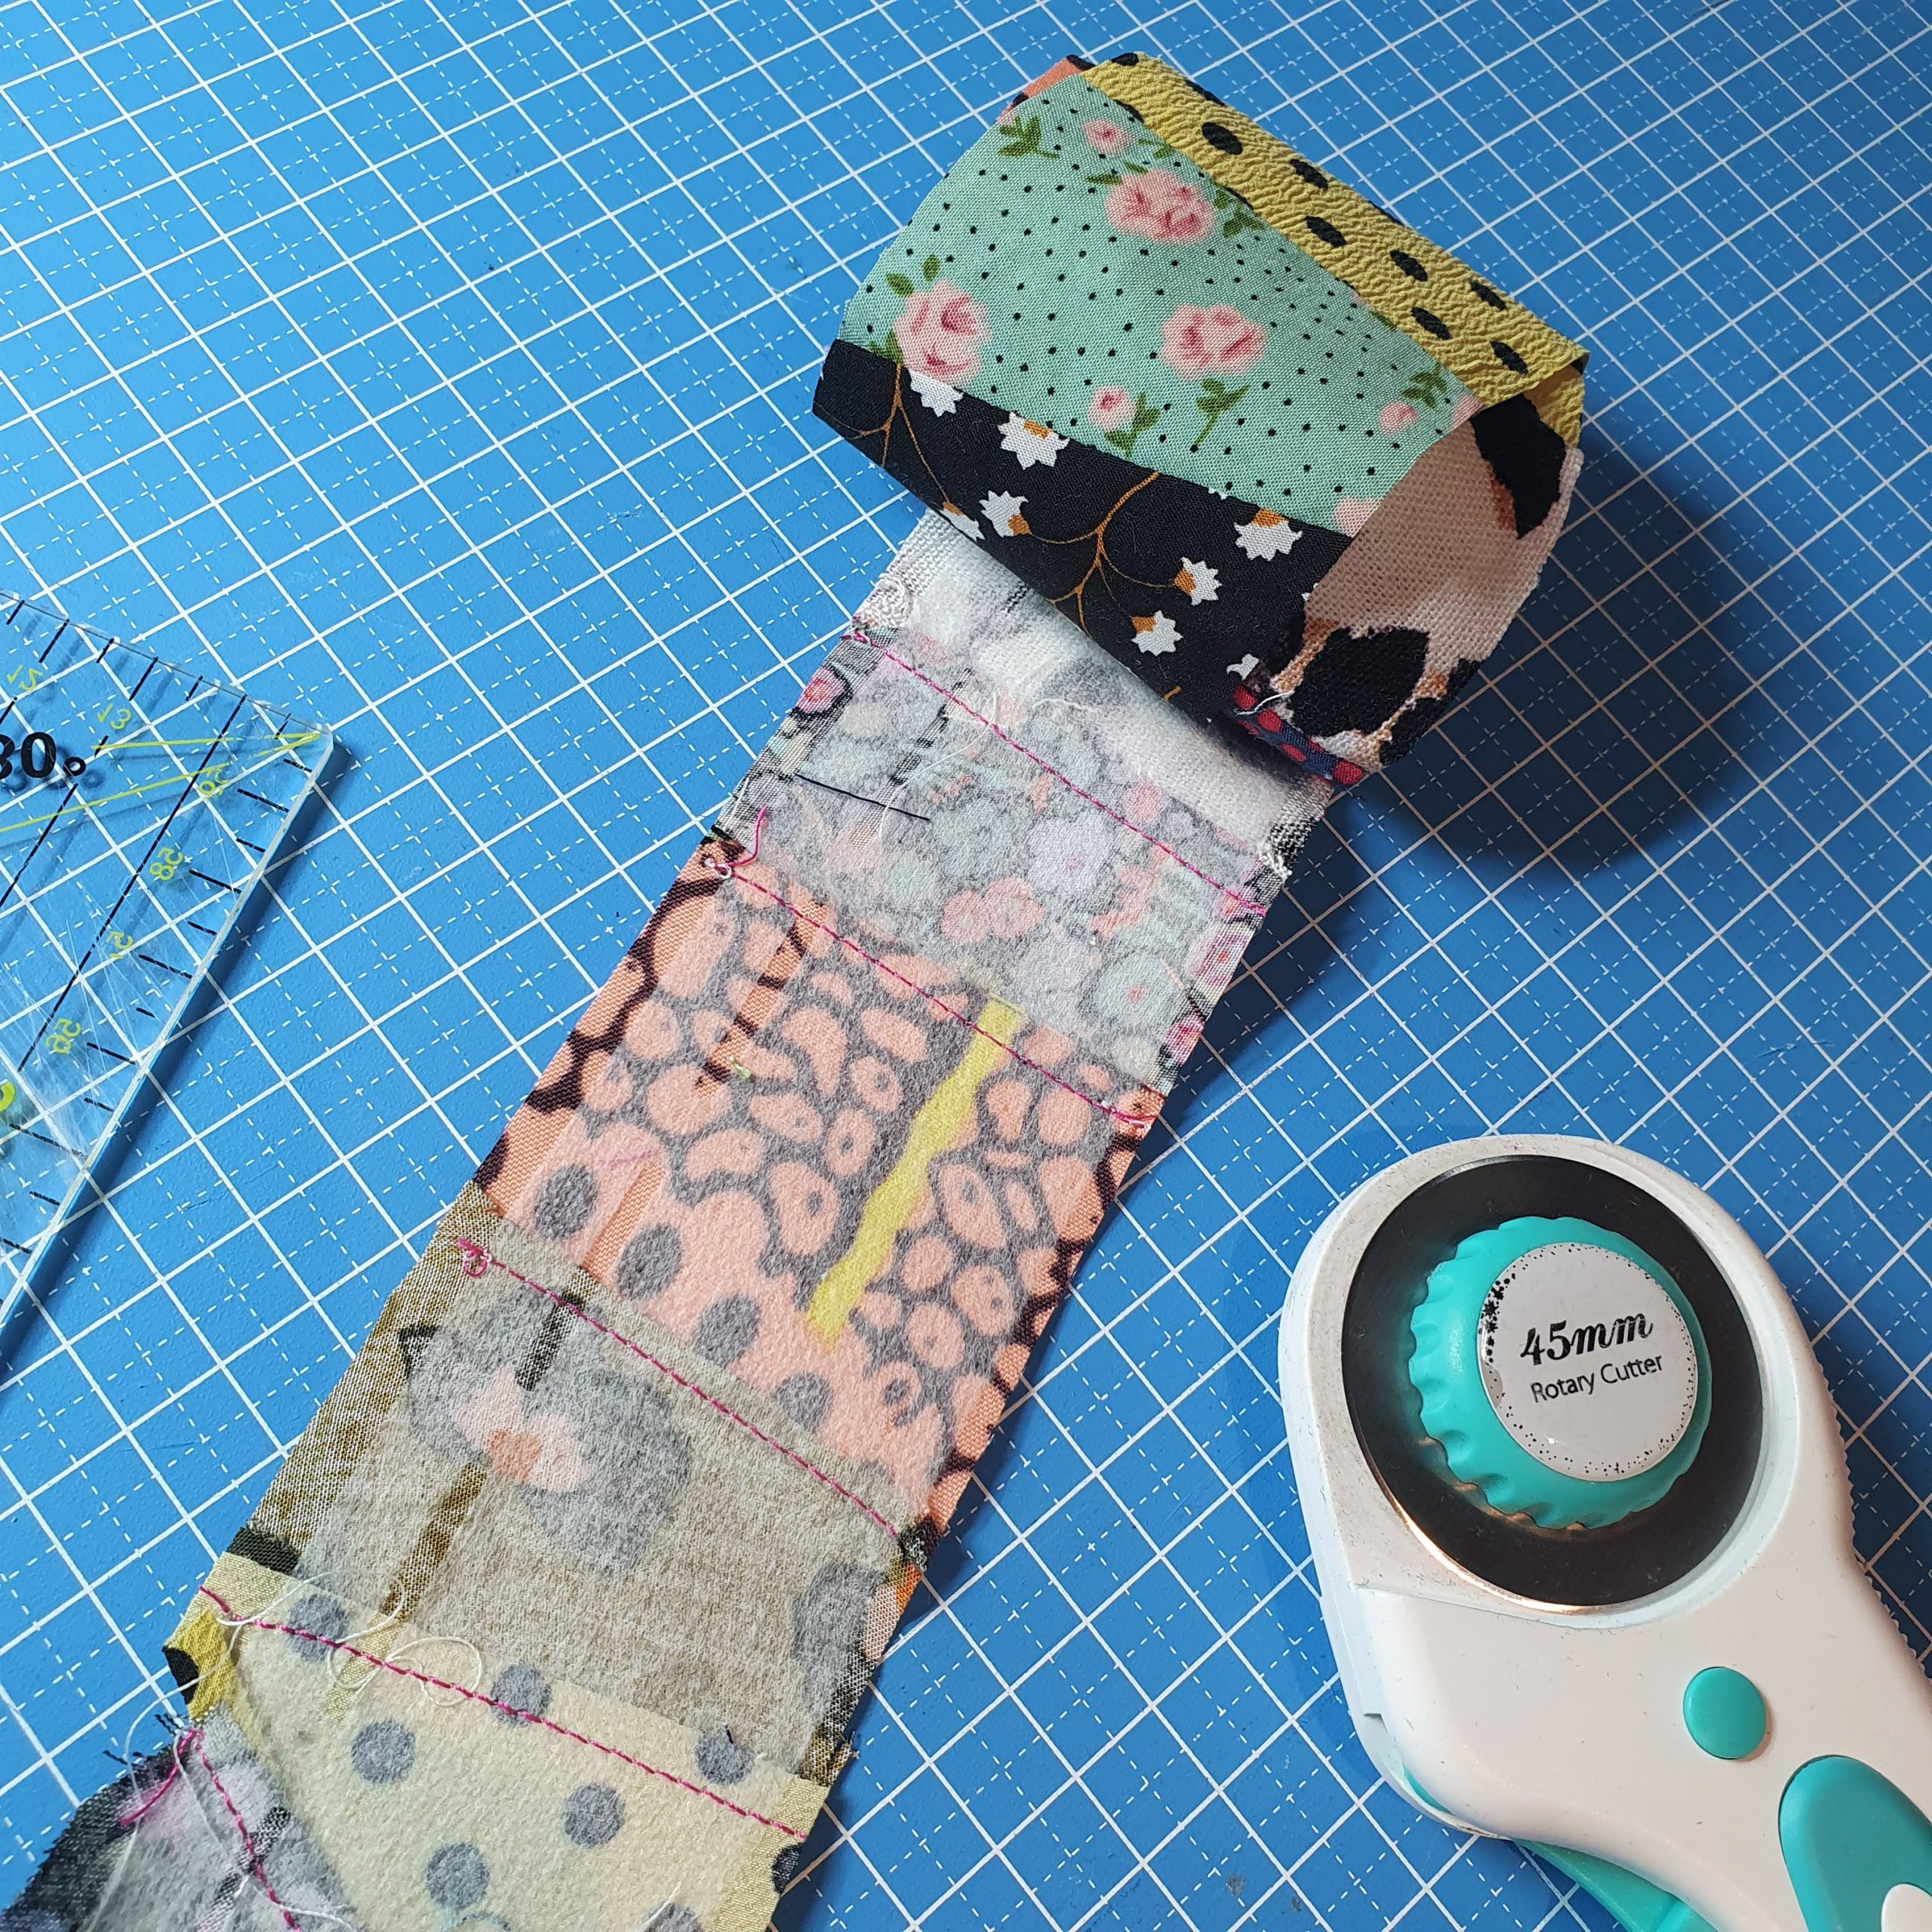
Fold the patchwork in half lengthwise, iron it again and save it for your desired project. Think of finishing a quilt or seams on the inside as in the Harper top above.
Jacket of bags
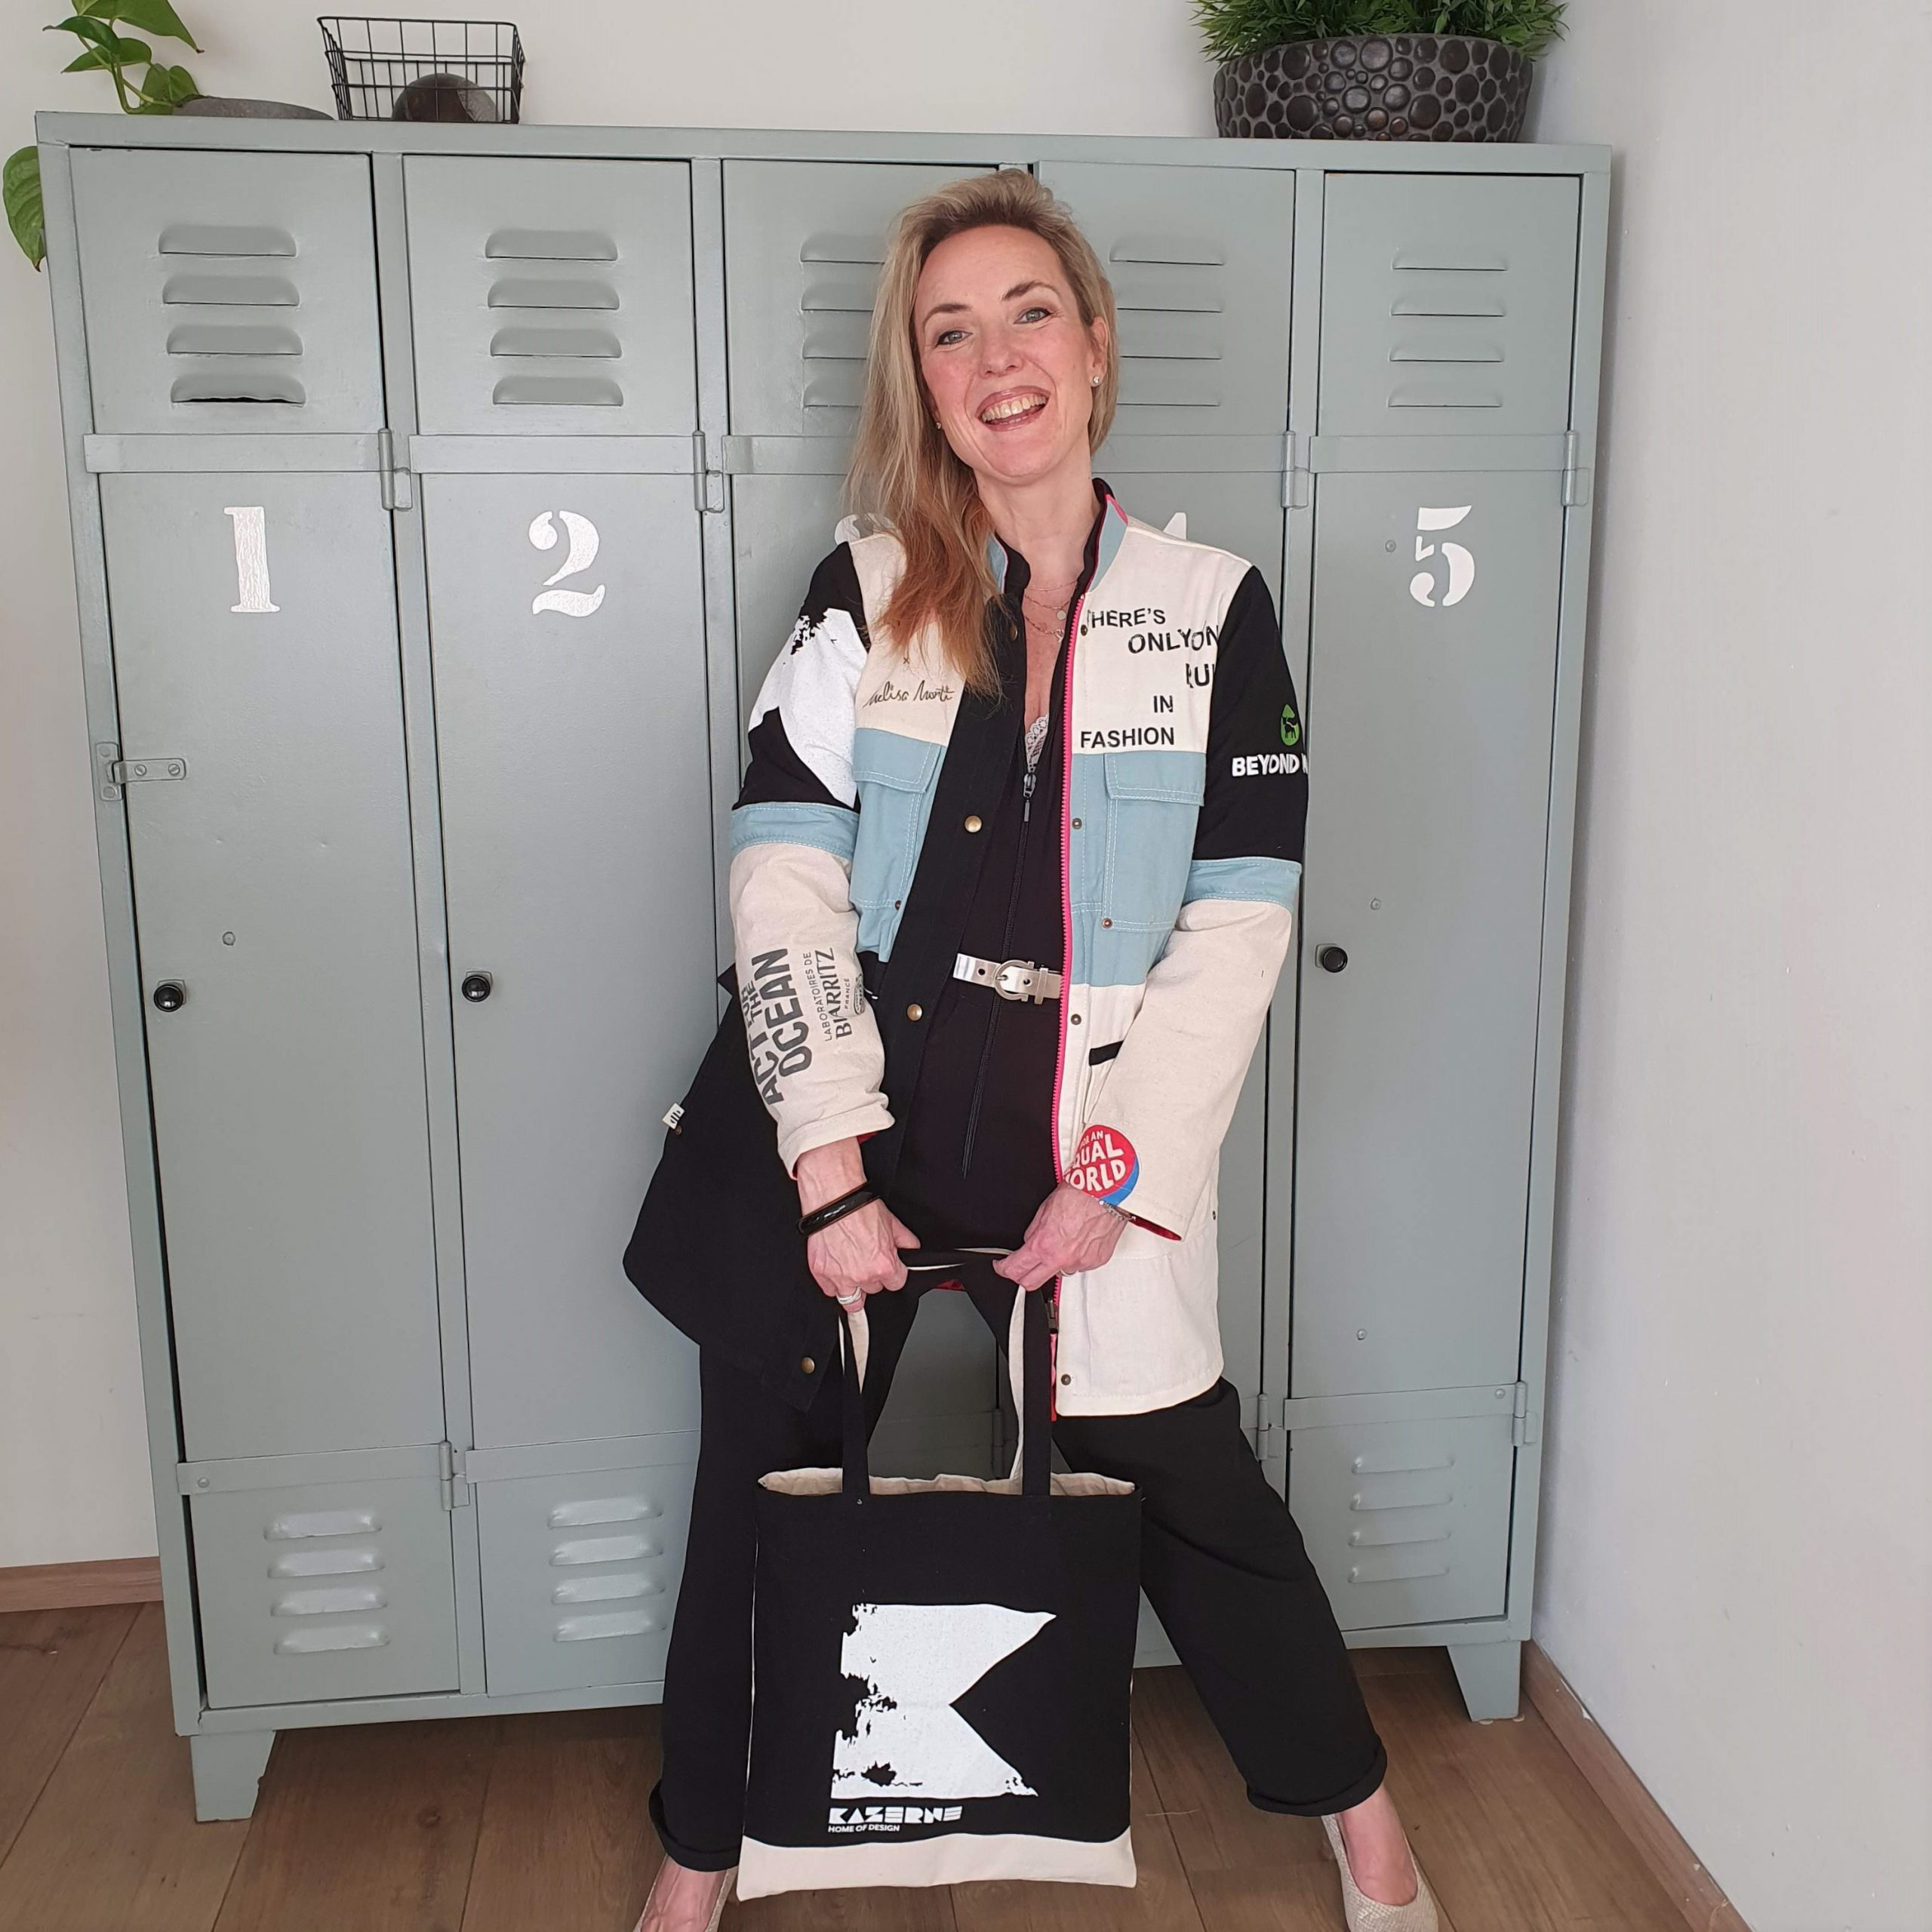
This project is a collaboration with@TheGreenlist.nl, she shares online tips for a more sustainable life. She posted a post on Instagram in January in which she shared her mild frustration on how many bags she was sent (often unsolicited) as PR material. I immediately thought, I can make something else with those bags and sent her a message. At the same time, she was looking for someone to make a coat for her out of these bags. Two minds!
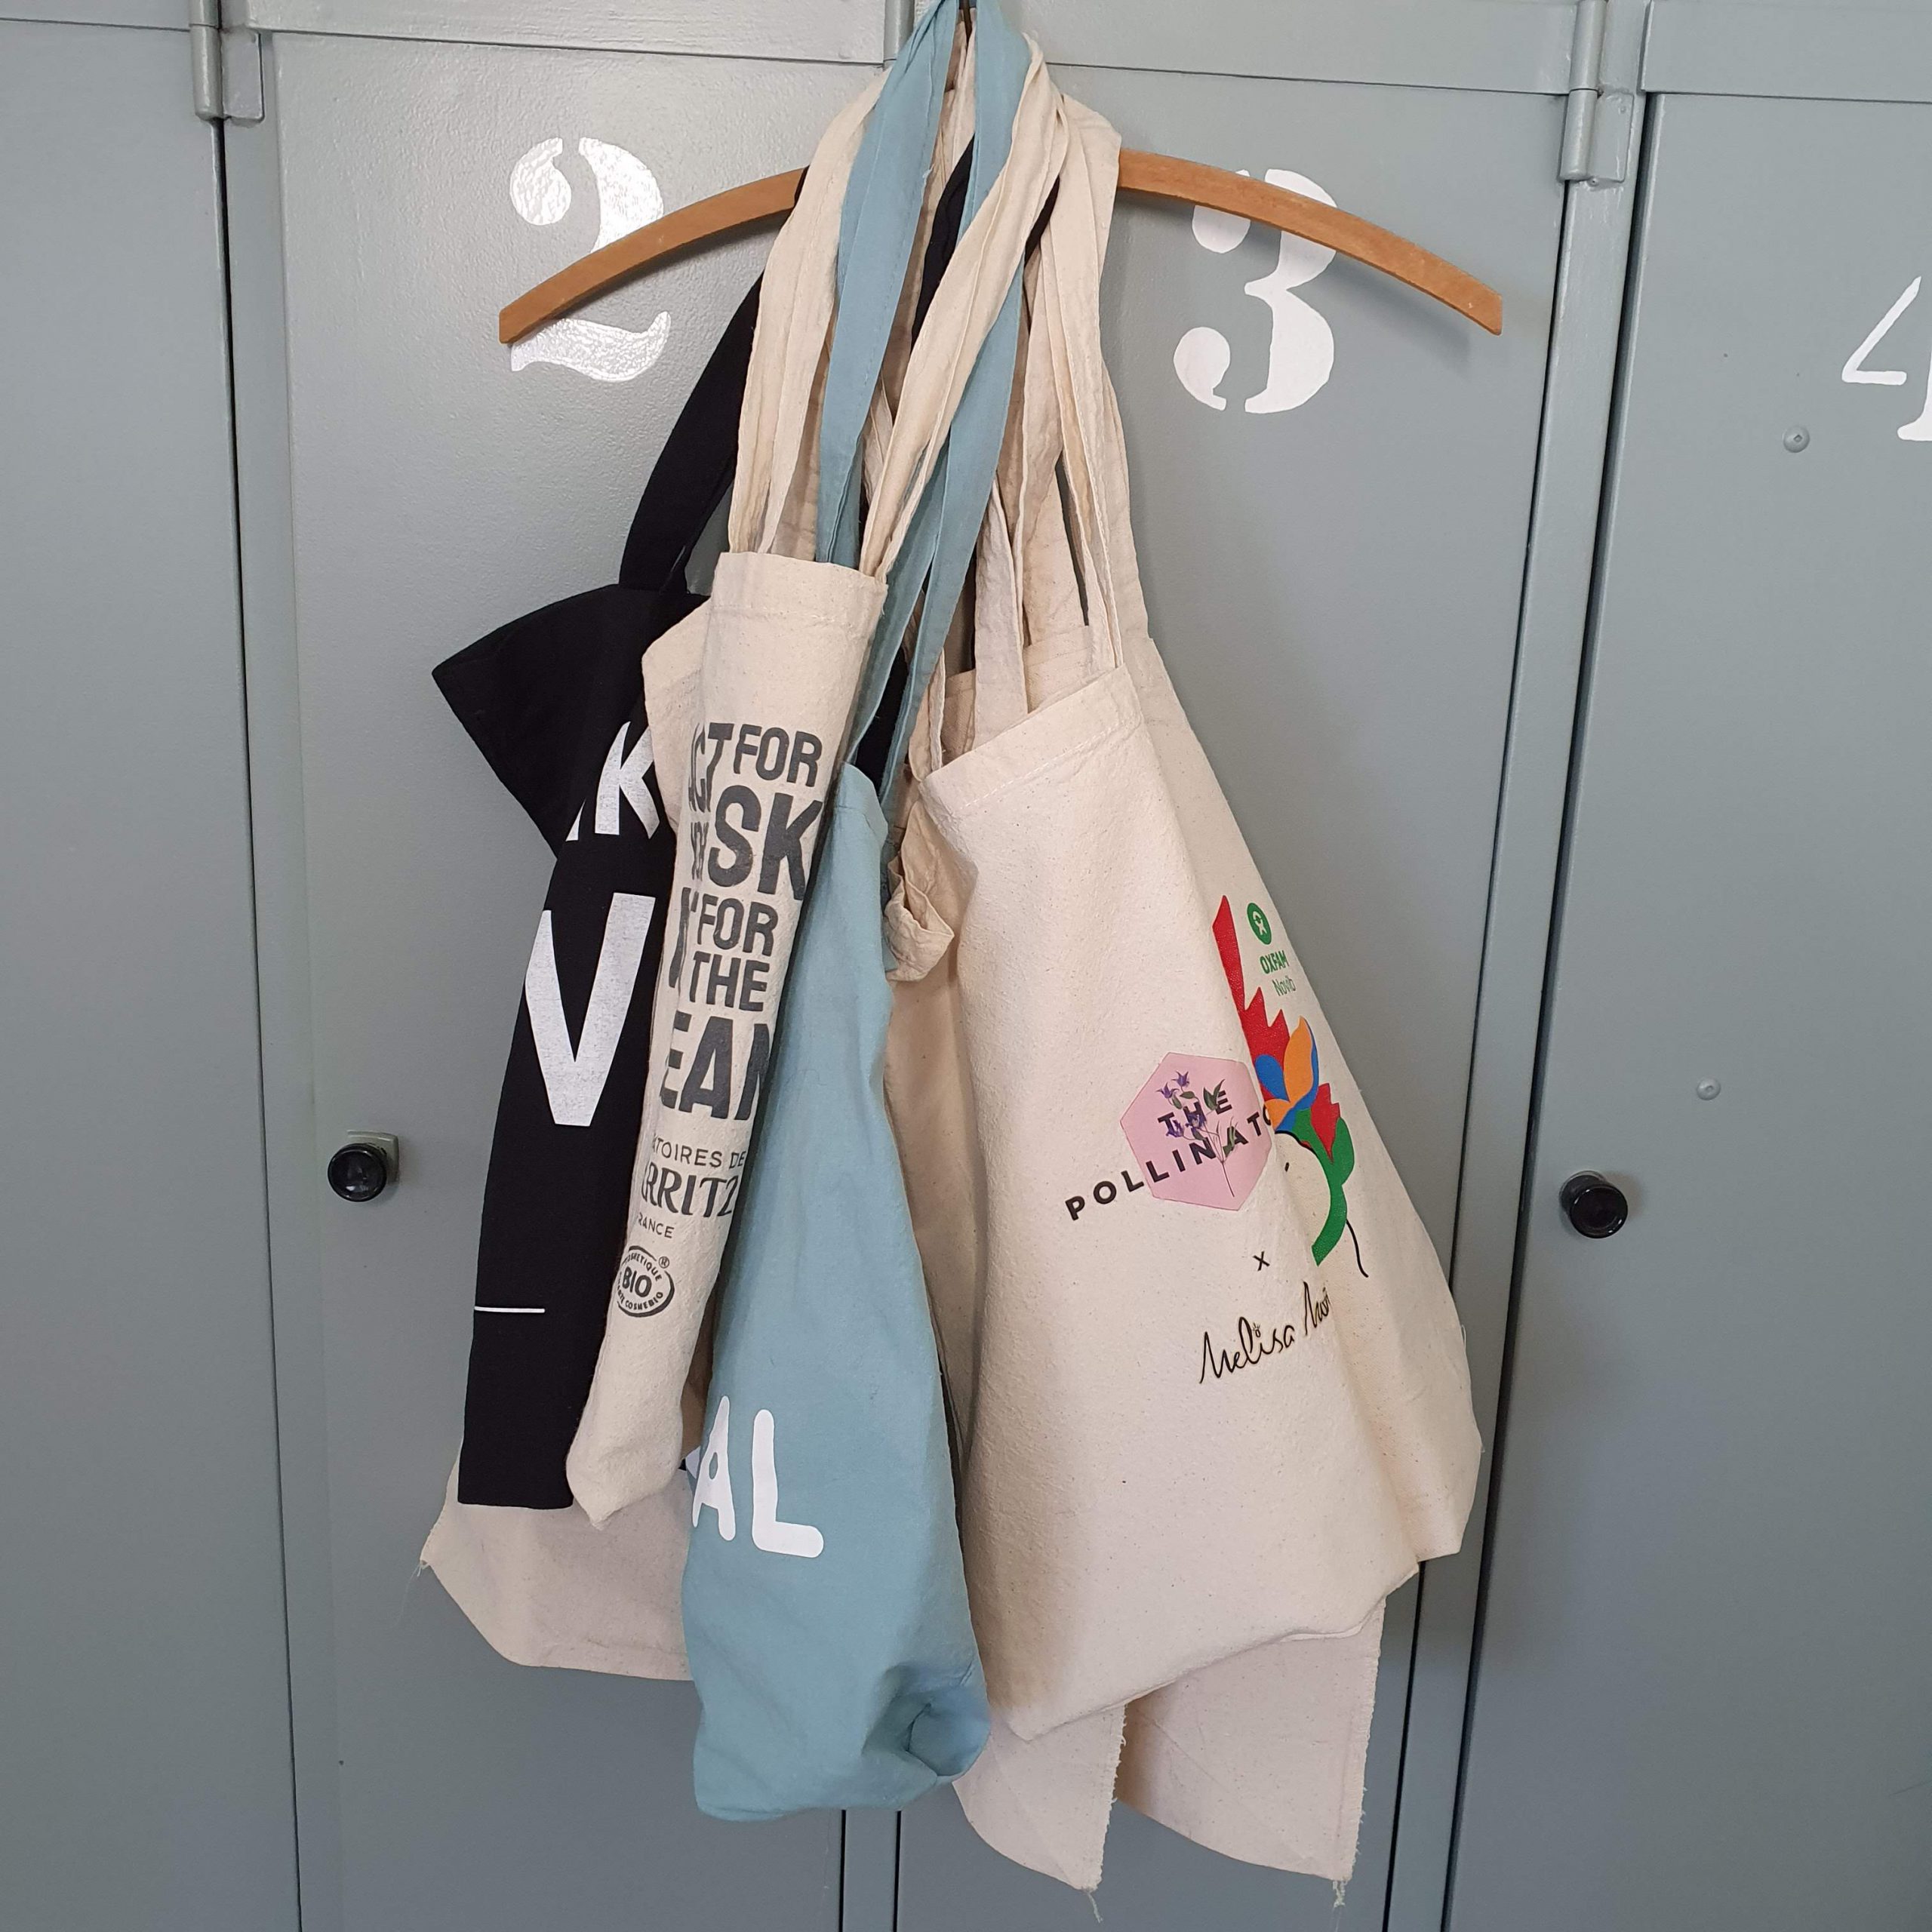
Her wish a kind of army jacket with lots of pockets, a waistband and a stand-up collar. We selected the parka pattern from Inspiration Magazine, with which I previously sewed a bright yellow summer version.

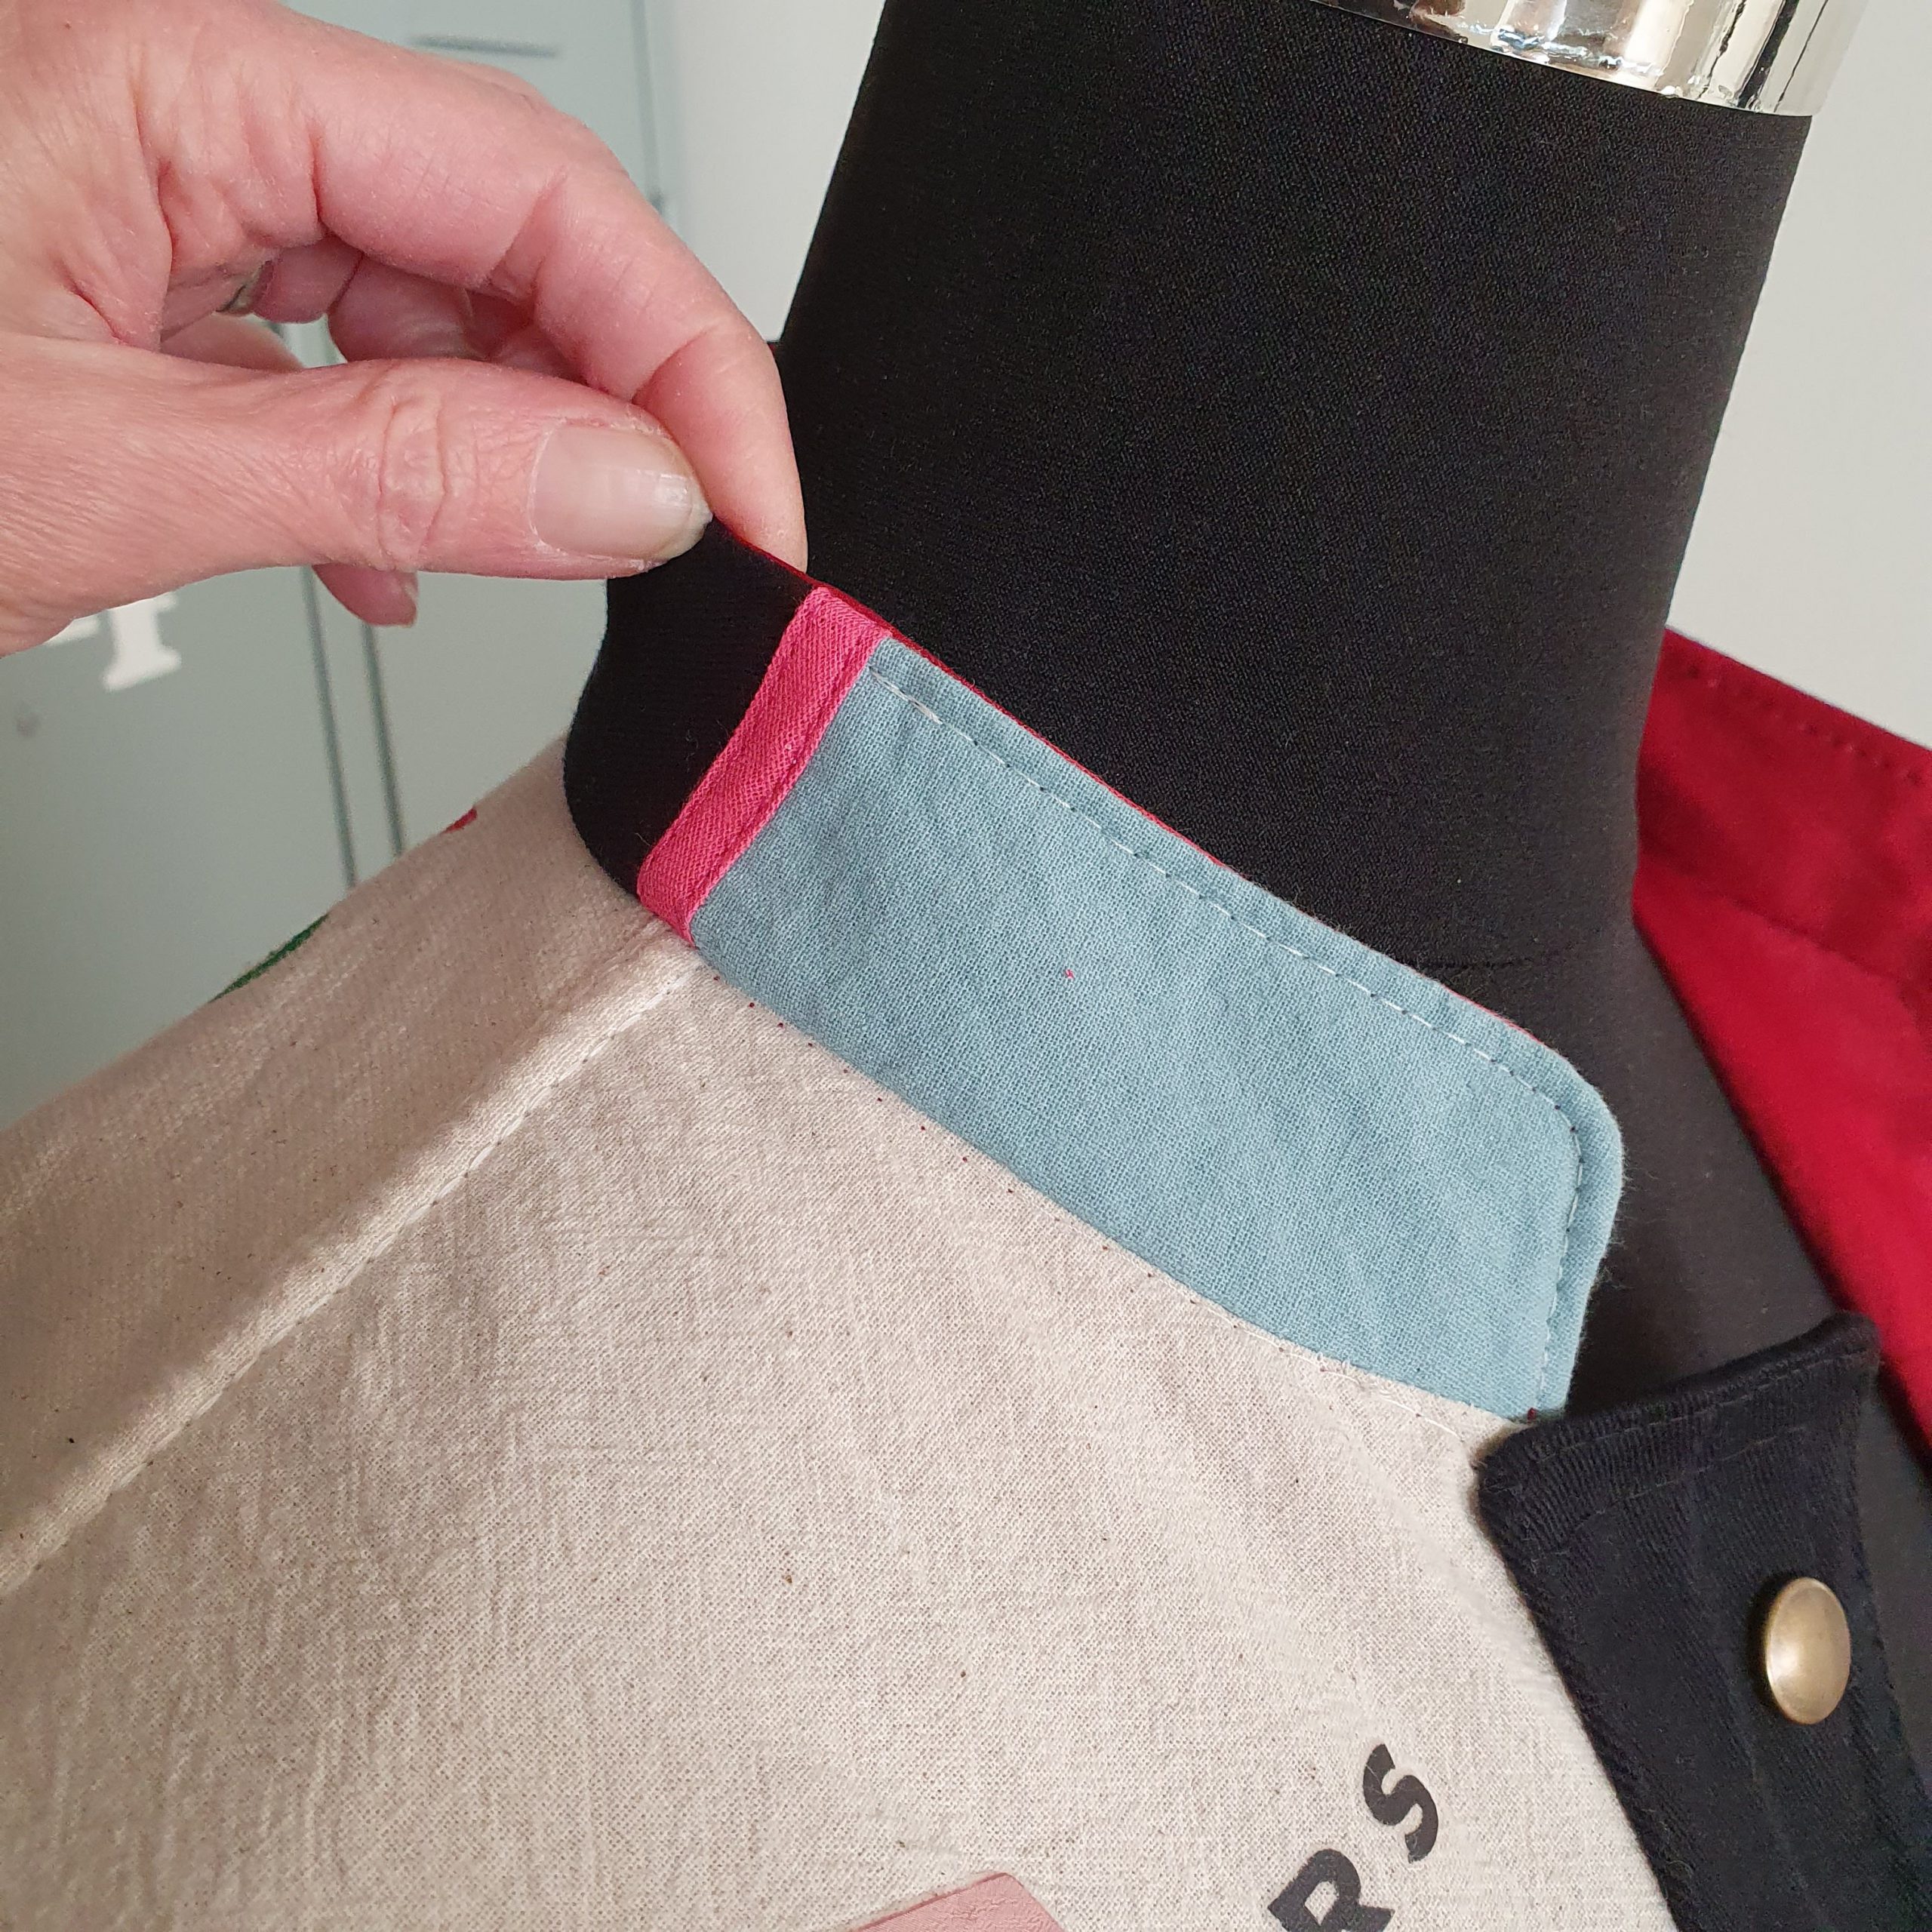
She loves colour and that became a challenge as most of the bags were beige and black. I incorporated the only blue bag into the jacket down to the last tiny remnant. A pink zip and ditto leftover bias tape brought a little more colour to the jacket. And the OxfamNovib print on the back also lifted up the colour.
A little color
Colourful print
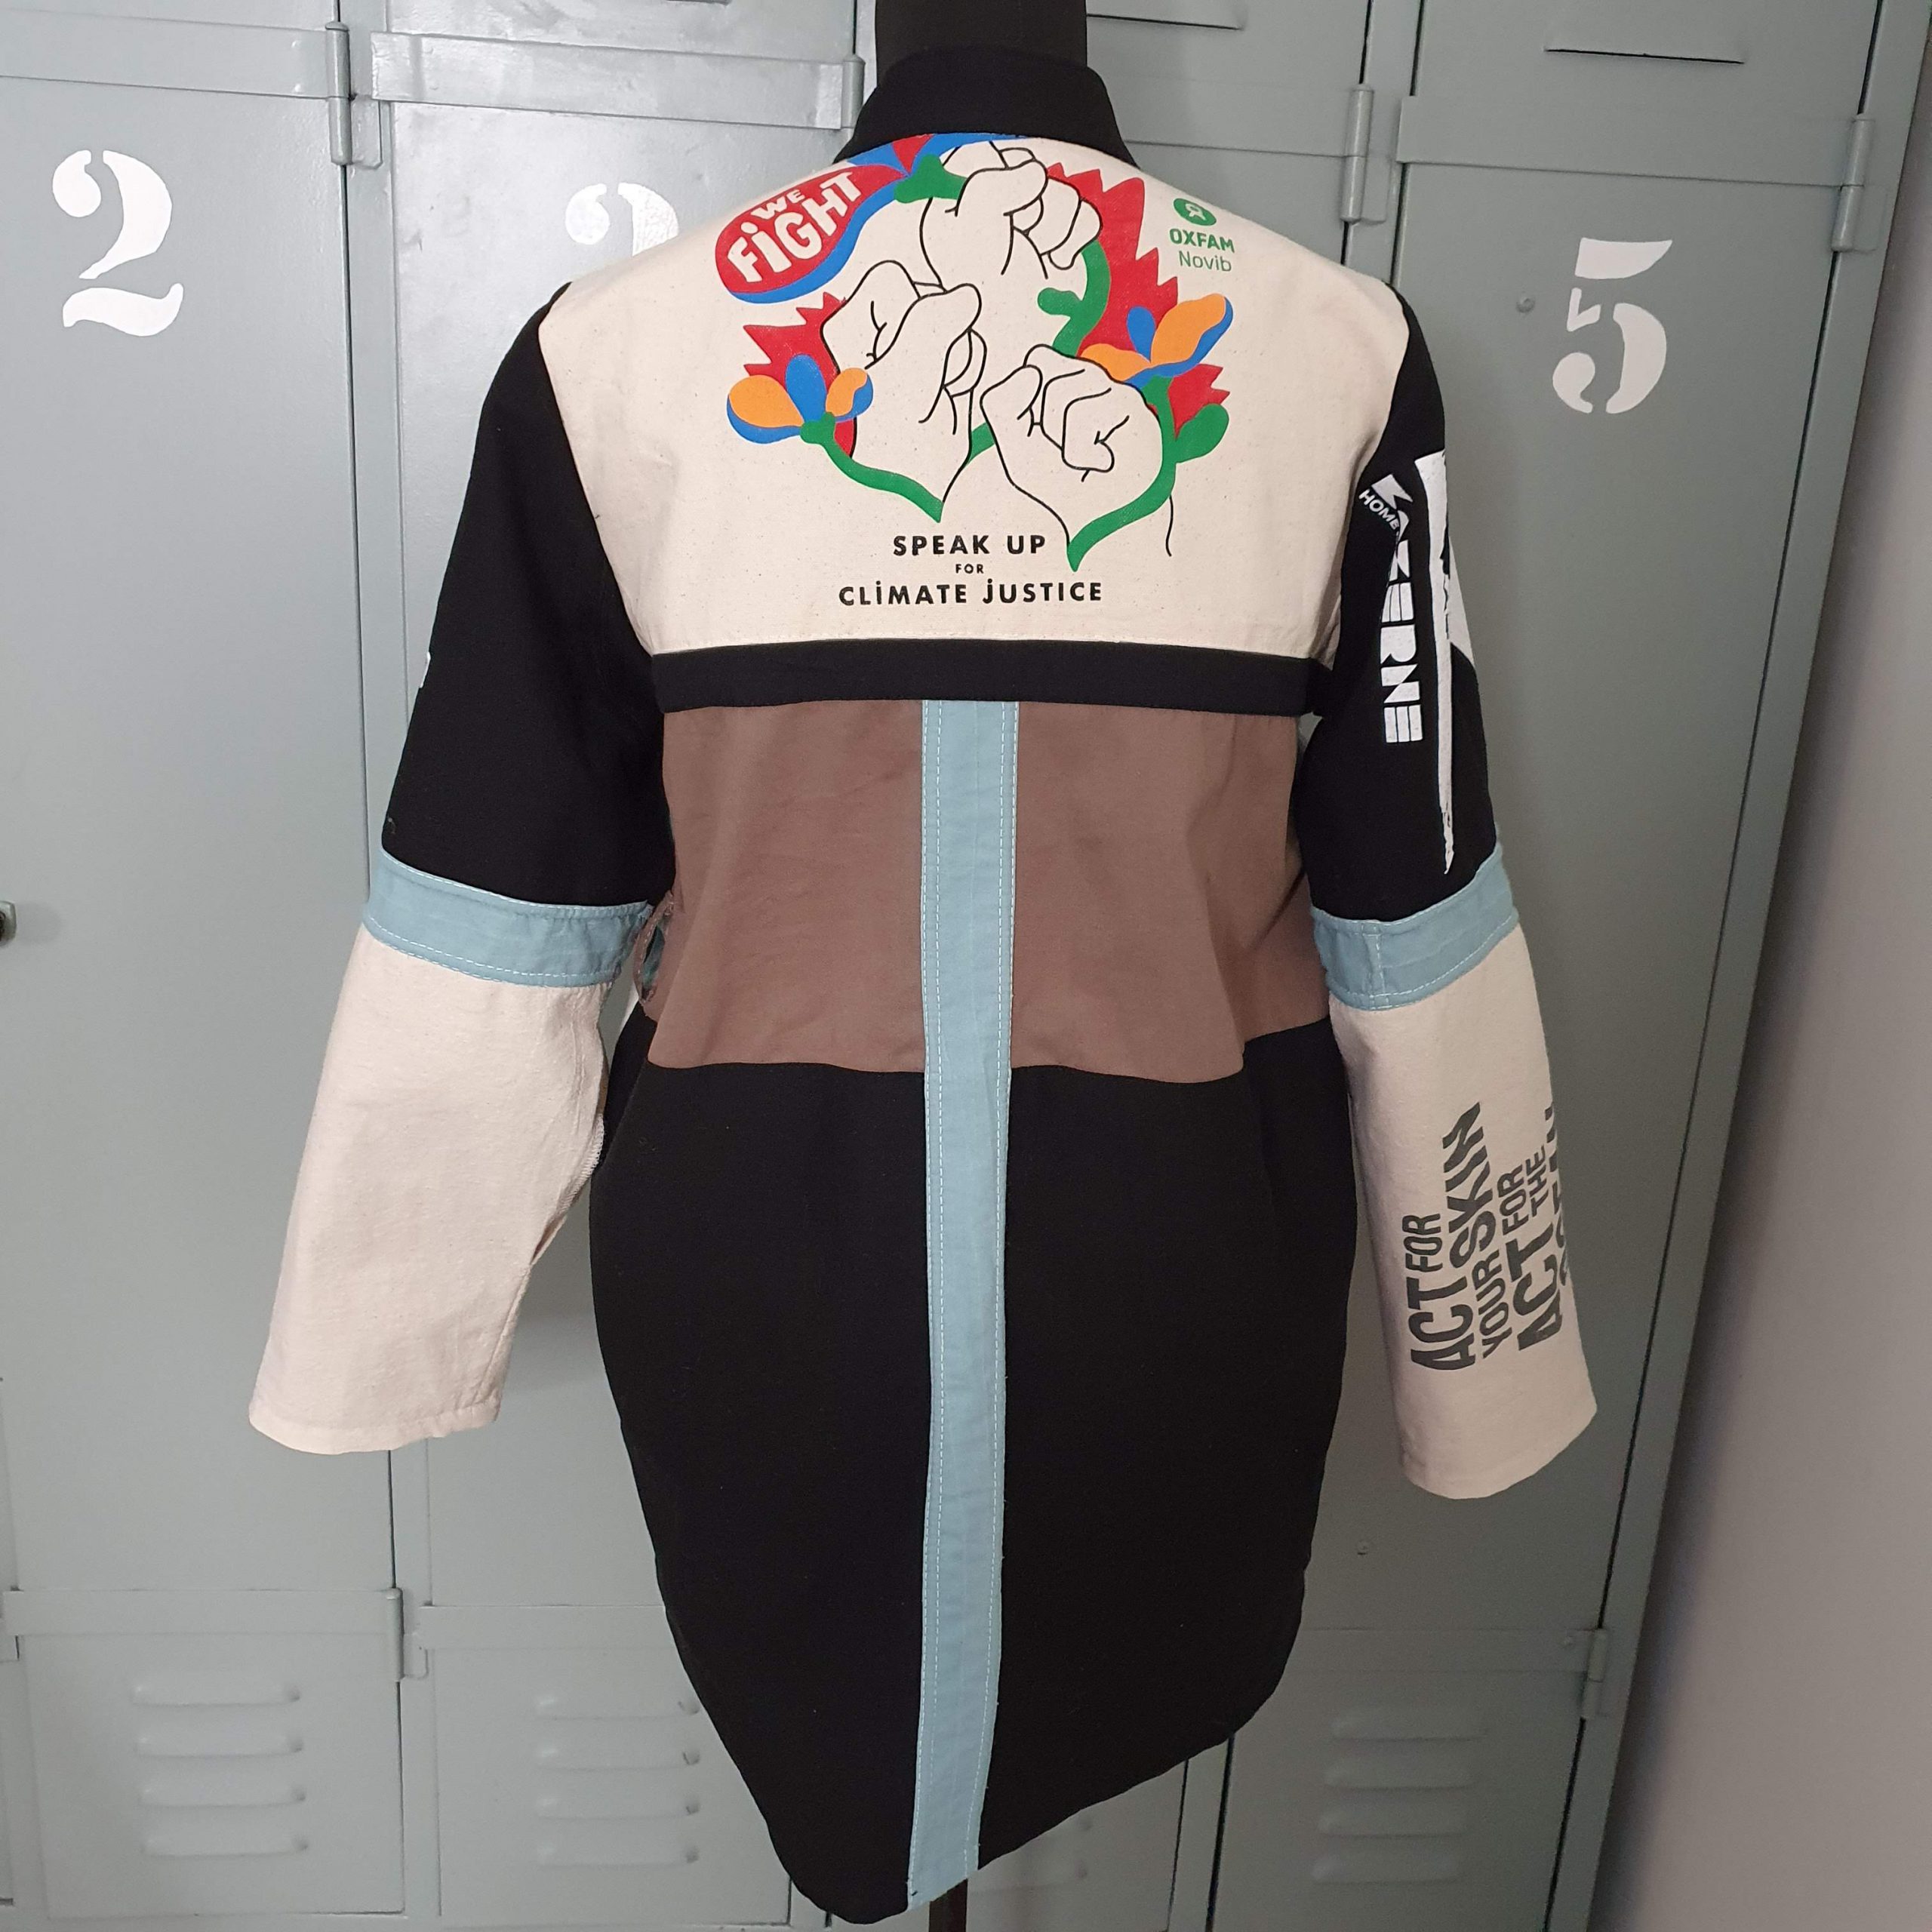
Statement back
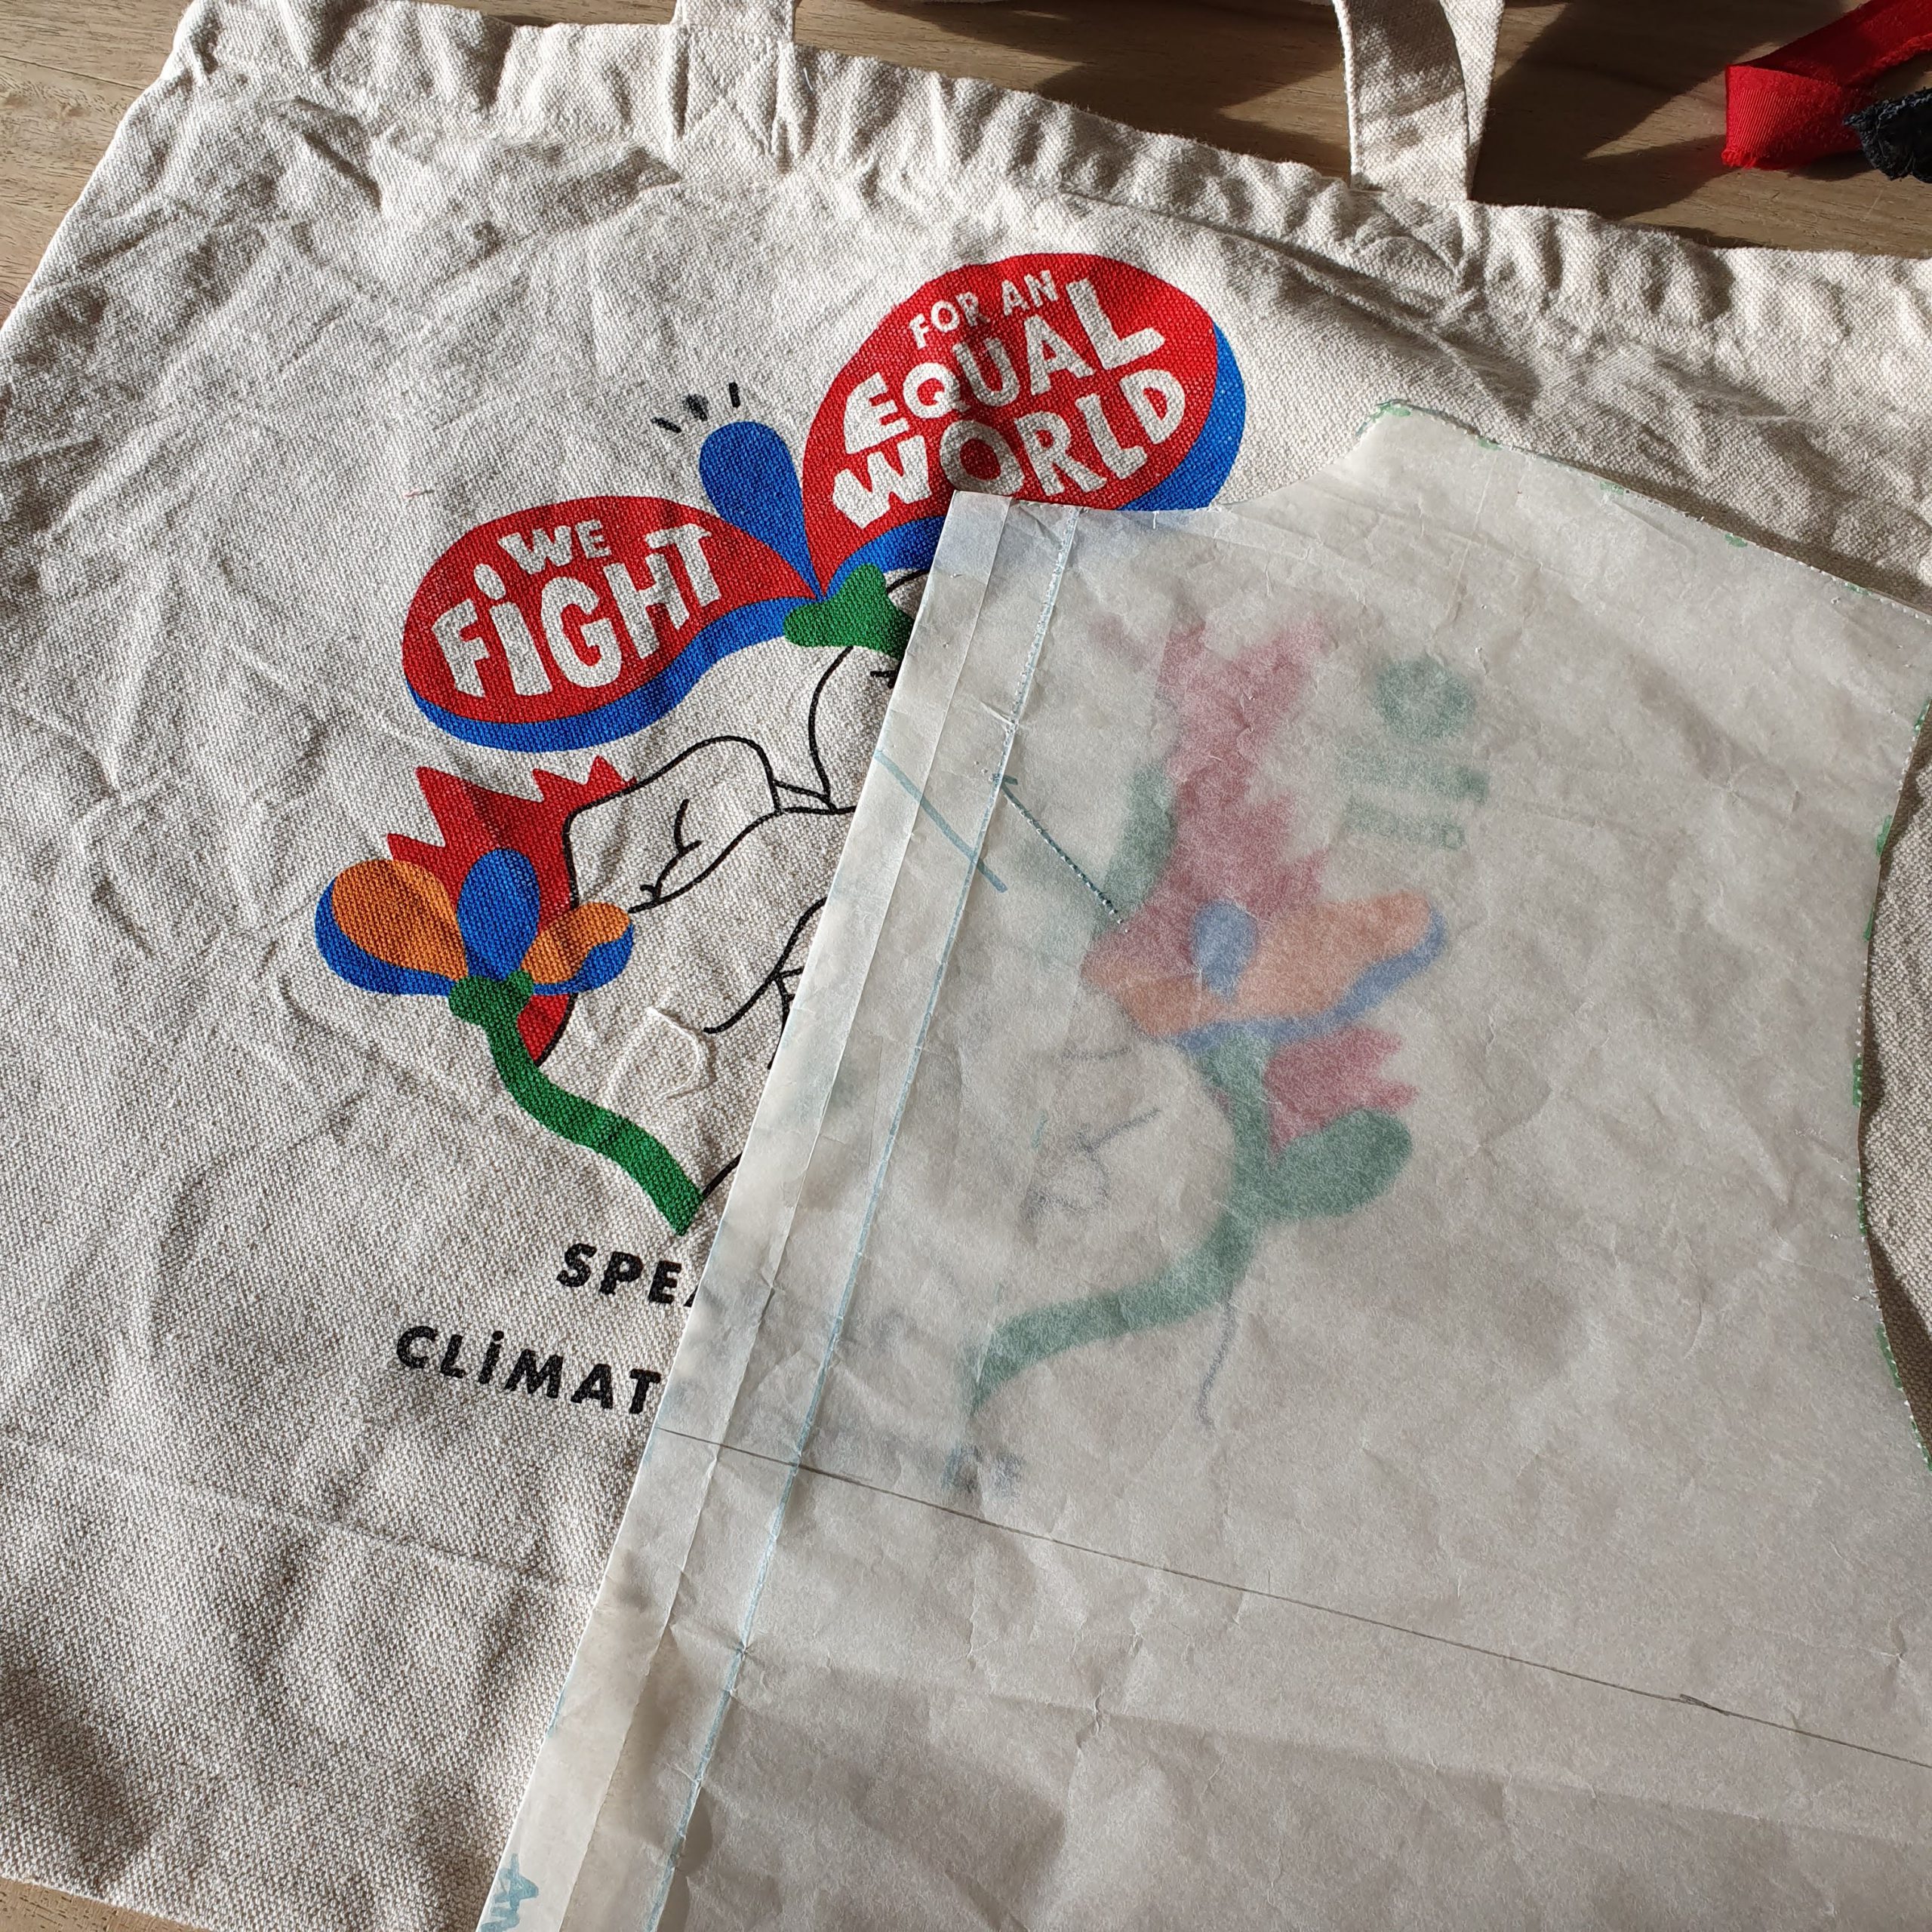
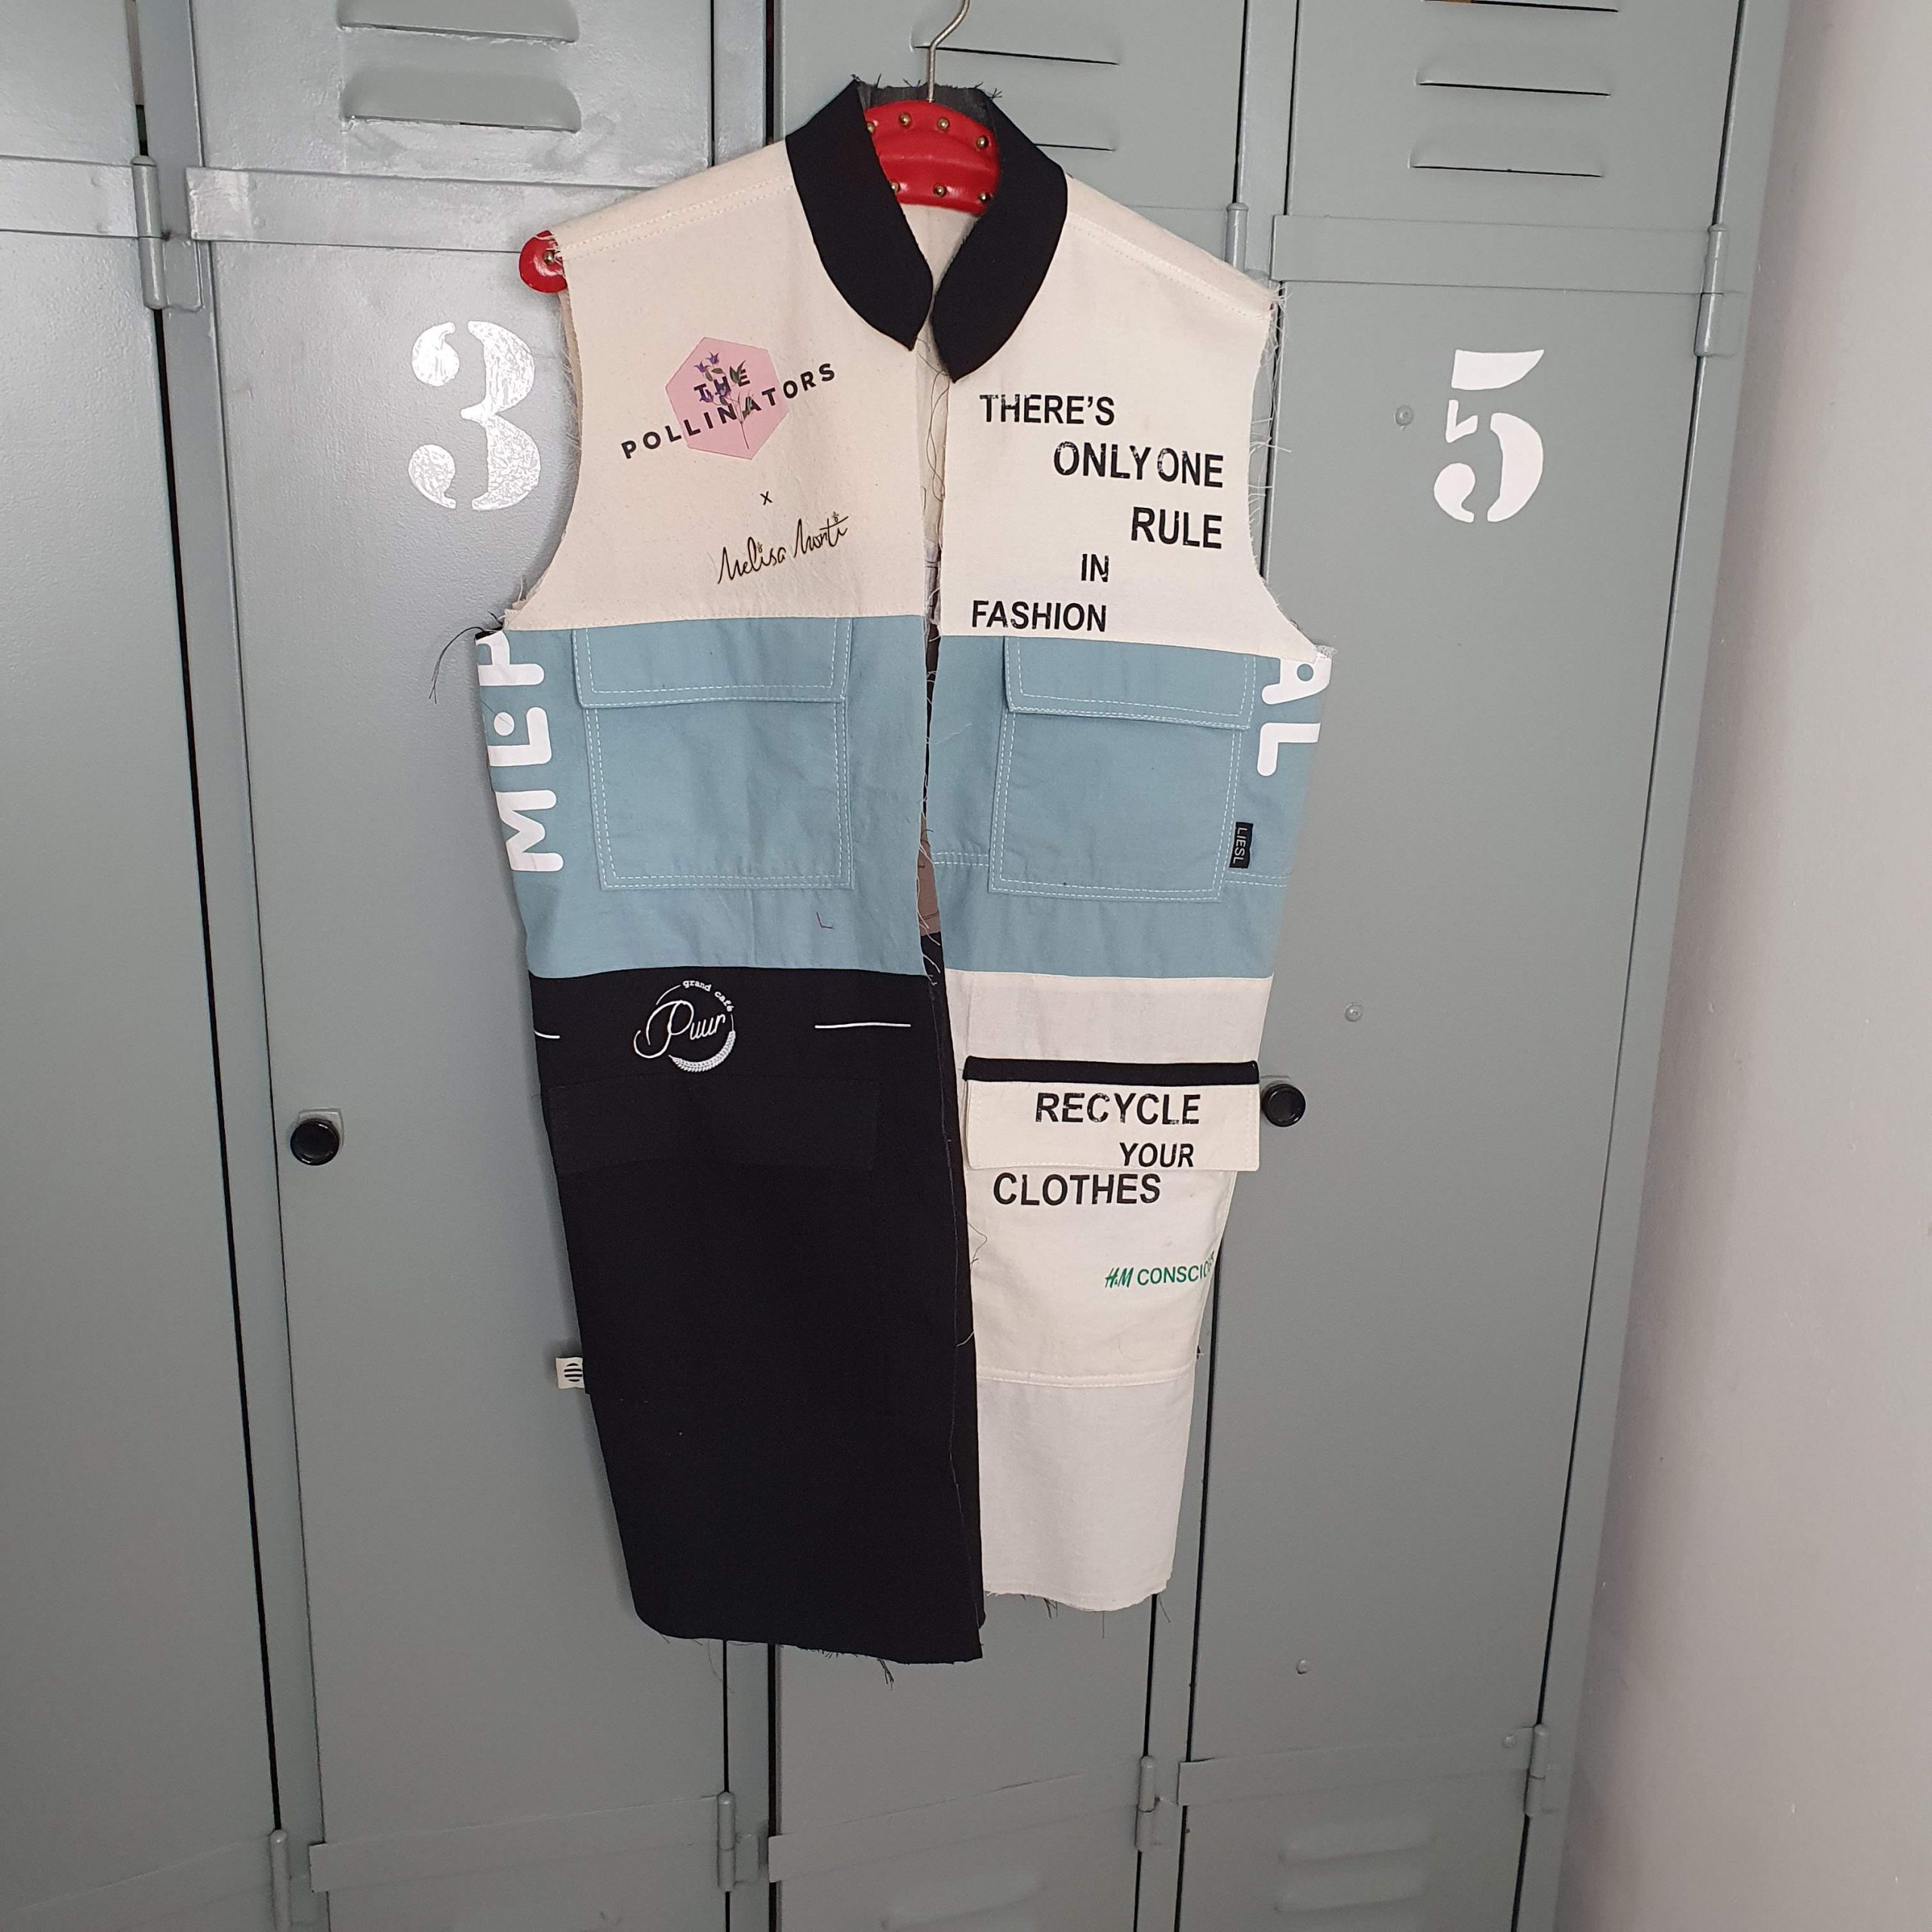
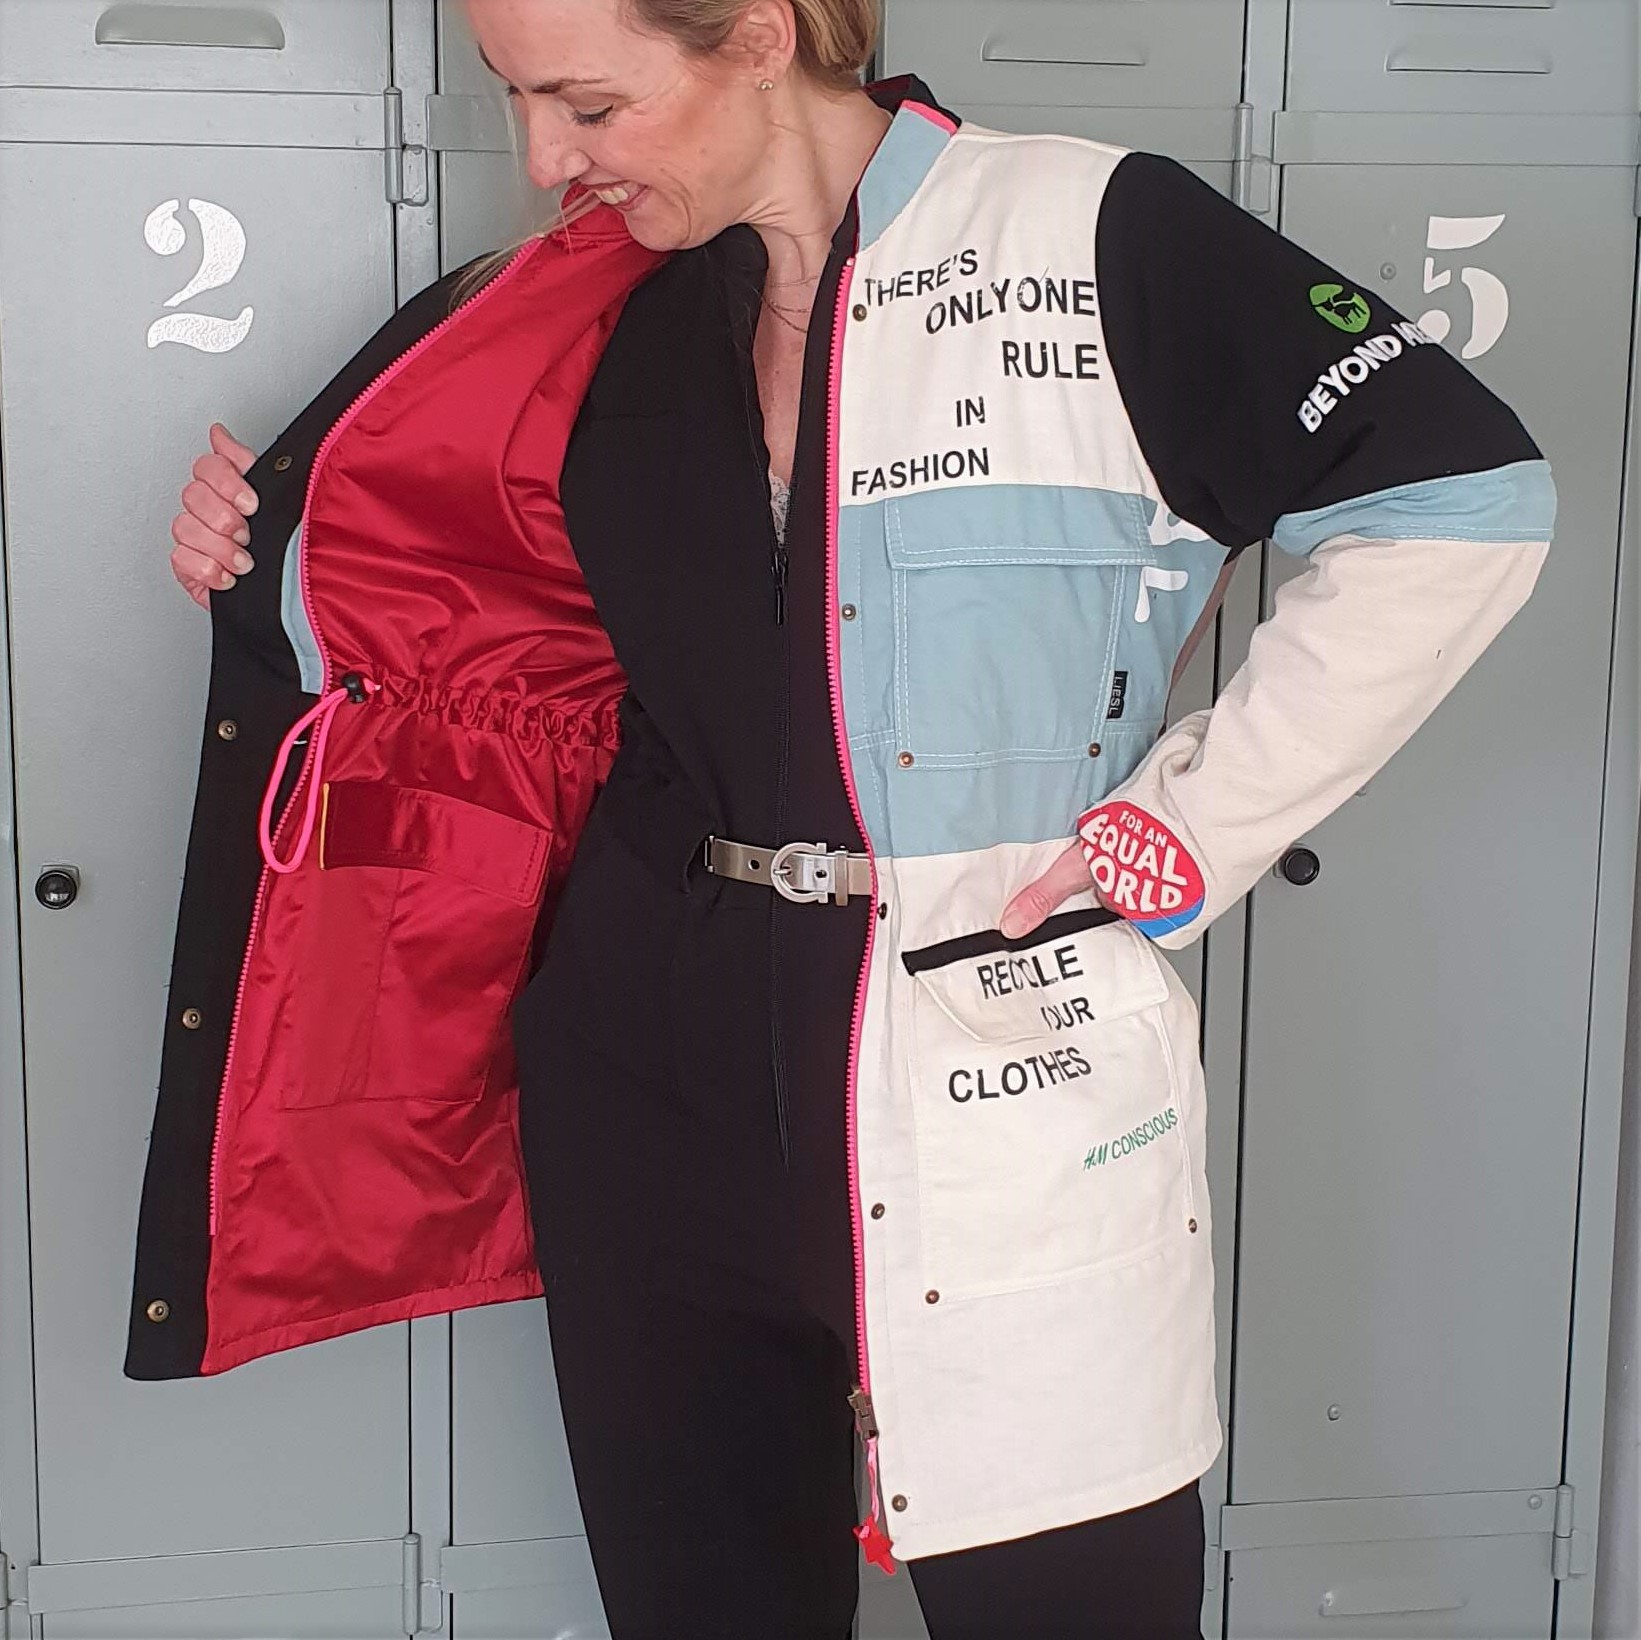
The cool text: ‘There is only one rule in fashion, recycle your clothes’ absolutely had to feature. And after washing and ironing the bags, I decided which bags I could use where. After making some sketches, I could start puzzling and dared to cut.

Drawing options
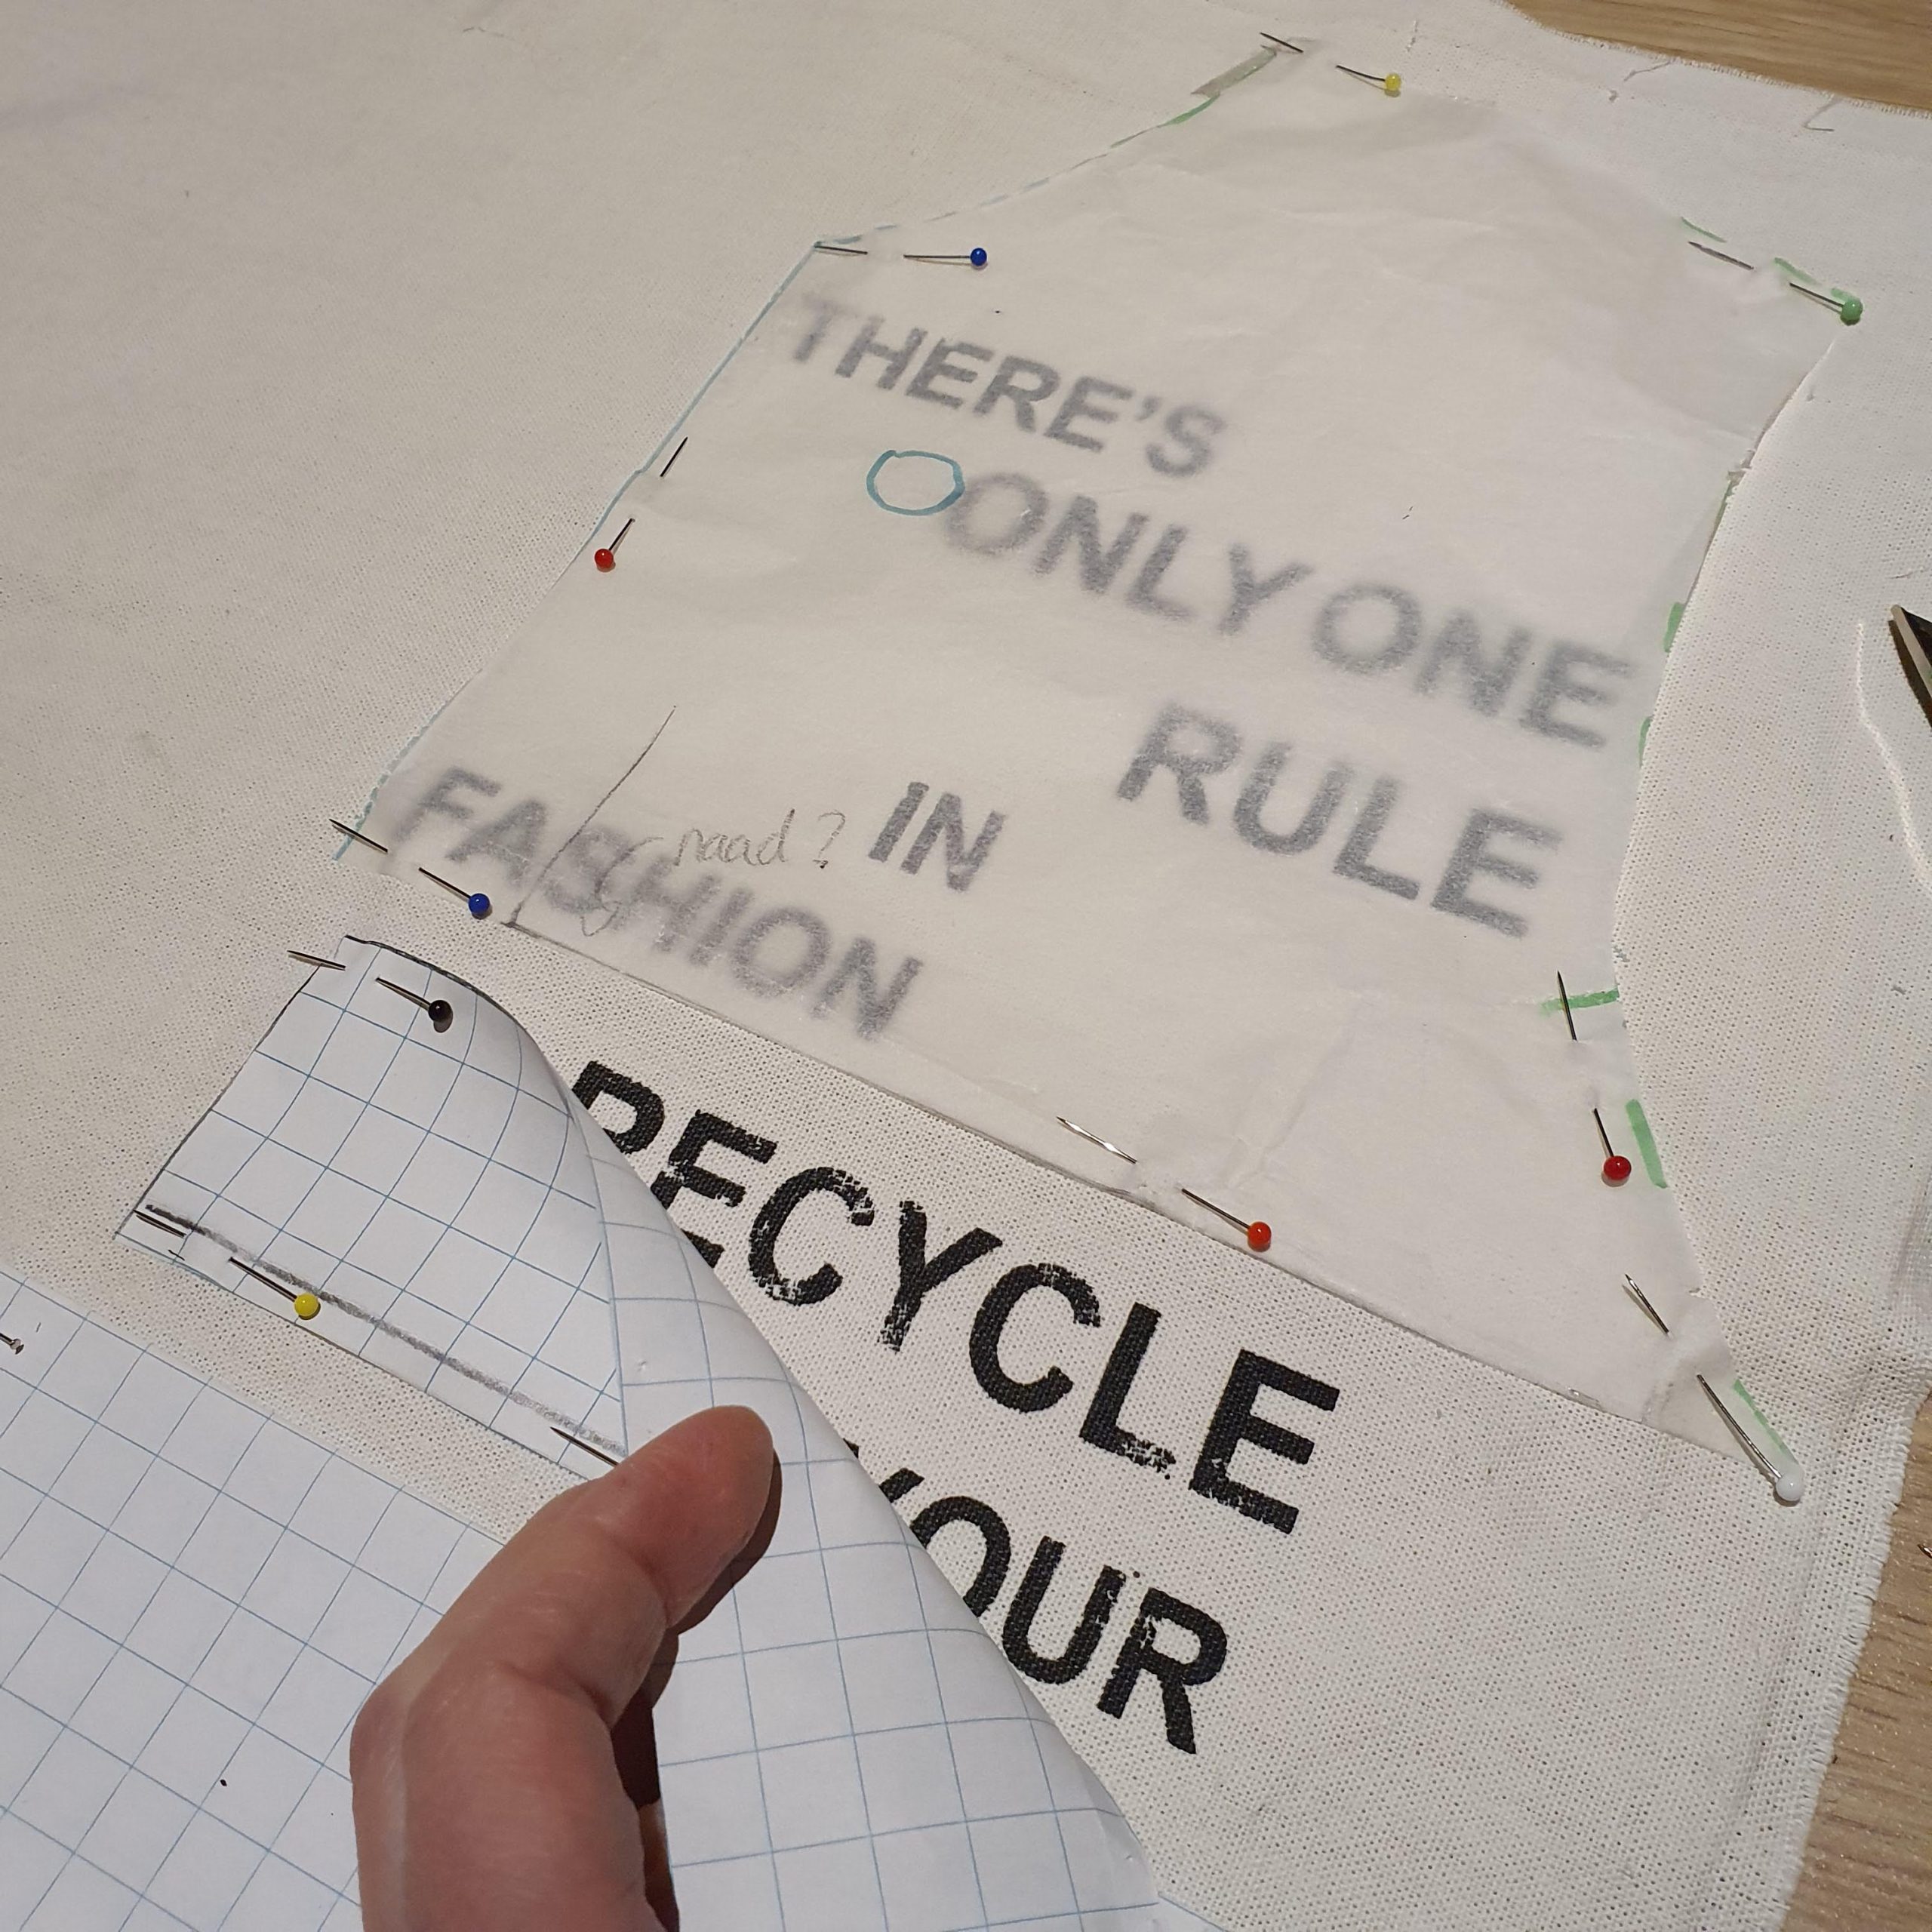
Cutting slogan
There was quite a difference in thickness of fabric and also how firmly the fabric was woven. To make the different textures look a bit more alike, I reinforced the somewhat flabby bags with fusible interfacing.
Details
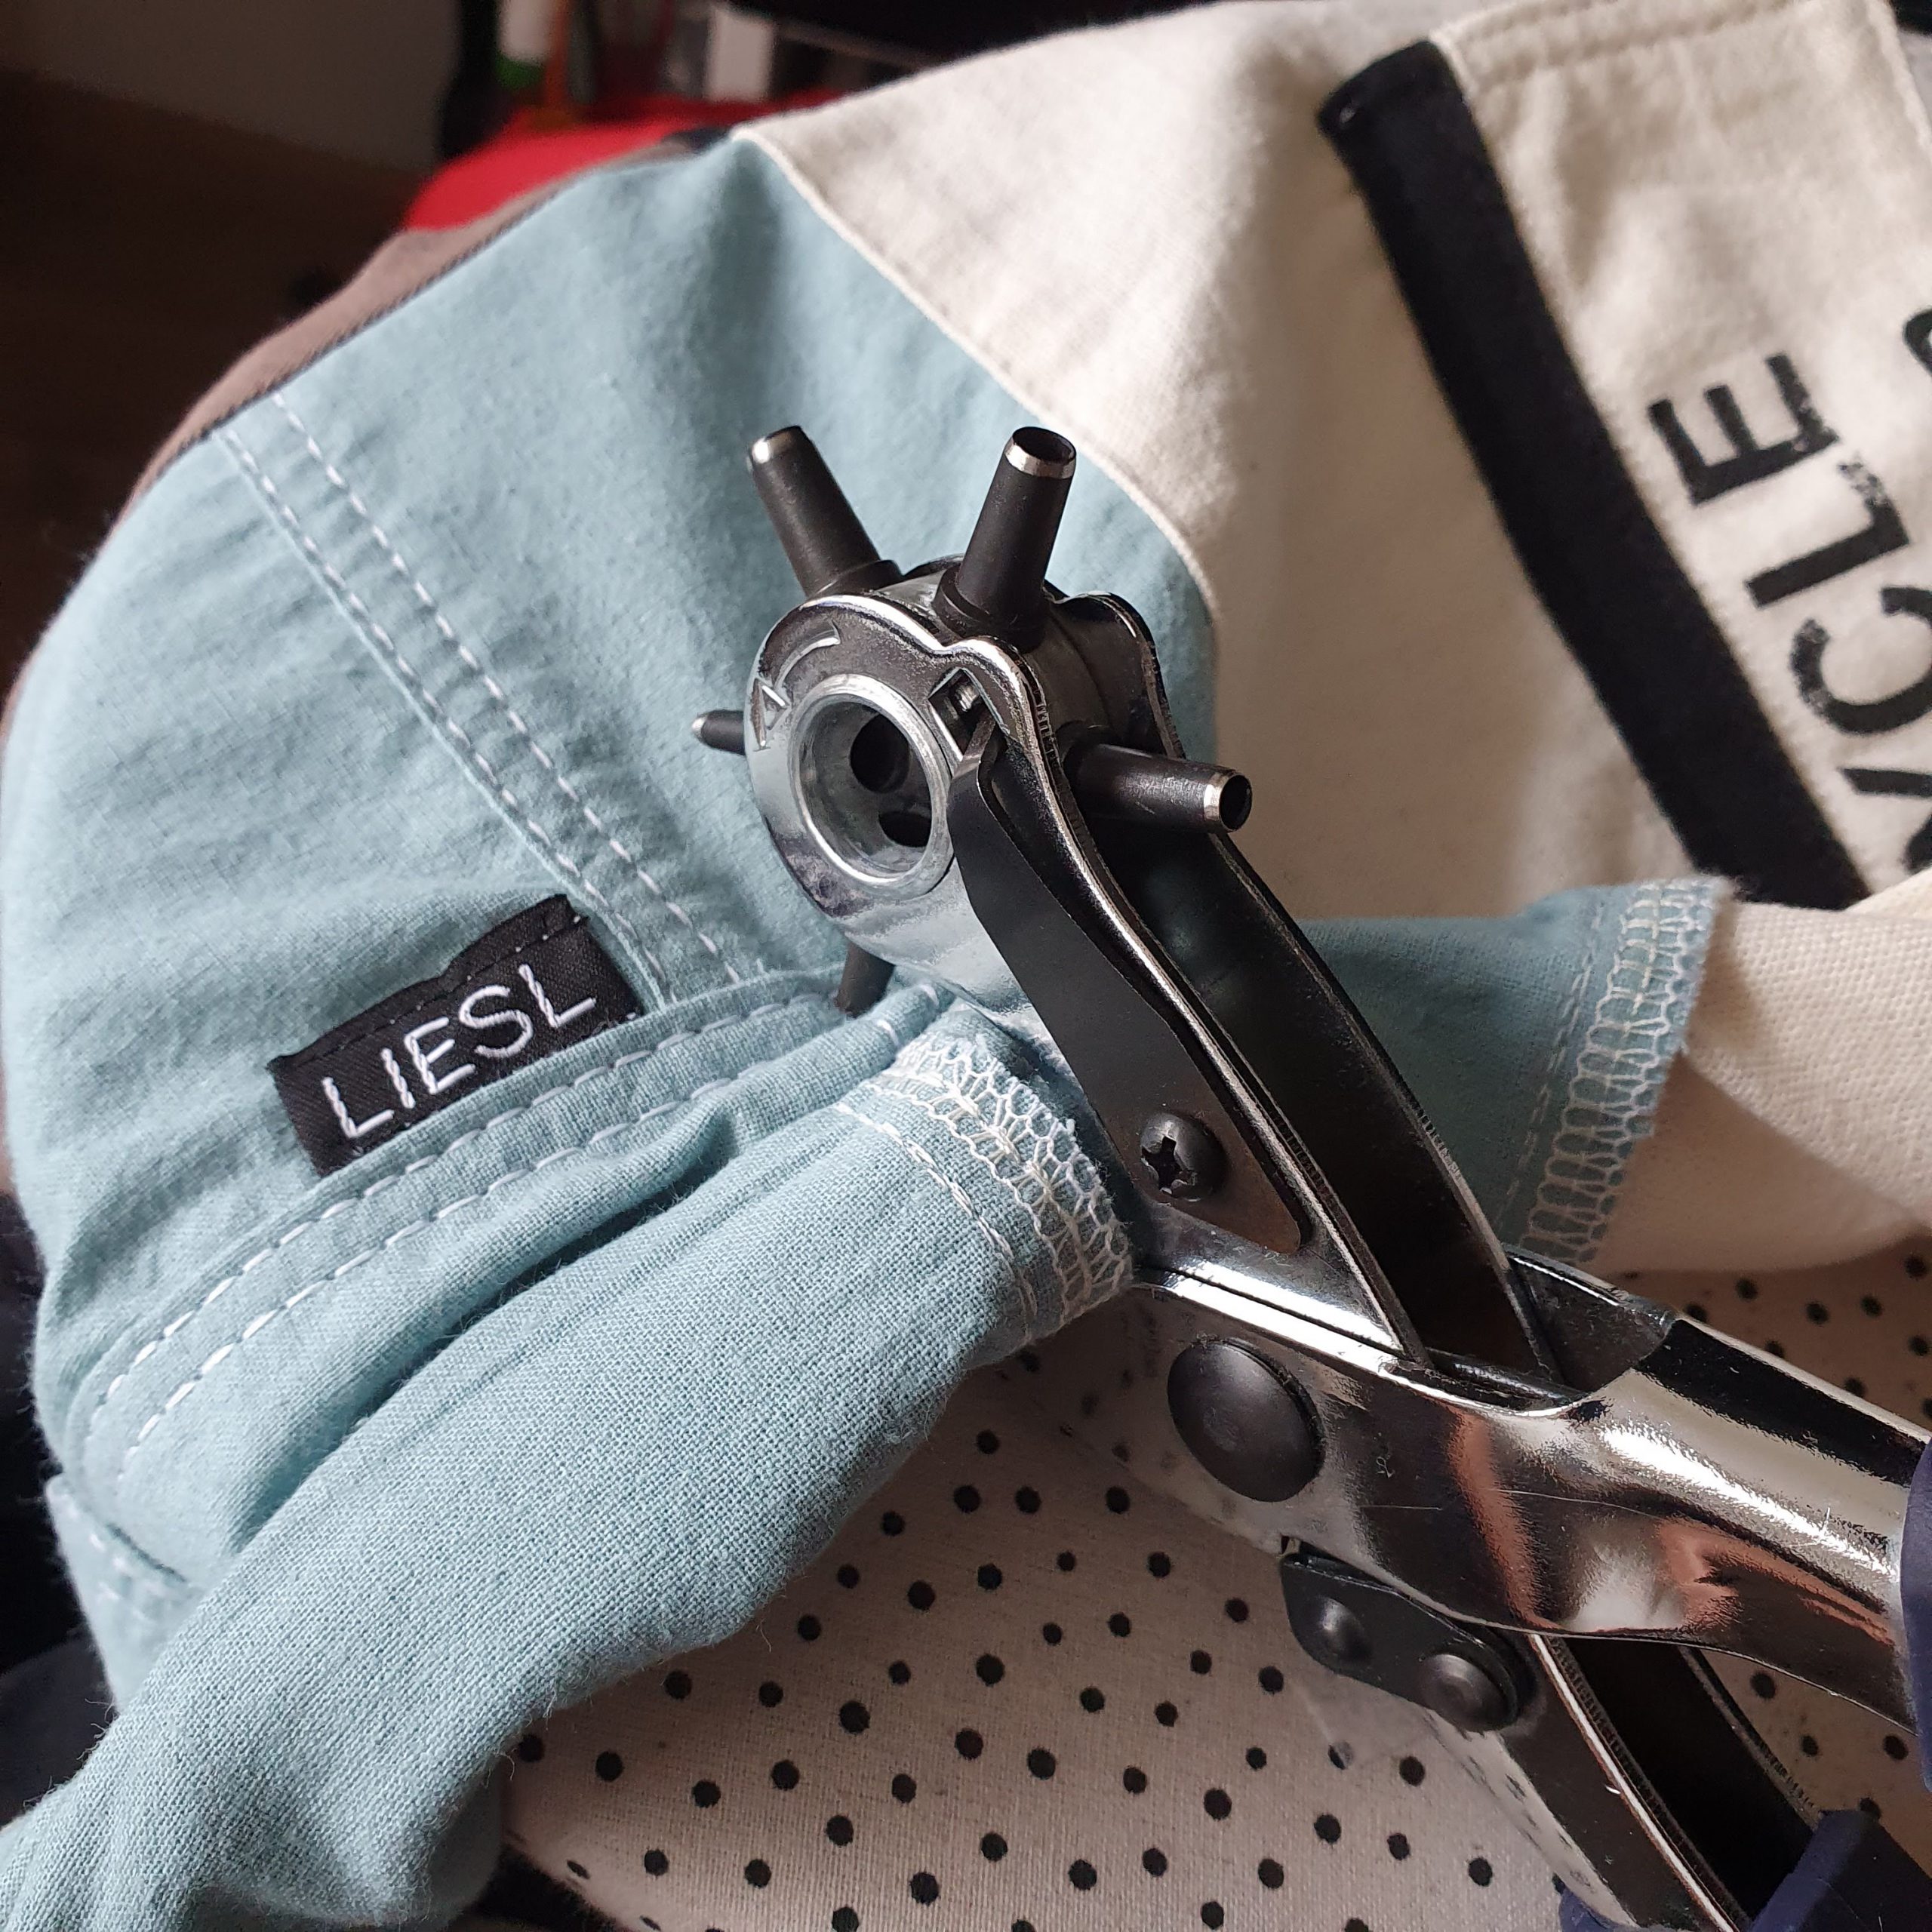
The pockets and flaps were finished with double-stitching and later I also added some cool studs. Like the snaps, this gave the jacket some extras. Several labels from the bags were reused and of course my own LIESL label couldn’t be missing either.
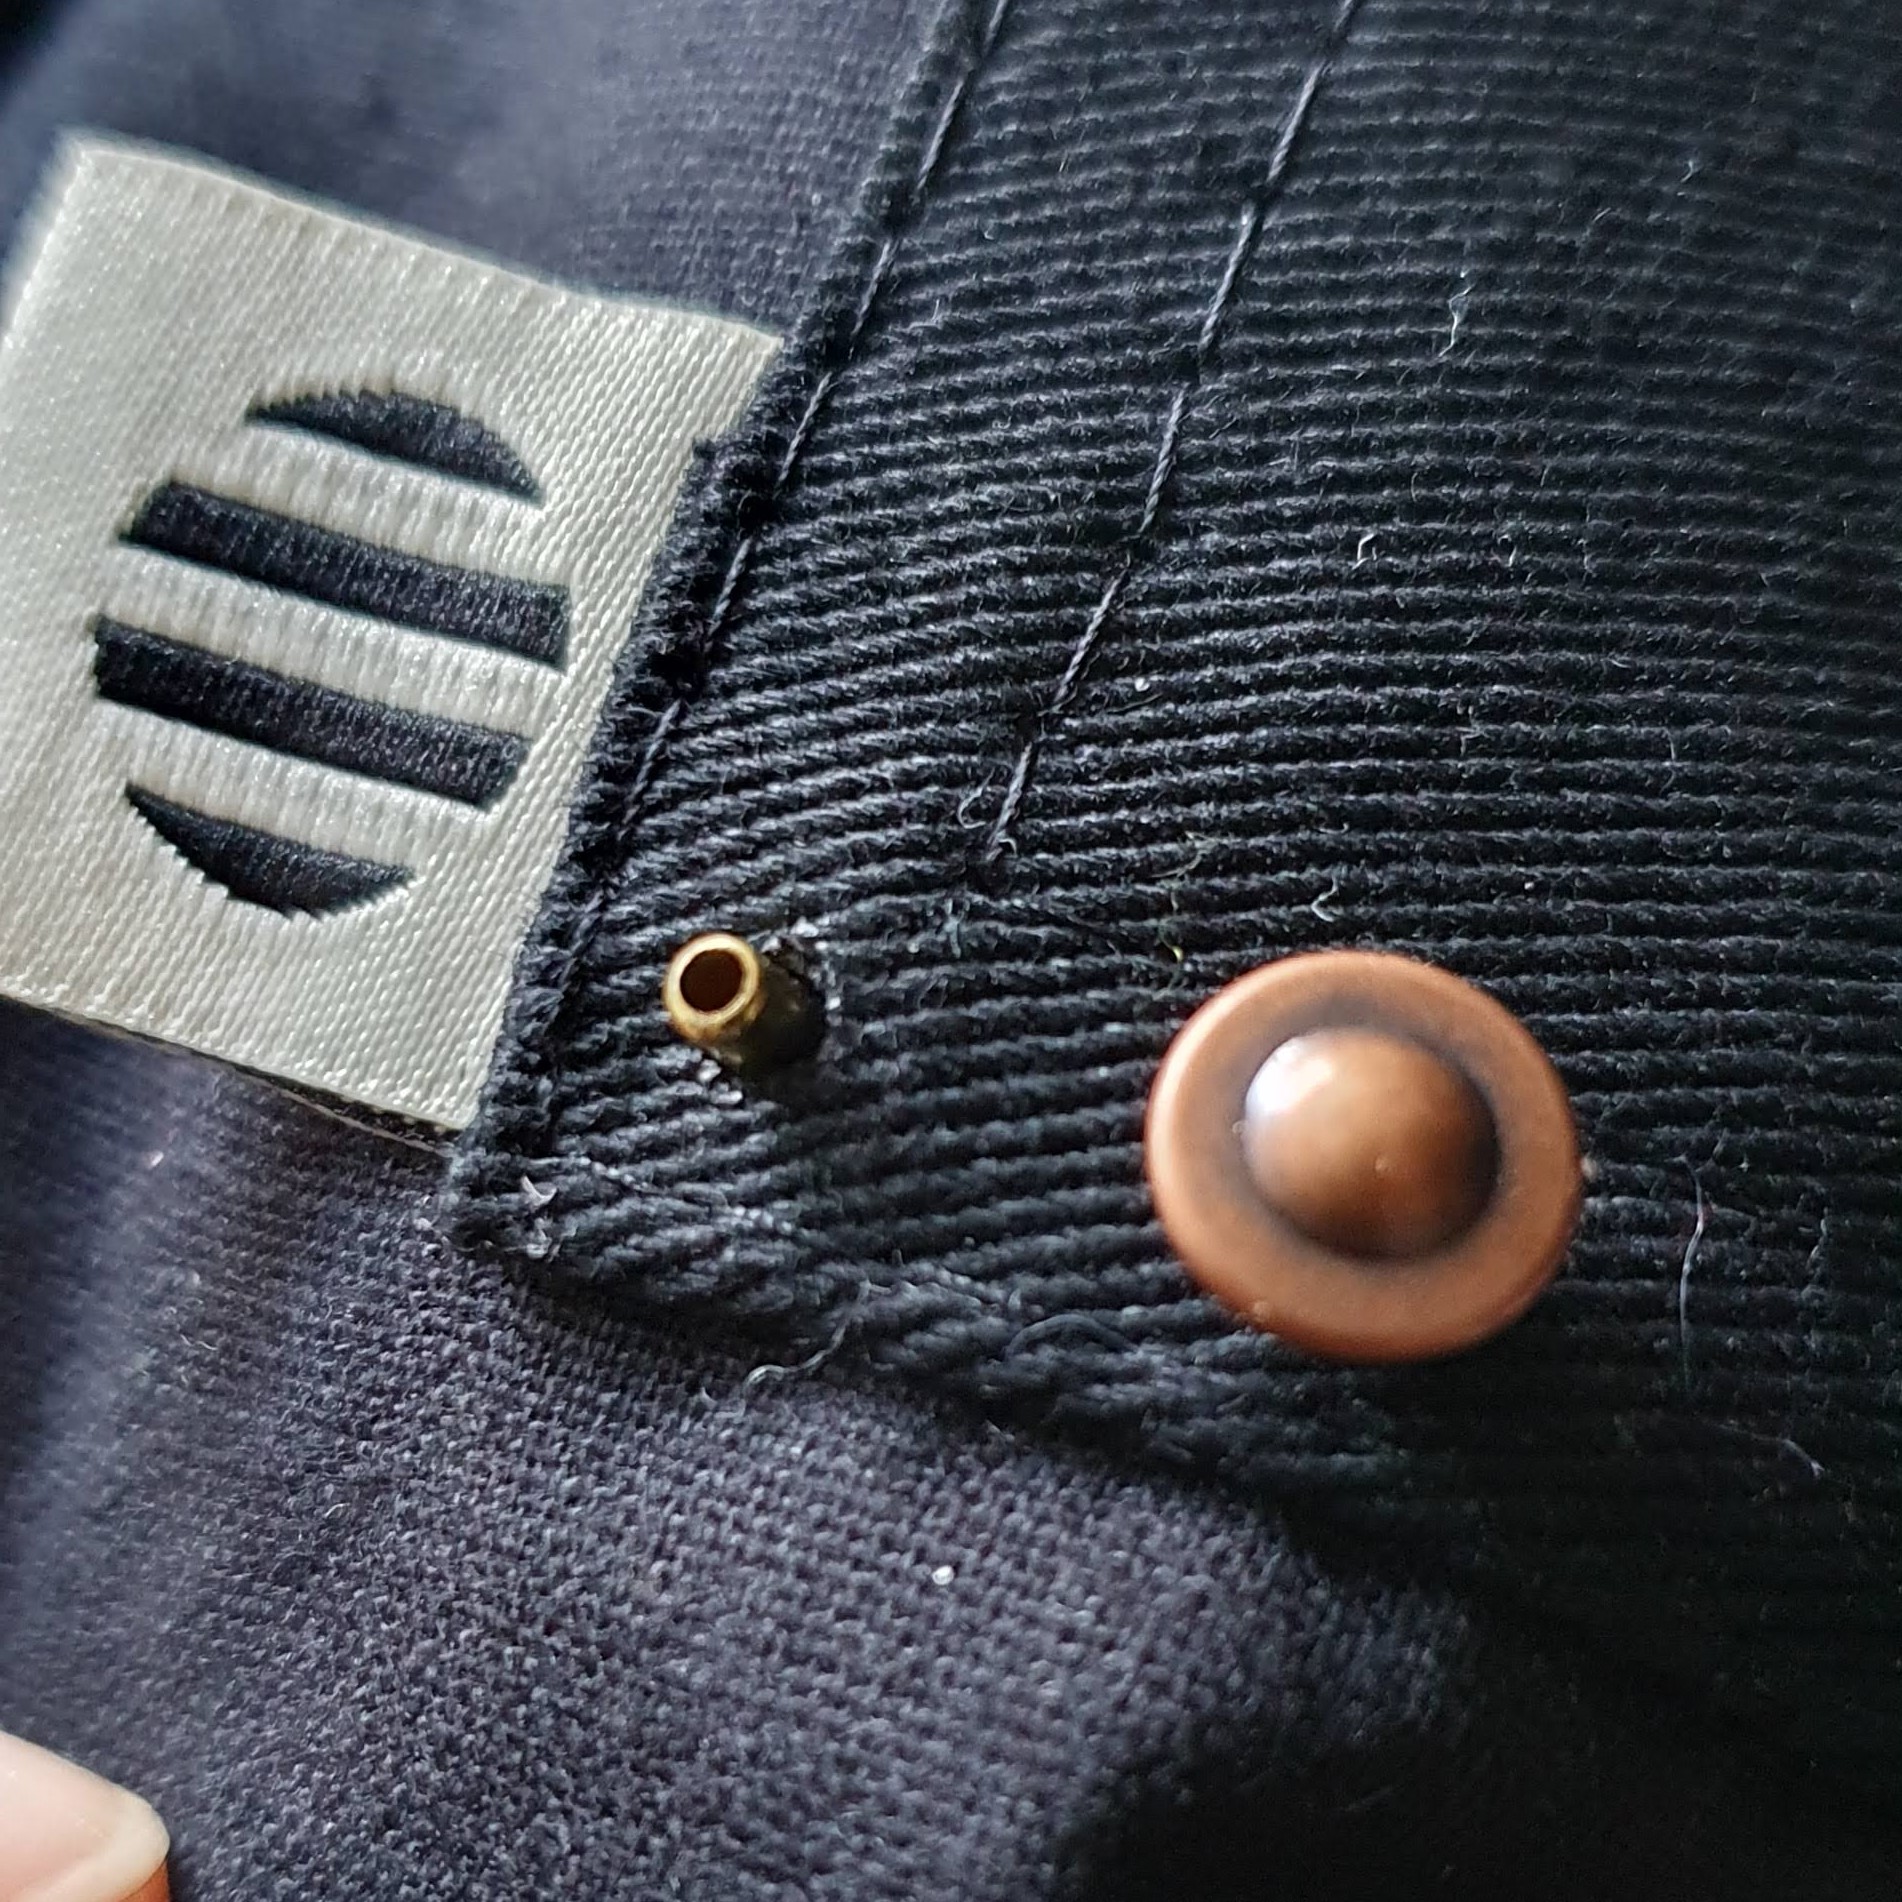
Studs
Details
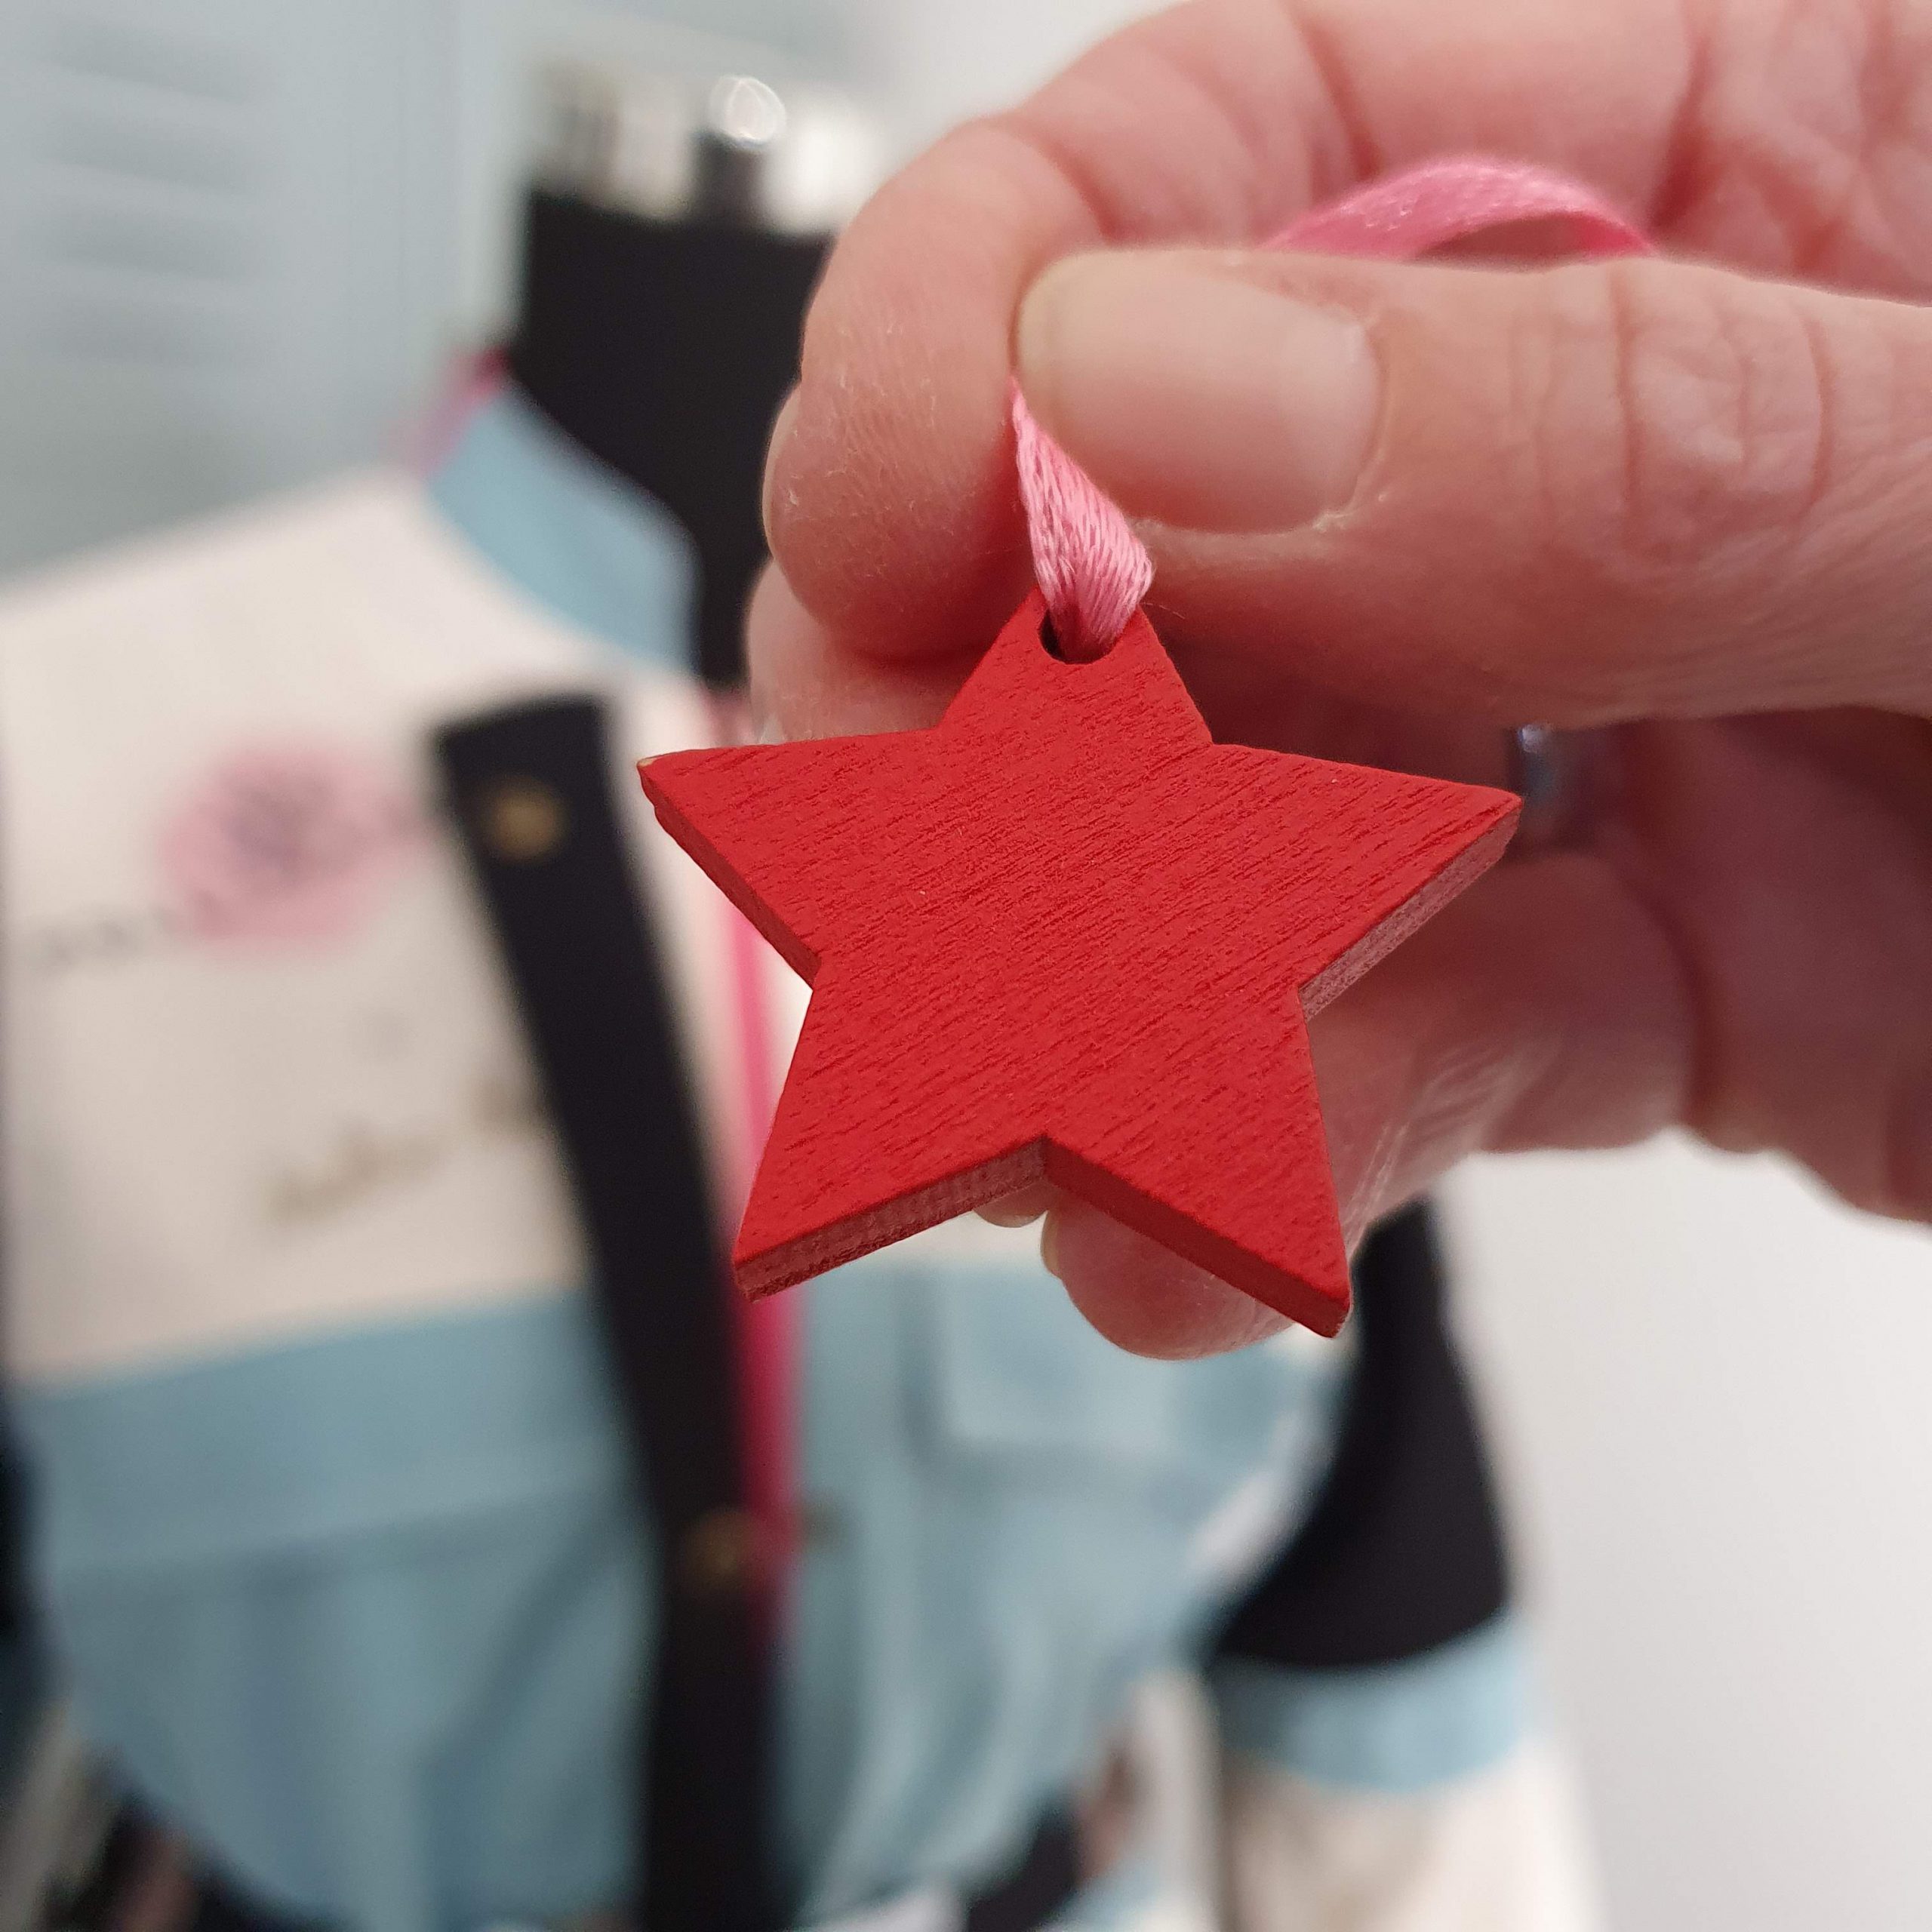
With some loops and a belt, you can add some more waist to the jacket. A wooden hanger from one of the bags is also reused, of course.
Waistband
Second jacket
I like a neatly finished jacket, so it had to be lined. In my leftover stash I found red satin which I thought was ideal for this. Unfortunately, it was just not enough for the whole jacket and so I was able to add some more colour with some leftover jumper fabric. Infact, I was making a second coat.

By replacing the original zip puller with a reversible zip puller, you can wear the jacket on two sides. I finished this second jacket a little differently. Instead of a belt, this one got a tunnel for a drawstring. With the very last bit of red left over, I decided to add pockets at the last minute.
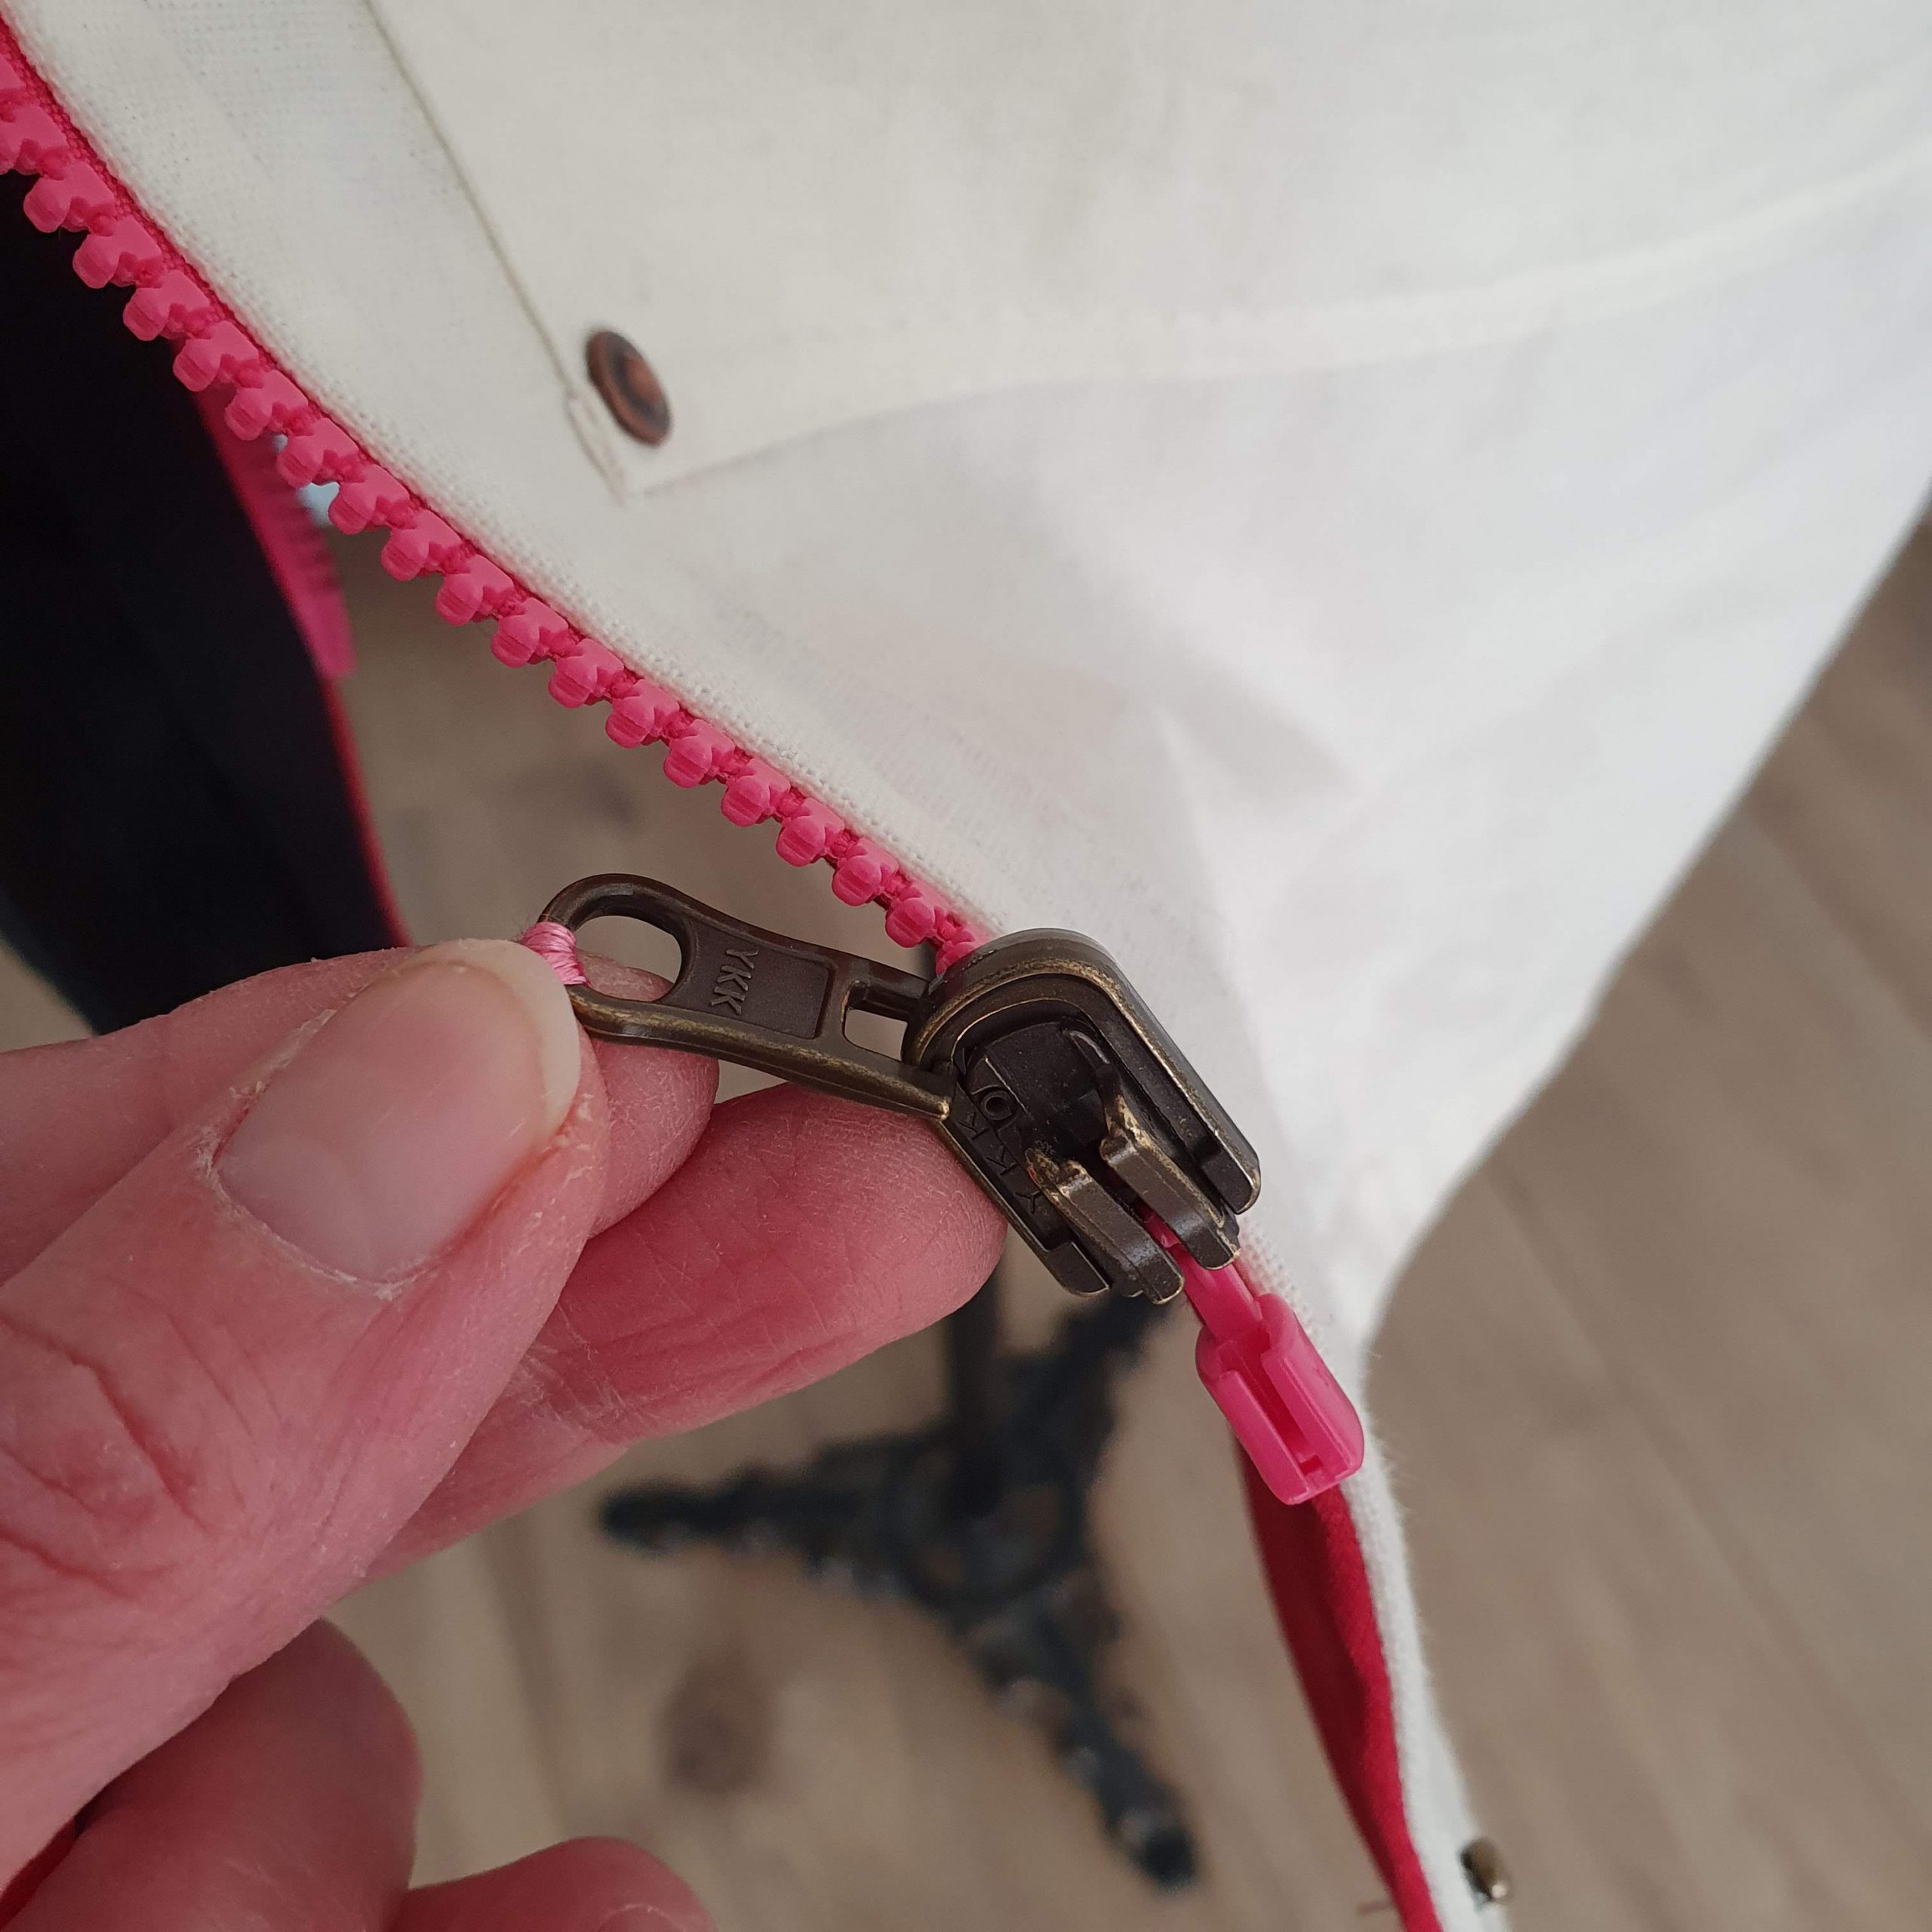
Reversible zip puller
Inside out
The red of the second coat matched the OxfamNovib print so well that I decided to place the last remnant of this print as a patch as well. With a bit of textile glue I fixed the narrow seam, before placing it to the bag side at the bottom of the sleeve. With Open Embroidery Foot #20, I could easily see how I was sewing the patch in place.


This leftover…
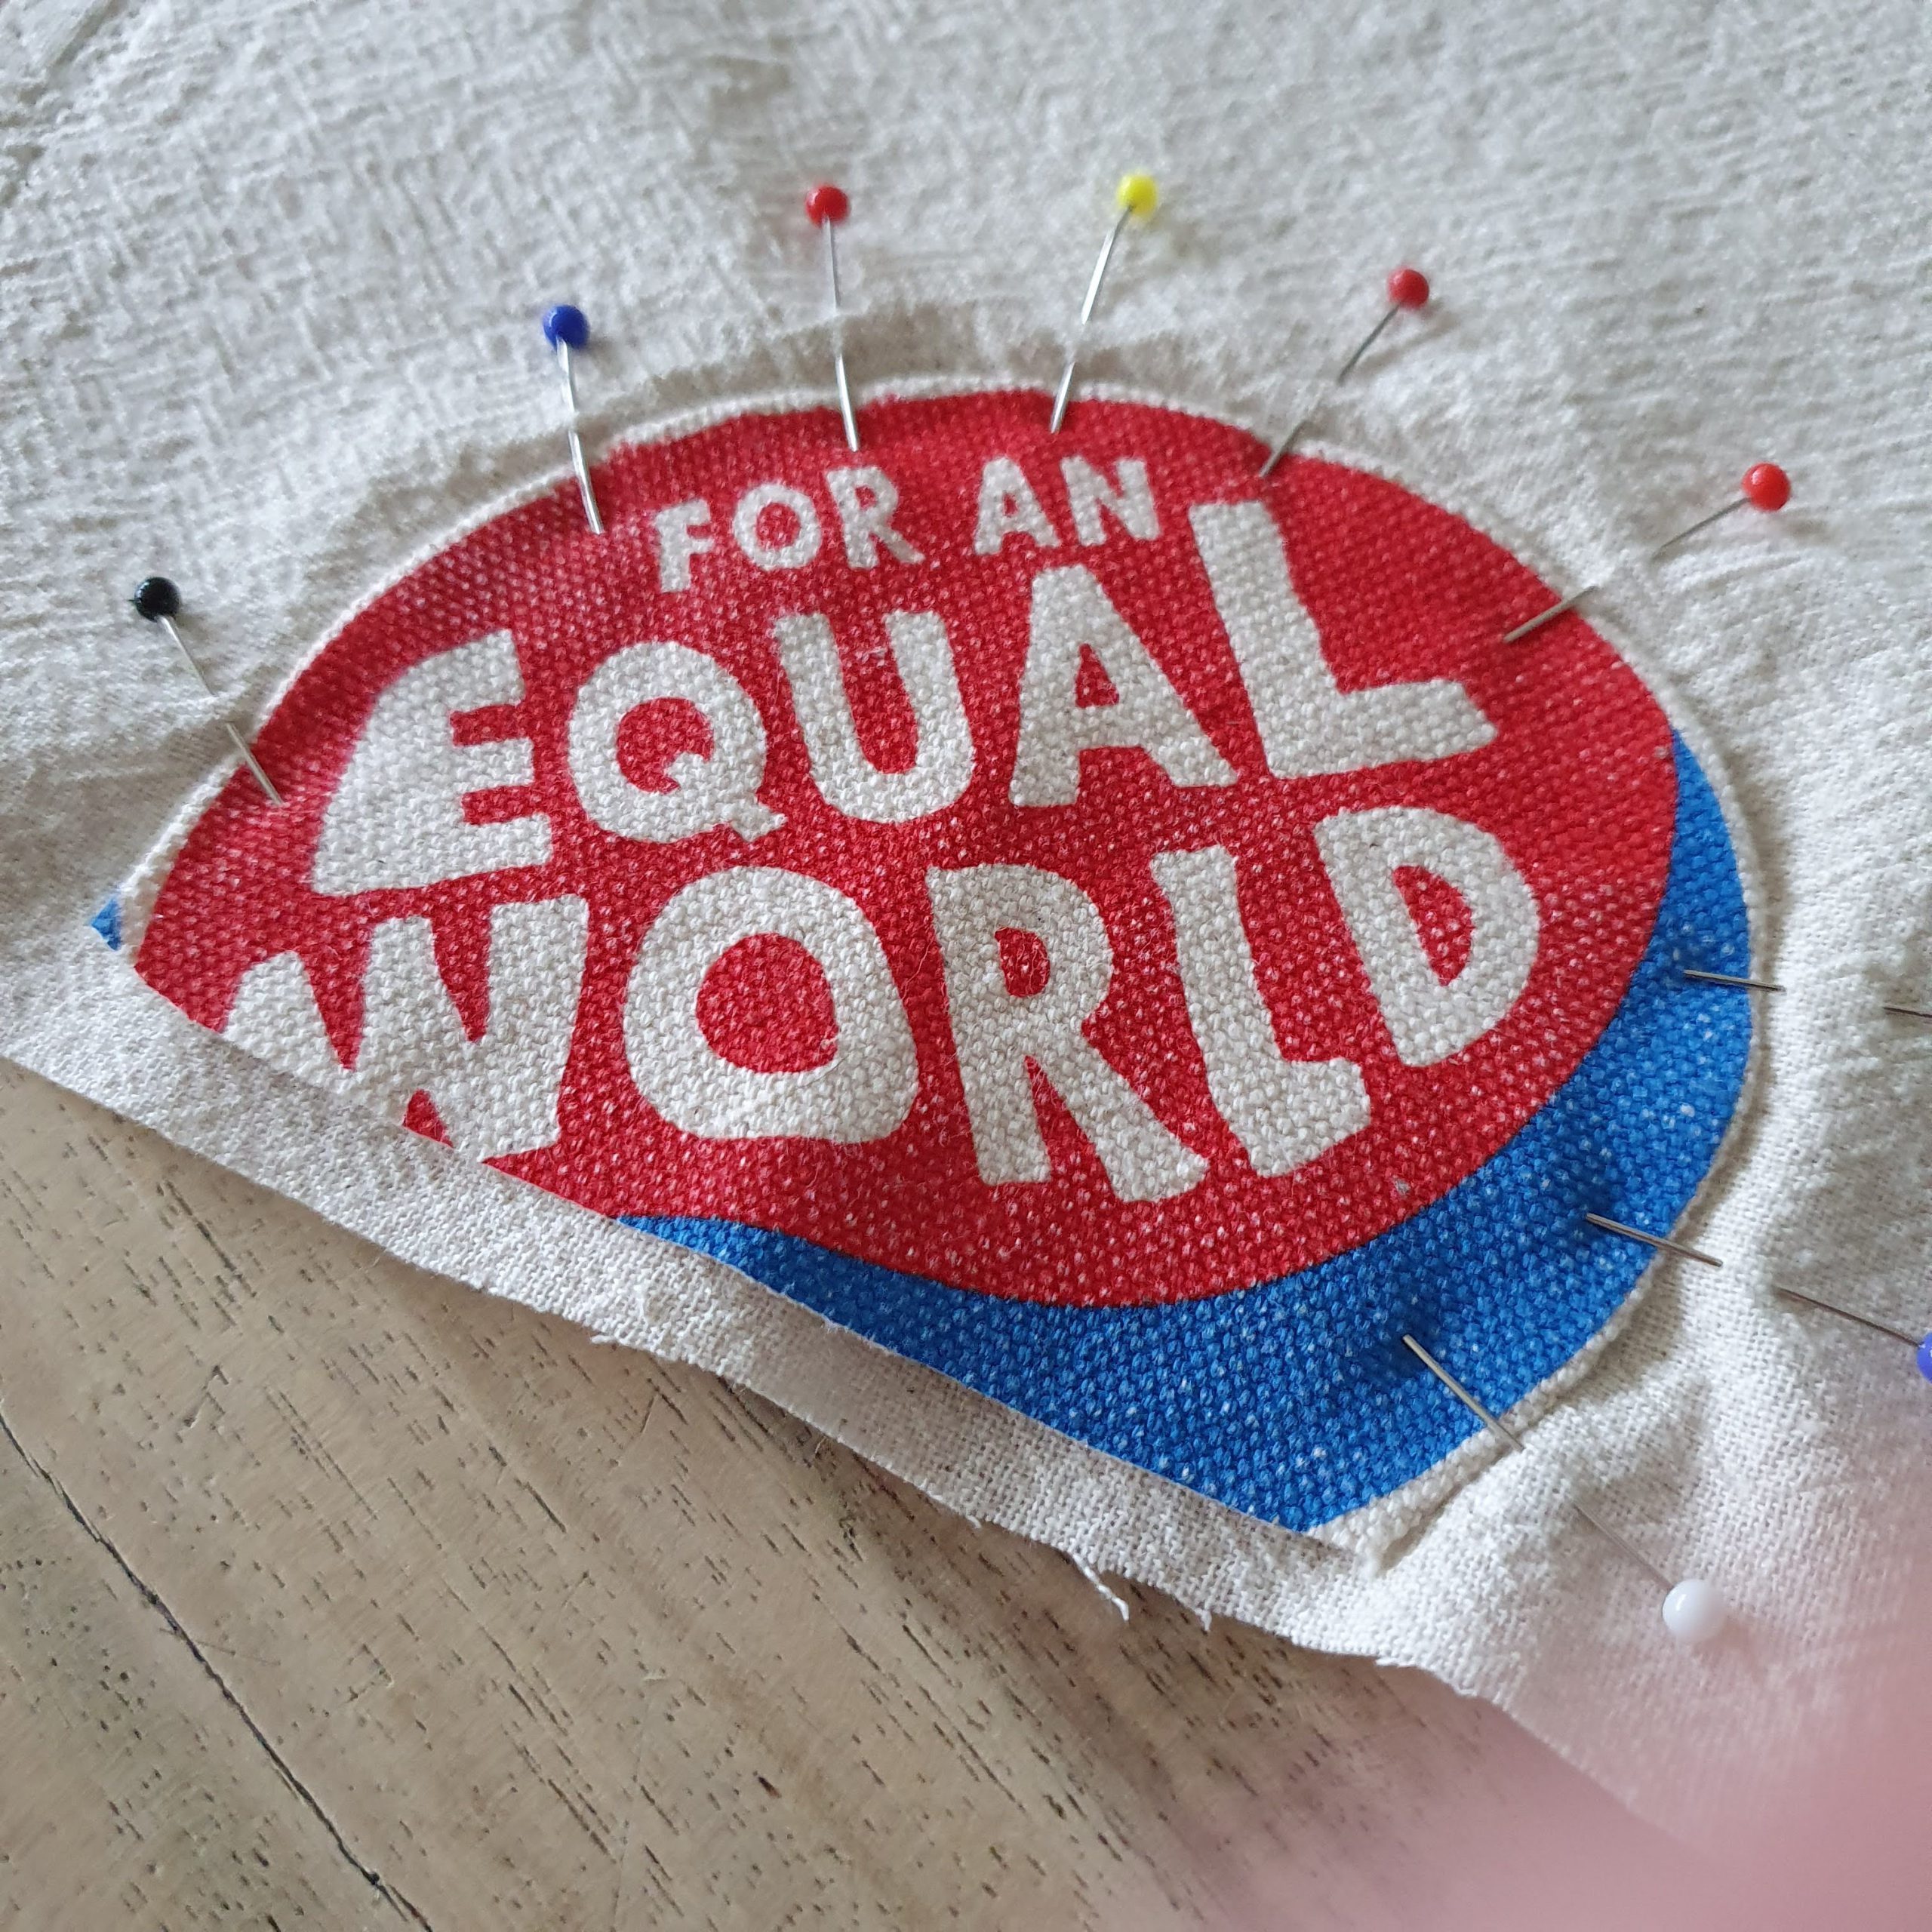
becomes a patch
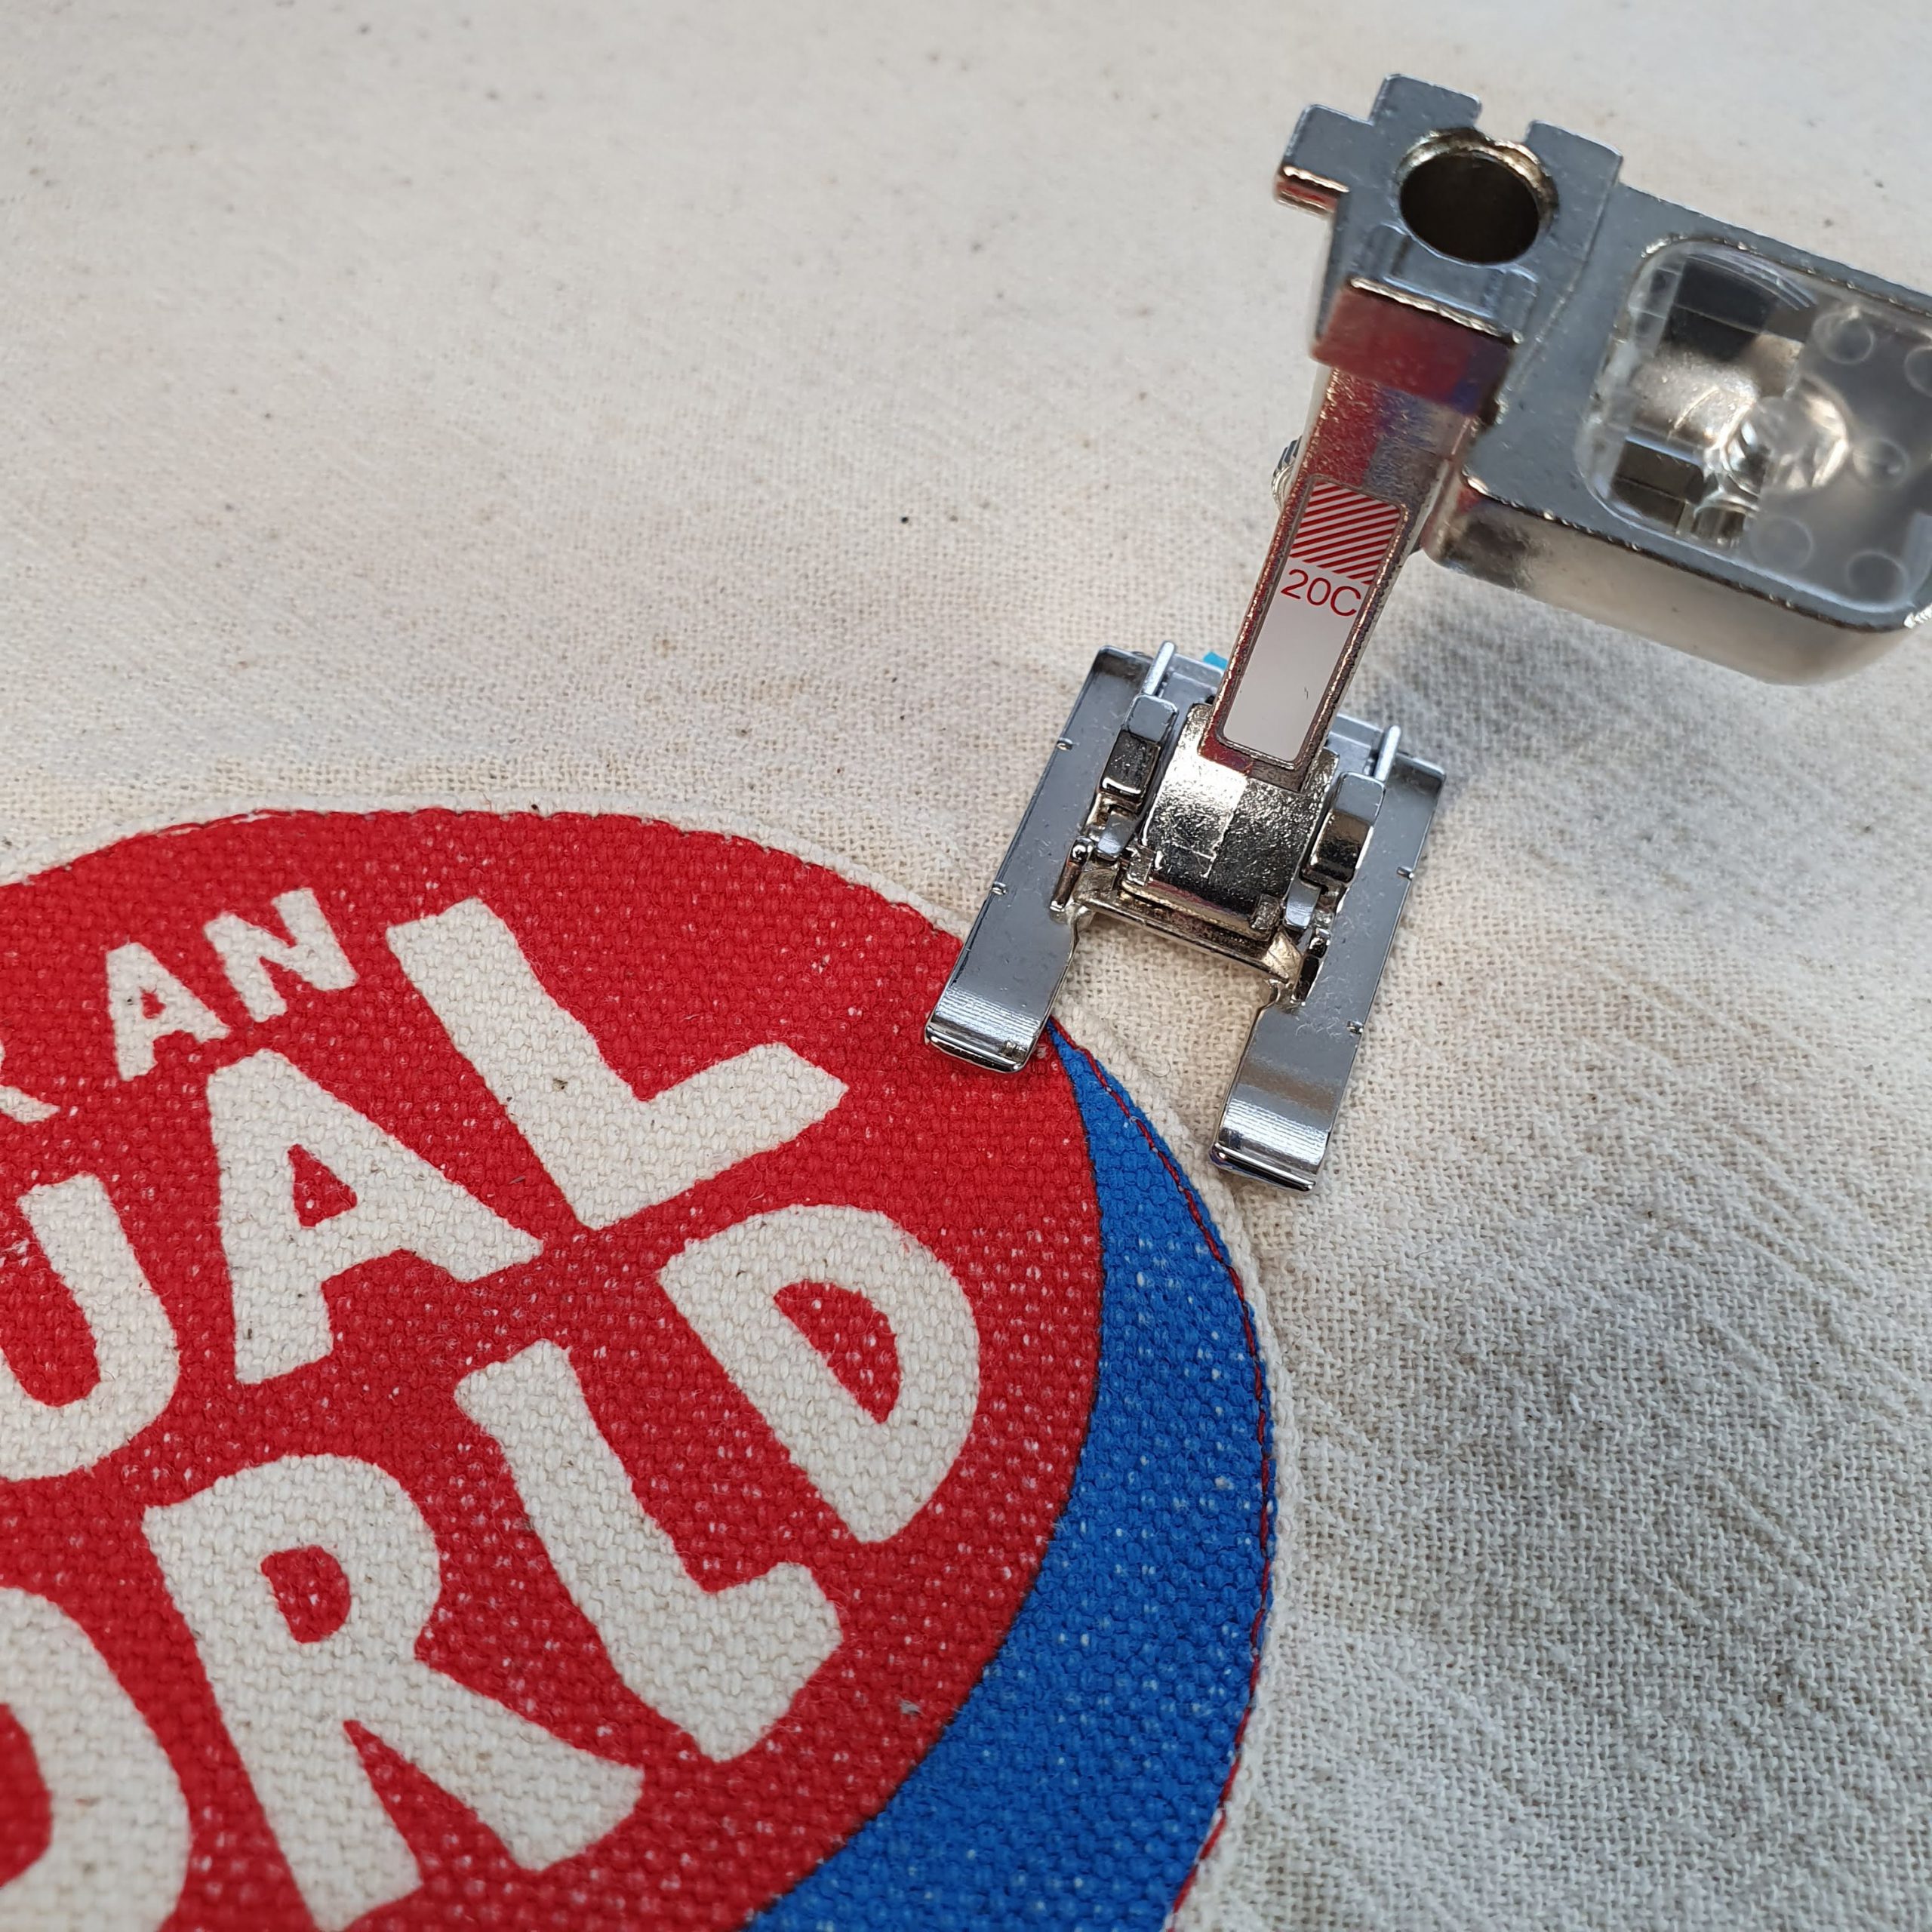
Stitched
What a pleasure it was to make this jacket. And even though it’s not for me, I couldn’t resist trying it on myself anyway and showing it off here.

Outside in
There has been a lot of reusing and inspiring again this REFEBULOUS month. Let that be the very purpose of the challenge. So happy! Will I see you again next year?
Love,
Marlies


0 Responses