 BERNINA Corporate Blog -
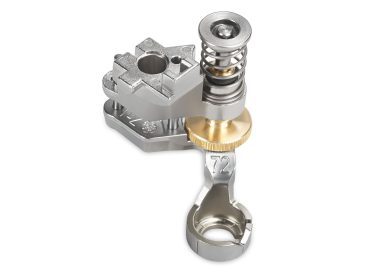
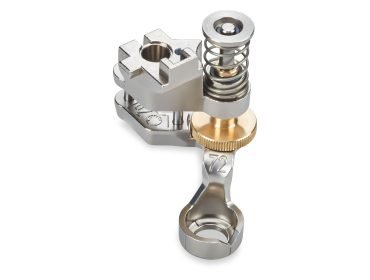
Did you purchase the Adjustable Ruler Foot #72 ? A very nice foot that gives you the opportunity to sew along plexi rulers. The foot has a round bottom, so you can easily move the fabric for quilting in all directions. There’s also an Adjustable Ruler Foot with Slit #72S.
I make a little placemat, or a mug rug as an exercise, it depends on the size of the fabric you take. You don’t have to think about repeat of patterns, or symmetrical outcome. Just try and exercise and feel how you can sew along the rulers.
This video could be useful too, an inspiring help!
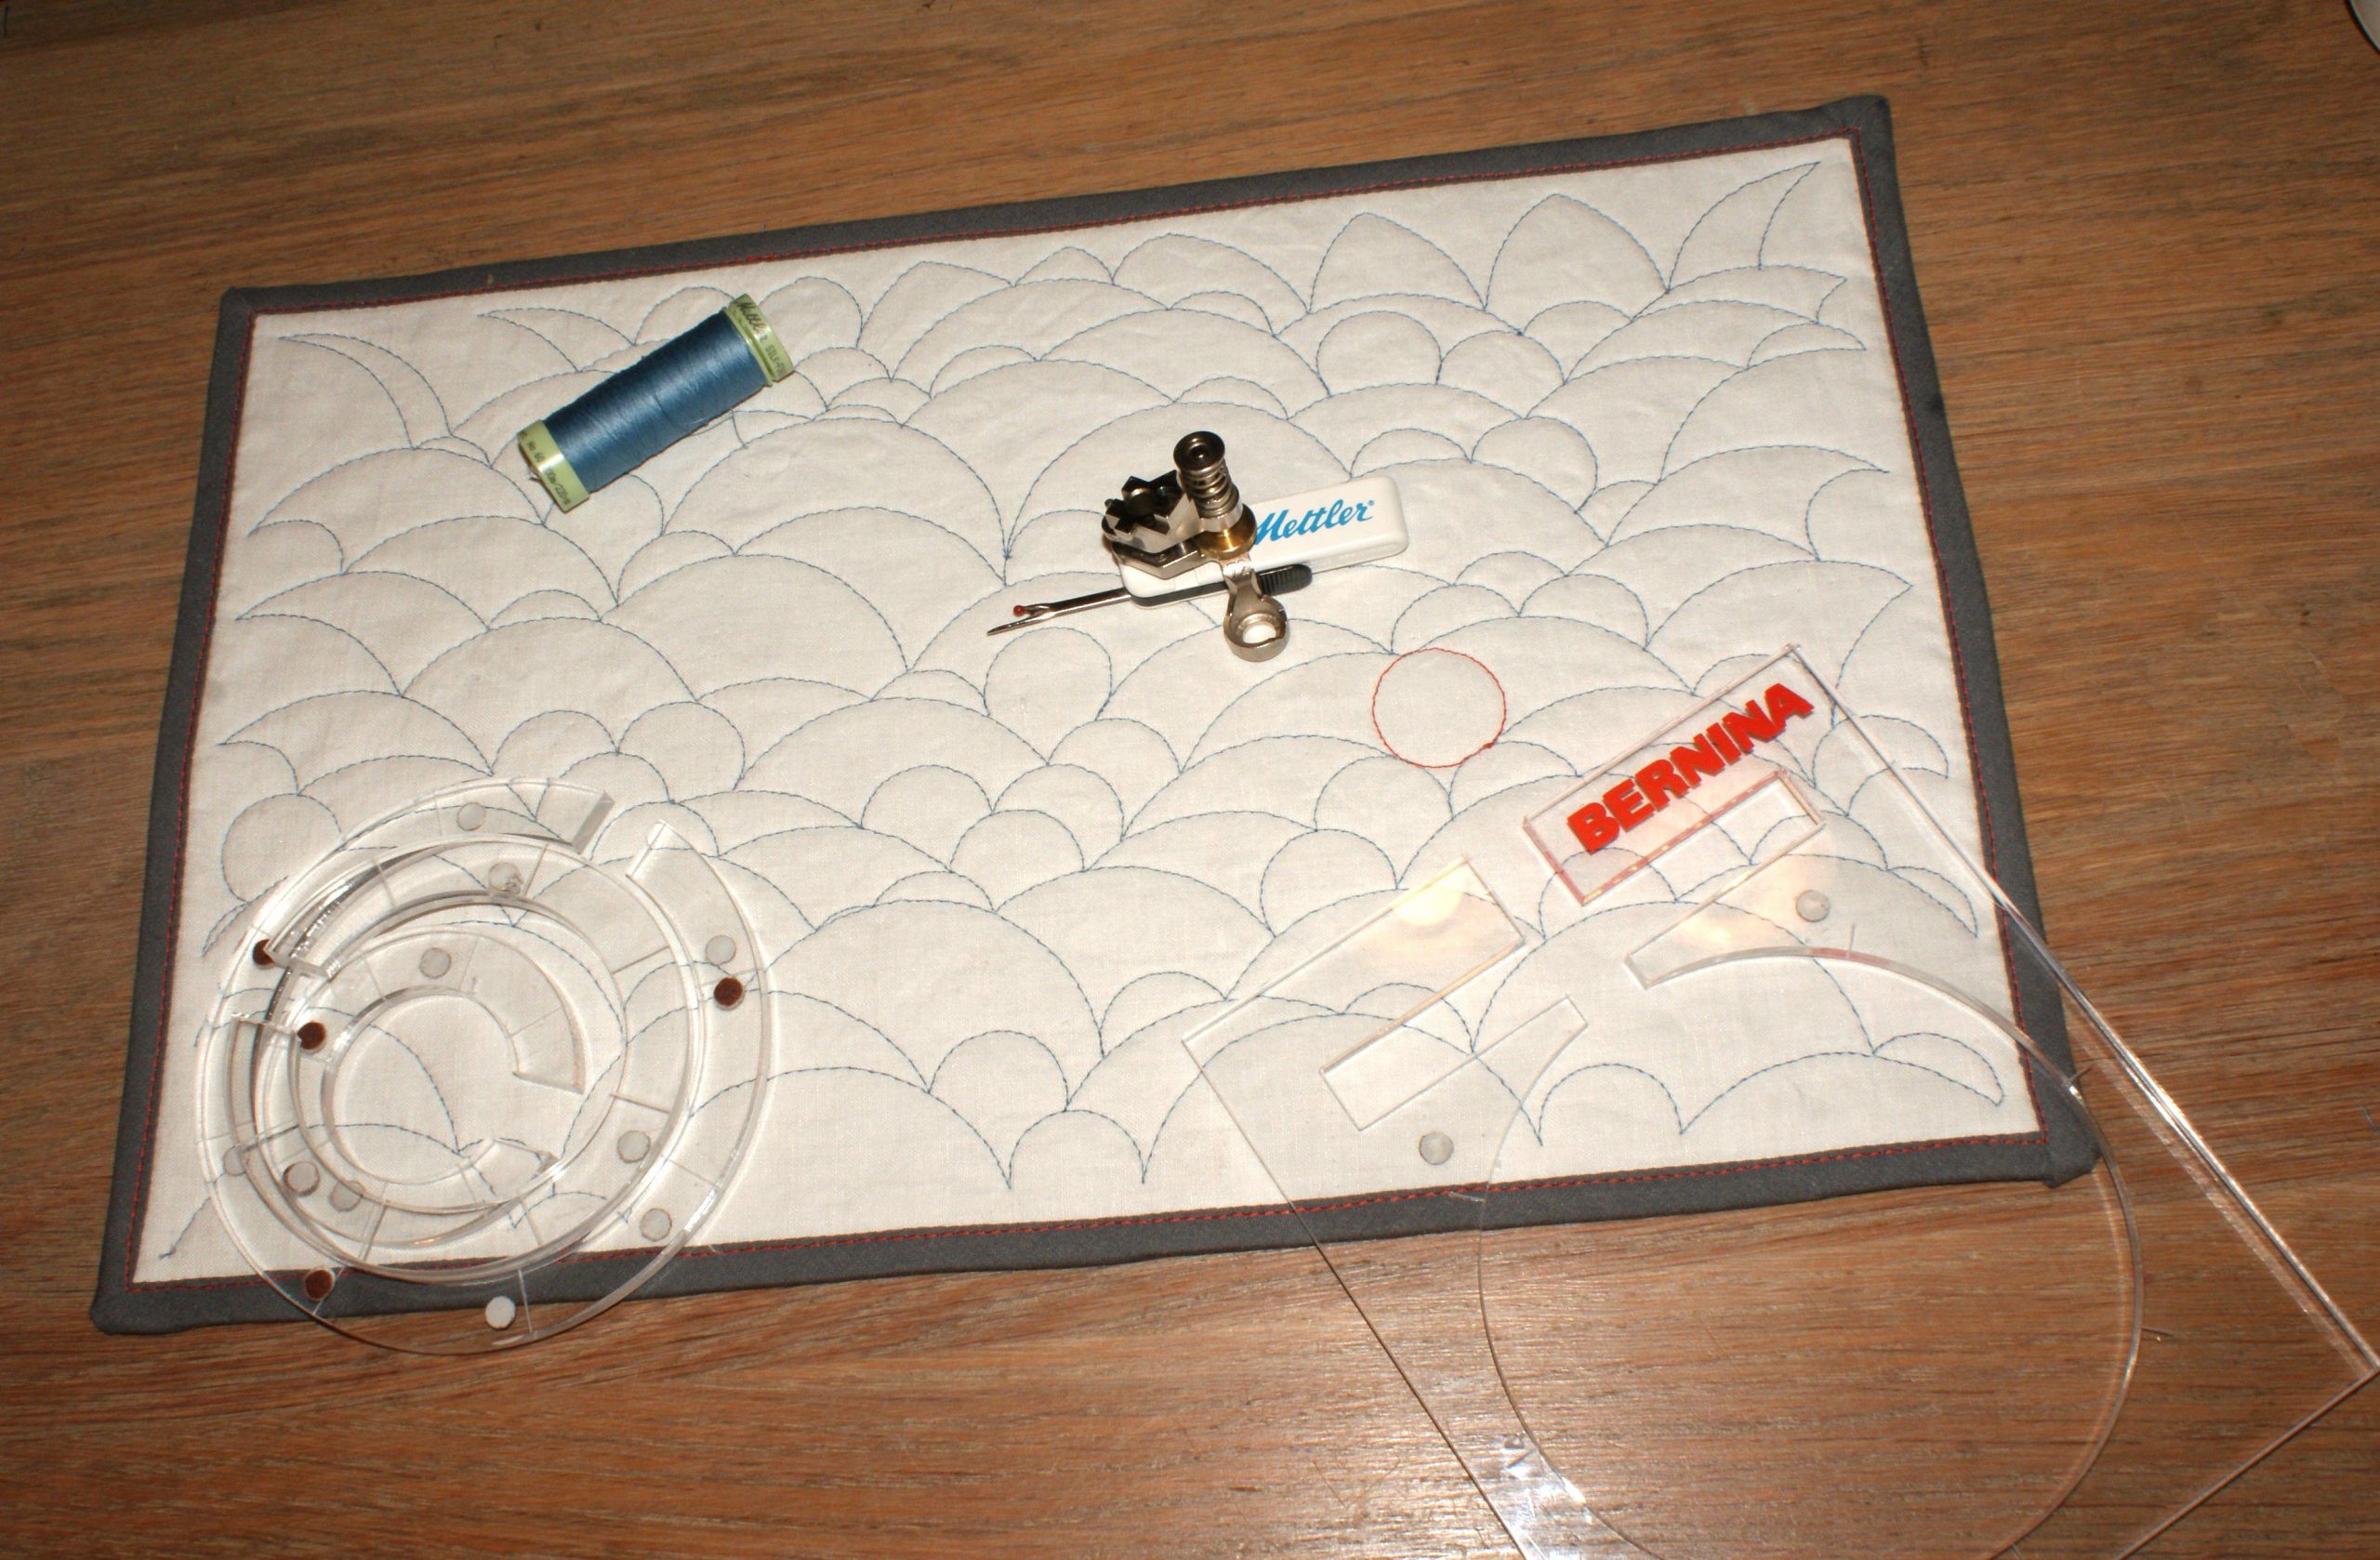
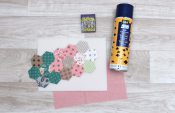
What do you need for rulerwork?
- The presser foot for rulerwork, with the round bgottom.
- The rulers to sew along.
- 4 patches of fabric, mine are 26 x 8 cm, but you could take any size. I have 2 linen patches for the front and back of my project. There’s a soft and thicker fabric, you could also take wattine, as you would do for a quilt. The other one is a heavy weight fabric, like jeans. By taking this firm fabric, you can prevent stretching while sewing and you don’t have to worry the stitch tension will constrict the fabric.
- Biastape to finish the edges.
- Mettler Silk finish cotton nr 50 (it’s thicker than standard sewing thread)

Preparation of the rulers and tips:
Put some dots of sandpaper on both sides (some rules are turned over for symmetrical patterns) of the rulers to prevent slipping.
Tips for beginners:
Exercise, exercise, exercise! Take leftovers of fabric and try to sew along many times. Some quilters take anti slip gloves. They help to fix the rulers to the fabric, while holding your fingers on the edge and push them on the fabric
Start with rulerwork.
Put 3 patches on top of one another: the one for the right side of the fabric lays on top. Let the patch for the back wait for now.
Disengage feed dogs. You push a button on the right side of the machine for most modern machines.
Sew horizontal en vertical lines to secure the 3 layers, as a batching stitch.
I don’t like the edges to unravel, that’s why I overlocked them. It’s not really necessary if you don’t like to.
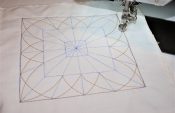
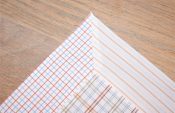
Draw a rectangle on the fabric, leave some side space. The margin helps you to fix the rulers in the side area of your work.
While making your sewing lines, consider the distance from the needle in the middle of the foot to the ruler.

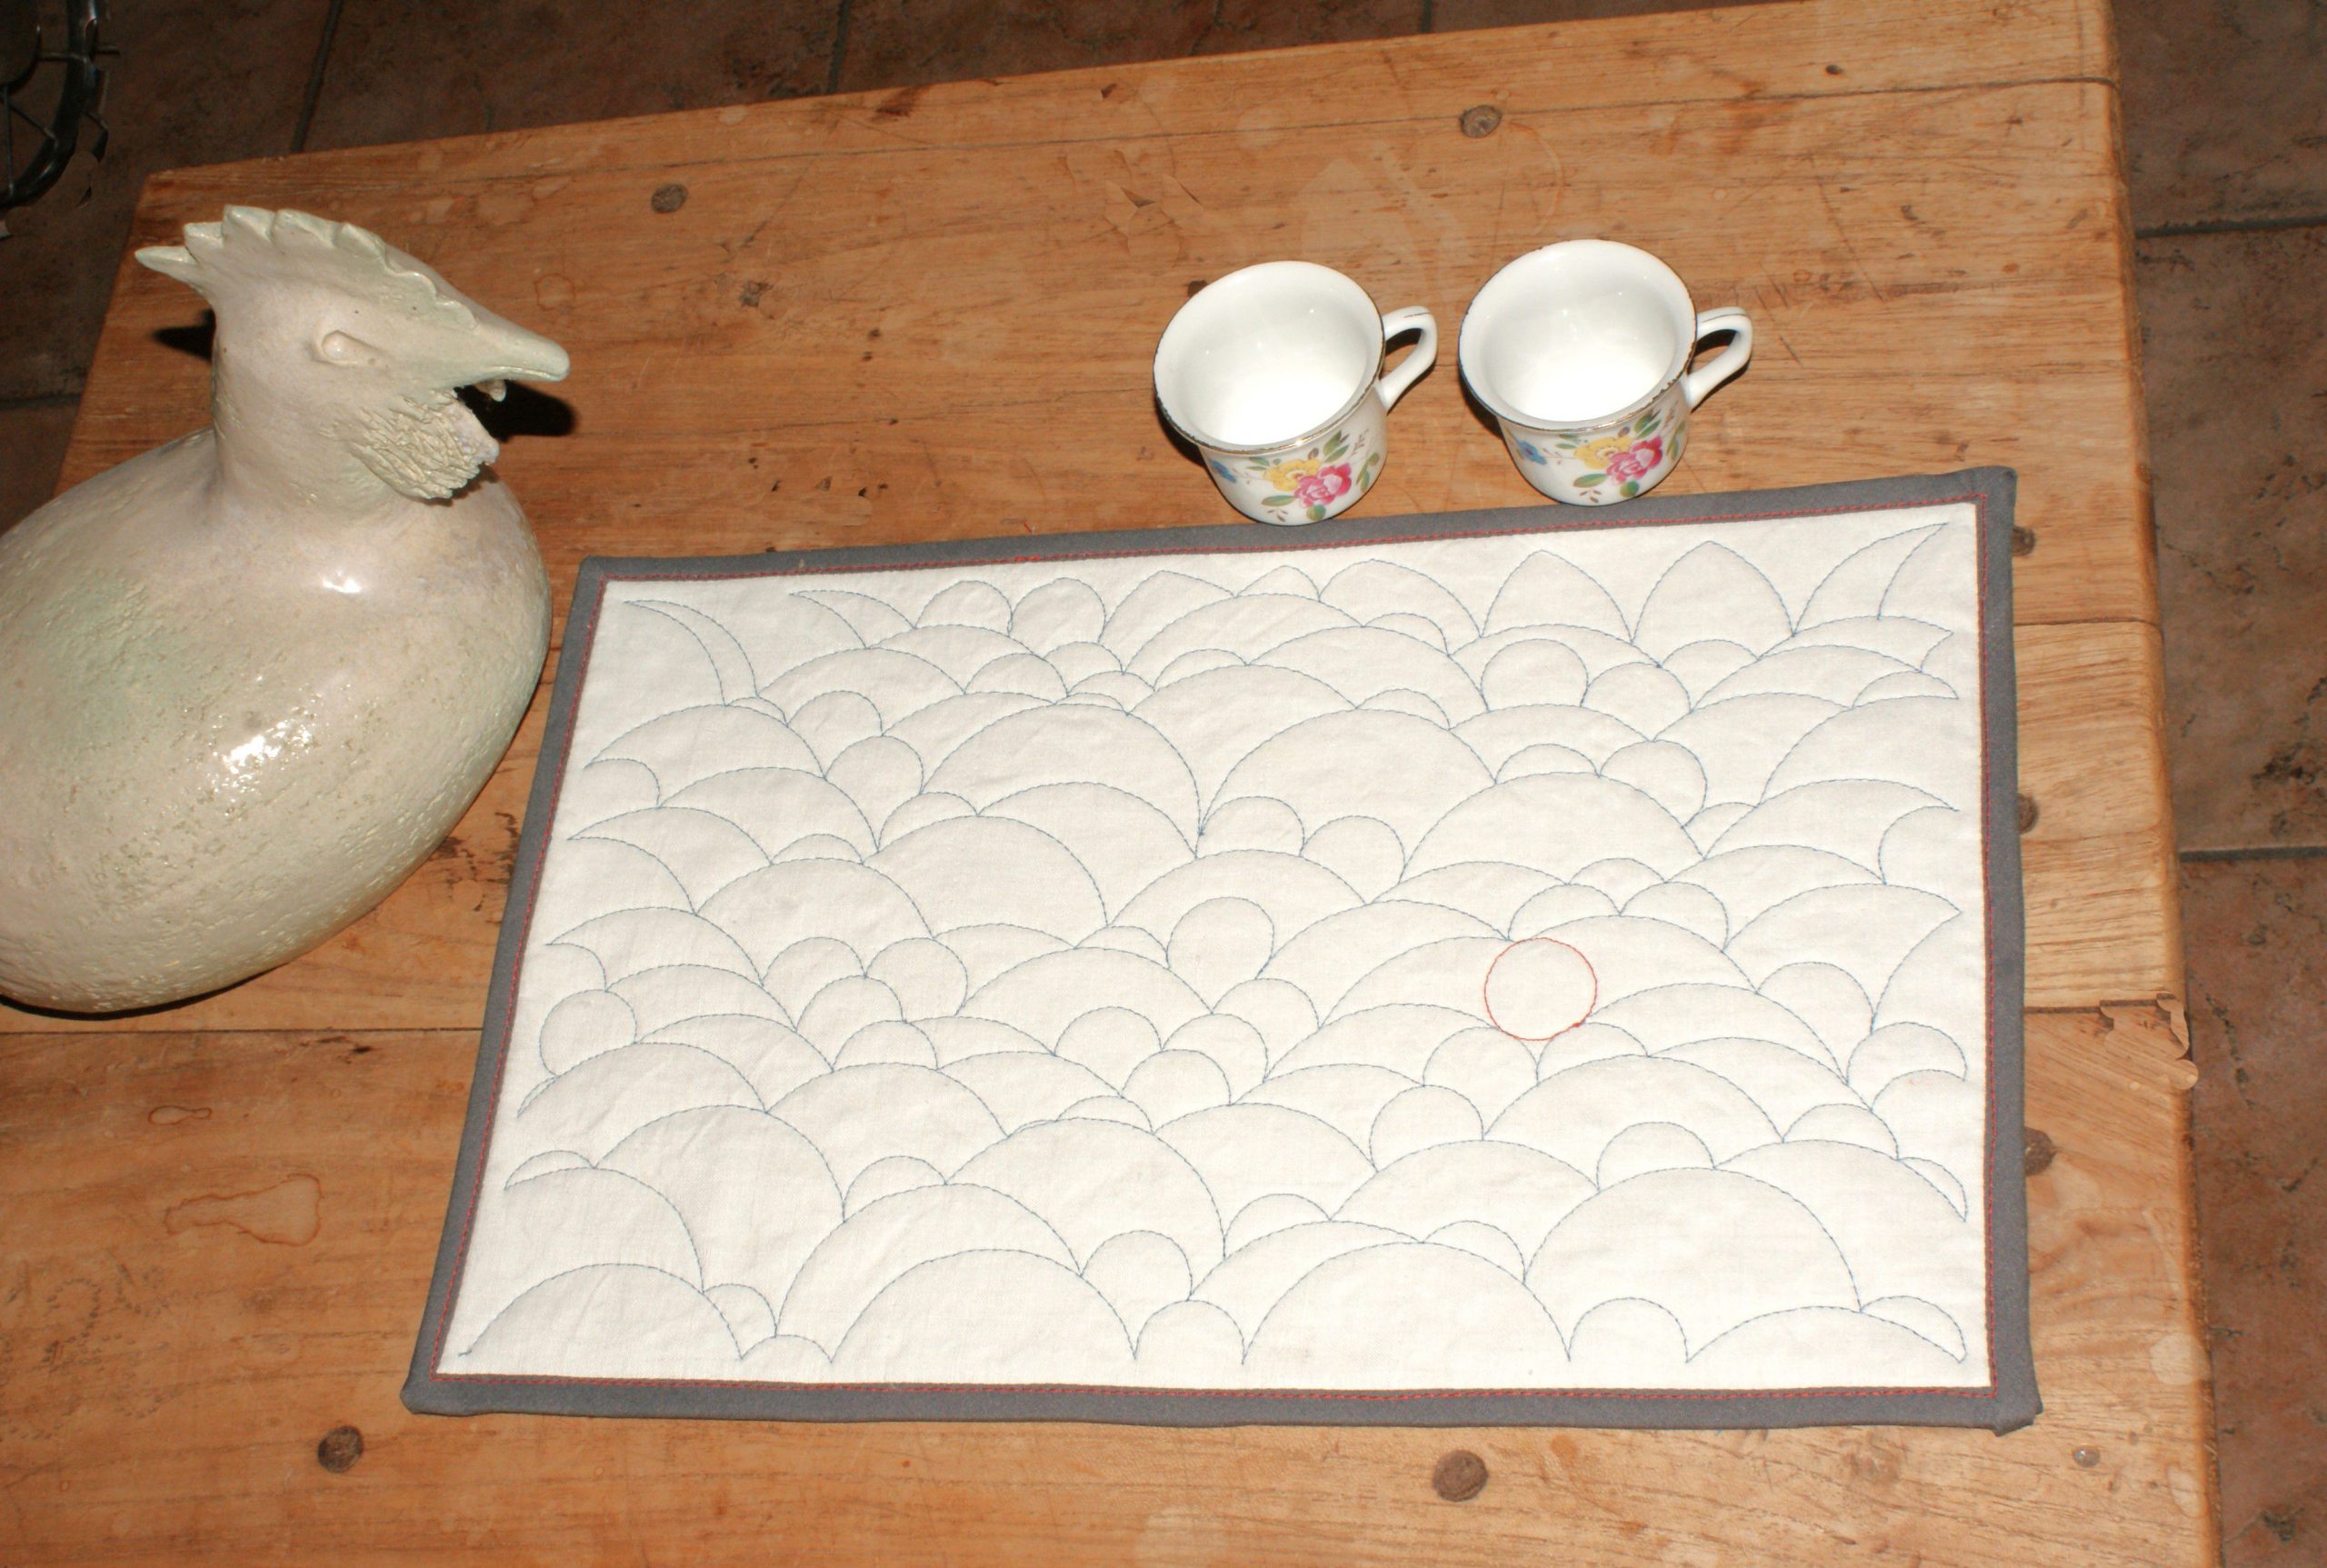
For this ‘start to rulerwork’, I took the smalles circle from the set. Sometimes I sewed along the inner side, sometimes along the outer side to get a variation of circle parts.
 Add the cross-shaped part in the gap to make full circles.
I started in a corner and stitched towards all other corners too. Every curved part and turning points hits the rectangle on all 4 parts of the rectangle.

When you reach the end of a line, just turn over and sew back the other side. Touch ever curve that you pass.

Touch the upper side of the rectangle as you sew the last line.

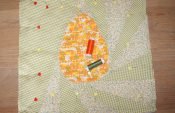
Finish the work.
I really hope you are satisfied with the trial.
This is how I finished it:
Add the back to the work. I stitched a straight line along the rectangle.

The project is cut to 1,25 cm from the rectangle (so outside the sewing line).
Finish with biastape.
The ‘start with rulerwork’ is a fact. I hope you like it as much as I do. Tell me in the comments!

0 Responses