 BERNINA Corporate Blog -
Writing Christmas cards in the old fashioned way is one of the signs to show your family and friends your connection. It is always a warm gesture of friendship and love. Owners of an embroidery machine get this file for free so they can embroider Christmas cards with metallic thread.
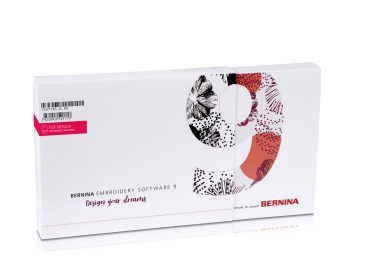
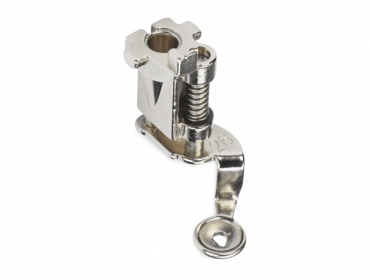
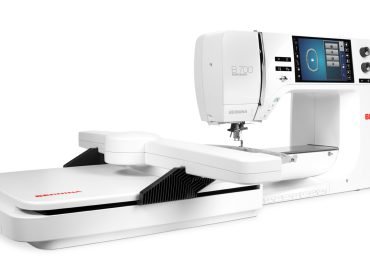
I use the BERNINA 700 with Drop-Shaped Embroidery Foot #26 to make my 2023 cards. The file is designed in BERNINA Embroidery Software 9.


What do you need?
- The free file in EXP, PES, HUS, JEF or SEW, designed in: Christmas card Kerstkaart 2023
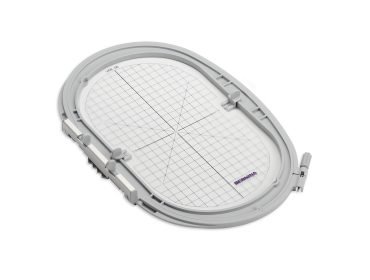
- The Large oval hoop
- 2 standard printer paper sheets
- 1 sheet of firm off white paper
- A scrap of leftover organza
- Mettler metallic thread
- Mettler Web Bond temporary adhesive spray
- A metallic needle
- A cutting mat, rotary cutter and ruler are very useful.

How to make the Christmas cards?
Cut the firm paper in halves, you will have two 15 x 21 cm cards.
Hoop one sheet of standard printer paper in the Large Oval hoop.
Embroider the first line. It marks the place where you will put the card.

Spray with temporary adhesive spray. Place the card (the firm paper) and the double folded organza on top. You can fix the organza to the card with the spray as well. The christmas tree is placed upside down to help you to put the card on the hoop avoiding to go over the attachment of the hoop.

Embroider the golden Christmas tree on the card.
To embroider with metallic threads, it is useful to take a metallic needle and to reduce speed.
Embroider the red outlines (or skip, if you don’t like them) and the green star frame.

Take the other sheet of standard printer paper and cut to 10,5 x 15 cm, glue it on the back of your work to cover the back of the embroidery.

Take away your card from the hoop. Cut away the stabilizer paper as close as you can, with scissors.
Fold over the card, cut edges of paper and organza to the size of the card.

Your first Christmas card 2023 is already finished.
Look at the shiny metallic thread:

My wish for you is to celebrate warm and cheerful family moments. May 2024 bring you many creative moments and succesfull projects. Enjoy working with BERNINA, find tips, tricks and inspiration on the blog. I hope for good health for all of you.


0 Responses