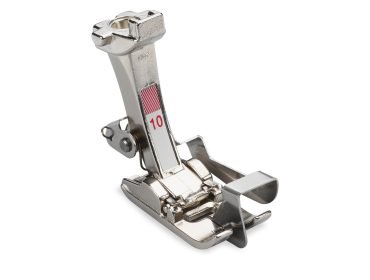
It’s easy to add lace to a project with edge stitchfoot #10. This presser foot is really one of my favourite feet. There are so many sewing technicques in which you can use it. Today I’ll sew lace to a pillow cover.
I make a pillow cover with lace border.
Supplies:
- Flanel fabric
- A lace border. I found mine in a thrift store.
- Mettler Seralon sewing thread in the right colour
- Edgestitch Foot #10
Sew the pillow cover
Sew the hem in the cut edge. I folded and ironed it. In this way it’s easy to sew, with needle position -2, can you see how neat the hem is?
Iron the fold. Then fold the fabric in half (right sides facing) to sew the side seams. Do you know that you can even sew seams with the edge stitchfoot?
Topstitch 3 sides at 2 mm all around the pillow cover, needle position -2:
Turn the cover inside out. Measure 7 cm for the border (or depending the width of the lace). Sew 3 sides.
Here’s another advantage of this presser foot: the vertical plate can be used as a guide.
Pin the lace along the border. Make the corner, and be sure the lace lies flat in the corner.
Sew the lace with needle position -1.
Partially sew over the corner in a 45° direction.
The cover is ready.
Do you like this lace accent as much as I do?
Add lace to a project with edge stitchfoot #10 is easy!
 BERNINA Corporate Blog -


0 Responses