 BERNINA Corporate Blog -
My cousin recently got married and I made my outfit for her wedding.
It was a Summer wedding in the vineyards so I wanted my outfit to be light and fun and when I found this fabric I knew it would be perfect.
I chose to create a 2 piece so that I could get more wear out of the outfit after the wedding and even though its only been a little over a month, I’ve already worn both items multiple times!
The outfit consisted of a wrap top and 1/4 circle skirt. When worn together the items looked like a dress!
This style wrap top is a favourite item in my wardrobe. I’ve made it in a variety of fabrics and colours. I love it’s versatility and comfortability. It can be tied various ways and worn back to front so the cross over is at the back.
As my version is lined, if I made the Lining a different colour then it could even be reversible!
I love pairing my wrap with jeans, shorts, skirts and even wearing it as a cover up over a dress. It is so easy to dress up or down.
You can find out more about the skirt in this blog post: Make your own Quarter or Half Circle Skirt
But for today, I’ll share how I made my wrap top from a free pattern.
What will be needed:
- Sewing machine 735
- Edgestitch Foot #10
- Light to medium weight stretch Satin or Super Soft
(quantity dependent on pattern) - Thread to match
- Morning Glory Top Pattern
- Paper for pattern drafting
- Paper & Fabric scissors
- Pen, tape measure & ruler
Fabric
I used a type of fabric called Super Soft. It is similar to a lightweight satin with a stretch, like Armani Satin.
I felt it best to fully line my wrap top for a neat finish and to create a great fit.
Draft the Pattern

Draft the pattern according to Sarah Kirsten’s instructions
Then follow these steps to alter the pattern: HR Morning Glory Pattern Hack
Sew
The Bodice
 1. Pin the Front & Back Bodice pieces at the Shoulder seam. Repeat for the Lining.
 2. Sew with a 1cm seam allowance.
I used a straight stitch, but you could use a zig zag or even overlock.
 3. Press the Shoulder seams towards the back for the Outer Bodice and towards the front on the Lining.
 4. Lay the Lining and Outer Bodice on a flat surface with the right sides of the fabric together.
Pin and sew along the neckline with a 1cm seam allowance.
 5. Join along the Sleeve Hem
Place a pin where the Sleeve meets the side seam.
 6. Sew between the pins with 1cm seam allowance.
 7. Turn the garment right side out.
 8. Join the side seams of the lining.
 Sew along the side seam with a 1cm seam allowance. Don’t stitch past the existing row of stitches.
 9. Repeat for the Outer Bodice.
 10. Press the seams open if possible.
The Waistband & Ties
 1. Join one of the Front Waistbands to the Back Waistband with a 1cm seam allowance.
 2. When joining the other Front Waistband to the other side of the Back Waistband:
sew for 2cm, leave an opening of 2cm, sew 2cm, leave an opening of 2cm, sew 2cm.
 3. Press the seams open if possible.
 4. Join the Waistband to the Bodice, matching up the side seams. Sew with a 1cm seam allowance along the width of the Bodice.
Keep in mind that the side of the Bodice matched up to the Waistband with the holes will be the side that crosses over.
 5. Fold the Ties so that the right sides of the fabric are together and pin.
 Join from the stitching at the end of the Bodice along the full length of each Tie and include the short end of each Tie. Sew with a 1cm seam allowance
 6. Turn the Ties right side out and press.
 7. Pin the opening closed.
Fold up the seam allowance of the unstitched edge of the Waistband and pin it in place along the base of the Bodice.
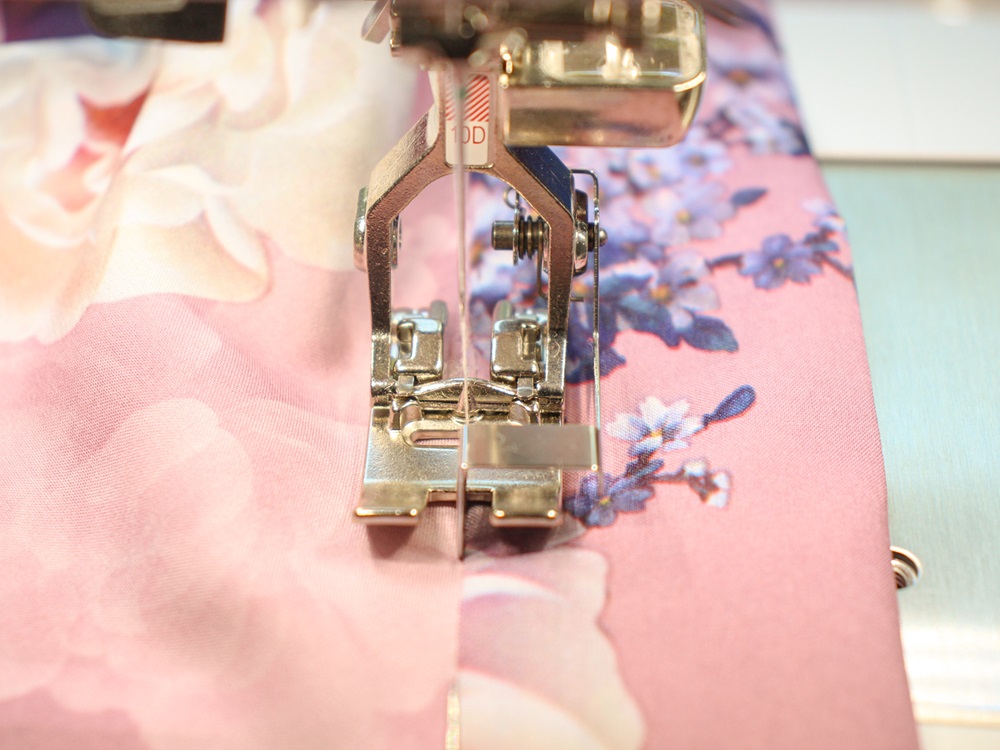 8. Stitch in the ditch to secure the Waistband.
The Edge-stitch Foot is great for this. Just remember to select it from the on-screen menu of your sewing machine before using it.
 9. Pin around the hole in the side of the Waistband, securing both sides of the Waistband.
 10. Straight stitch around the hole.


I loved wearing my outfit at the wedding. It was comfortable and not at all restrictive when it came to the delicious food.
However, the weather on the day ended up being incredibly hot, upwards of 37’C with no wind! I think at that temperature I would have still been too hot no matter what I wore 😅
Tips
- You could make the top out of a knit or other type of stretch fabric.
- I have had luck making this wrap top out of non-stretch fabric, but I would recommend testing it out for yourself in a cheaper fabric before committing to making it out of something special.
- If you don’t want to line the top, you would bind the neckline or make a neckband and roll hem the sleeves
I would love to see what you make, please feel free to share with me!
Instagram
Facebook
-Hannah-Rose
All rights and credits to the respective pattern designers/owners/providers.


0 Responses