 BERNINA Corporate Blog -
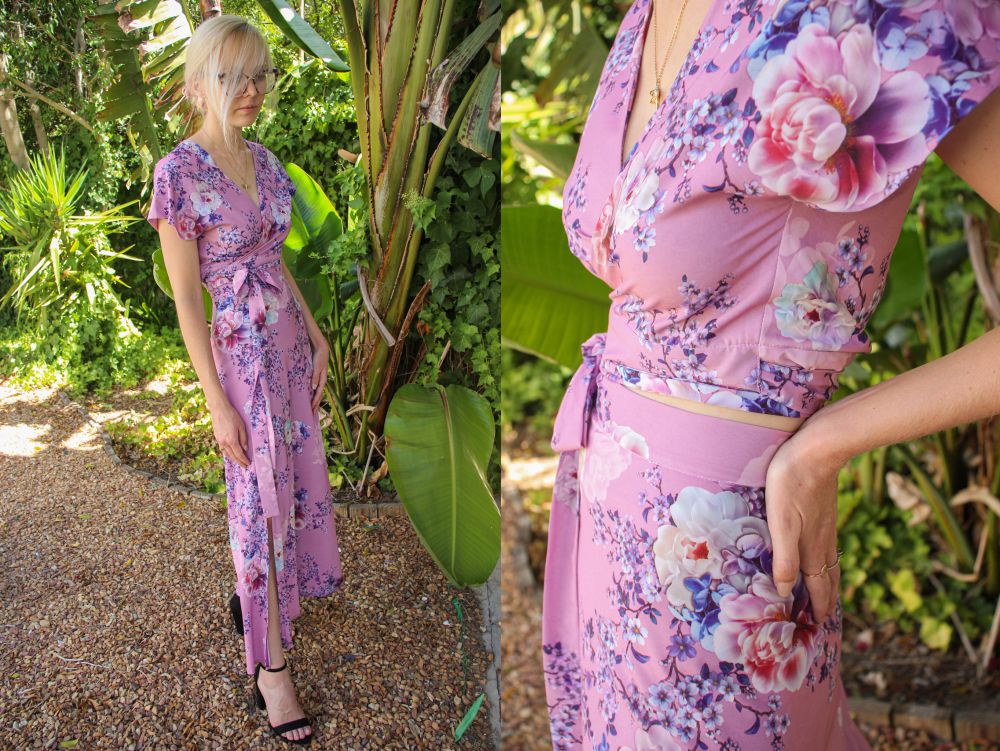
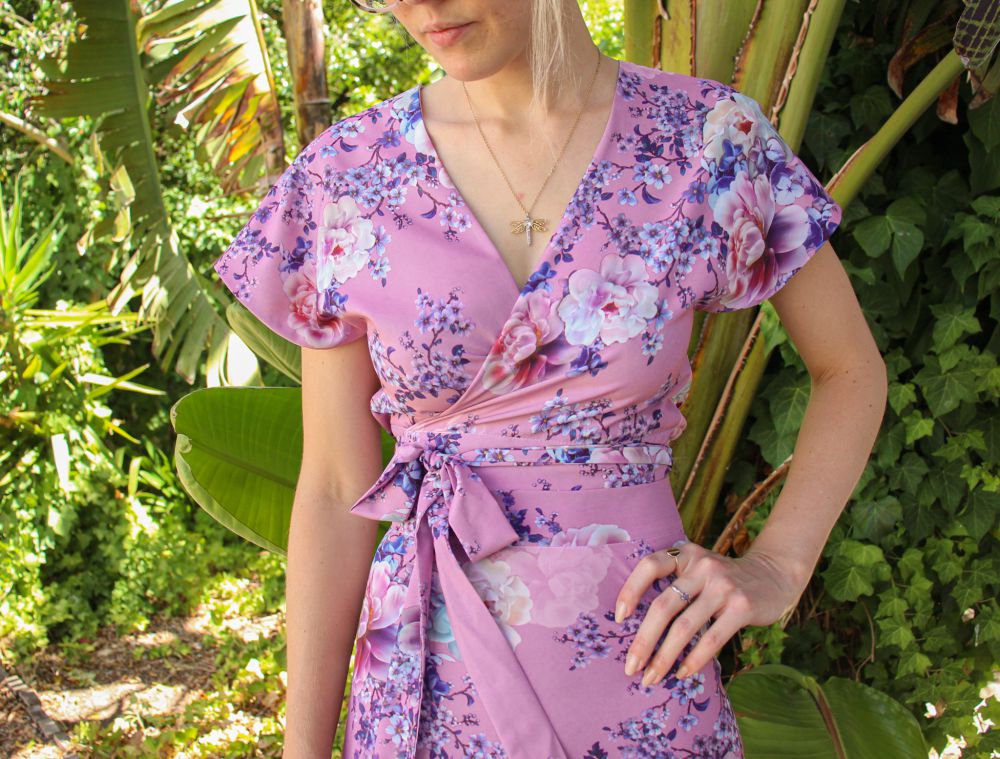
 I previously blogged about attending my cousin’s wedding and the wrap top I made. This blog post is about the matching skirt I created to complete the outfit.
I love circle skirts as they can be very flattering and comfortable.
There are 3 types of circle skirts: Quarter, Half and Full. The names refer to the shape of the skirt when cut out.
Circle skirts incorporate the bias grain (the diagonal grain across the fabric) which has a natural stretch and beautiful drape.
Below I share instructions to draft your own Quarter and Half Circle Skirt.
I chose to make a Quarter Circle skirt as I wanted a more slender silhouette and less fullness. As this was a Summer wedding in the vineyards, I wanted my outfit to be smart but at the same time light and fun. I also wanted to be able to wear the skirt in more casual settings by pairing it with a tee and sneakers.
A Half Circle skirt would have had more fullness and while still beautiful, I felt it wouldn’t have had as much versatility.
You can learn more about the matching top here: Create your own Wrap Top
What will be needed:
- Sewing machine 735
- Light to medium weight fabric
(quantity dependent on pattern) - Bias Tape 1.2cm wide (pre-folded)
(quantity dependent on pattern) - Thread to match
- Invisible or Dress Zip (minimum 25cm long)
- Invisible Zip Foot #35 or Zip Foot #4
- Edge-stitch Foot #10
- Hook & Eye
- Hand sewing needle
- Fabric Scissors, Fabric Marker, Tape Measure & Ruler
Pattern
Follow these tutorials to draft either a Quarter or Half Circle Skirt.
The pattern can be drawn directly on to the fabric with the Fabric Marker.
Quarter Circle Skirt How to draft
Half Circle Skirt How to draft
Both styles will need a Waistband. Here is a tutorial.
How to draft a Waistband
If you would like to add a slit to your Circle Skirt, follow one of these tutorials.
Quarter Circle Skirt How to add a slit
Half Circle Skirt How to add a slit
Sew
Once your skirt is cut out, it is best to hang the fabric overnight so that the grainlines relax. Simply drape the top of the skirt over the bar of a hanger, peg if needs be and place the hanger on a door or somewhere that the fabric can hang. If you don’t do this step before sewing, you will end up with a wonky seam and hemline.
Waistband & Zip
 1. Join the Waistband to the Waistline of the Skirt.
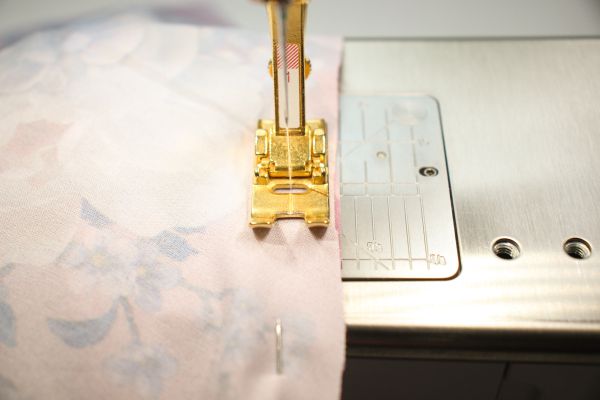 2. Sew with a 1cm seam allowance.
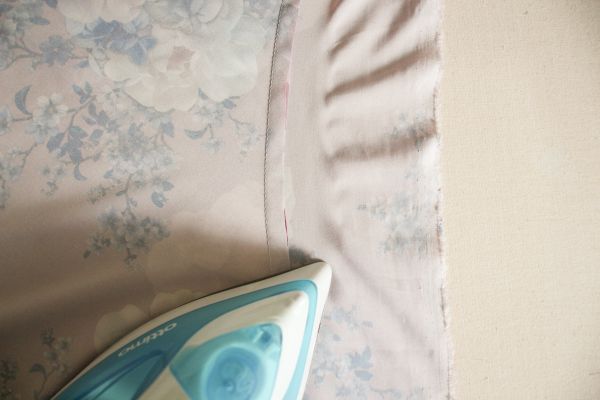 3. Press the seam towards the Waistband.
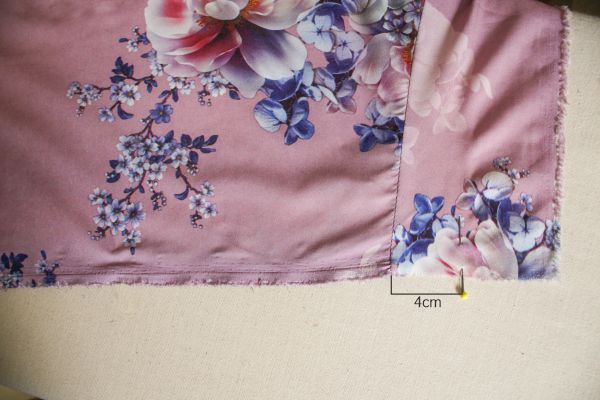 4. Place a pin 4cm up from the seamline along the Centre Back.
If you chose a different Waistband width, use that measurement.
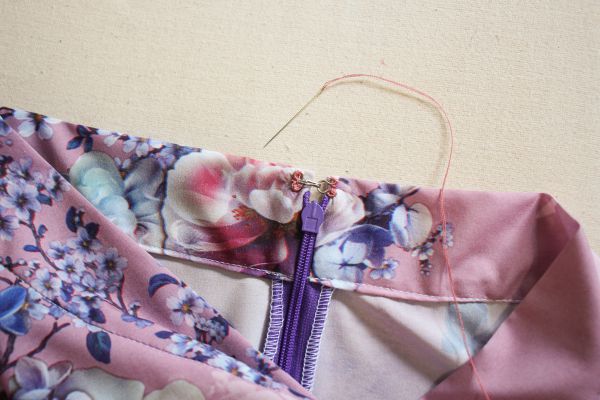
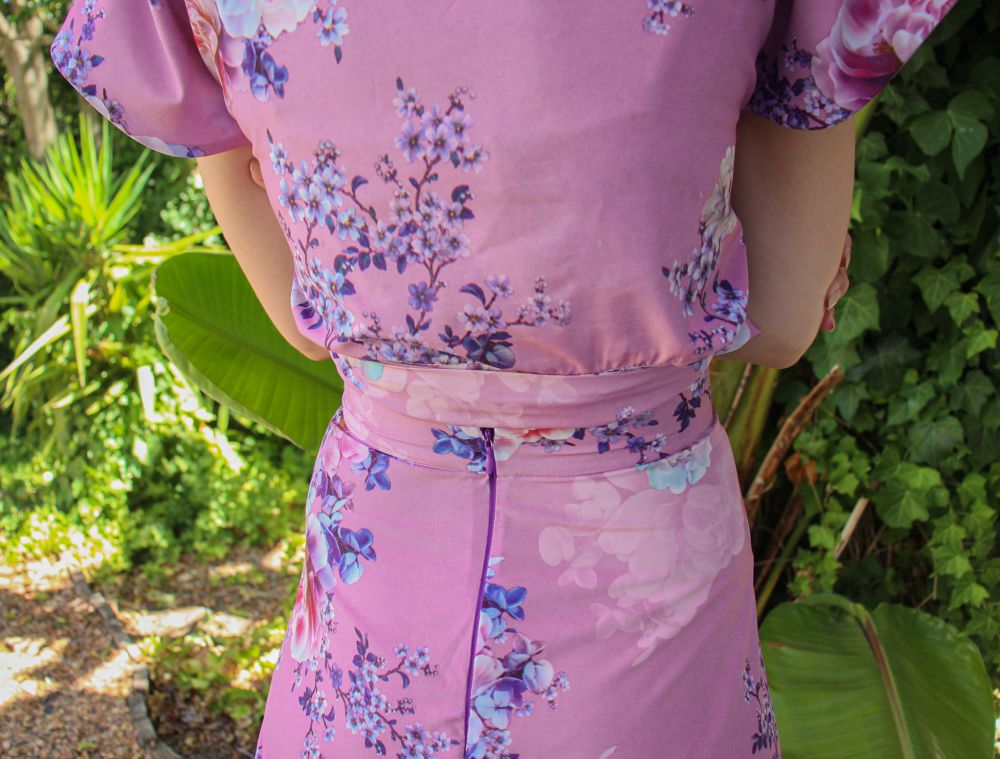
 5. Insert your zip and sew the Centre Back seam with 1.5cm seam allowance.
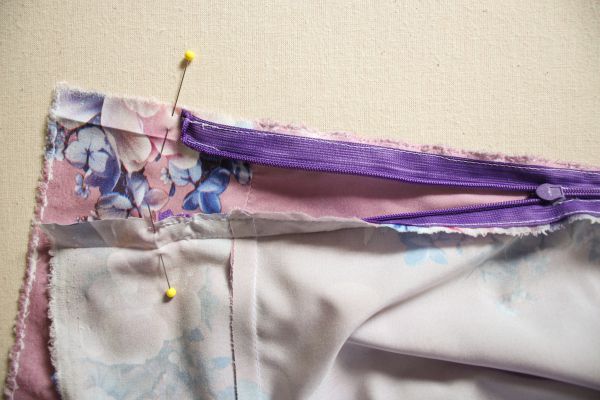 Place the stopper at the top of the zip about 1cm below the pin marker, this space will be for the Hook & Eye later.
Below are some tutorials for inserting zips.
If you are using a Dress Zip with Zip Foot #4:
If you are using an Invisible Zip with Invisible Zip foot #35:
I would recommend pressing the 1.5cm seam allowance and then lining up the zip teeth with the folded seam line.
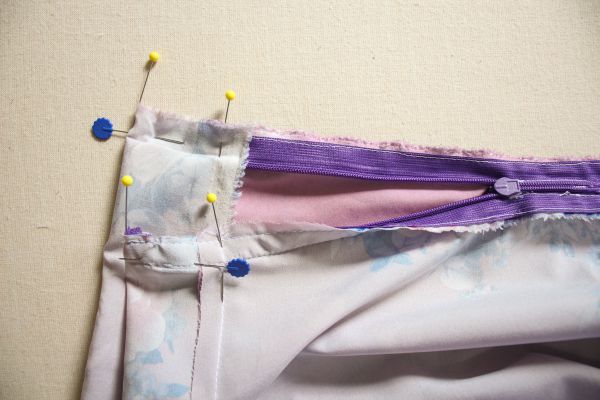 6. Fold the Waistband at the pin, encasing the top of the Zip.
 7. Sew alongside the zip teeth until you reach the seam line at the Waist.
 8. Turn the Waistband right-side out and press, keeping the distance between the seamline and the folded edge 4cm.
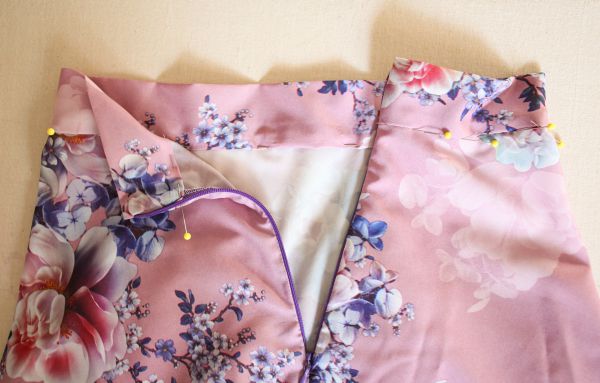 9. Fold the raw edge of the Waistband up by 0.8cm towards the inside of the Waistband.
Pin in place along the seamline.
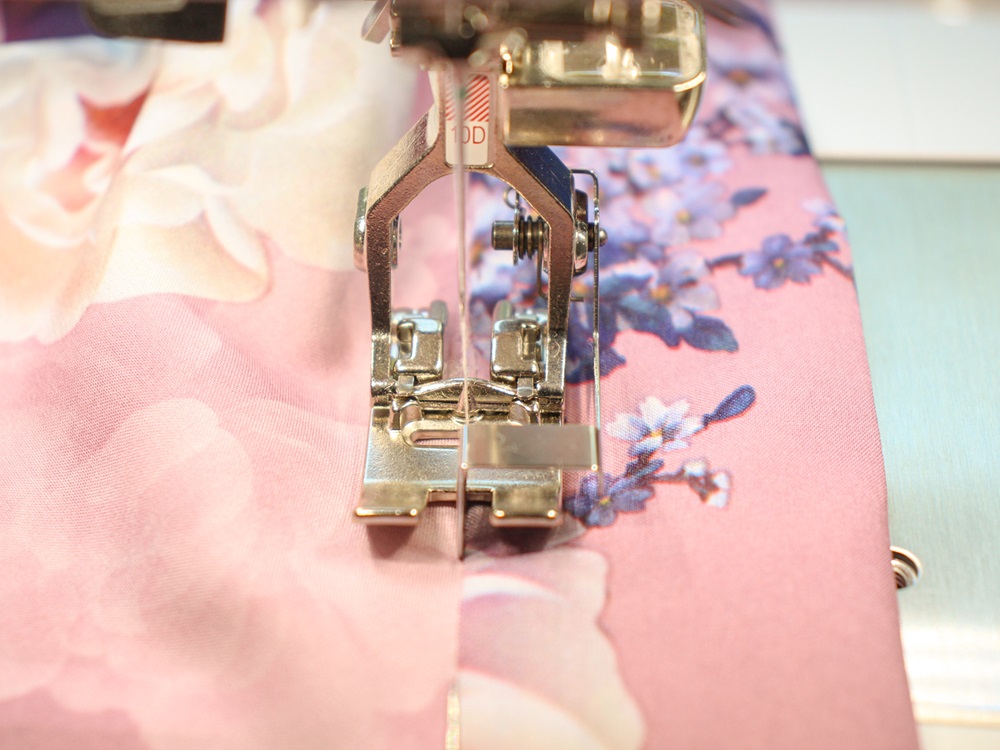 10. Stitch in the ditch to secure the Waistband. Use the Edgestitch Foot for best results.
Bias Bound Slit
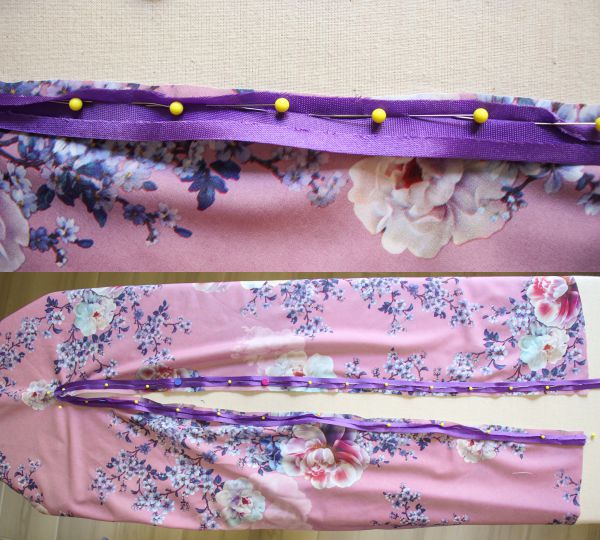 1. Pin the Bias Tape along the full length of the Slit on the right-side of the fabric.
Line up the raw edge of the Tape with the raw edge of the Slit.
 When you are pinning at the top of the Slit, spread the Slit so that the fabric creates a line. Decrease the seam allowance at this point to about 2mm.
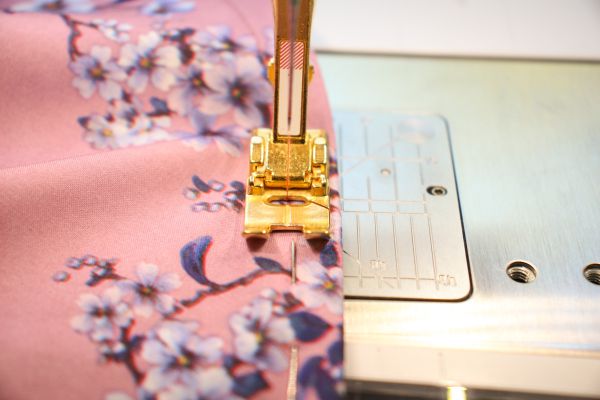
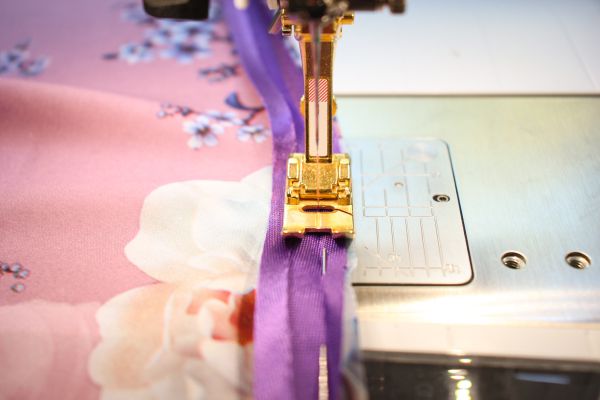 2. Sew along the fold line of the Bias Tape.
 When sewing the top of the Slit, straighten the line of the fabric. Carefully sew across the top of the Slit, gently move any folds of fabric out the way as you sew to prevent puckers.
If there are some minor puckers, don’t stress about them too much, you don’t want to unpick this area too many times. This point will also be tucked away in the end.
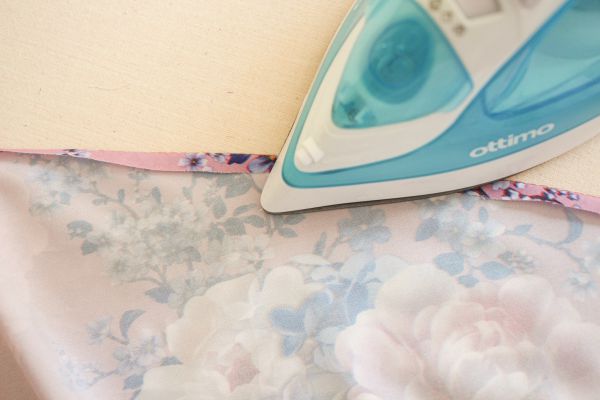
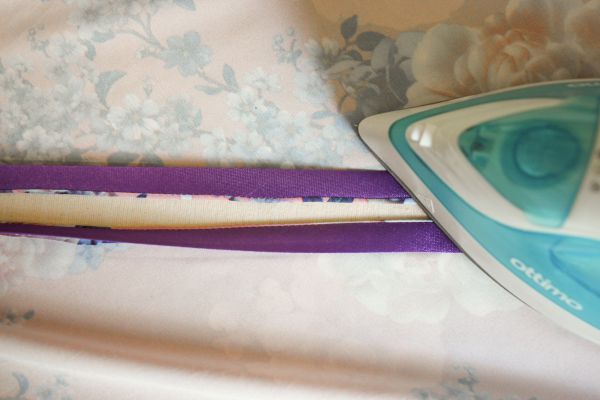 3. Press the Bias Tape towards the fabric along the stitched fold line.
 Press up to the top of the Slit without pressing the top point. The top point is very awkward to press and the iron may set little folds.
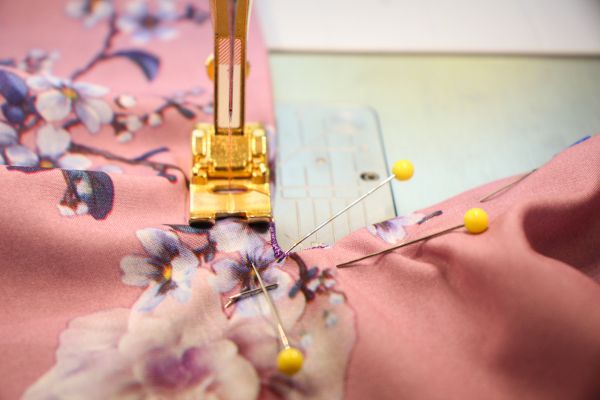
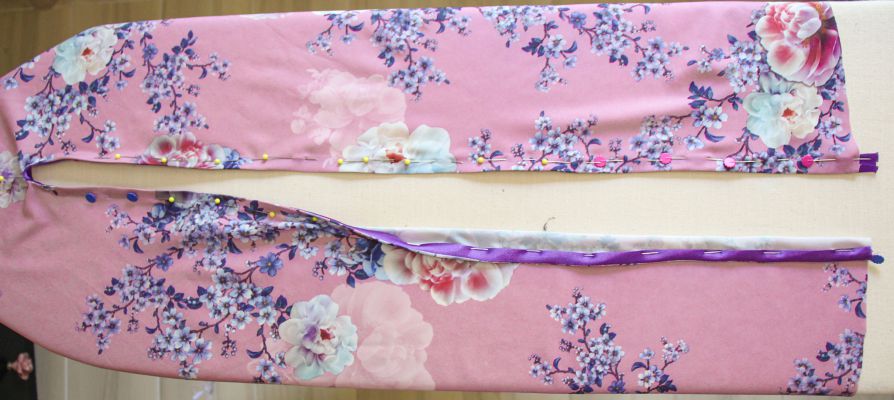 4. Pin the Bias Tape along the full length of the Slit.
 Place a pin at the top of the Slit as a marker and pin the Bias Tape as best you can around this area. You may need to stretch the fabric a bit to get it smooth.
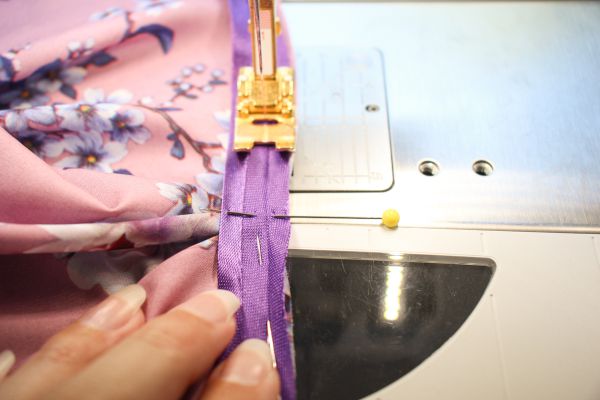
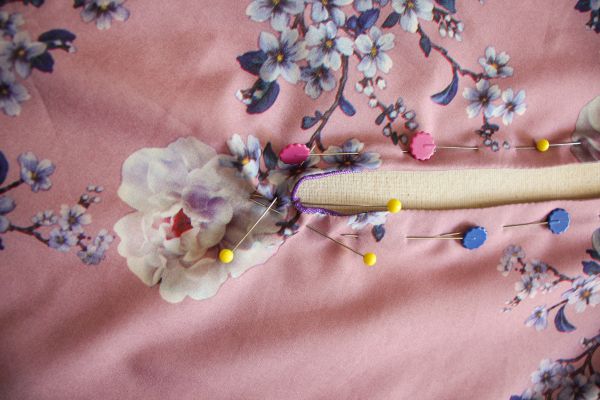
 5. Sew the Bias Tape in place.
 When you get to the top point of the Slit, sew to the marker pin, place the needle down, lift the foot and pivot the fabric and resume sewing.
You may need to decrease the seam allowance when sewing towards the top point to ensure that the Bias Tape is secured while preventing the fabric from puckering. Its ok if the Bias tape needs to extend past the edge.
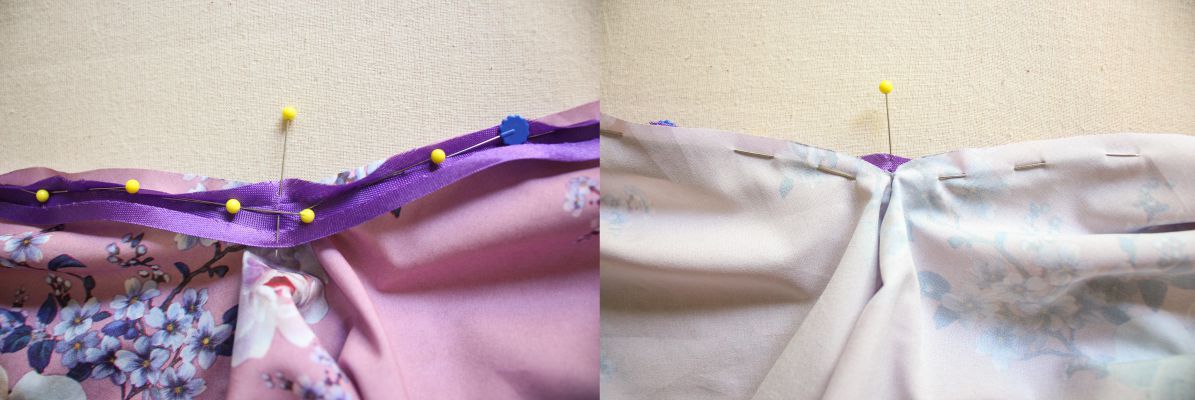
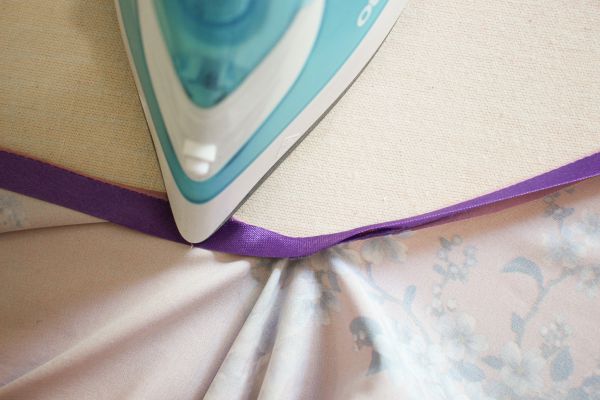
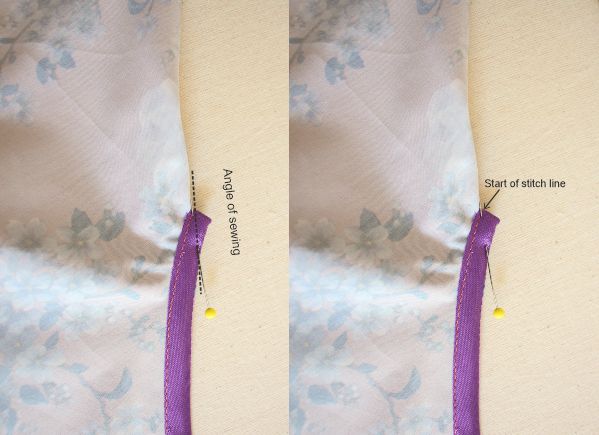 6. Turn the Skirt to the wrong-side and fold along the Slit.
At the top of the Slit place a pin diagonally across the fold of the Bias tape. The angle must be in line with the fold of the fabric.
Sew across the fold starting at the stitch line.
Press this little dart to a side and press the area around the top of the Slit.
Narrow Rolled Hem
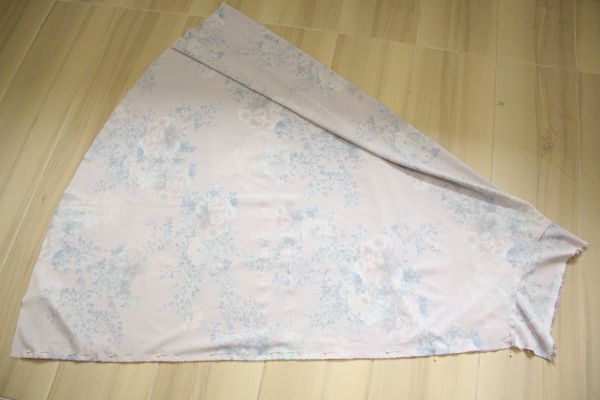
 1. Cut the Skirt to length. Since the grainlines have relaxed, the Hemline is likely no longer even.
Lie the Skirt flat on the floor, as flat as possible (doesn’t matter if the Waistband isn’t flat as long as the Skirt part is laid out evenly).
Then measure from the Waistline (where the Waistband joins the Skirt) down towards the Hem the desired length + 1.2cm seam allowance.
 2. Increase the stitch length and sew along the raw edge of the Hem with a 0.6cm seam allowance.
 3. Fold up along the stitch line and press.
 4. Fold up again by 0.6cm, encasing the raw edges and press.
 5. Reduce the stitch length to normal and secure the Hem.
Hook & Eye
 Hand stitch the Hook & Eye to the inside of the Waistband. Don’t stitch through both layers of the Waistband.
I like to include these closures as I find them helpful when getting dressed. When putting on a skirt, I do them up first then I have both hands free to do up the zip.

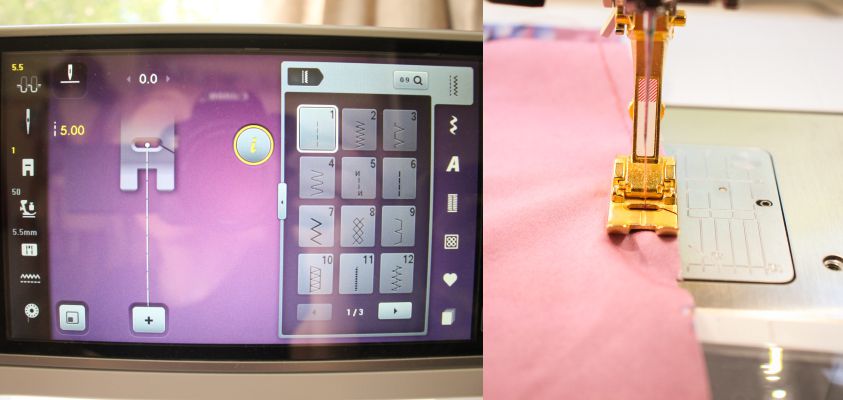
Tips
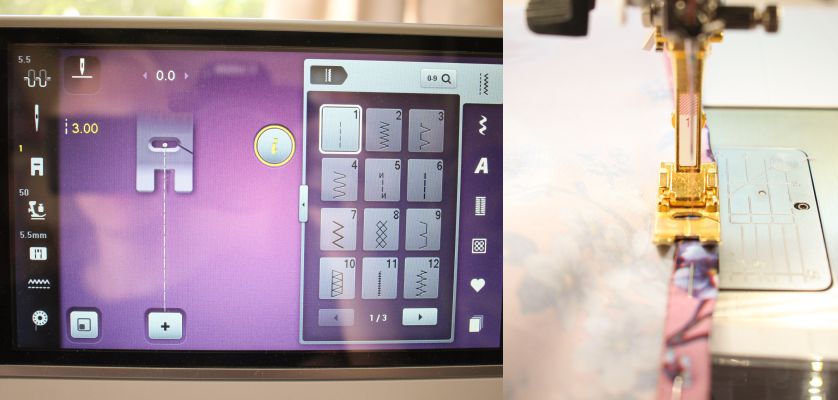
- If your machine has a digital screen, remember to select the foot you are using from the on-screen menu.
The machine will adjust its settings or make suggestions to help you achieve the best results.
I would love to see what you make, please feel free to share with me!
Instagram
Facebook
-Hannah-Rose


0 Responses