 BERNINA Corporate Blog -
Do you know all the possibilities of your overlocker? Every machine has so many settings. Are you going for 2-, 3-, or 4-thread stitches? With one or two needles? How big do you set the stitch length, and at what position do you place the knife?
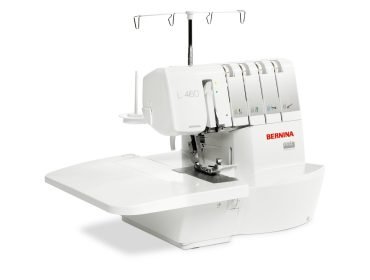
After a few months of experience with the BERNINA L 460, I certainly haven’t tried everything yet. That’s why I took the time during my sewing class last week to go through the stitch card and try out all the settings.
I’ll take you through what I’ve learned in this blog. If you like, join in on your own machine. Take a scrap of fabric and a few hours. When you write down your findings on your test swatches, you’ll have a super handy reference for later.
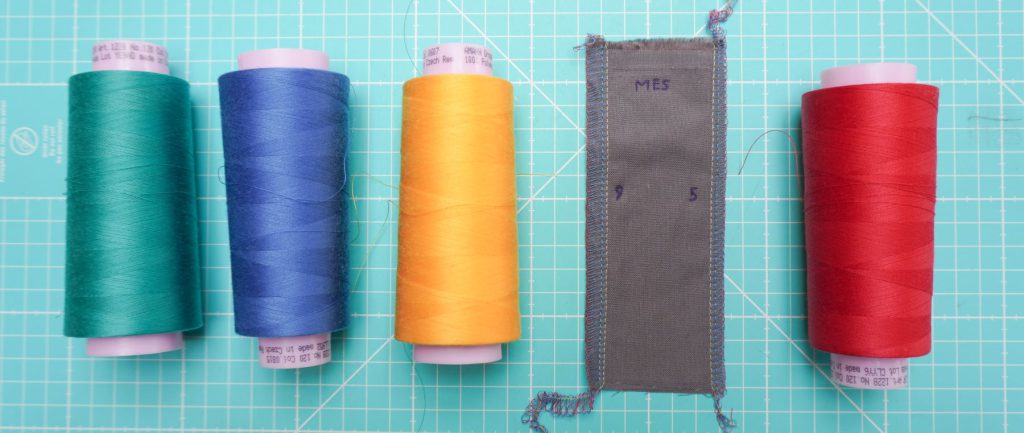
To see what the different settings do, I used thread in the colors indicated on the machine instructions. I use Mettler Seracor. Many thanks to Mettler for sponsoring this beautiful thread.
4-thread overlock
Let’s start with the top stitch, the 4-thread overlock. This is the basic overlock seam I’ve used for all my projects so far.
I follow the settings on the card. Thread tension for all threads at 4, knife position 6, and stitch length 2.5. You can also download this information in the online manual.
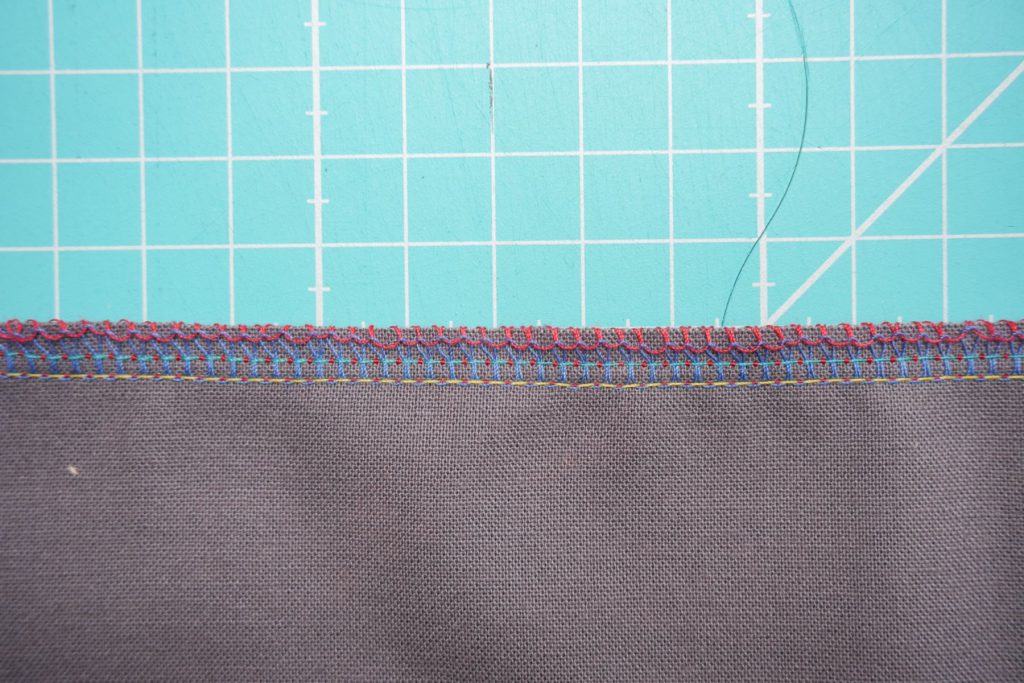
Thread tension
My first seam looked like the one above. The red thread seems a bit loose. This is the thread in the lower looper. I increased its tension to 5 and then got the next super neat seam:
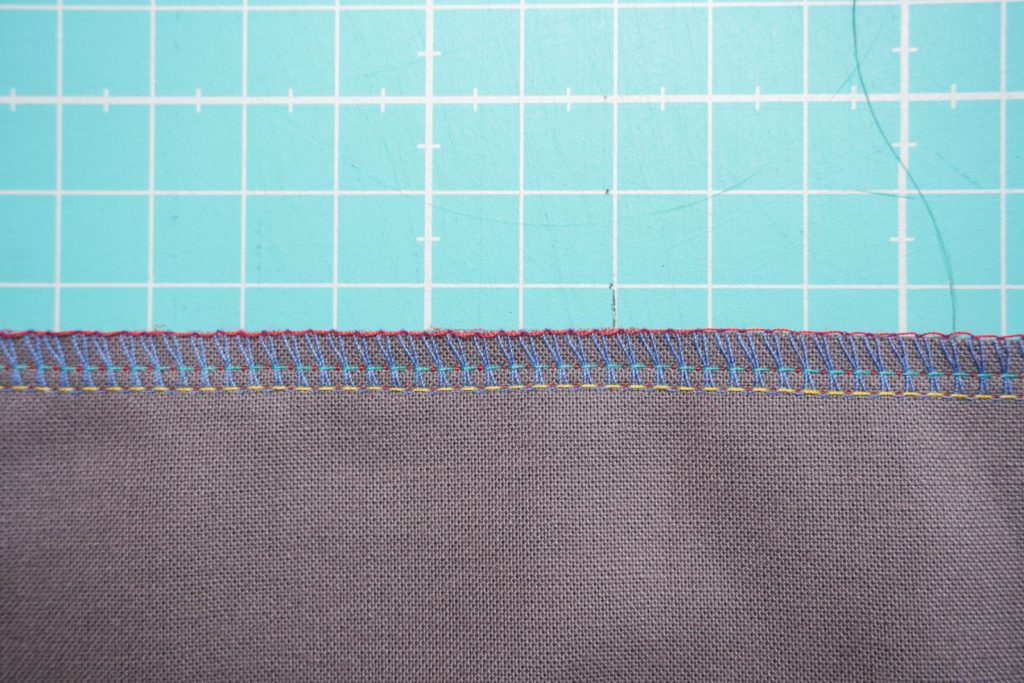
That makes me happy, those stitches, such a nice regular seam. What a joy to sew on the L460.
Note: The type of fabric you sew on will affect your result. I sewed here with 2 layers of cotton. When I use jersey next time, I might need different settings to achieve a beautiful seam again.
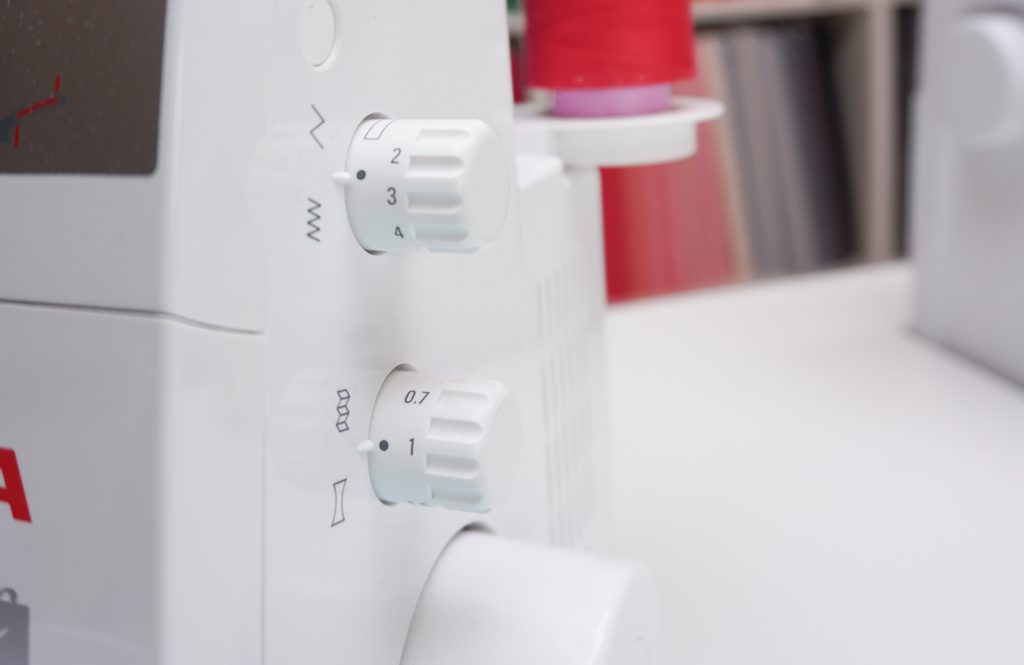
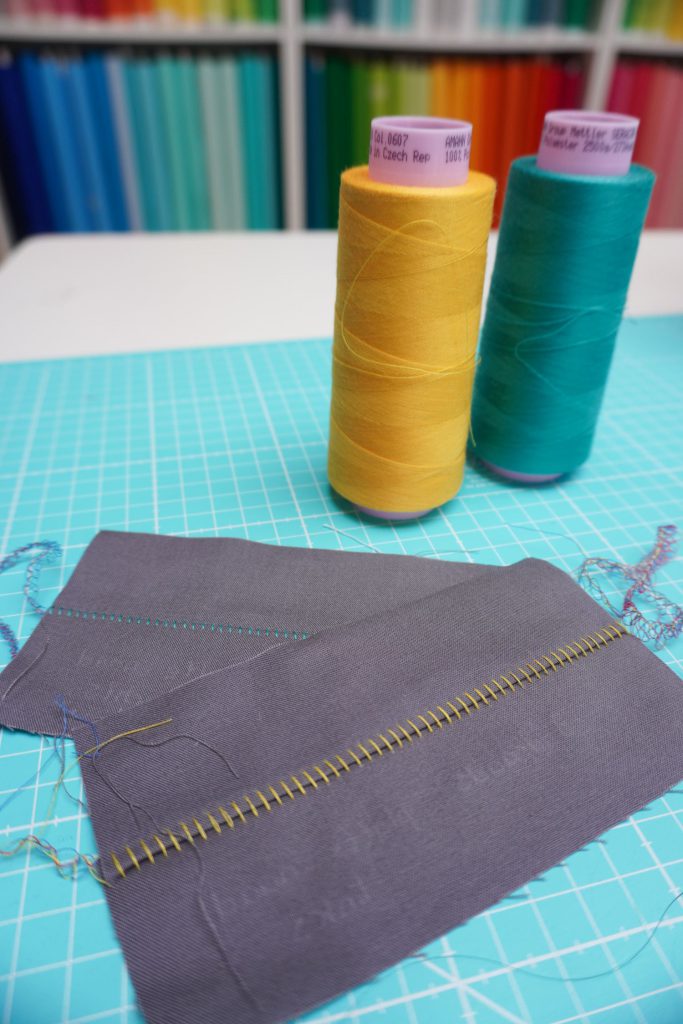
Stitch length
Time to turn the knobs on the side. I first played with the stitch length. I sewed the above seam with stitch lengths 1, 2, 3, and 4.
As you can see below, the seam remained nicely regular, and the thread tension was good. The difference in stitch length is clearly visible in the swatch.

Knife position
The next setting I experimented with for the 4-thread overlock seam was the position of the knife.
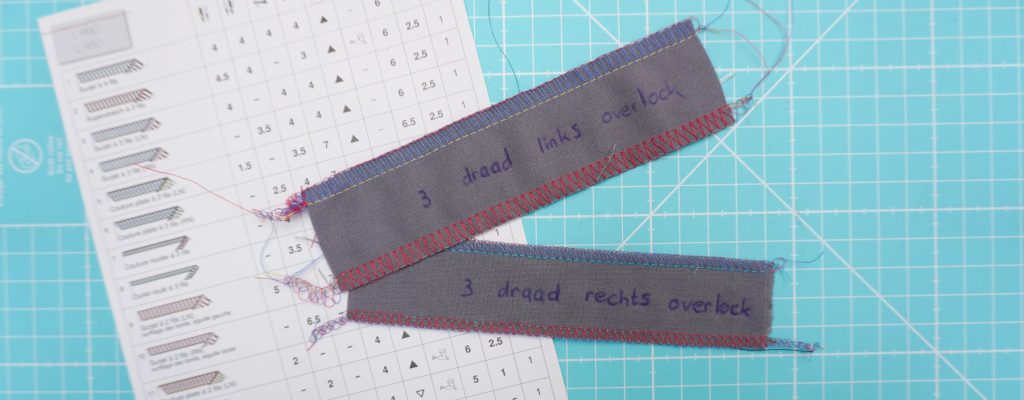
All the way to the left, position 5, gives a smaller seam, more fabric is cut away.
All the way to the right, position 9, gives a wider seam, less fabric is cut away.
3-thread overlock
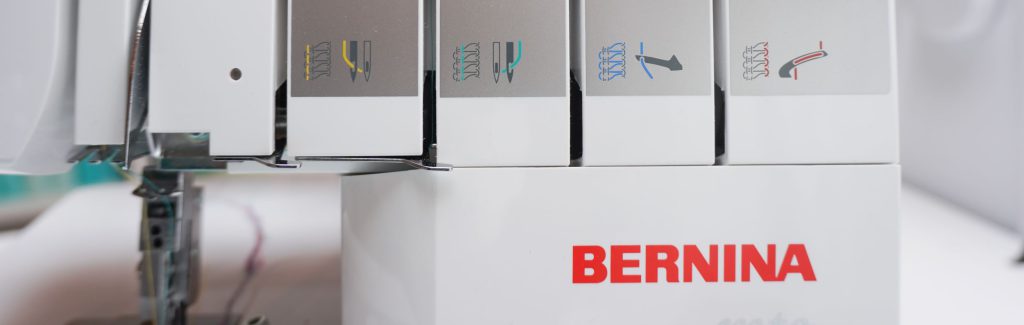
Okay, time to try some different stitches. All the seams that follow are sewn with 1 needle. The stitch card clearly indicates whether you use the left or right needle.
The 3-thread overlock is similar to the 4-thread overlock and can be used, for example, for seams where less stress is applied.
Using the left needle makes the seam slightly wider. Using the right needle makes the seam slightly narrower.
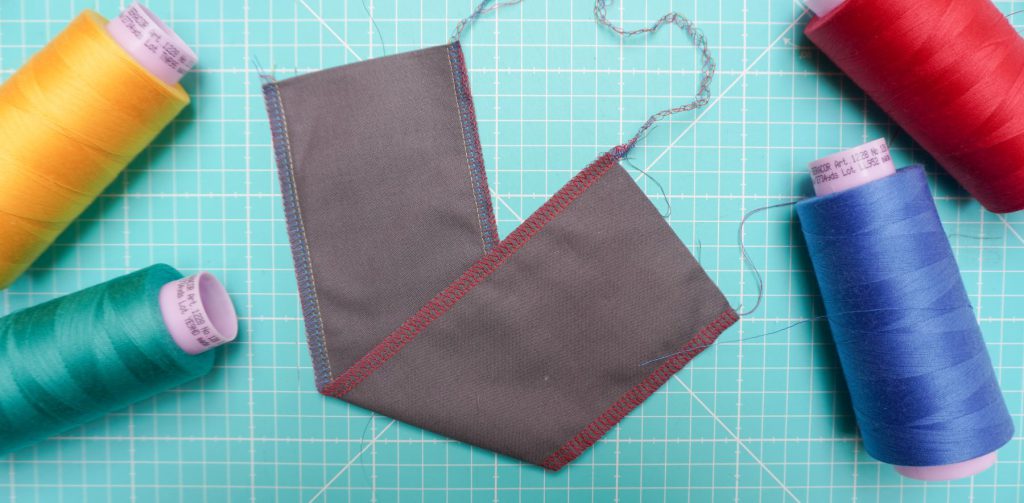
3-thread flatlock seam
What a fun stitch this is! A surprise when you sew it for the first time. I’m going to use this for the seams in a sweater for my son soon.
You sew the 3-thread flatlock seam just like any other seam, but after sewing, you open it up. The overlock stitches remain nicely visible.
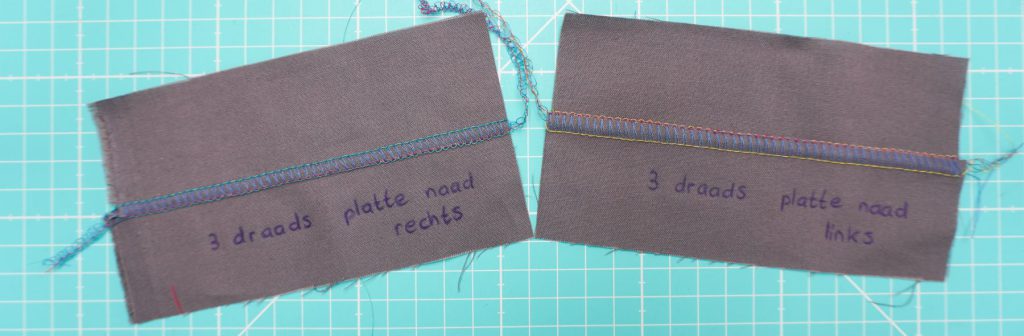
And on the bottom, you get this cool effect. Maybe also a nice detail to create these stripes on the front of a hem. This stitch offers great options for decorative overlock stitches.
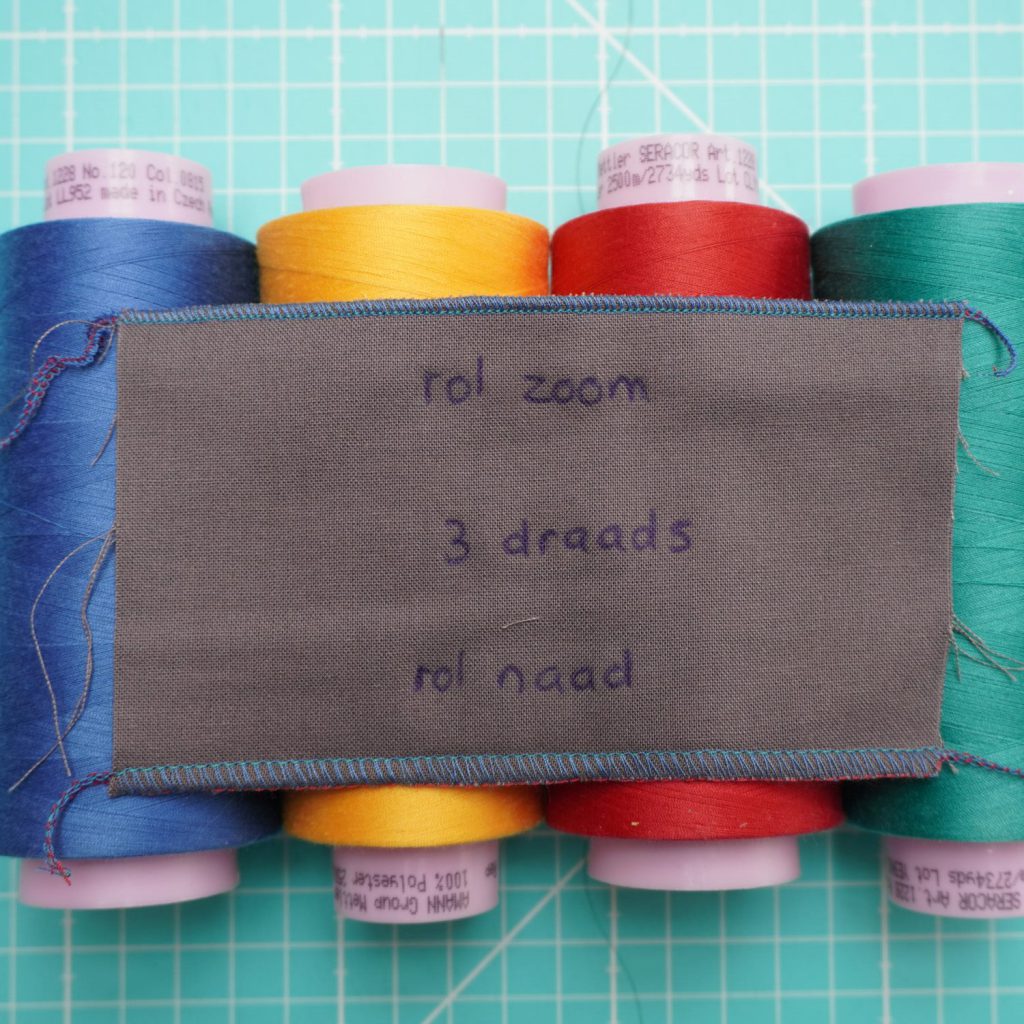
Rolled seam and rolled hem
I used a rolled hem in a shirt for Ella once, you can see a photo of it in this blog post.
You can play with the stitch length in a rolled hem. Especially try out how small the stitch length can be that still sews nicely and doesn’t ‘pile up’ the stitches.
With a rolled hem, you can also use a bit more fluffy thread, such as Mettler Seraflock, to get a fuller result.
I also tried the rolled seam, but I’m not sure if and when I would use this stitch in a project. Have you ever used a rolled seam?
2-thread stitches
Then there are a whole bunch of 2-thread stitches on the stitch card. I tried them out but probably won’t use them any time soon. I think these stitches are good for certain very thin fabrics, with which I don’t work with (yet).
Below is the overview of the 2-thread stitches.

Conclusion
This was so much fun! I got to know the machine a bit better again. Especially using four different colors of thread made it easy to see what the different settings do.
I really recommend planning a date with your overlocker to go through all the stitches. Very educational to use all the dials to see how you can make the most beautiful seams.
The 3-thread flatlock seam was my favorite; I will definitely apply it in a project soon.
Until next time!
Irene
0 Responses