 BERNINA Corporate Blog -
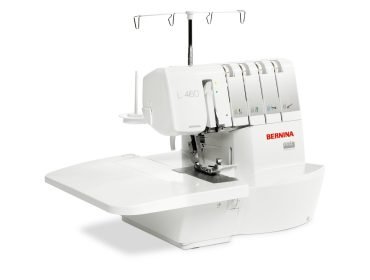
Dresses made from jersey fabric. What delightful projects to sew! Especially now that Ella is still in small sizes. A jersey dress comes together easily with a good overlocker. I sew on the BERNINA L 460, which makes creating such a dress a true joy.
Lena Dress pattern
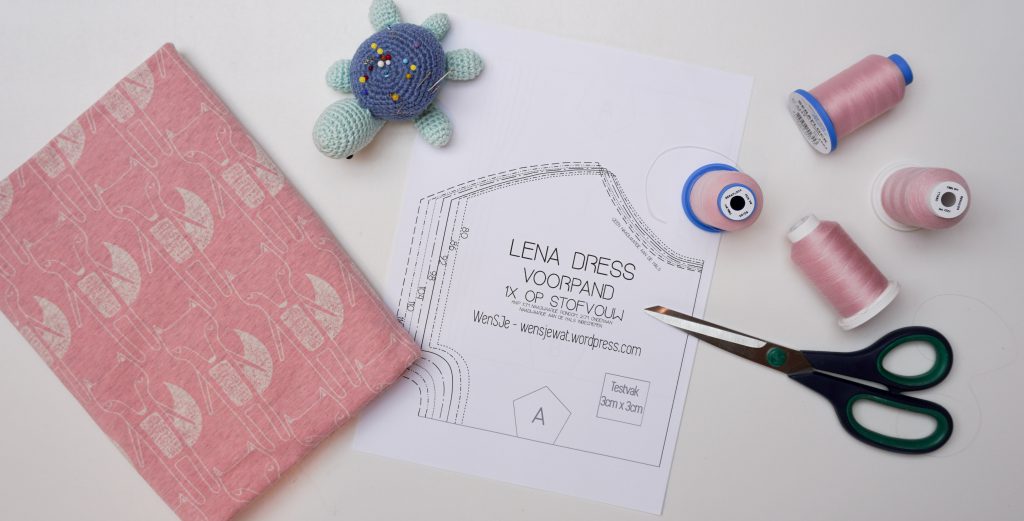
For this project, I used the free Lena Dress pattern from WISJ designs. You can download the pattern for sizes 80-164 here.
Materials needed
All the materials used, listed here:
- The BERNINA L460 overlocker
- The free Lena Dress pattern
- Pink jersey fabric with foxes, found at a fabric market in Germany
- 2x Mettler Seracor 1063
- 2x Mettler Seraflock 1063
Mettler thread
I’m relatively new to working with an overlocker, so I’m on a journey of discovery regarding the materials and different threads. Mettler has sponsored thread for this and the upcoming blog posts, allowing me to try out various options. Thanks so much to Mettler for this!
Experimenting with Fluffy Thread
For this dress, I used regular polyester thread (Seracor) for the two needles and fluffy thread (Seraflock) for the loopers. I learned about using ‘Wooly nylon’ in the loopers from this video, which is supposed to make the seams extra soft on the inside. This is perfect for kids who are sensitive to scratchy seams in clothing.
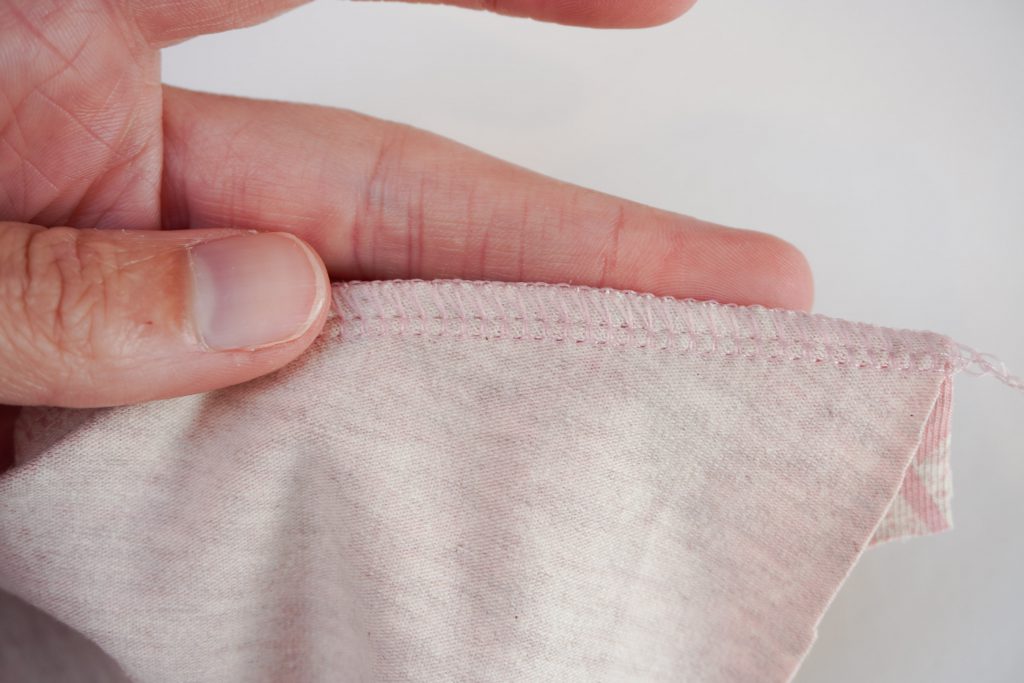
Well, this little experiment was a success. The seam feels incredibly soft! It also looks beautiful because the fluffy thread fills more than the regular thread. Definitely worth repeating!
The Lena Dress
What I love about the Lena Dress is the back. It features a beautiful pleat on the back, which is quite elegant and not too complicated for a beginner to make, as long as you follow the pattern correctly. I’ll tell you where I went wrong…

Preparations
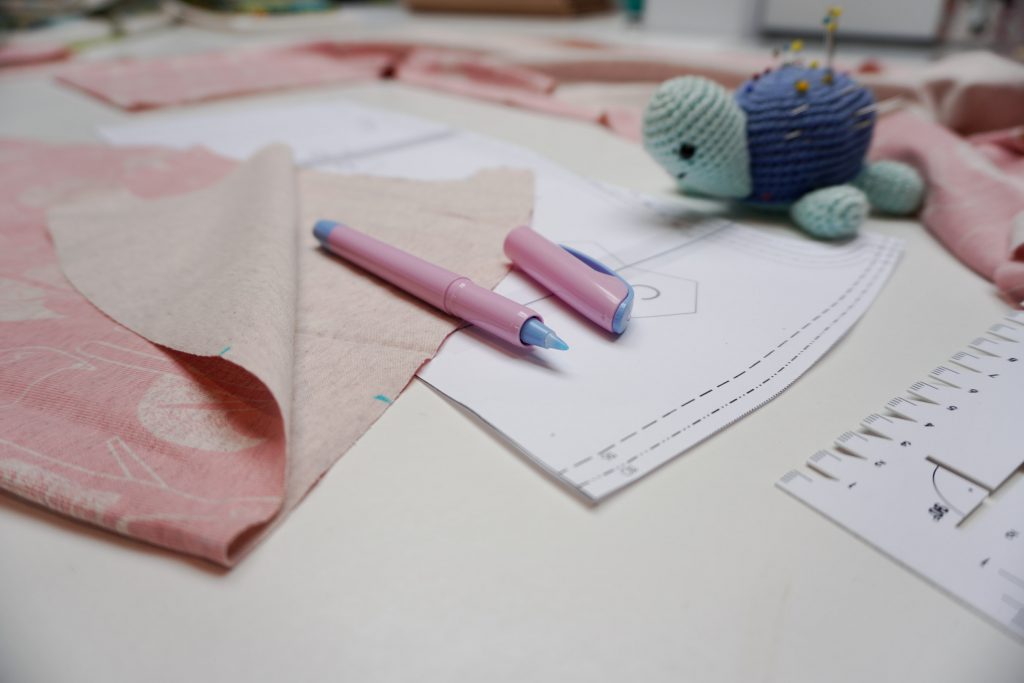
Making this dress starts with printing and cutting out the pattern.
When you lay it on the fabric, you cut the fabric with a seam allowance all around, except for the neck, where you don’t cut a seam allowance. For the hem at the bottom of the skirt, you cut a 2.5cm seam allowance. This blog post explains all the steps for making the dress clearly.

The pleat..
Reading carefully is an art, as it turned out with this pattern. I’ve made this dress twice before, and each time, getting the pleat on the back to look even on both sides was quite a puzzle.
Now, as I was making it for the third time, I read in the blog post, “Mark at 6cm from the fabric fold and at the fabric fold itself.” Haha, yes, it can be that simple.
With these three marks on the fabric and a few pins, the pleat was perfectly even!

Assembling the dress
After assembling the back panel, the dress comes together quite standard.
First, join the shoulders and then attach the sleeves.

Next, sew the side seams.

Then you can add the neckline and sleeve cuffs. I found sleeve cuffs a bit nerve-wracking on an overlocker, but as Ella keeps growing, the cuffs get wider. By taking it slowly, step by step, I managed just fine.
All that’s left is to hem the skirt, and the dress is complete! I first passed the hem through the overlocker, then folded it over and sewed it down with a small zig-zag stitch using the B770QE.

So fun! Also, it’s great that this pattern goes up to size 164. I’m sure I’ll make many more of these. There’s plenty of jersey fabric in my stash 🙂
Until next time! In the next post, I’ll try out different stitches on the L460 and write about which stitches are used for what purpose.
See you then,
Irene

I see, the pattern cost 10 euros and it’s not free How can I download this pattern for free
Hy Claire, I had to search a bit, but found it: Click on the blue link to download it for free.