 BERNINA Corporate Blog -
IT’S EASTER! LET’S BE CREATIVE!
IT’S EASTER! LET’S BE CREATIVE!
Easter is a time for friends and family and of course we want to decorate our homes according to the season or in this case, the religious holidays. I wanted something that is easy to create but still challenging to keep me interested so I created this little Easter wreath.
HOW I DESIGNED THIS EASTER WREATH
I used a circular ruler to draw the circle as a guide. For the Easter eggs, I made templates of the outline only and copied these onto my fabric. It is a good idea to space these at regular intervals.
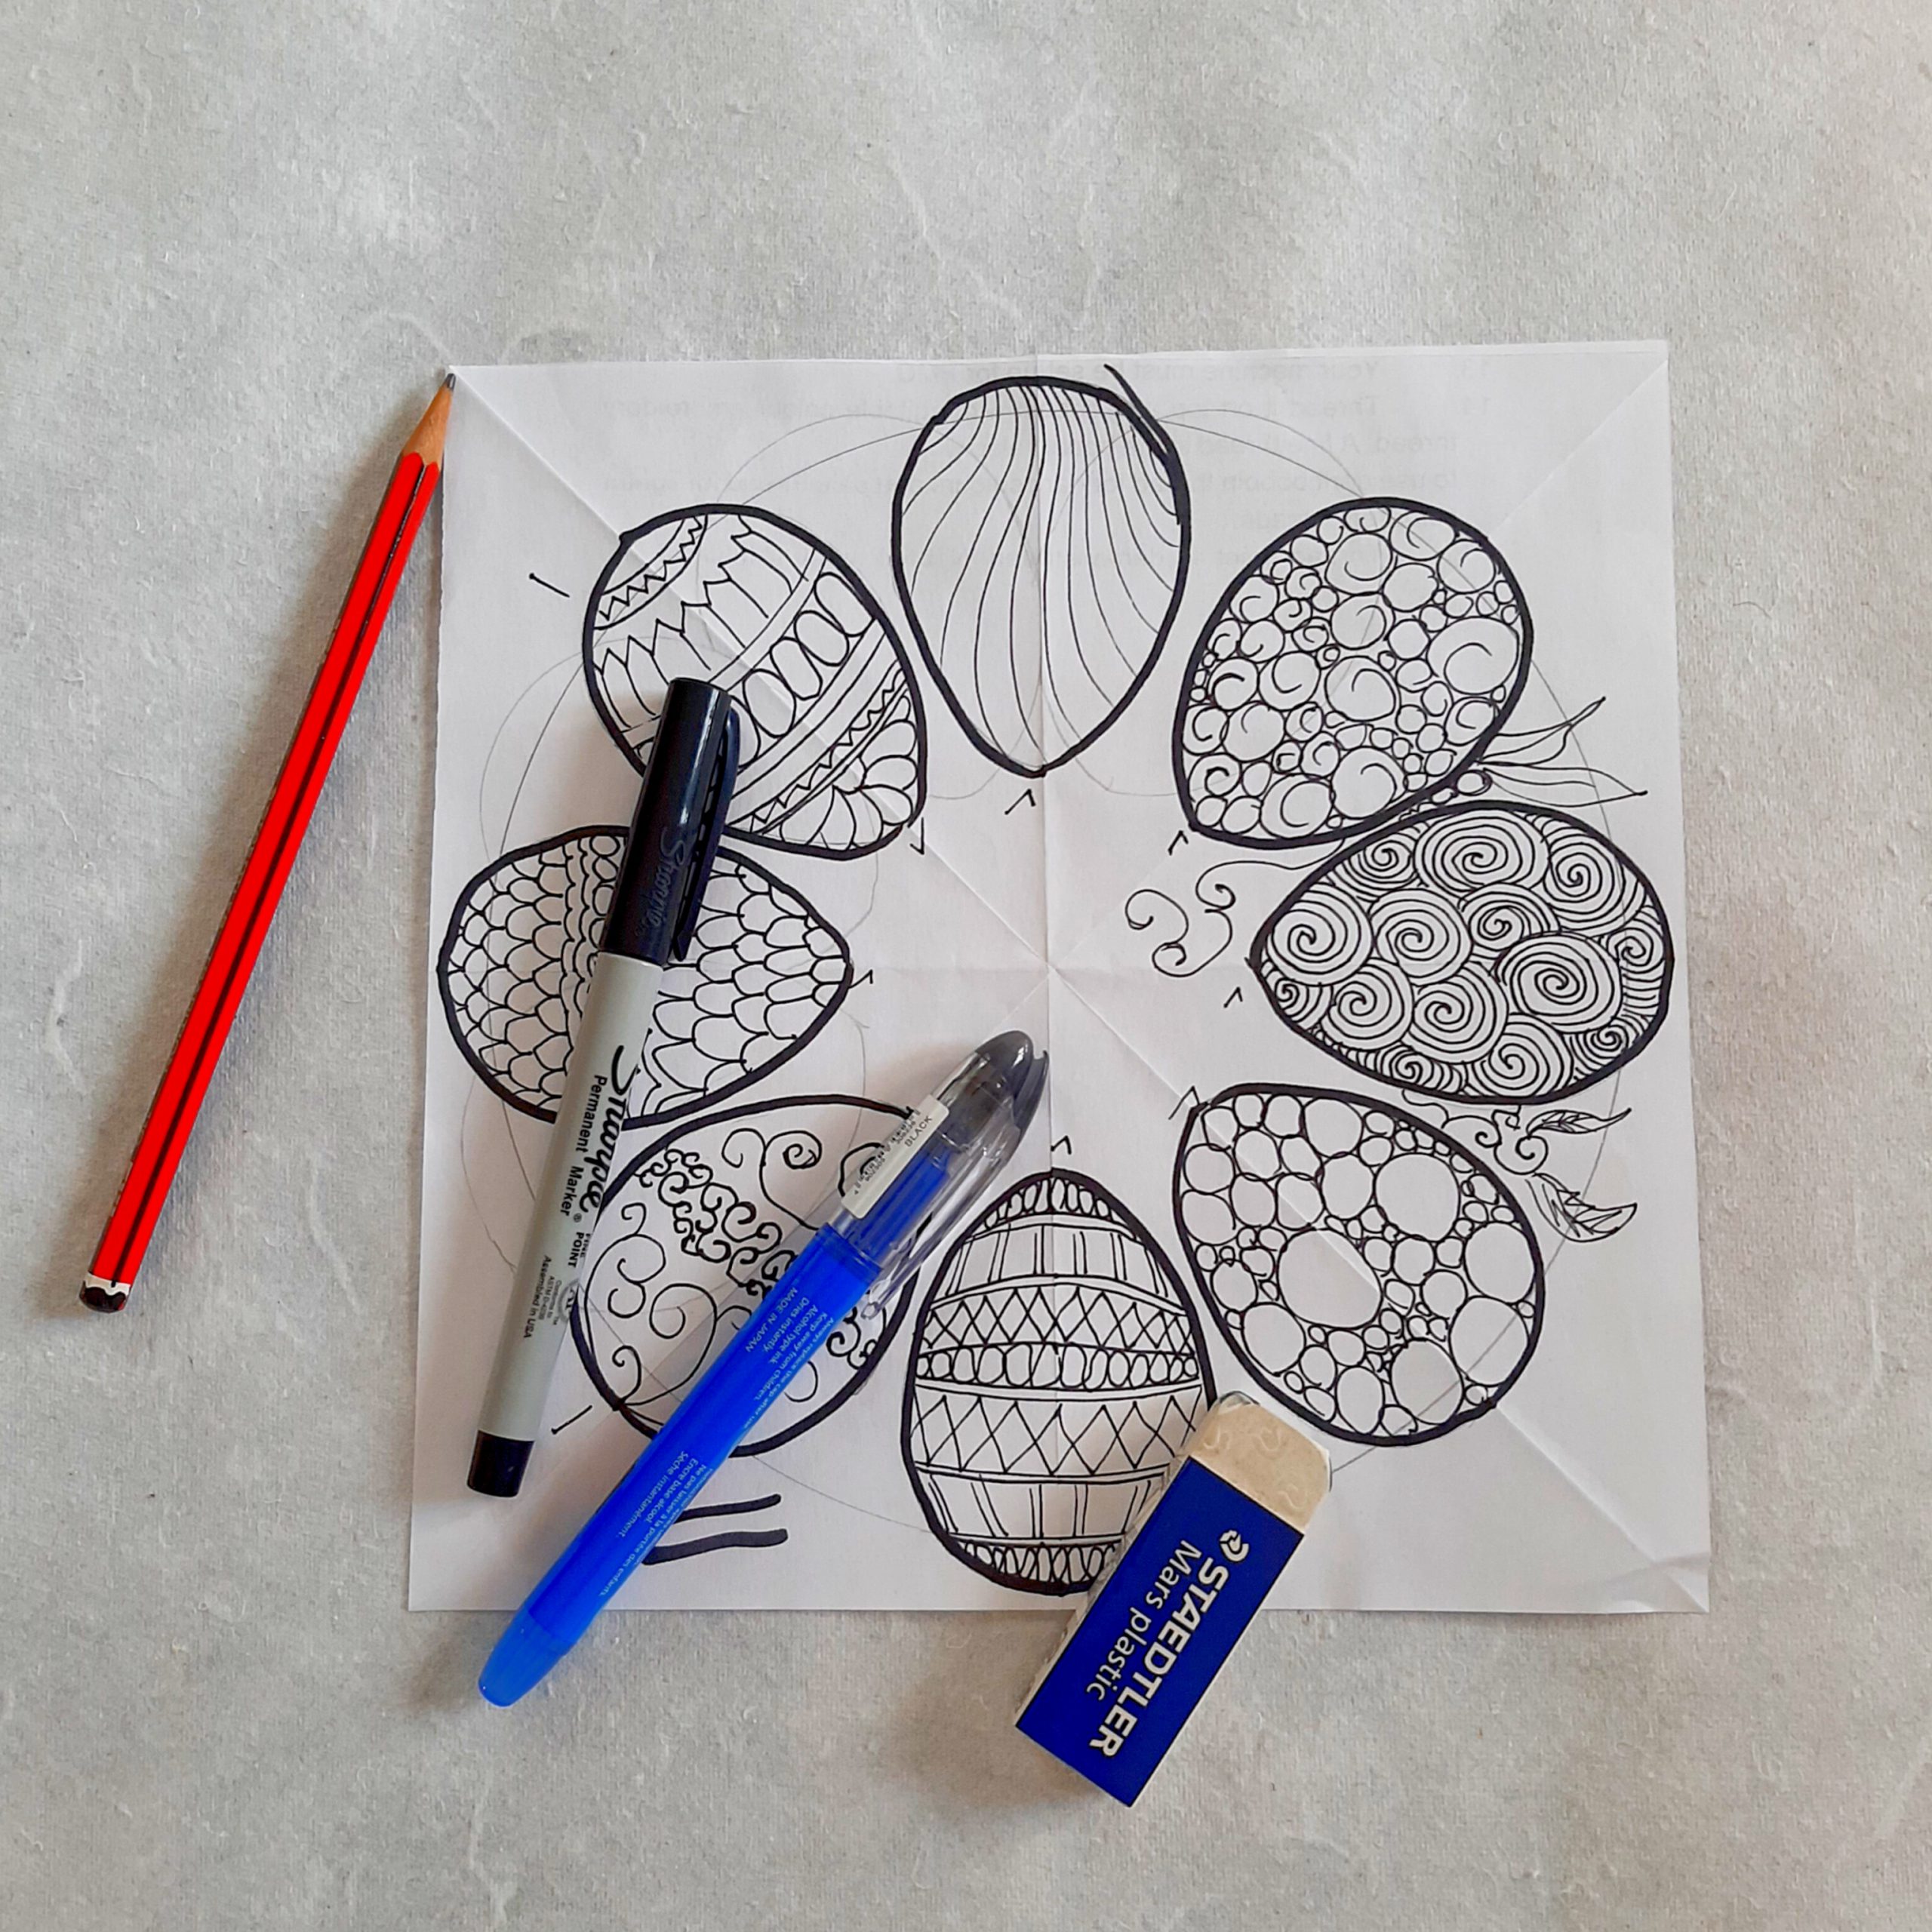
DESIGNING MY PATTERN using various pens, a pencil and eraser
QUILTING MY EASTER WREATH
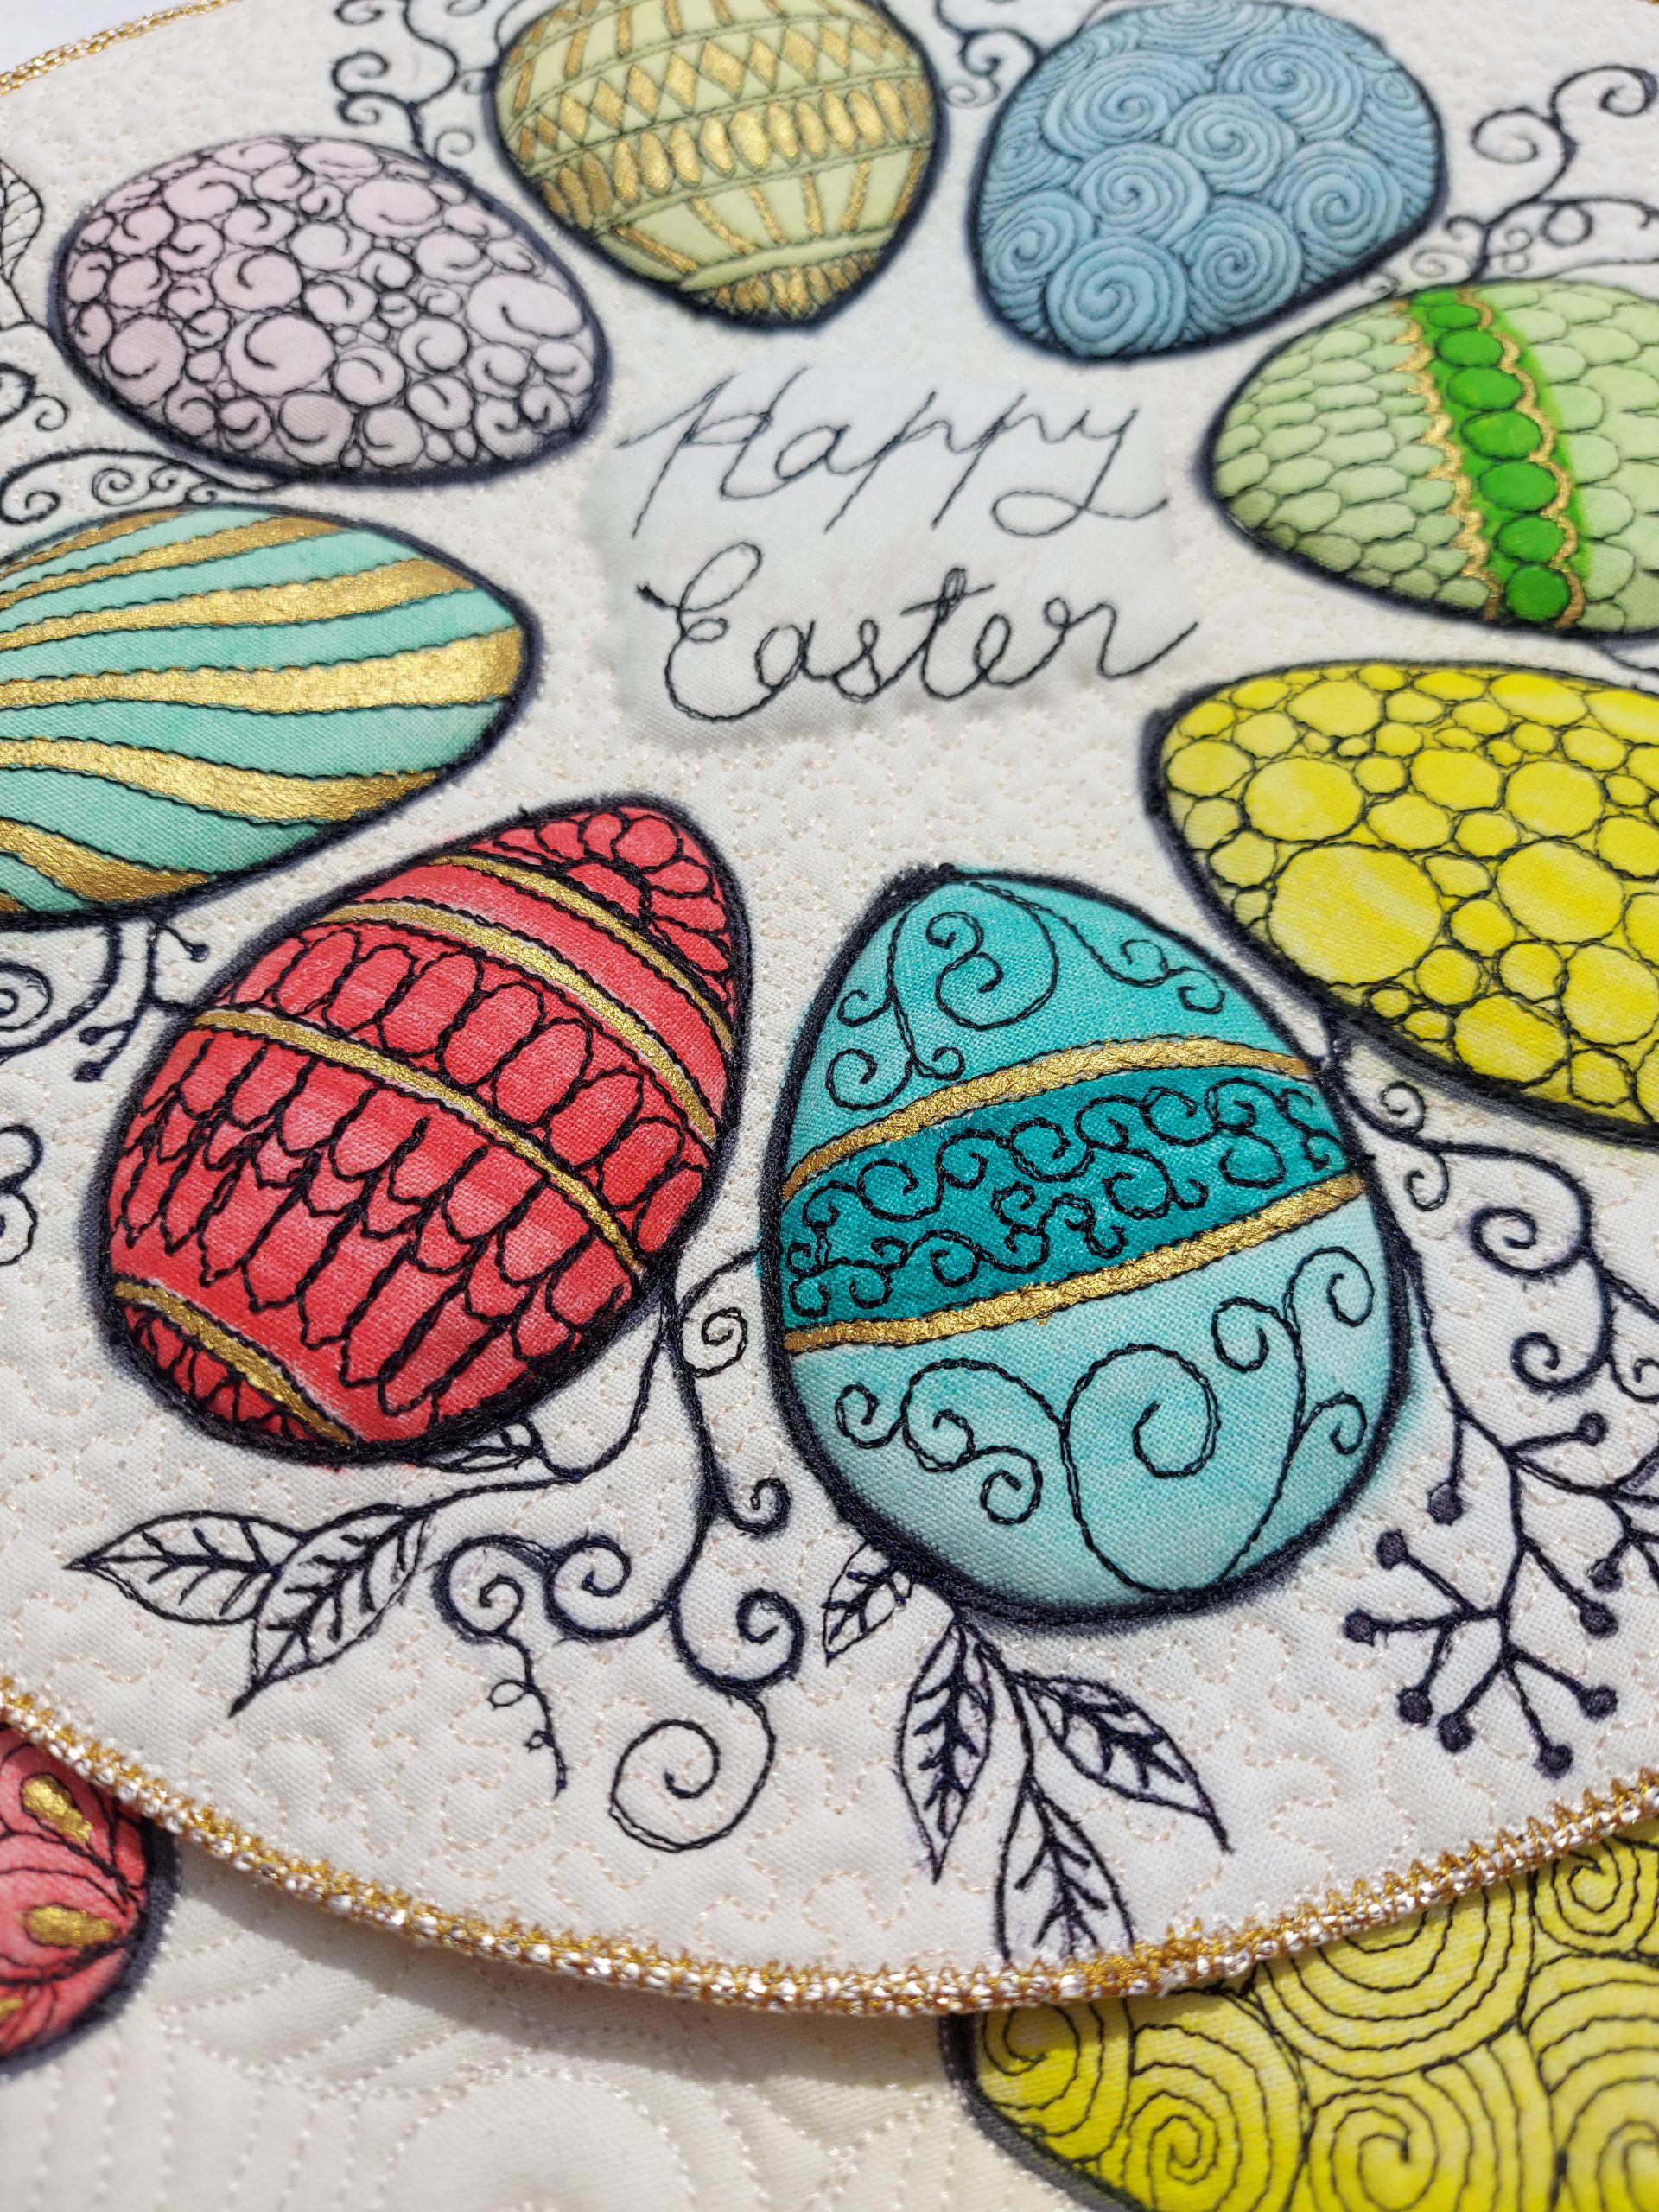
There are two ways of completing your wreath. One may want to paint the Easter eggs first and then quilt it or quilt first, then paint. To me, it was easier to quilt first and paint afterwards. Once the quilting and the painting was completed, I used satin stitch to give my work a lovely smooth finish.
TO CREATE YOUR EASTER WREATH, YOU WILL NEED:
You can find the pattern and more detailed instructions on my website in Masterclass https://www.tillydeharde.com/challenge-page/easter-inspired-wreath where you can download it for free!
- 16” X 16” (40cm X 40cm) calico or any pale colour 100% cotton fabric
- Batting a bit bigger than the calico
- Backing a bit bigger than the batting
- Freezer paper (same as the calico)
- Machine embroidery threads in black and whatever colour thread you would like to quilt the background.
- Bobbins in those colours
- Open toe embroidery foot/darning foot OR the adjustable stippling foot (Foot #73)
- Universal 80 or a jeans needle (these are always my favourite needles)
- A fine liner permanent pen.

EASTER EGG WREATH, painted and quilted
- A permanent marker with bigger point for outline
- Frixion pen (Optional)
- Freezer paper
- Derwent Inktense pencils or paint blocks
- Small but firm paintbrush
- Fabric medium
- Small container with water to rinse paintbrush
- Kitchen towel
- Masking tape.
- Light box (Optional)
- Fabric medium or Aloe Vera or scan gel
Happy Easter everyone! I hope you enjoy creating your own EASTER EGG WREATH!
If you are passionate about textiles and want to learn more about how to incorporate my innovative techniques into your work, follow me on Instagram @tillydeharde and Facebook, Tilly de Harde Fibre Artist & Teacher and visit my website www.tillydeharde.com & subscribe to my mailing list. Please don’t forget to leave a comment in the comment box below!
0 Responses