 BERNINA Corporate Blog -
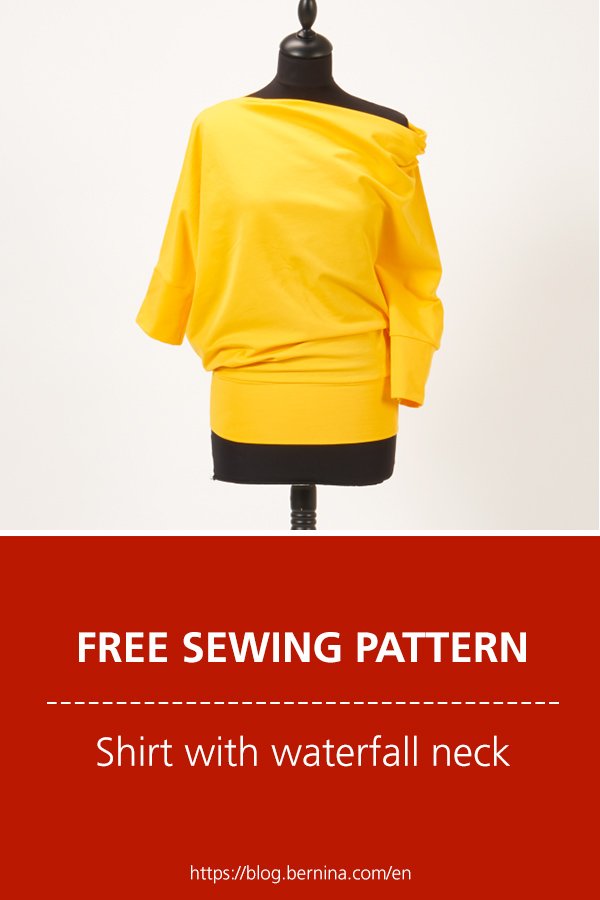
To complete the trio of bernette.com sewing projects, we share the instruction for the yellow shirt with one-side waterfall neck with you today 🙂 The shirt was designed by the Swiss designer Mathias Ackermann.
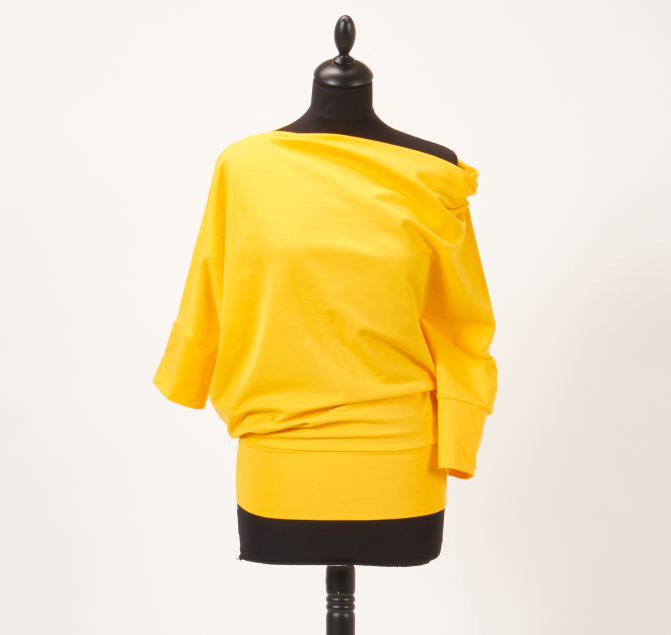
You find the free sewing pattern and the step-by-step instructiony for sizes S to XL below. We wish you lots of fun creating your own yellow shirt!
Download sewing pattern yellow shirt
Download you free sewing pattern from bernette.com.
Material
- For sizes S and M: 1.20 m Jersey, 150 cm wide (1 1/3yd, 60” wide ) (Fabric fold as usual)
- For sizes L und XL: 1.80 m Jersey, 150 cm wide (2yd, 60” wide) (body fabric fold cut perpendicular to selvage edge/grainline)
- Overlockthread
- bernette Overlock-Combomachine or bernette Overlock machine and bernette Coverstitch machine
Tips
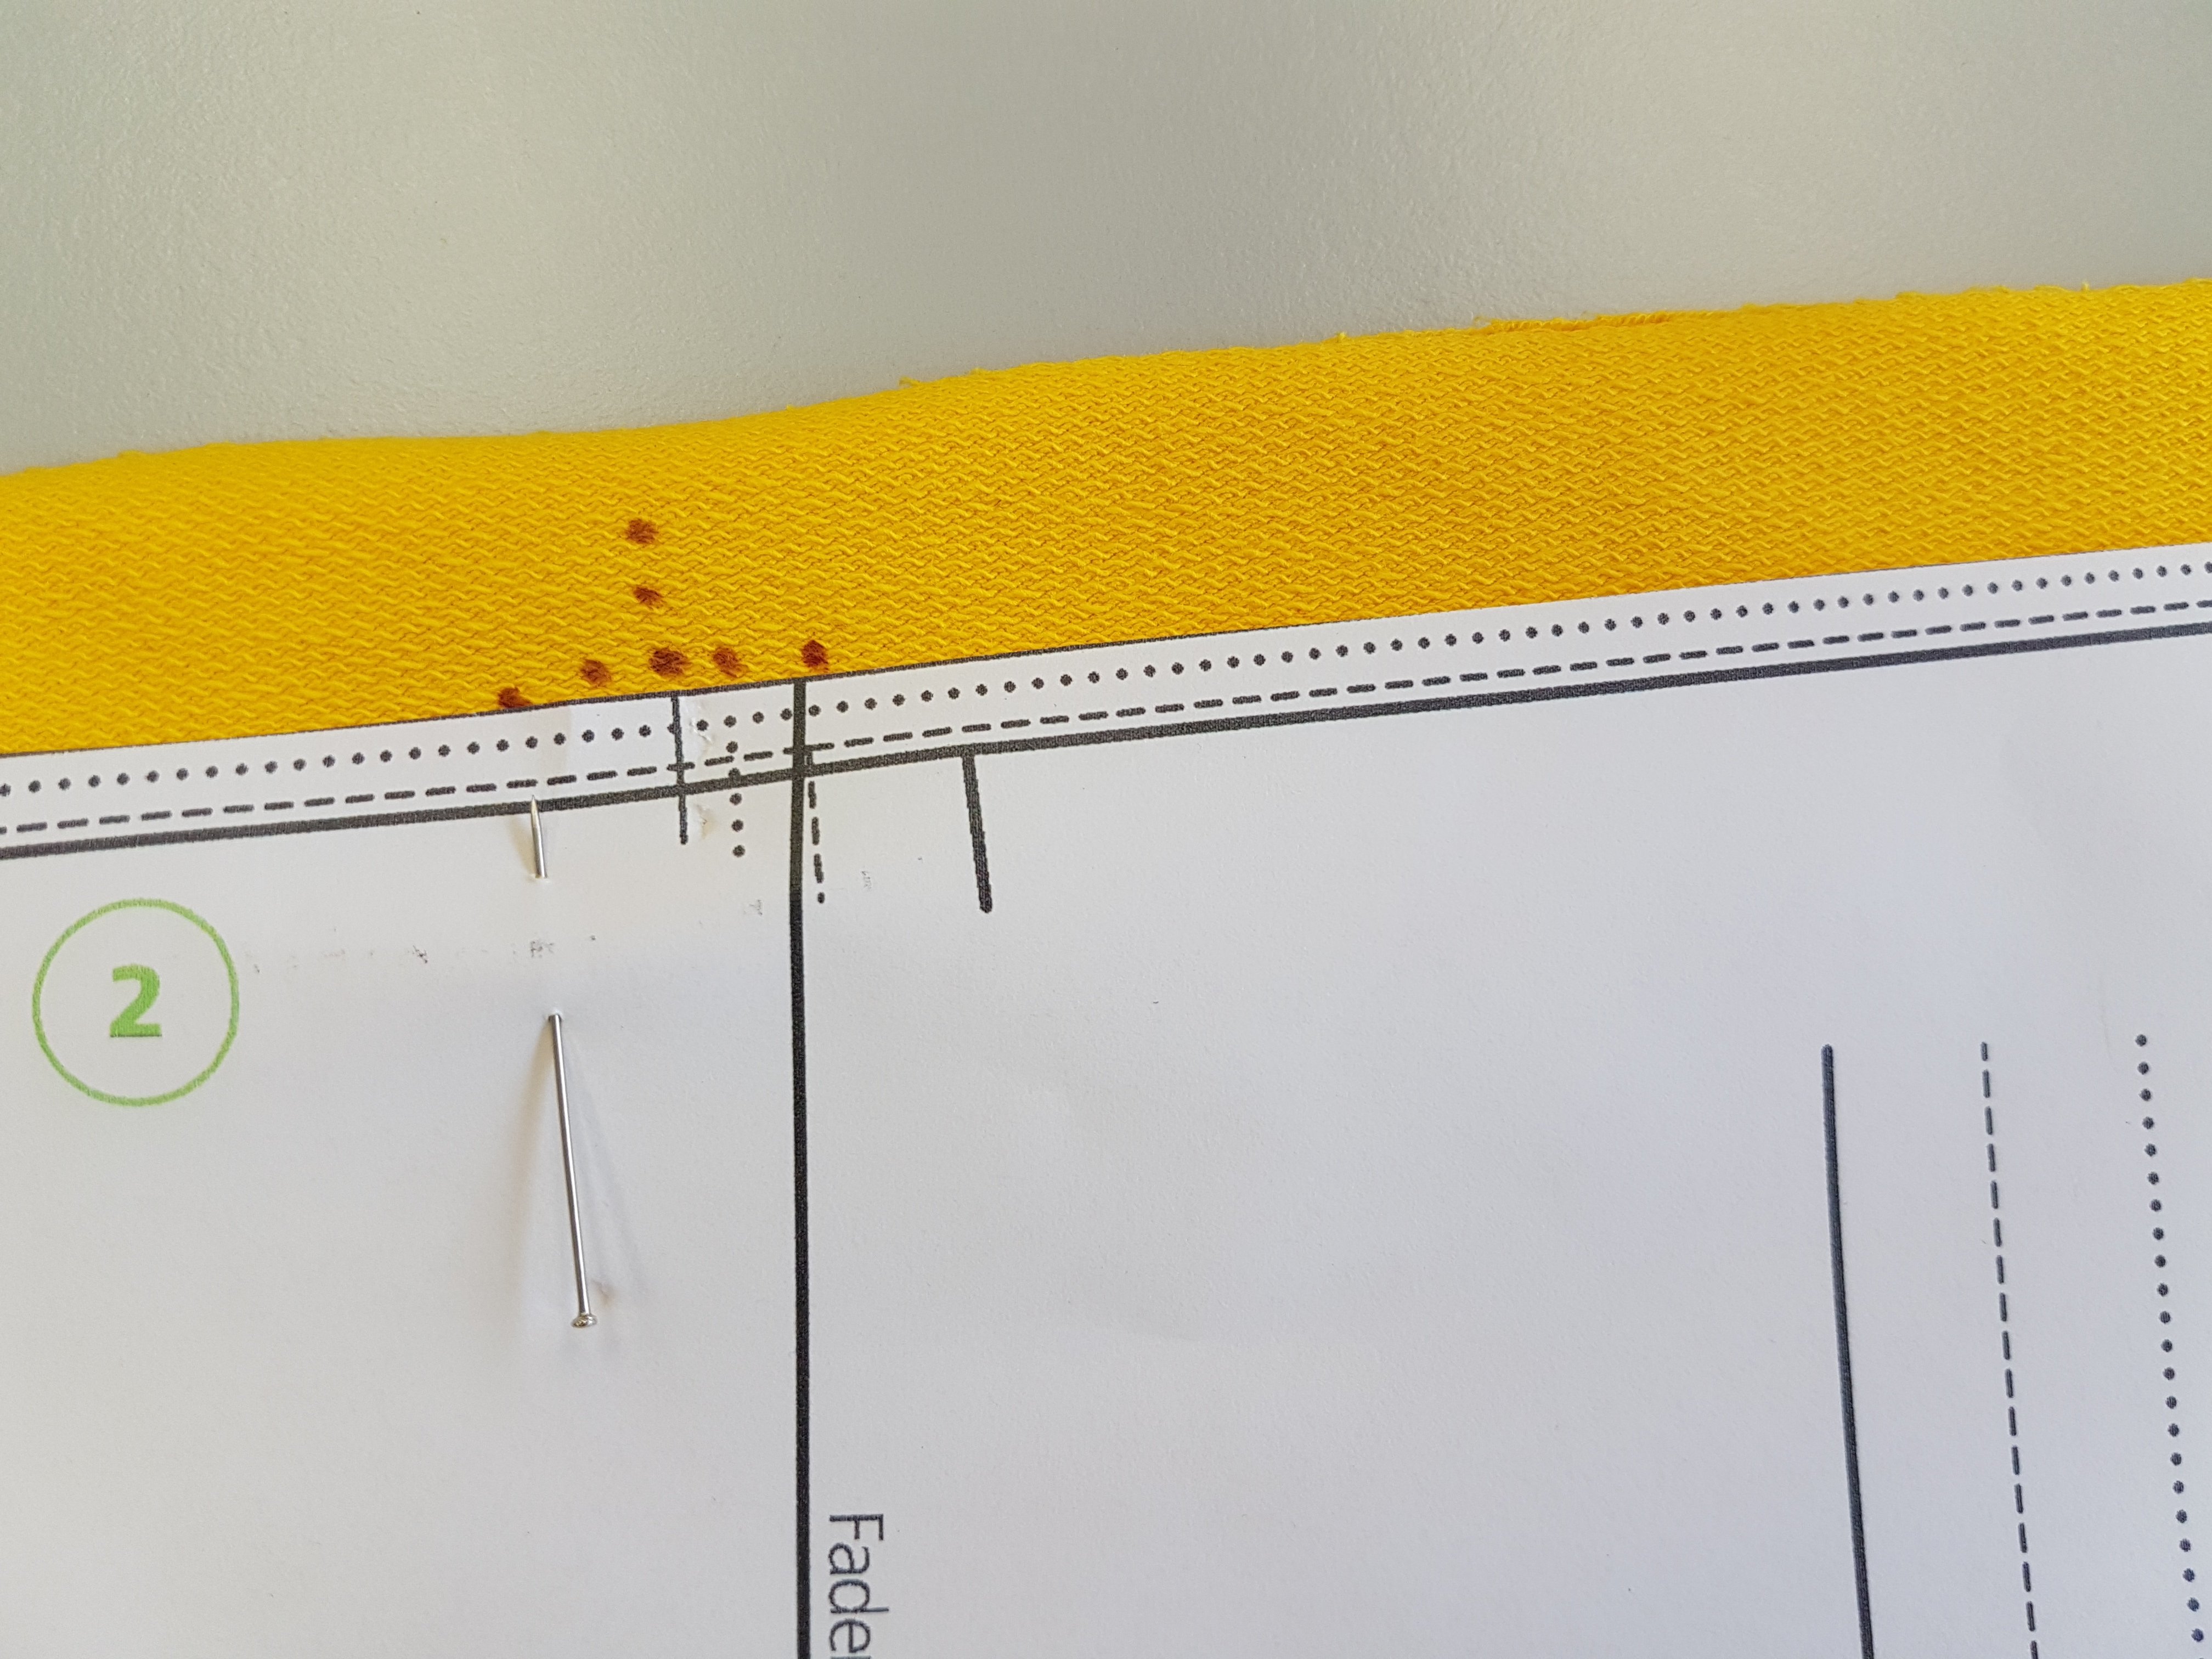
Wash all fabrics before cutting out, as fabrics can shrink. Transfer all the markings from the pattern onto the fabric from the pattern onto the fabric, including the mark indicating where the neckline/side seam begins.
Seam allowances
Seam allowances are not included in pattern pieces, add desired seam allowance or use the numbers in circles (cm) on the pattern.
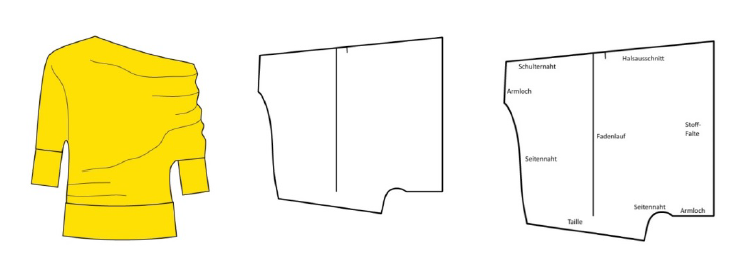
Cutting
1 x Front/back piece on the fold
1 x Waist band 80/87/94/101 x 22 cm, finished width 11 cm (31.5/34/37/40in x 10in), or higher if desired.
2 x Sleeve cuffs 28/30/32/34 x 22 cm, finished width 11 cm, (11/12/13/13.5in x 10in), or higher if desired.

Seams: 4-thread overlock, default settings
Hem: 3-thread coverstitch narrow, stitch length extend to 3 – 3,5
Instructions
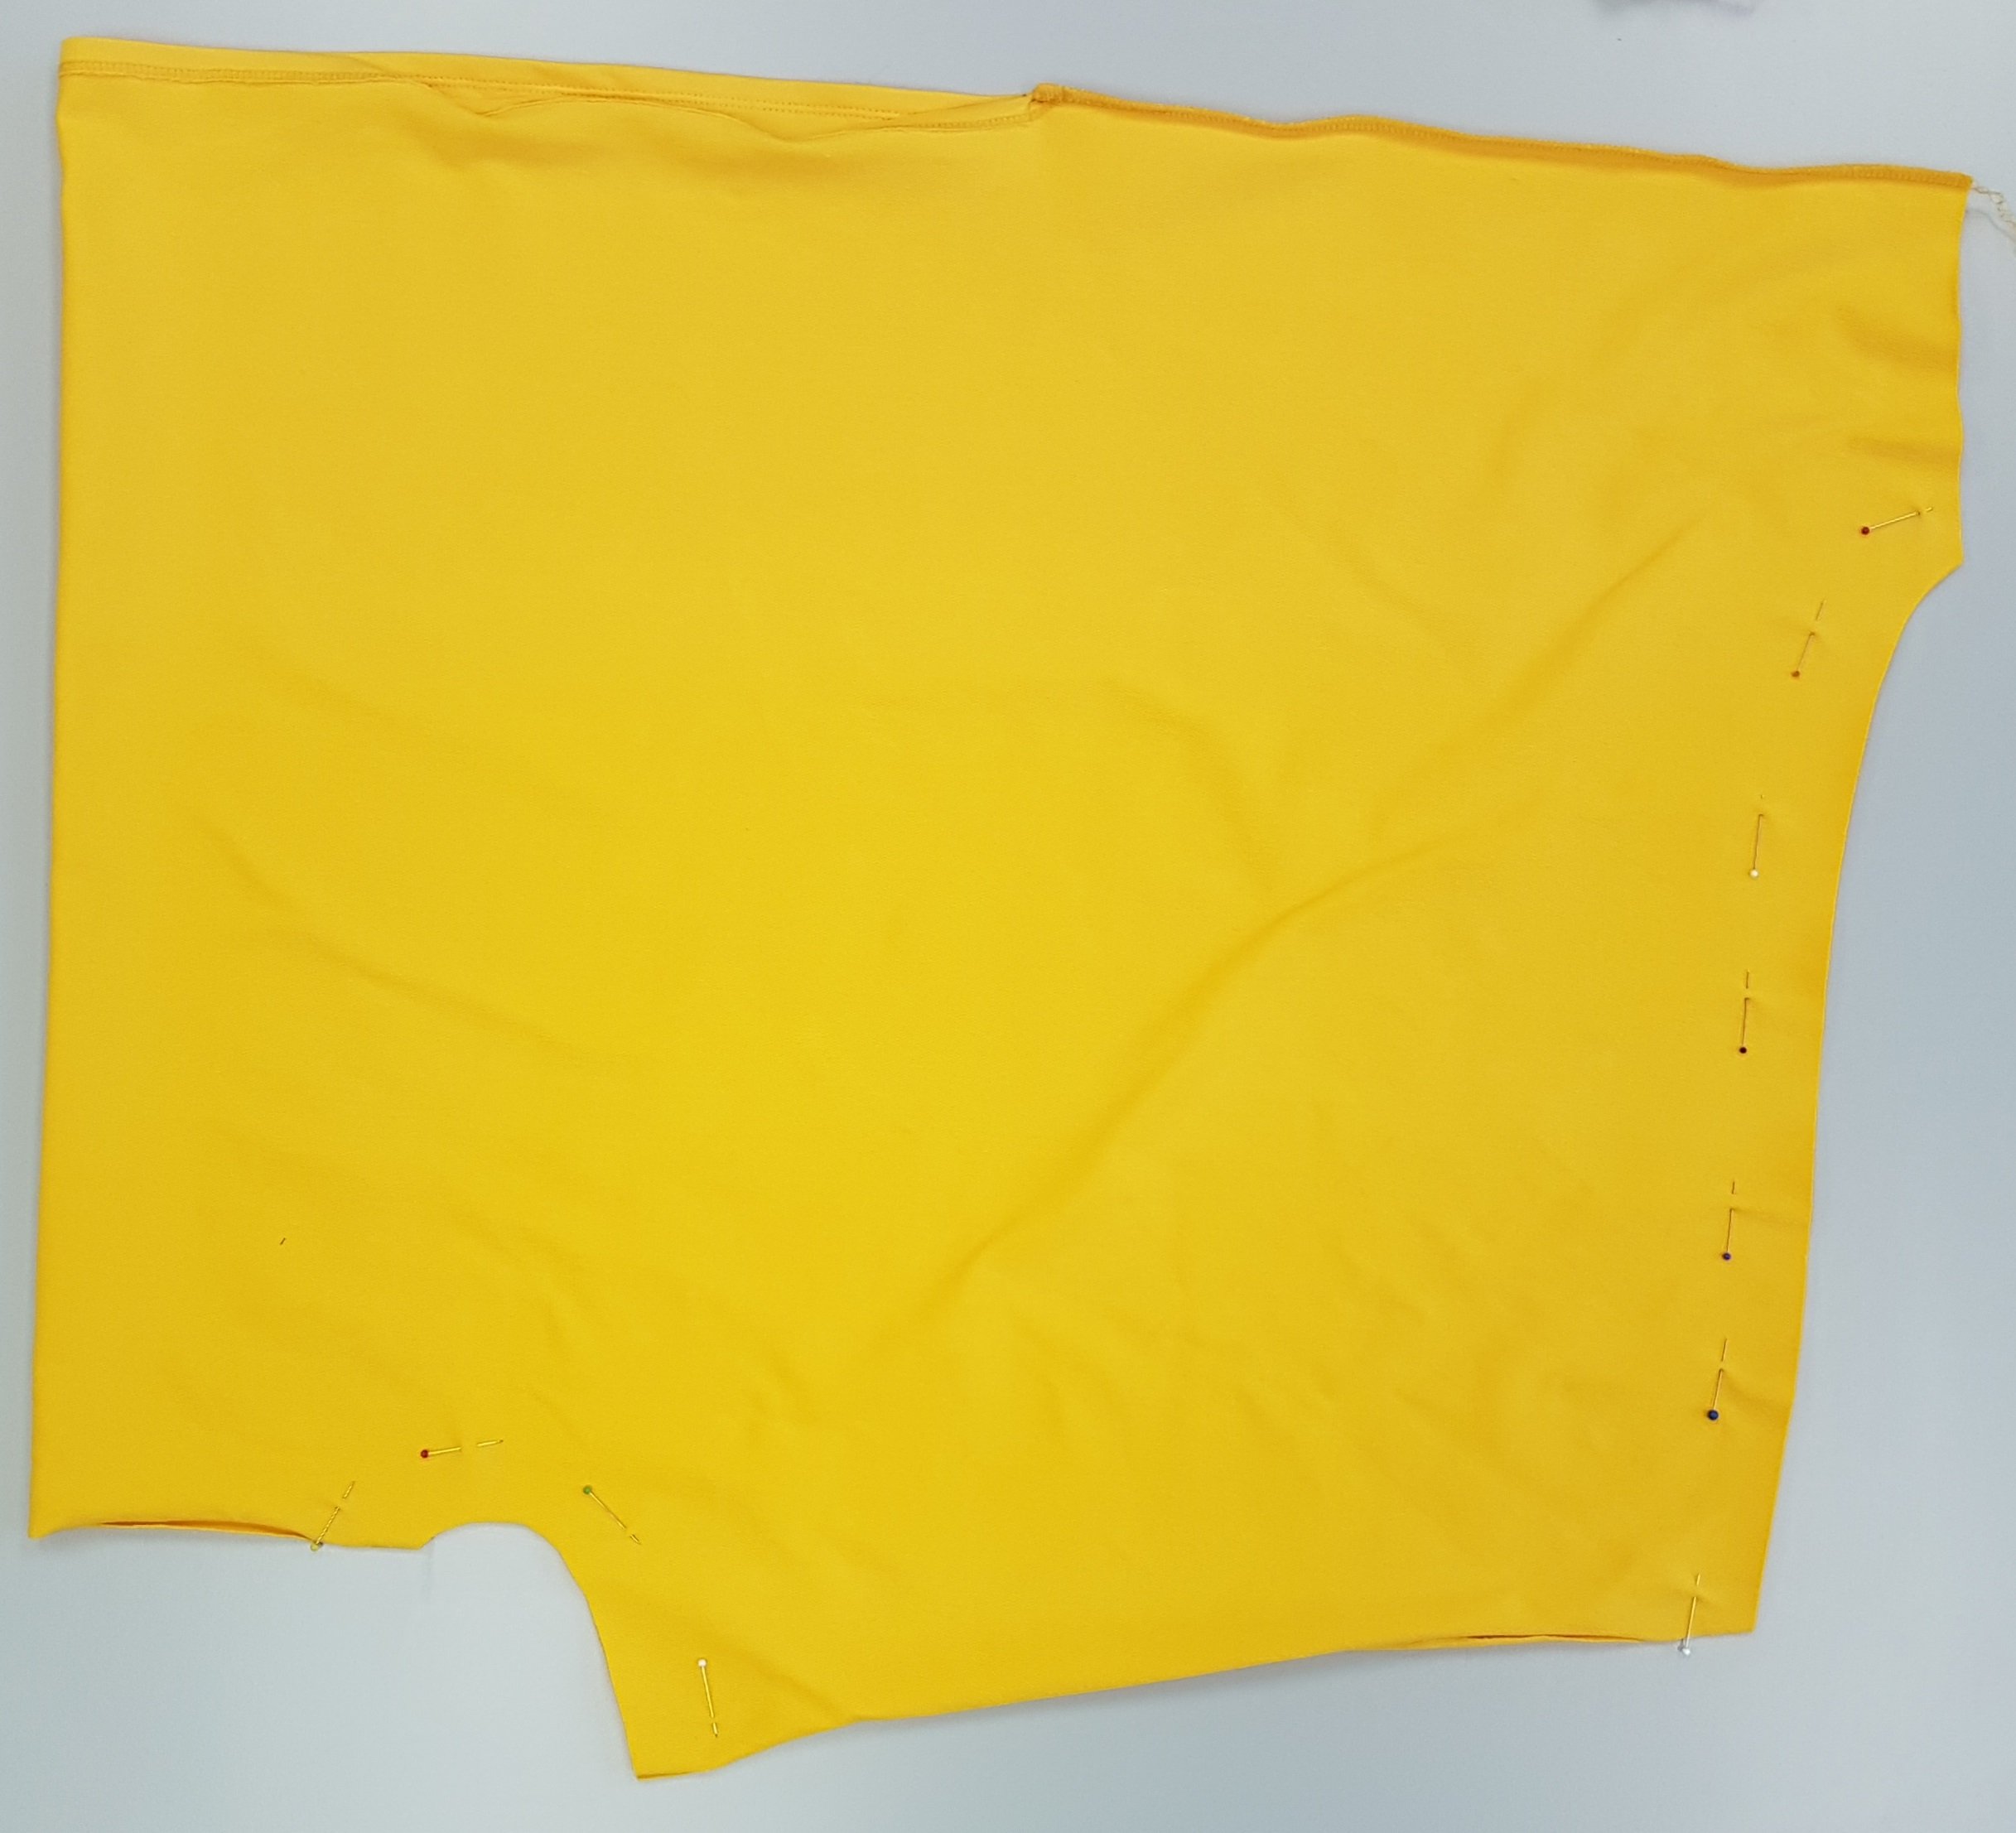
Cut shirt, waistband and cuffs, transfer all marks of the pattern to the fabric..
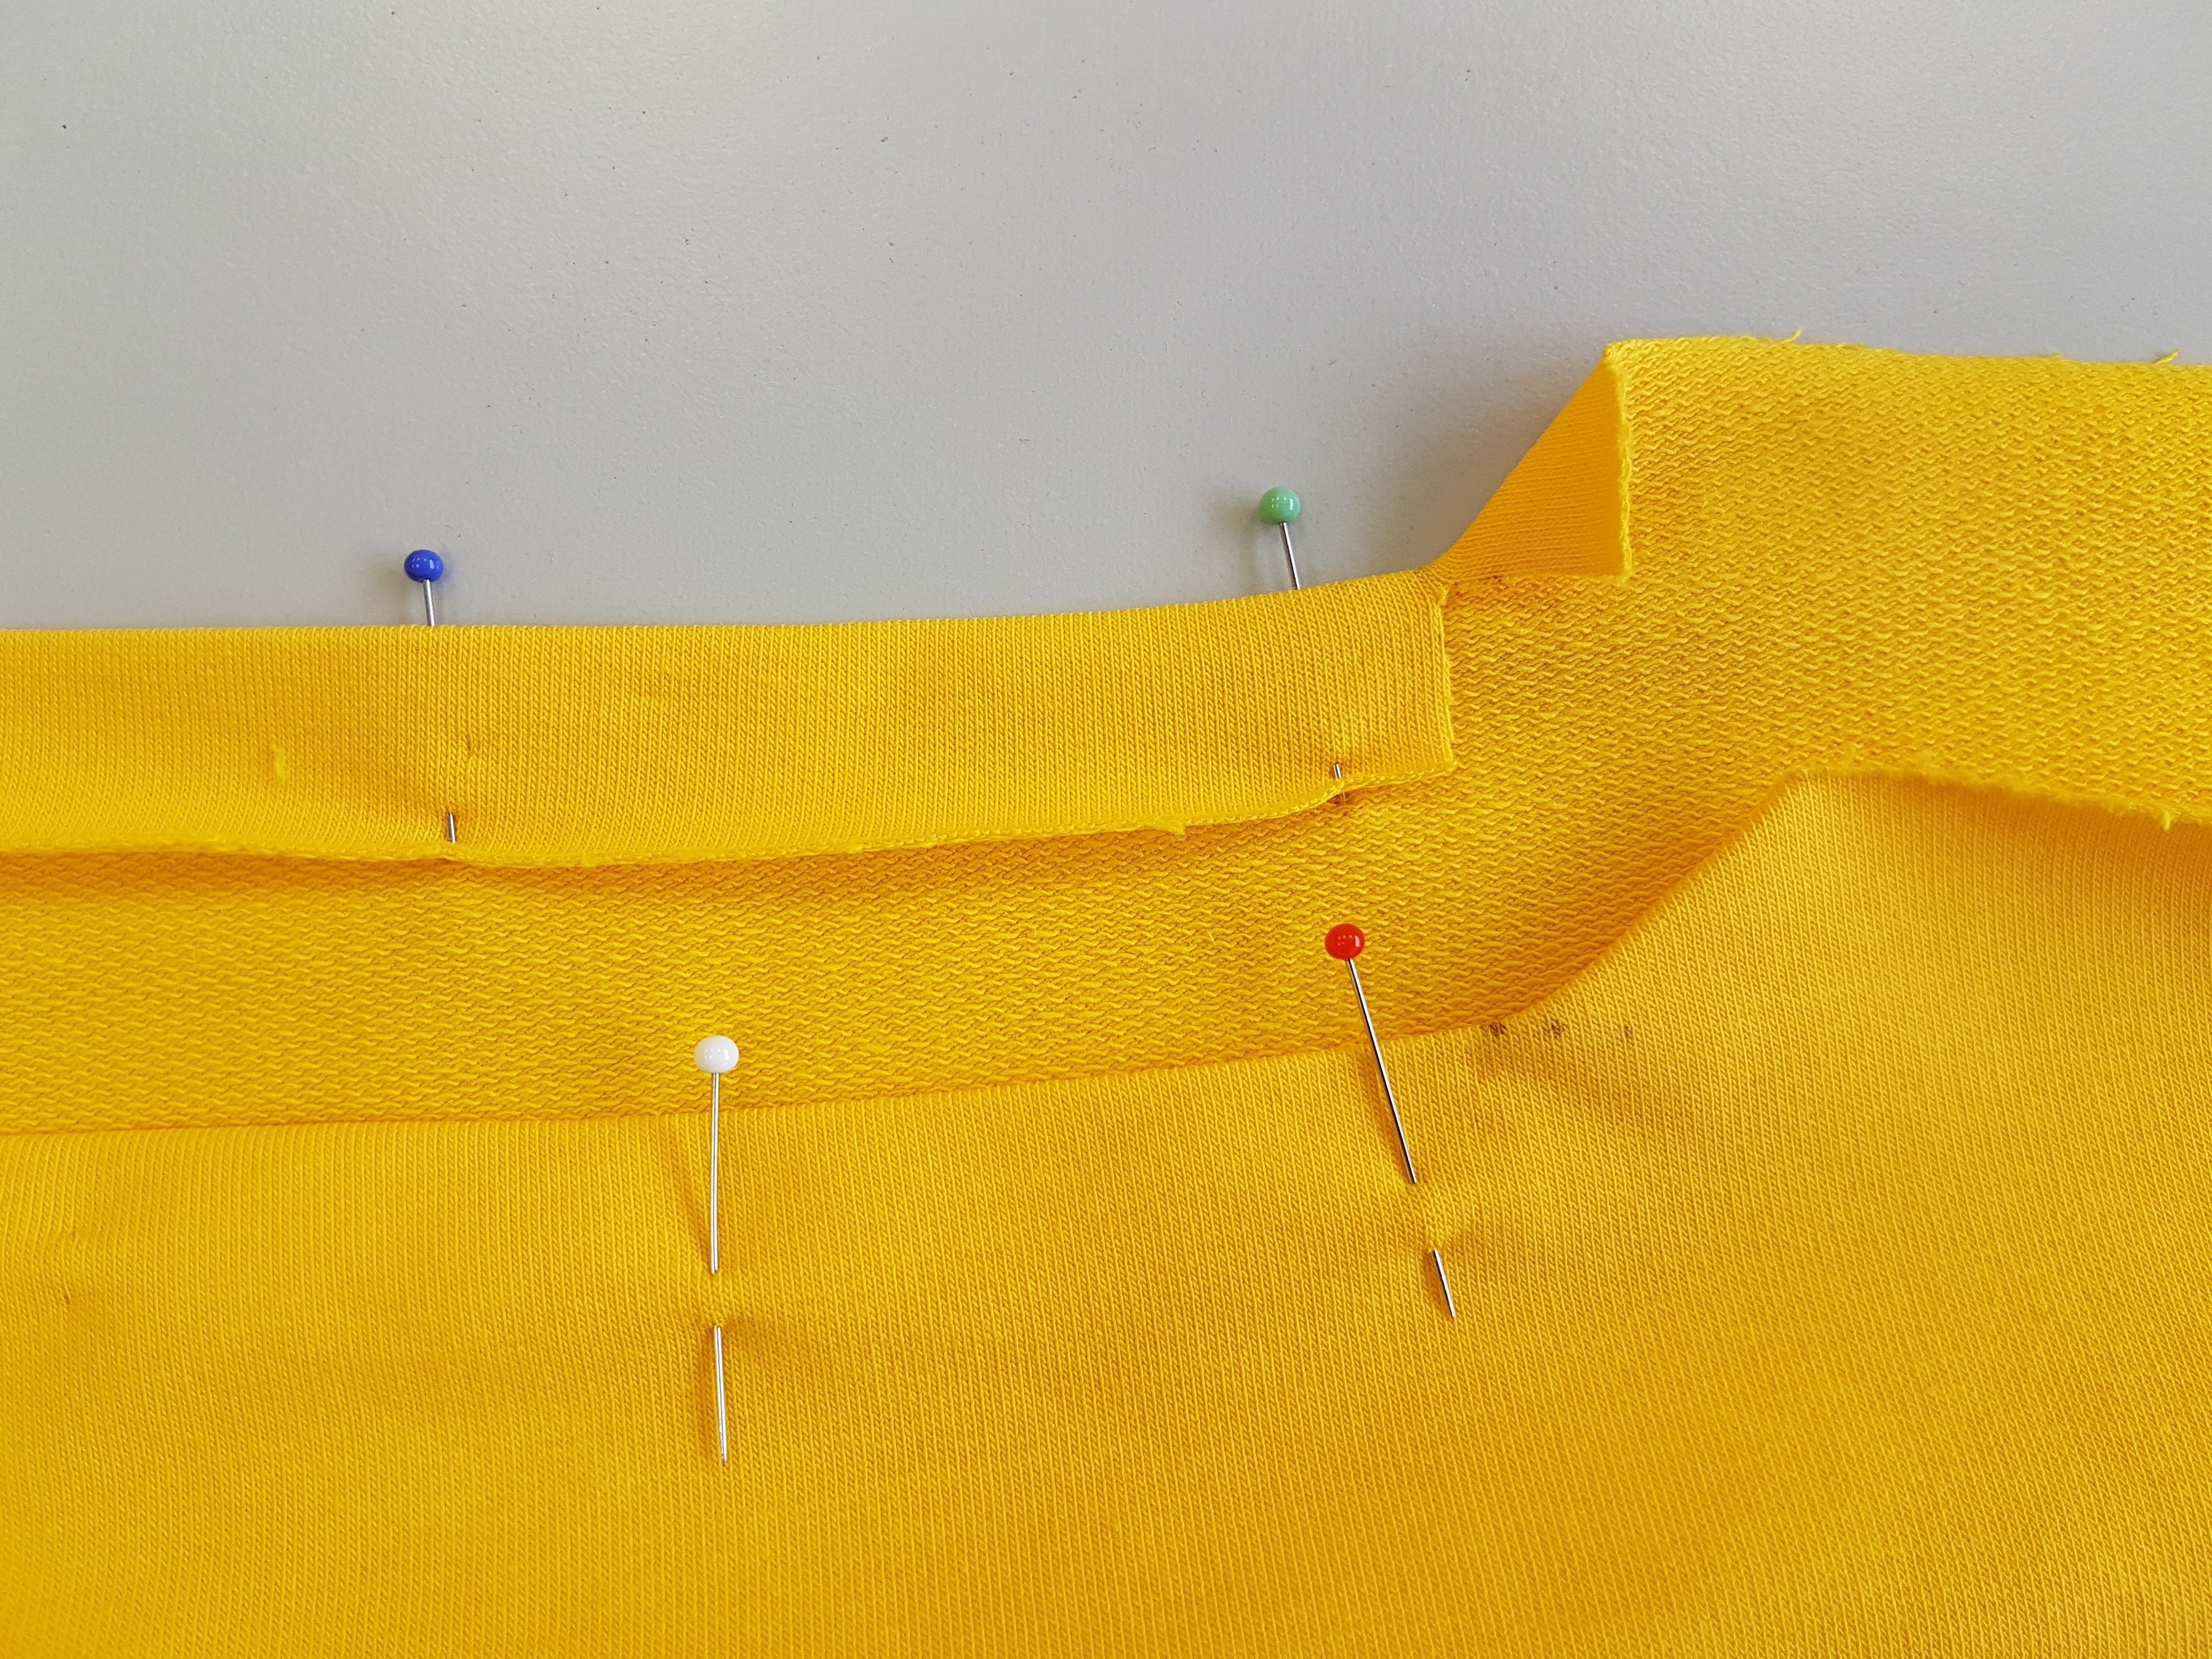
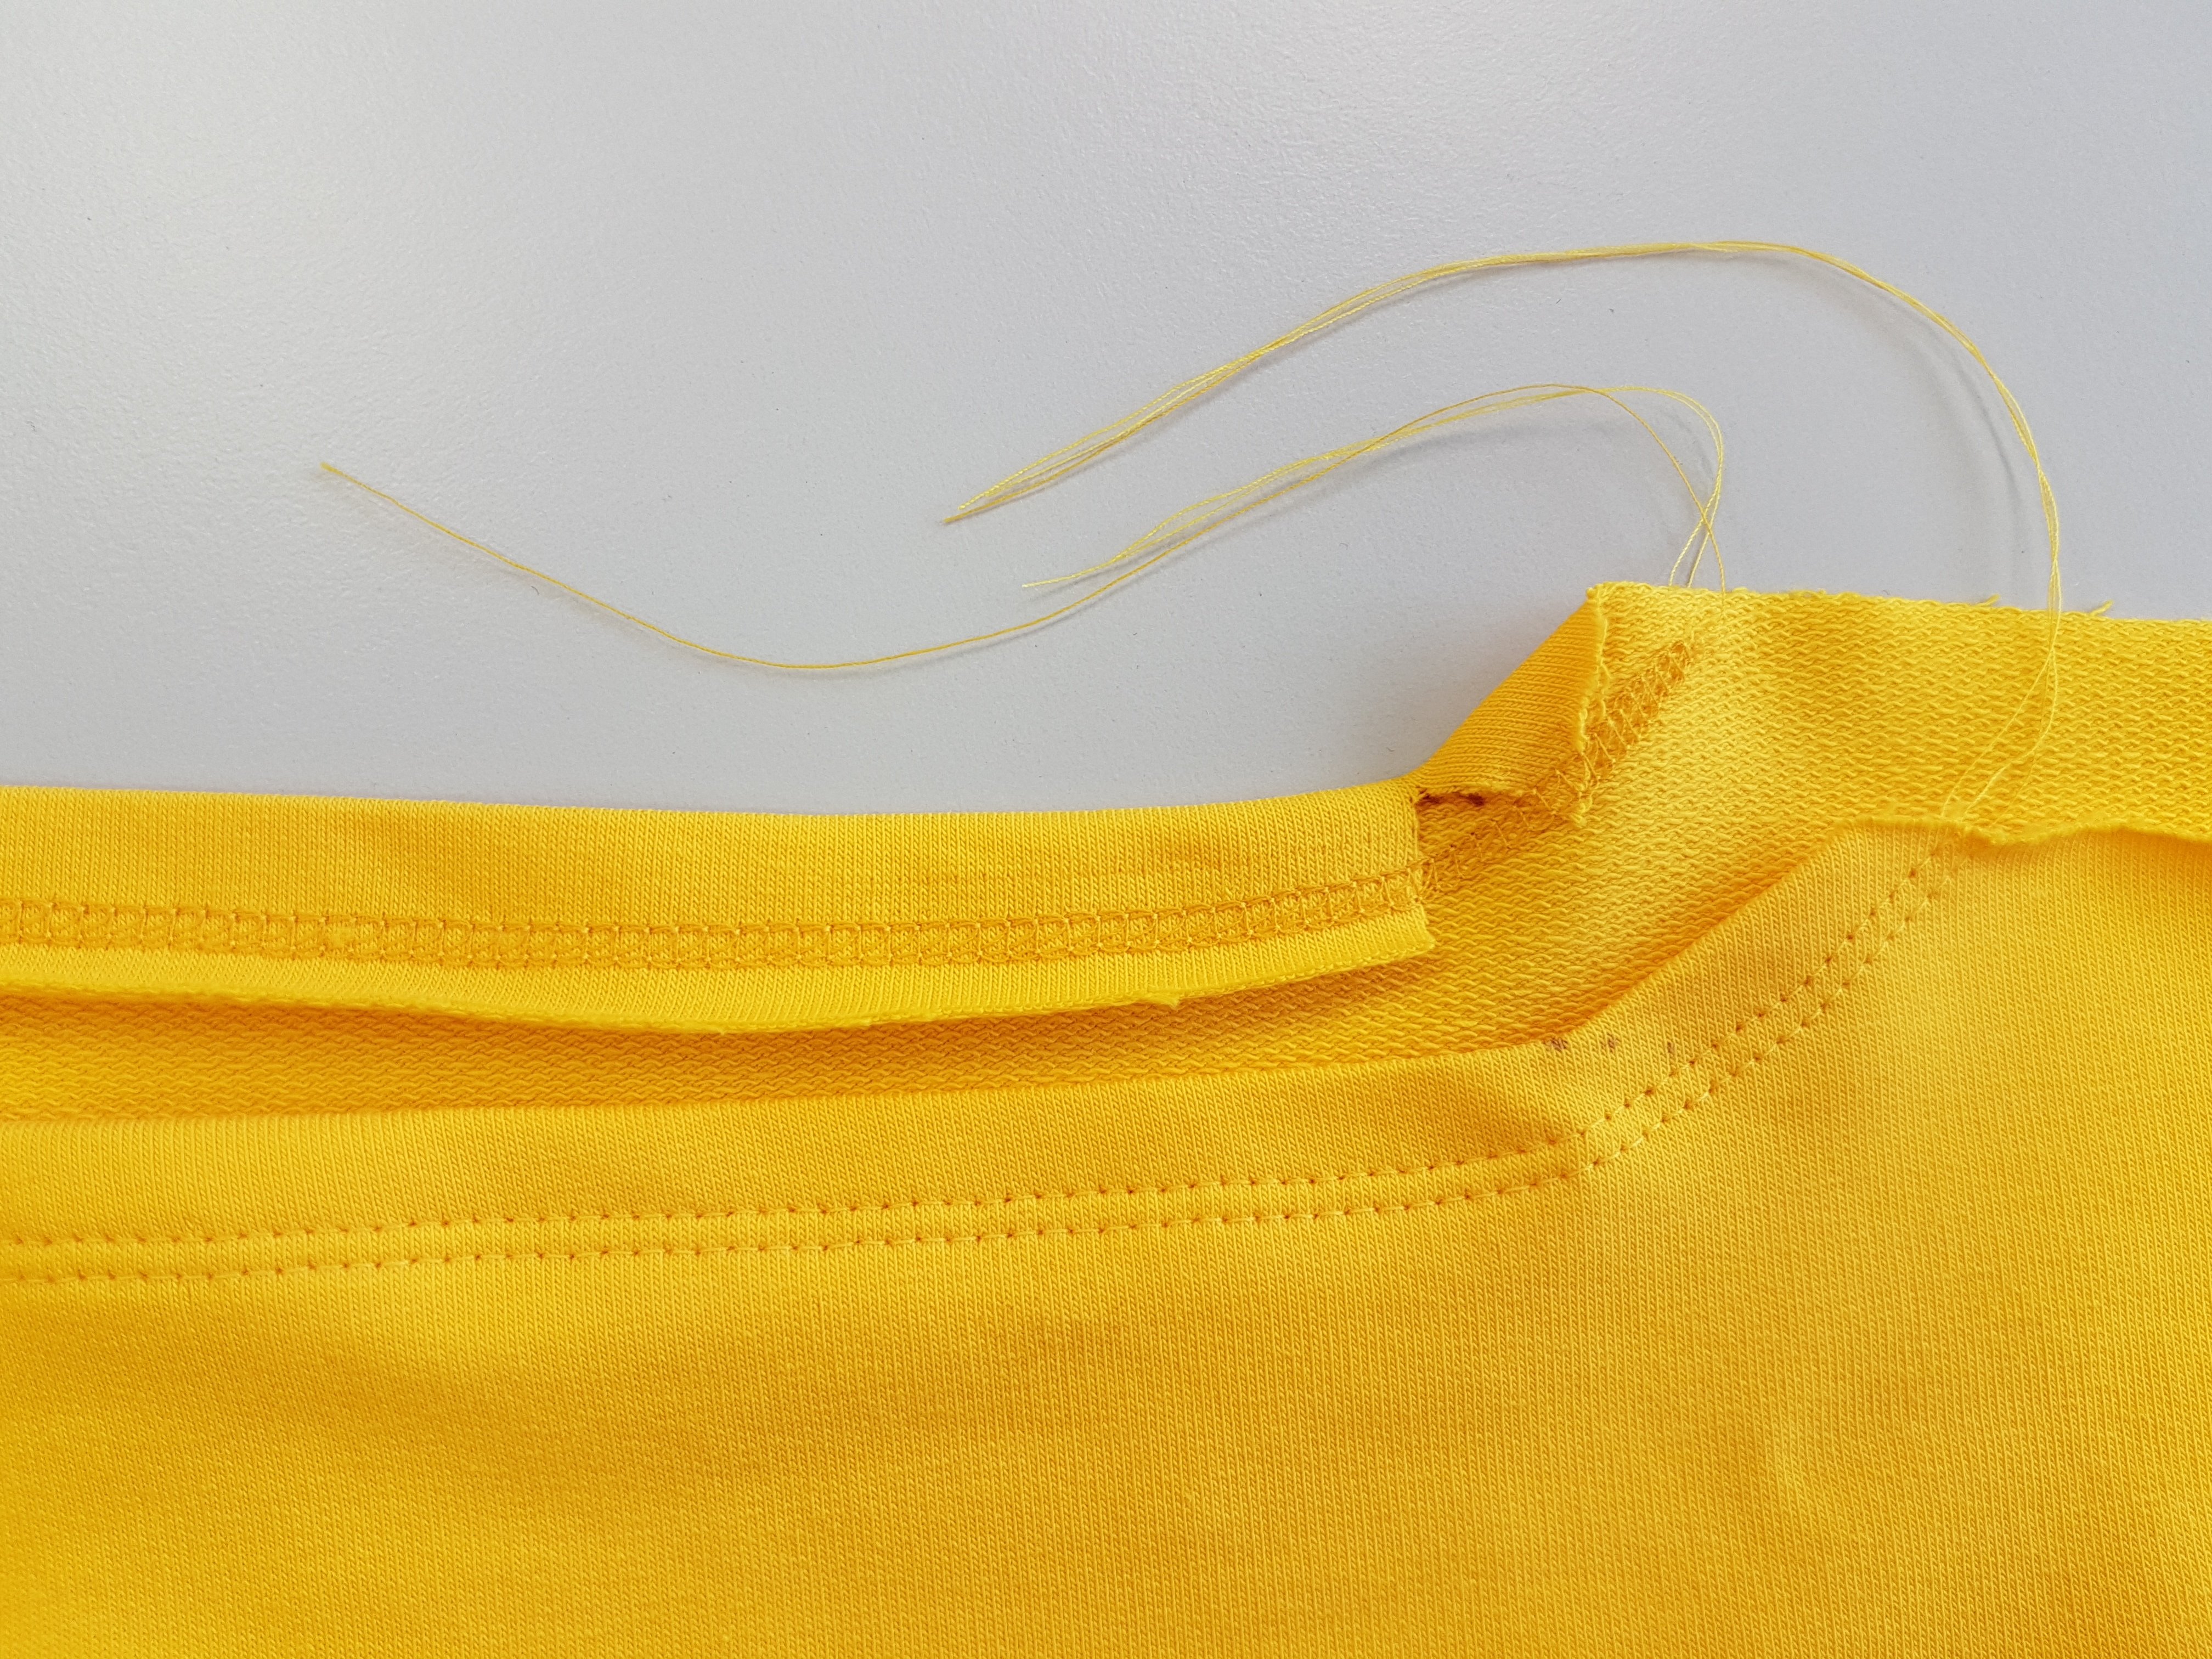
Fold neckline hem under 2 cm (3/4in), starting/stopping at the mark indicating the neckline and press. Use pins (wonderclips) to hold the hem in place.
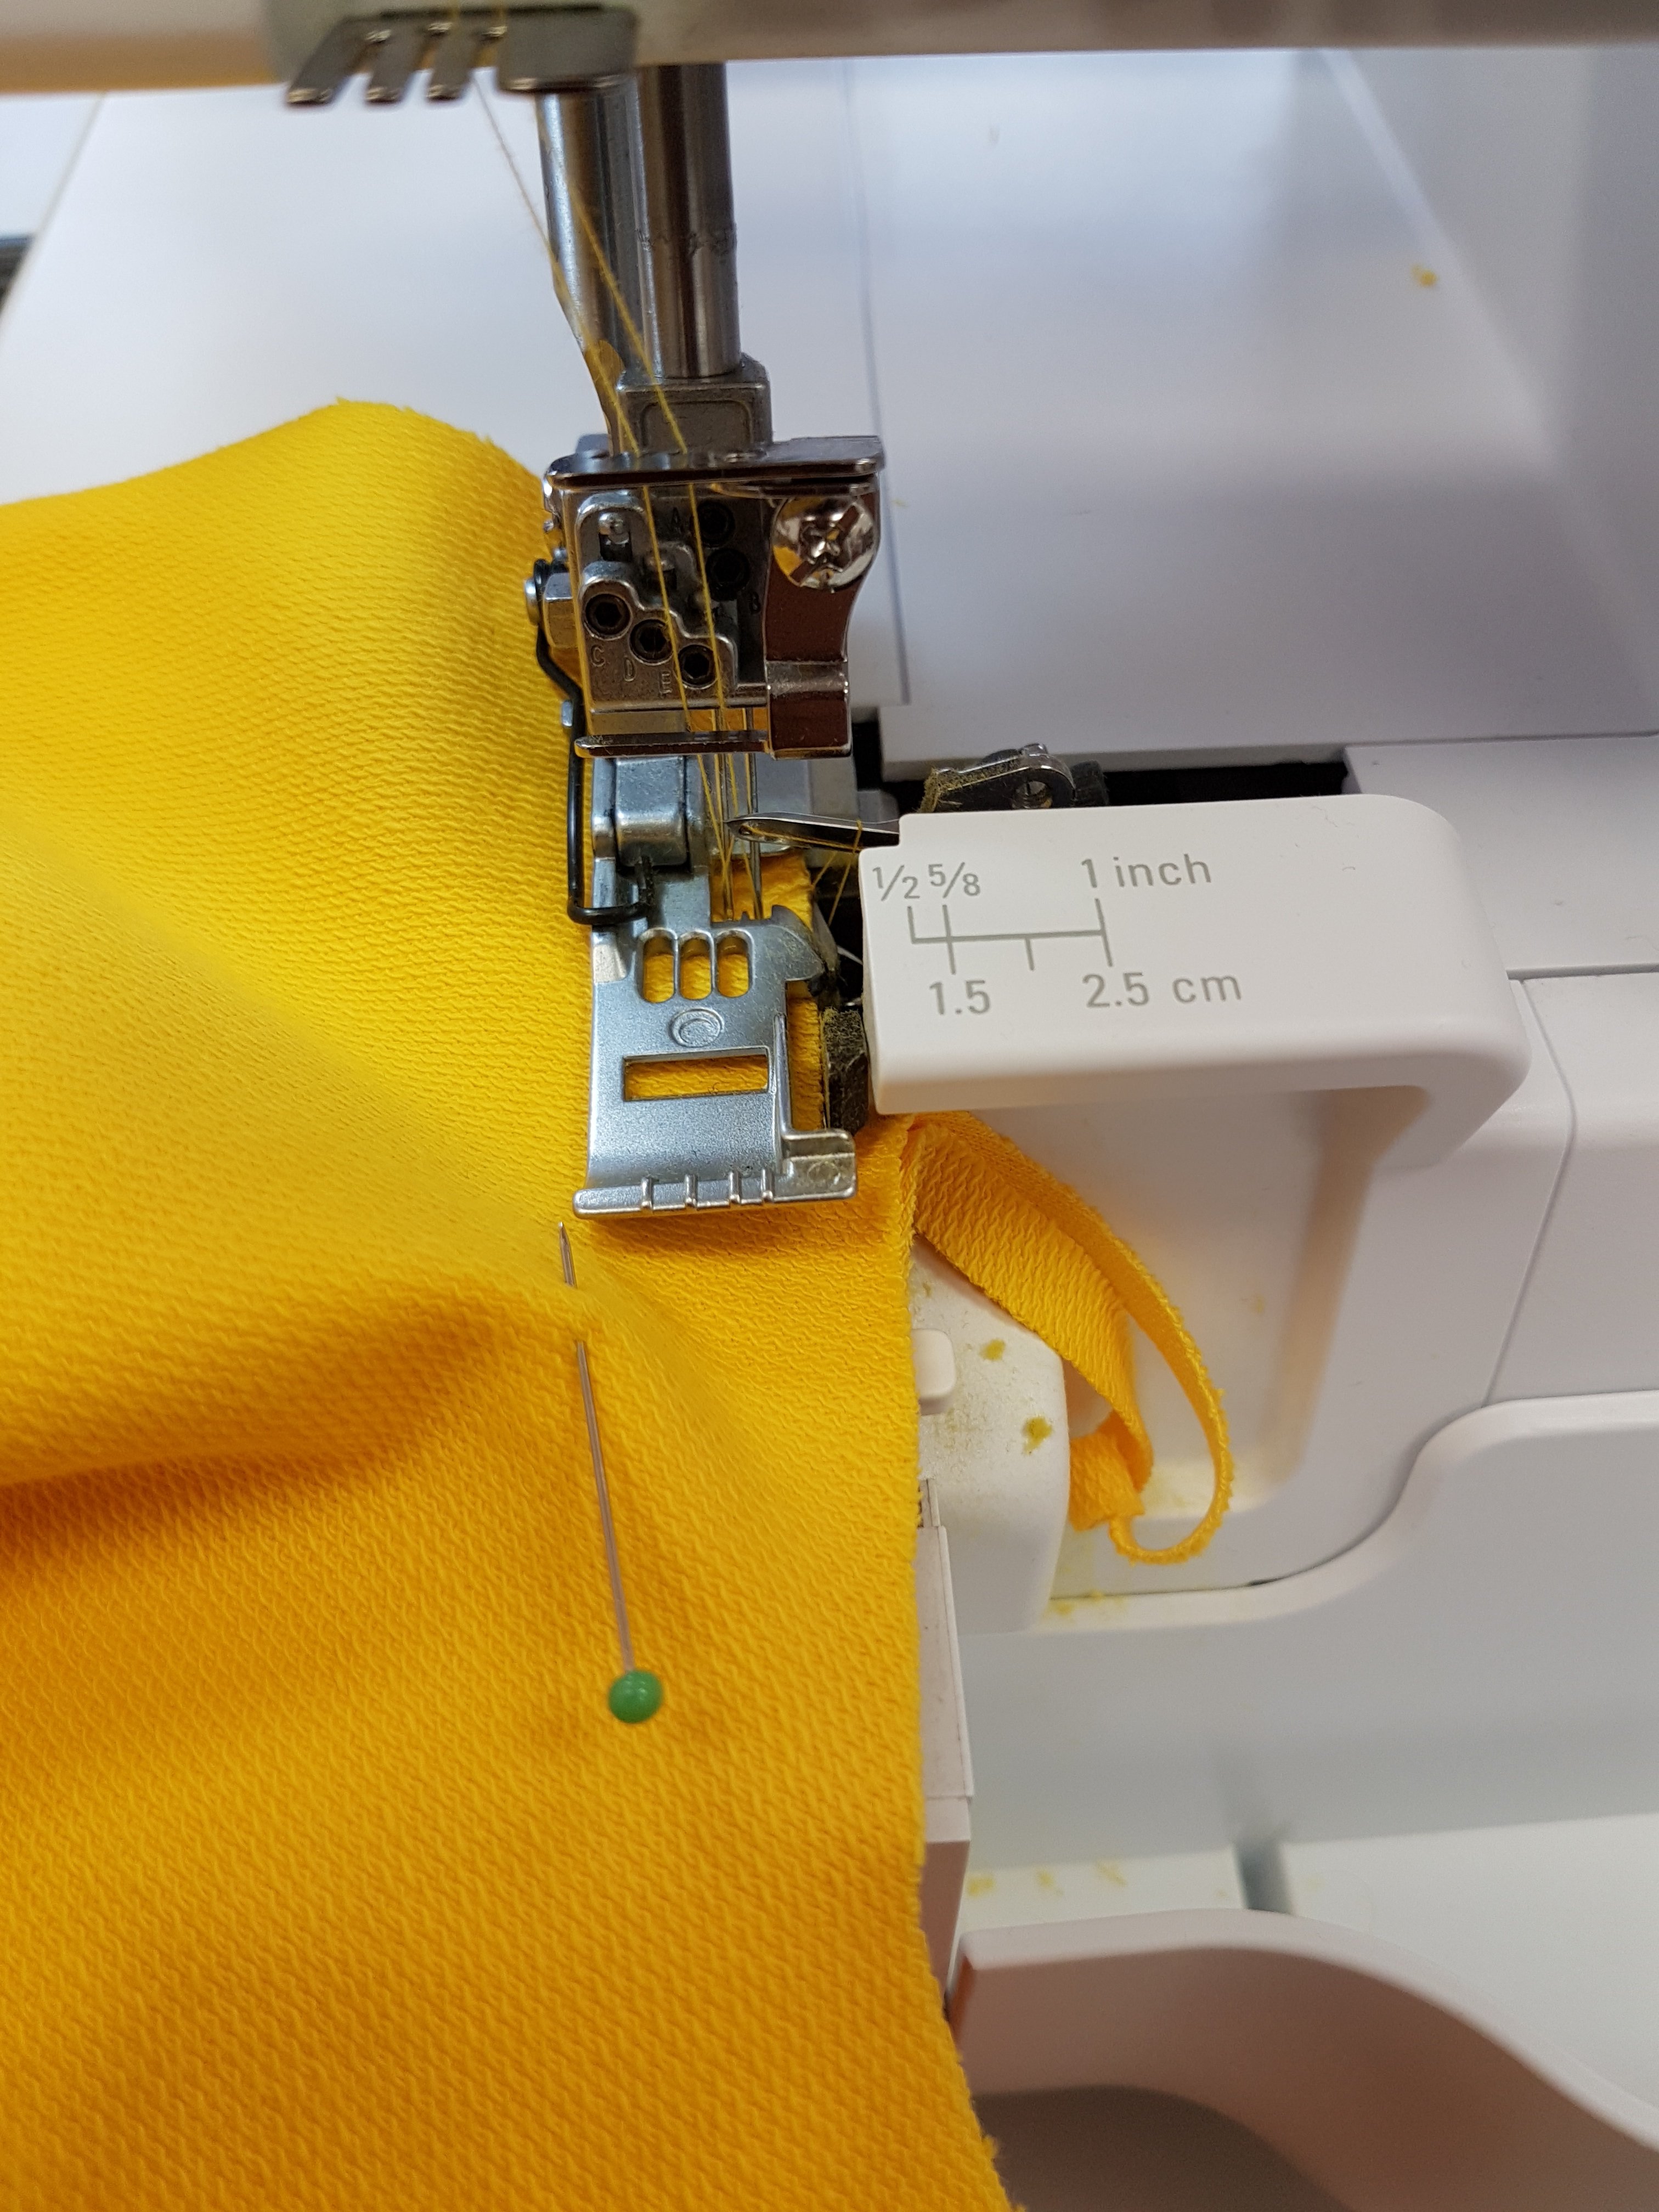
Finish the neckline with a 3-thread coverstitch.
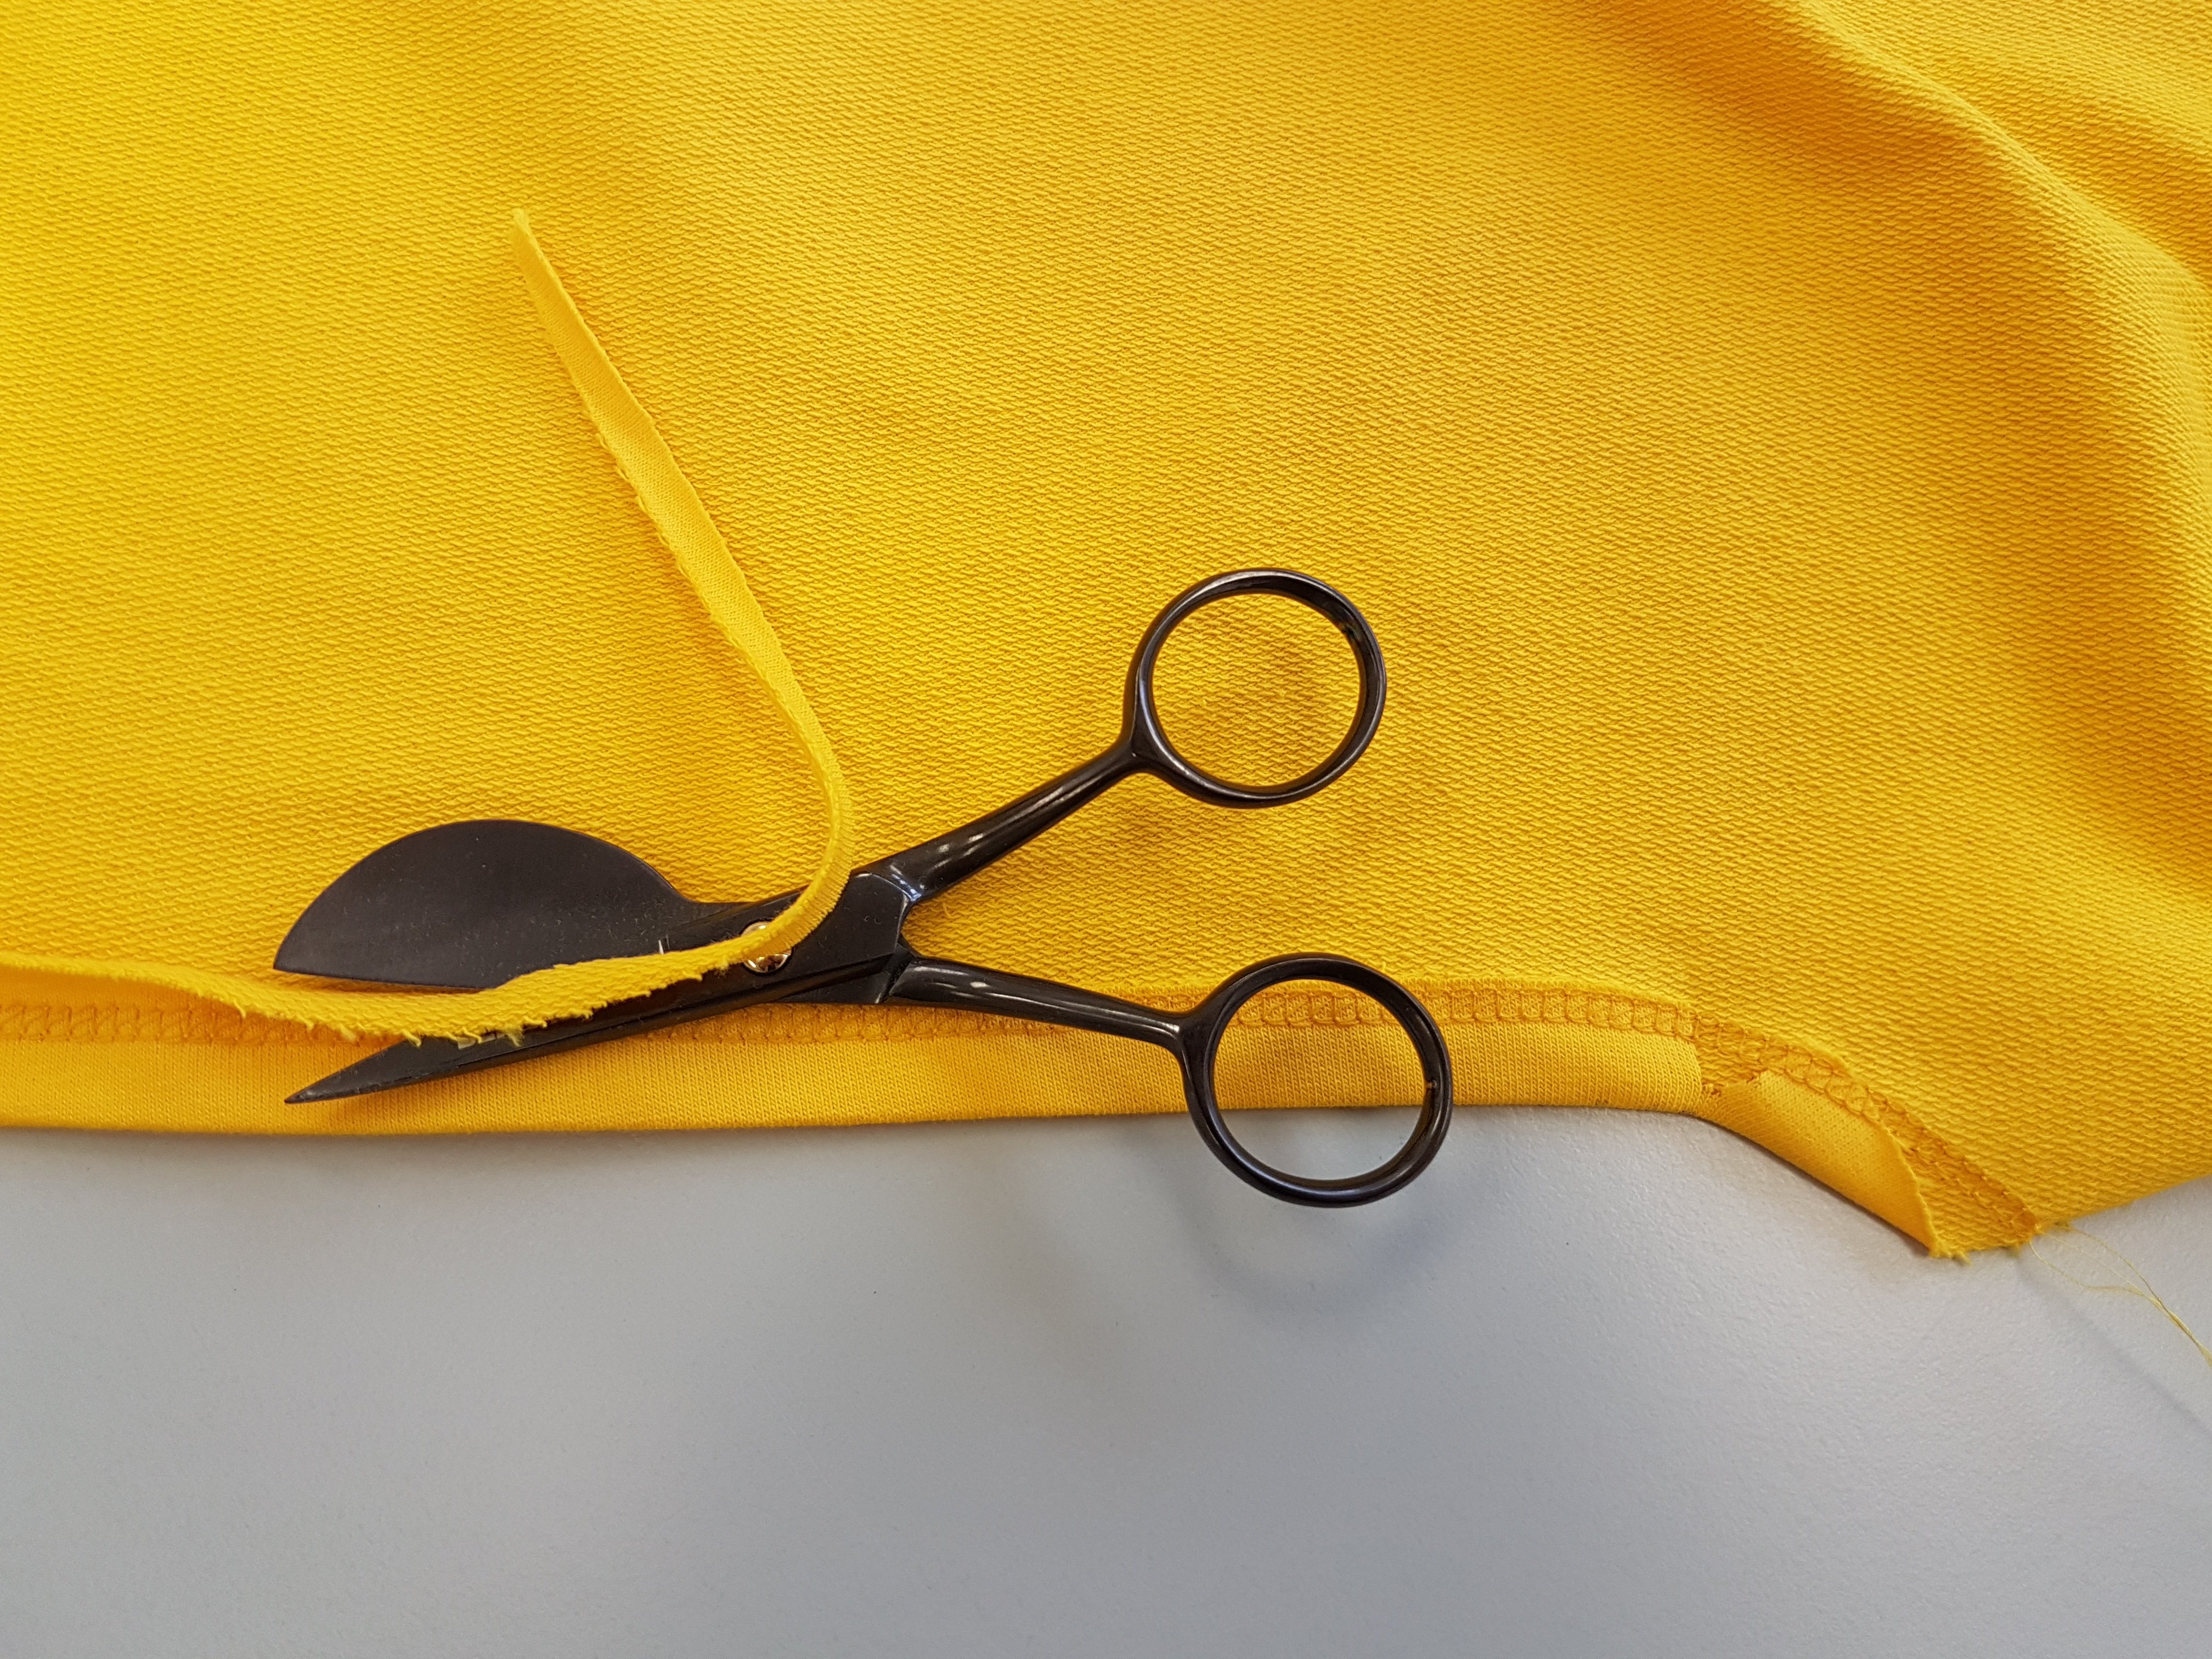
Trim excess fabric with appliqué scissors, if necessary, press.
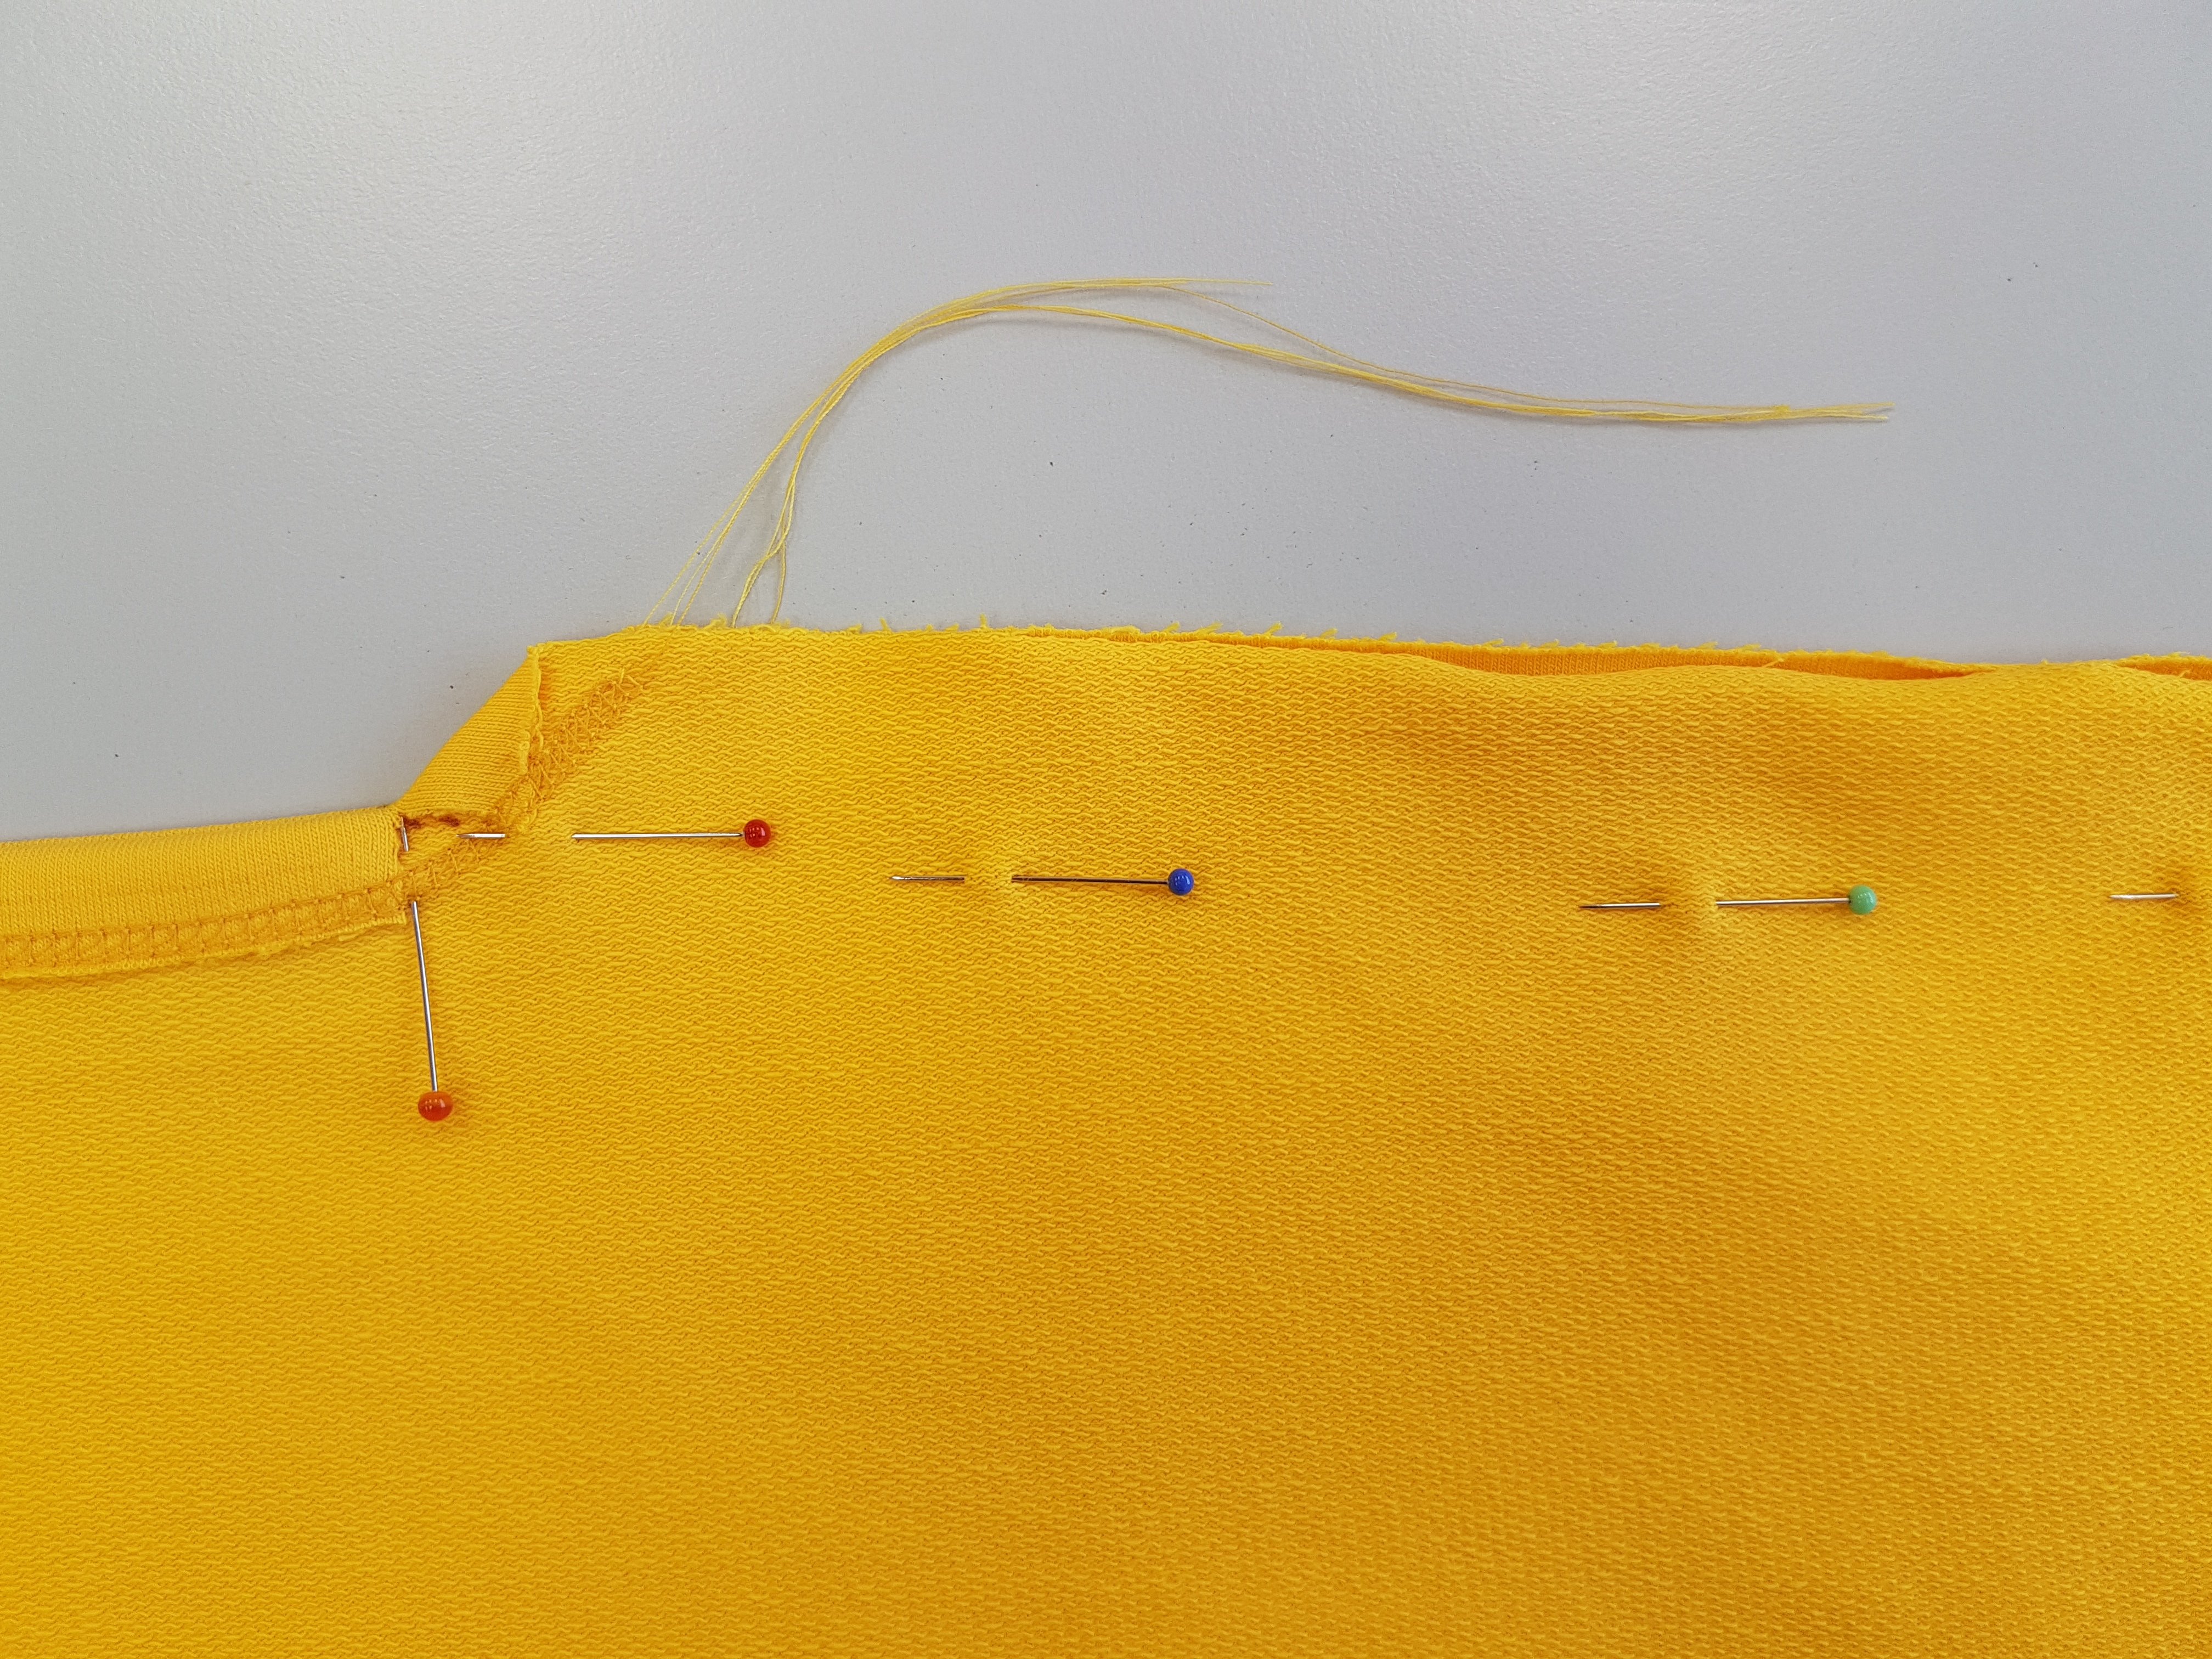
Pin shoulder seam, right sides together.
Tip: use pins with a colorful head and remove them before they reach the knife to avoid accidently sewing through the pin with the overlocker.
Sew shoulder seam with 4-thread overlock starting at the neckline.

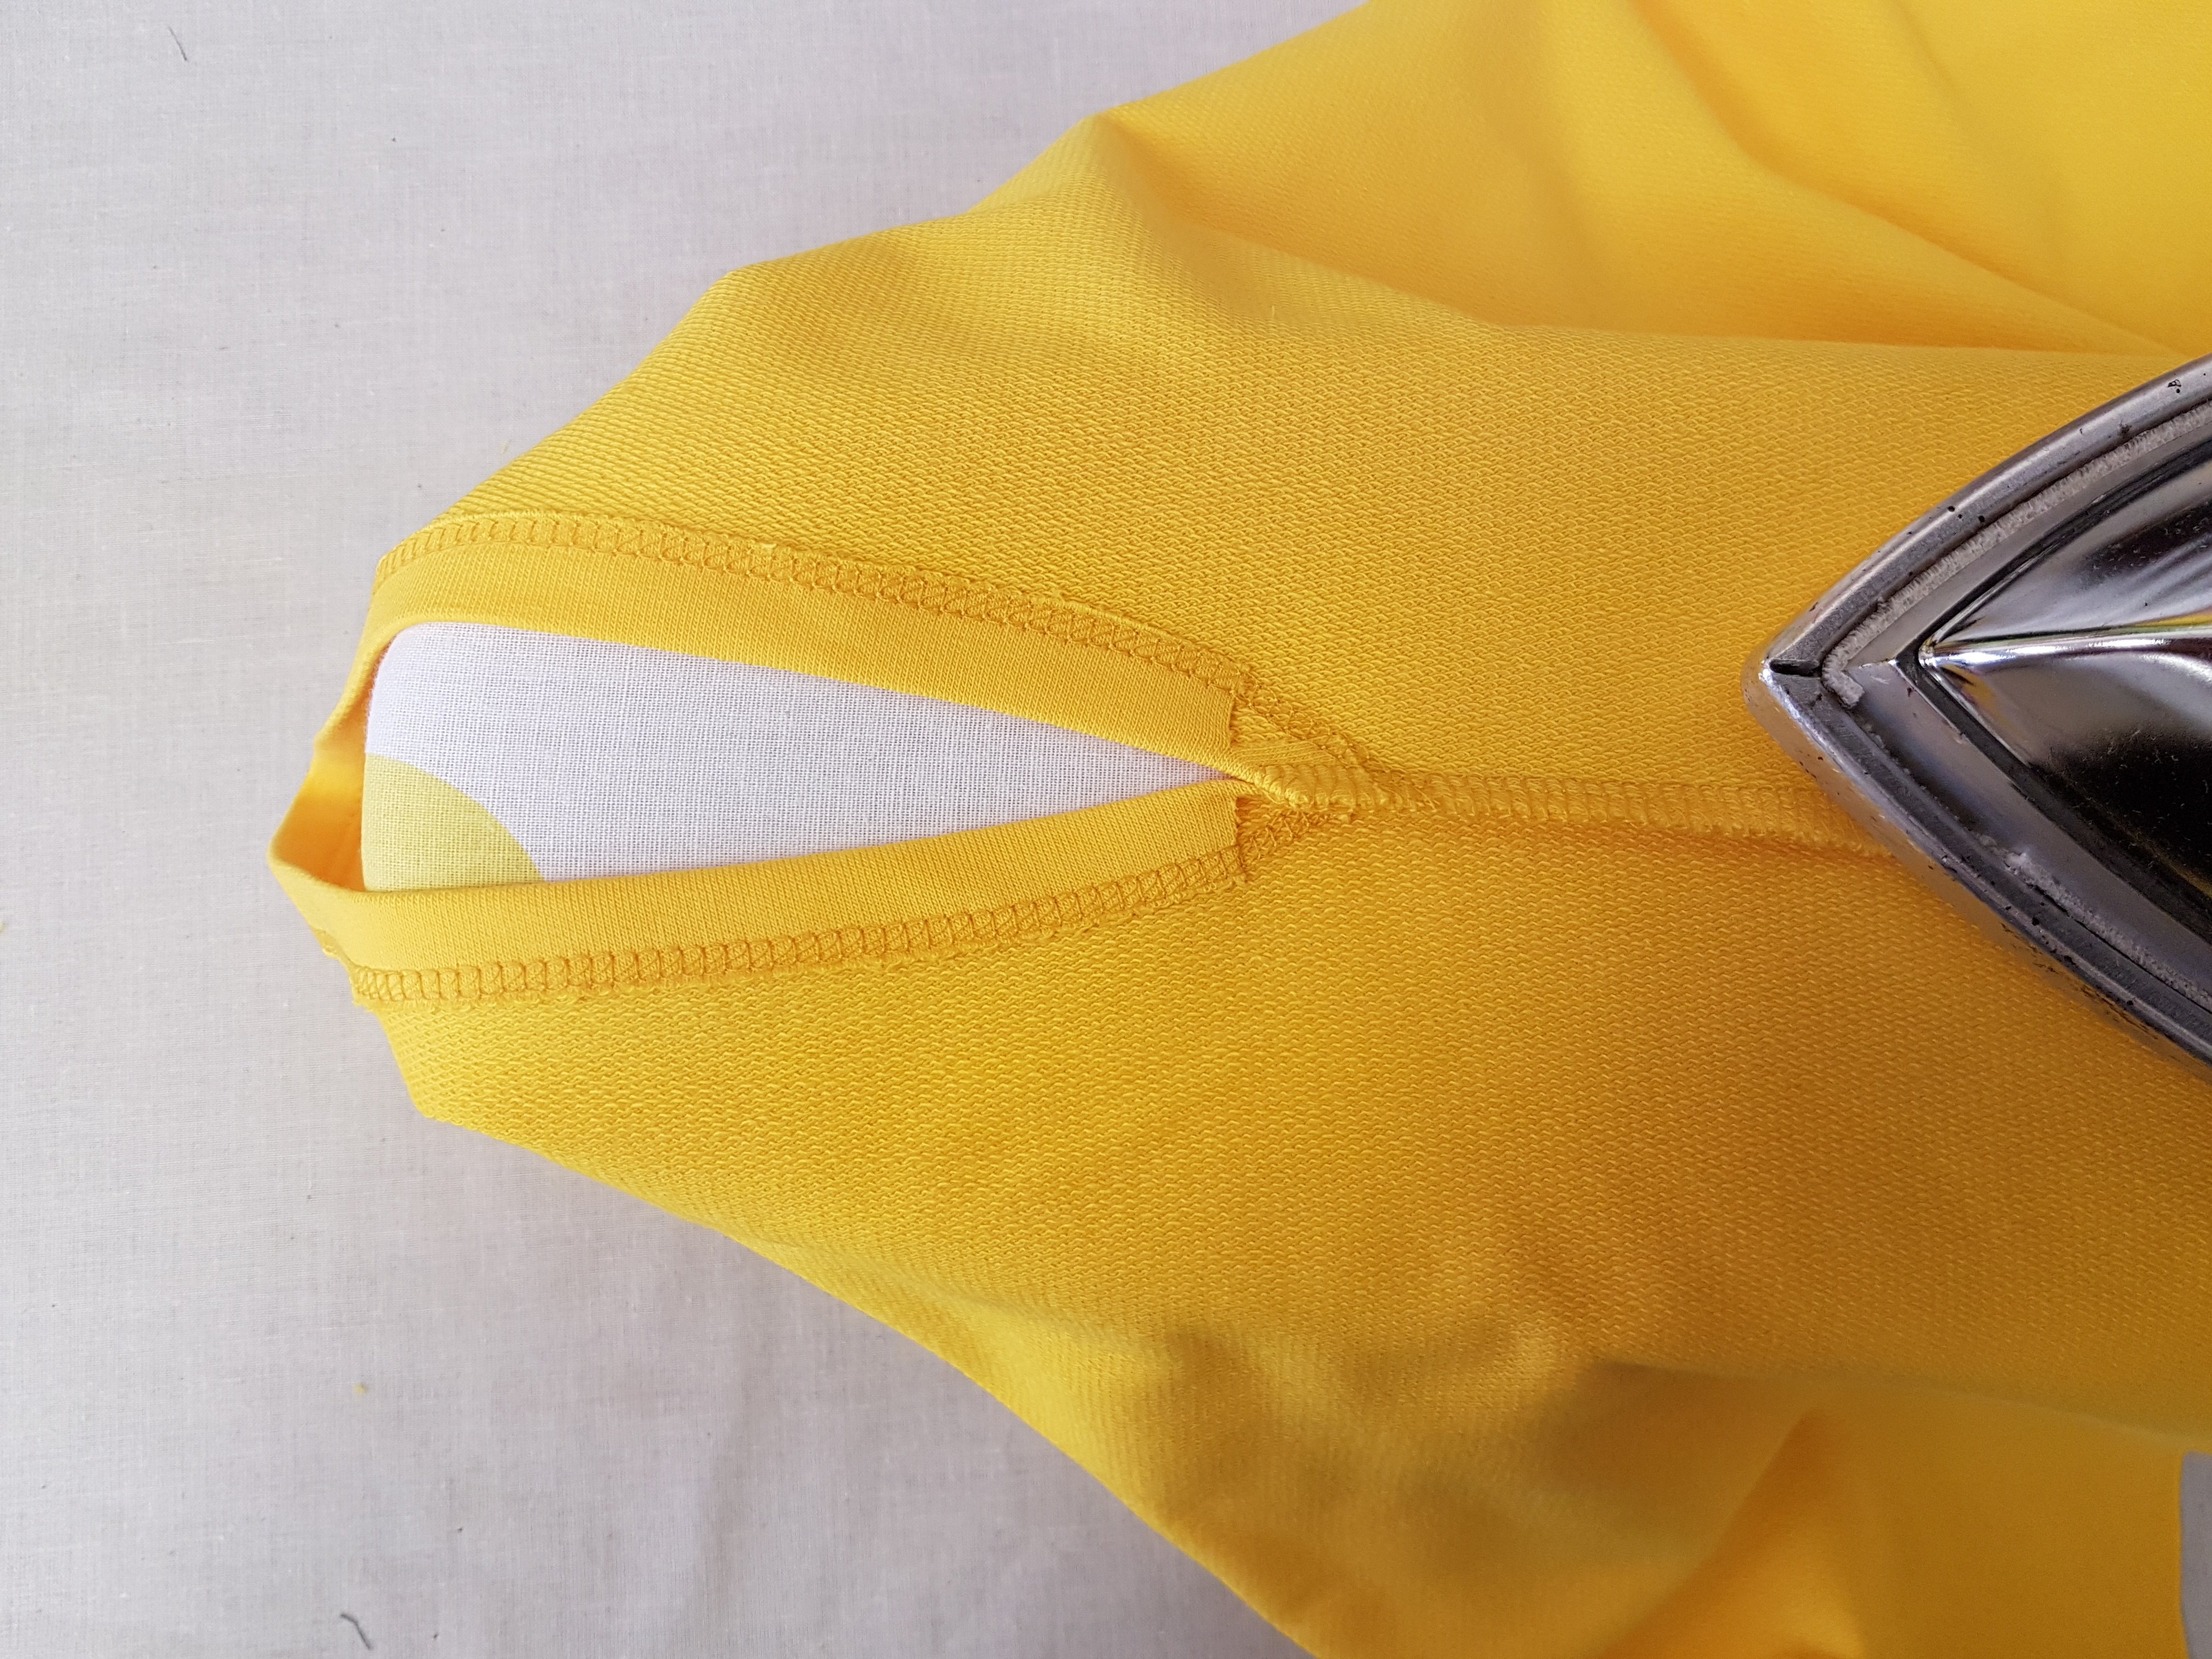
Iron the shoulder seam against the front side.
Right sides together, pin long and short side seam.
Sew both side seams together with 4-thread overlock.
Divide the waist and sleeves into quarters and mark.

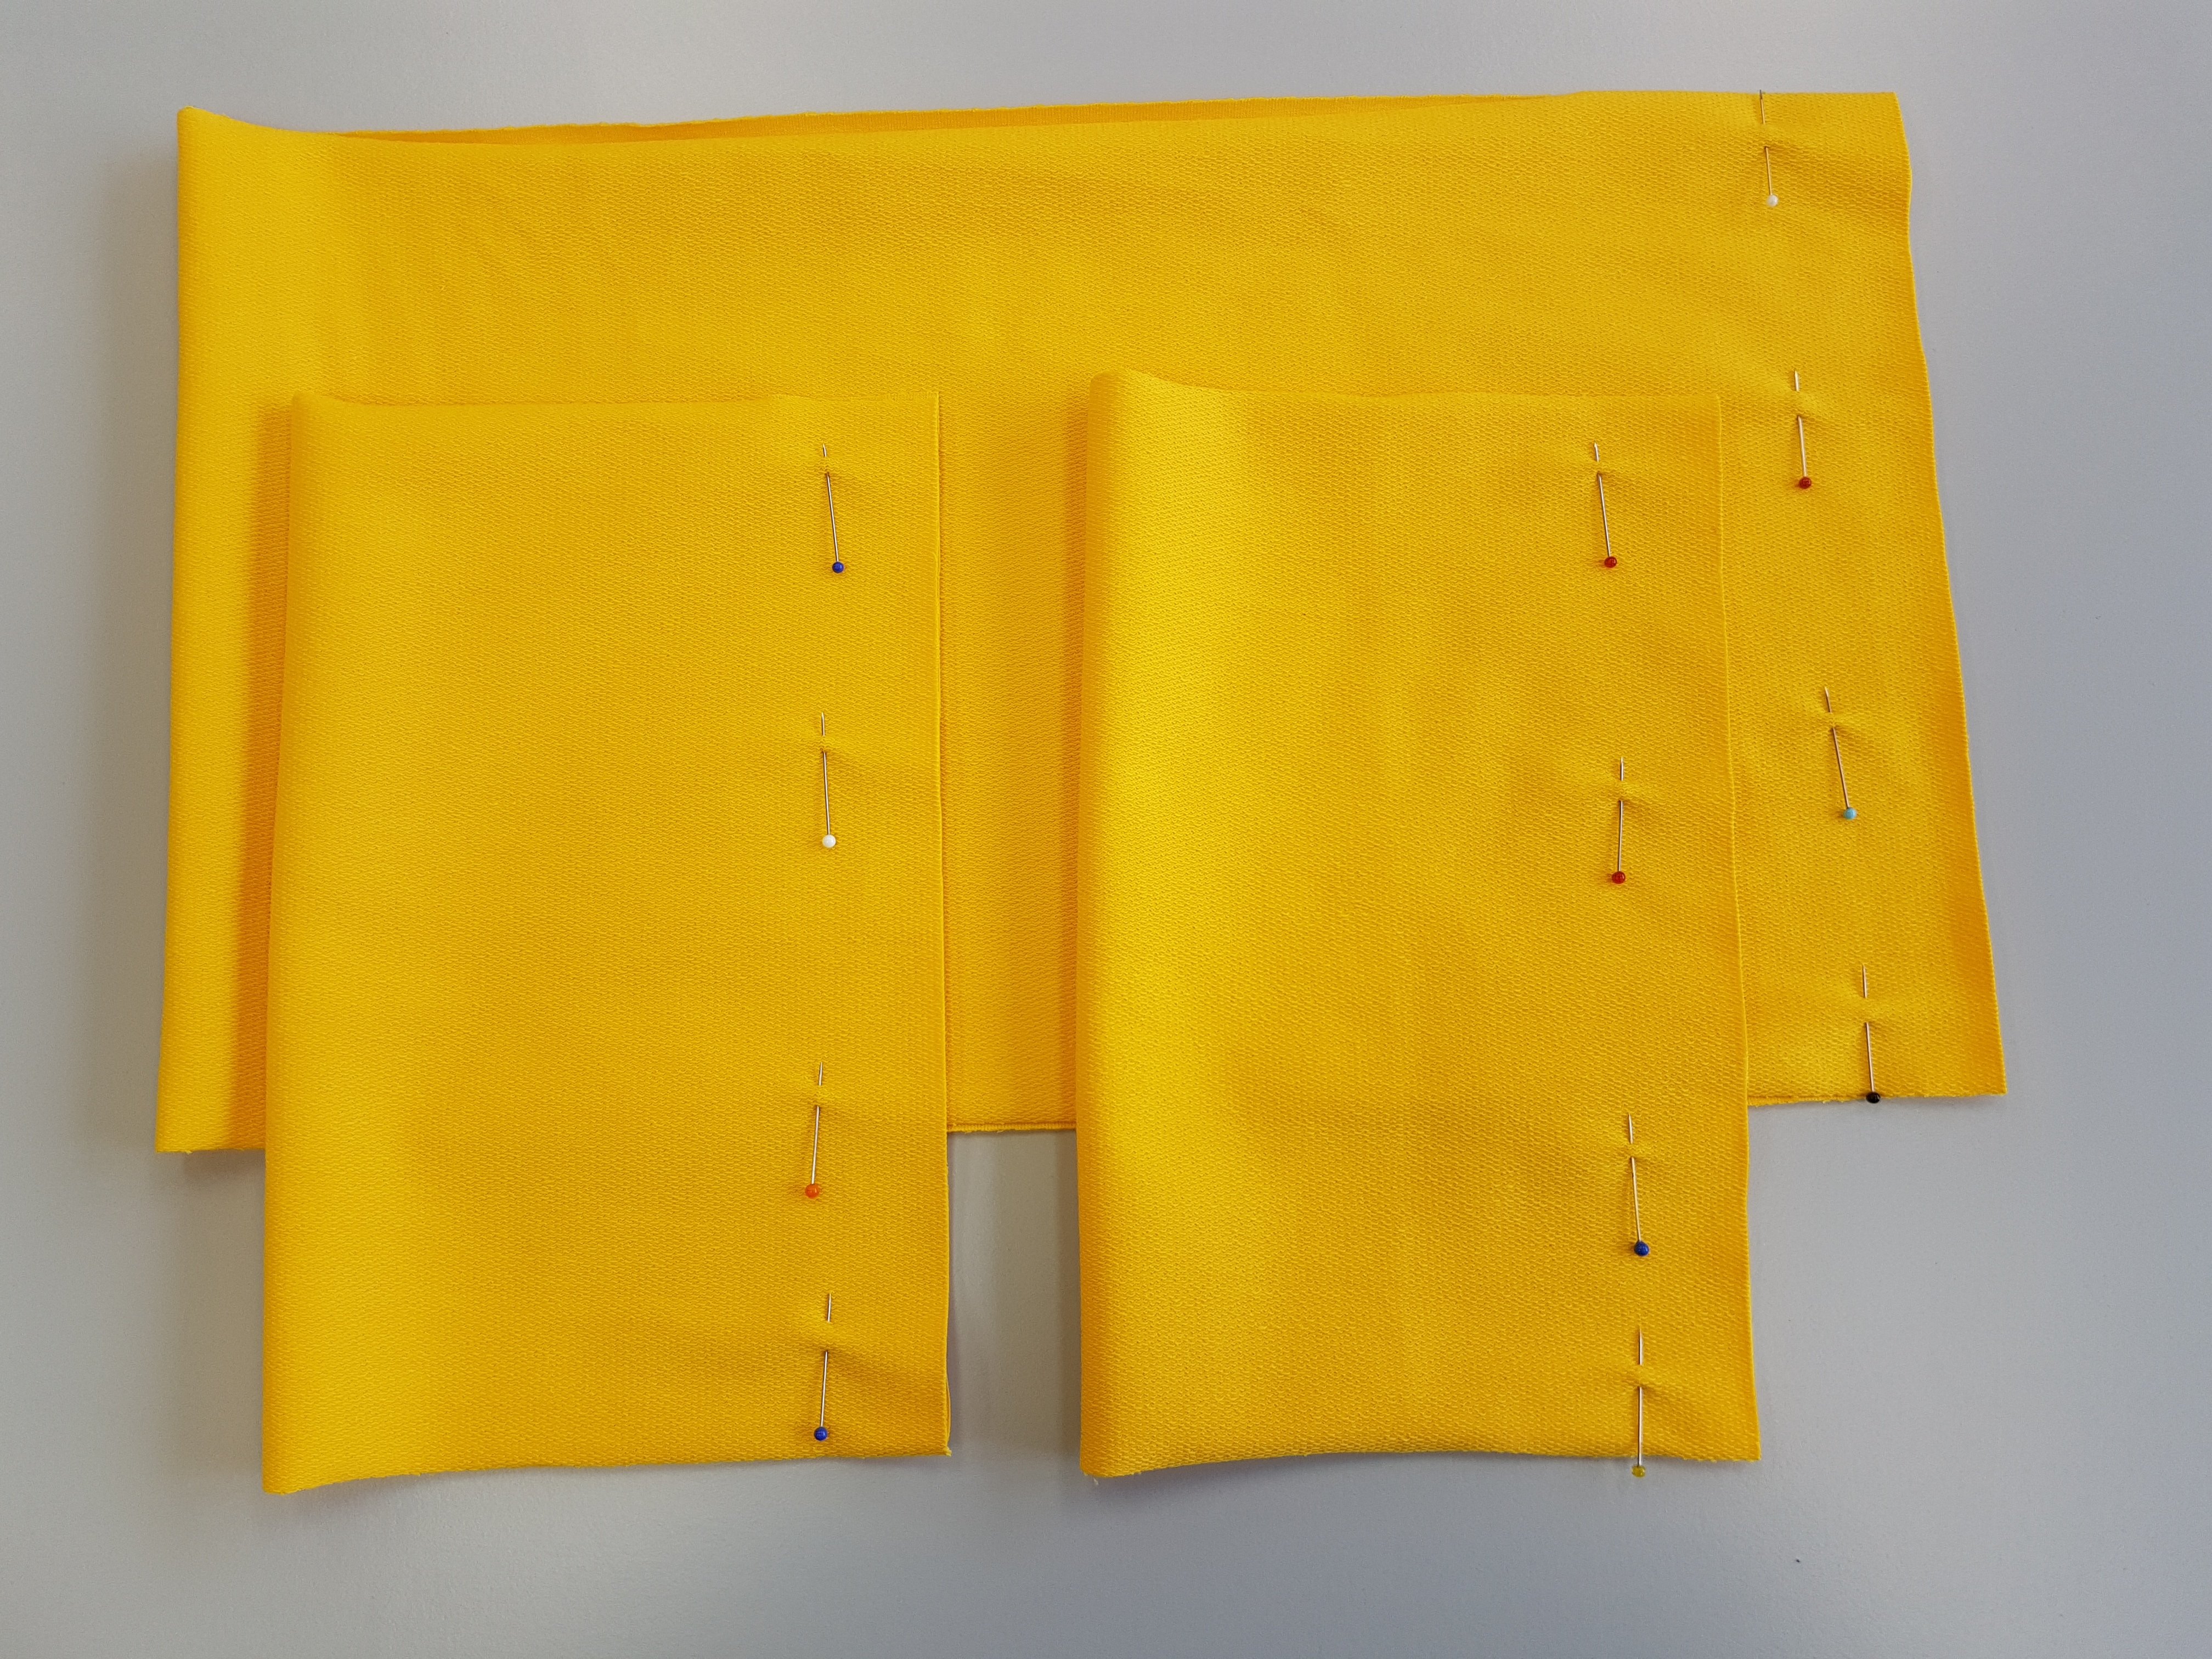
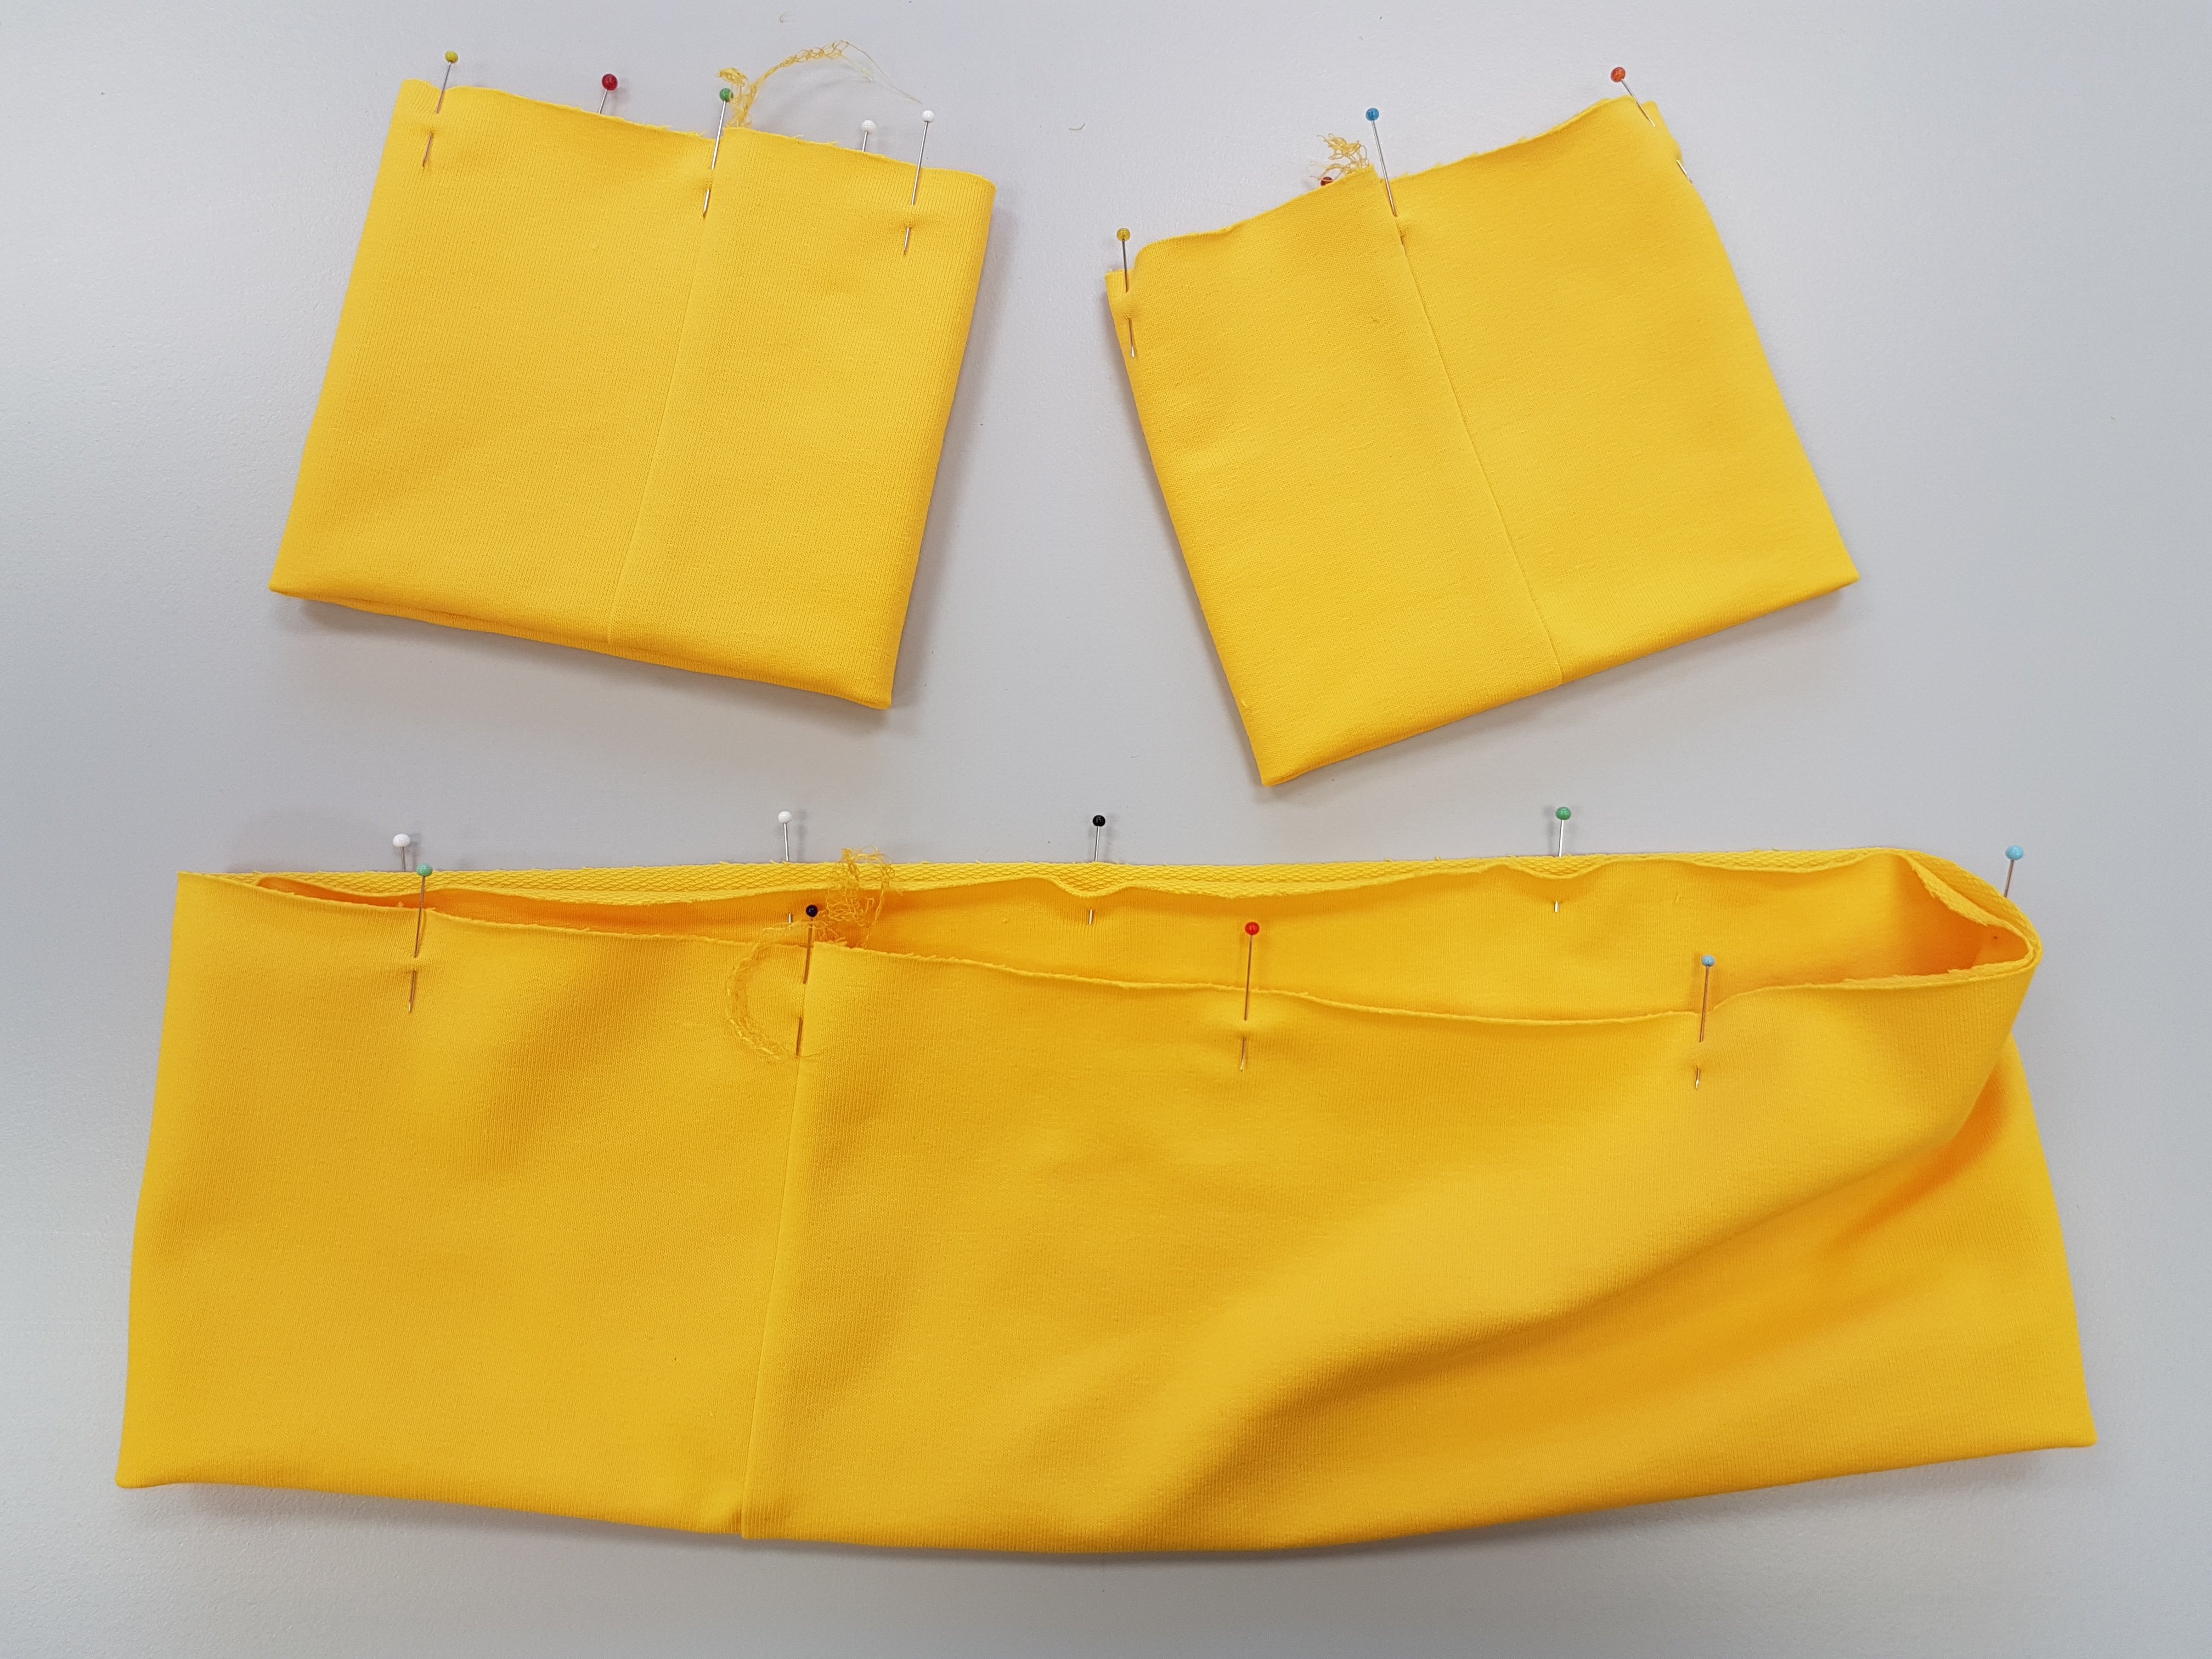
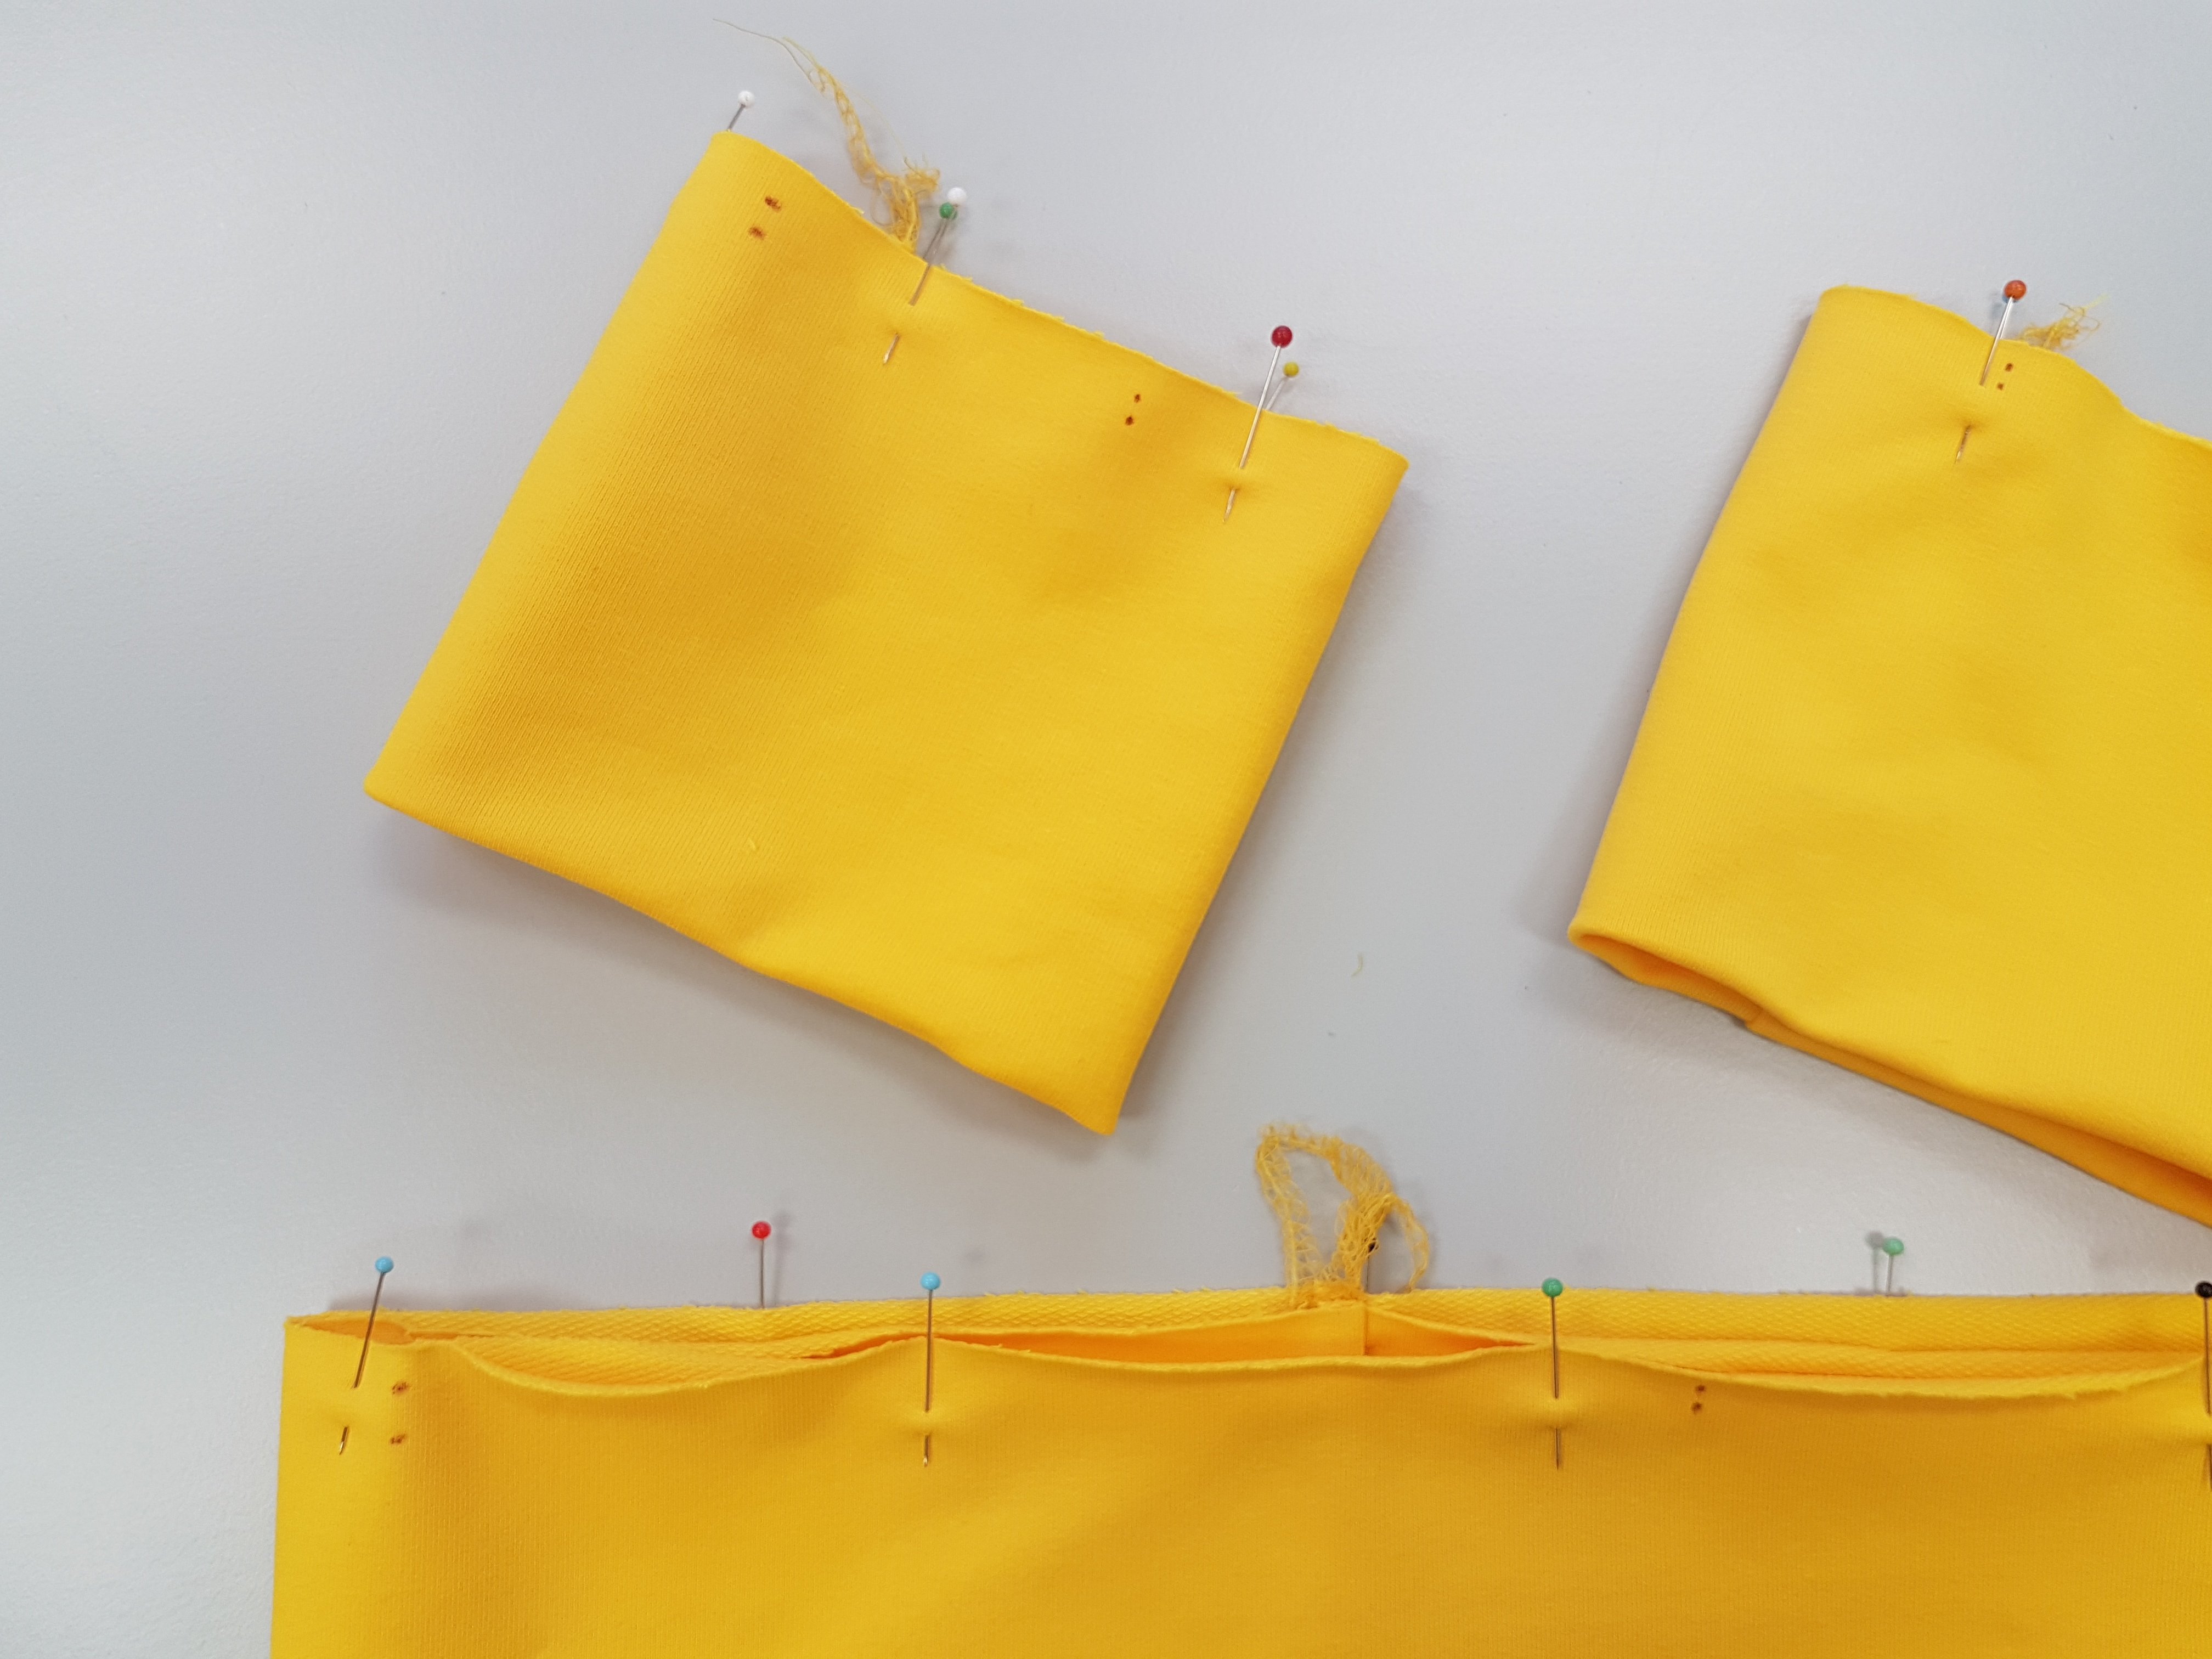
Right sides together, fold cuffs and waistband matching short sides, pin (or use wonderclips).
Using a 4-thread overlock stitch, sew the short sides together.
Tip: Try cuffs and adjust width if desired.
Press seam to one side.
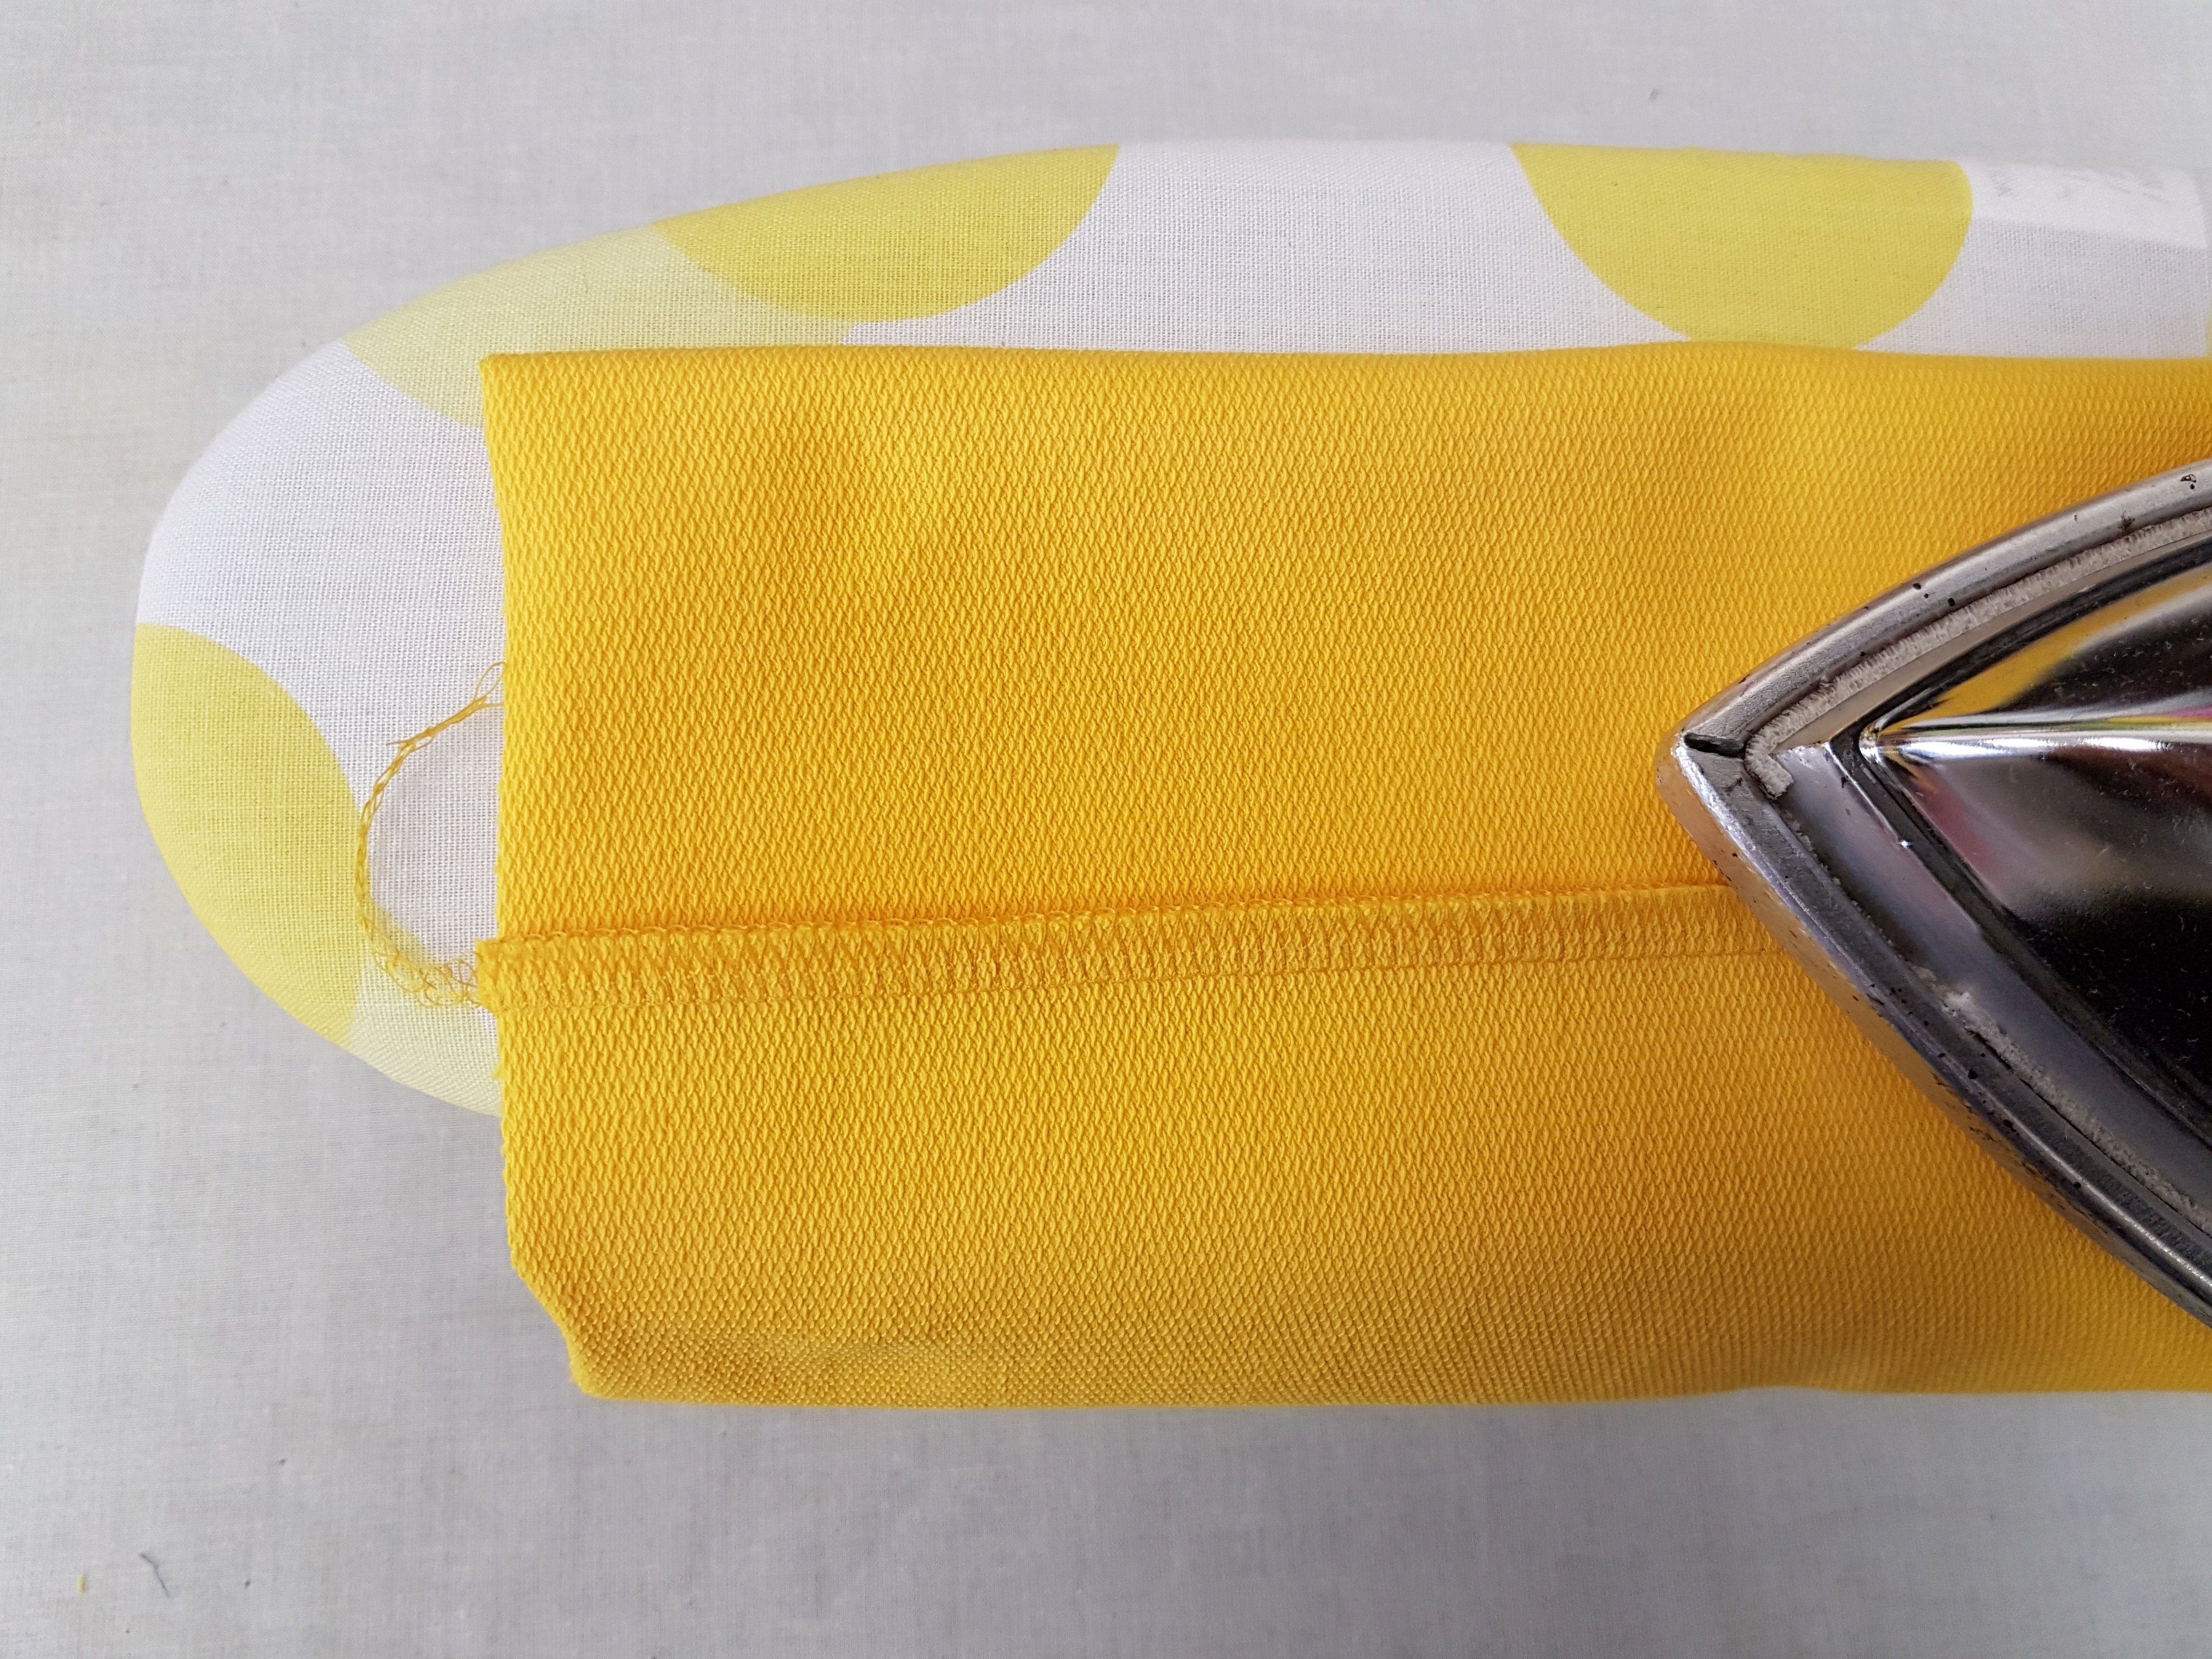
Fold the waistband and cuffs, wrong sides together, along the long open side. Press and pin (or clip) together.
On waistband and cuffs mark quarters.
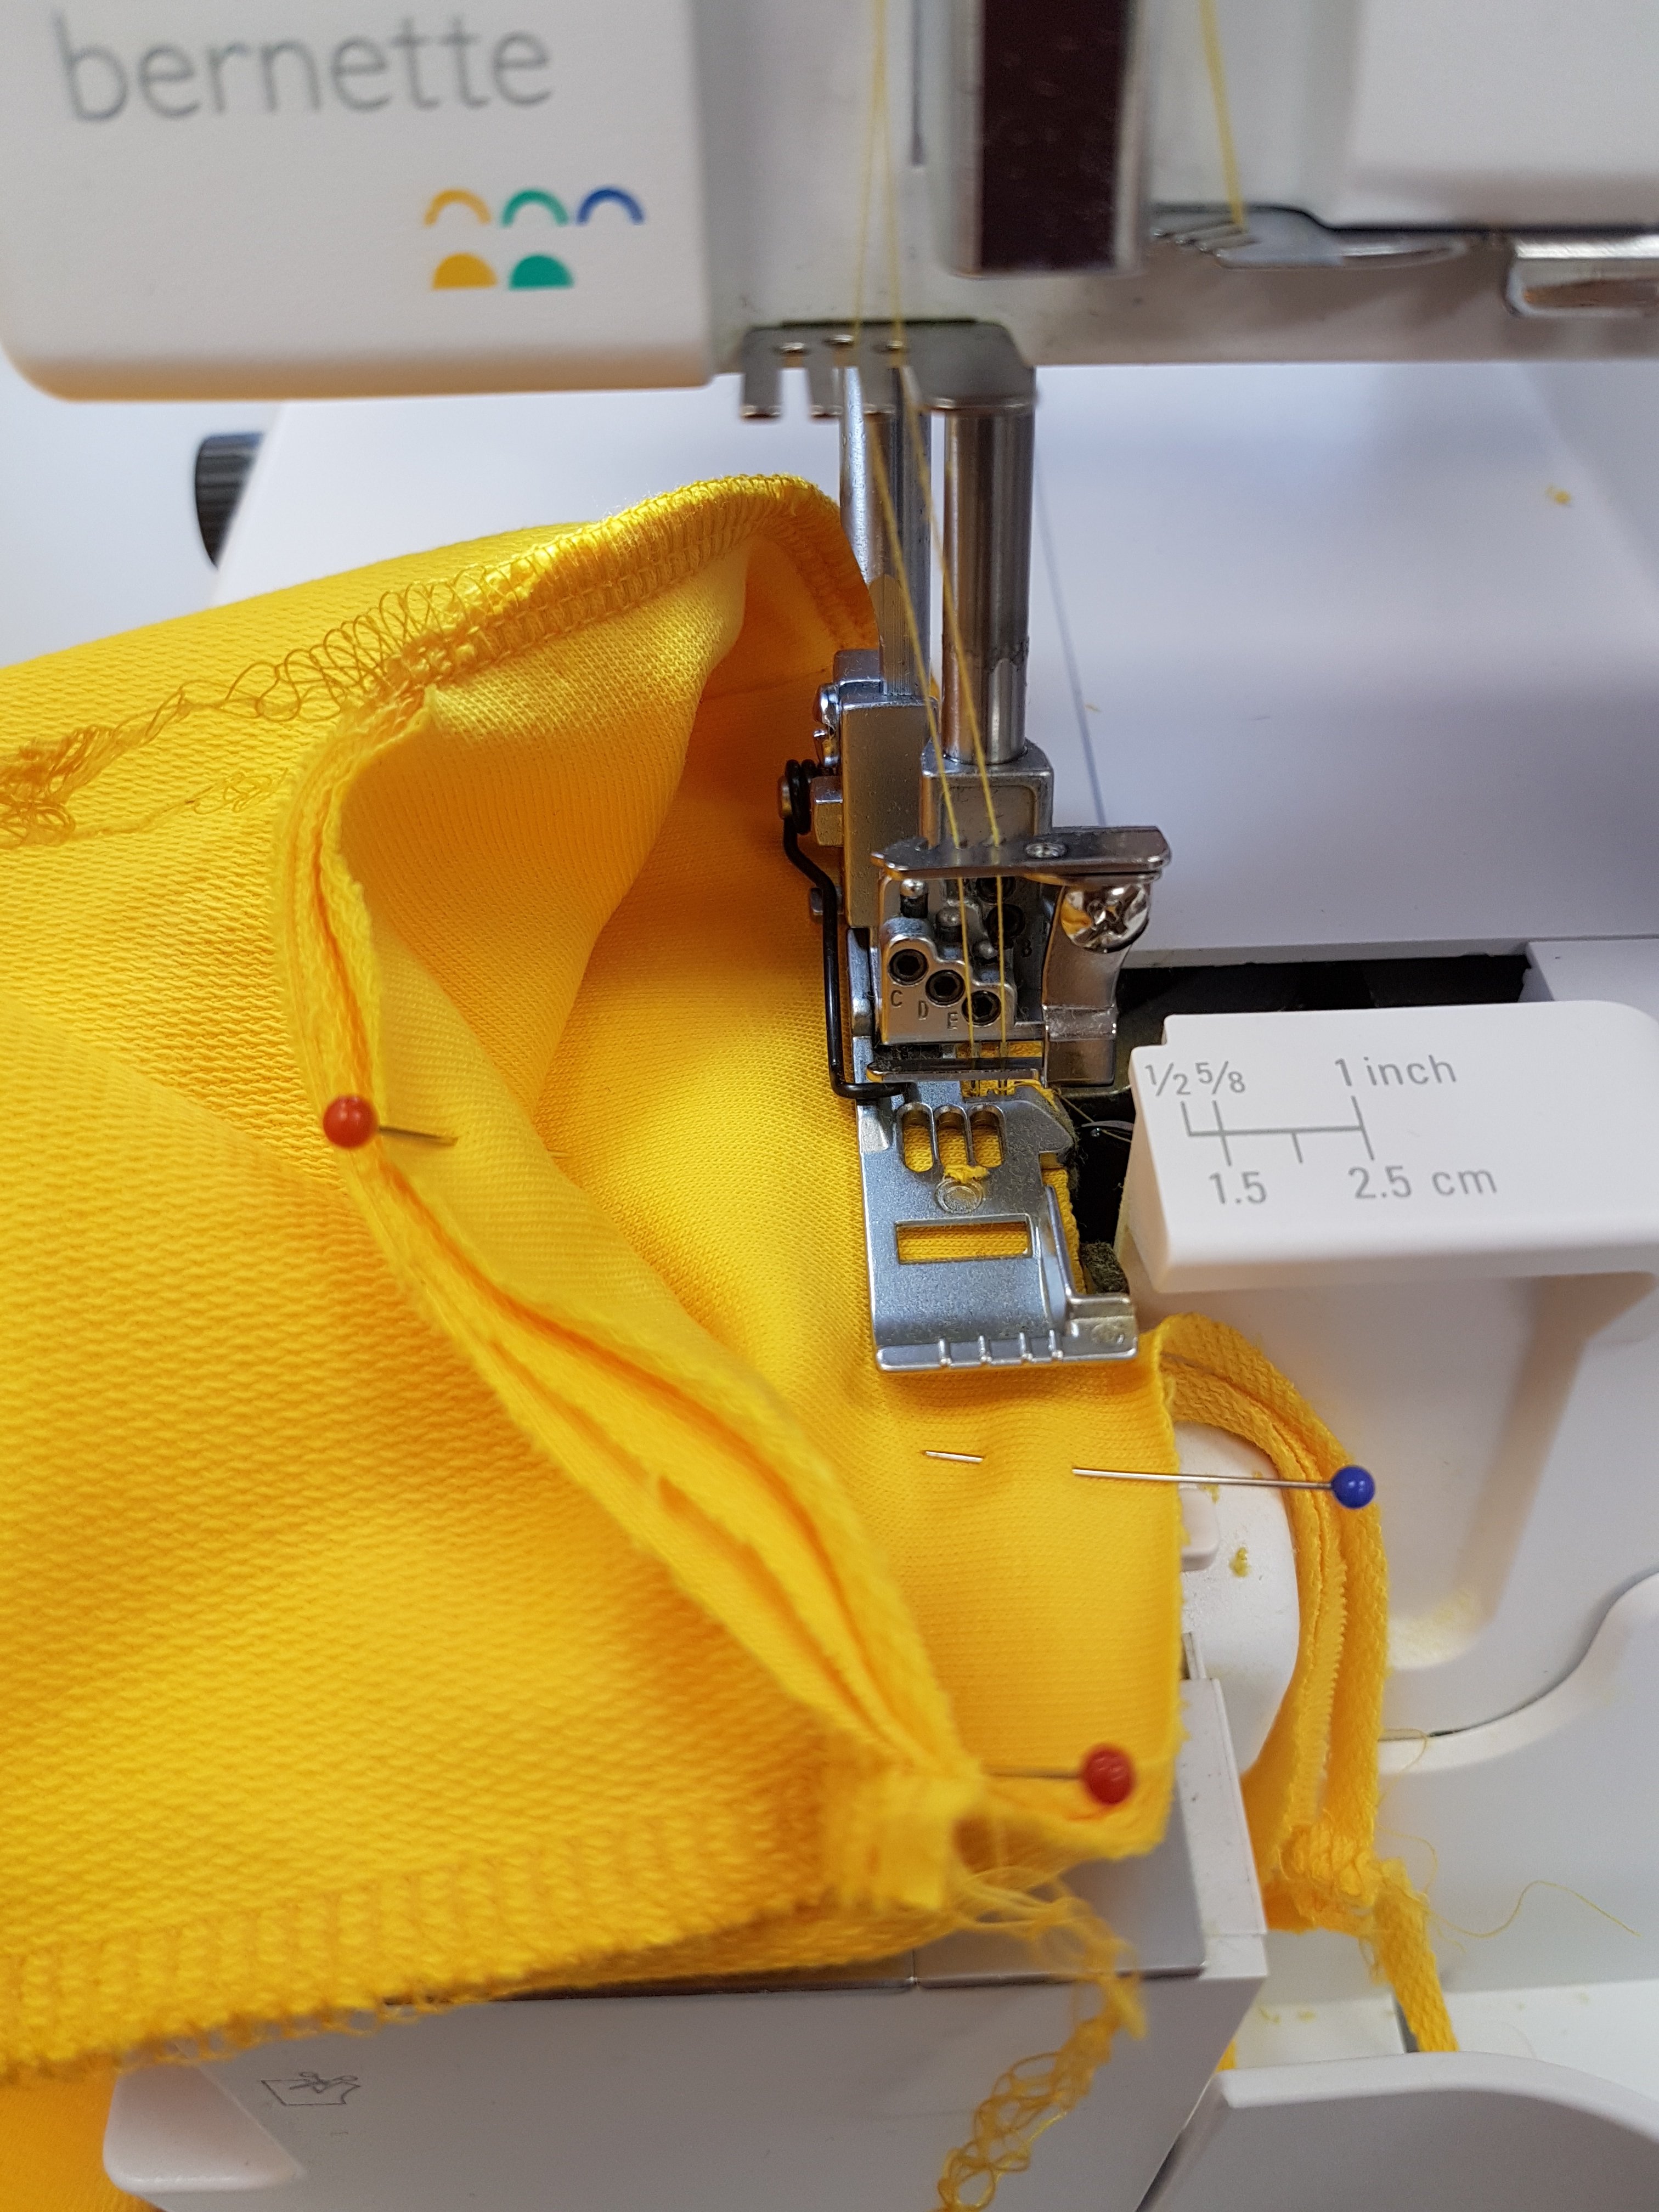
Attach waistband and sleeve cuffs onto shirt, right onto right side. Stretch cuffs if required due to personal width adjustments.
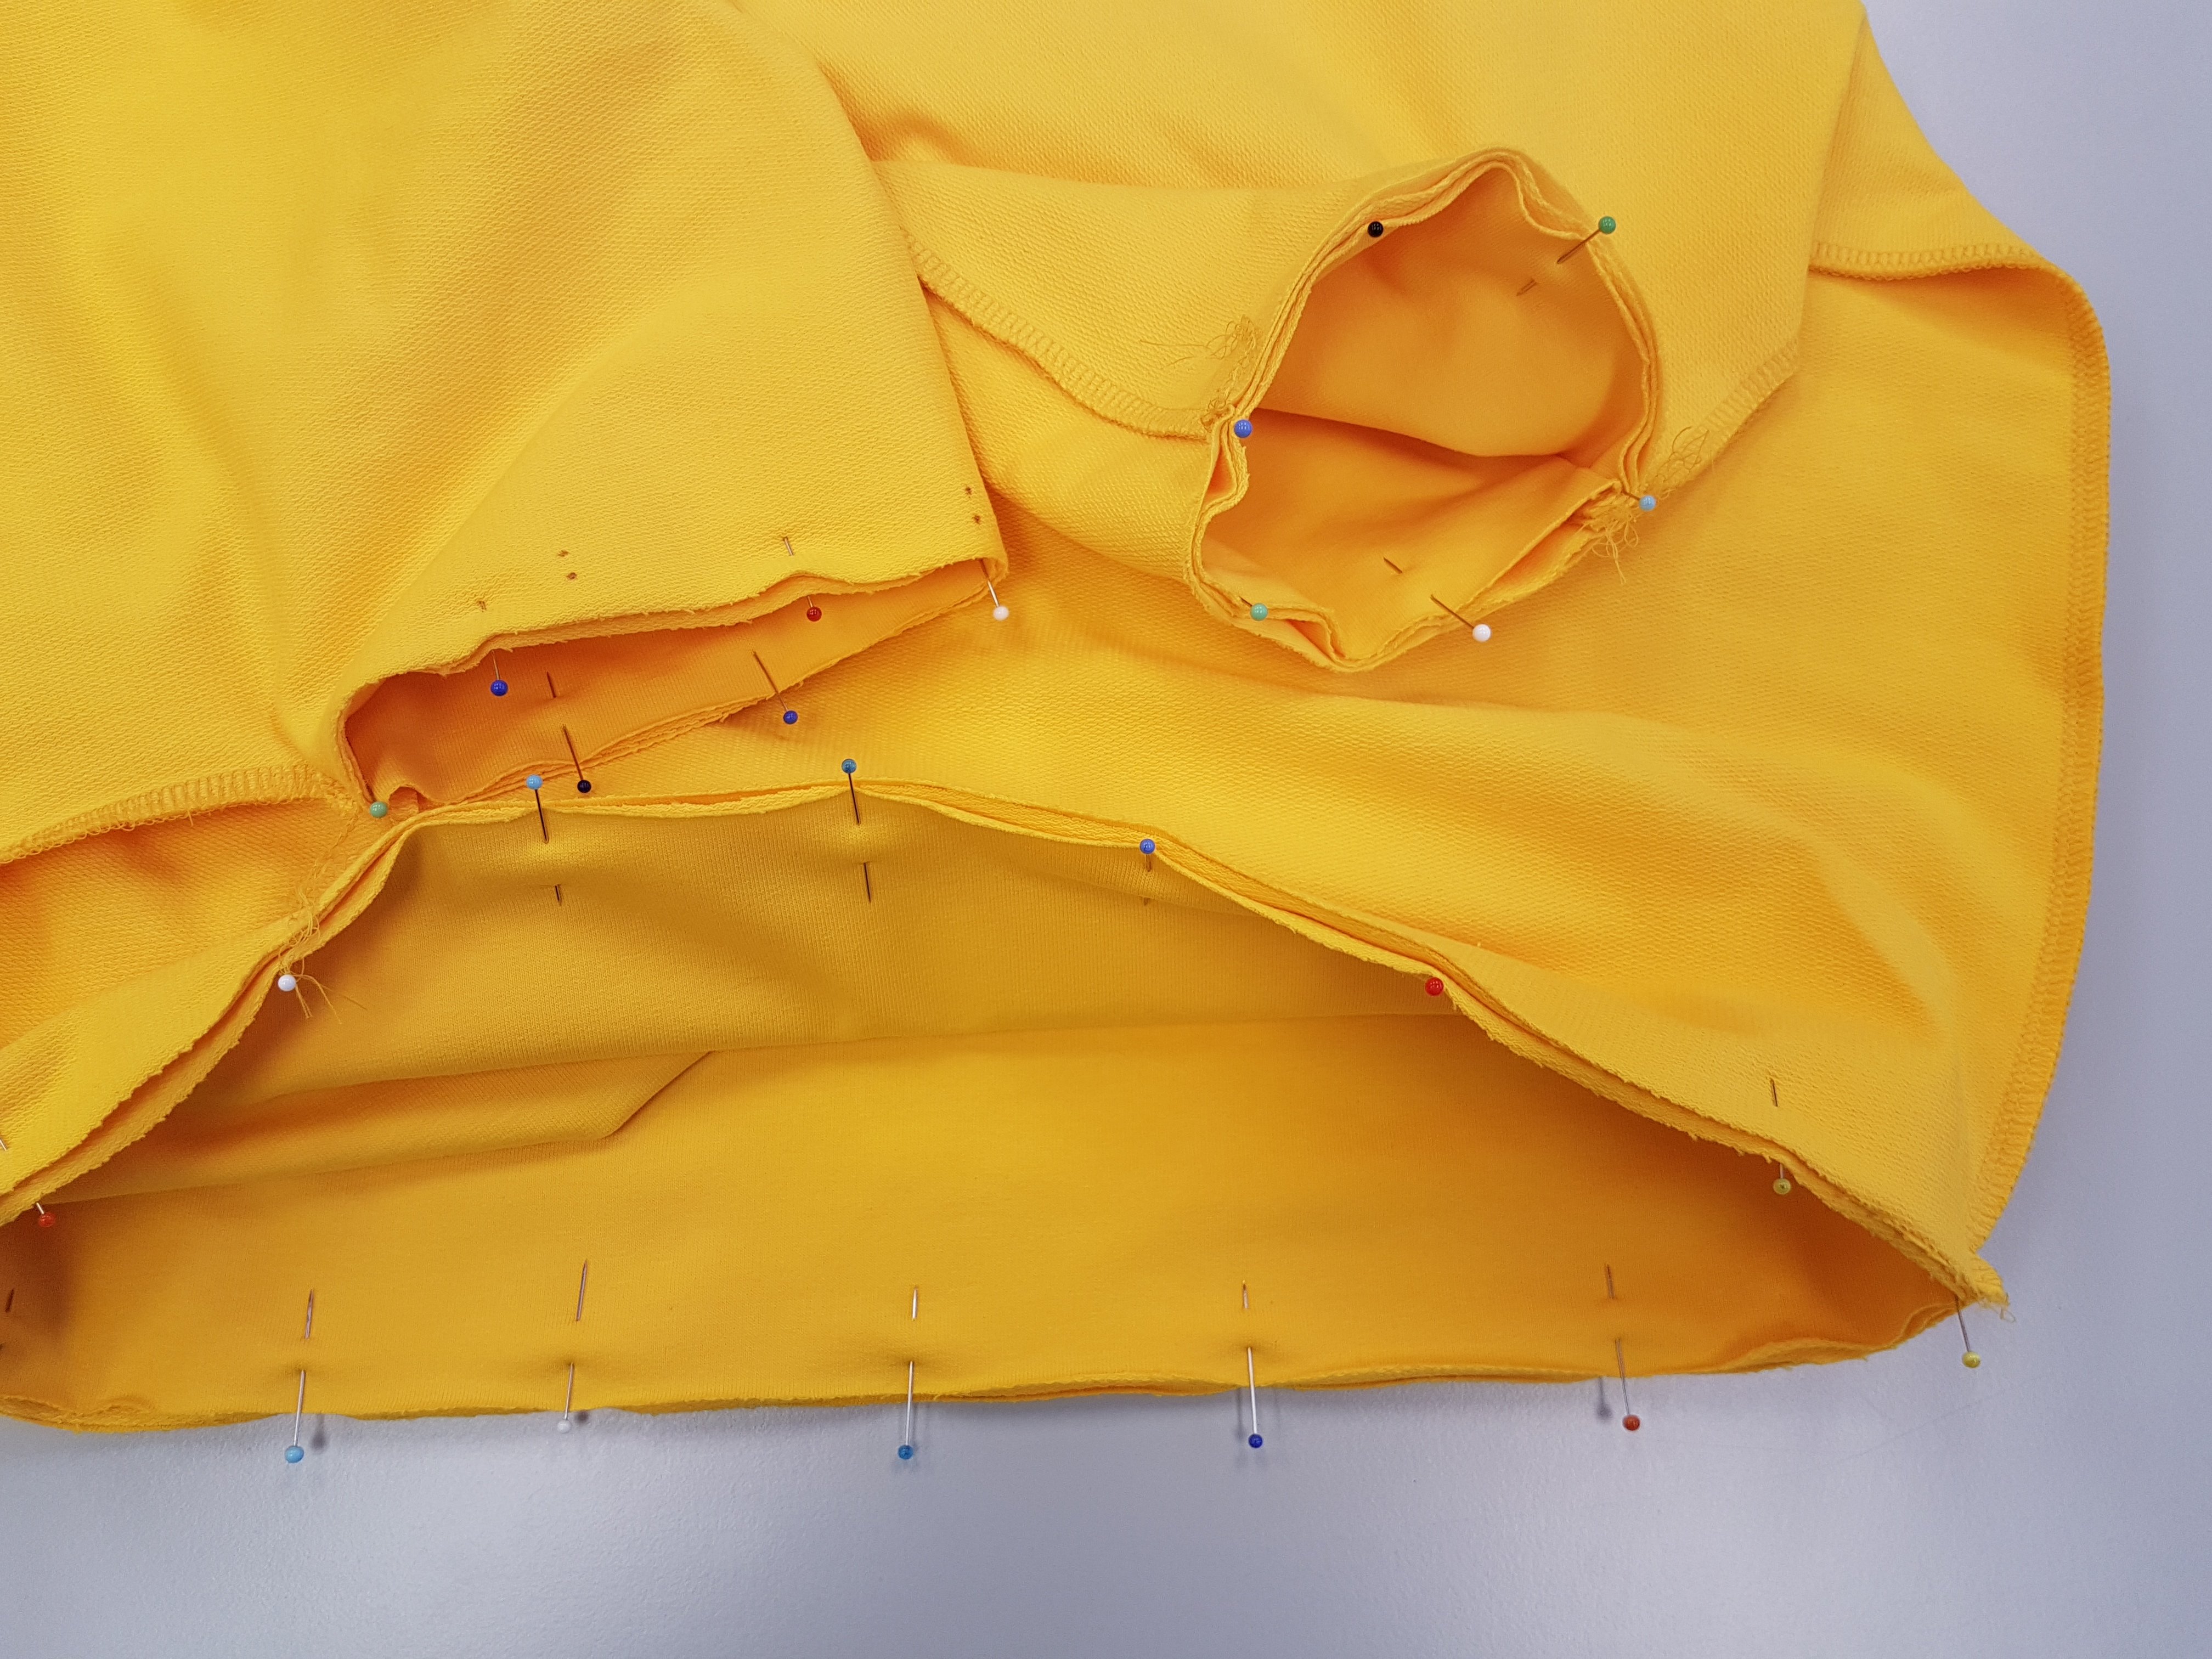
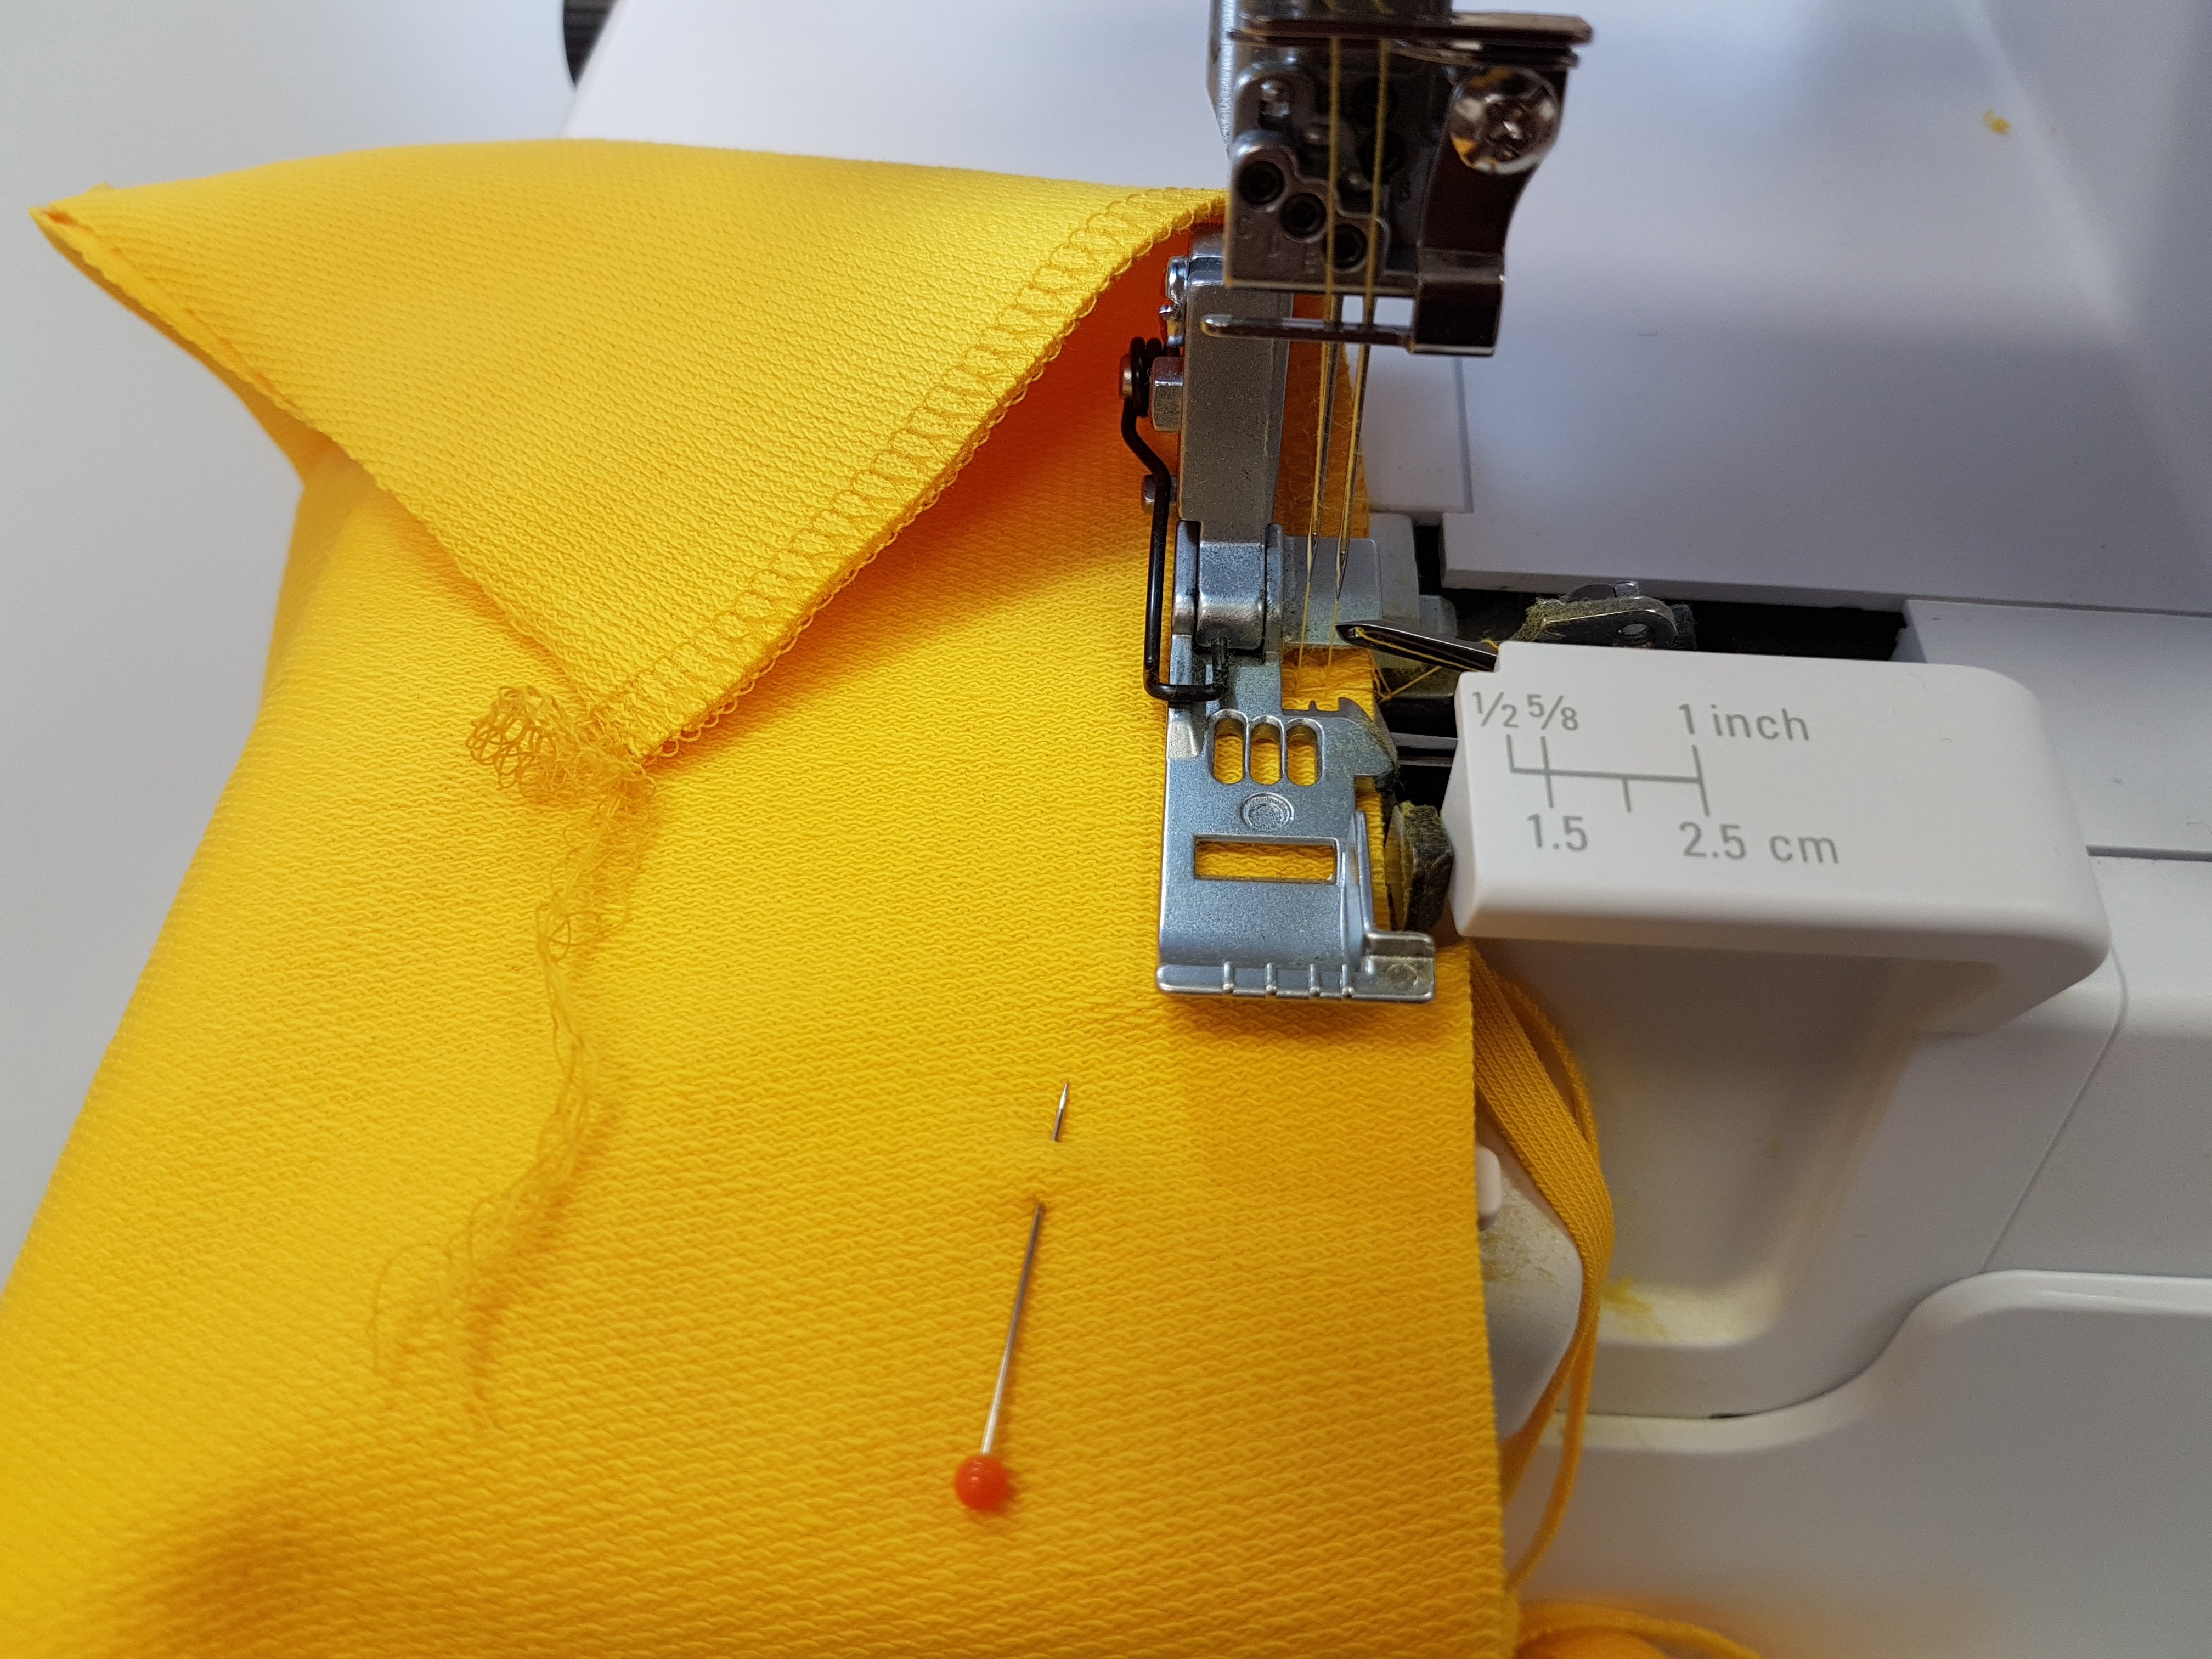
Sew waistband and cuffs onto the shirt with 4-thread overlock, making sure to remove all pins before they reach the knife.
Secure all remaining thread chains with a wool needle.

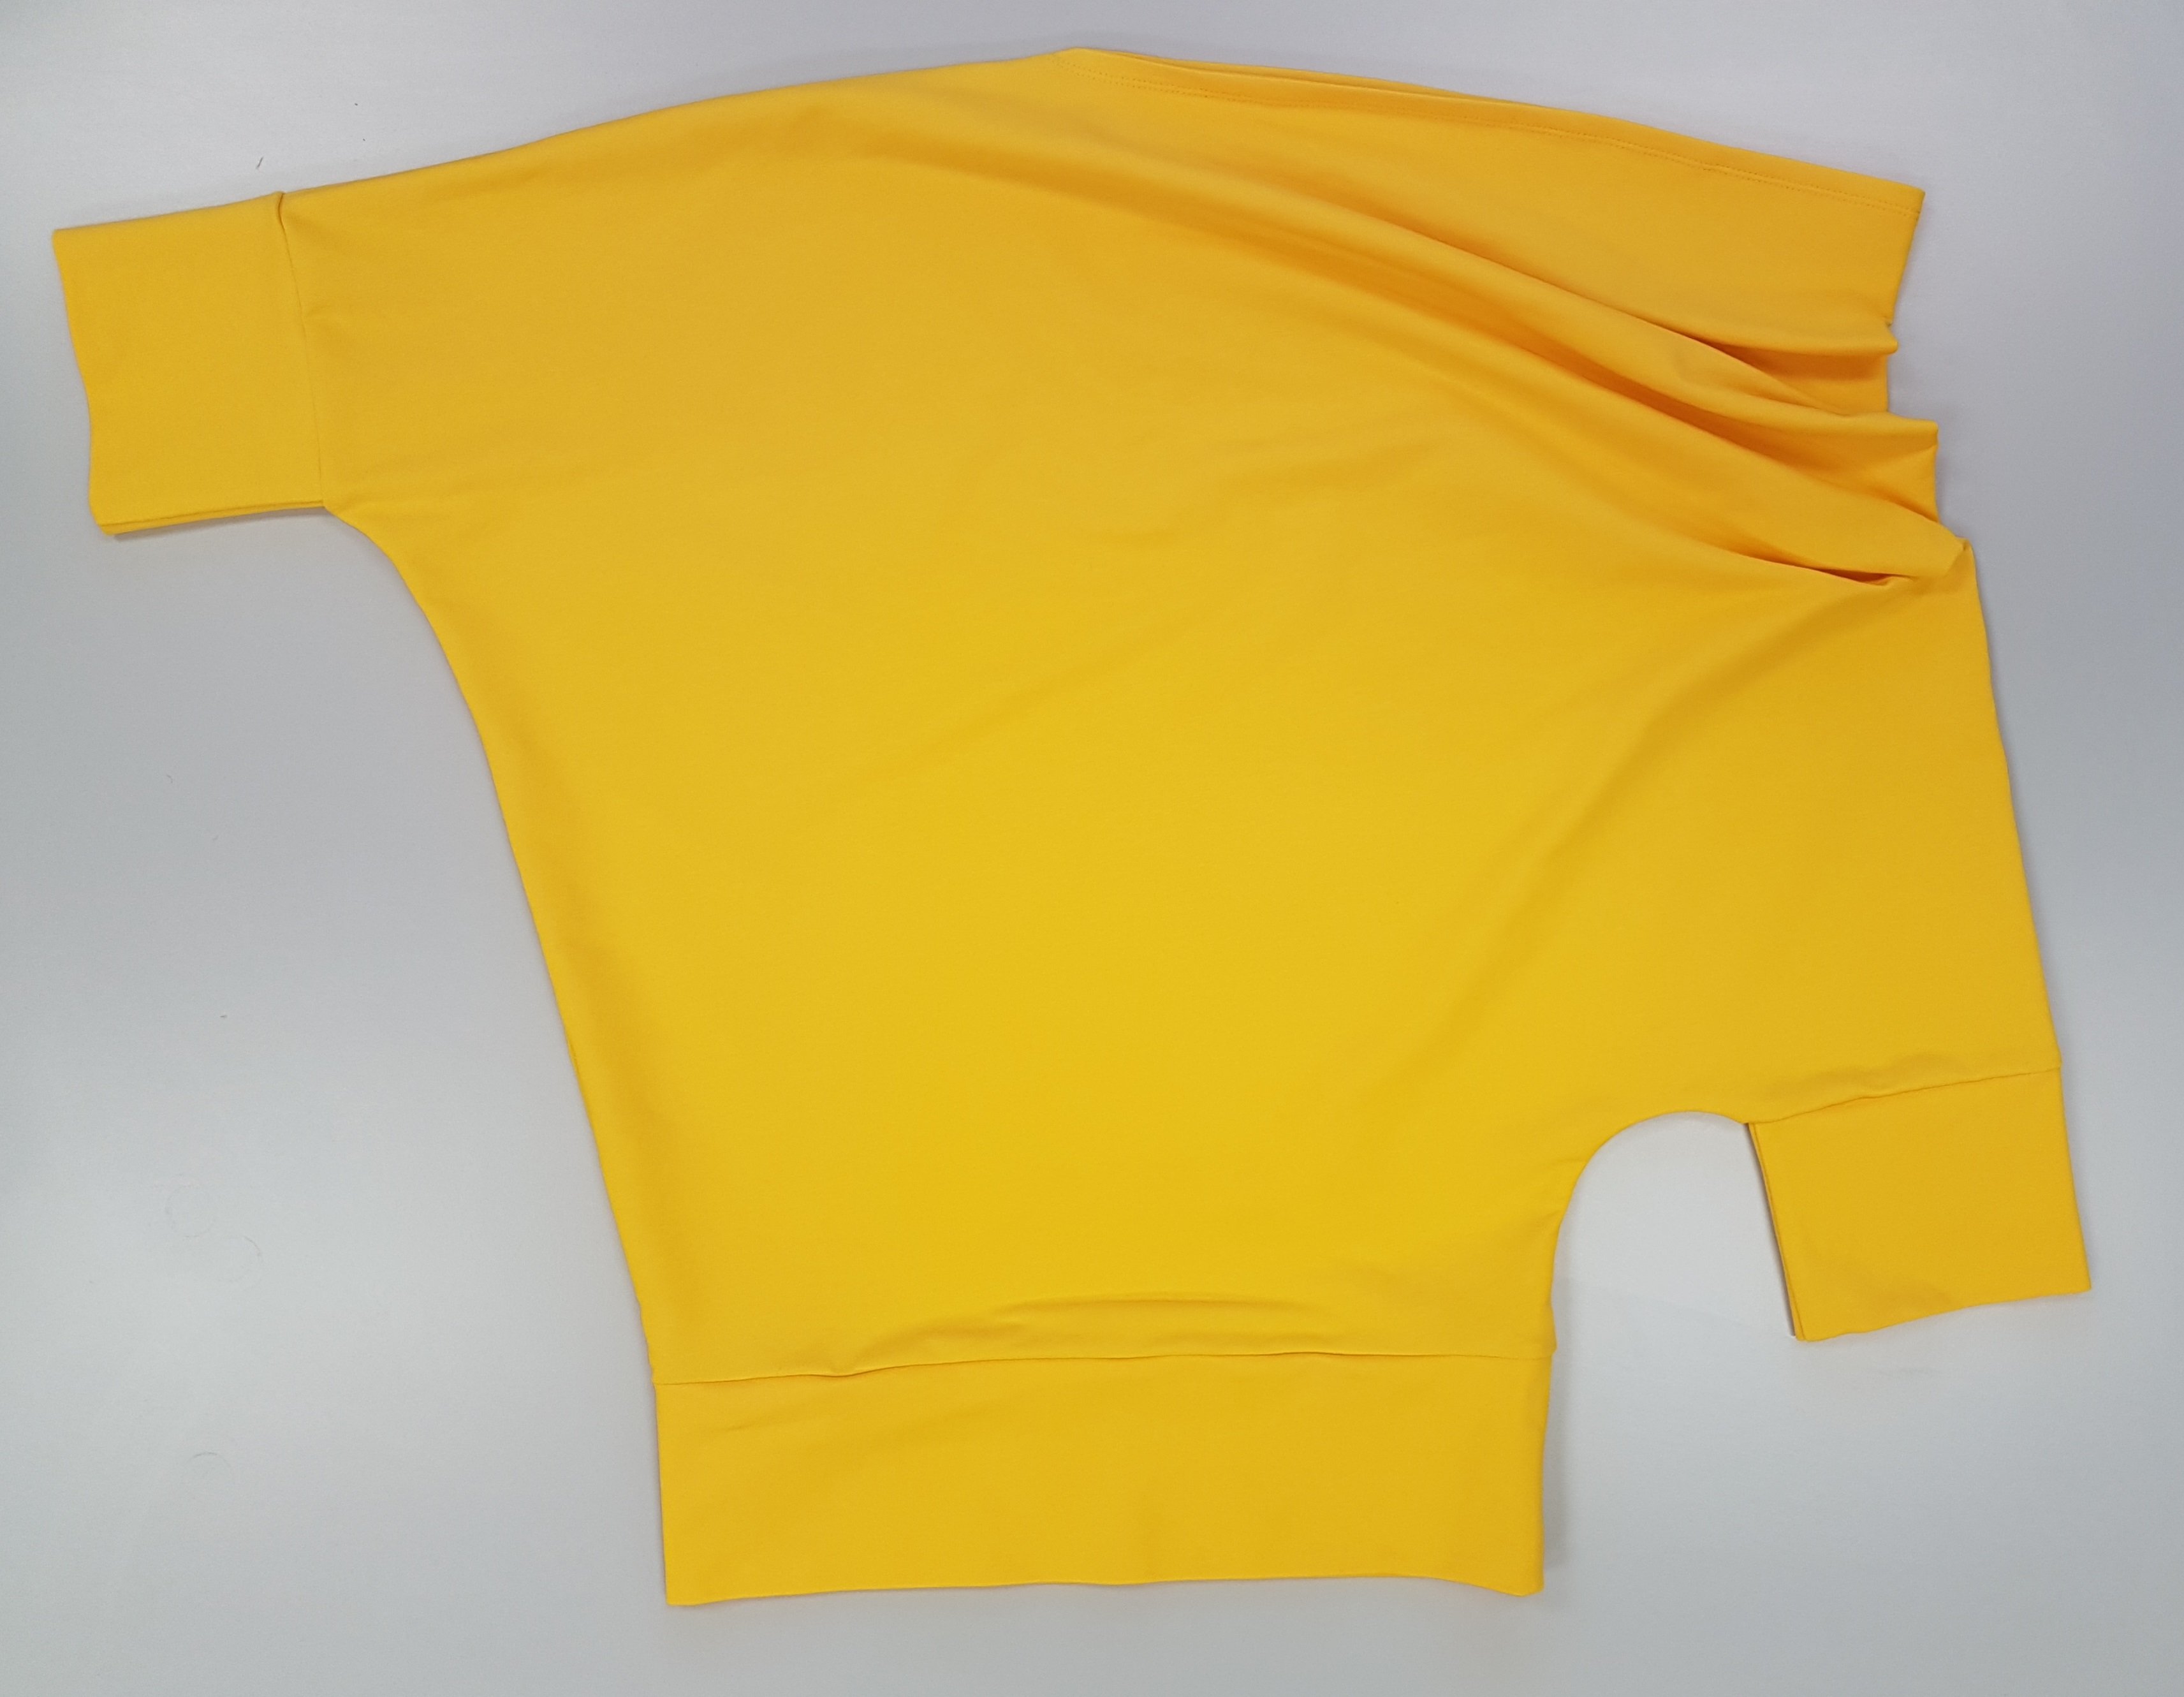
Finished!
Have a look at the youtube-Tutorial:
Have a look at our mybernette Youtube-channel and check out our cool and easy step-by-step tutorials.
We wish you great success in creating your own yellow shirt!
If you like, you can share pictures of your projects in our community section. 🙂
Yours Caro


I love this and I’m excited to work with the patterns
I can’t download the free pattern 🙁
Dear Joanne, it was a broken Link, I updated it and it works now 🙂
Happy sewing!