 BERNINA Corporate Blog -
Dear community,
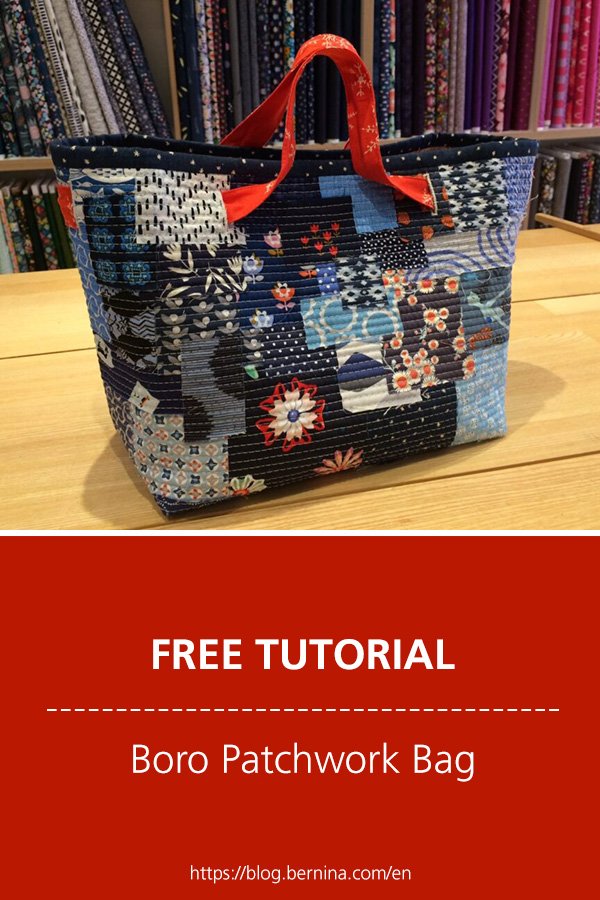
in this blog post you can find easy instructions for sewing a boro patchwork bag.

Welcome to the 13th window of the BERNINA advent calendar with the theme of ‘sustainability’!
As a patchwork enthusiast, my contribution on this subject is the use of fabric remnants. With the amount of material that runs through my hands daily, this means a lot of remnants. I don’t keep all of them, but I would like to give myself – and you as well – a little nudge in the right direction with my contribution to the BERNINA advent calendar!
Boro Patchwork Bag – Gift Wrapping
The Japanese method of recycling fabric remnants is a good example of sustainability. “Derived from the Japanese word “Boroboro”, which means ‘torn’ or ‘repaired’, Boro refers to the practice of repairing textiles (often clothing or bedding) through compositing, darning, or sewing in order to extend their use.” (From ‘Make Your Own Japanese Boro Bag: V&A, https://www.vam.ac.uk/articles/make-your-own-japanese-boro-bag)
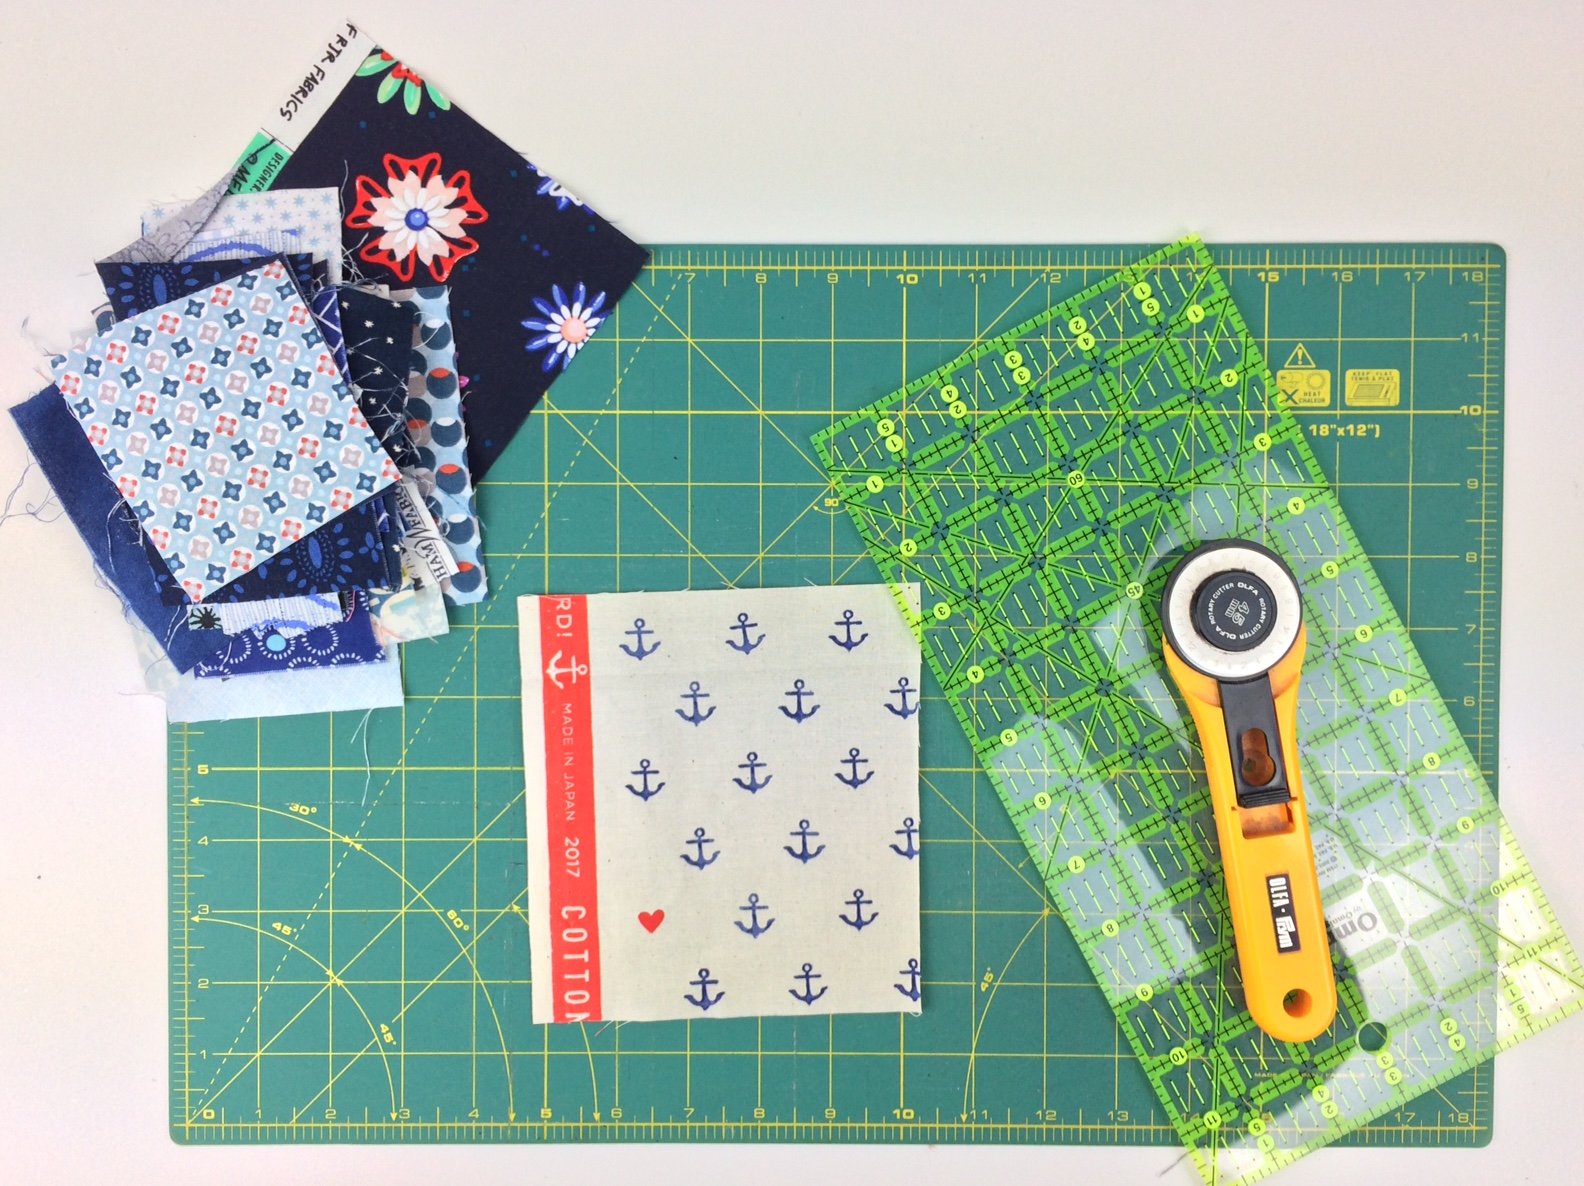
Materials
- Fabric remnants in any size and color for the exterior
- Remnants of compact non-woven liner (such as Freudenberg 279 Cotton Mix) approx. 65 cm x 45 cm
- Larger fabric remnants for the inner lining approx. 65 cm x 45 cm (or comprised of cloth pieces)
- Bias binding for binding the seam allowances
- 2 strips of material 5 cm x 110 cm for the bow
- Spray adhesive or textile glue
Cutting

The boro patchwork bag can be made in any size. It can also be made as a basket or utensil organizer. This tutorial deals more with the cut and style than with the end result. In order to achieve the above dimensions after stitching the seams, the cut of the non-woven liner and the inner lining must initially be somewhat larger. After stitching, trim the surfaces to the specified measurements.
Preparation
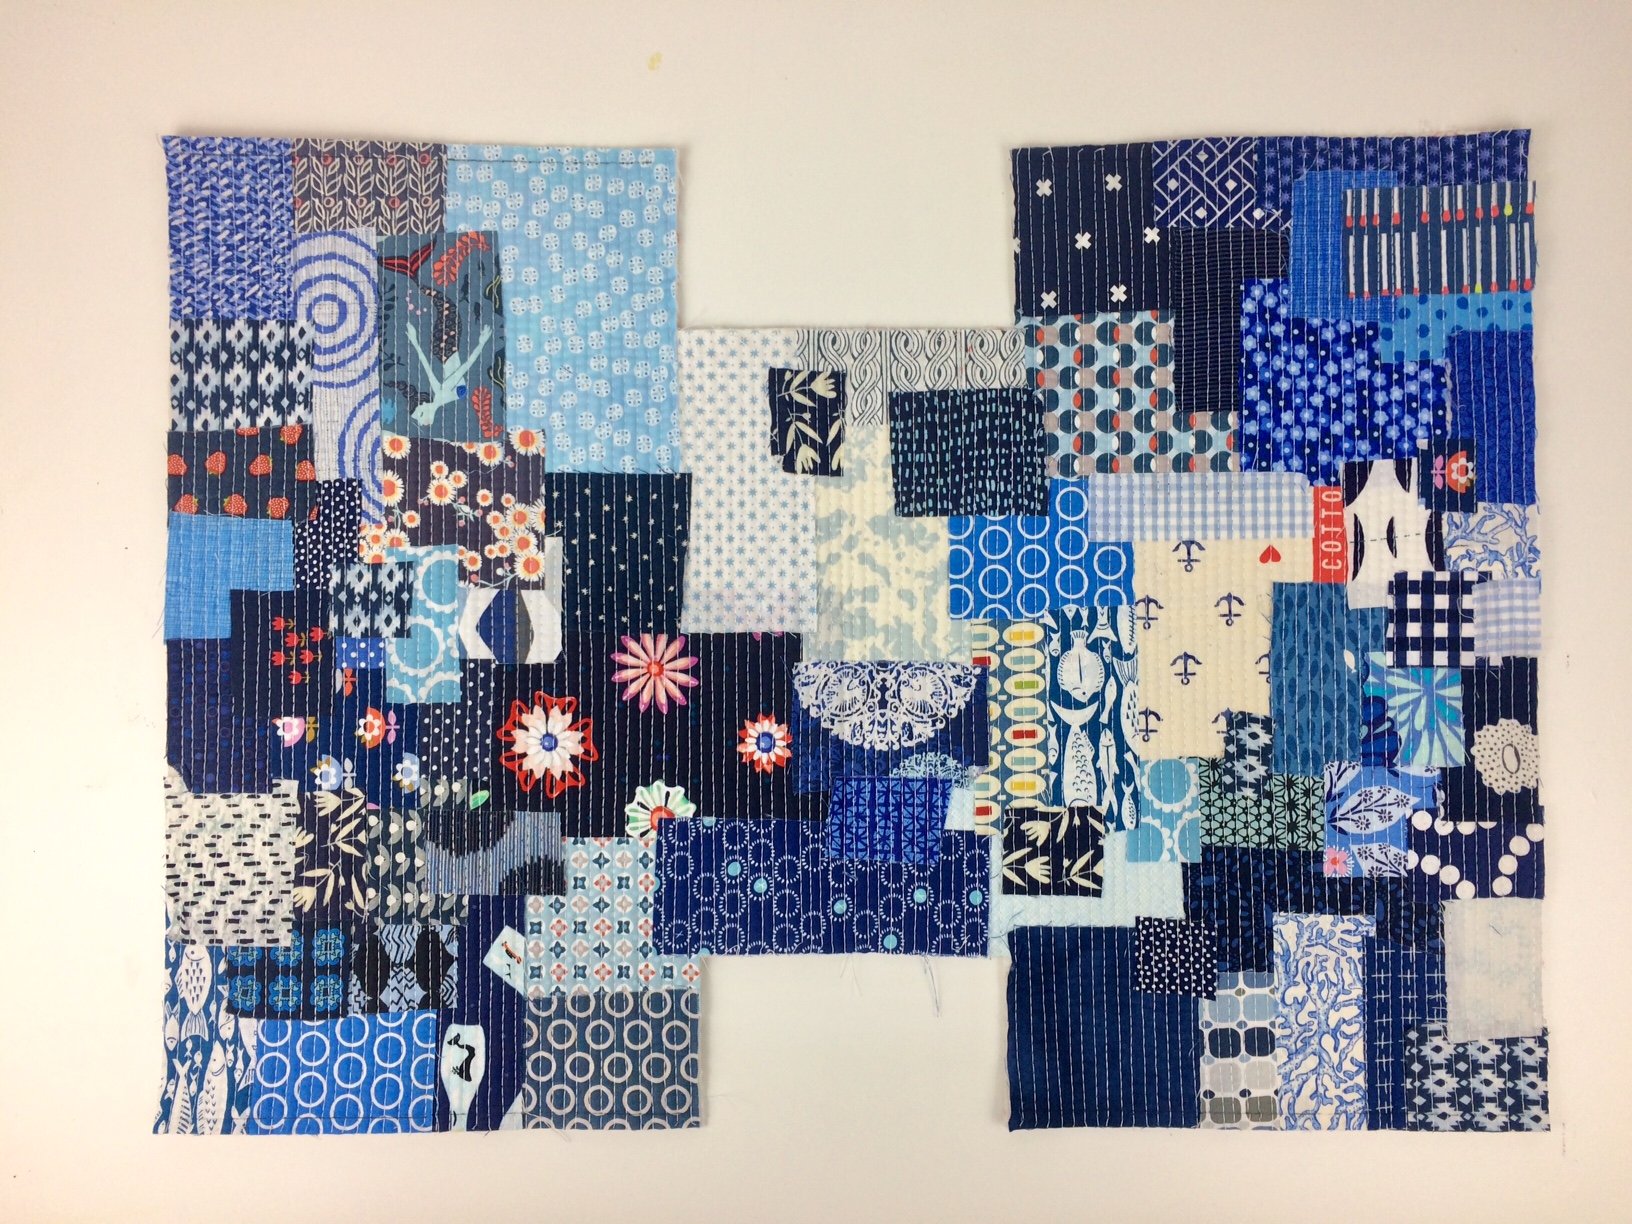
As you can see in the image above, my fabric remnants are frayed. For this reason, I cut them back before working with them.
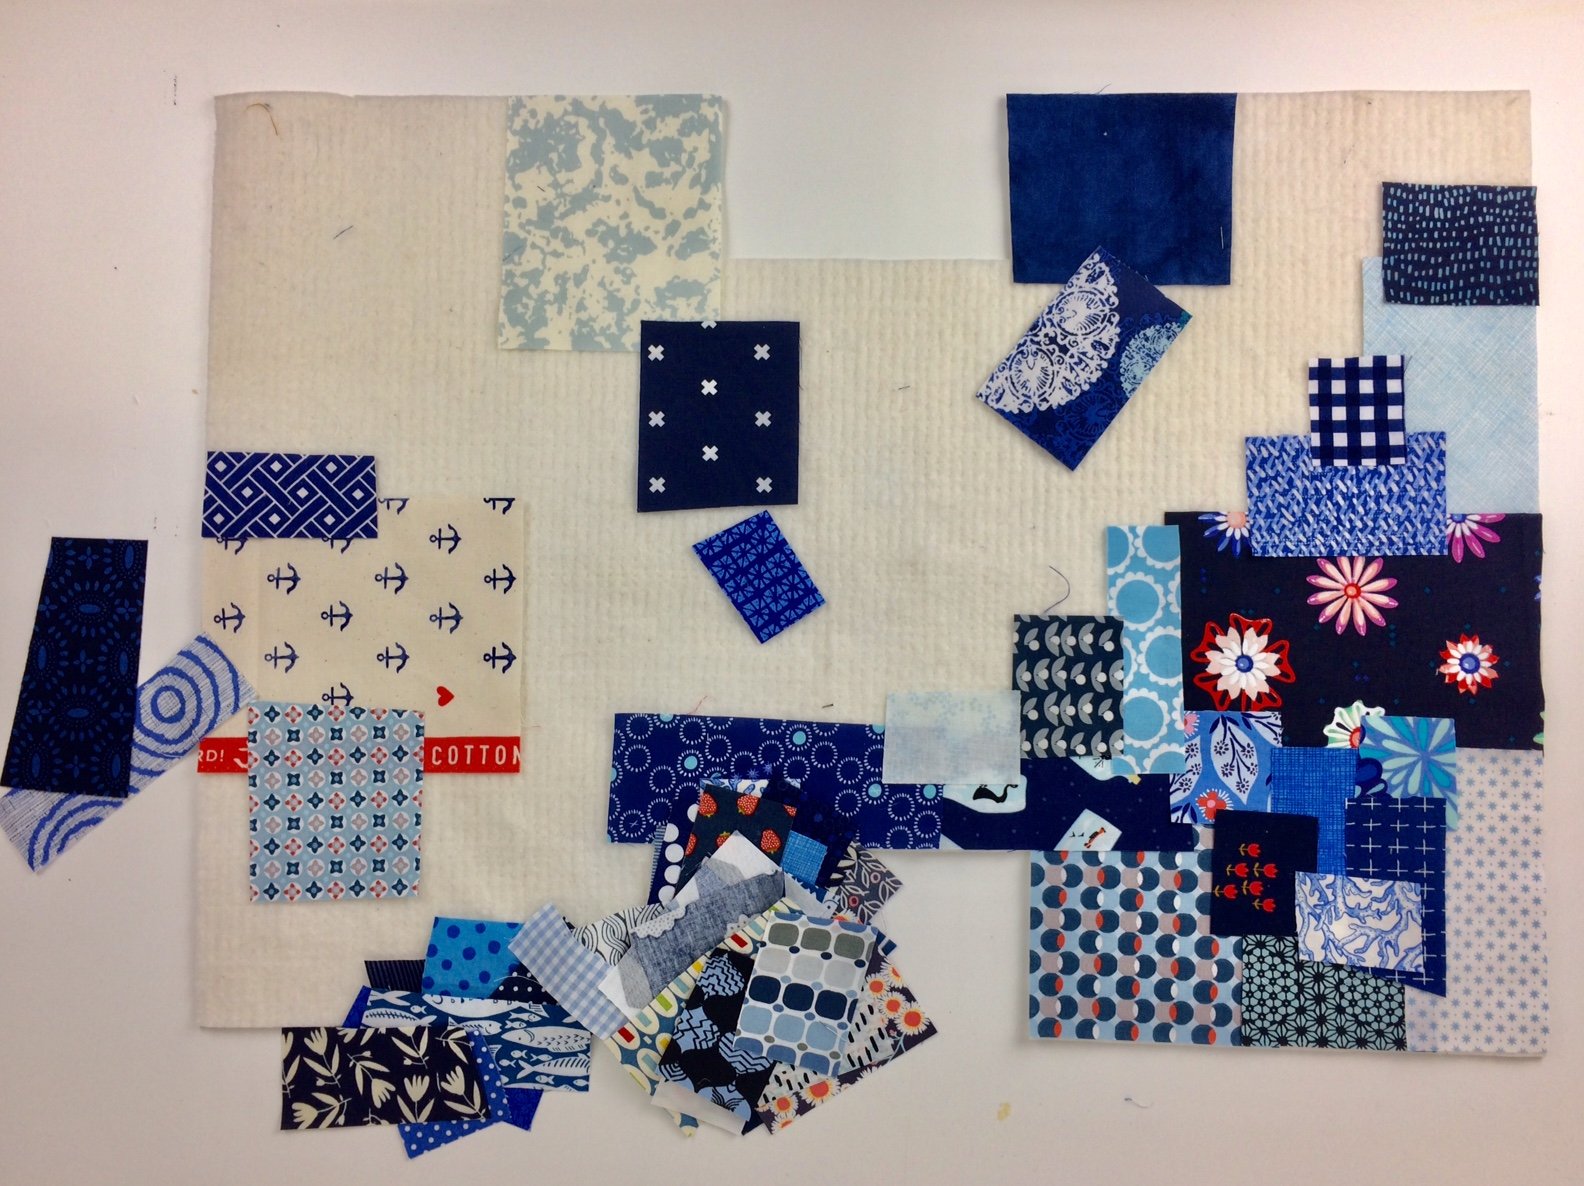
The back side of the roughly cut non-woven liner is sprayed with spray adhesive and glued to the inner lining material. Then, the section is turned and the top side is also sprayed with spray adhesive so that the fabric remnants stay glued together when they are laid out.
The fabric remnants should be laid out so that they generously overlap. Since the spray adhesive only lightly glues the material, you can change the position of the pieces of cloth as often as you need until it is just right.
If you are using textile glue, first place the pieces where you like them and then carefully lift them to glue them together.
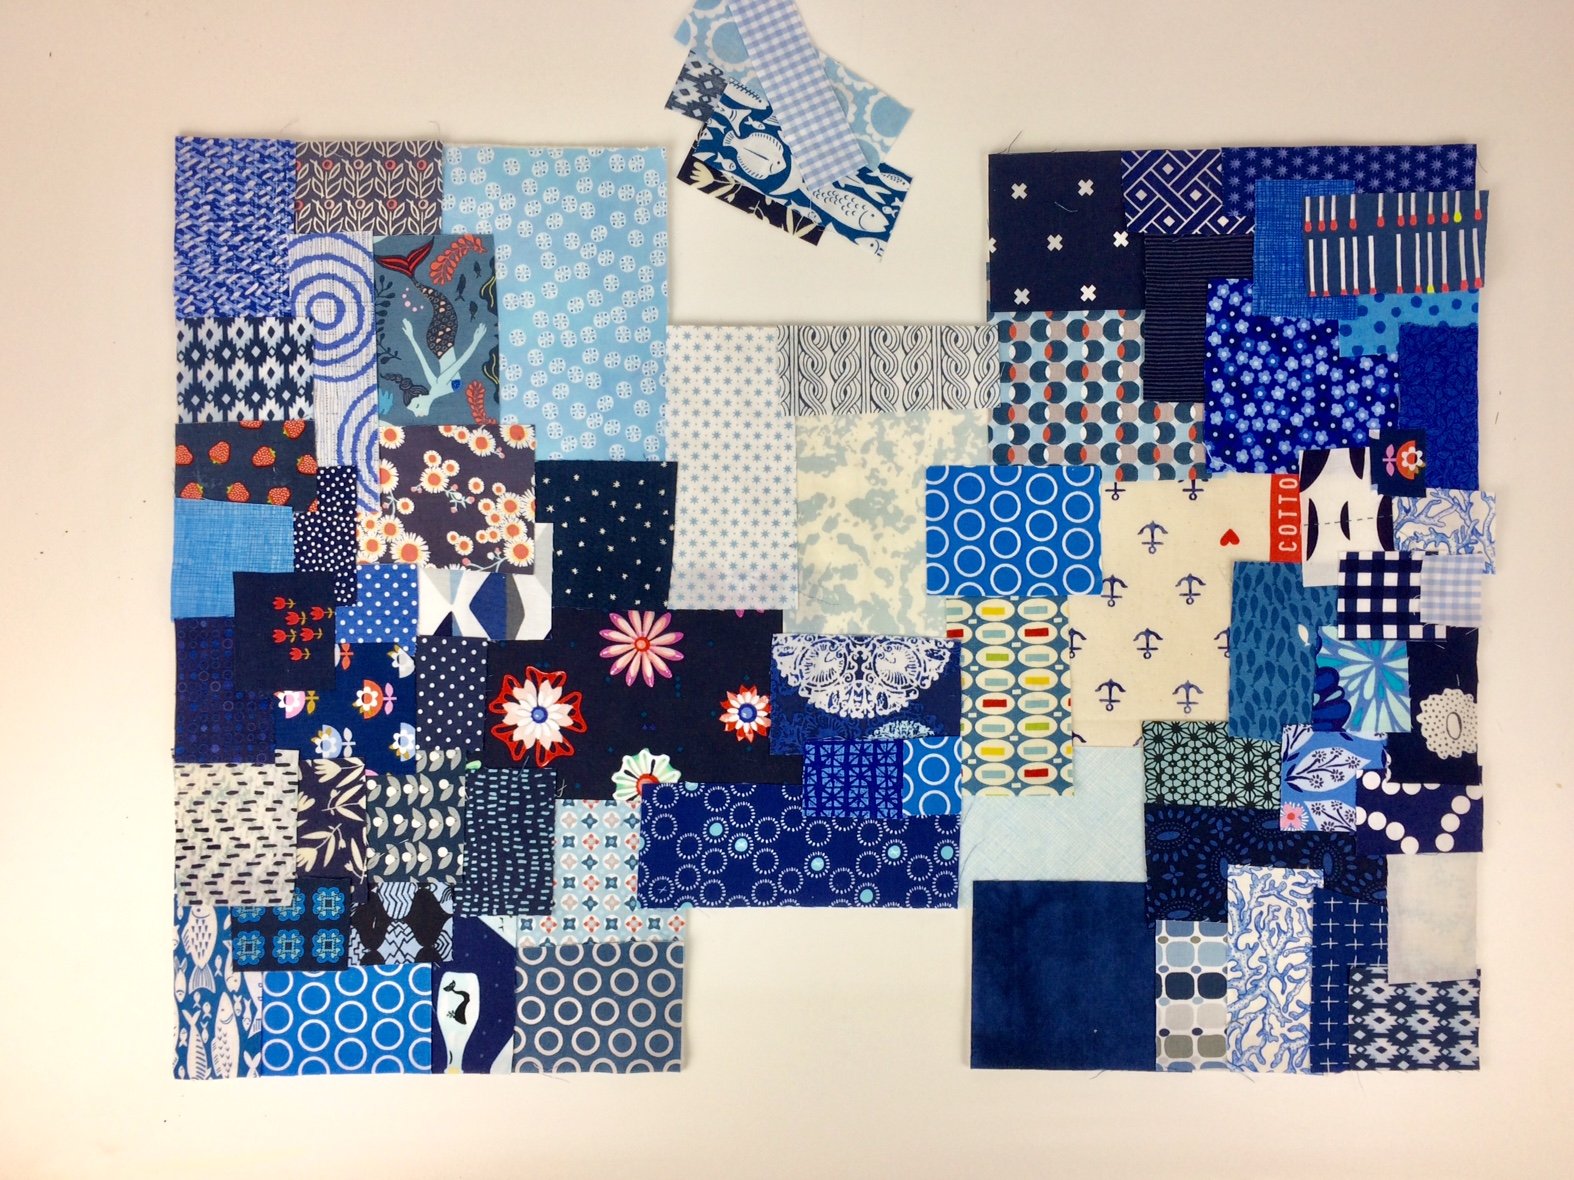
Even here there are still remnants remaining…
Sewing
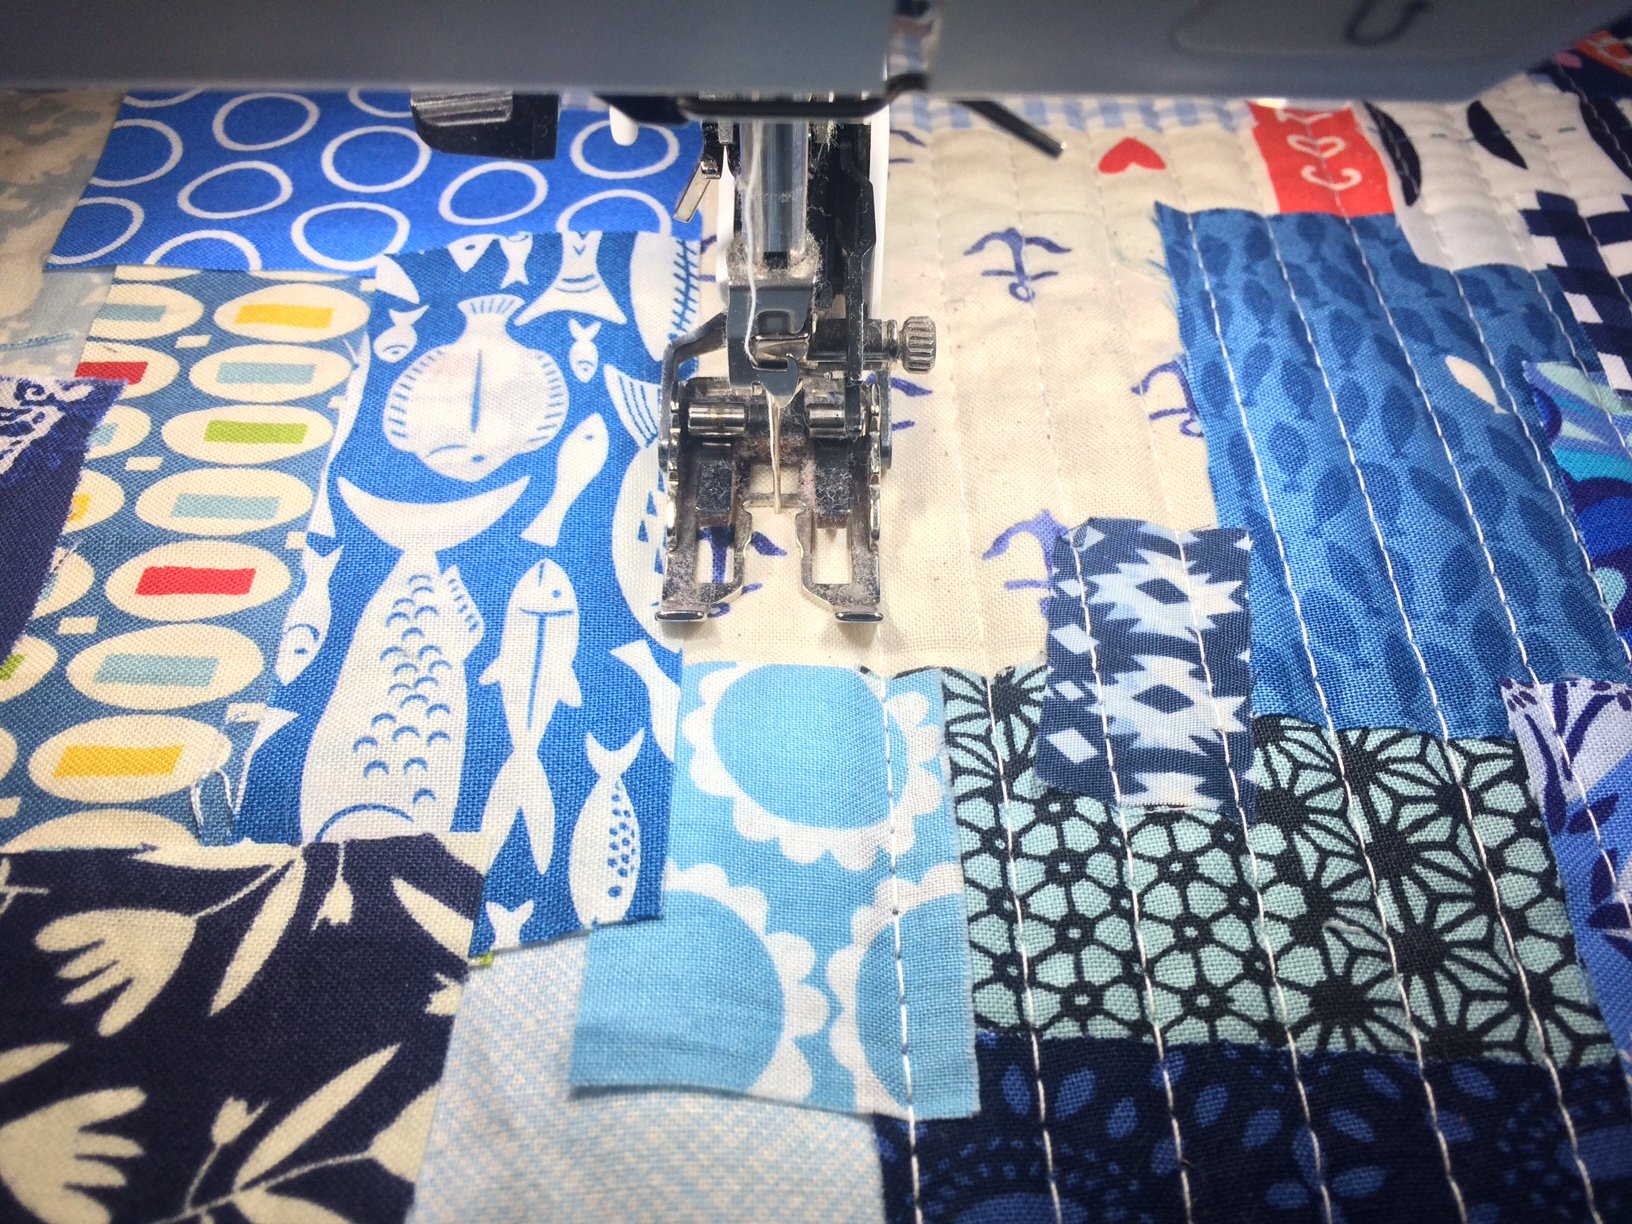
In the original boro sewing method, a white sashiko thread or a pearl yarn no. 8 is used to sew long, rough stitches by hand.
I have opted for the plain lockstitch. The walking foot #50 is ideal for sewing precise stitches with a length of approx. 4.5 mm.
To start, I sewed one line after the other in foot-long intervals across the entire seam. At the end, however, I determined that some pieces of cloth were not ‘fixed’ enough as a result.

Then, I added additional lines in the middle between two stitches.
In spite of the white thread, the individual printed textiles are still wonderfully visible. The material is again a little frayed due to the stitching, but now it has a certain charm to it. Now you can trim the section down to the previously specified measurements.
Binding the Seams
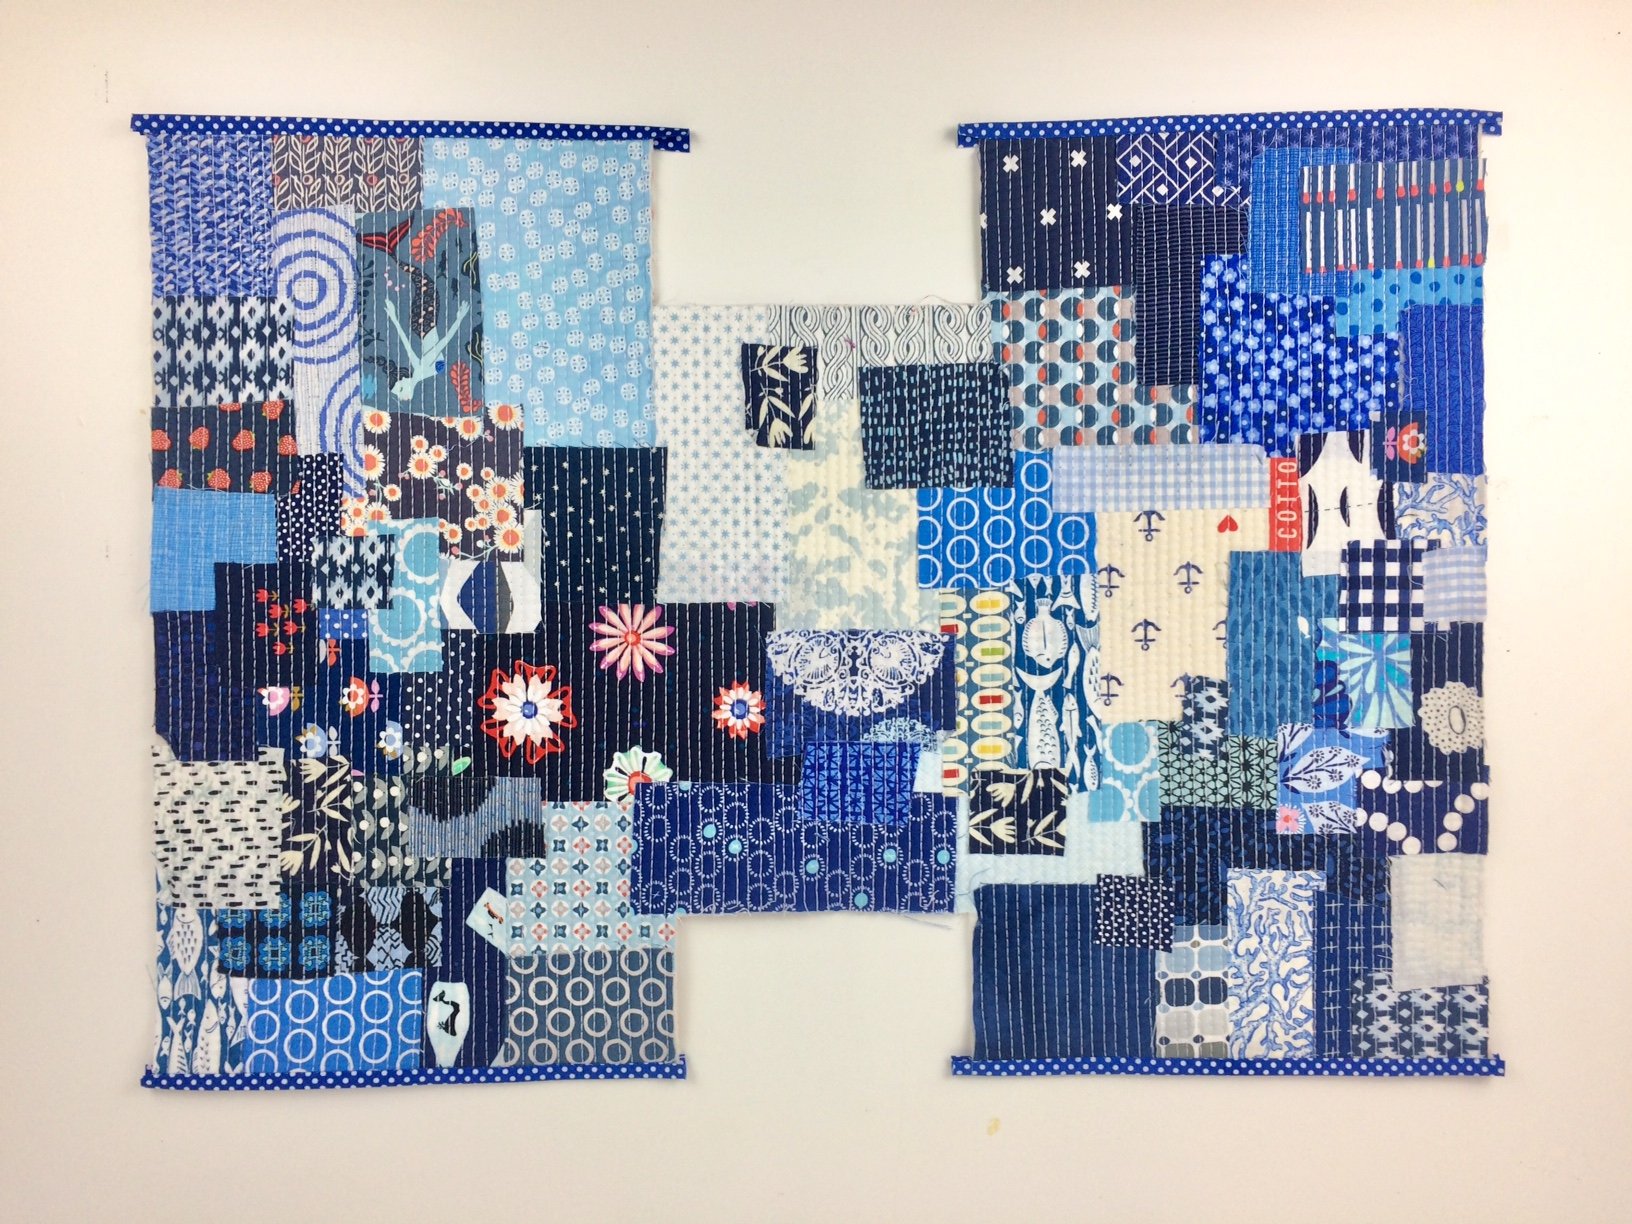
Now you can clean up the side seams with the overlock machine or with a zigzag stitch. I prefer binding it with bias tape. Afterwards, the side seams are closed with a 1 cm seam allowance.

In the next step, the bottom and side seam will be sewn together. I also closed this edge with a bias tape.
Buttonholes for Drawing the Ribbon
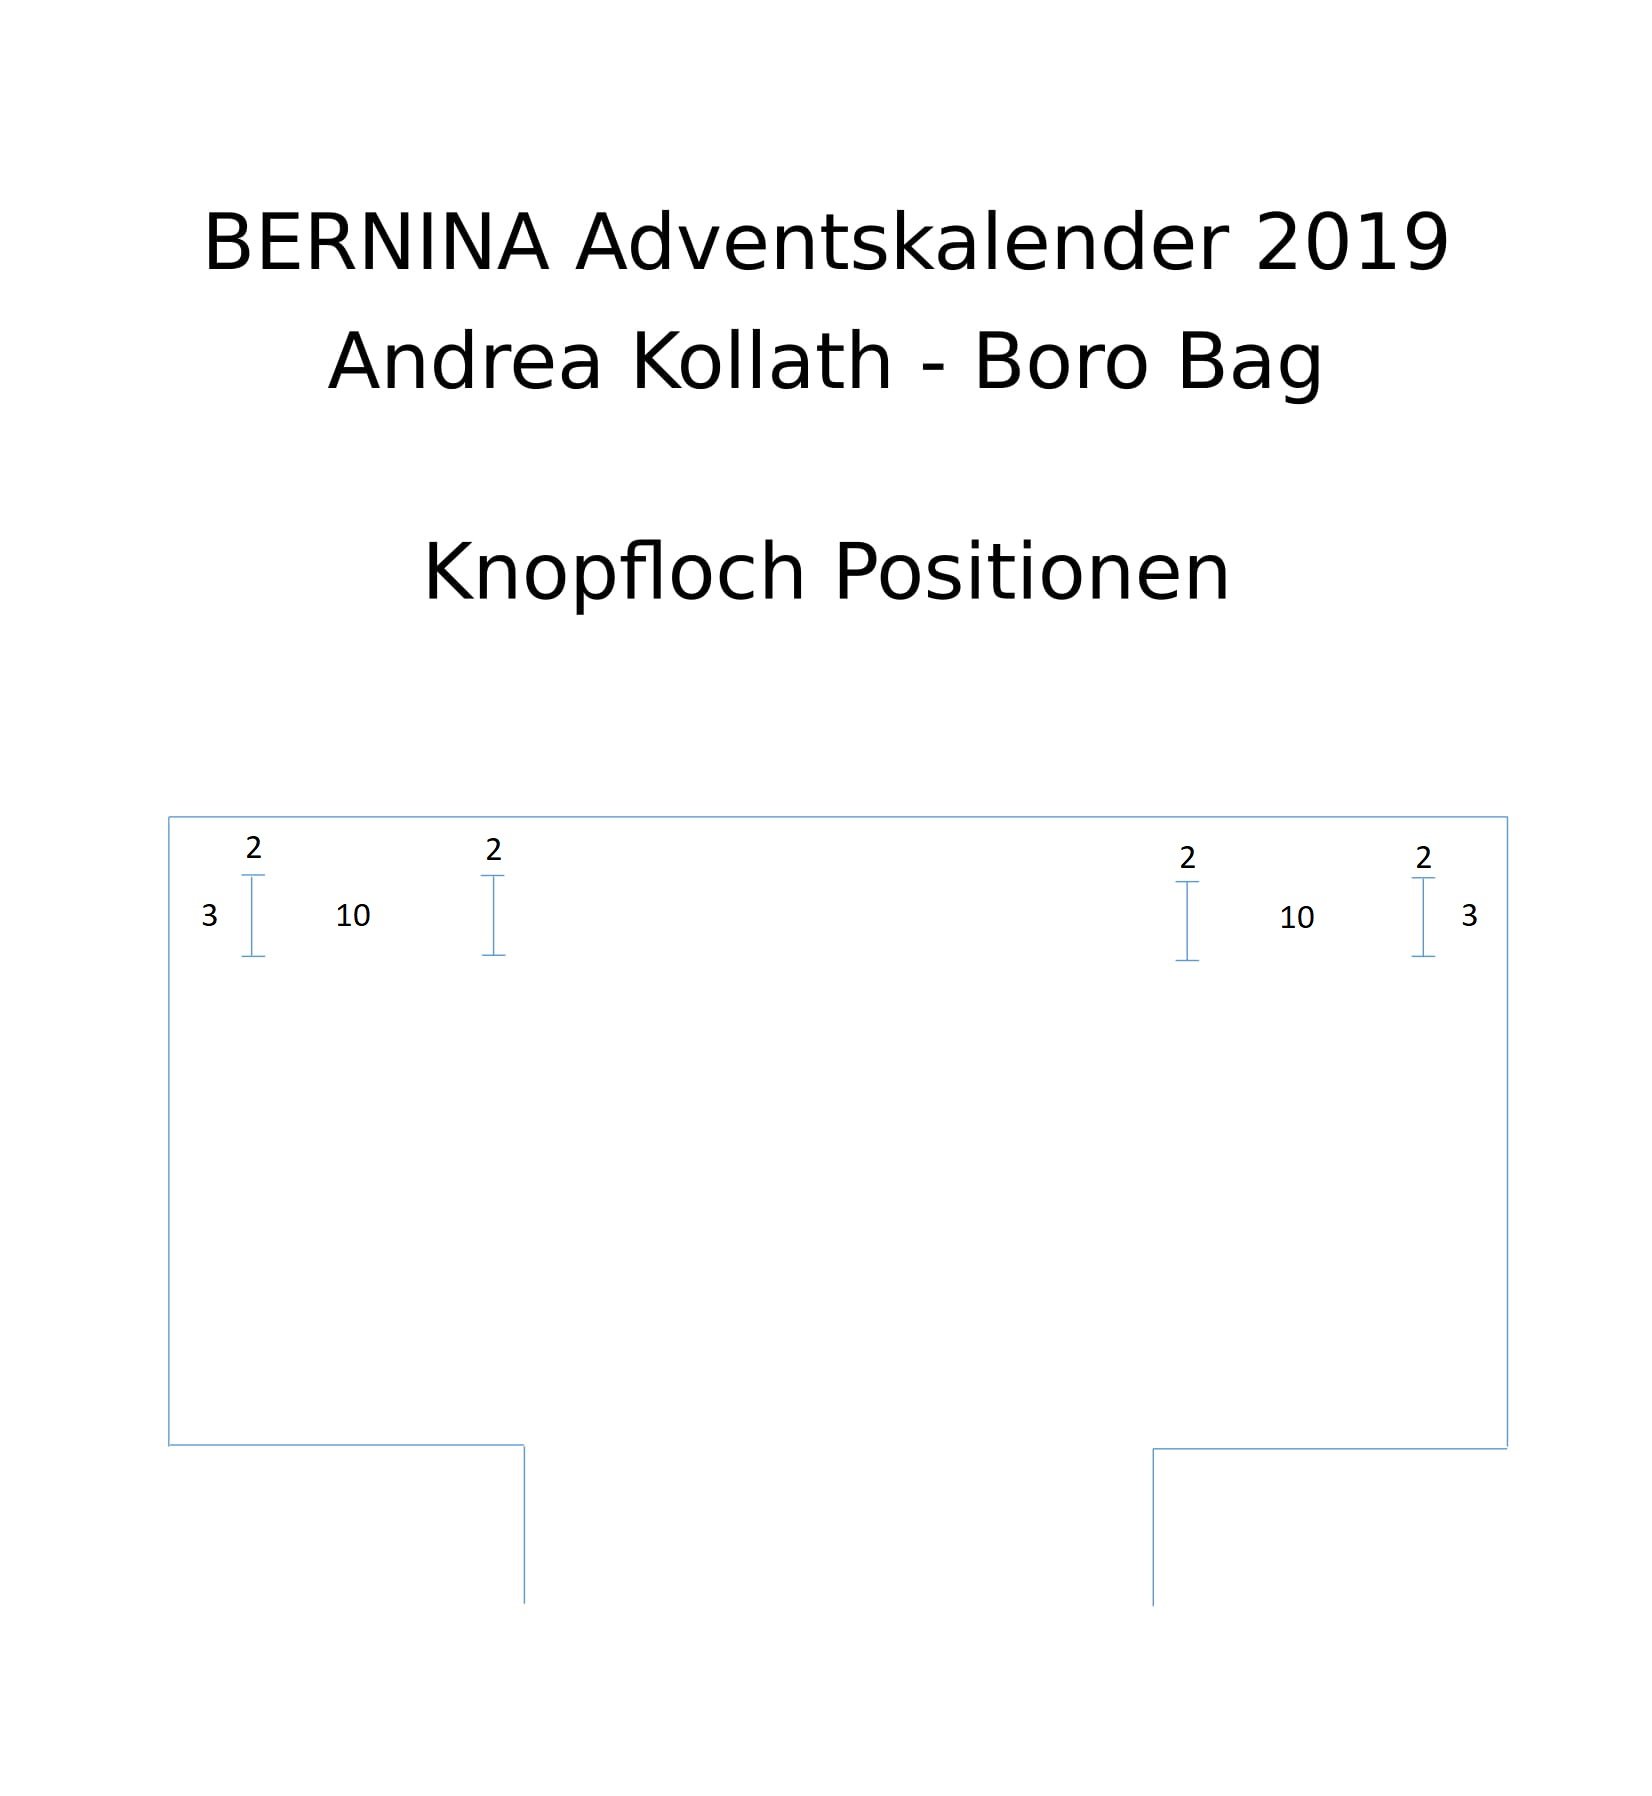
The picture above shows where the buttonholes will be made after you have closed the side seam.
In order to draw the ribbon through the upper part of the boro patchwork bag later, you have to put in buttonholes. You can also do this before sewing together the side seams, but then the gap between the buttonhole directly beside the side seam will change by 1 cm to 4 cm, instead of as shown in the illustration above, which is 3 cm!
I sewed my buttonholes with the automatic buttonhole foot #3A. The buttonholes have a length of 3 cm.
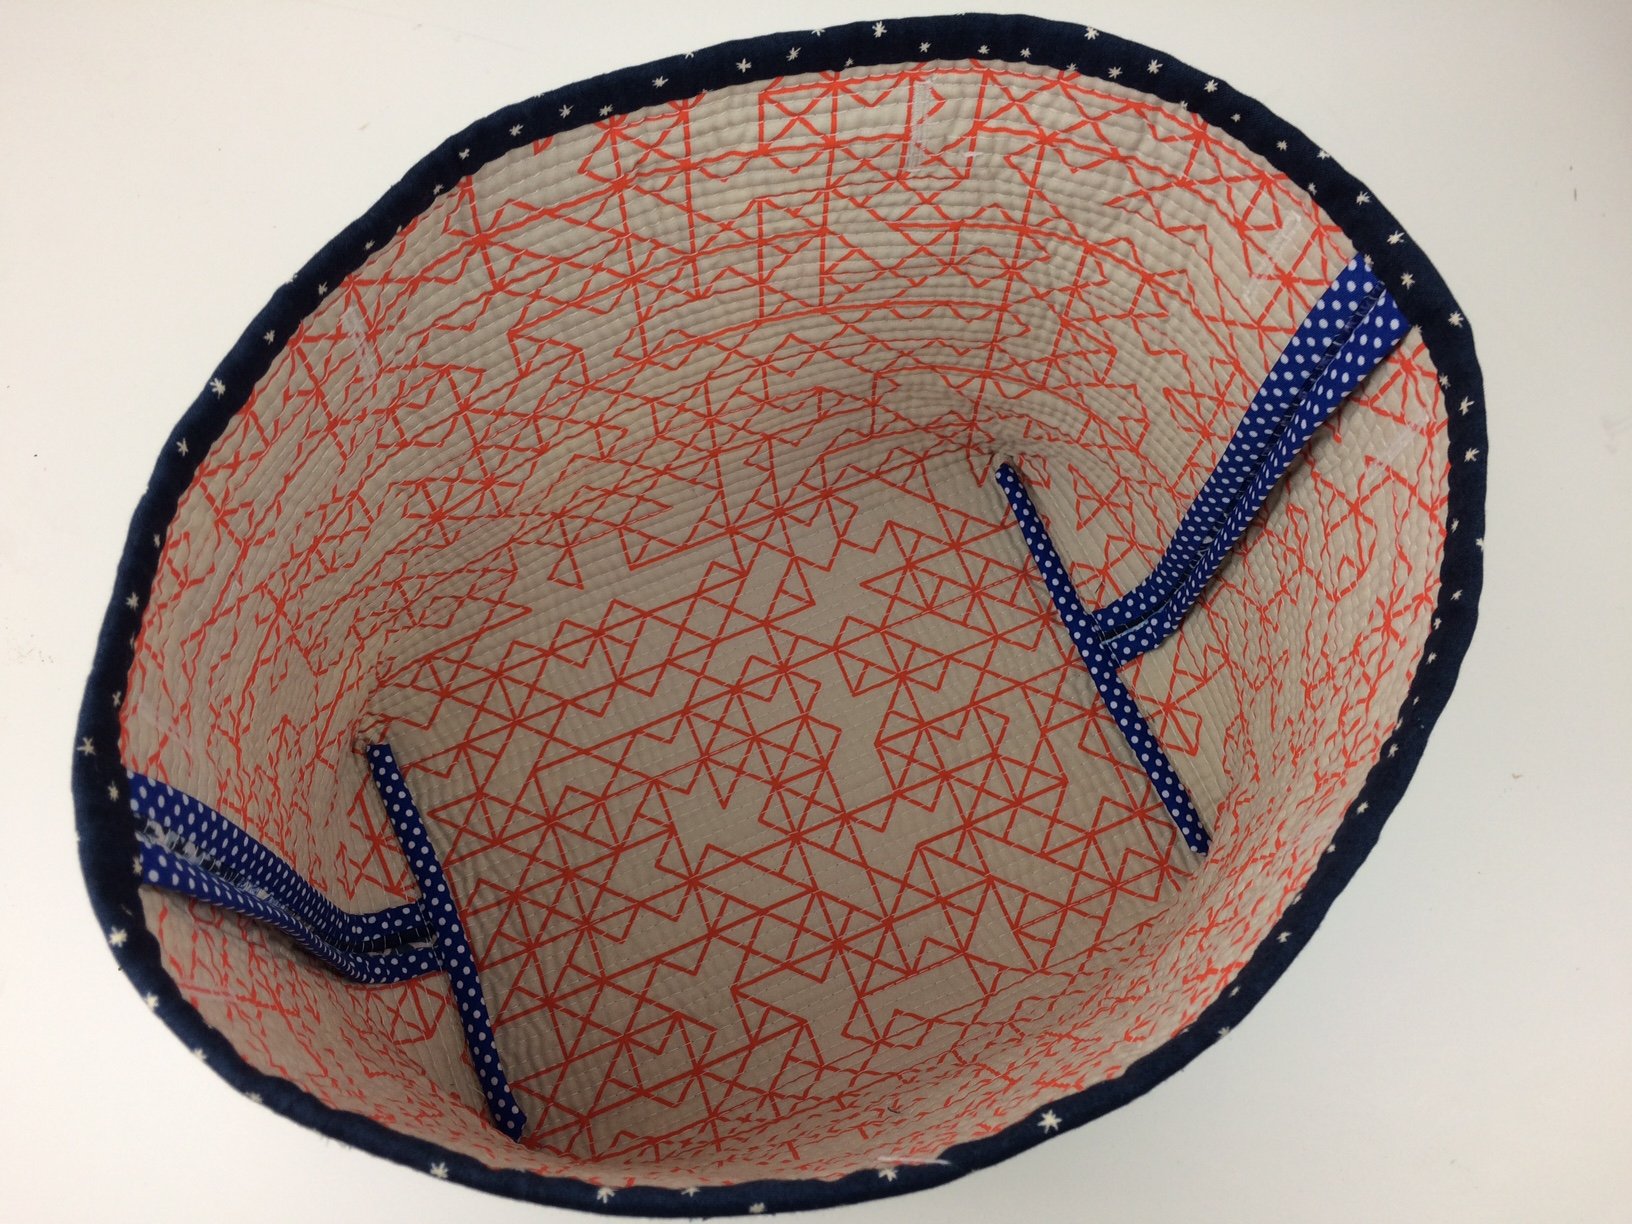
In the last step, I have cleaned up the upper edge of the boro patchwork bag with a diagonal stitch.
The bag has a good shape due to the compact non-woven lining, the inner lining, and the many small pieces of material on the exterior.
Sewing the Band
For the band I have ironed a strip of material onto the long edge towards the middle. Then I put both strips on the respective ends, aligned the strips along the long side, and stitched them together with a top stitch.
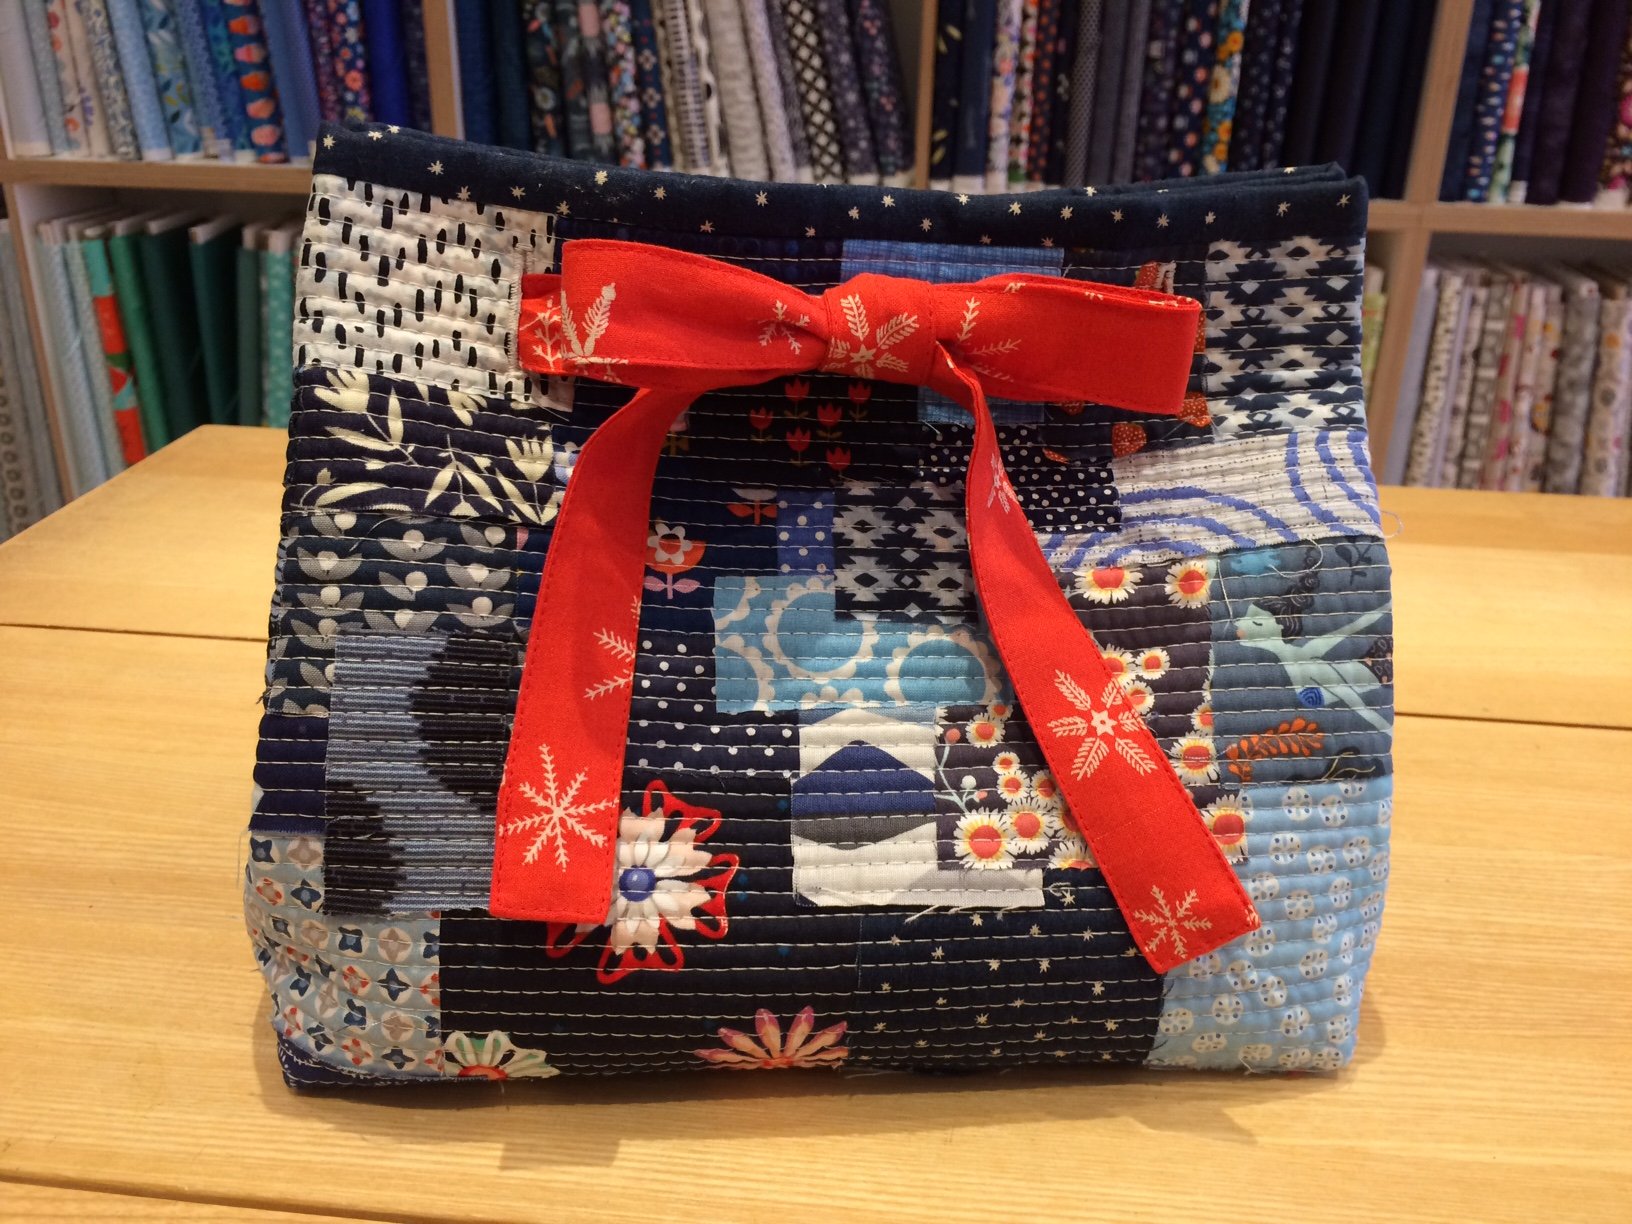
You can now use the boro patchwork bag as gift packaging…
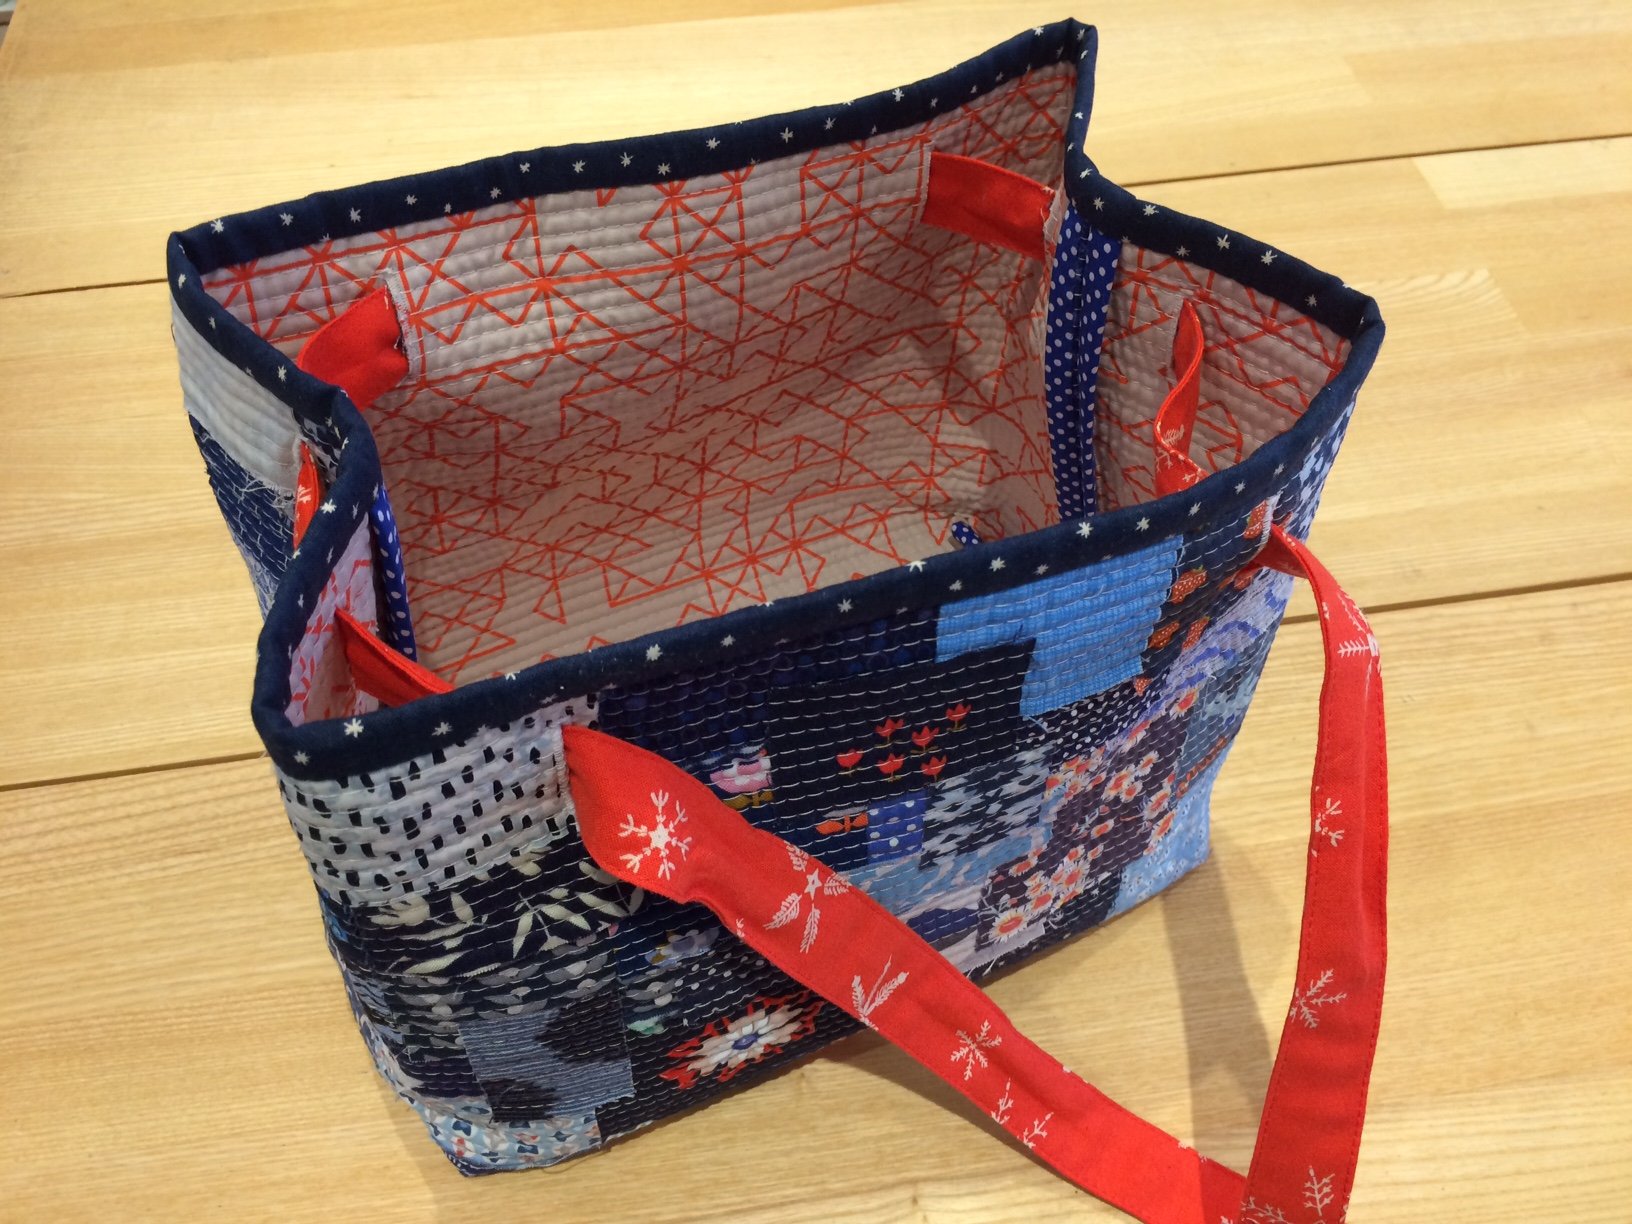
or use it as a utensil holder for knitting items, …
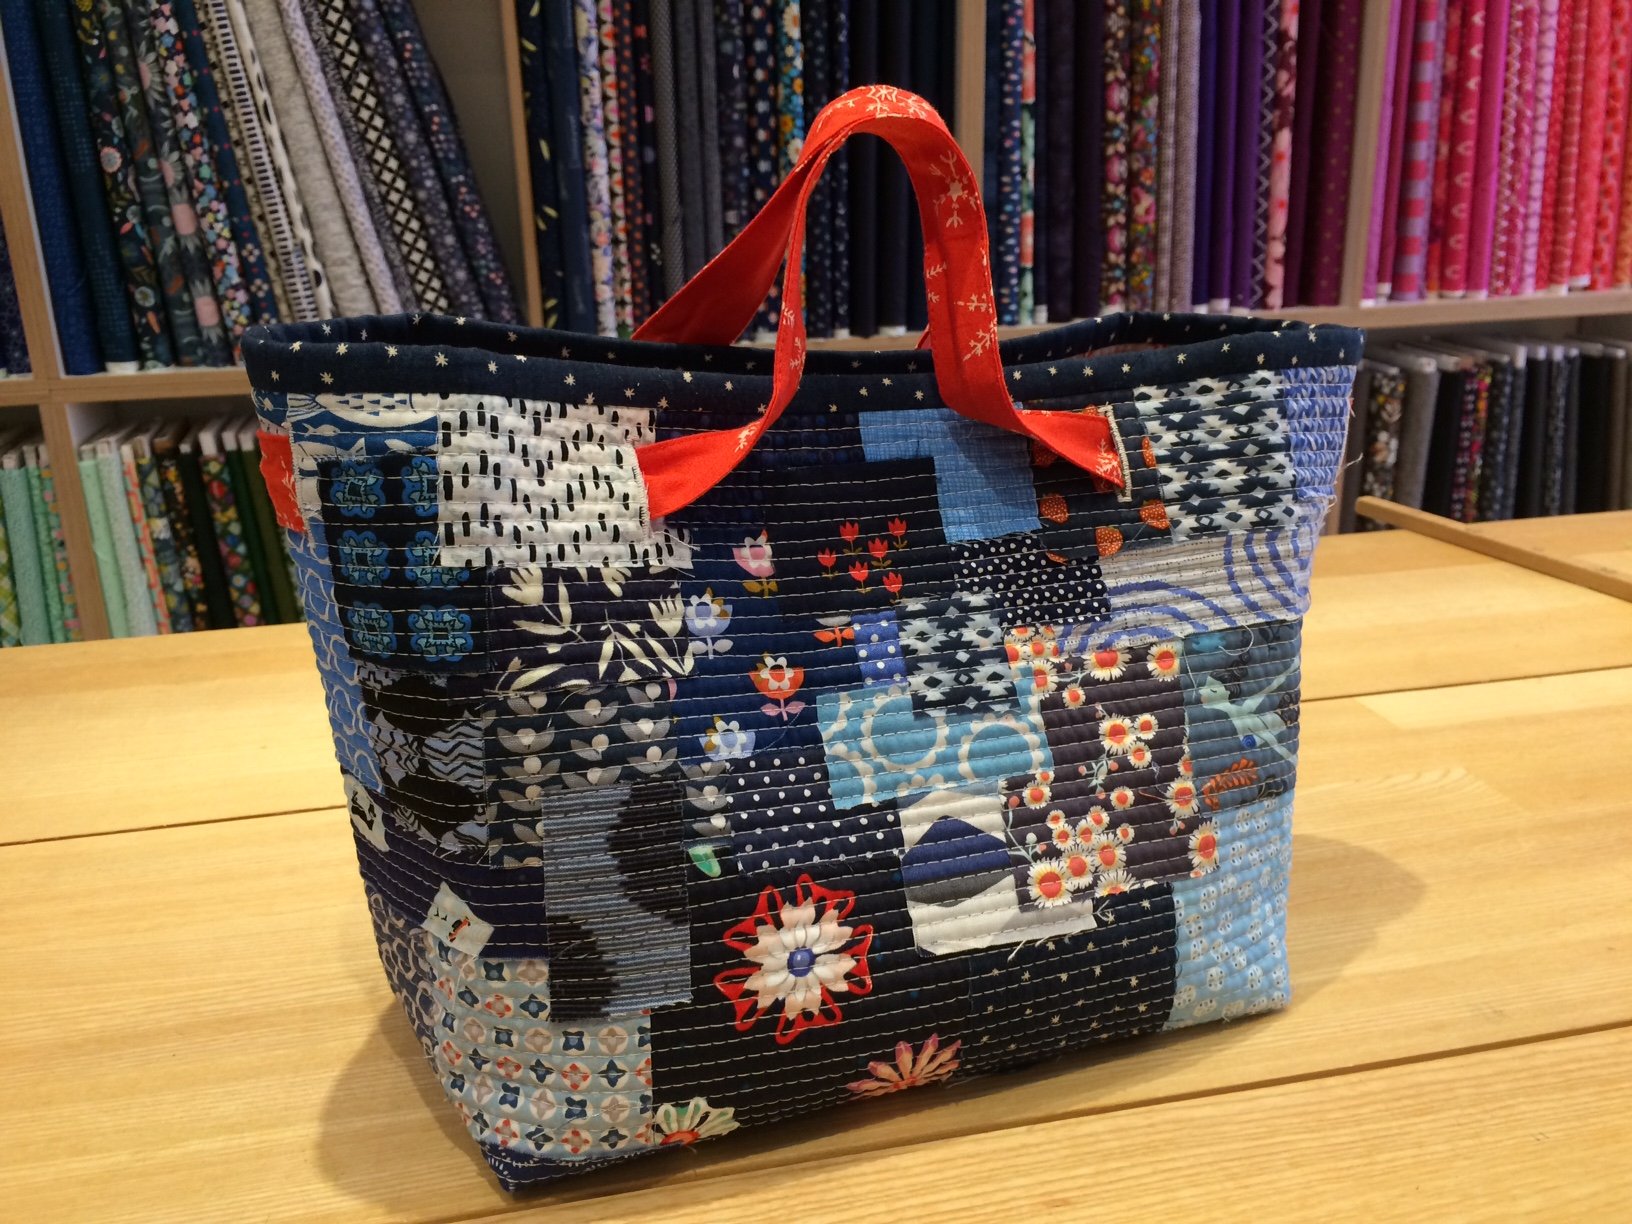
…or, if you sew the ribbon together, you can even use the boro patchwork bag as a proper bag!
Wishing you a Merry Christmas and a Happy New Year 2020!


I’m not really understanding the expression diagonal stich, is it zig zag on the machine or a hand stitch. I love both the concept and the look of the bag and can’t wait to start on it. Thank you for the tutorial.
Dear Dorothy,
I just checked the original Post on the German Blog, and it seems there is a translation mistake. Since bias tape is called “Schrägband” and “schräg” means “not straight”, it could have been translated to “diagonal”. Anyhow, I have adjusted the translation. She did not use a diagonal stitch, she just said that she binded the edges with bias tape 🙂
Kind regards, Ramona
joli modèle , bon déroulement de la technique merci pour cette nouvelle création.
I loved your blog and thanks for publishing this content about boro patchwork bag gift wrapping!! I am really happy to come across this exceptionally well written content. I like how you have researched and presented these exact points so clearly. Thanks for sharing and look for more in future!!You must also check out Printstocknz.com it has some great insights too.
Great gift idea
Thanks, Sally!
Hope you will sew this Boro Bag 🙂
Wish you a wonderful christmas time.
Andrea
Hi! I want to try this! Can you explain what the non woven matierial that is used for the base. Is it batting?
Thank you
alyson
Yes, it’s a Cotton based batting 🙂