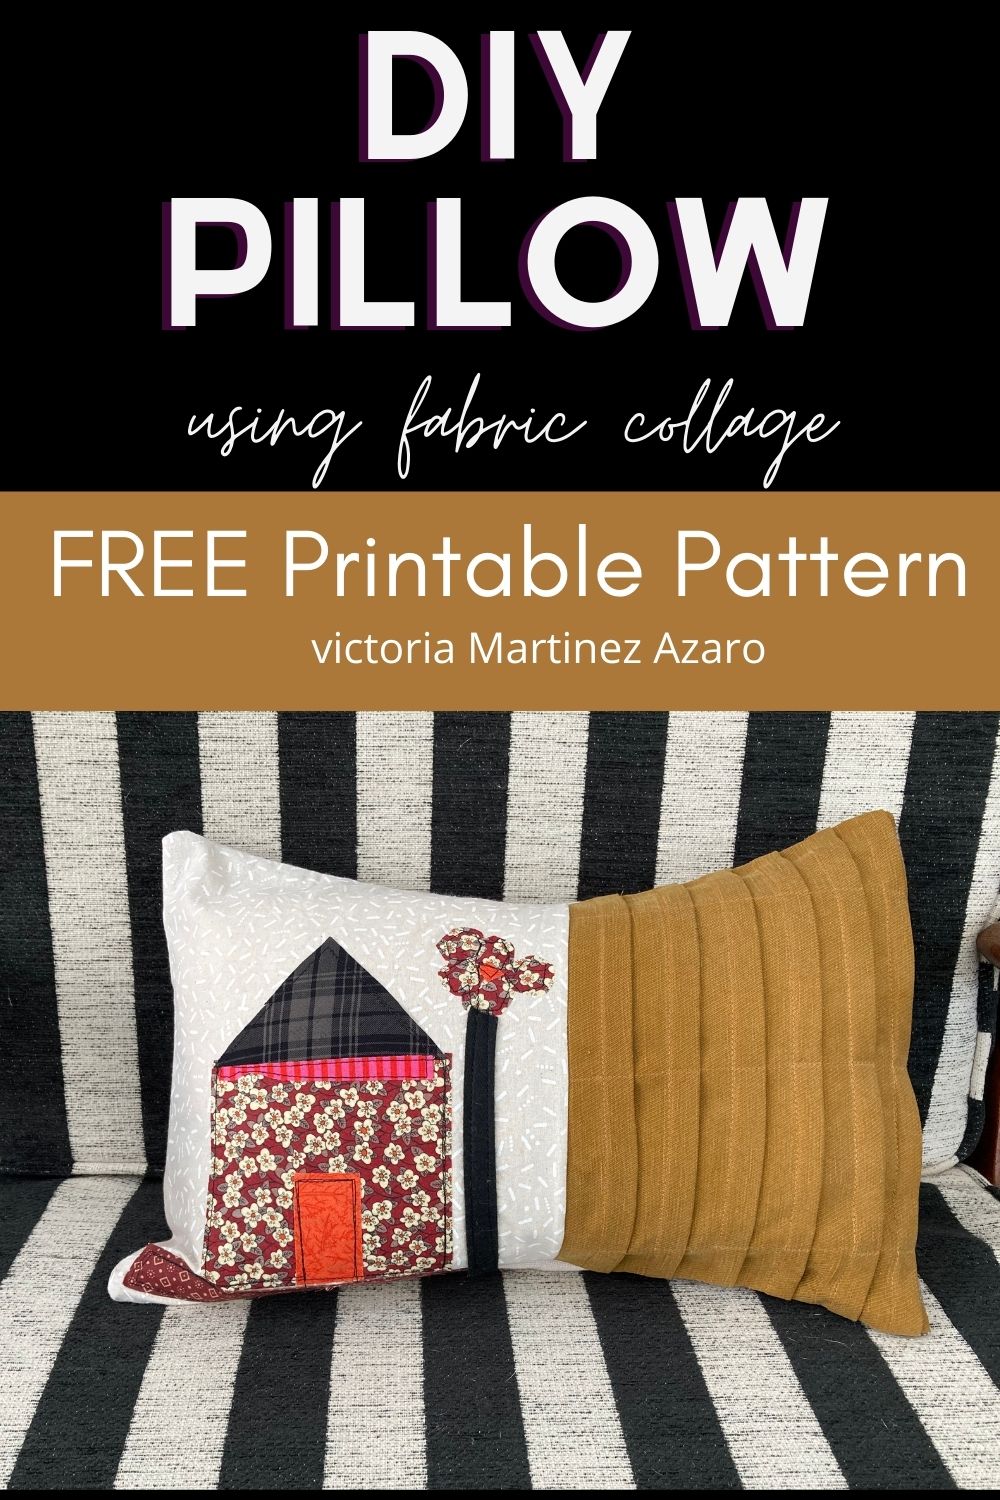
How can you turn a little fabric collage into a unique looking pillow?
For the last few months I have been sharing how to repurpose and upcycle fabric scraps and turn them into special items and gifts. These are special little objects that mean something, they have a story behind them and they carry meaning.
On my last blog post I shared with you how to make a fabric collage using fabric scraps. In this post I will show you how you can turn that fabric collage into a beautiful pillow just by adding an extra panel of fabric manipulation.
What is fabric manipulation?
Fabric manipulation techniques are ways to change the look and feel of a piece of cloth through the assistance of a threaded needle. Different kinds of fabric manipulation include:
- quilting
- pleating
- stuffing
- smocking
- tucking
- cording
- ruffles
There are many ways to manipulate fabric and I love playing with all of the above techniques to enhance and create interest in my fabric scraps. In this tutorial I will focus on tucking. I will create spaced tucks and I will then top stitch them in an undulated fashion.
Make a DIY Pillow using fabric collage tutorial
Materials and equipment:
- Sewing machine (I use a Bernina 475 QE)
- Fabric collage – Read tutorial here
- Sewing thread
- Cutting mat
- Rotary cutter
- Fabric scissors
- Taylor’s chalk
- Pillow insert to fit pillow size
Step 1:
The starting point for this tutorial is the fabric collage that was created following my tutorial on how to make a fabric collage. Read the tutorial here.
I have chosen to create a little house as a fabric collage because I wanted to re create my idea of an ideal little home 🙂 However, you can create a collage based on many other things. If you want to check out other fabric collage ideas and free patterns head here.
Gather some extra fabric scraps that you may have from previous projects. Other fabric options include old clothes, old linen or baby/kids clothes that may carry a special meaning for you. In this case I am using left over fabric from a tailoring project which means that some of the fabric has been fused. This is not a problem because in fabric collage there are no rules and we can make any fabric work 🙂
I have chosen a viscose mustard color fabric to manipulate. I will sew tucks into this piece of fabric to create some extra interest and sophistication.
Place the fabric side by side with your fabric collage. Decide on the dimensions that you want your pillow to be. I want my pillow to end up as a rectangle so I have cut a piece of fabric that is double the width of my fabric collage. Sewing the tucks will reduce this piece a lot.
Step 2:
Place your fabric on the cutting board. Using a tailors chalk create vertical lines which are 1 inch apart.
With your scissors cut the tips of the lines. These are your notches which will help you fold the tucks in place.
Your piece of fabric should look like the photo below by the time the lines are marked.
Step 3:
Fold the lines so that they are touching each other. Pin in place. I like to use 3 pins for each tuck to make sure that the fabric wont move.
Sew the tucks using a plain regular stitch.
Once you finish tucking the fabric, make sure you like the dimensions of it. It is always a bit tricky to visualize the end results ahead of time.
PRO TIP: You can always create a pattern for the tucks in paper. You can fold the tucks and you will clearly get an exact idea of how much the fabric will reduce.
Step 4:
Press the tucks so that they look crisp 🙂
The next step is to divide the piece of tucked fabric into 3 sections. Mark the lines with tailor’s chalk.
Sew through those lines with your sewing machine.
This is how the tucks will look like once they have been sewn on top.
Step 5:
Place the tucked fabric on top of the fabric collage with right sides touching.
Sew together. Now you gave the front cover of your pillow done 🙂
Step 6:
Decide which fabric you want to use for the back of the pillow. I am using another fused left over tailoring suiting fabric as one panel and a 100% cotton tweed for the other panel but you can use the same fabric for both panels if you have enough fabric.
Measure the width of the pillow and divided in half. Make one of the panels that measurement. Make the other panel 3 inches or so longer.
Overlock all pieces, the two back pieces and the front cover. If you don’t have an overlocker you can use a regular zig zag stitch.
Fold one of the sides to make a hem, pin and sew in place.
Ideally these hems should measure the same but in the spirit of working with the fabrics that I have I have broken a little sewing rule and my hems are different sized. Hey, it will be inside the pillow so nobody will notice!
Pin back panels to the front pillow cover. The first panel you pin will be the panel that you will see first once the pillow is finished.
Pin the second panel in place.
Sew around the whole pillow layers.
This is how the pillow looks from the inside 🙂
Clip the corners and turn inside out.
Make sure that you press the pillow with a hot steamy iron.
OK, this is the finished fabric collage which has been turned into a beautiful and unique pillow. This is the front cover.
And this is the back cover 🙂
You may also like:
How to Applique & Throw pillow tutorial
Sewing Pillowcase – 3 Ways to make Closure
 BERNINA Corporate Blog -


Wow! Thanks so much for this post. This information has been very helpful thanks for sharing this post.