 BERNINA Corporate Blog -
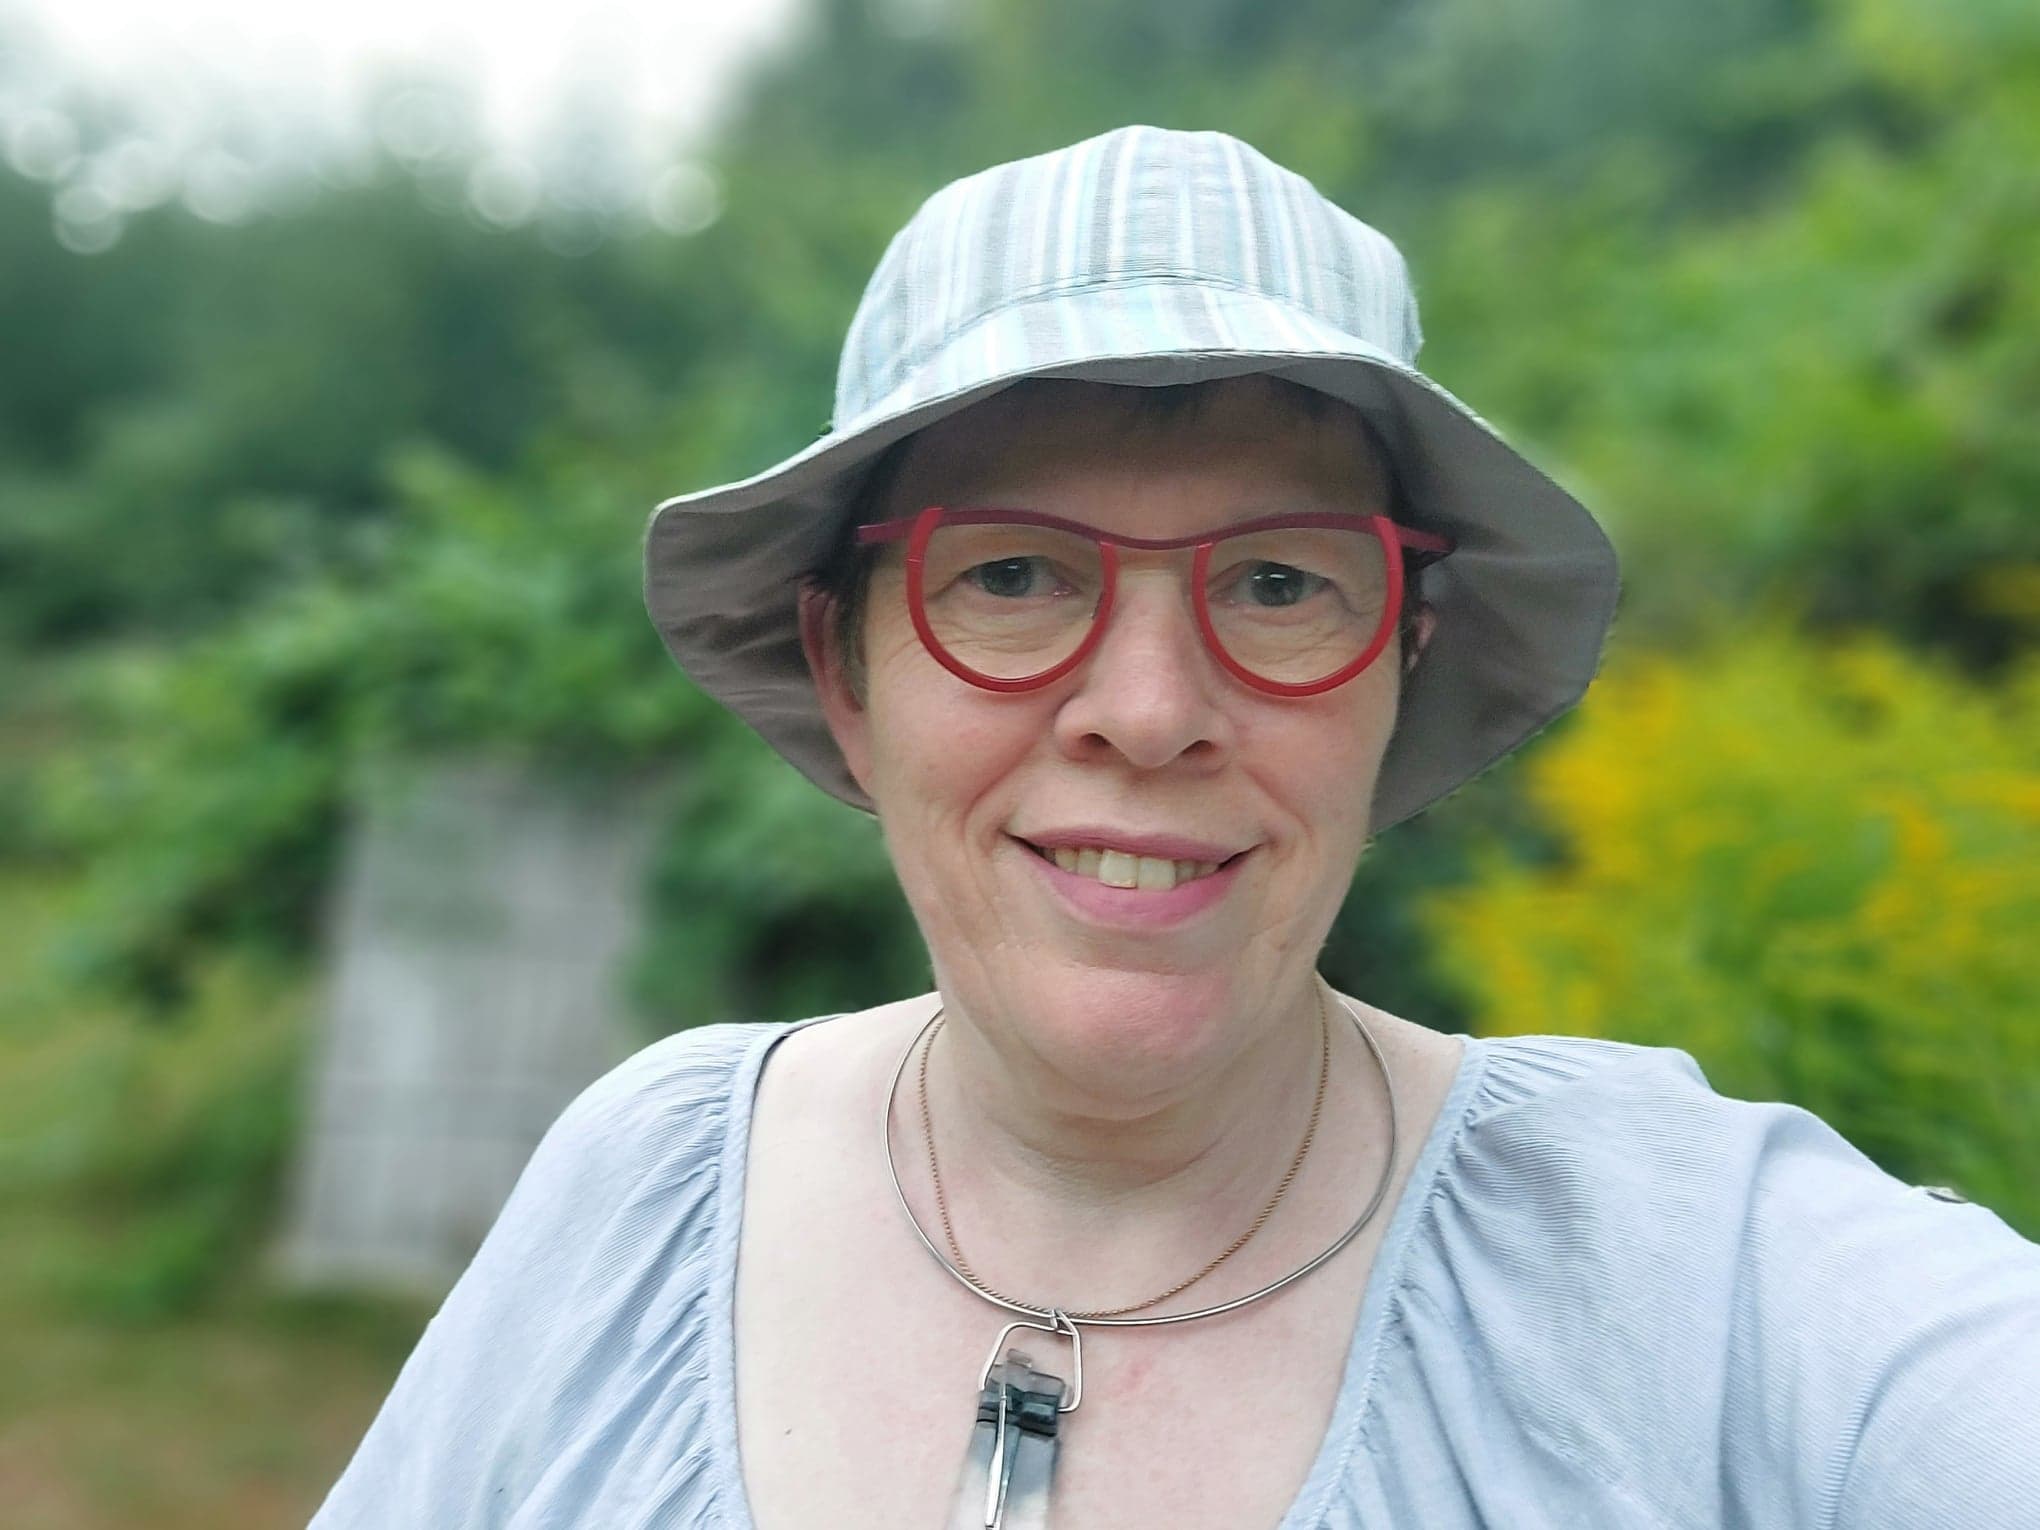
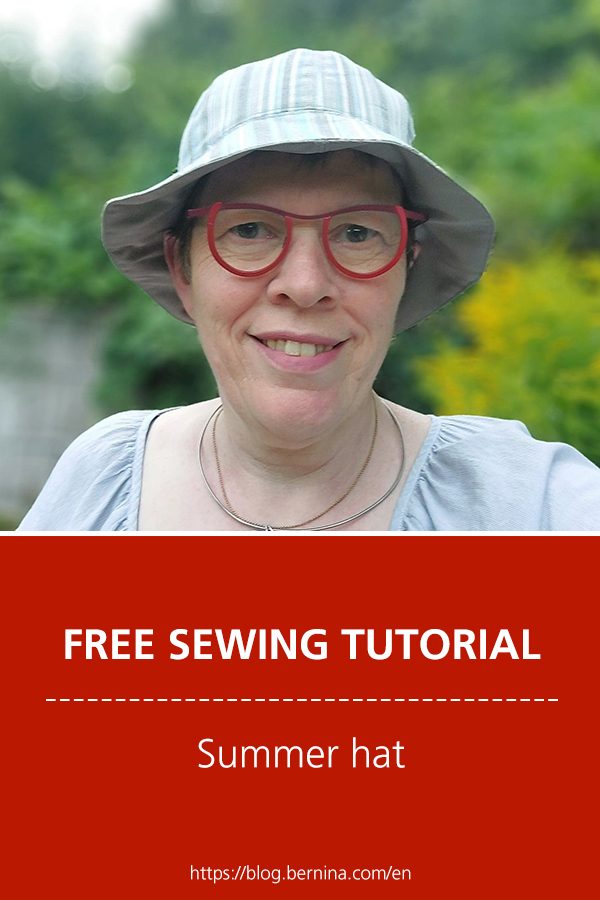
Sew a sunny summer hat for high temperatures! I definitely need to make one now!
When going for a walk or bicycle ride, I will need it. Some time ago, I met Susan Bell, a UK seamstress, who had a good pattern. I digitized it for her and she agreed on sharing with other seamstresses. So here we go.
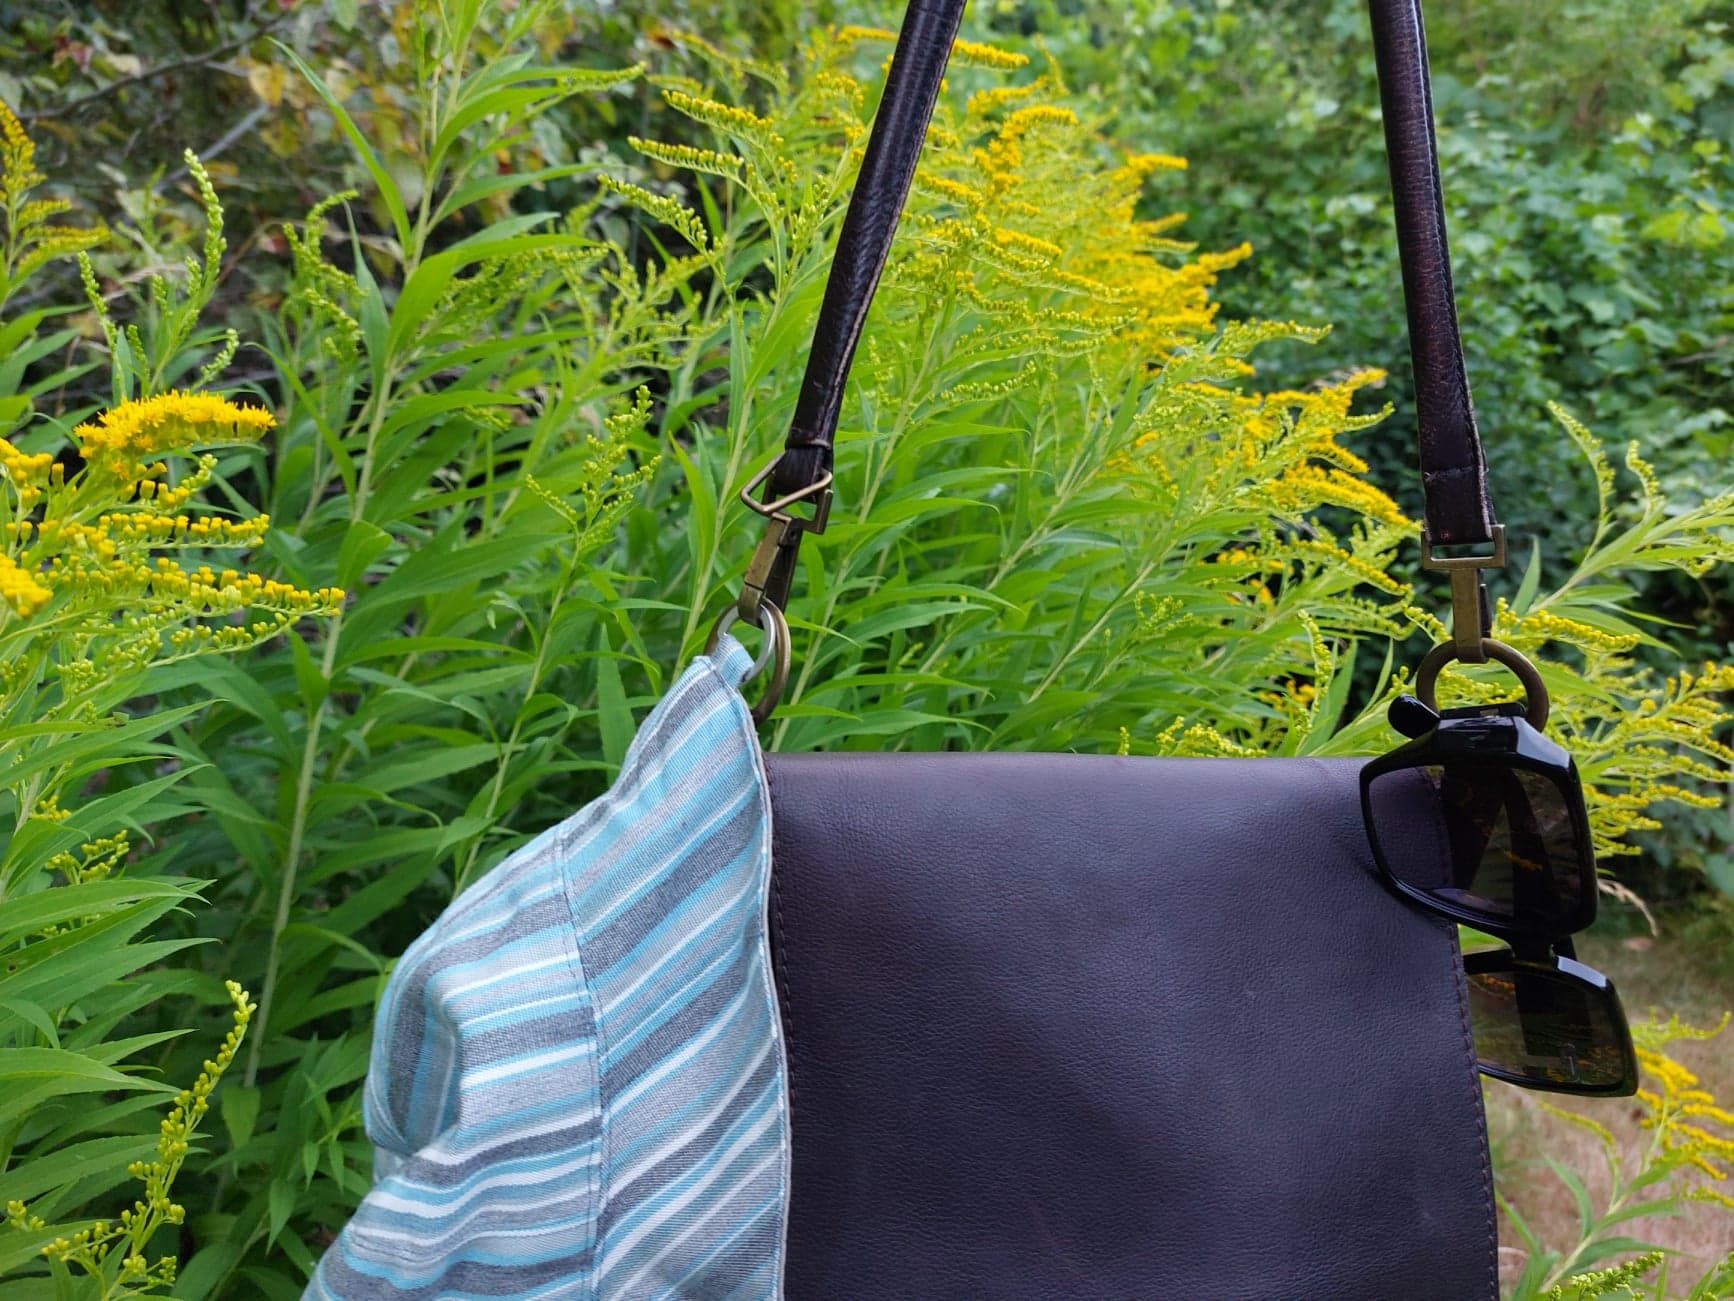
I only added a ring to hang on the handbag. That must be easy to take off and on again.
My head circumference is 56,5 cm (measured obliquely) and it has a perfect fit!
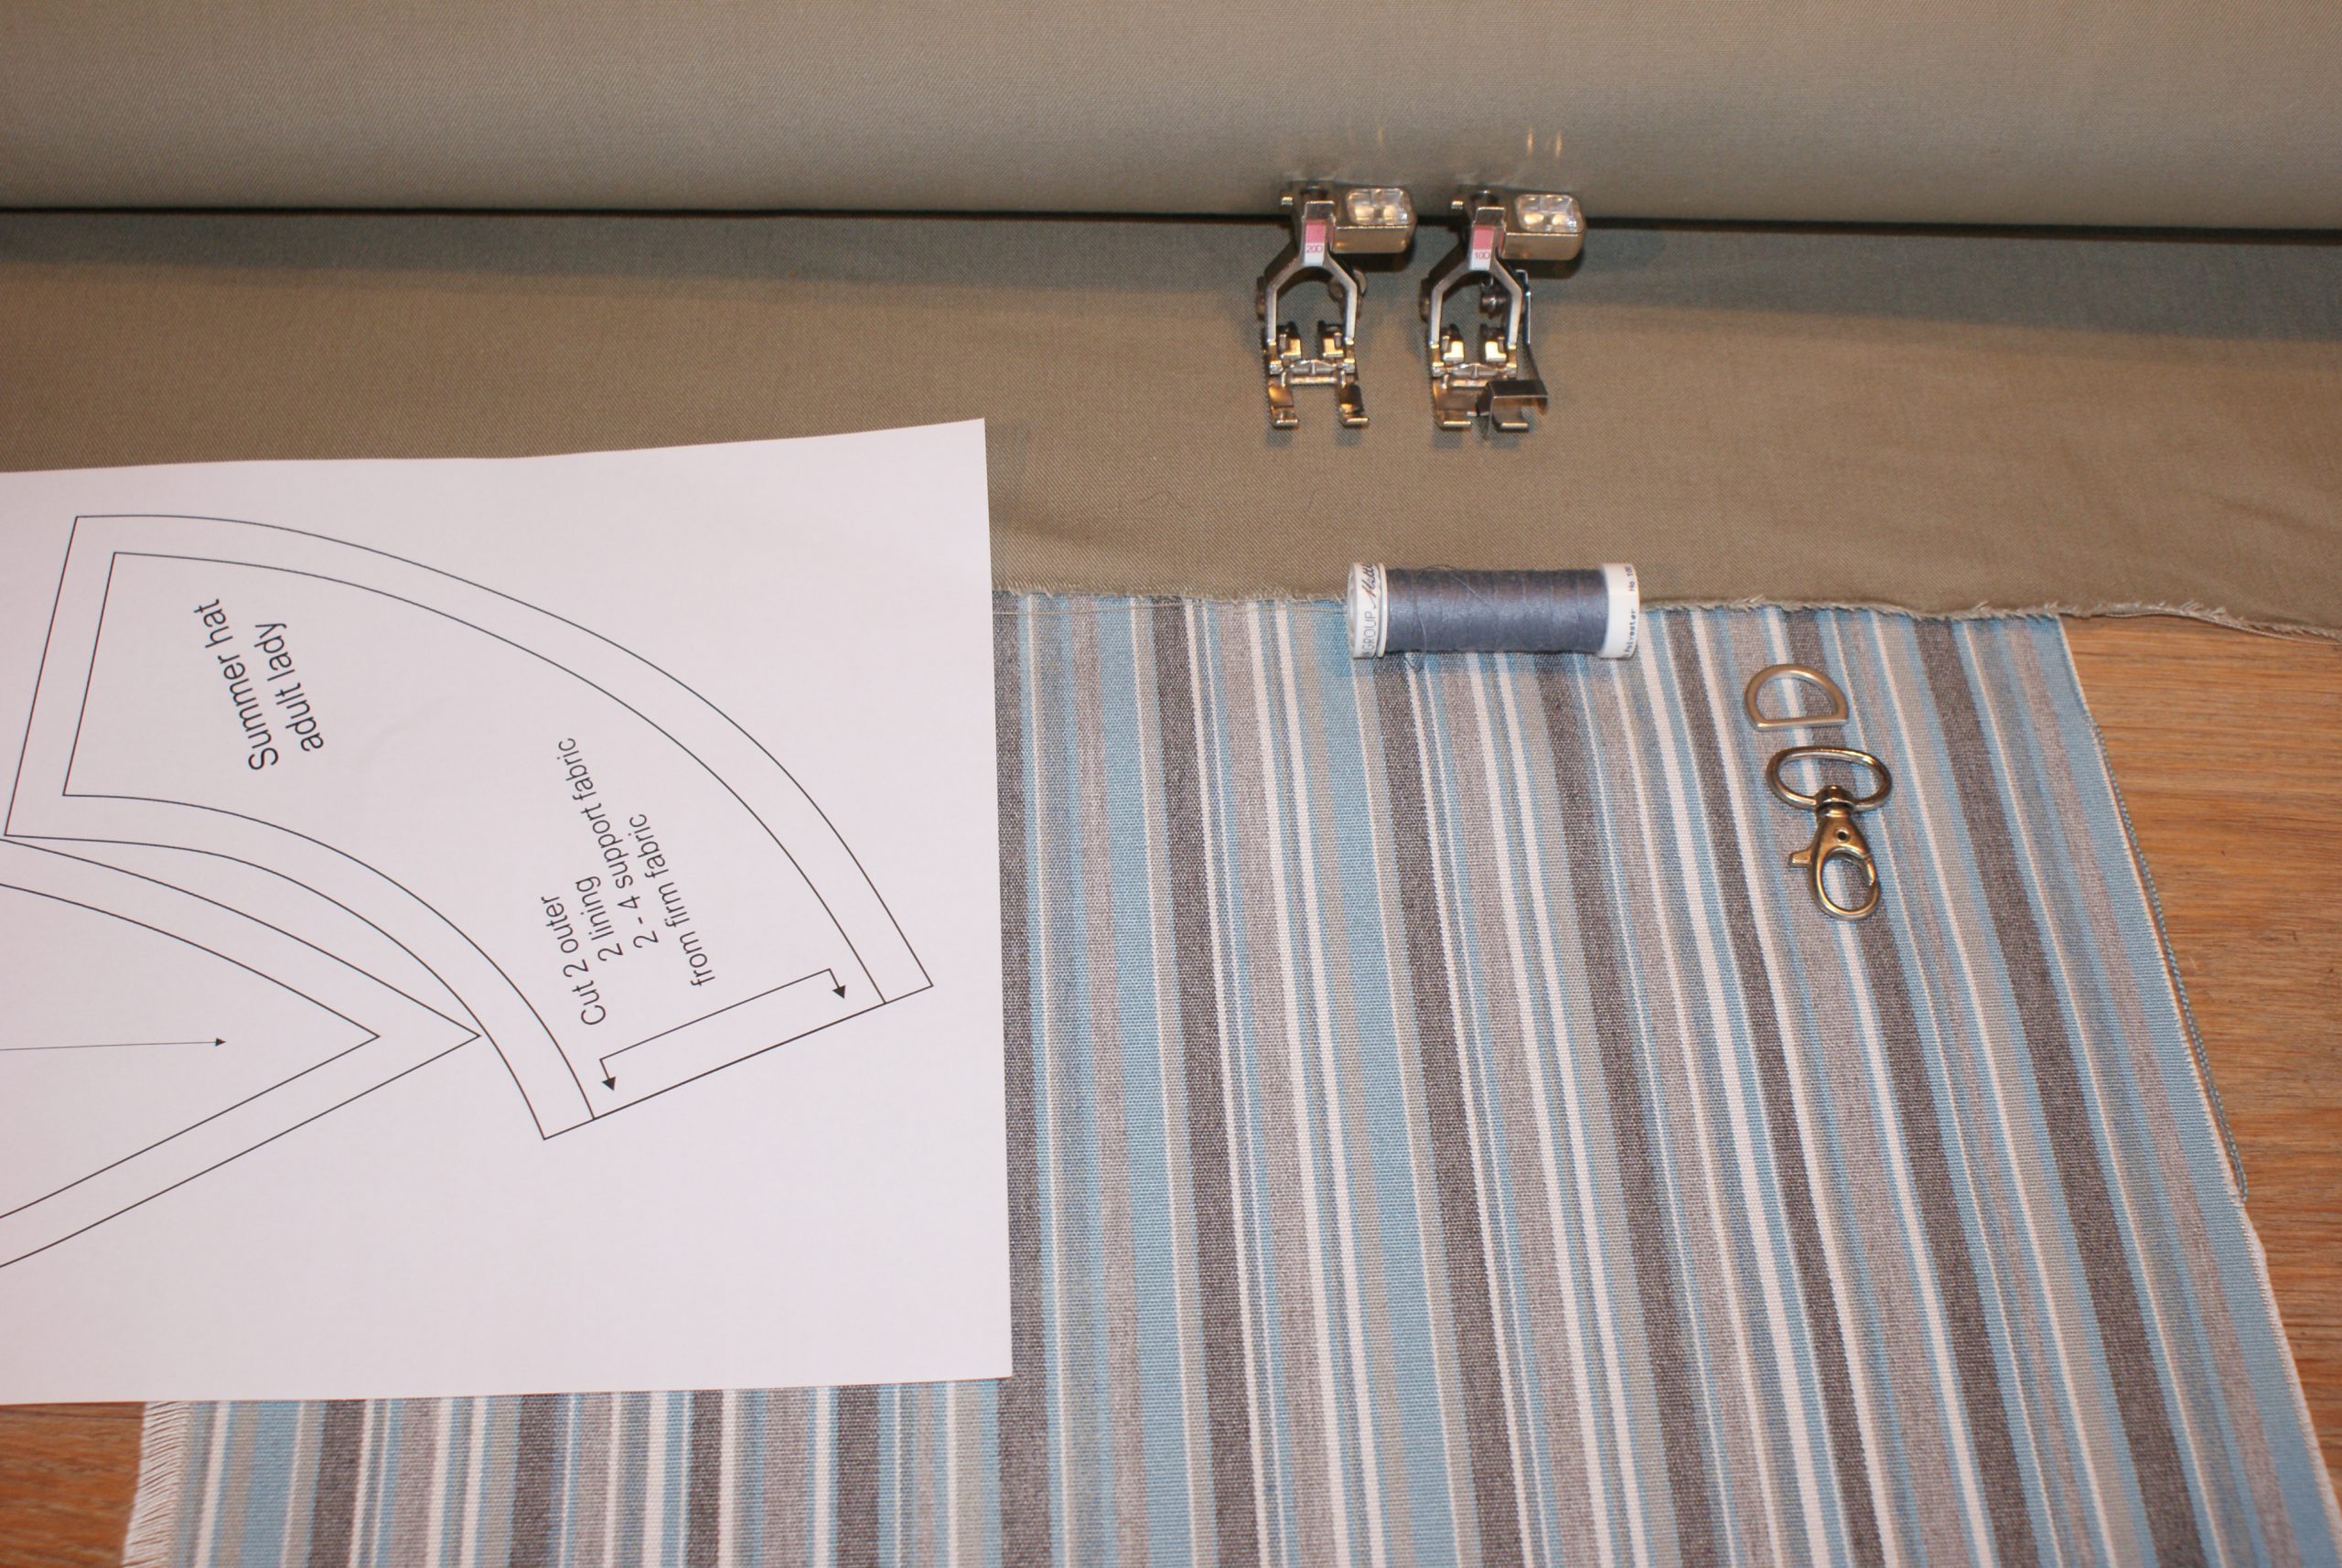
Supplies to Sew a sunny summer hat:
- Firm fabric, matching colours or one colour.
- Download the free pattern: Ladys hat
- Mettler Seralon naaigaren
- A D-shaped ring or any ring
- A piece of tape to attach the ring.
- A label if you have one
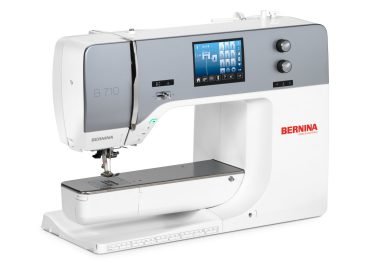
- BERNINA sewing machine. I use the BERNINA 710
- Presser feet Open embroidery foot # 20 and Edgestitch Foot #10


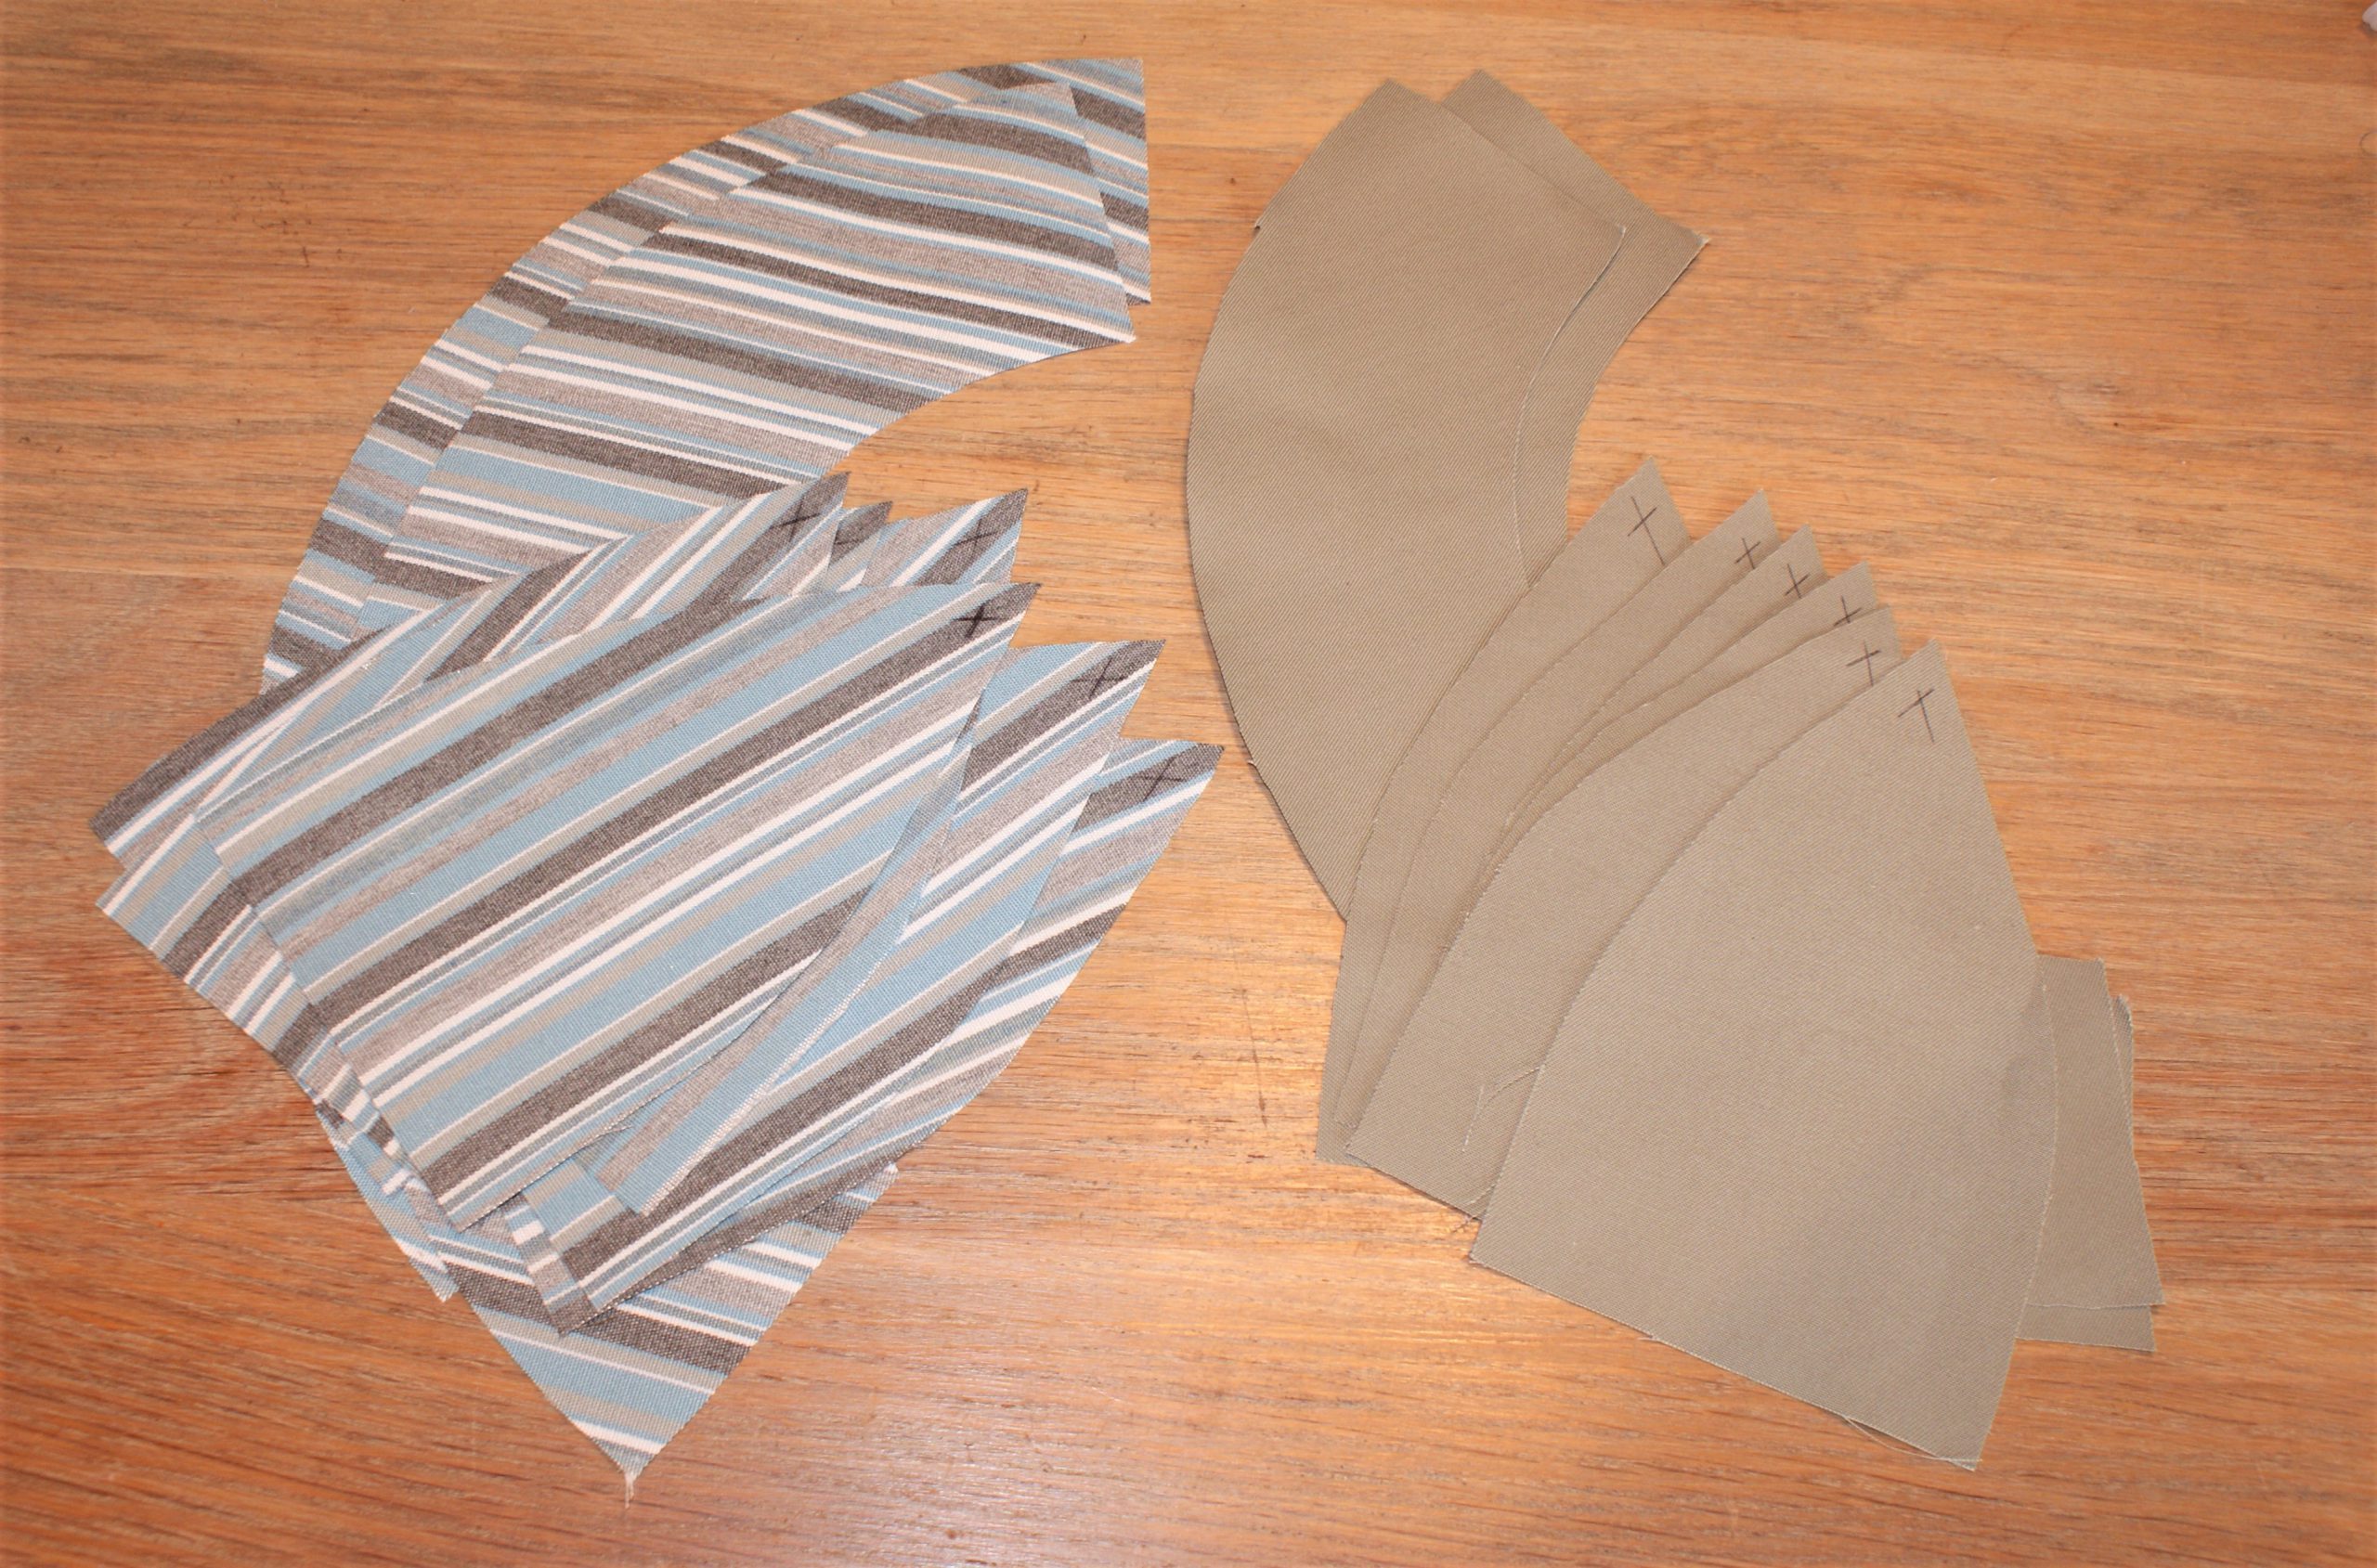
Prepare the parts to sew a sunny summer hat.
- Cut out the pattern parts. 1 cm seam allowance is included. If your fabric has a certain print, think of a logic way to cut.
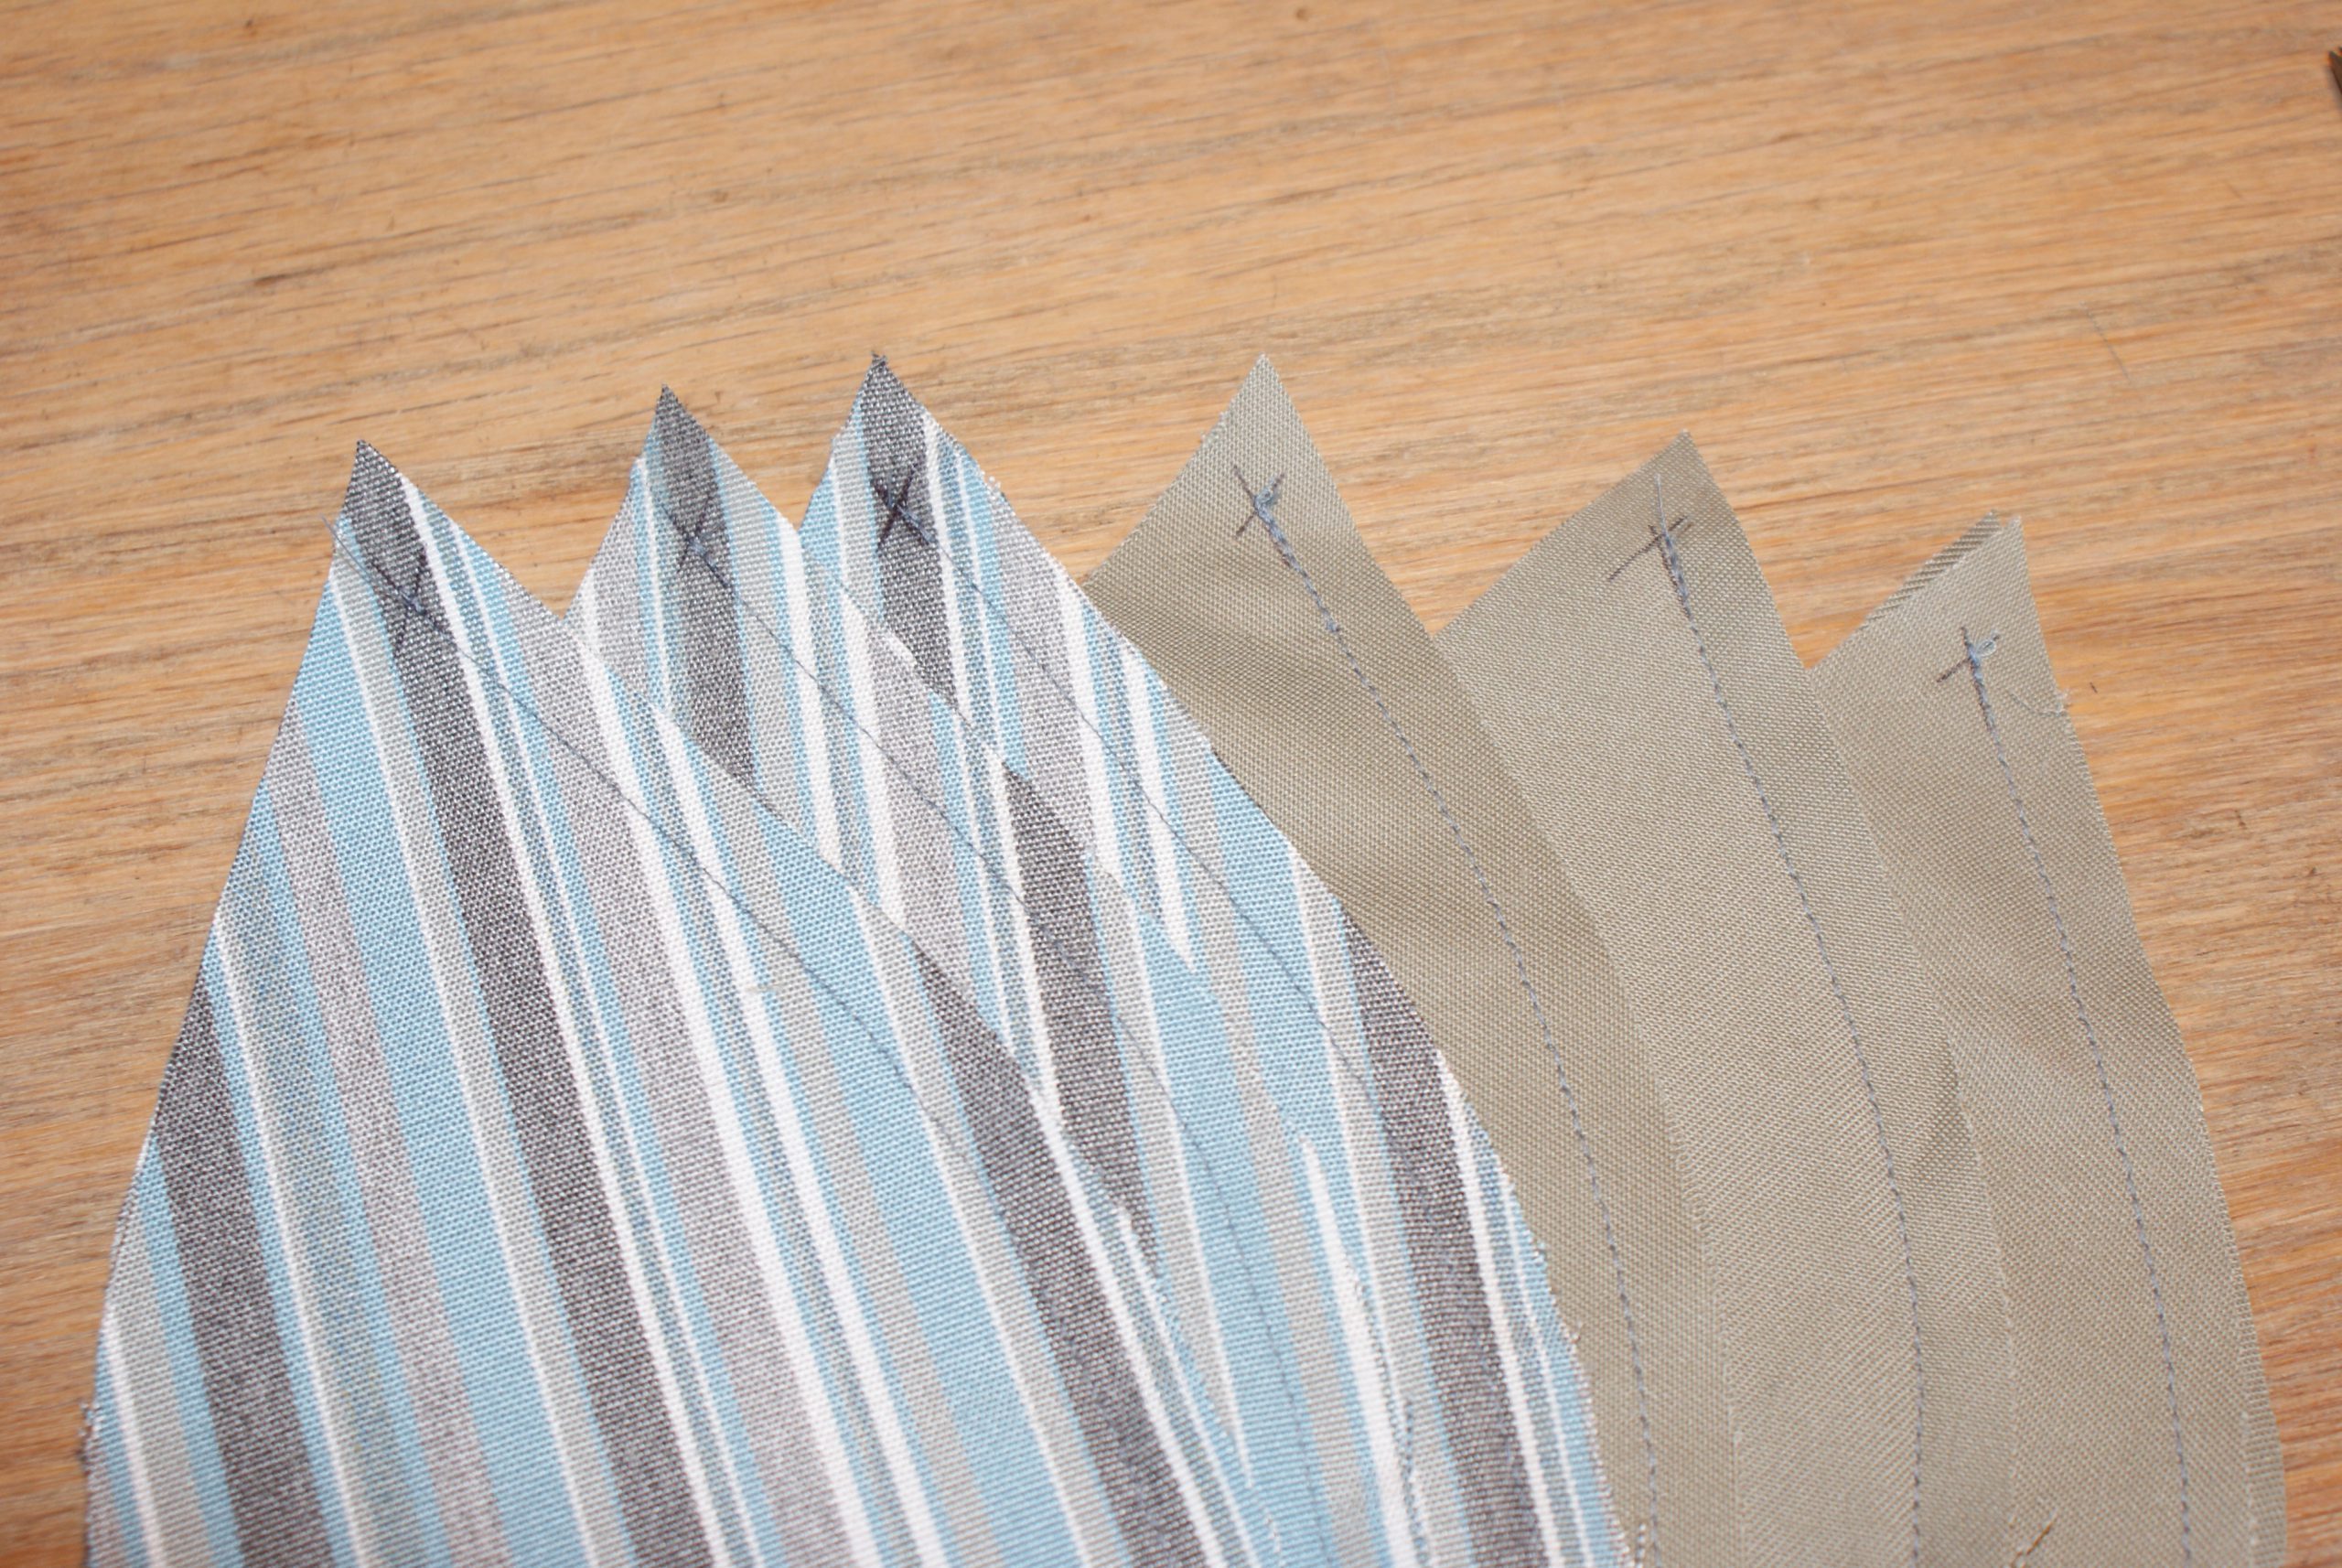
- Cut 6 pointed parts from the outer fabric and 6 from the lining.
- Cut the curved pattern piece twice from outer fabric and twice from lining. You must lay one side on fabric fold.
- Mark the corner of the pattern piece with a cross: draw a line from both sides. Lay your ruler at 9 mm, the pen point is a 1 extra mm.

Mark the start notch at every pattern piece.
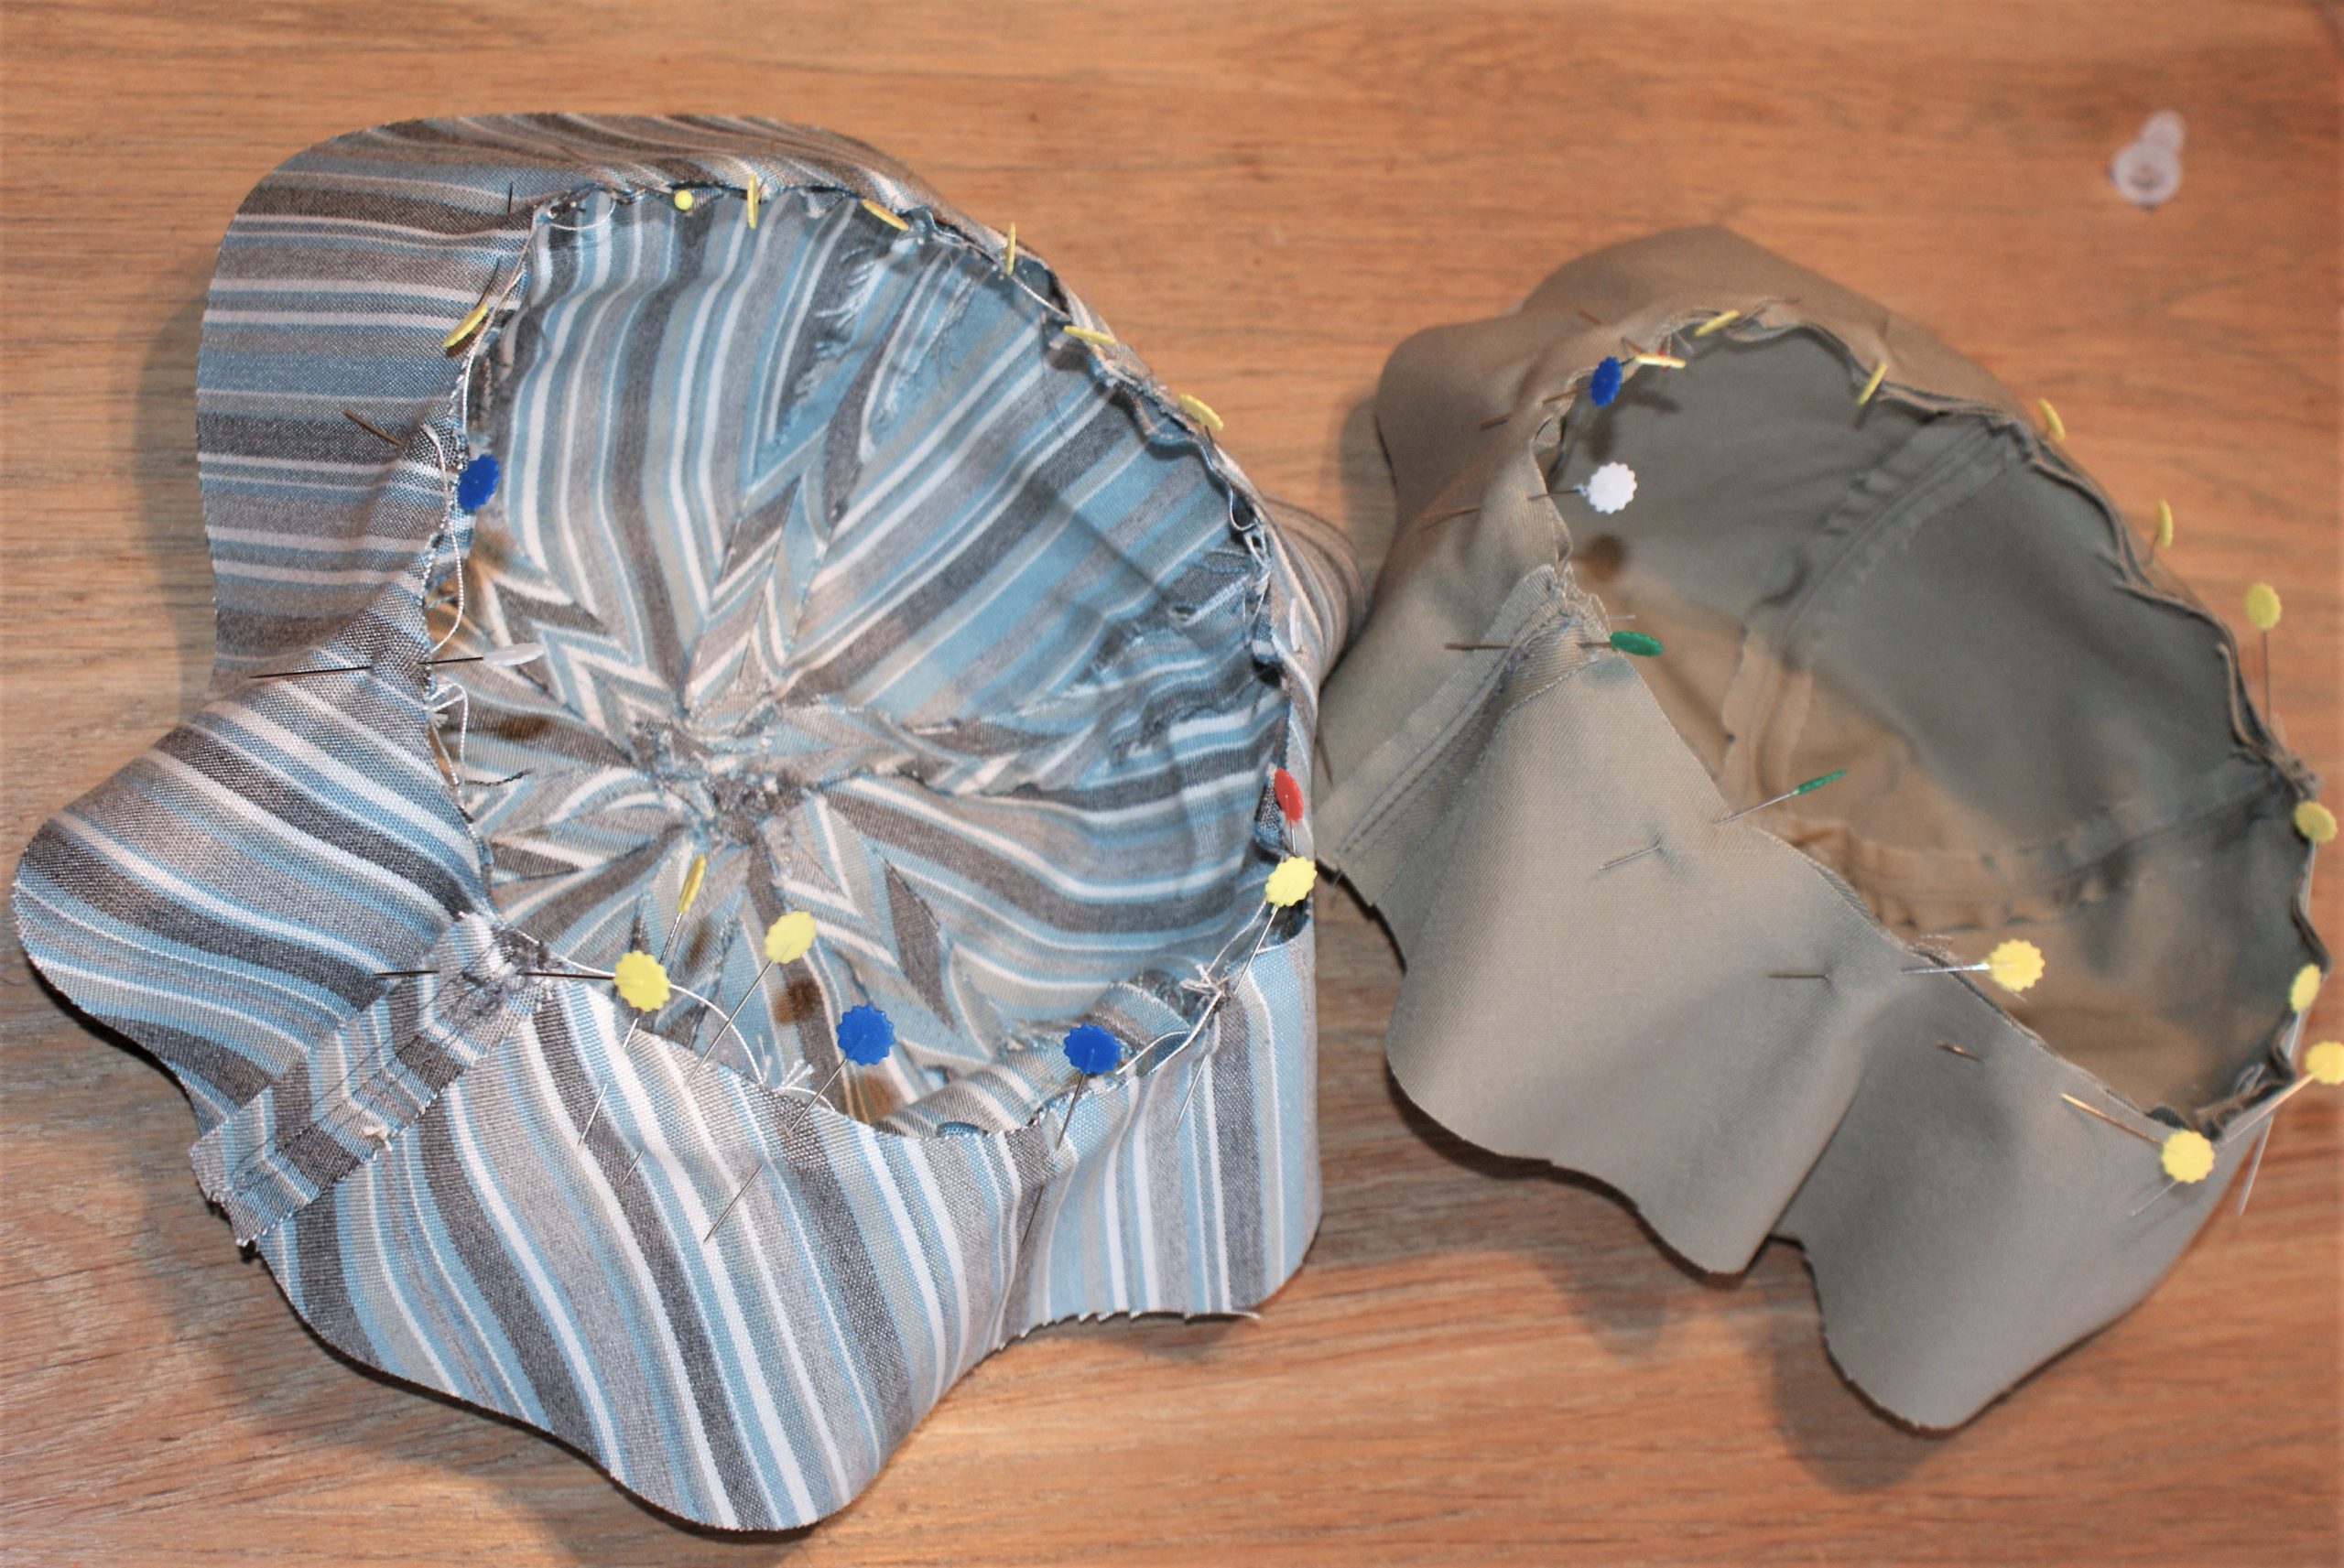
Sew the parts together:
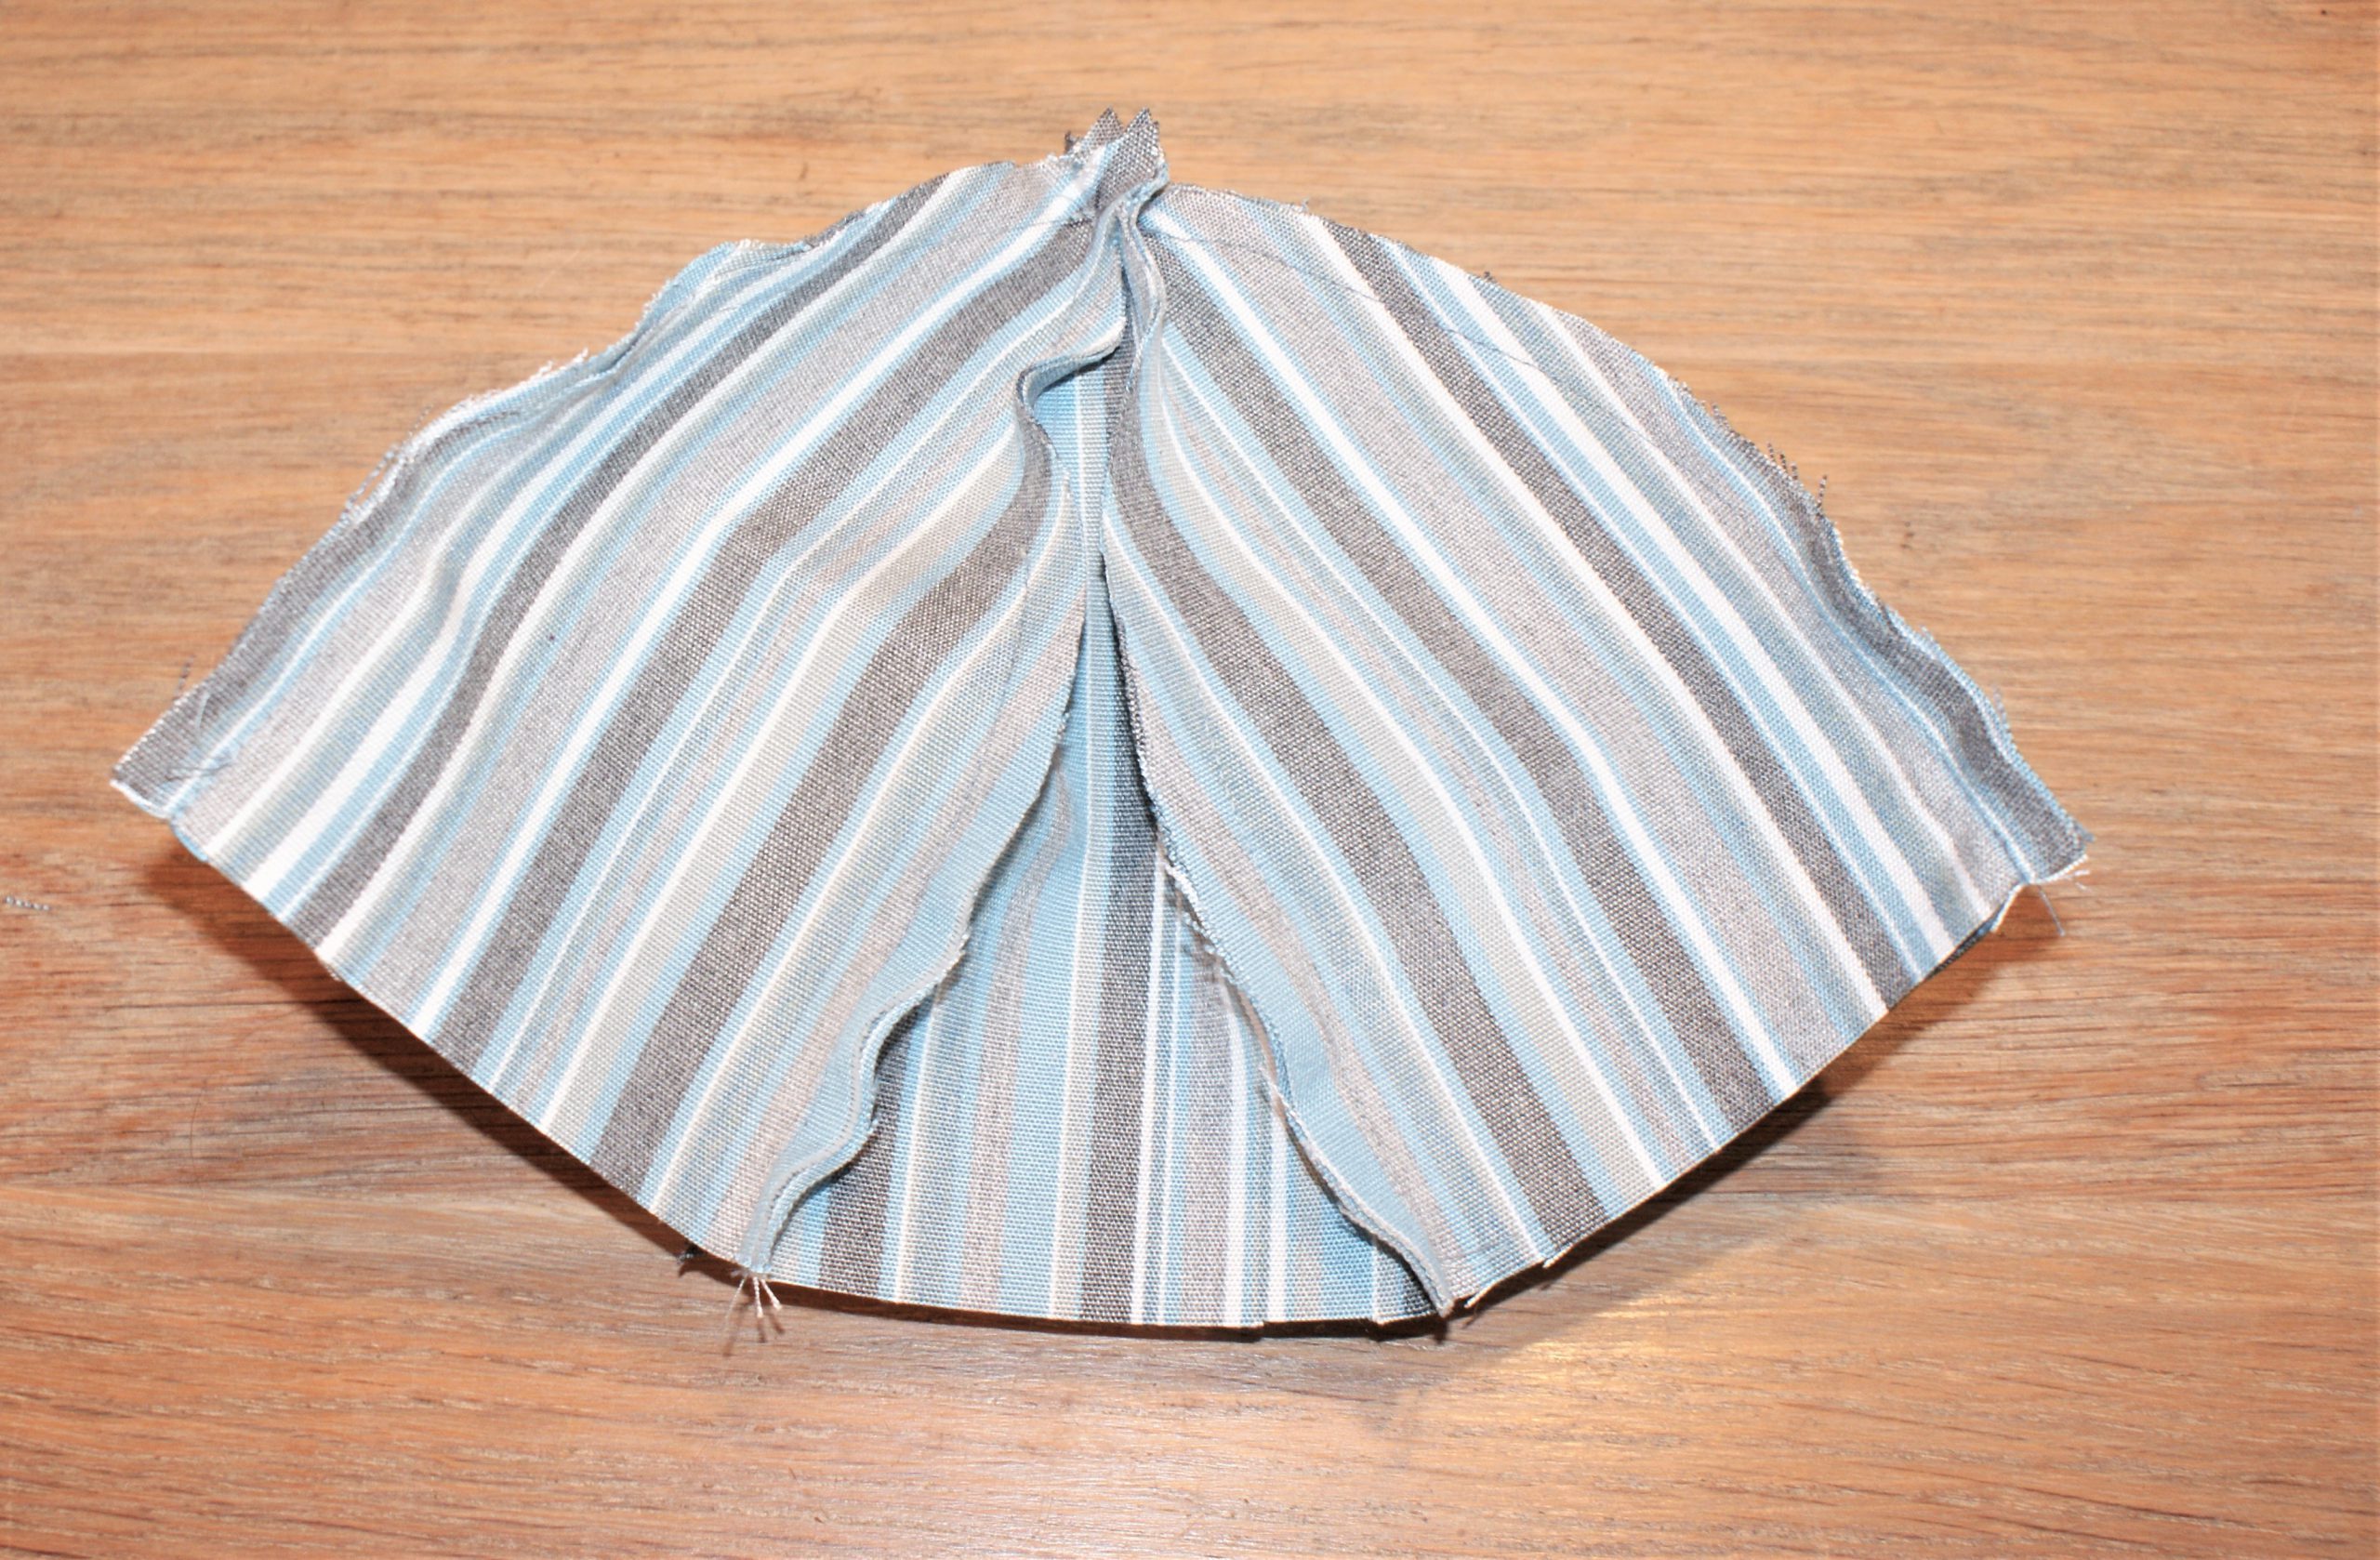
Place 2 pattern pieces, right sides facing pin and sew. Sew only from the mark down to the bottom.
If you have a label, you can sew it in between these parts. Or put it in between the head part and the curved edge.
Sew all parts per 2 together. Then sew them all together, always from the cross down to the bottom.
Check if the size fits well. If it’s too small, you can unpick a few seams (only the bottom 5 cm) and sew again with a smaller seam allowance. If it’s too big, take a bigger seam allowance.
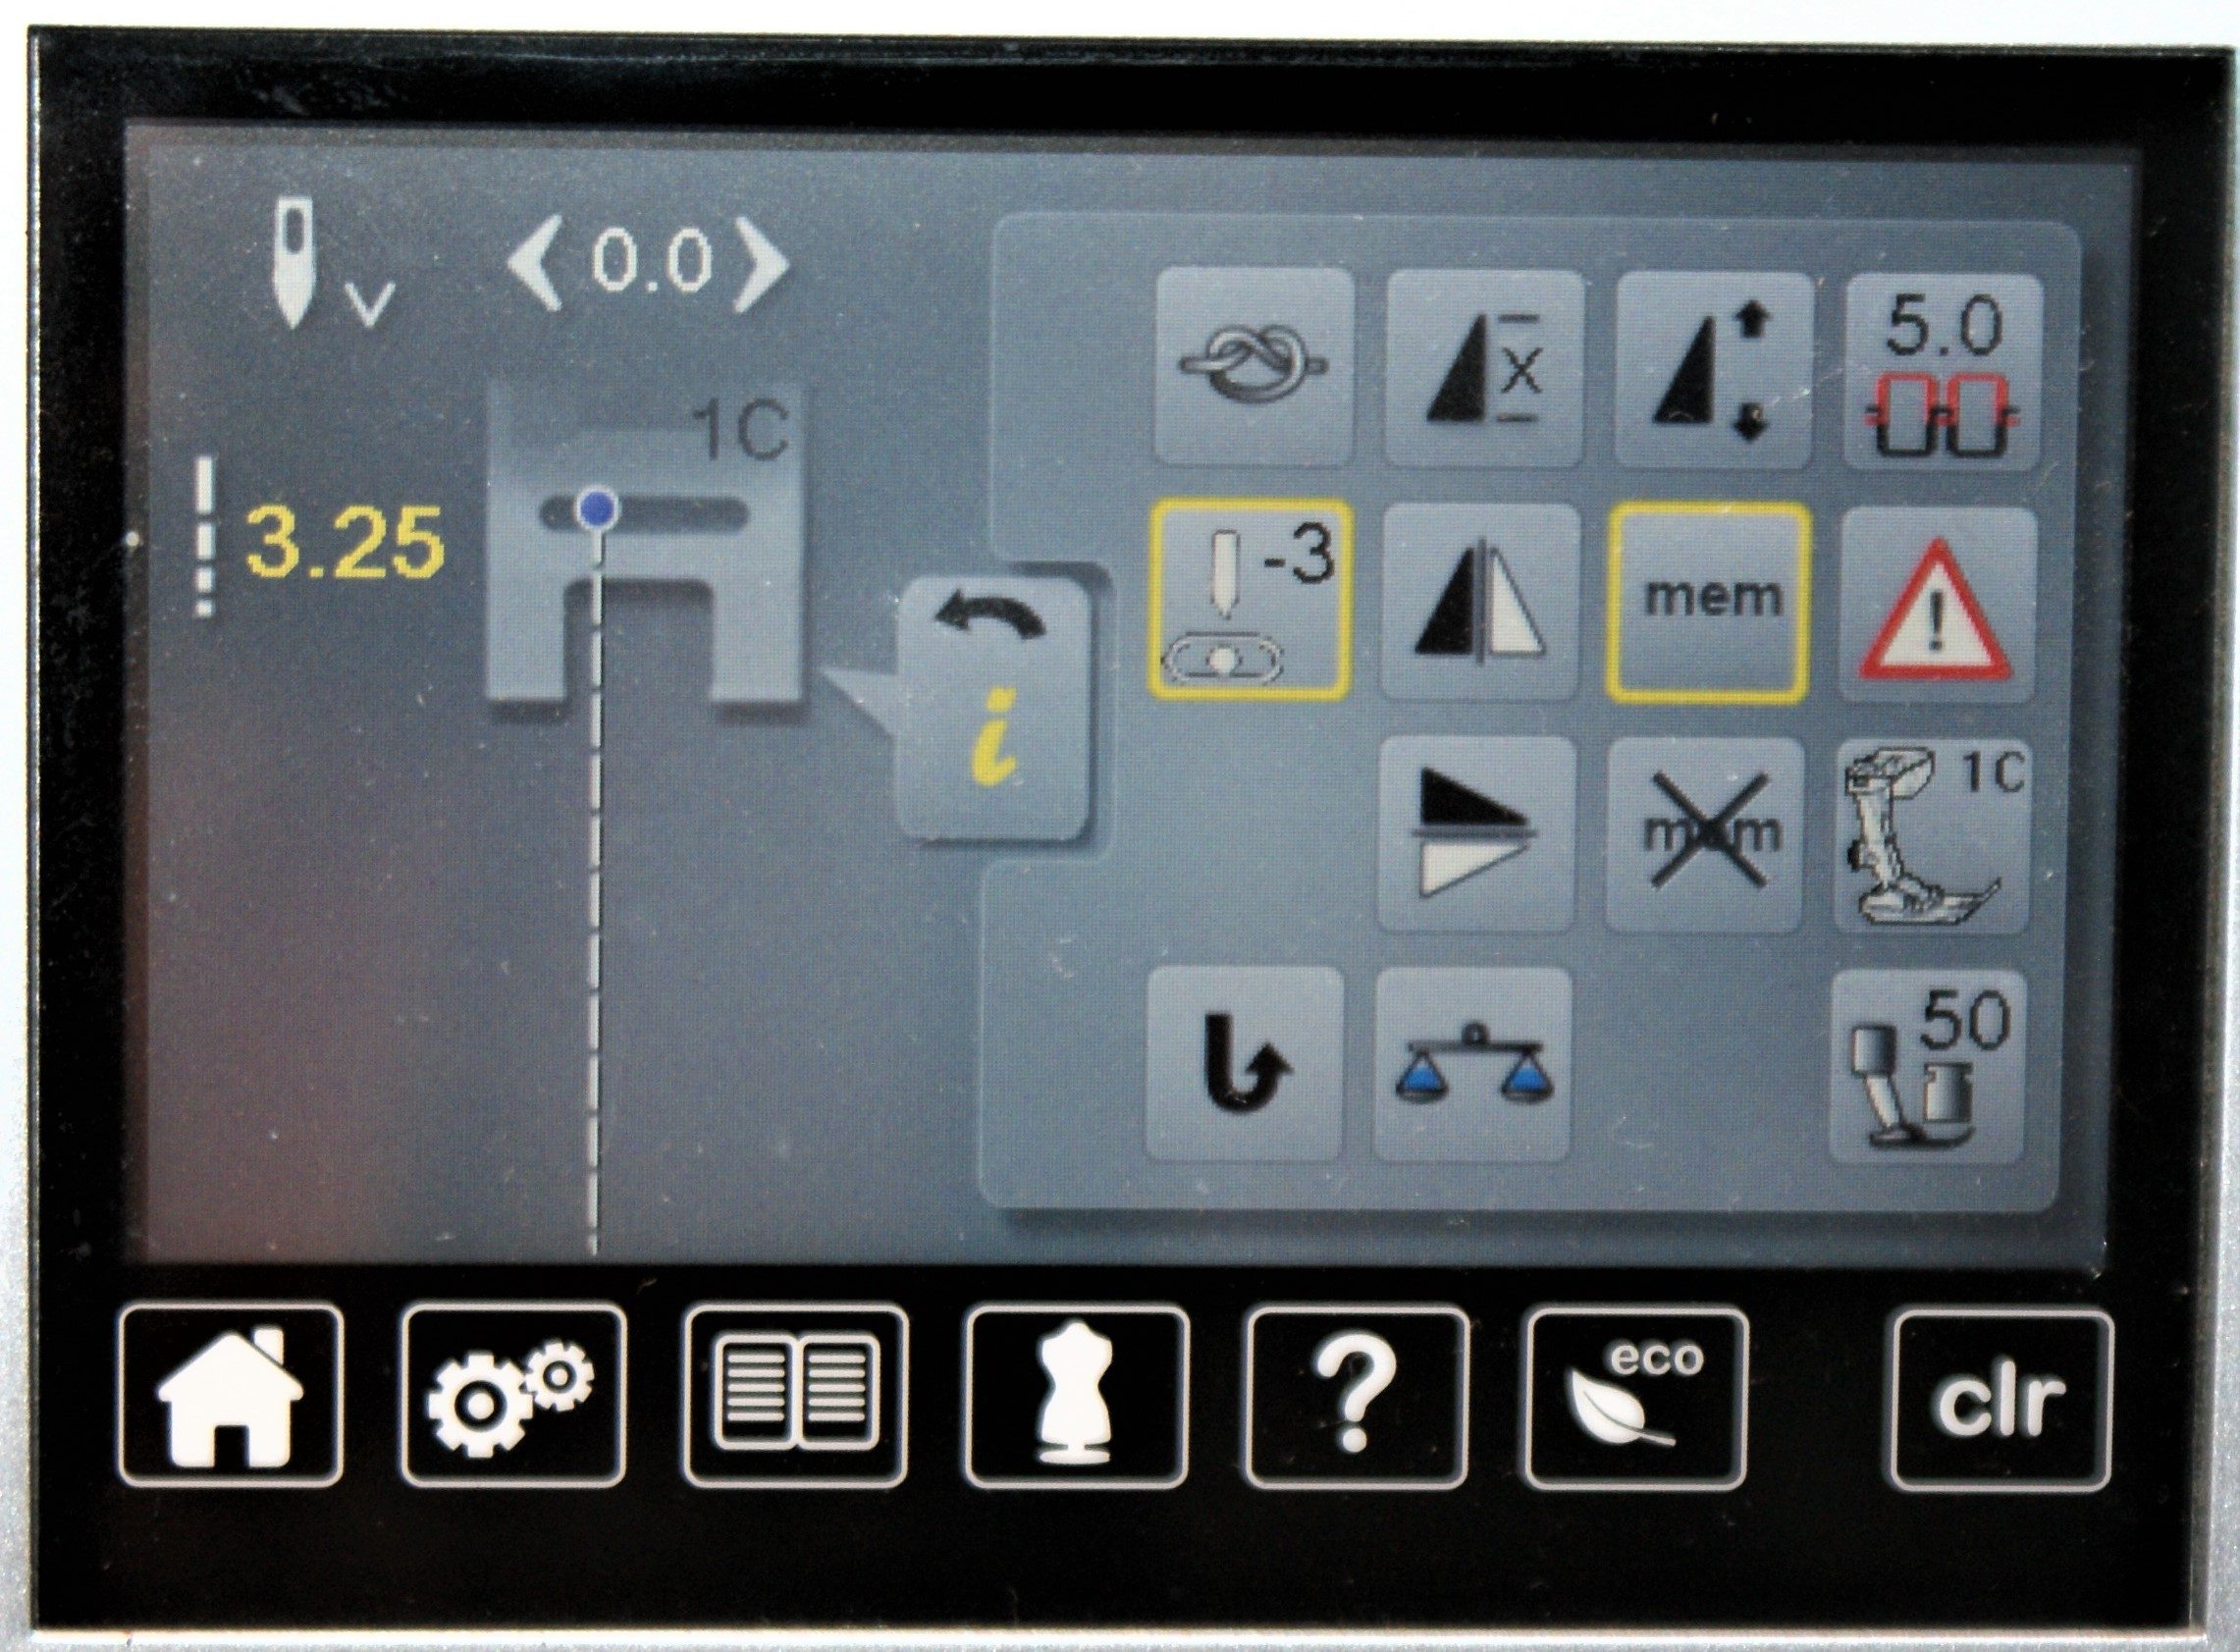
Take these settings for topstitching: a larger stitchlength, needle position -3 and take the small edge foot 10 to follow the seam.
Topstitch outer and inner hat.
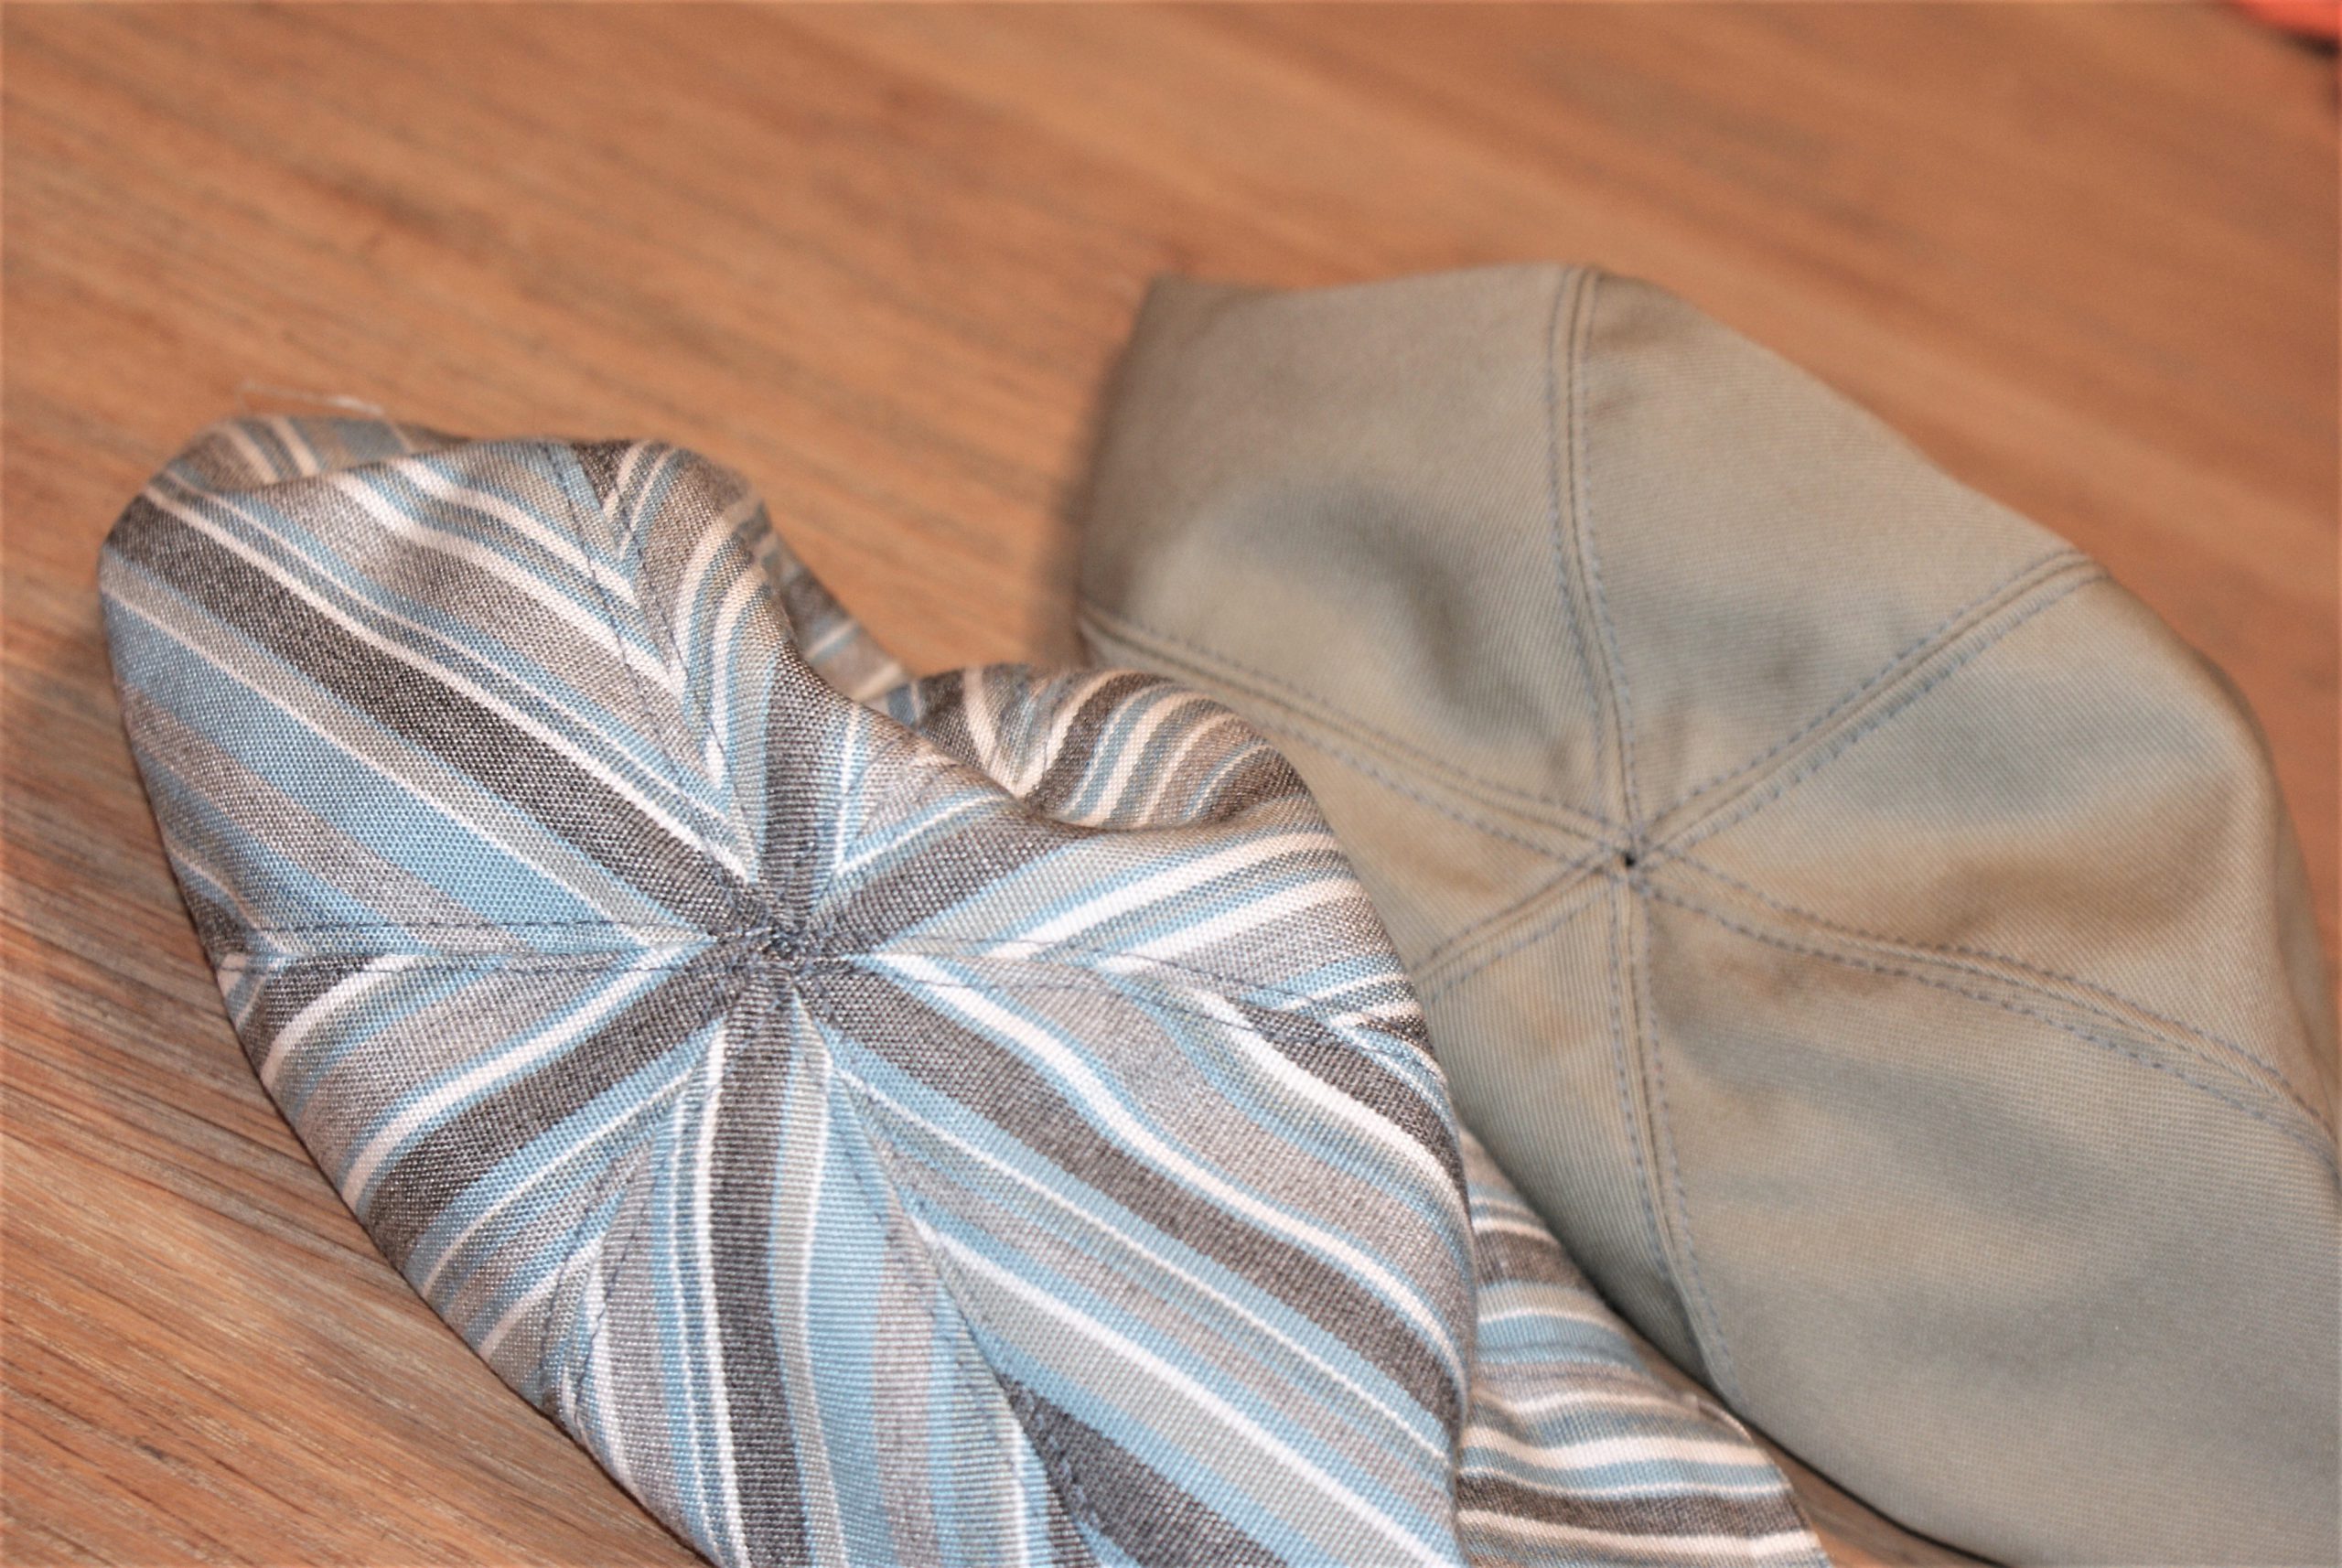
Topstitching give a casual look.
Let’s go on with the curved edge:
Sew both parts together and topstitch.
Repeat for the lining.
Pin and sew the curved edge to the hat for the outer fabric and the lining.
Join outer hat and lining:
Pin both parts with right sides together. Pin 30 cm on the back of the hat and sew in this way: Sew 10 cm with a standard stitchlength and secure stitches, sew 10 cm with a maximum stitch length, continue to secure stitches and sew another 10 cm in a standard stitch length.
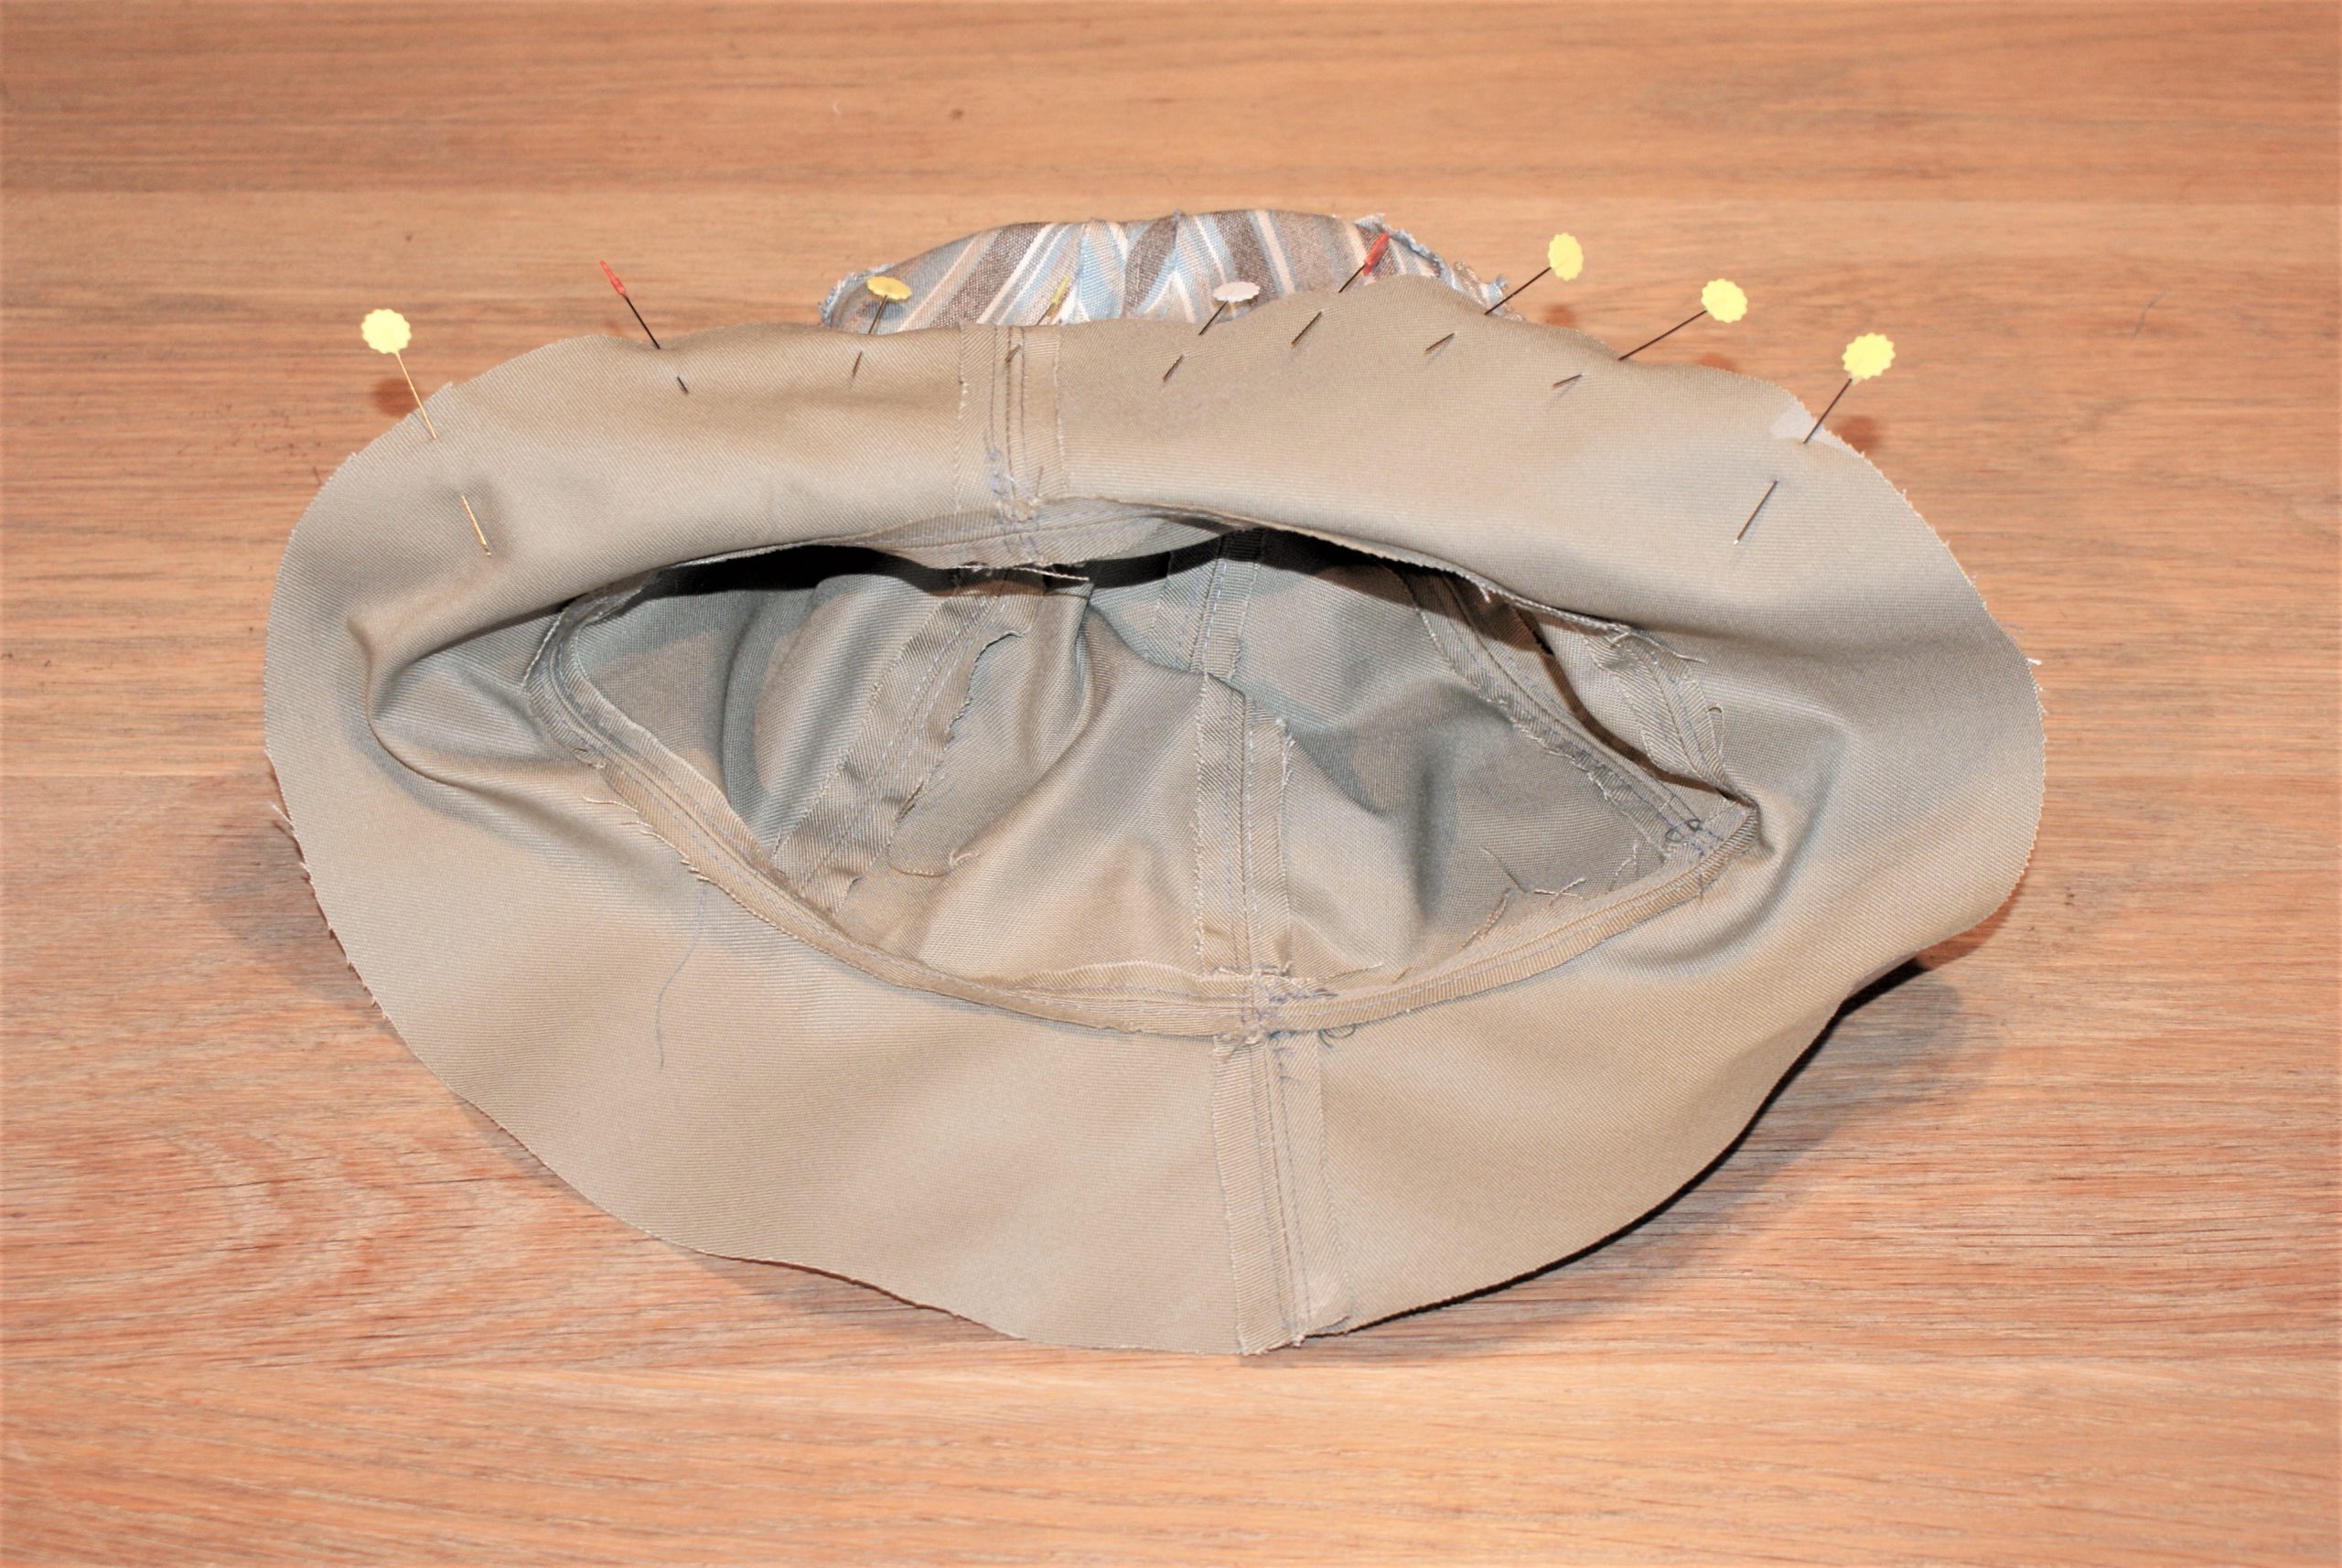
Fold the hat open and iron the 30 cm seam. Unpick the long stitches of the middle 10 cm. This is the hole to turn the hat.

Pin again, right sides together and sew the last closing seam. Don’t forget to add the tape with the D-ring on the back of the hat.
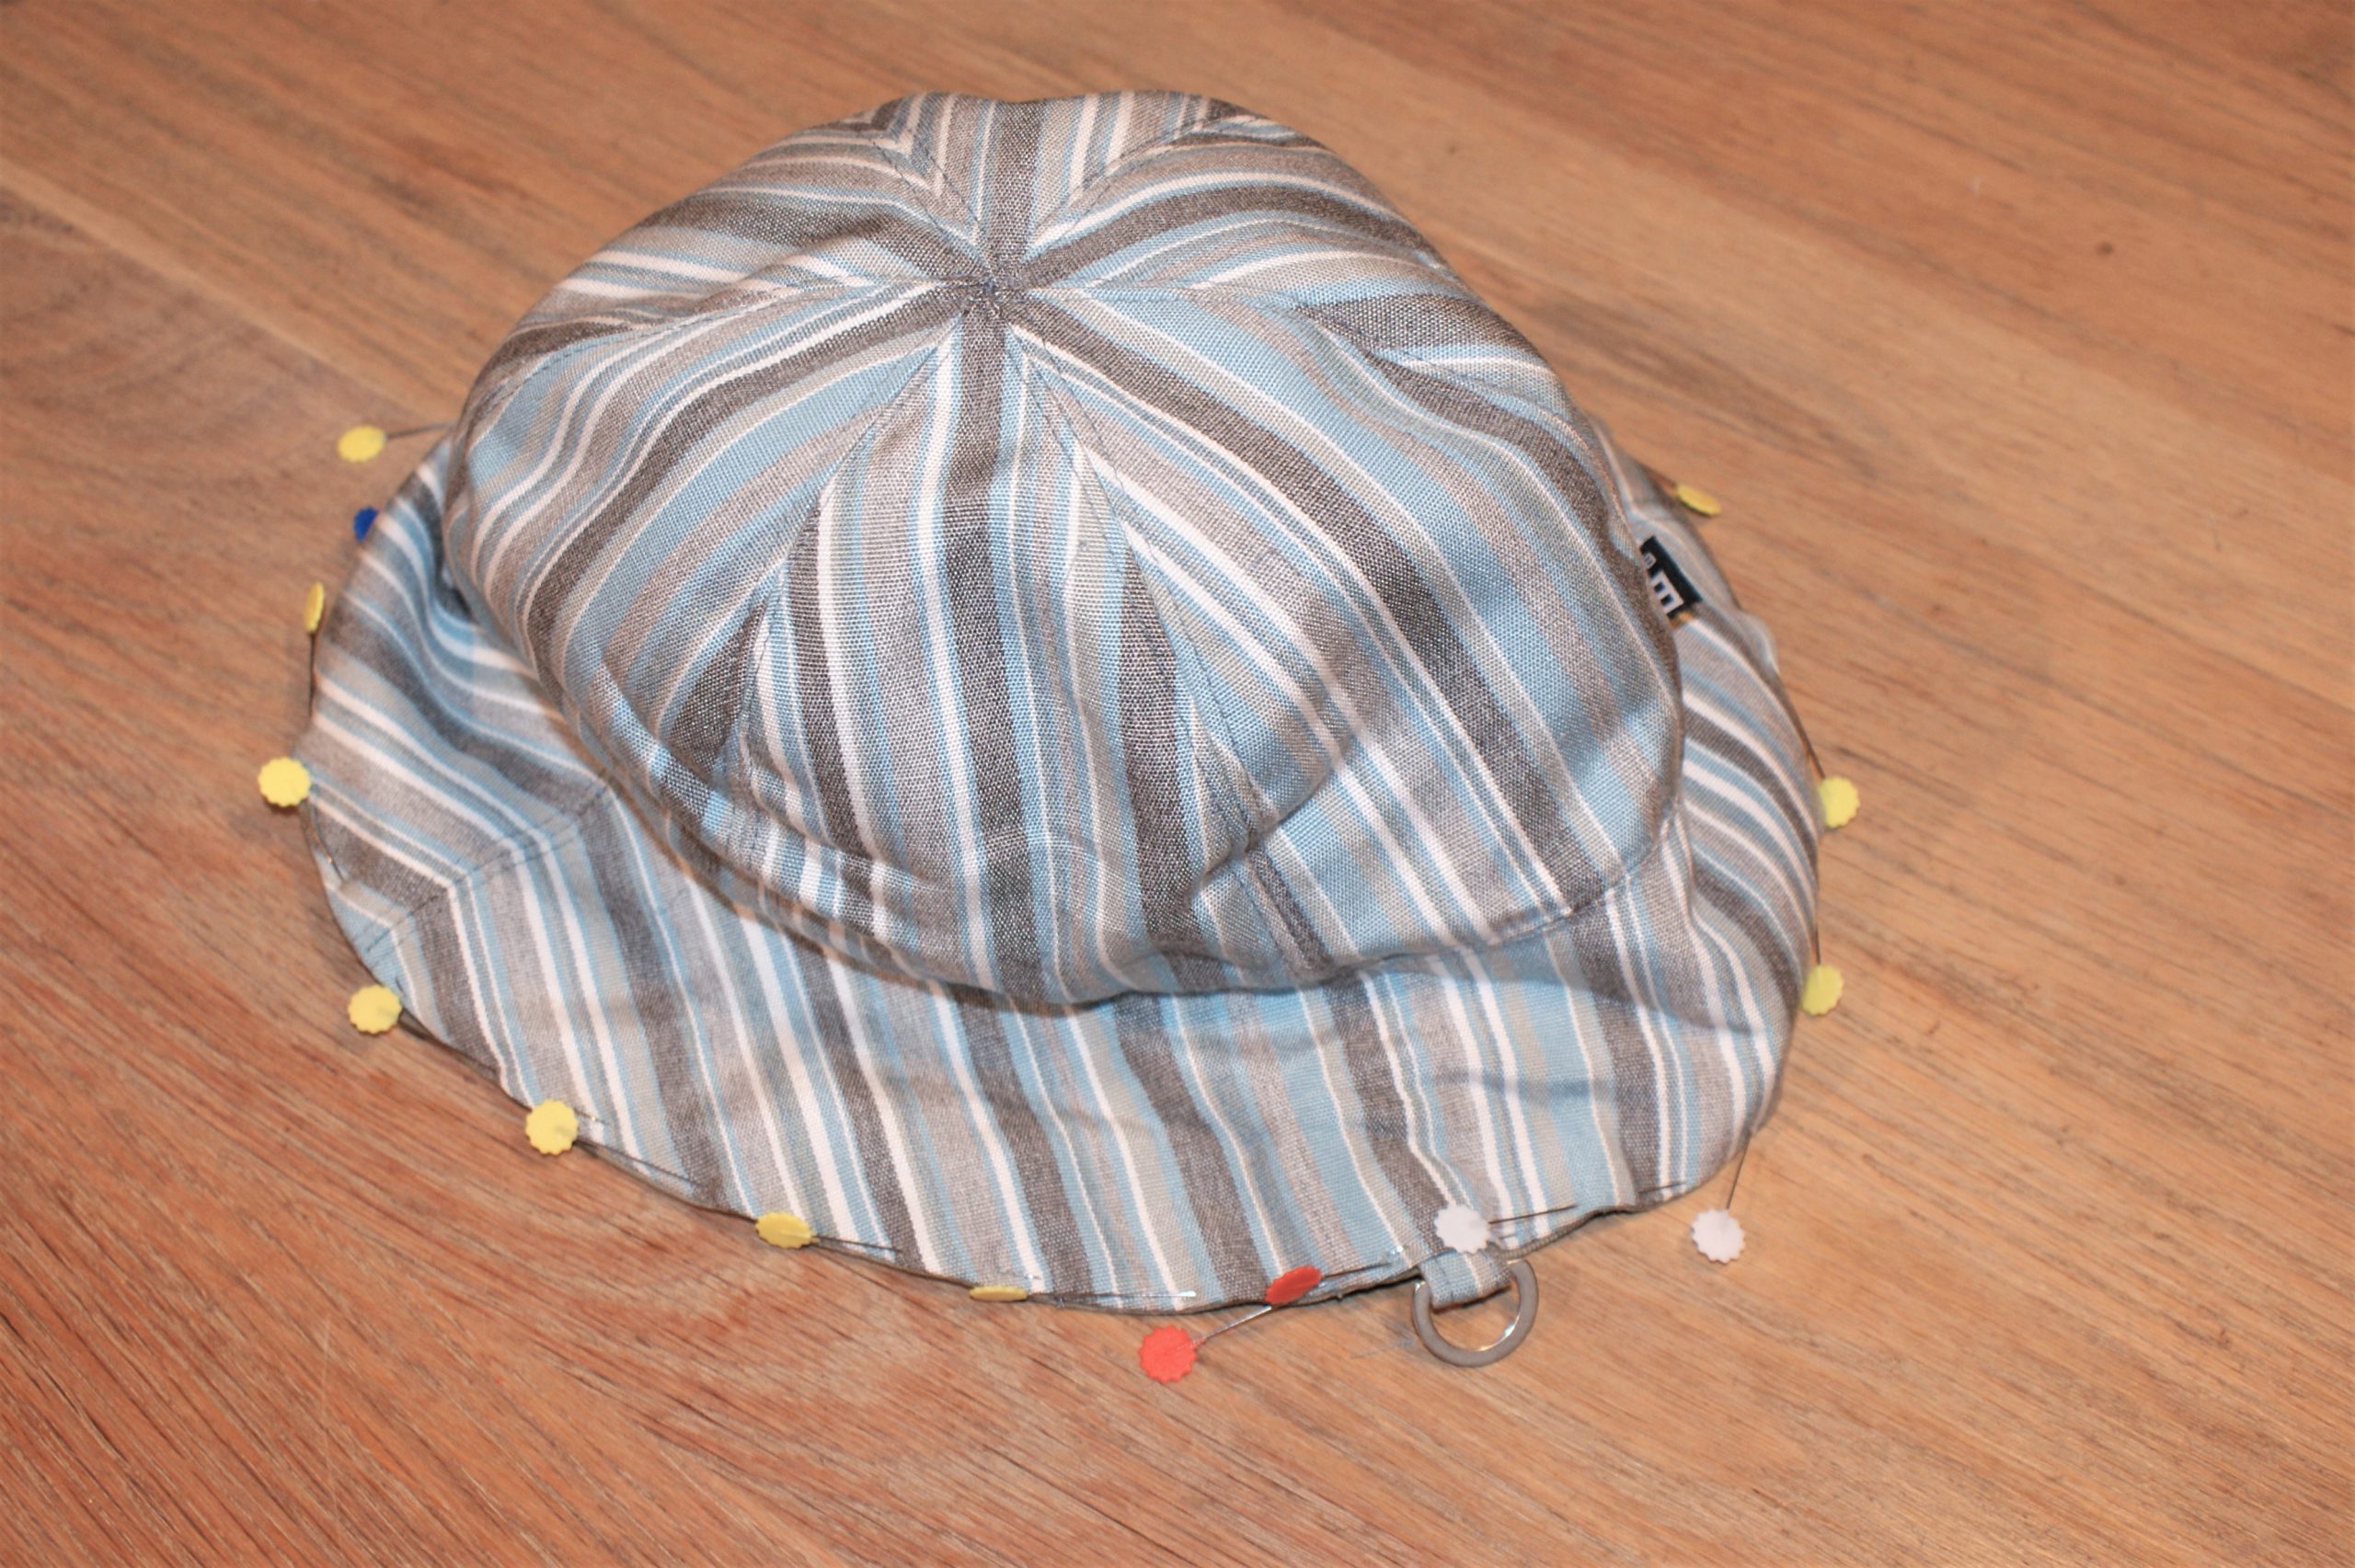
I like the grey lines in the middle.
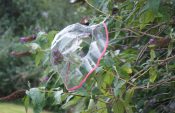
Now, turn inside out through the hole.
Do you see how easy you can pin and sew with the ironed part? It helps a lot for your last topstitch.
Depending on the firmness of the fabric, it could be helpful to sew some extra lines through the edge.
Did you find it difficult to sew the top in a neat way? The best tip ever: hide it with a decorative button.
It has a neat inside:
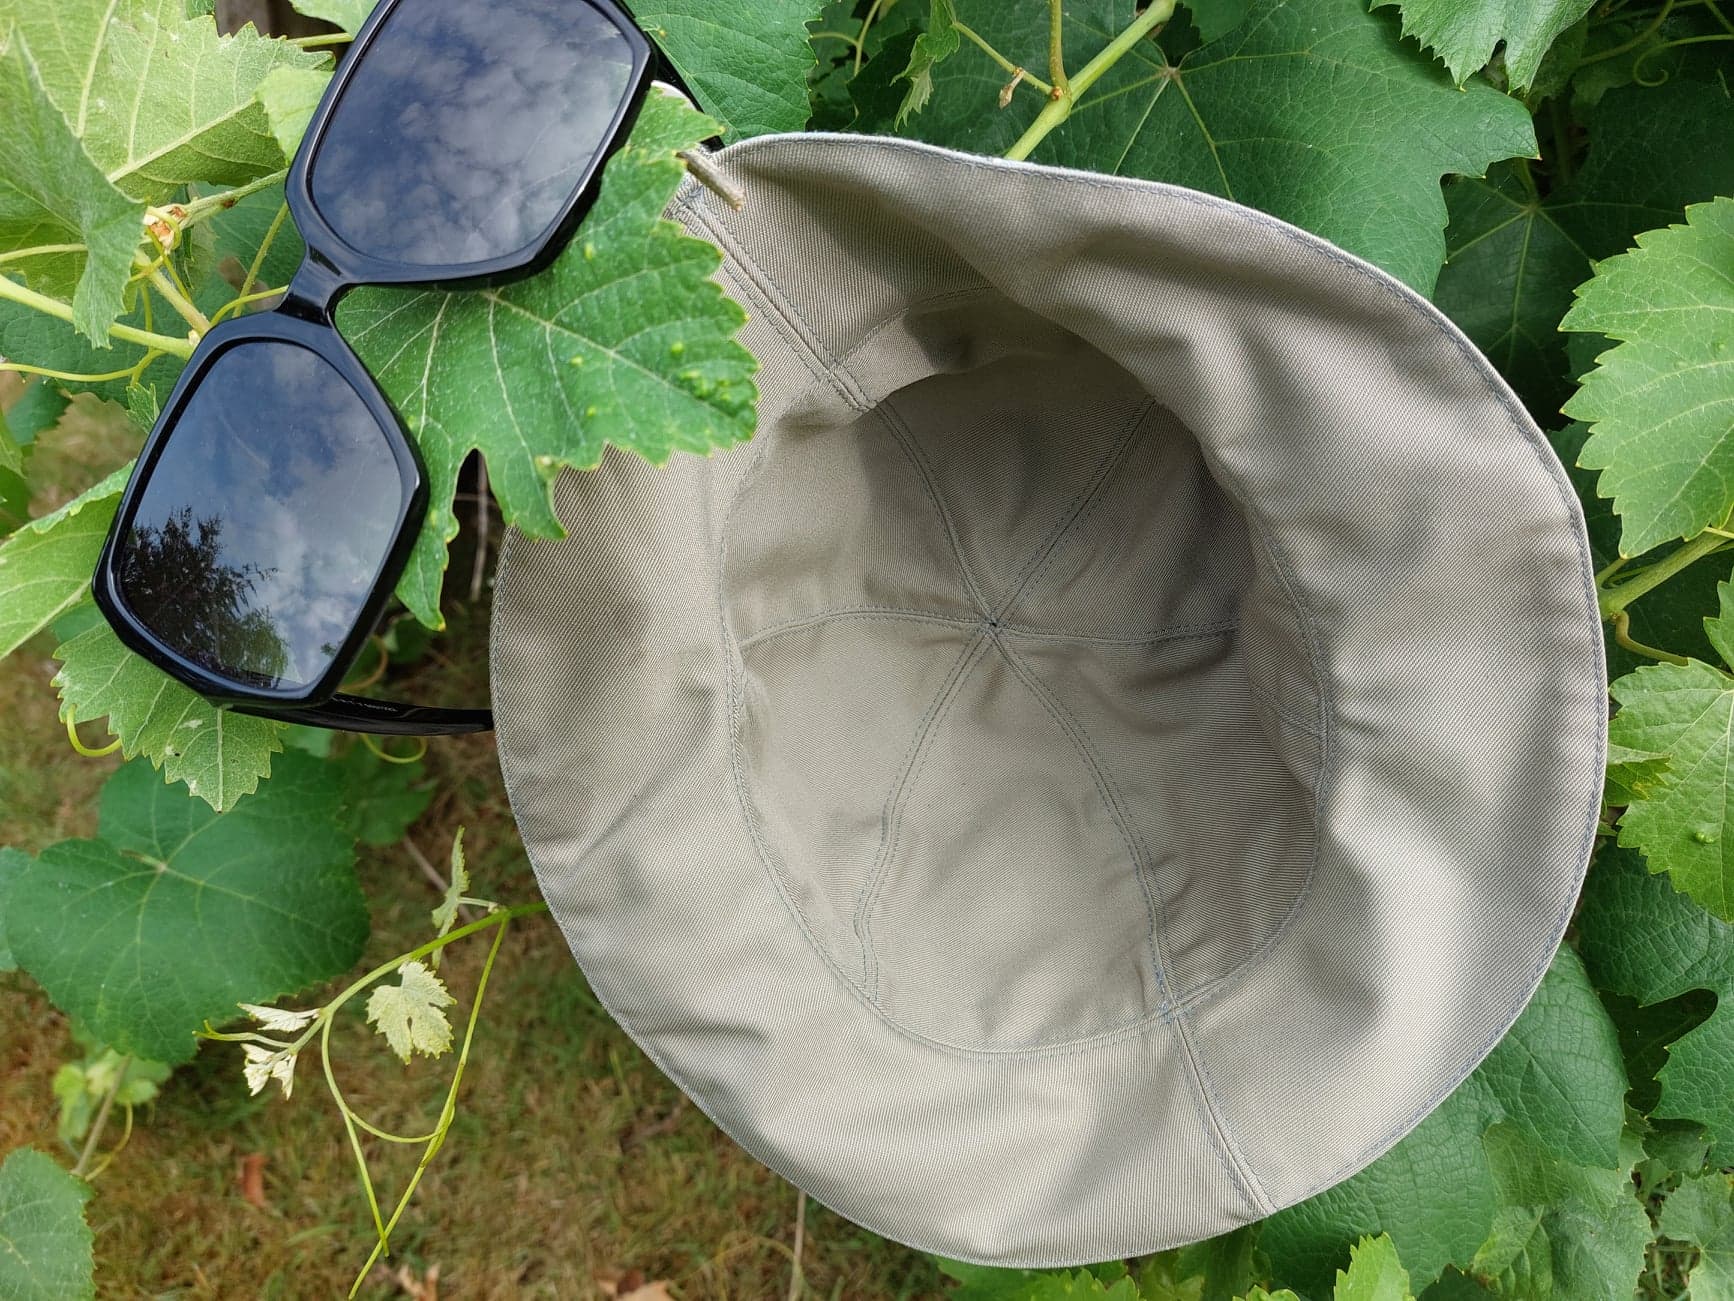
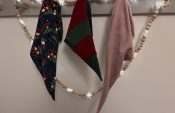
The ring is very comfortable to hang your hat at your handbag,
I look forward to put my hat… ON!


0 Responses