 BERNINA Corporate Blog -
I have a great idea to sew on a rainy day. Sew a rain hat from transparant table cloth or shower curtain. It will be fun and useful to go out on a walk, or to go to a festival! Well, I know, not for extreme cloudbursts, but it might be useful for a drizzle.

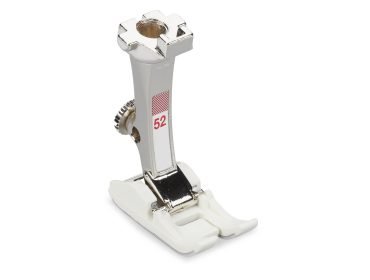
To be honest, I used the same pattern as the summer hat I made last year. You cut it without seam allowance. Zigzag Foot with Non-Stick Sole #52 is a great help for sticky material.
What do you need?
- Table cloth (twice the heigth of the pattern part)
- Transfil nylon sewing thread by Mettler, for upper thread and bobbin thread.
- The pattern in this blogpost (click on the link) ‘sew a sunny summer hat’
- Biastape, 1 m.
- Binder Attachment for Pre-Folded Bias Tape #87 is useful.
- A keyring
- Matching tape, 7 cm.


Let’s sew the rain hat:
Cut the pattern part 6 times, no seam allowance. Assemble as shown in the picture below. The head part is collected as one part and the side part is assembled as one. Cut out.

Sew the open triangles with a zigzag stitch (stitchwidth 5 and stitch length 2,5) using the non sticky presser foot. Just put the parts together, with no overlap. Start sewing from the center towards the edge.

Leave one line open to finish in the end..
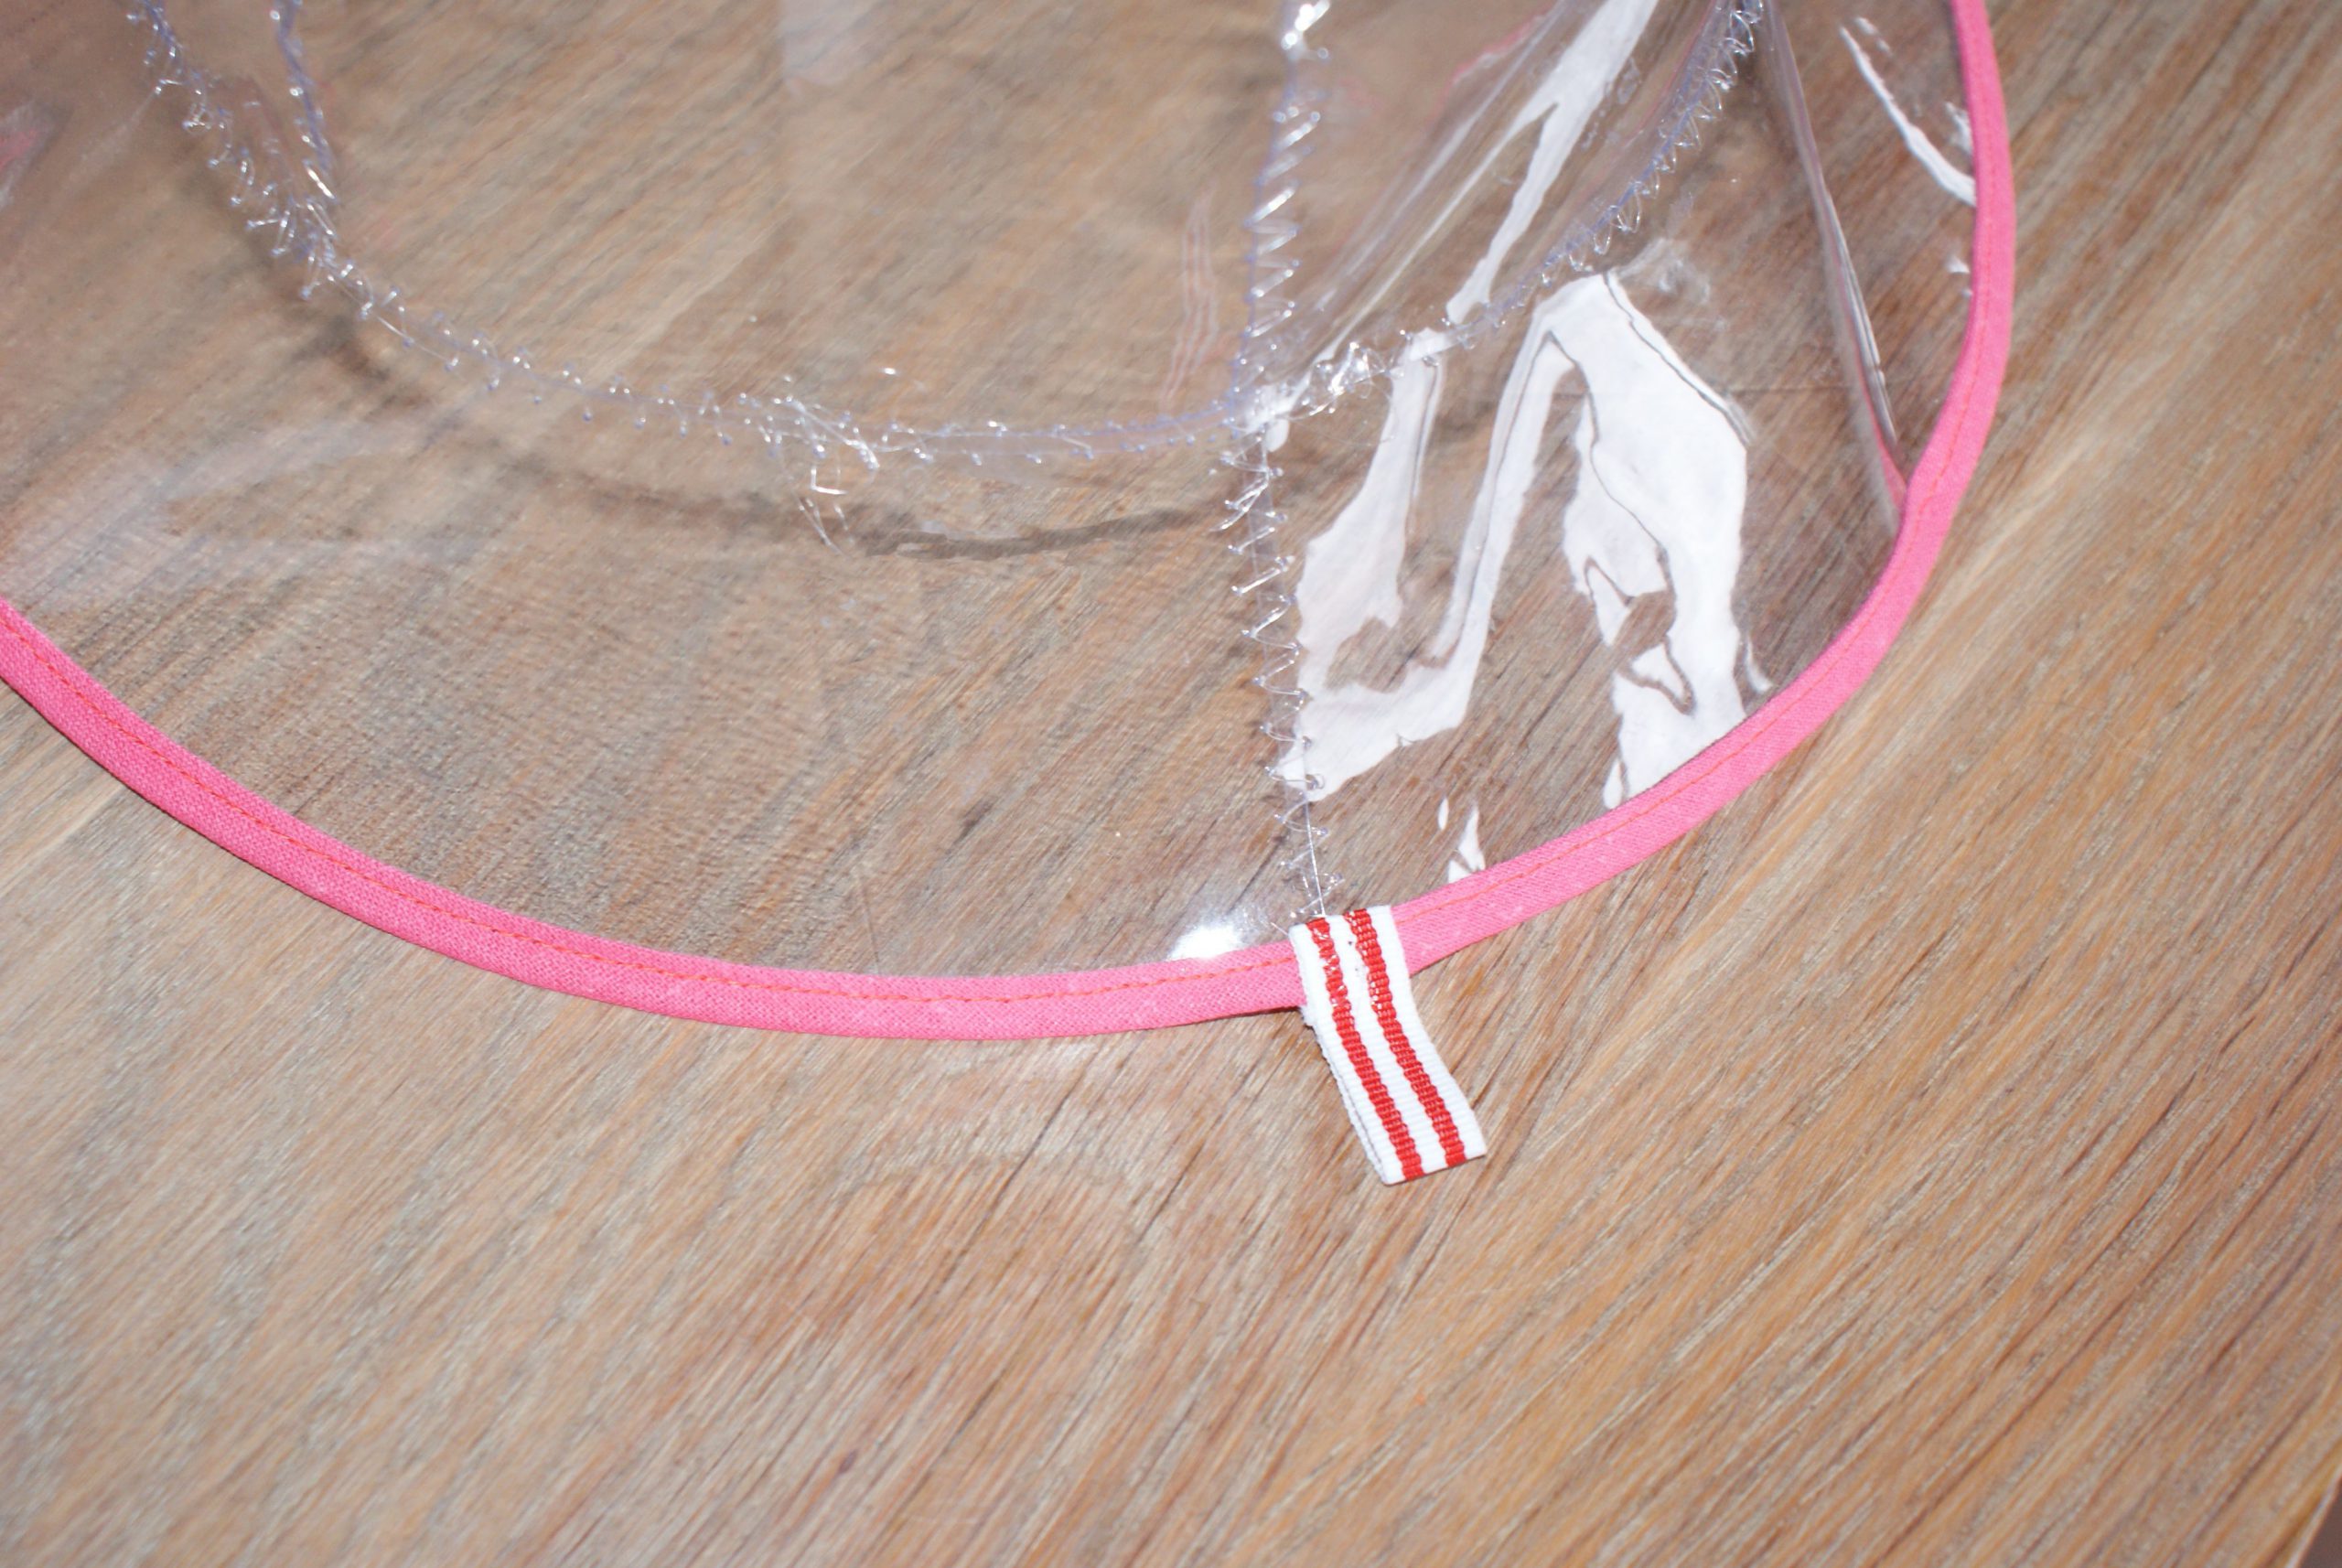
Sew the biastape to the outer edge. I like to use binder attachment 87 with Open Embroidery Foot #20.


This is what we have now:

Sew the head part to the edge, with a zigzag stitch again.
The next seam closes the last part of the head part and the edge of the hat.

The folded tape serves as a loop for the keyring, and helps to camouflage the biastape neatly.
The rain hat is ready
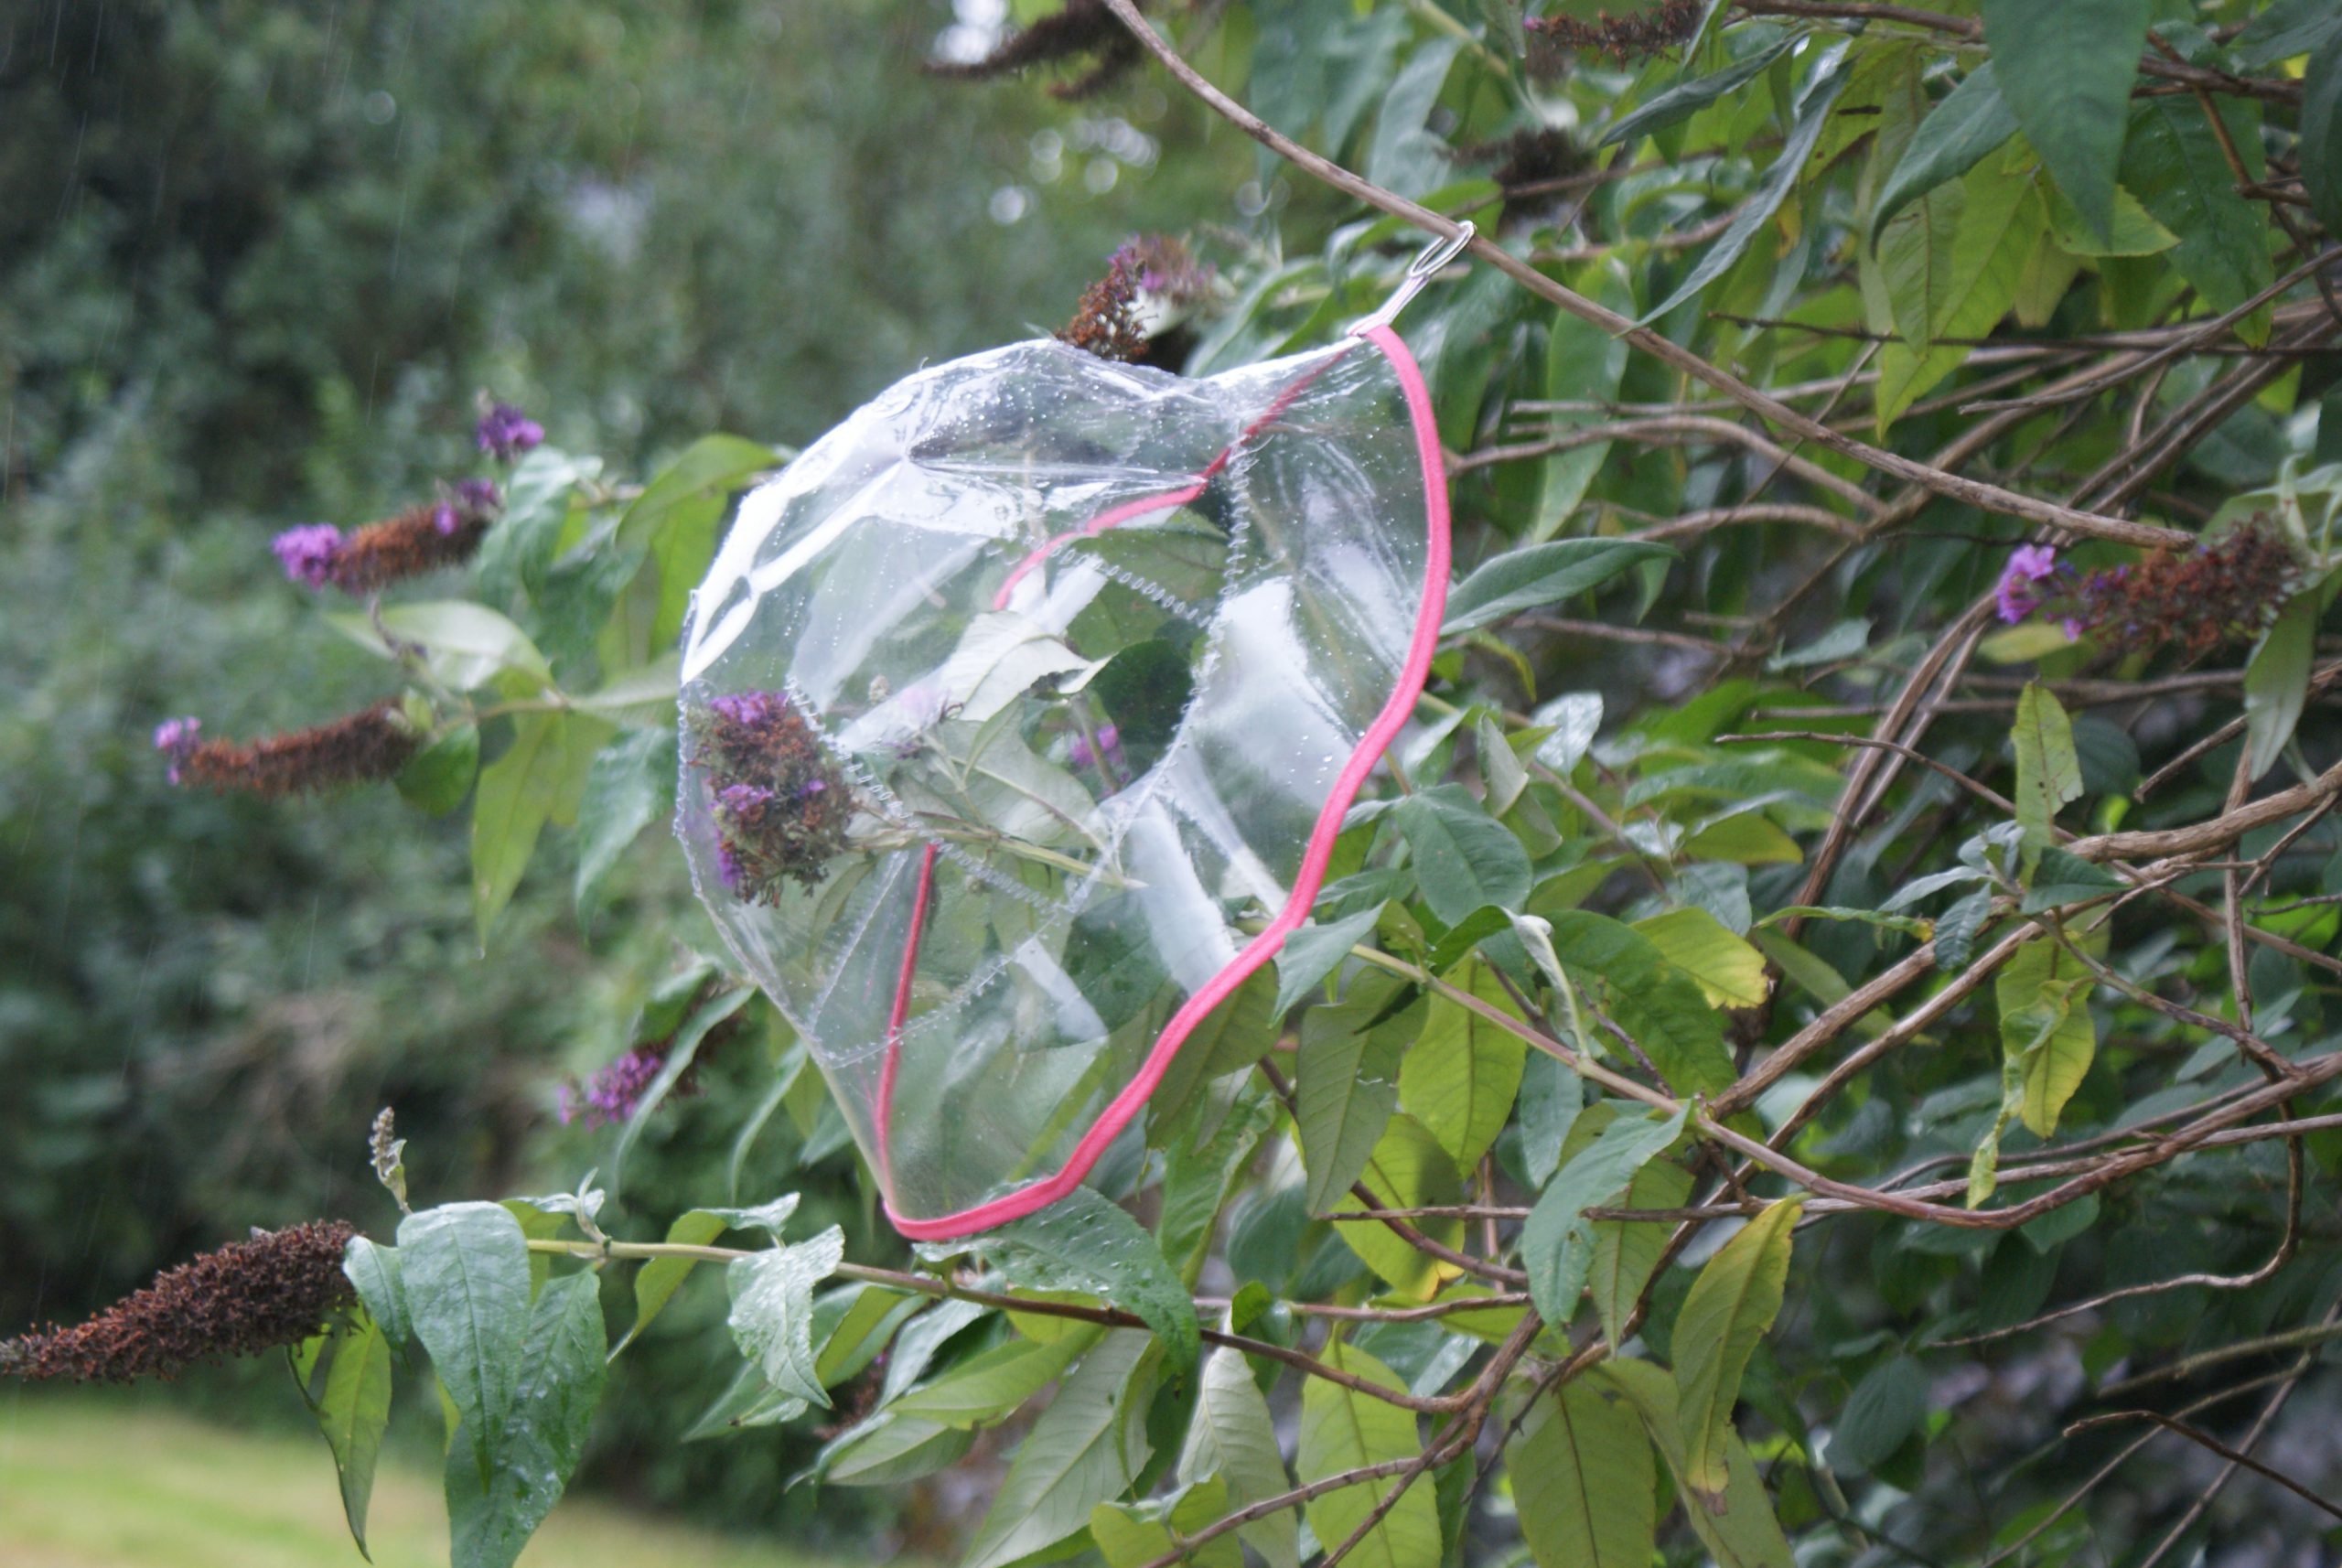
Rain or sunshine, I won’t skip my healthy walk. Sew a rain hat from transparant table cloth. We can take off for the festival!


A great way to reprocess a table cloth or shower curtain and make a unique and useful rain hat. It’s also a fun and easy task that you can do at home.
Onedollar, thank you!