 BERNINA Corporate Blog -
Summer blouse with rolled hem ruffles
It seems like I can’t get enough of ruffles or voilants. I again added ruffles. This time to a nice summer blouse. In this blog I’ll show you how to get the best rolled hem and share some tips for sewing with the bernette 64 AIRLOCK.
Rolled hem ruffles
Ga naar de Nederlandse versie
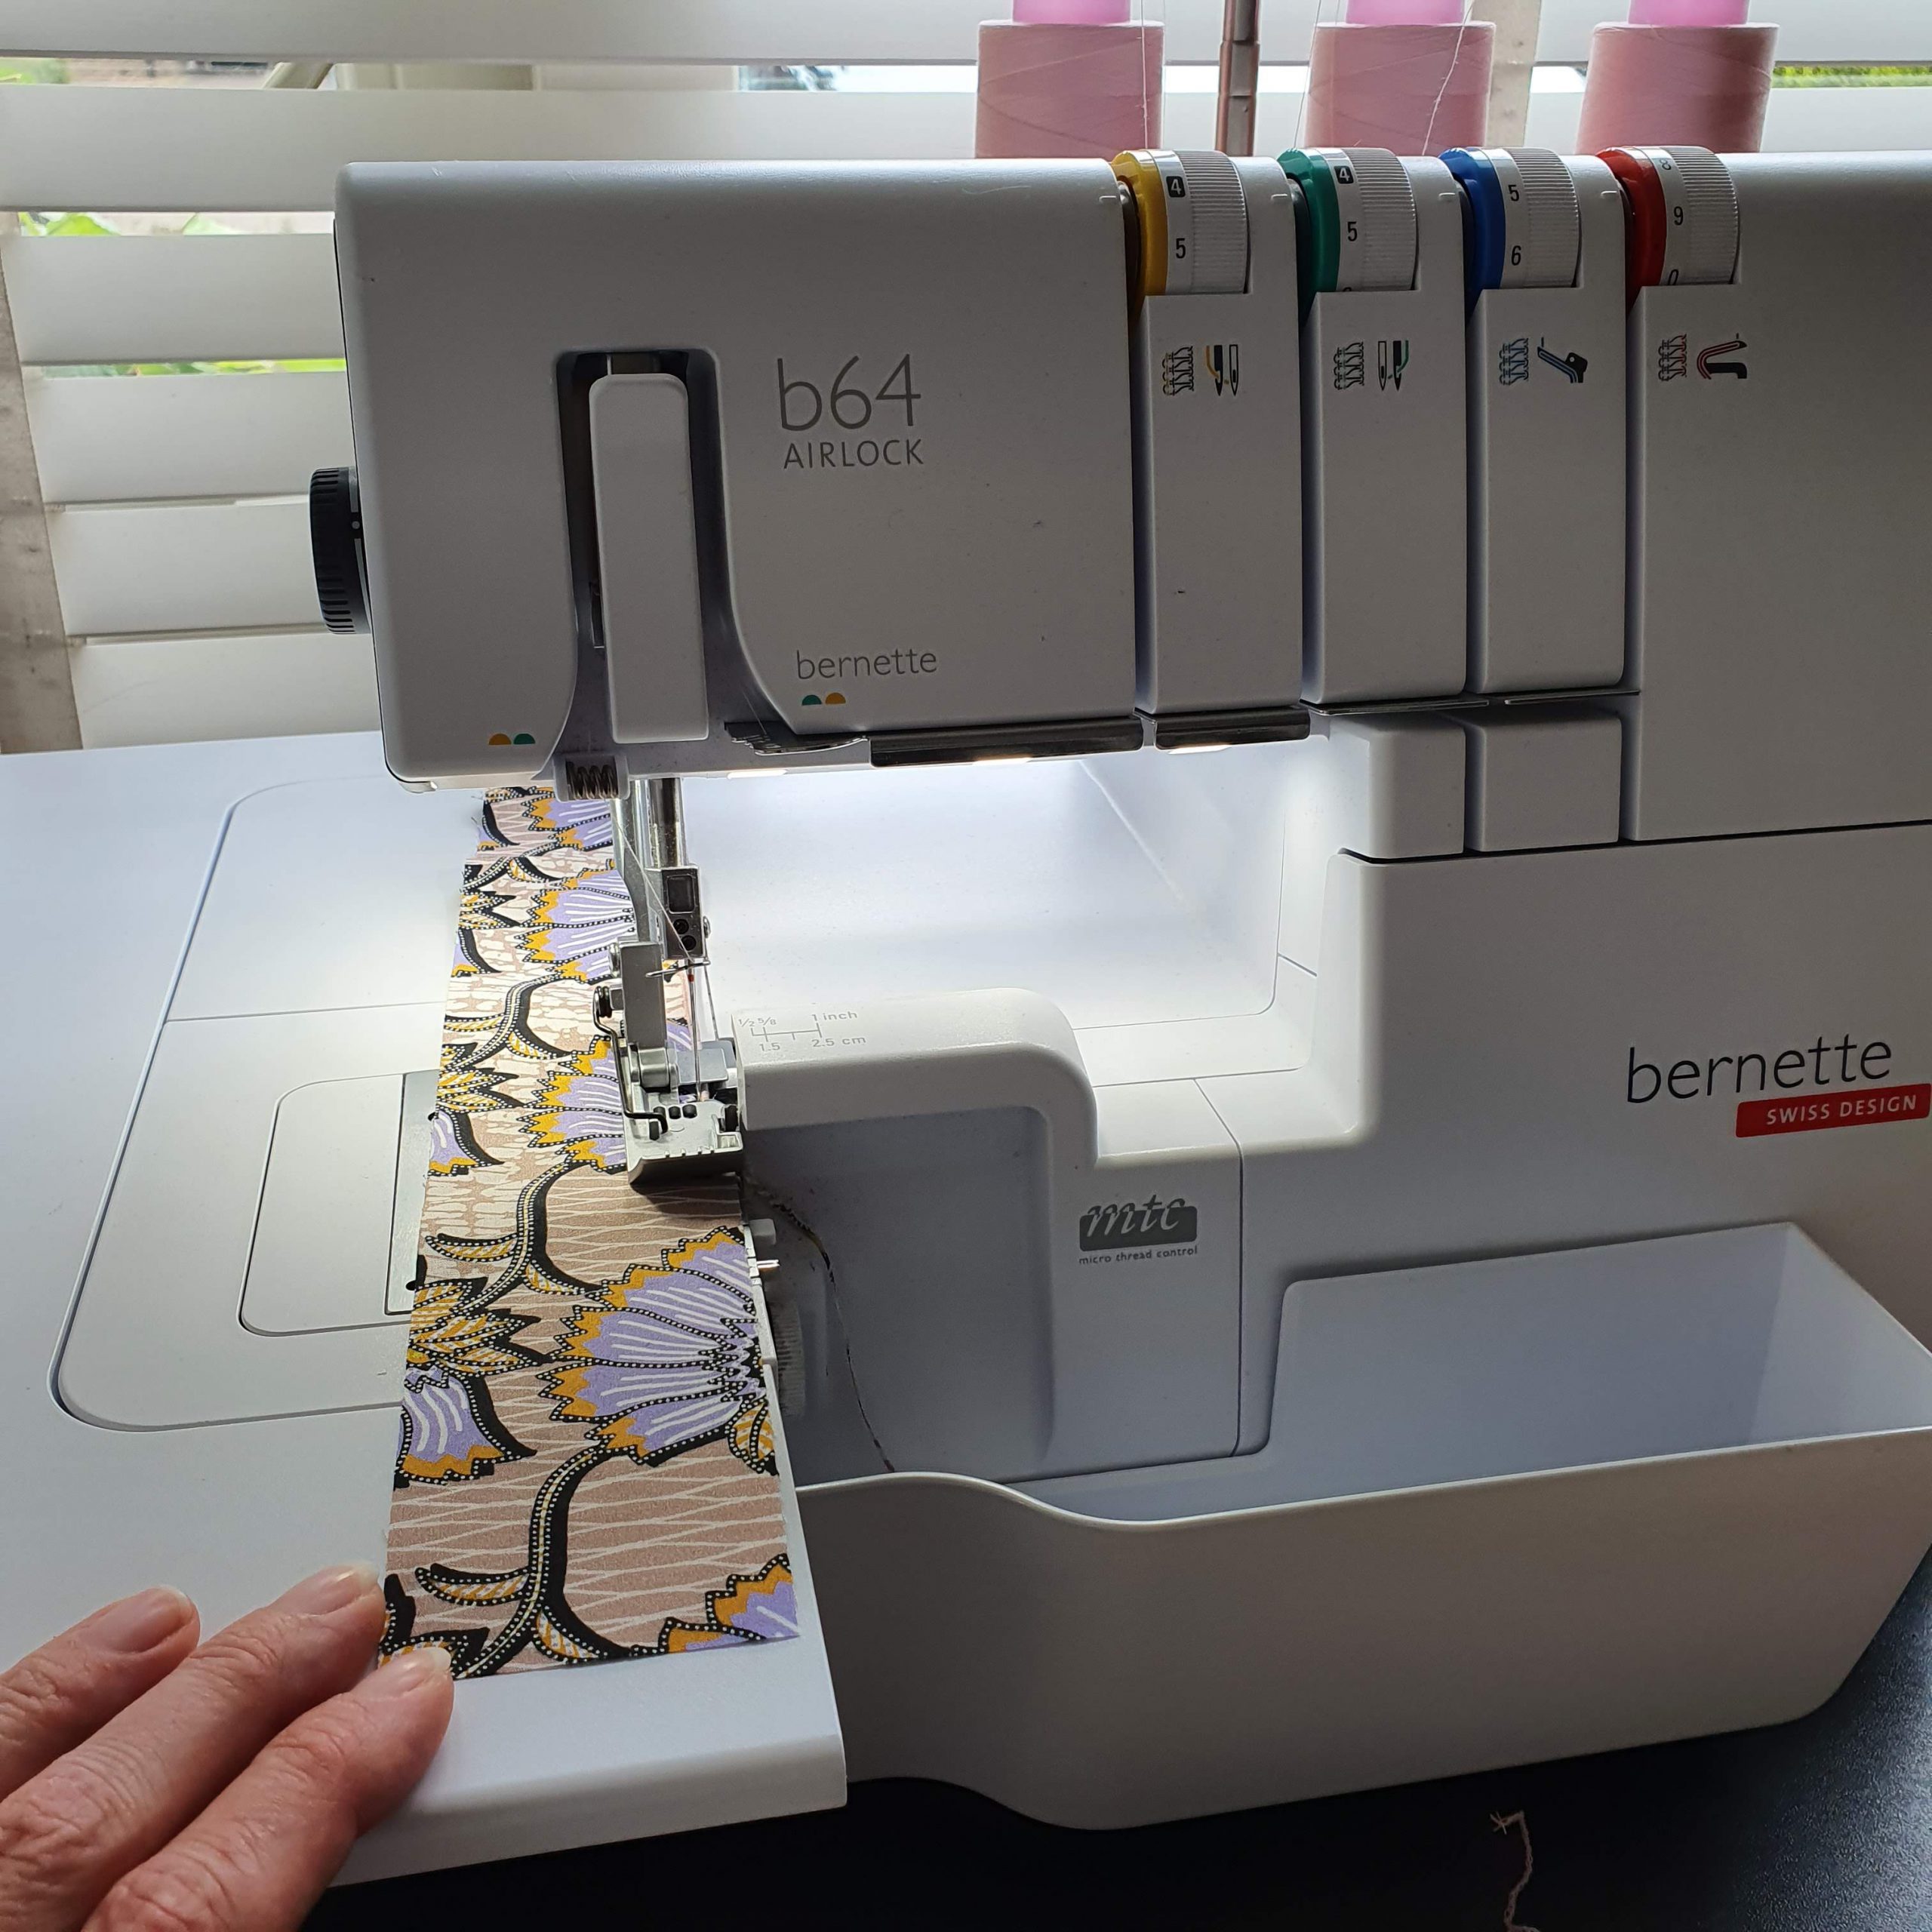
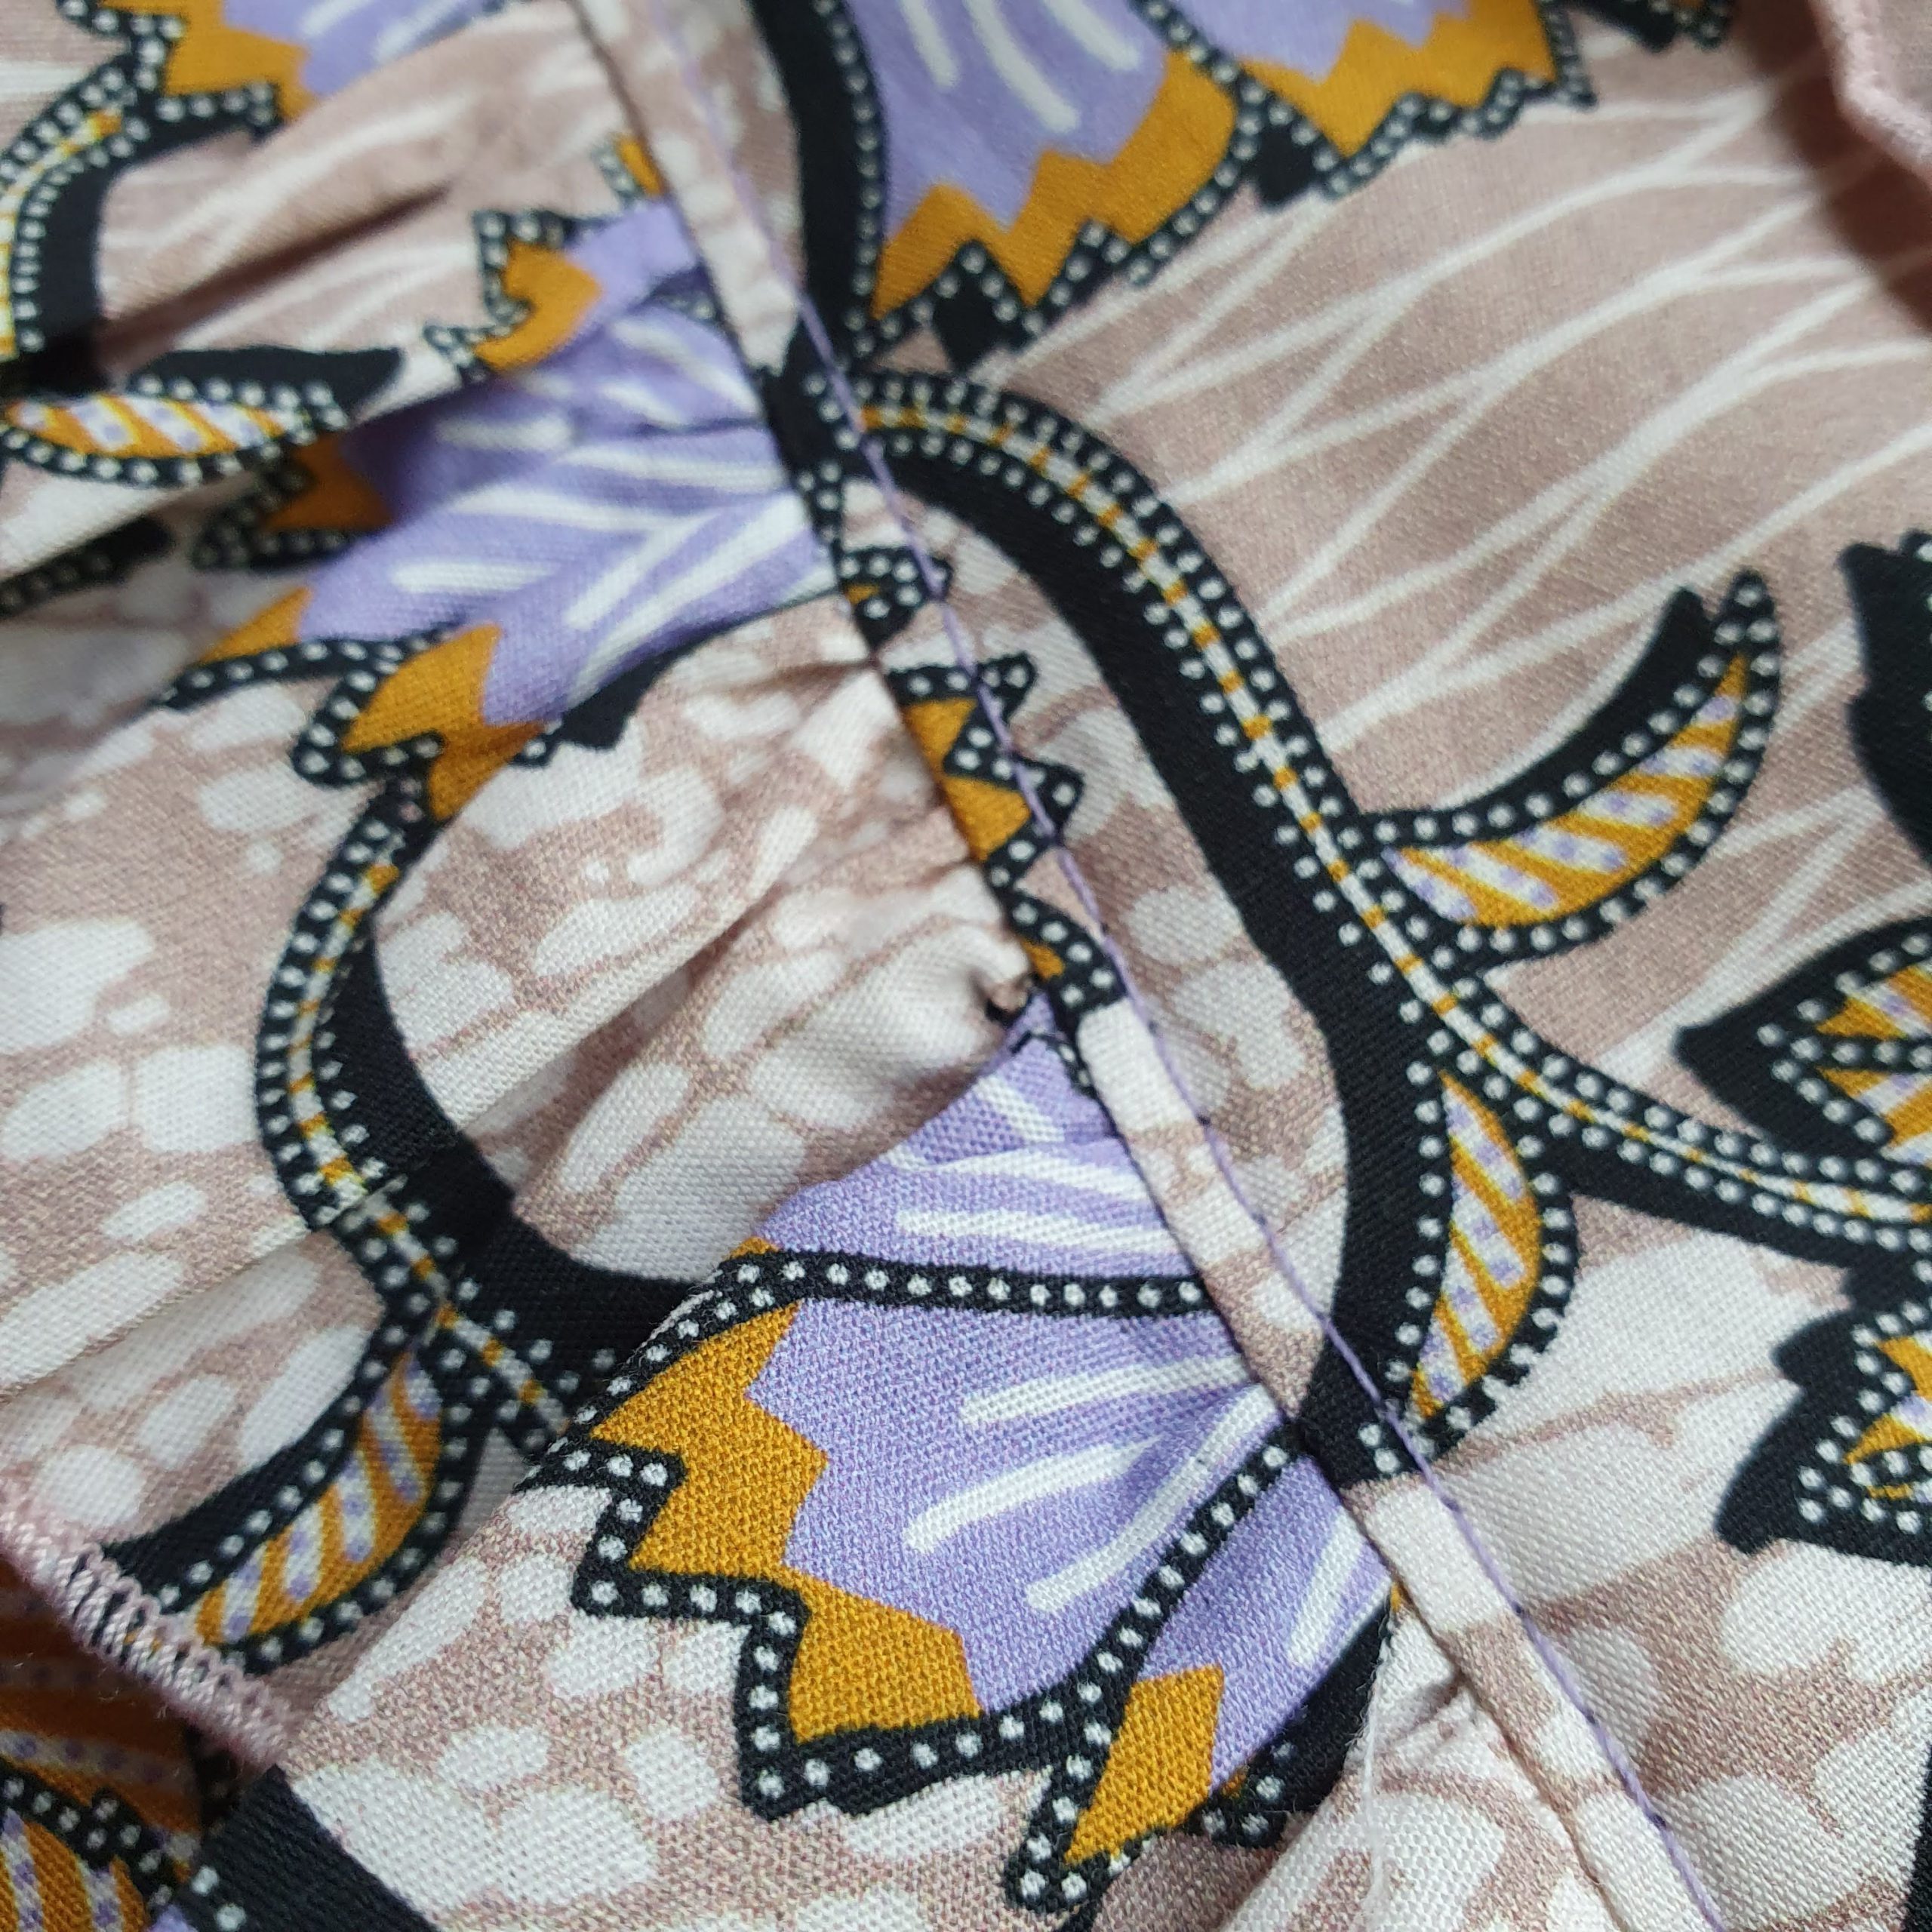
Two ruffles are stitched on both sides of this blouse at the front. The ruffles are straight strips that you first finish on one side with a rolled hem. With a rolled hem, the thread from the upper looper loops around the edge. The lower looper thread runs straight with the needle thread on the underside. To find the right setting for the fabric used, first make (a few) test pieces.
Basic settings
Start off by using only the right needle for the rolled hem. Remove the left needle and thread spool first. Make sure your right needle is in good condition. I would recommend to use a new needle just to be sure, because the rolled hem will be clearly visible and you want it to work out as optimally as possible. Use a good quality overlocker thread. For this project I’m using Seracor overlocker thread from Mettler.
In the user manual, the basic settings are shown as follows:
- Rolled hem lever on ‘R’
- Thread tension
- right needle: 4.5
- upper looper thread: 5
- lower looper thread: 7
- Cutting width (blade): 5
- Stitch length: 1.5
- Differential: 1
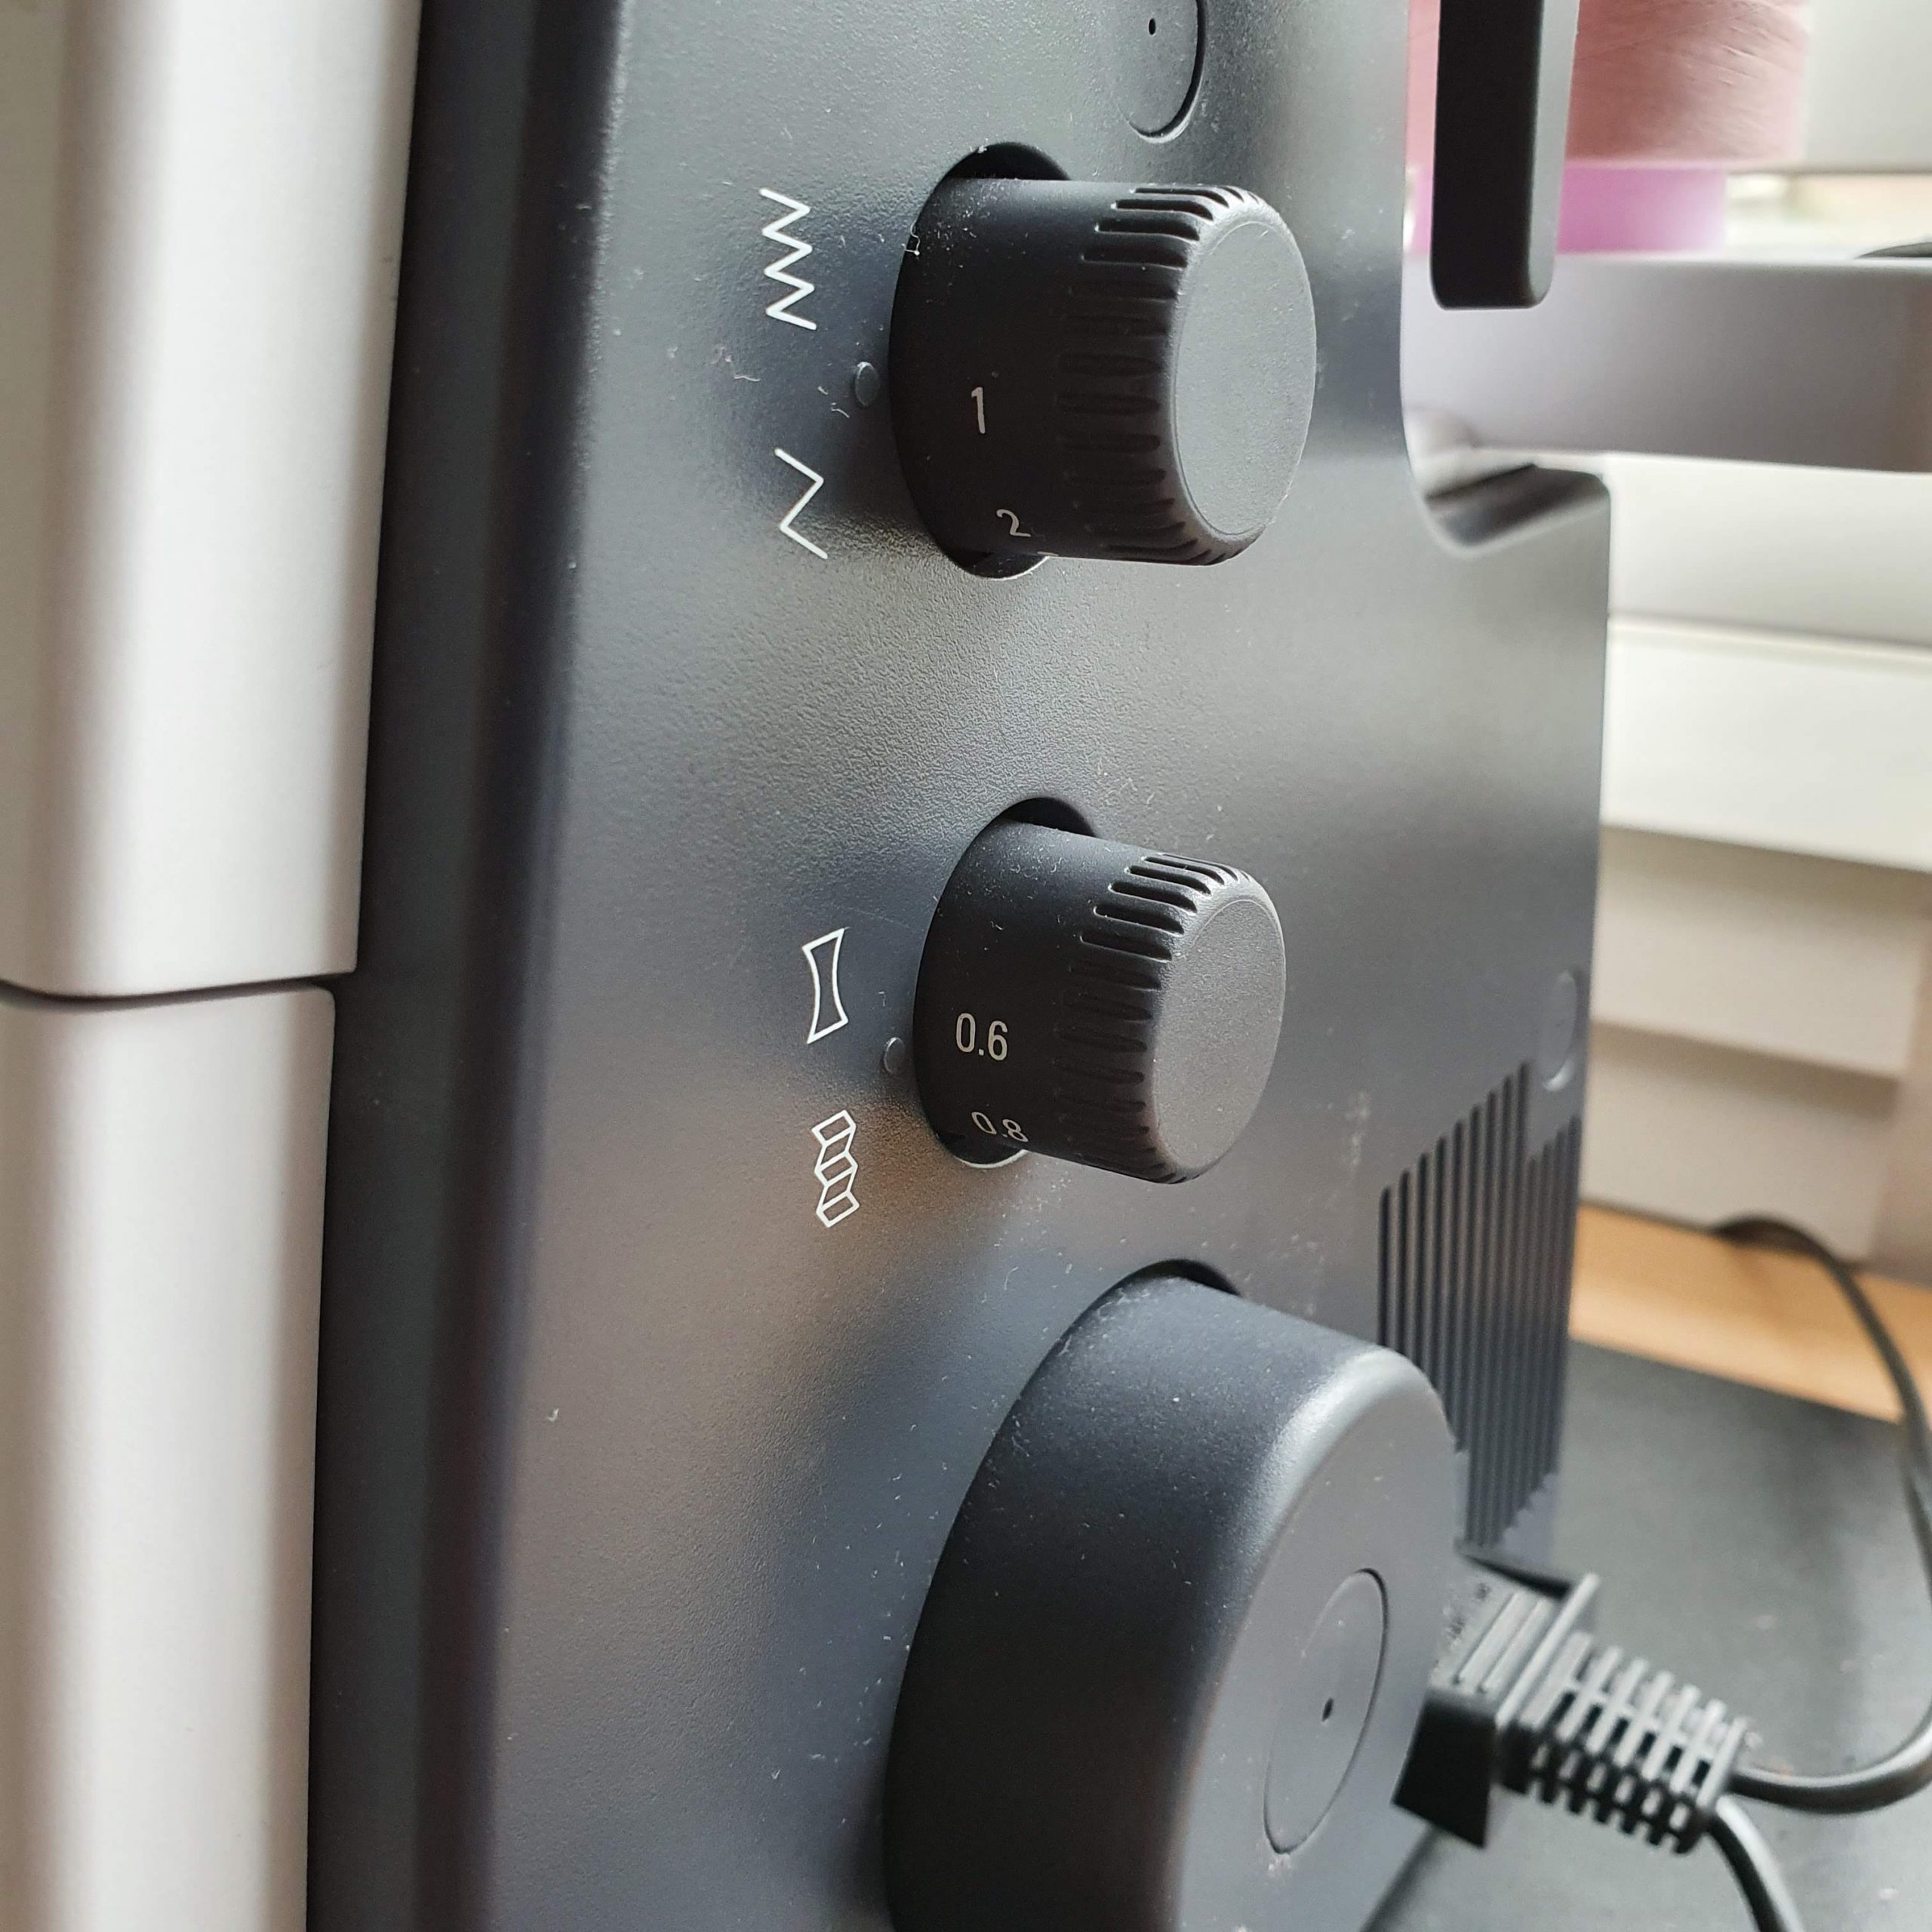
Adjustments
The rolled edge is slightly different for every fabric. With the explanation under the heading ‘Sewing test’ in the user manual, you can adjust the settings if necessary.
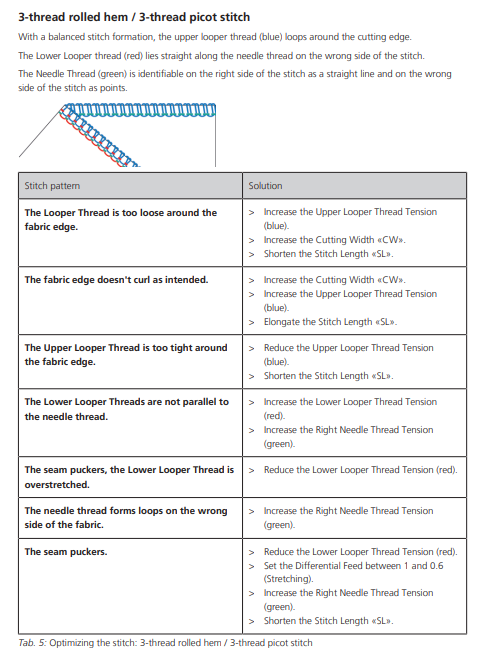
For the cotton used, the tension of the lower looper thread went a bit higher (7.5), the stitch length to 1 and the differential to 0.6. With this I partly followed the instruction for when the seam puckers. This is a matter of test swatches.
Adjustments
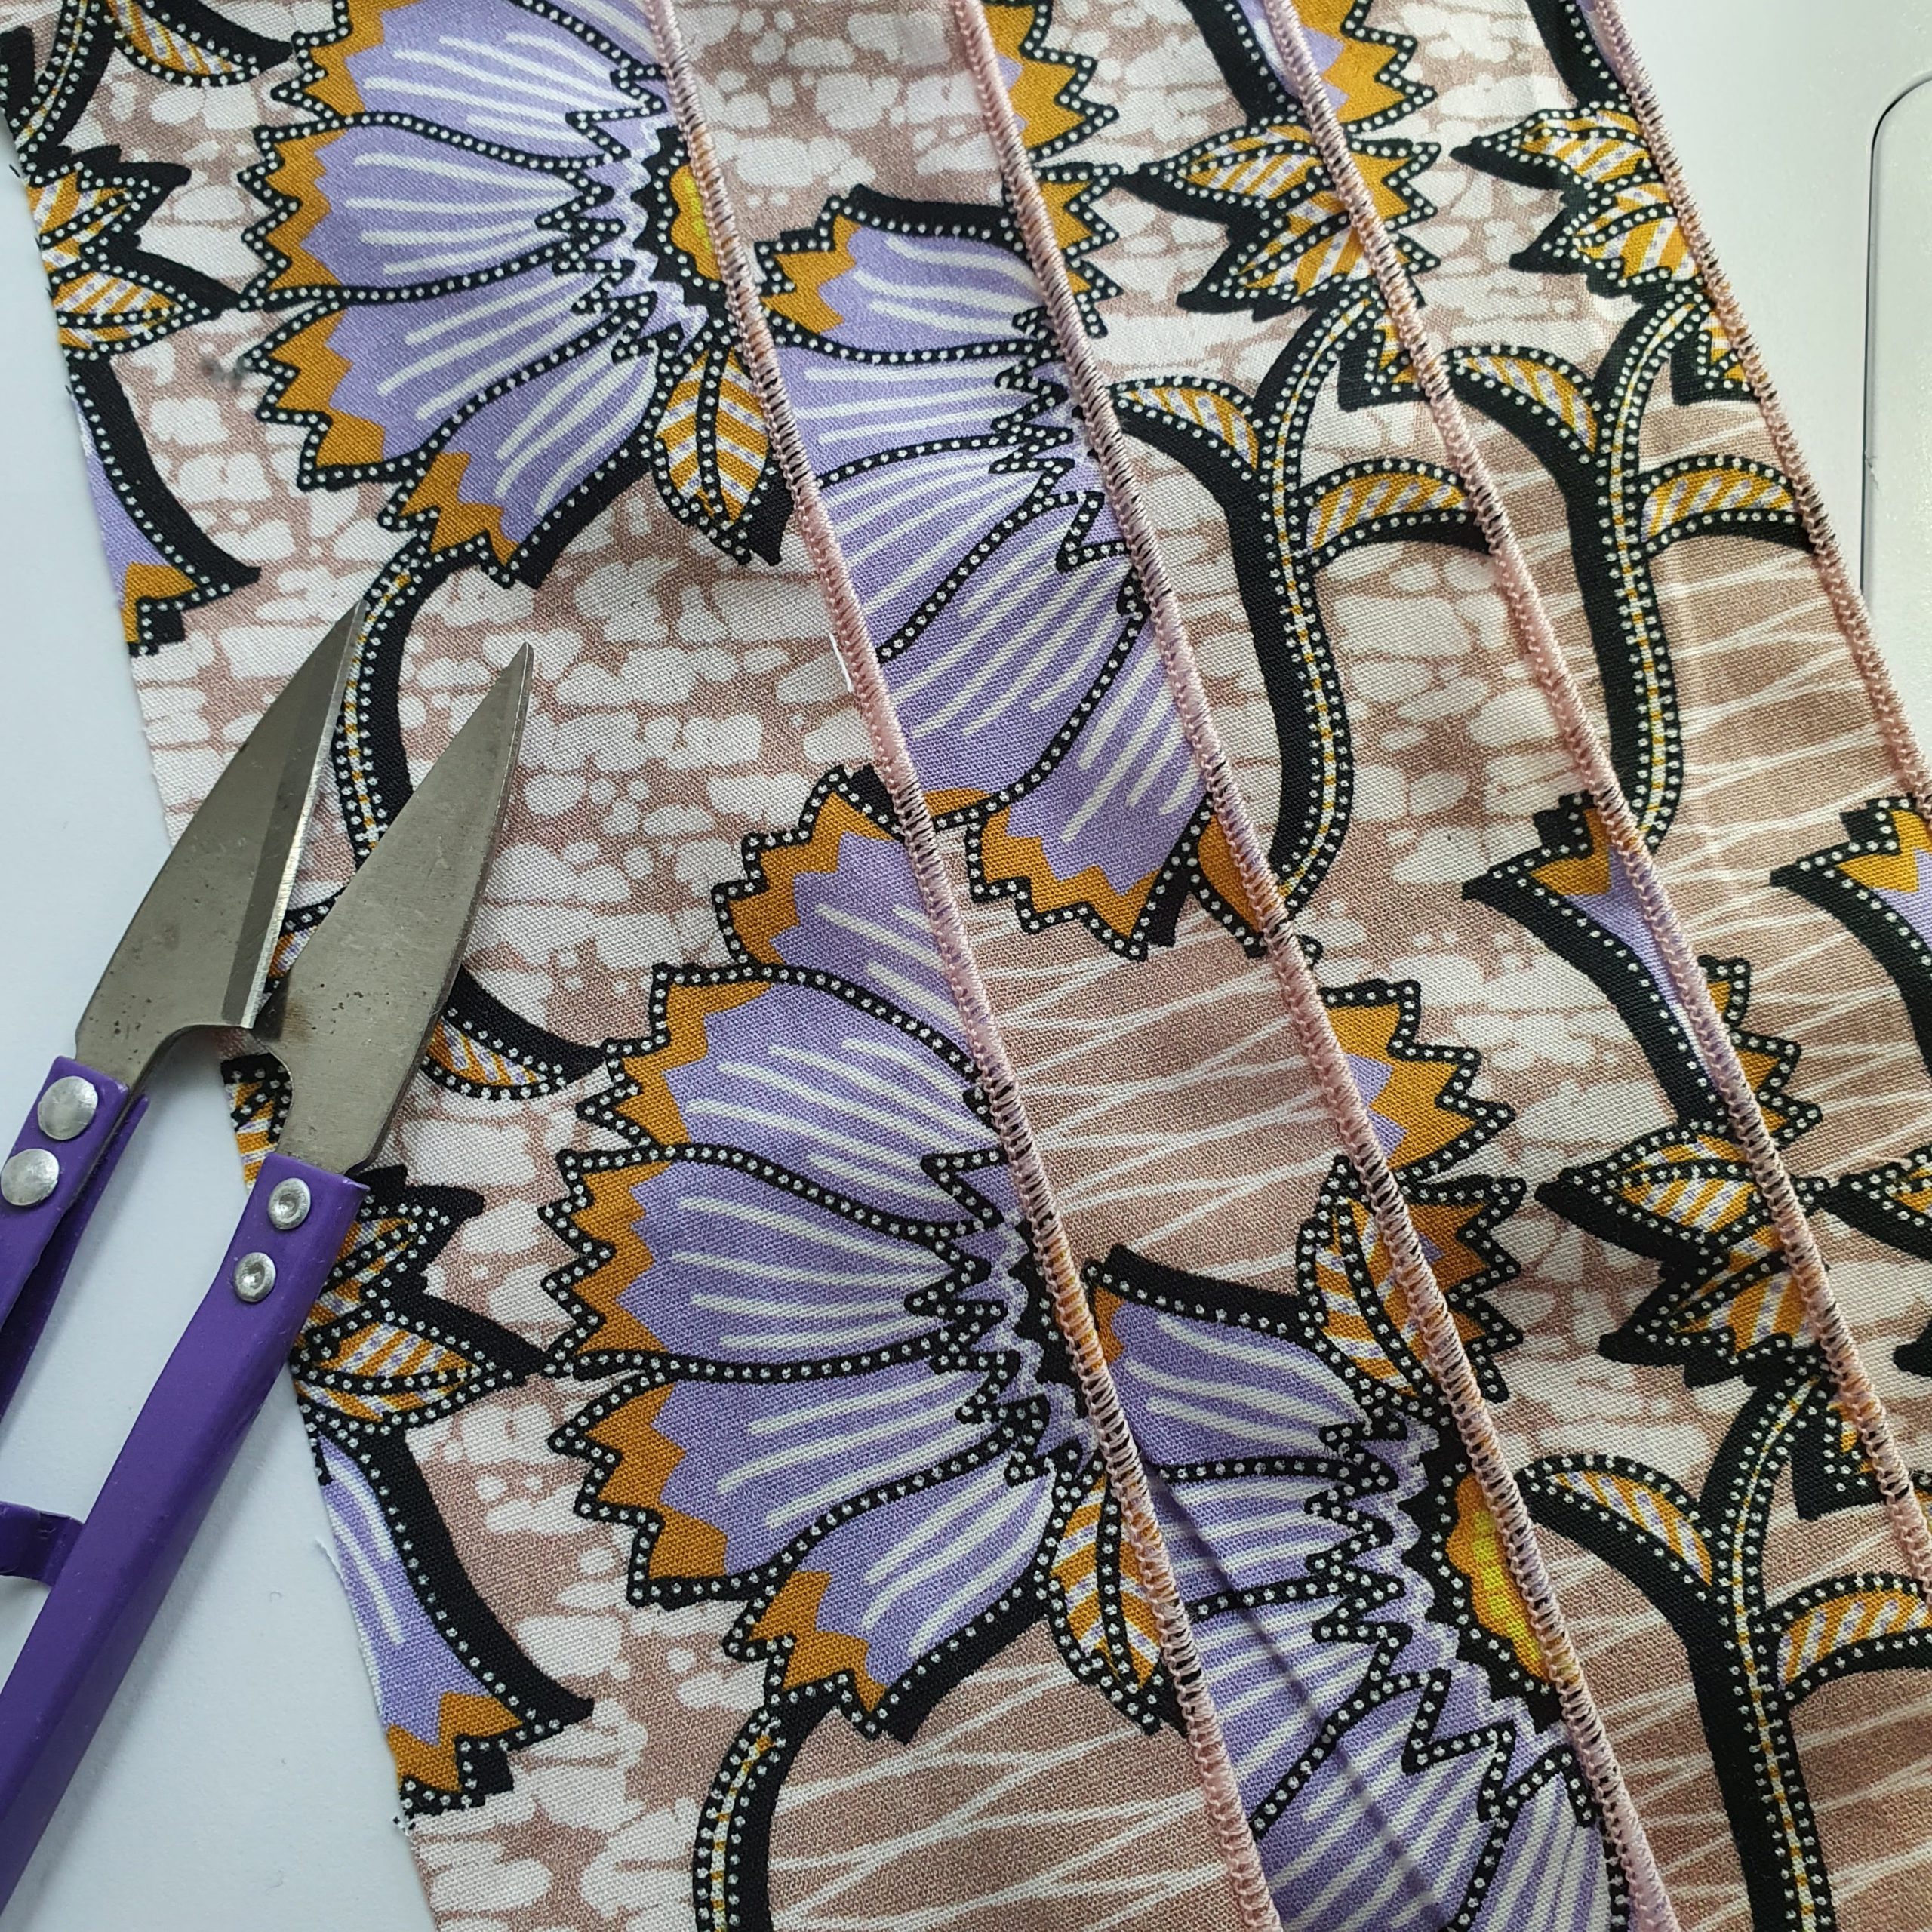
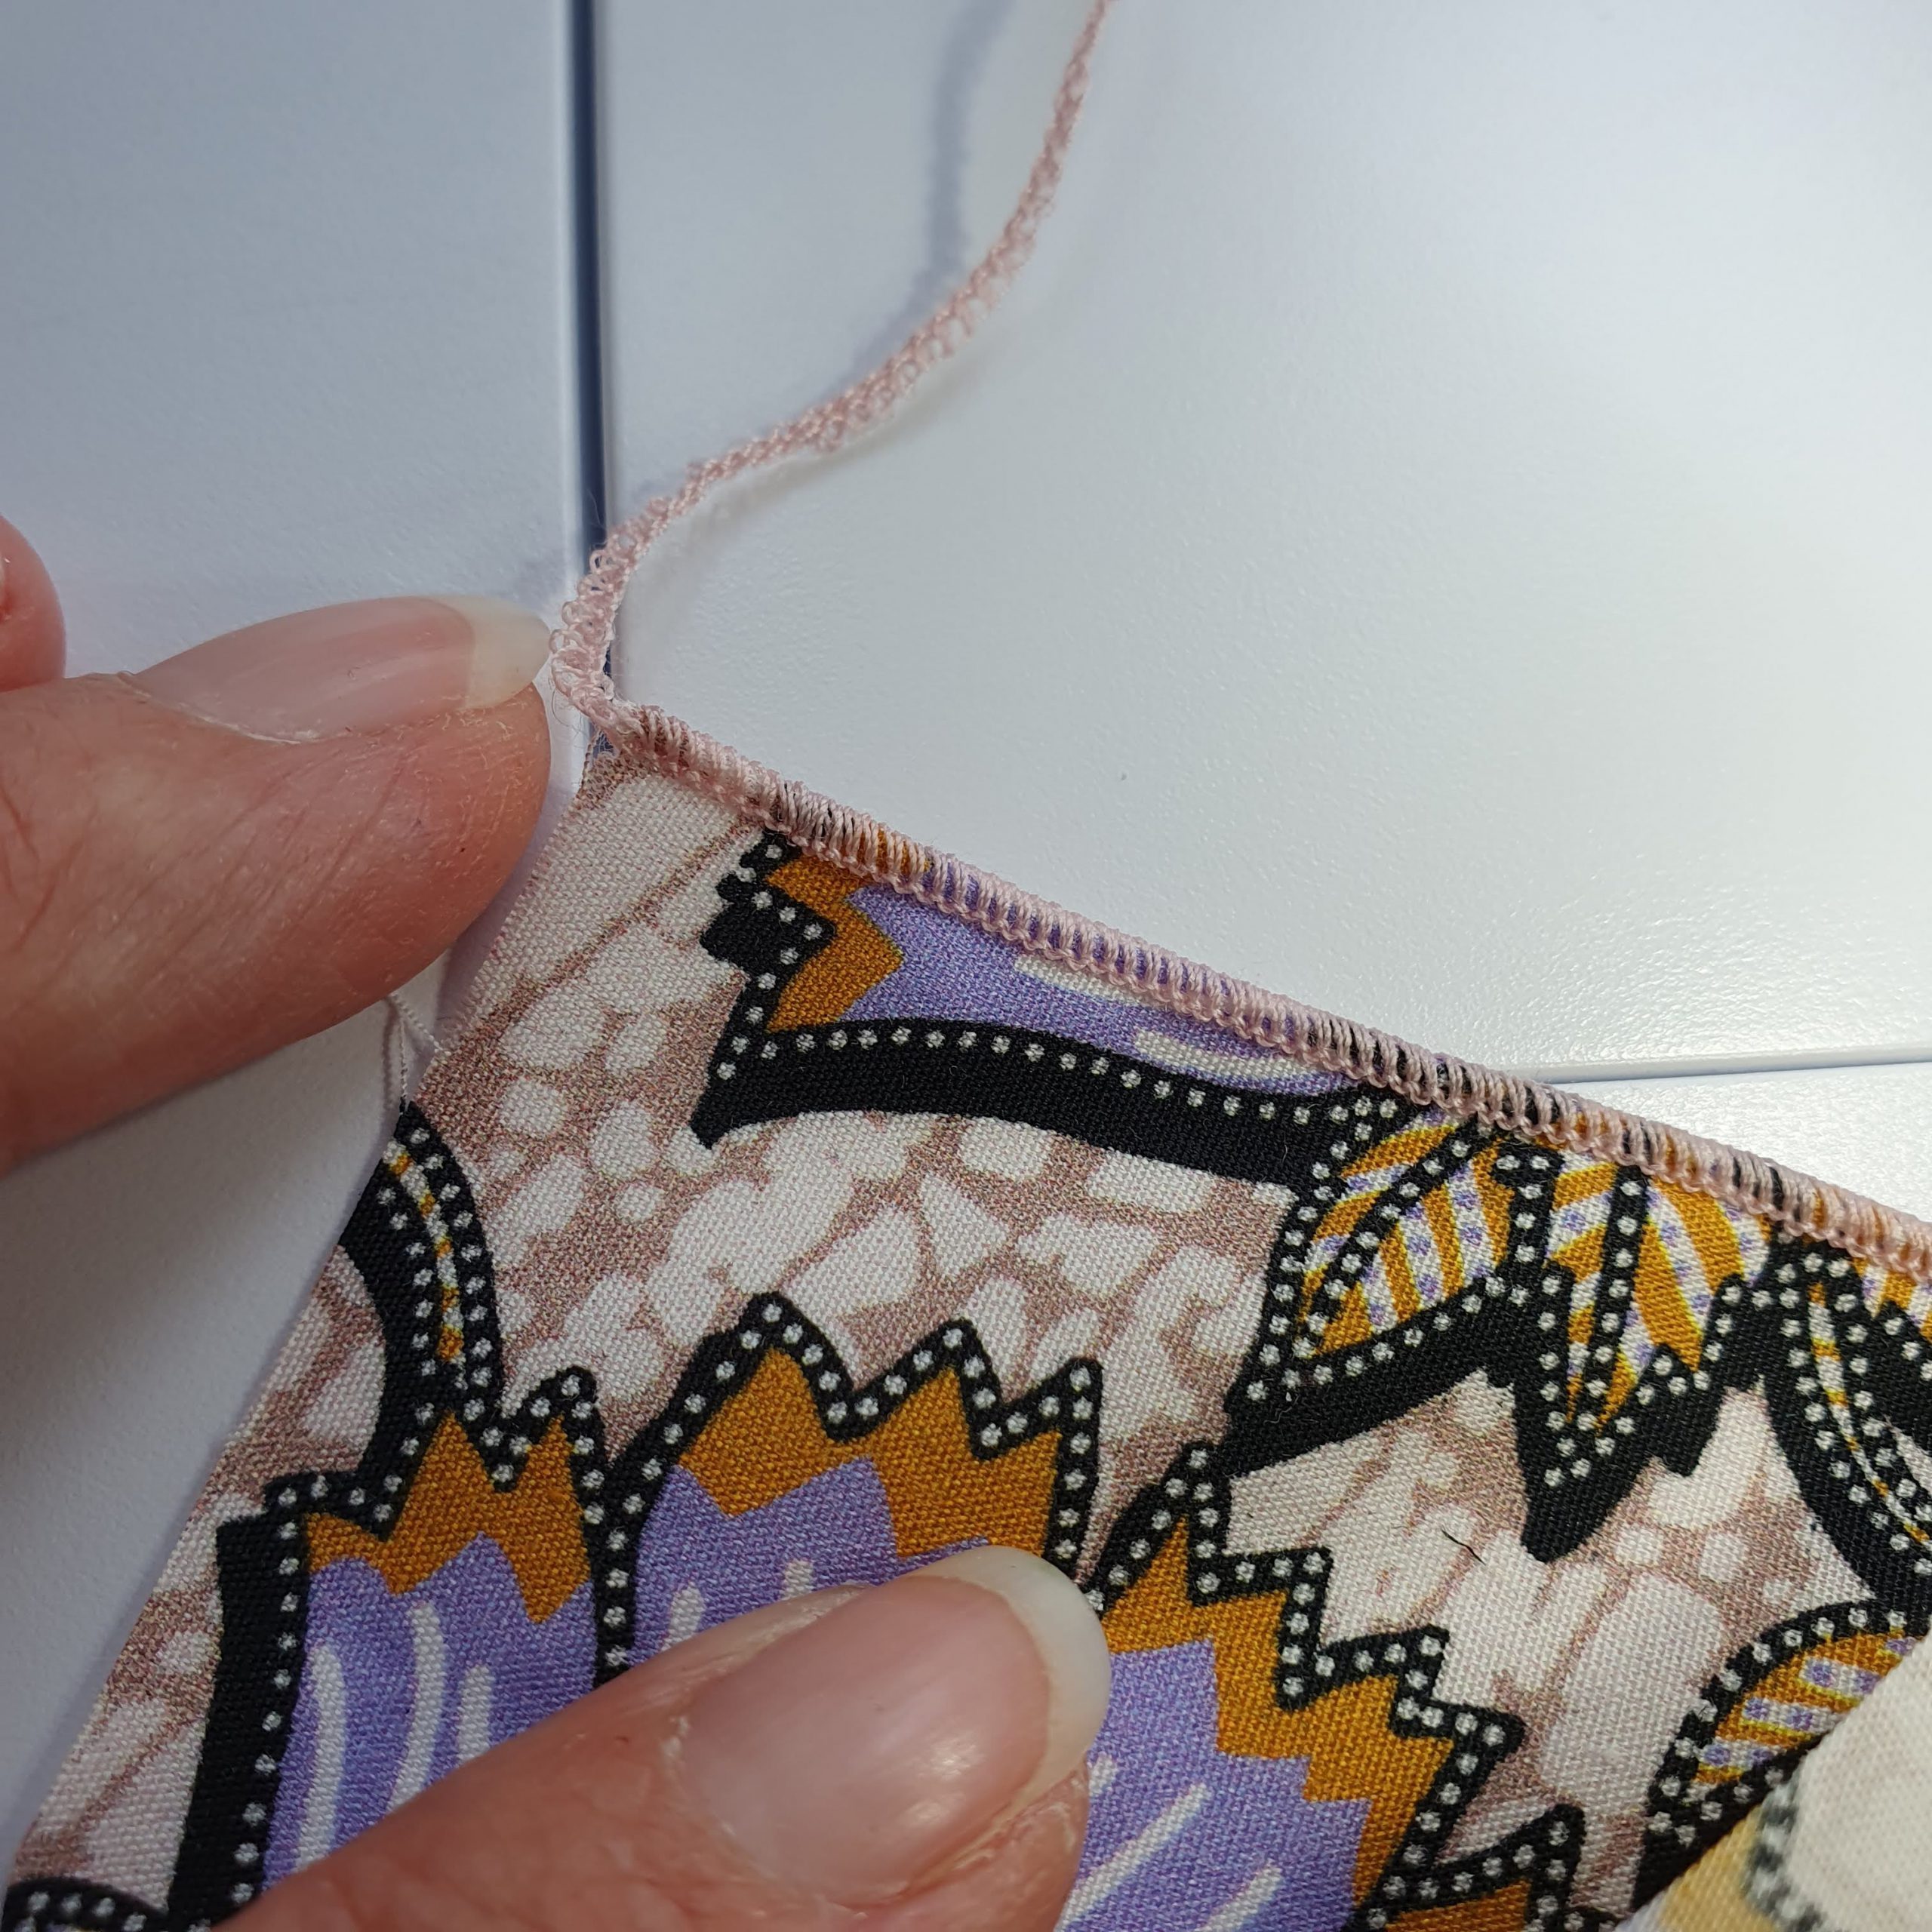
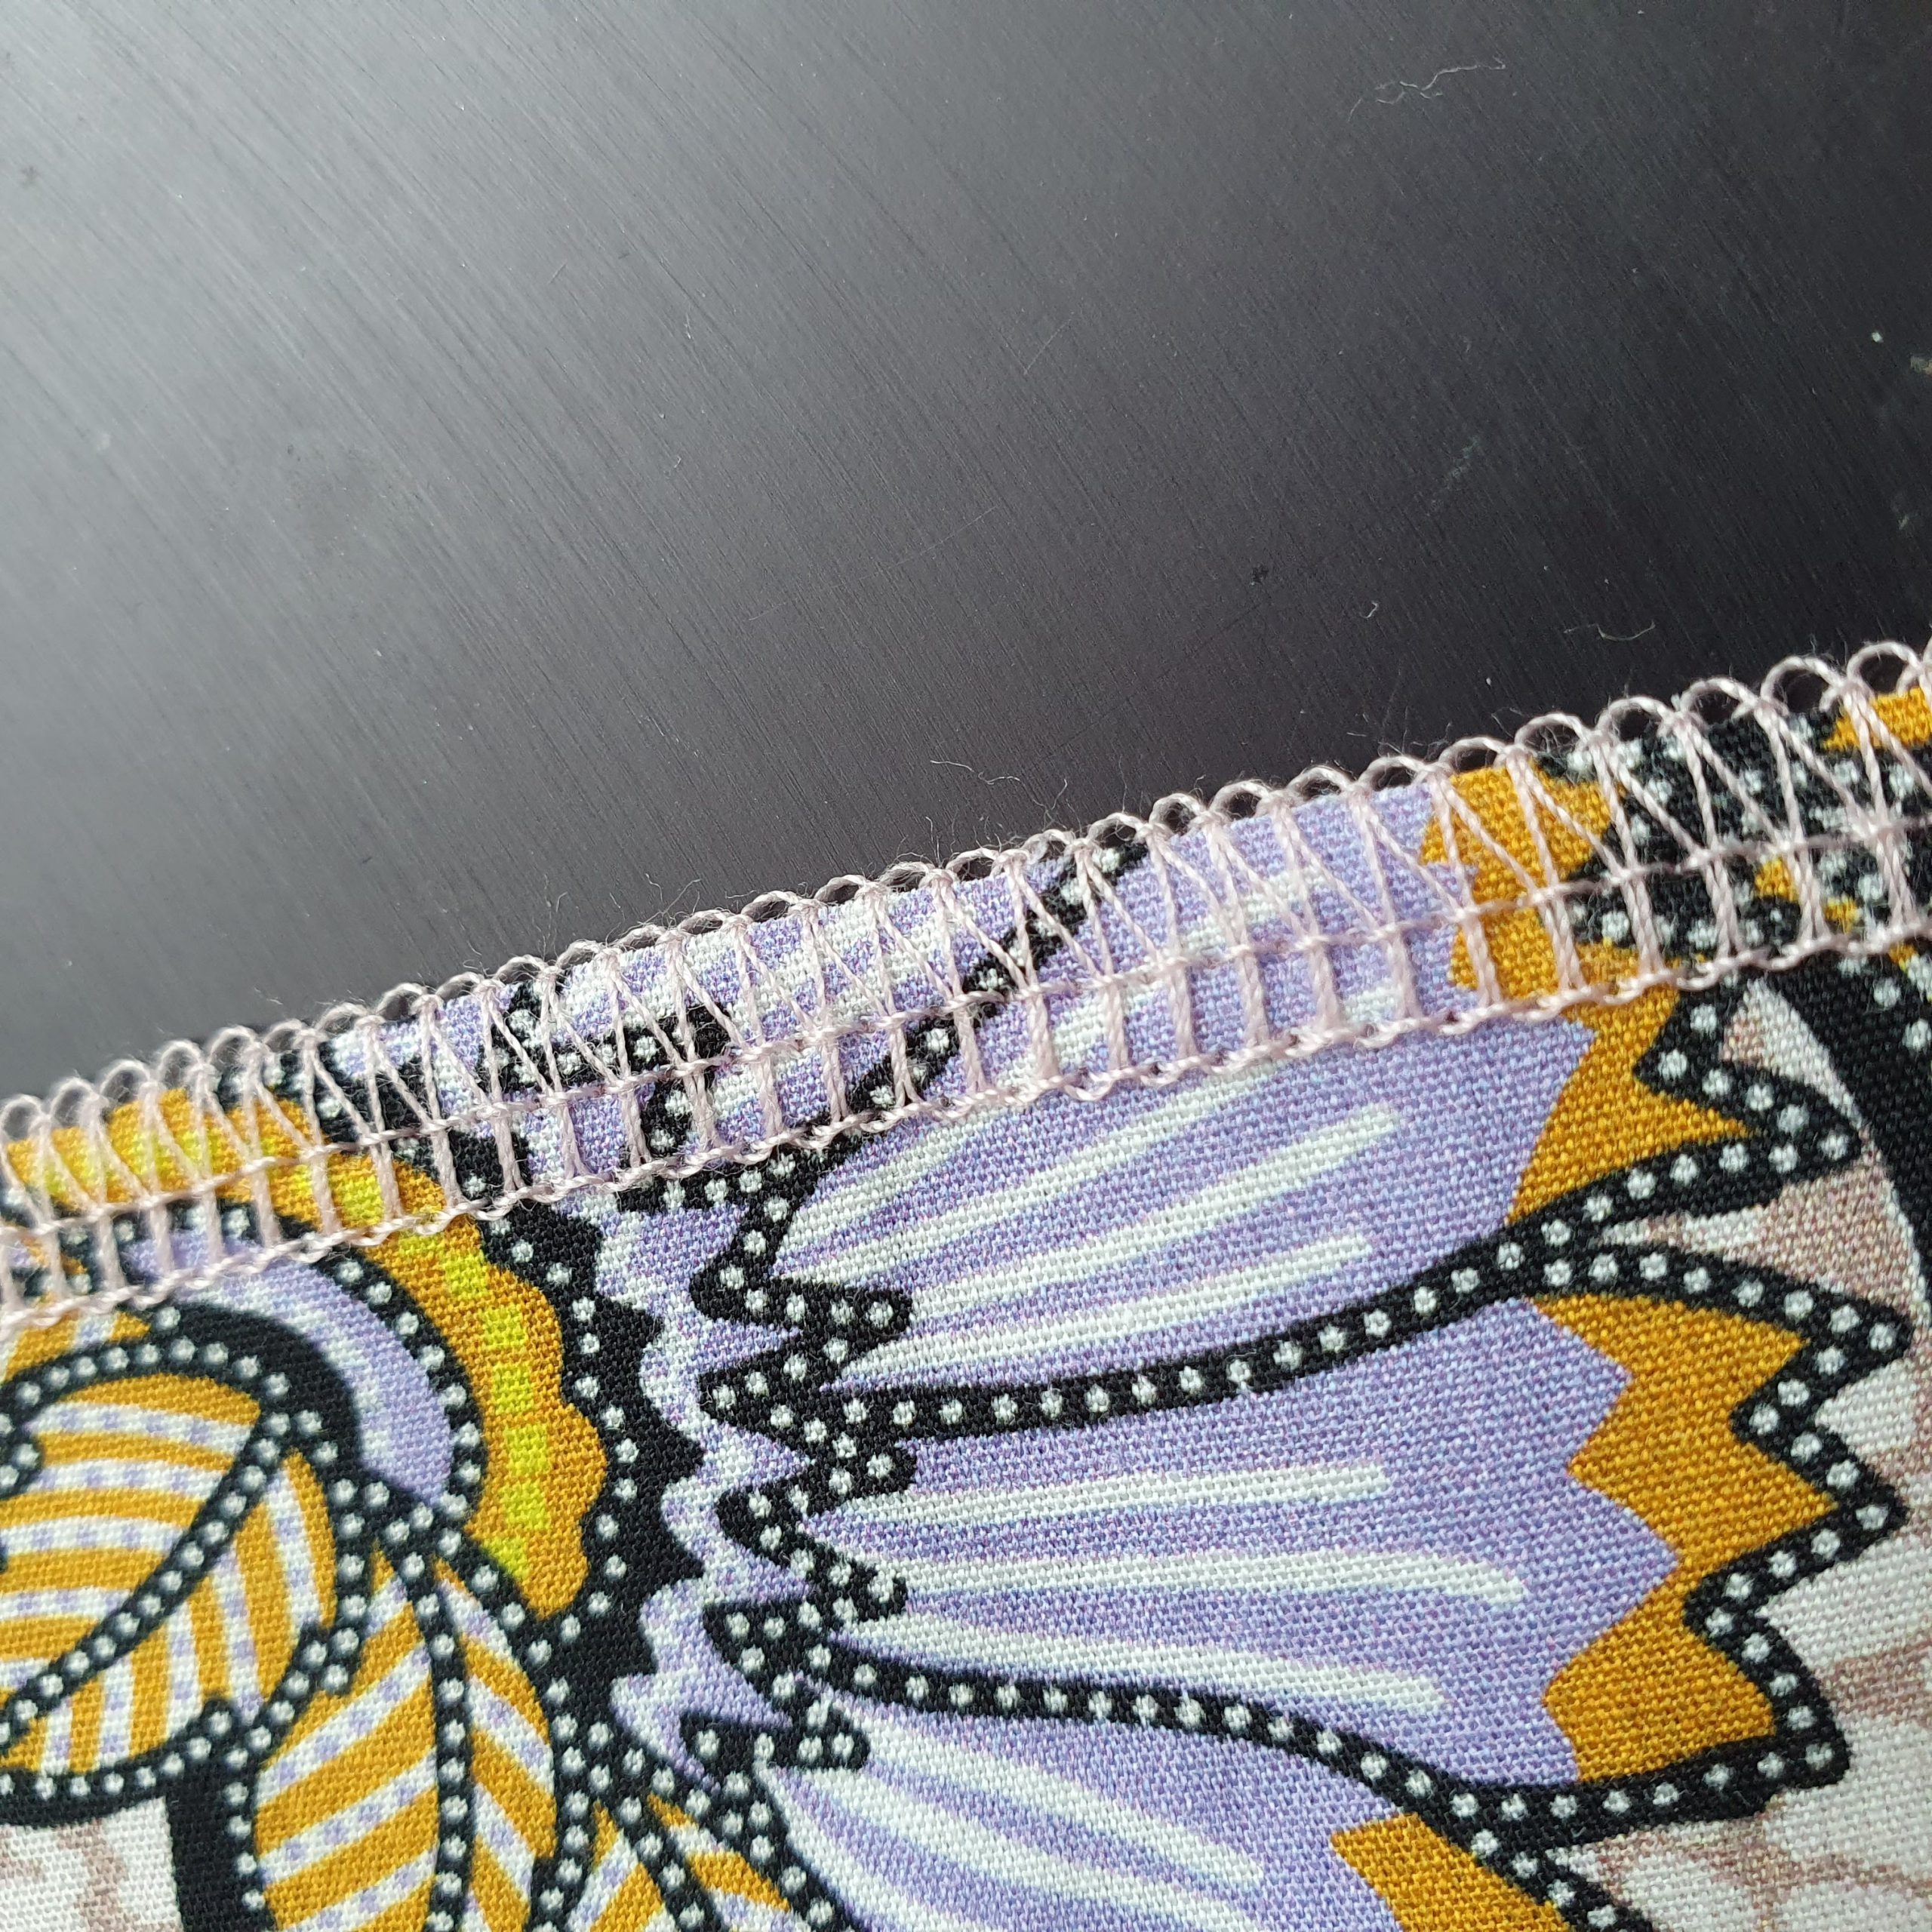
Perfect rolled hems
Tip: Cut the strip for the ruffles a bit wider. If a piece is still not properly locked, you have the space to lock the strip again. To attach the ruffles, simply cut it to size.
Gather ruffles
The ruffles are gathered first before fastening. To do this, stitch two parallel lines with stitch length 6 at 0.5 cm from the edge and approx. 1.2 cm from the edge. Attach the ends to the blouse and gather the excess fabric until the lengths match.
Parallel stitching lines
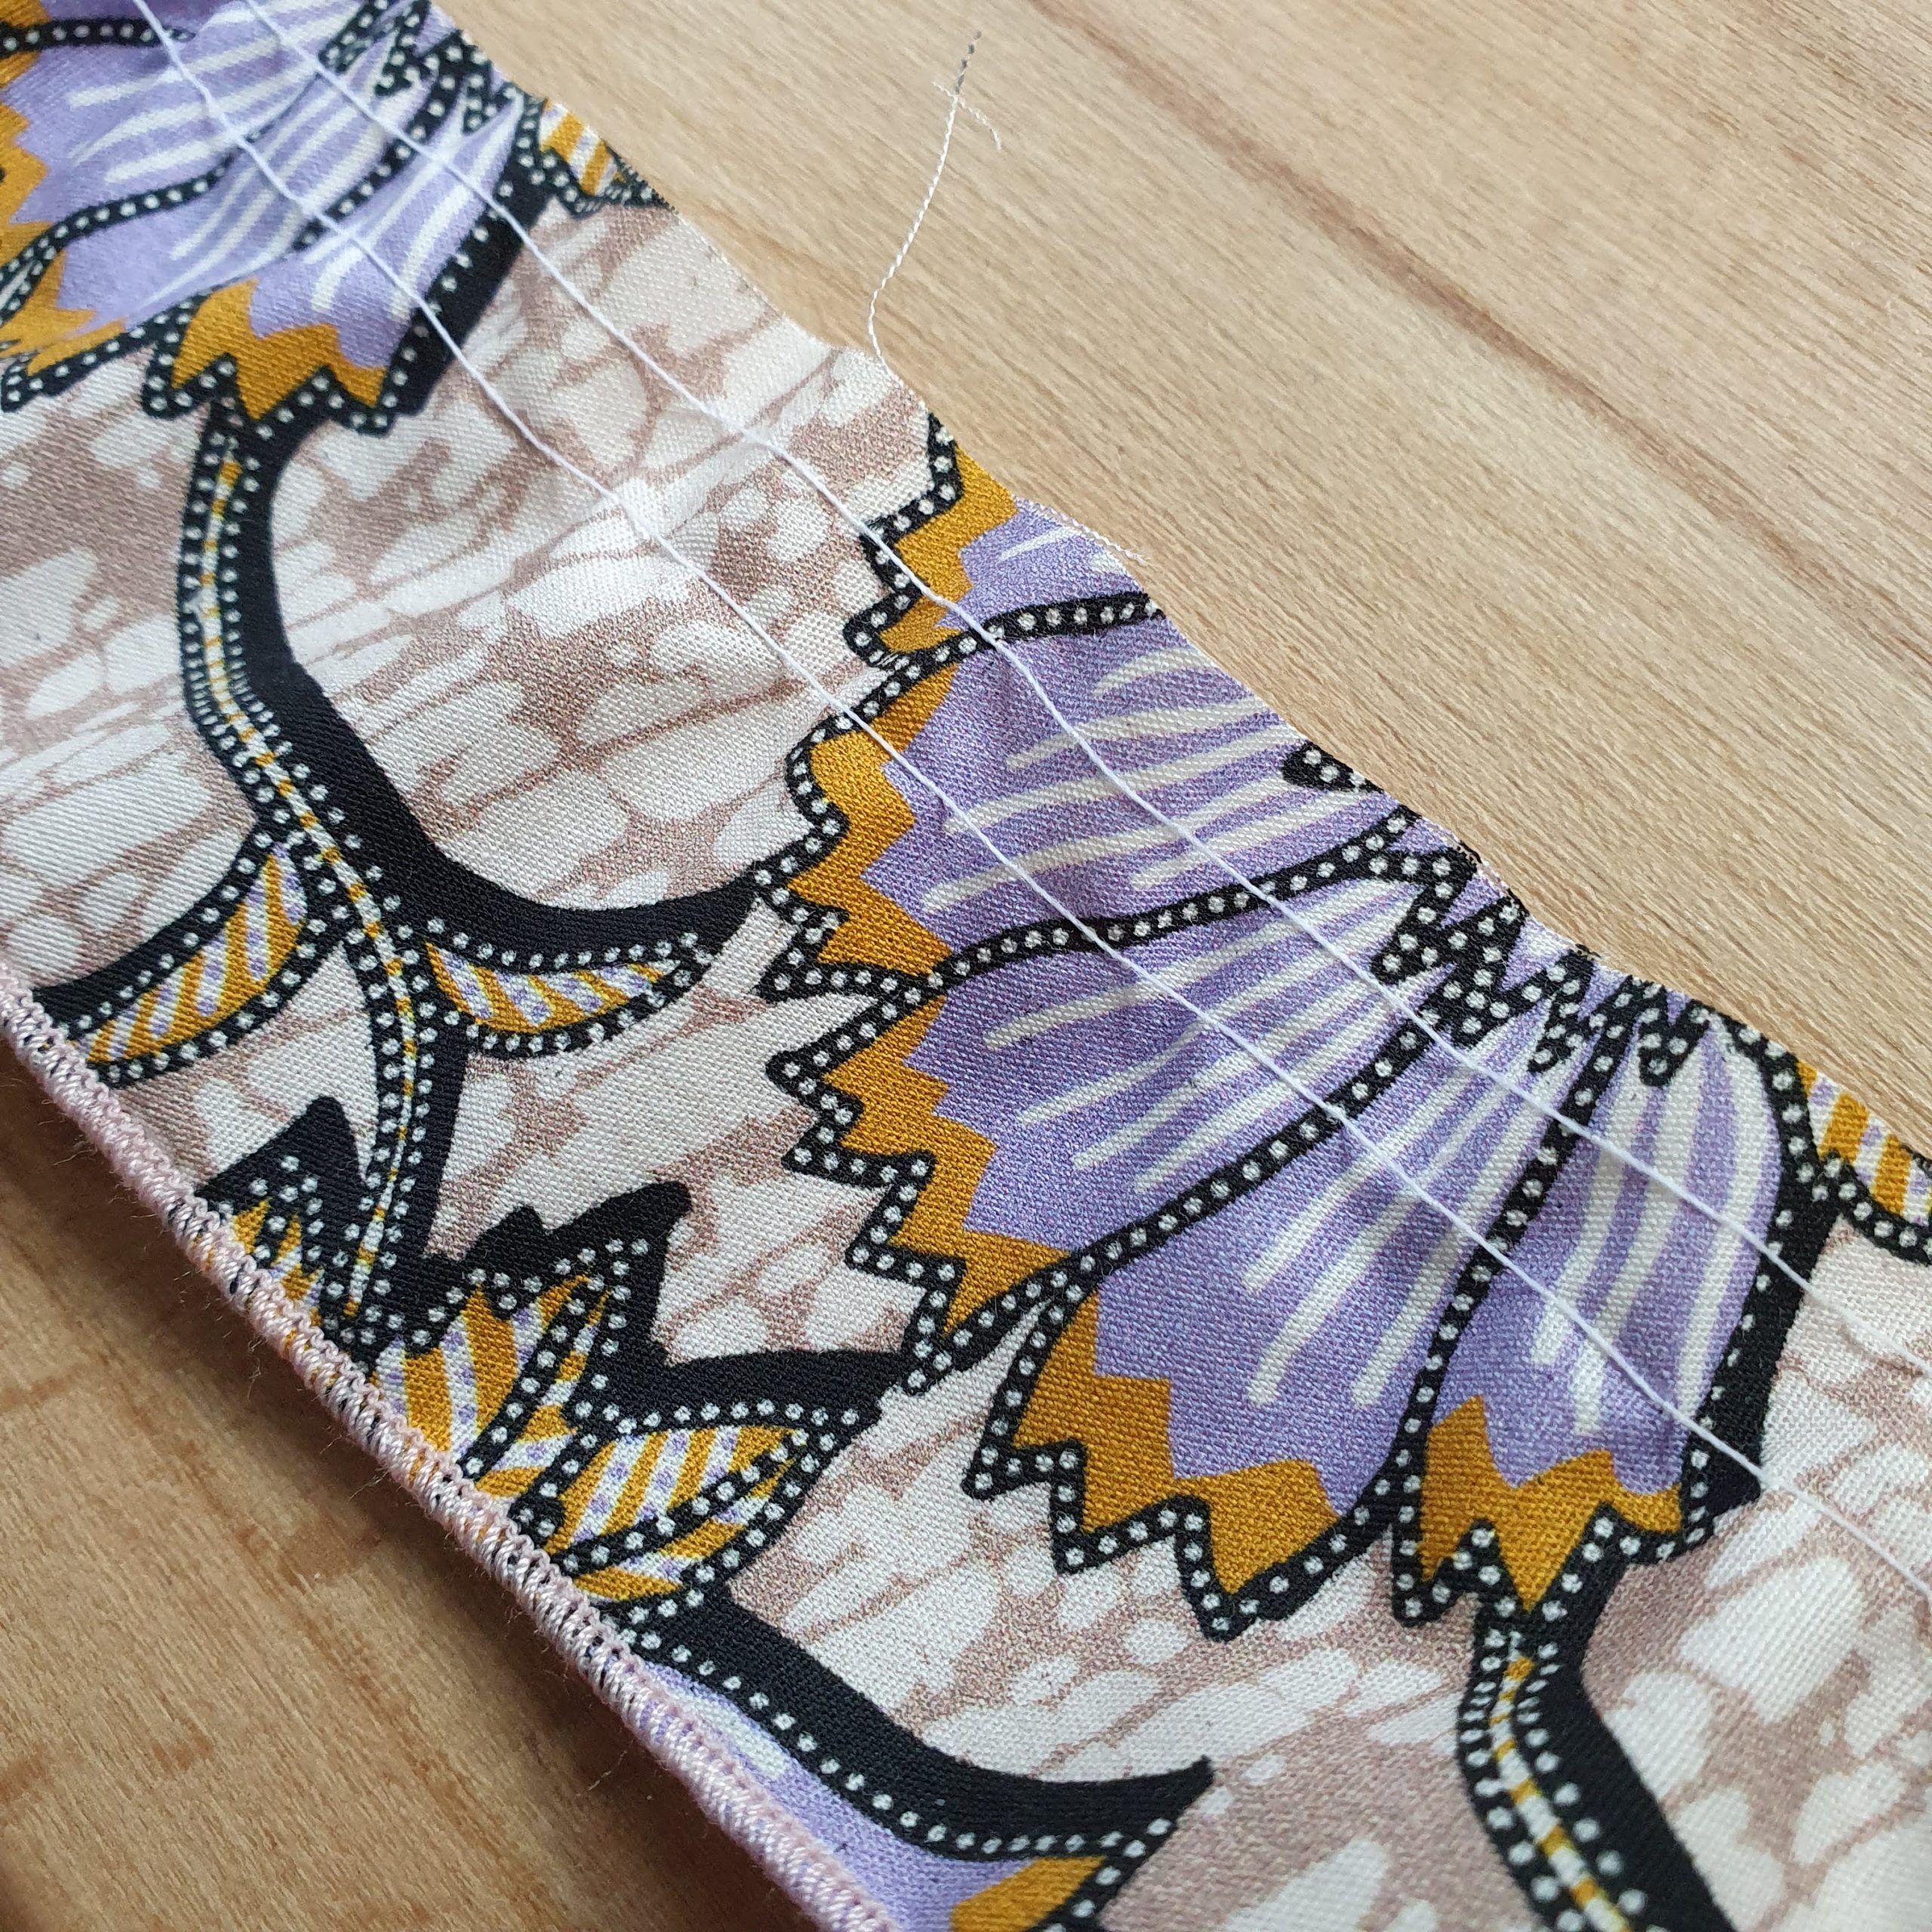
Ready to gather
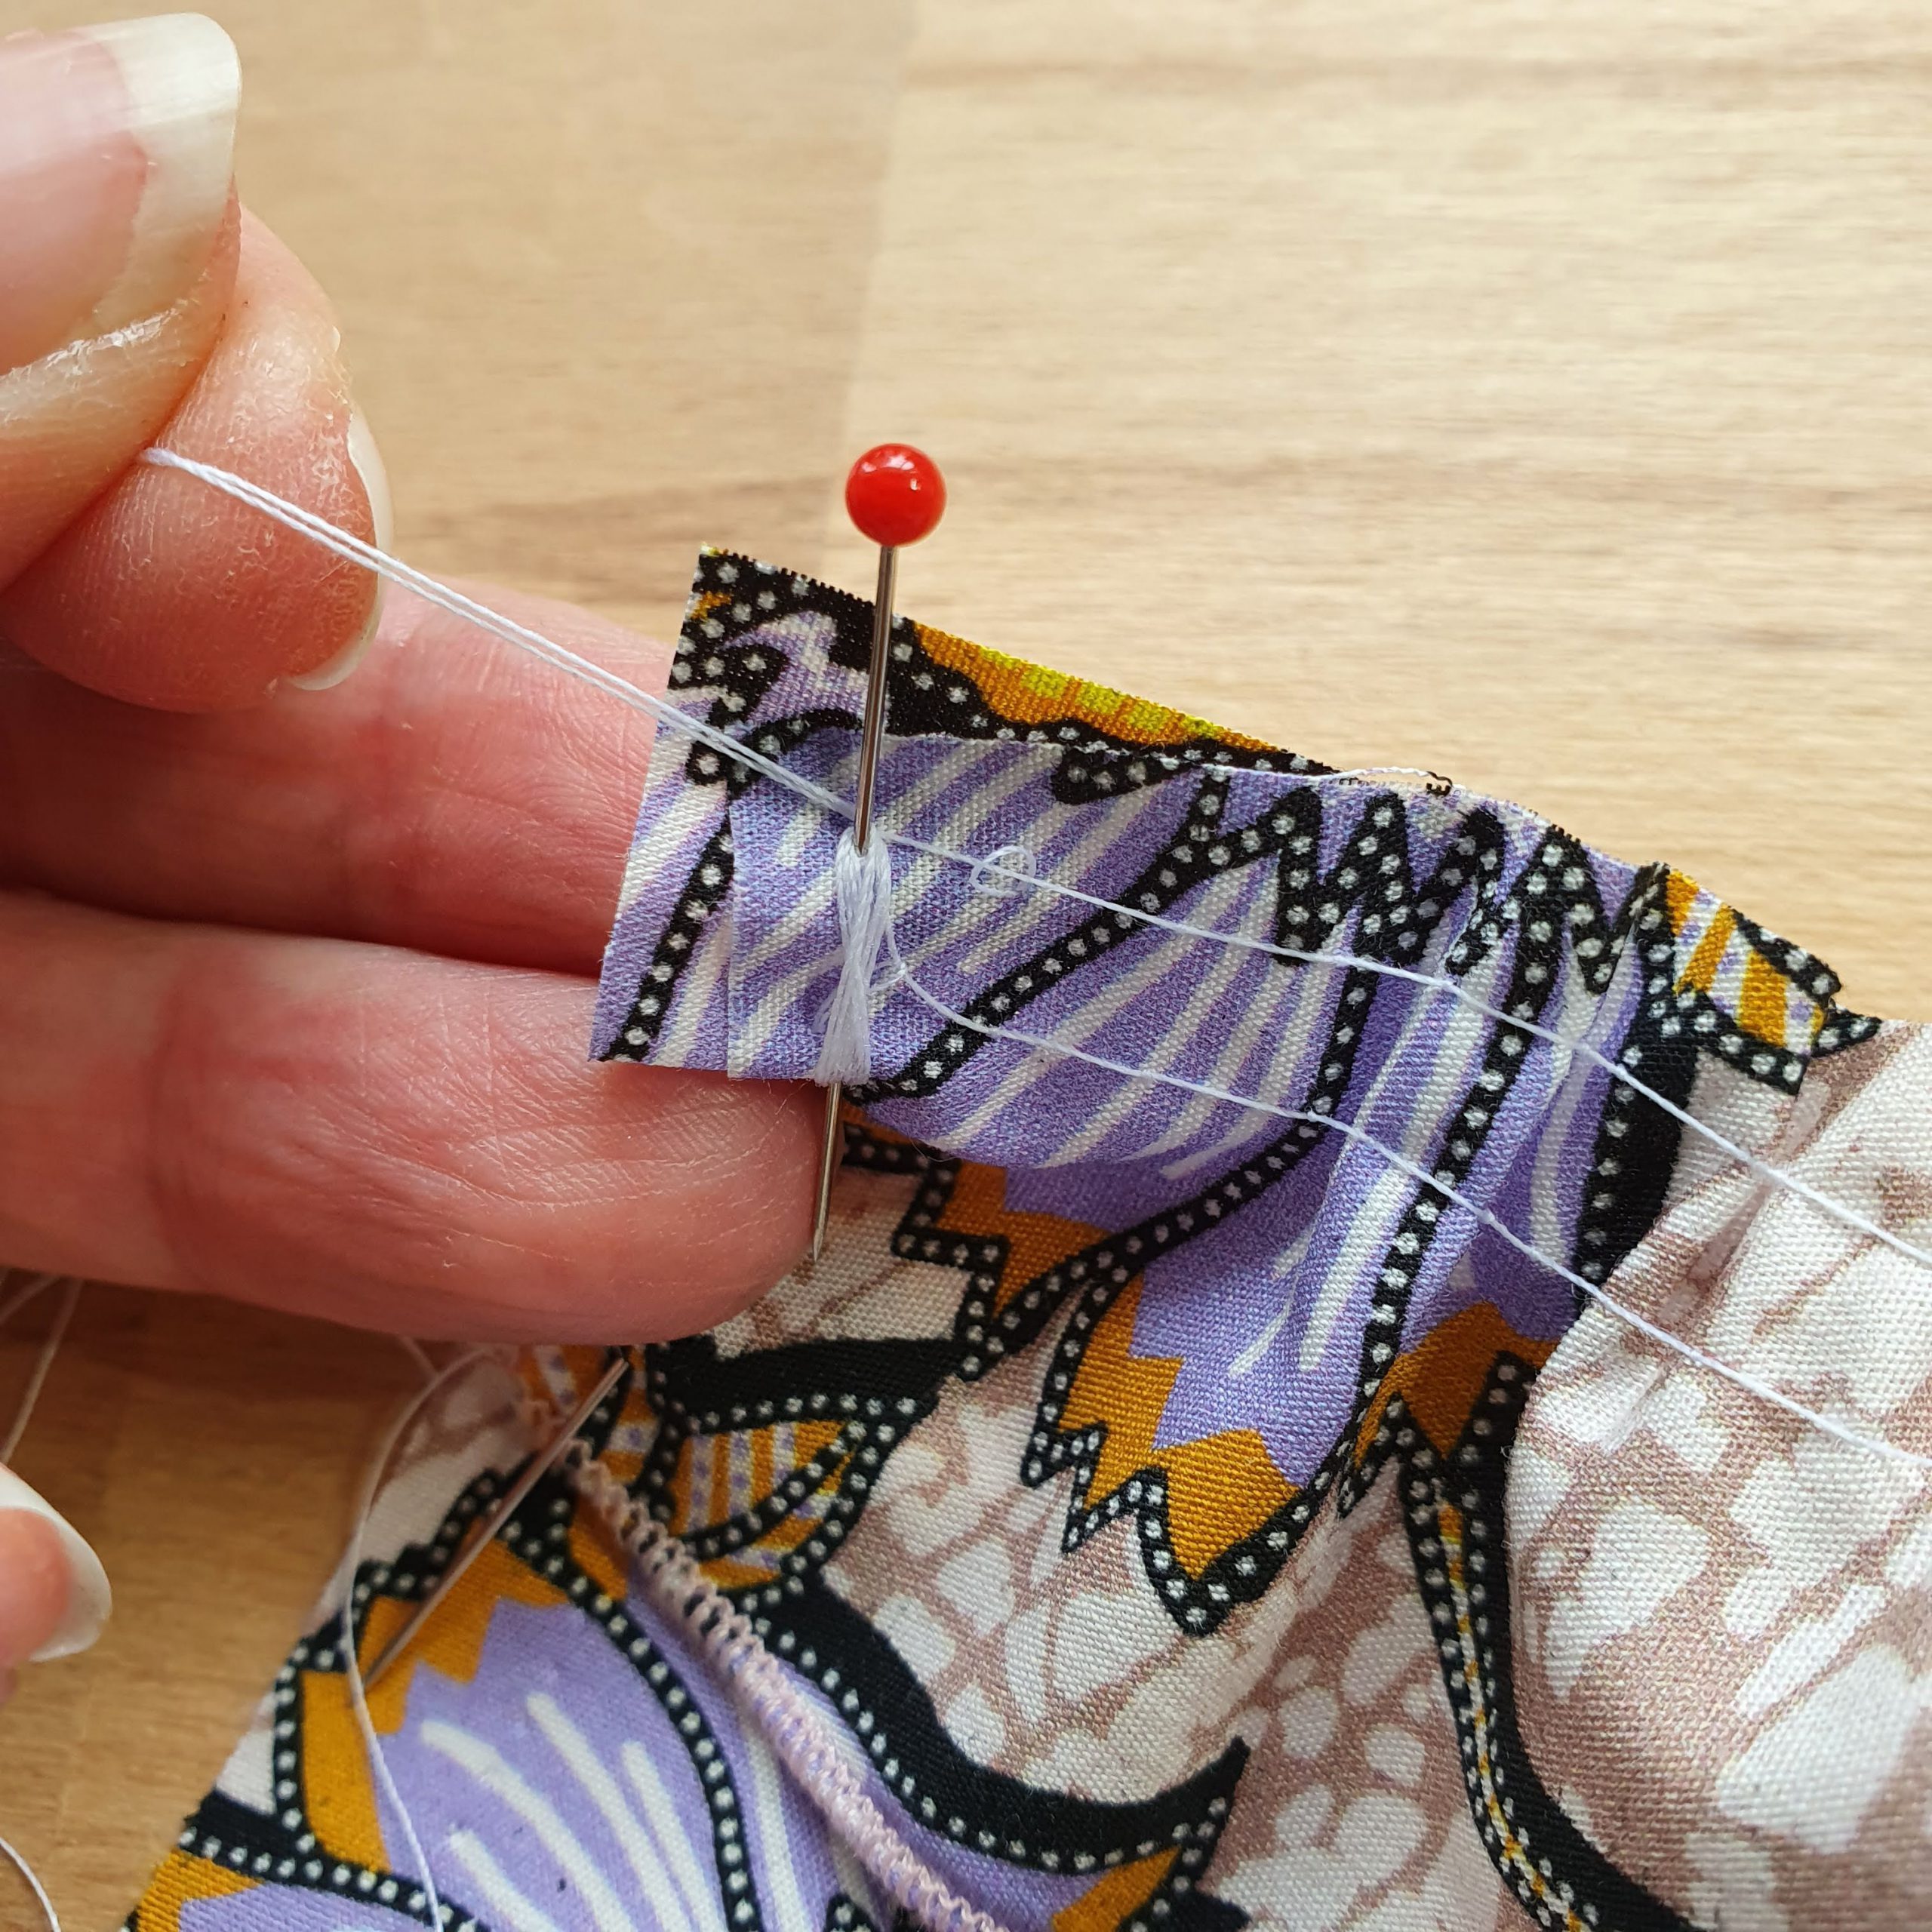
Enough gathering? Fasten the thread to the pin
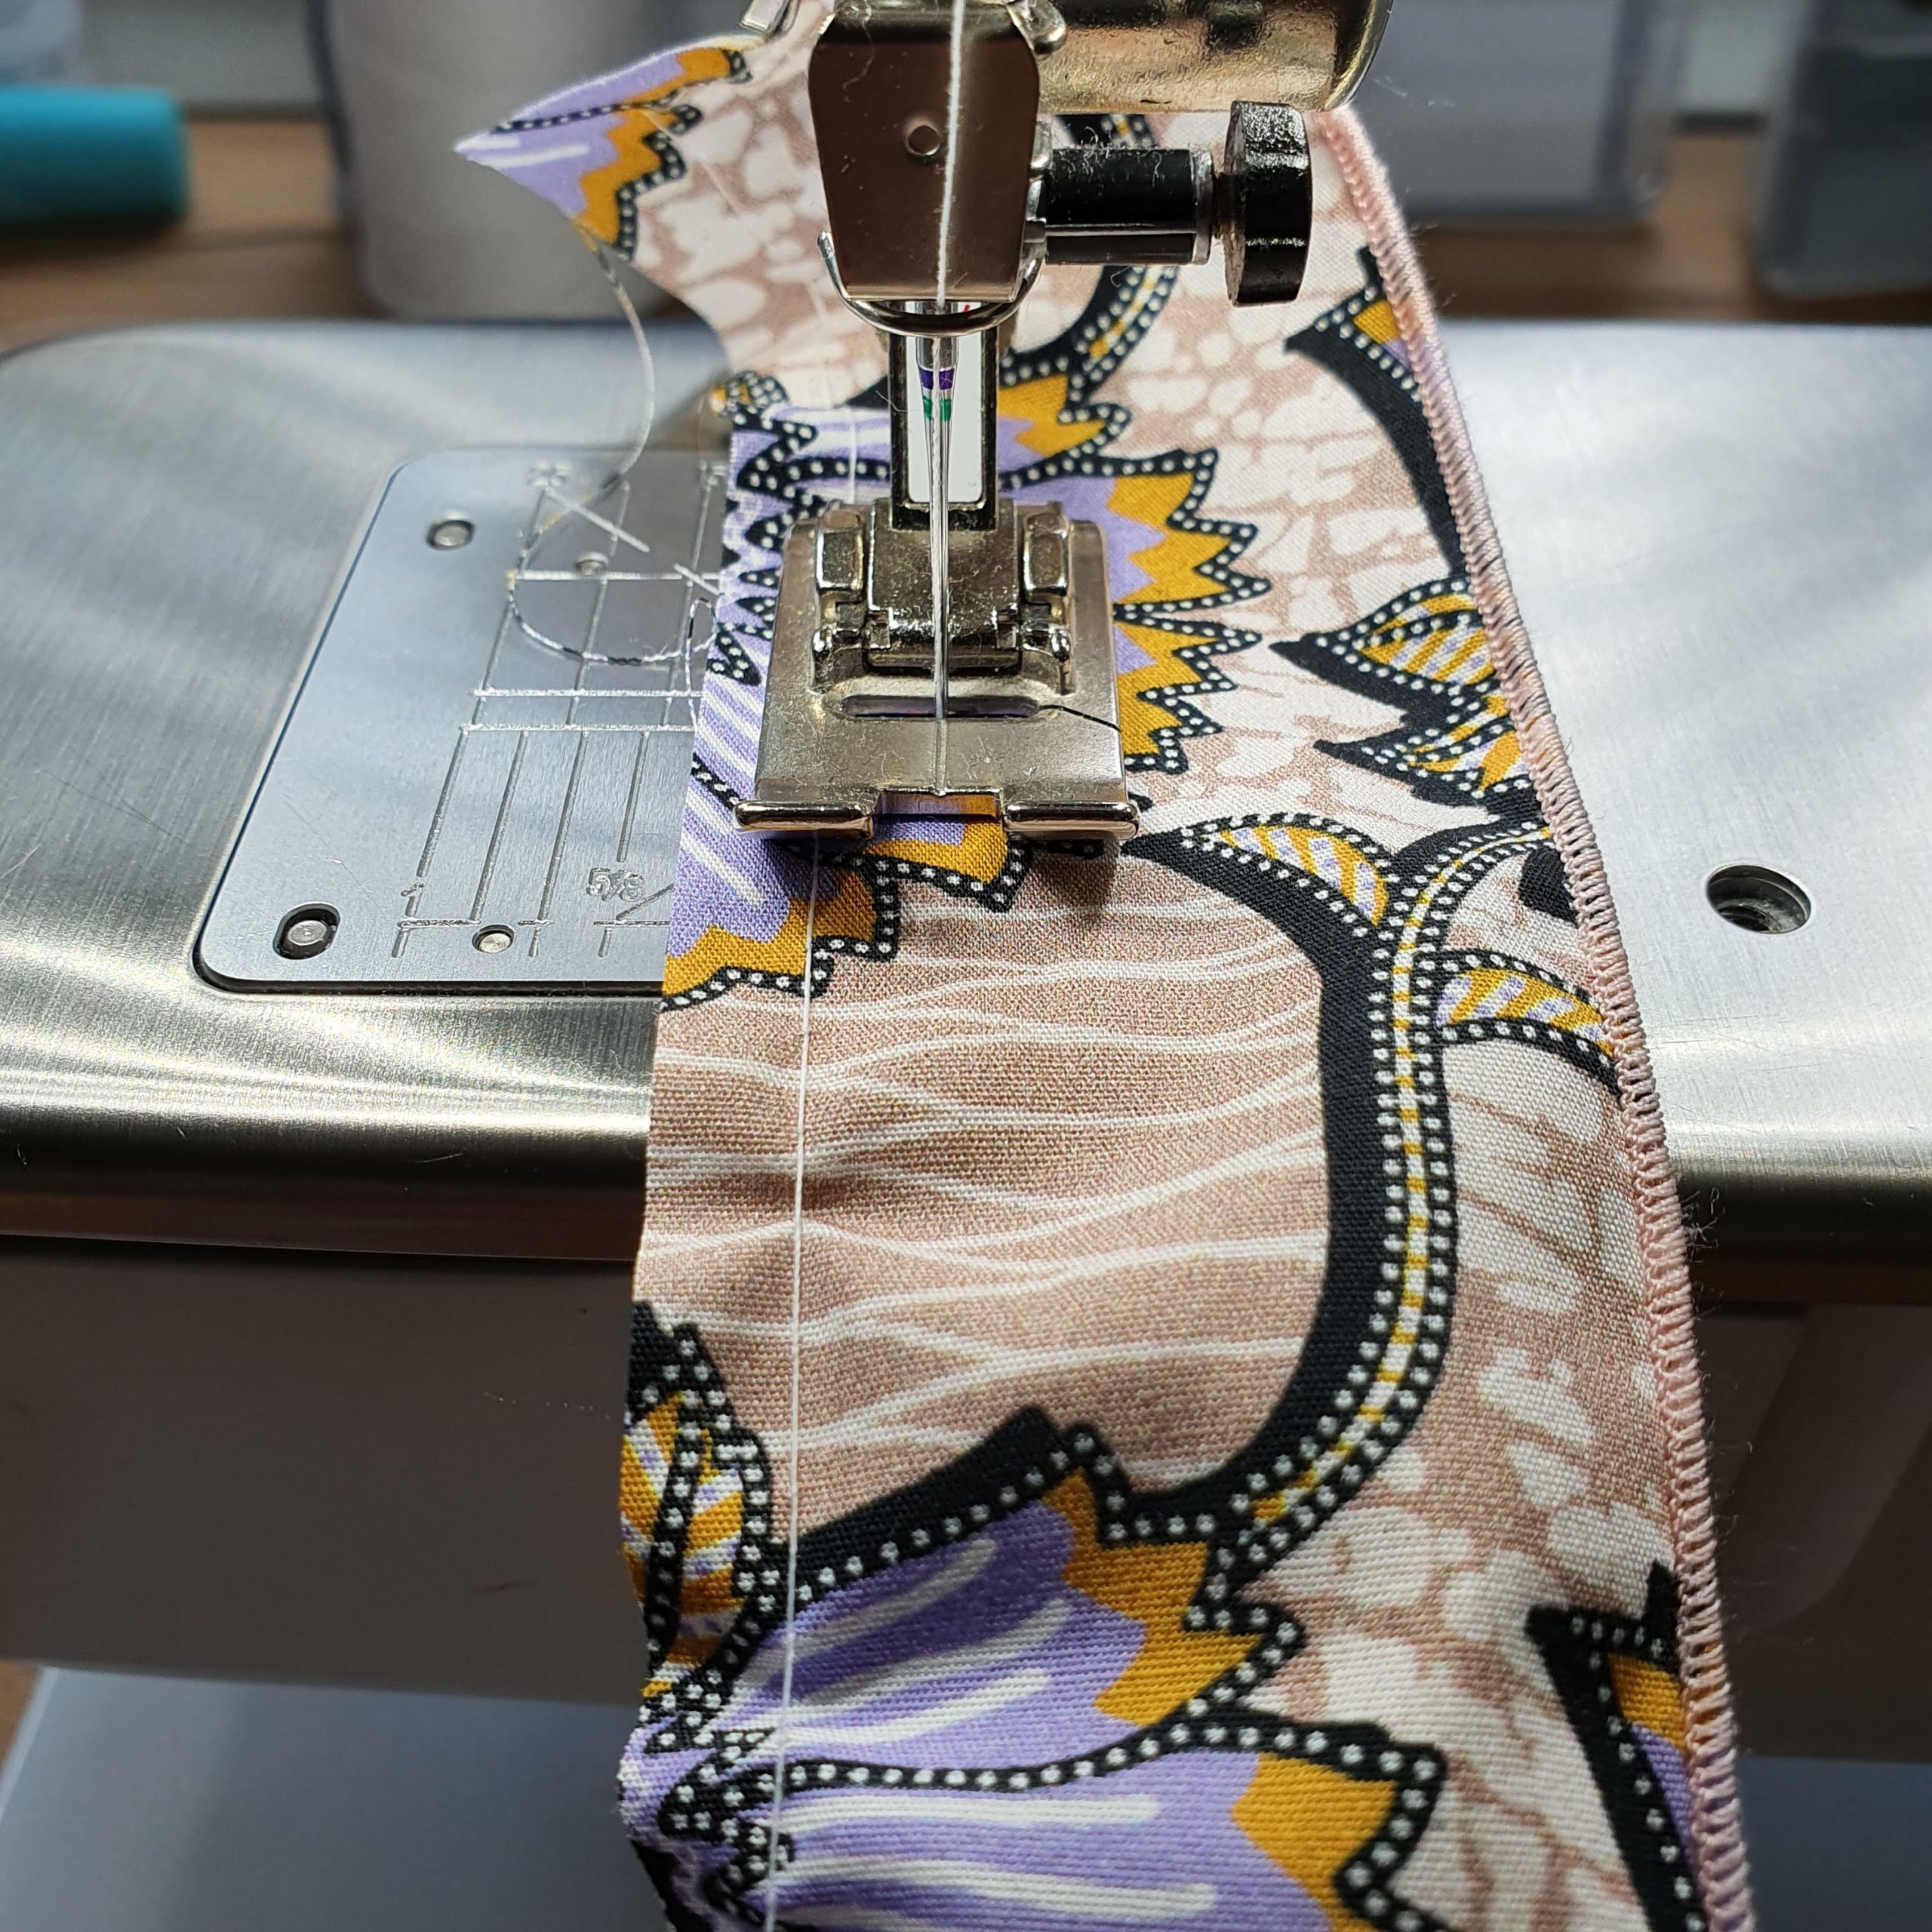
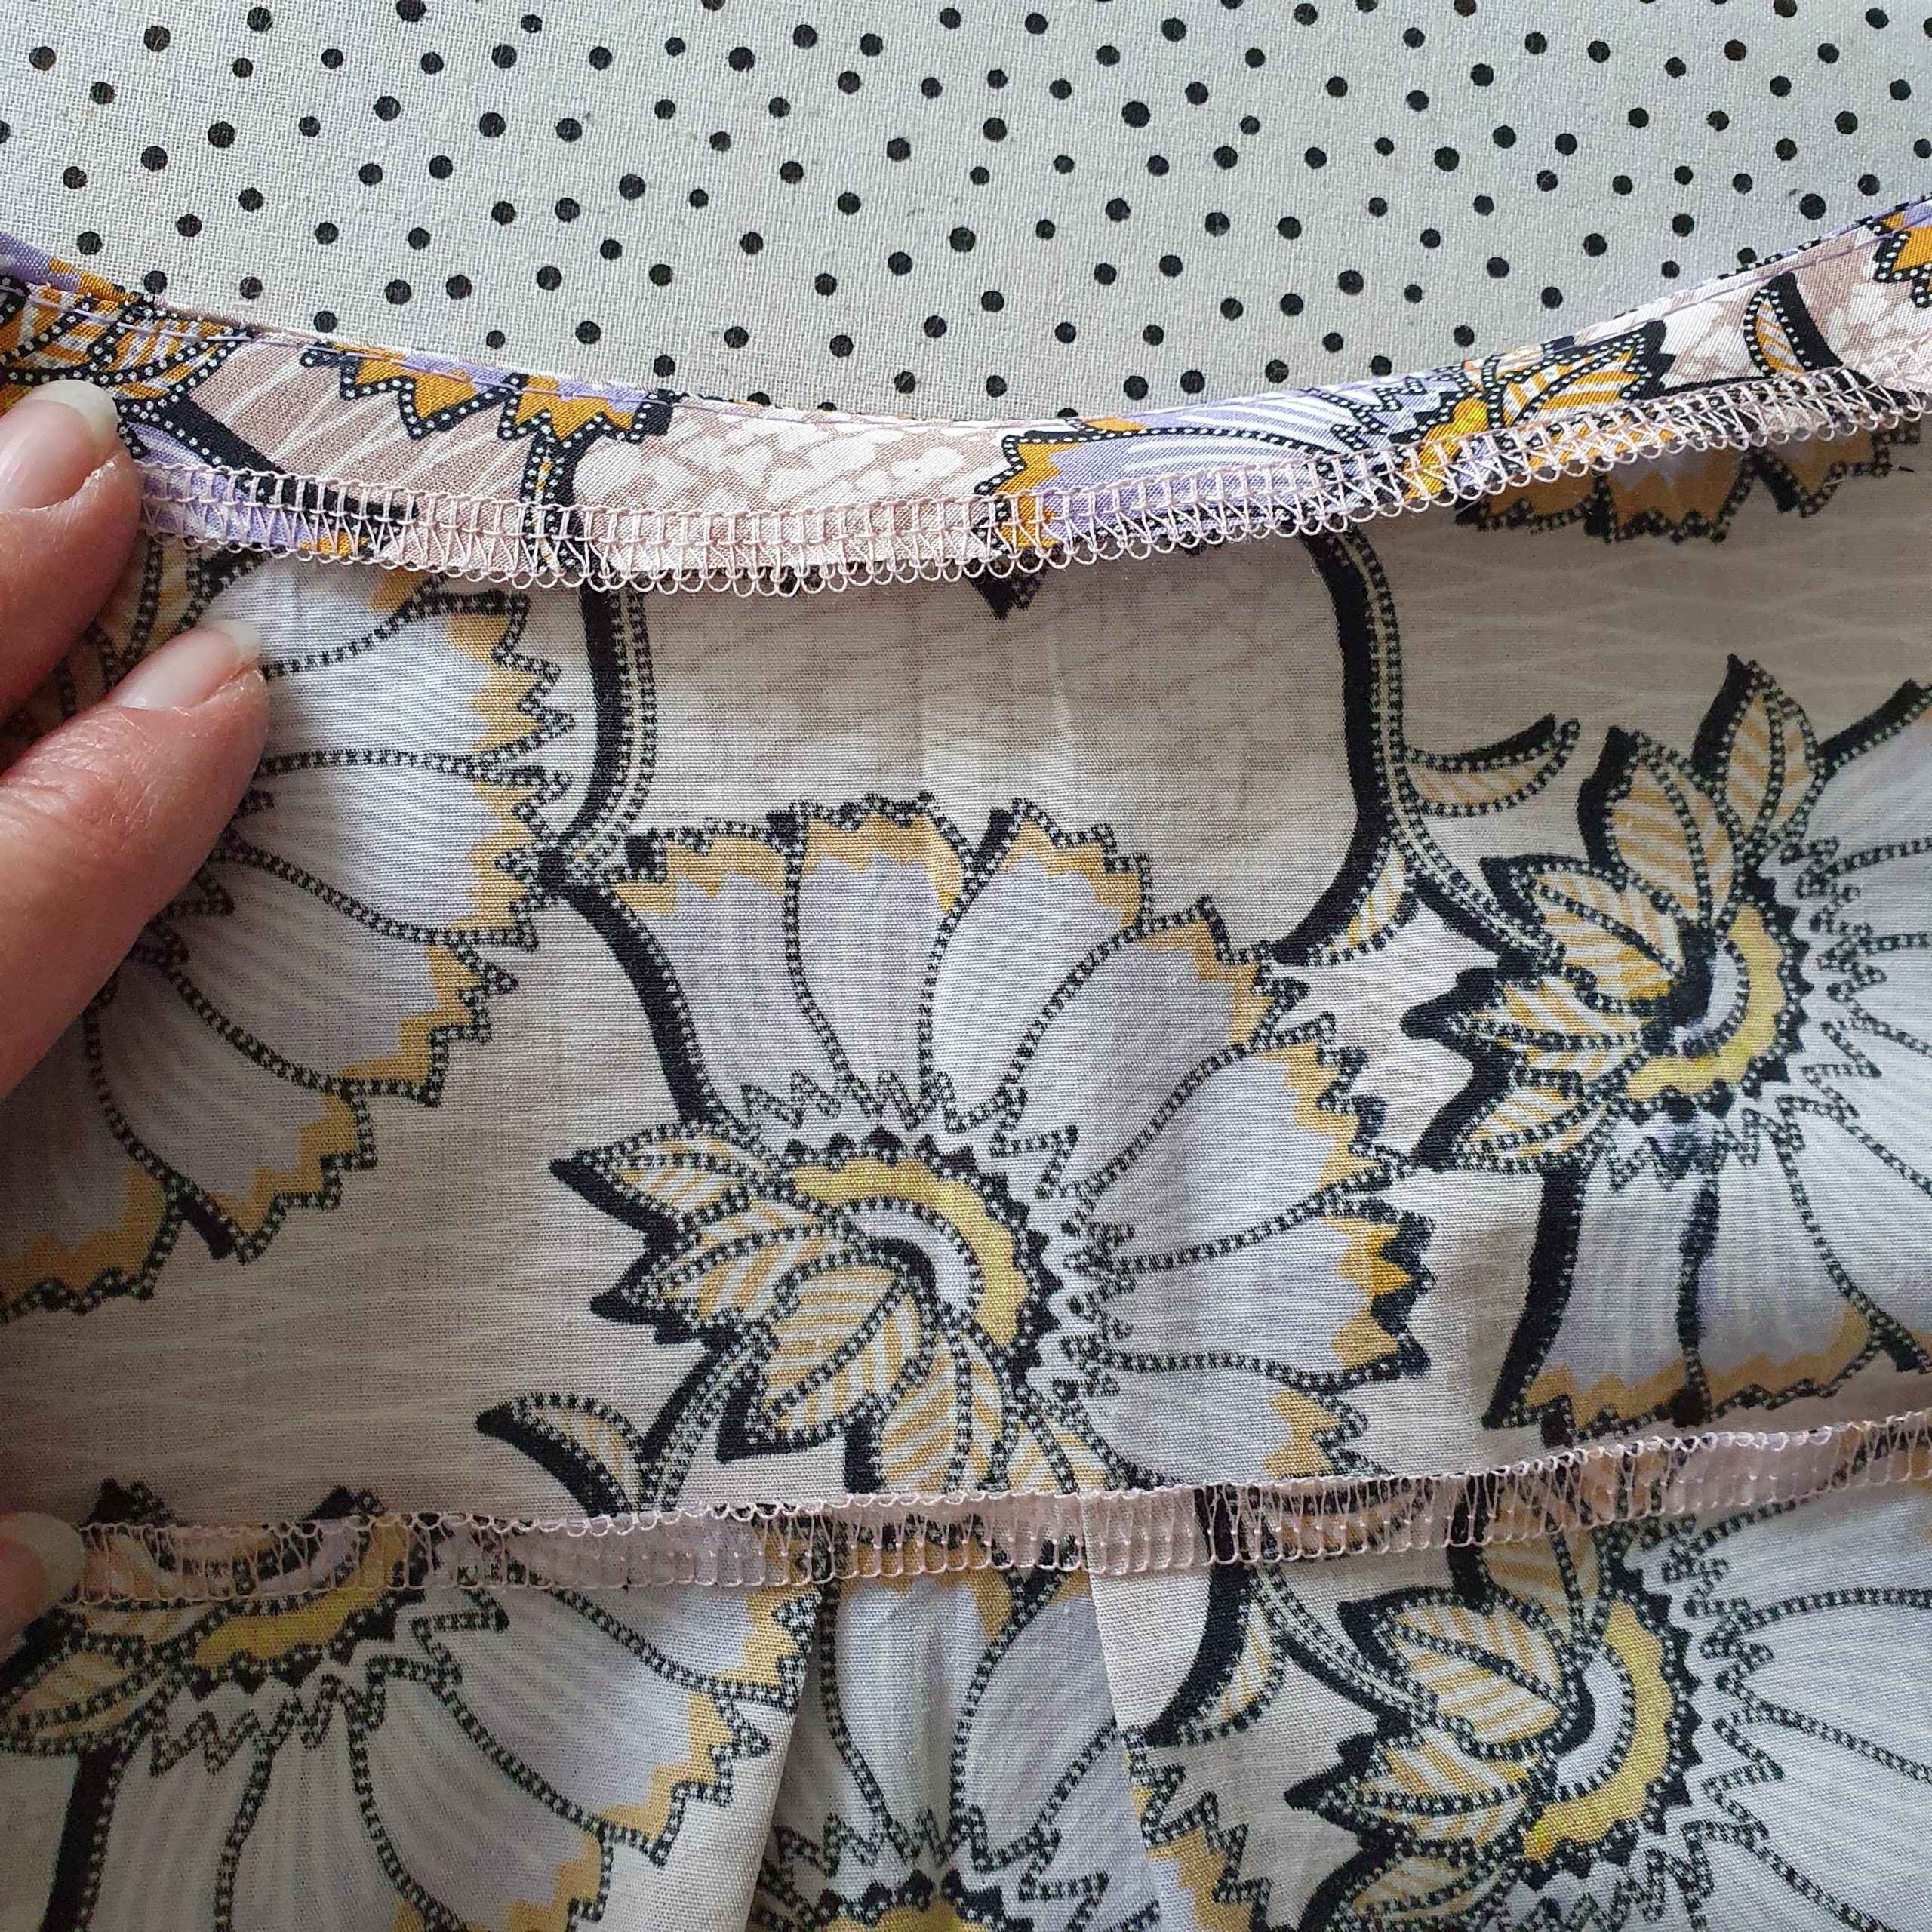
When the ruffles are attached, finish the seam of the outer two ruffles with a 3 or 4 thread overlock stitch. The front/inner ruffles are finished by attaching the trim. After ironing, topstitch narrowly on the lace on the blouse, so that the ruffles continue to fall in the right direction.
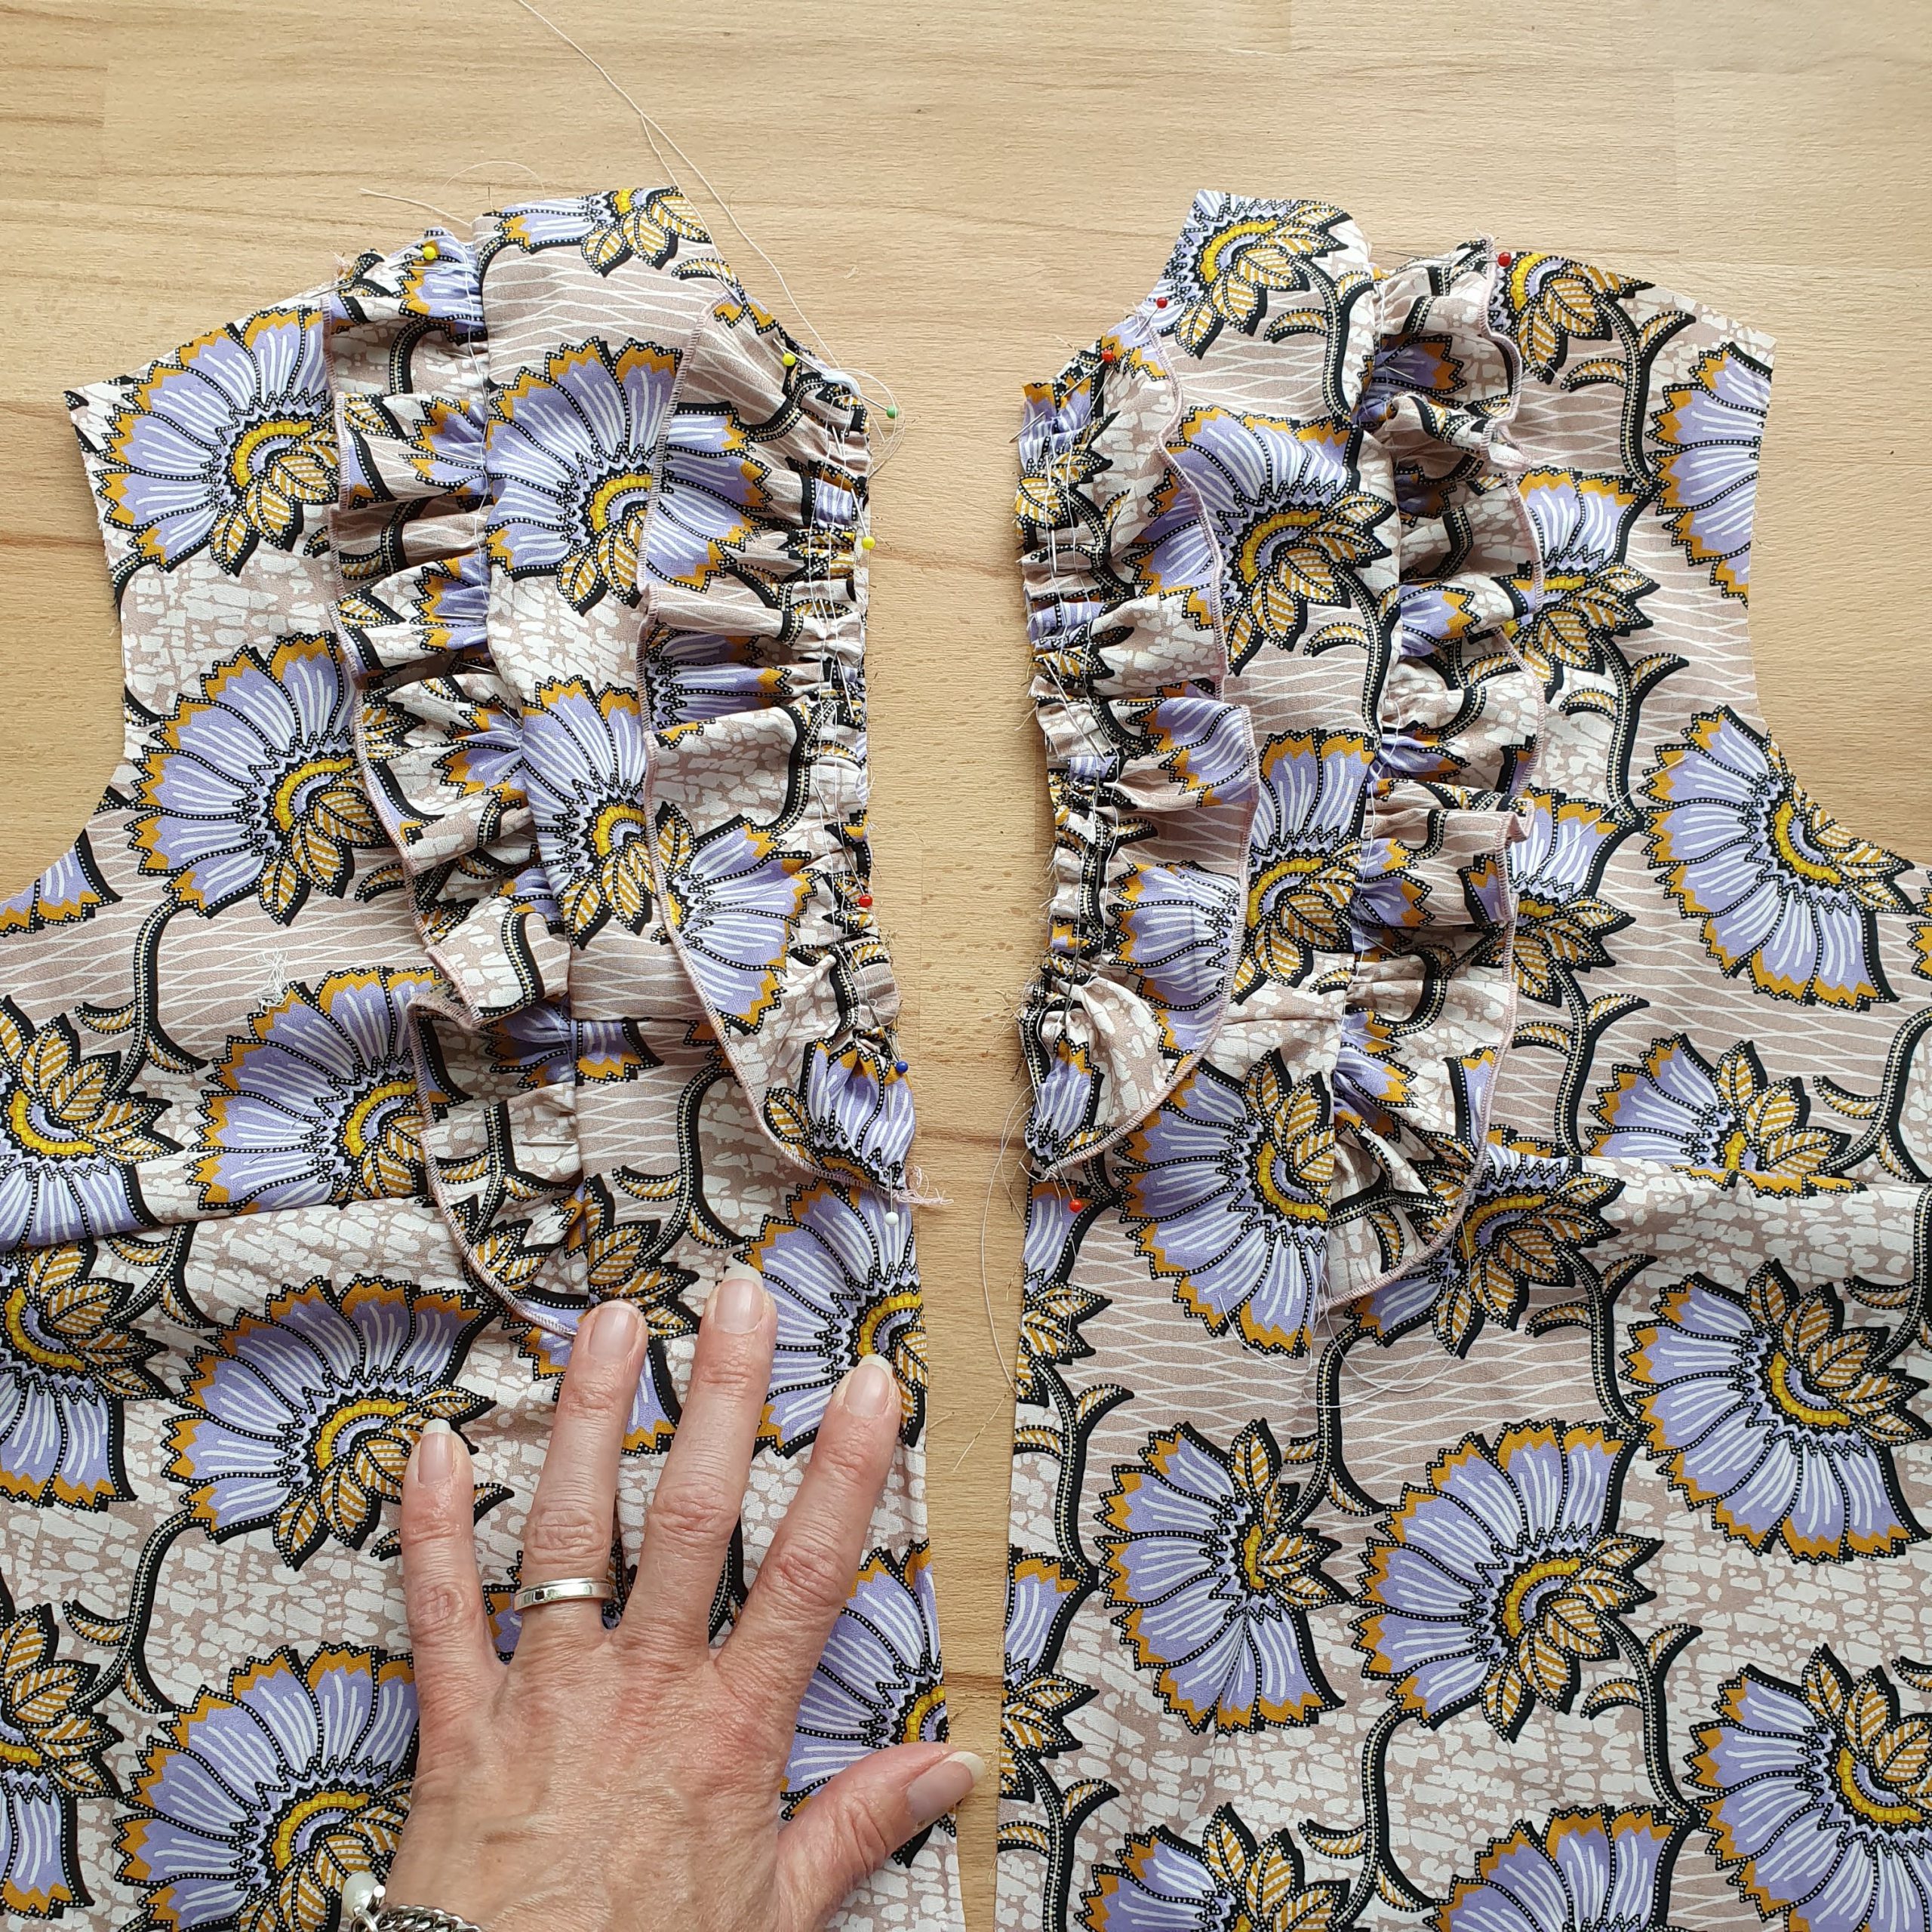
Left and right

Front ruffle finished by button trim

4 thread overlock stitch

Iron before top stitching

Matching thread
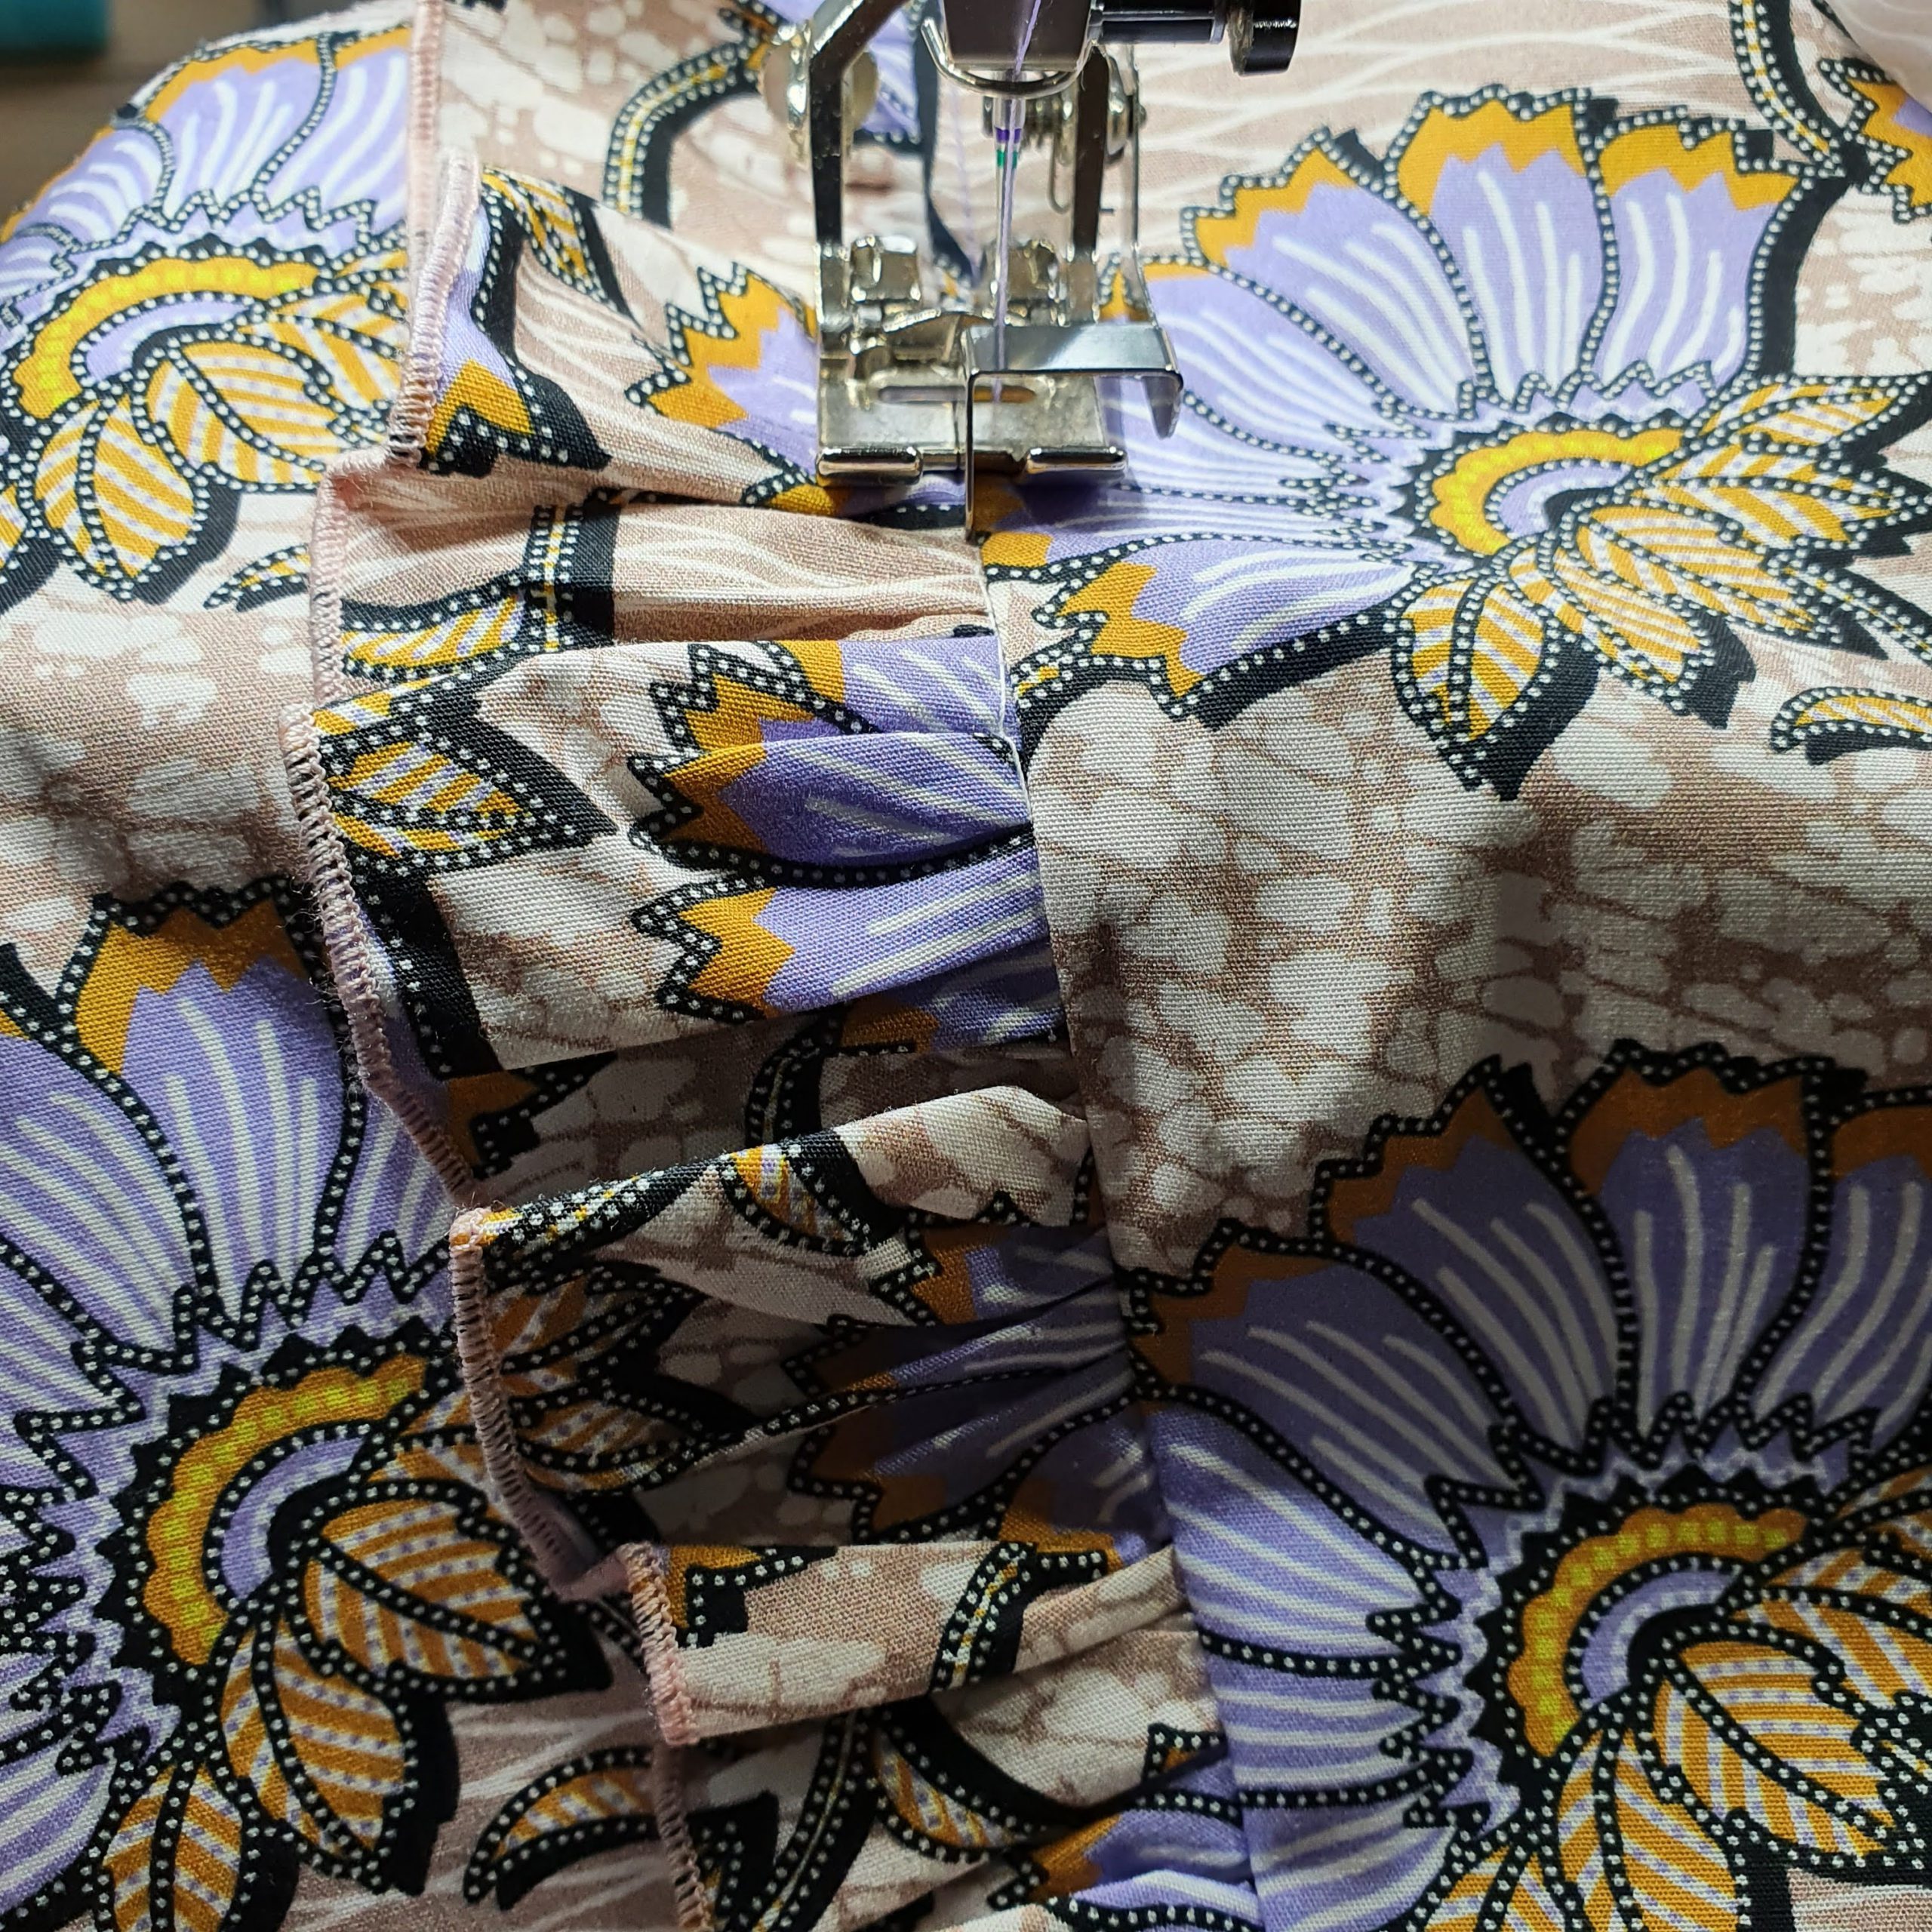
Foot 10D
Top stitched
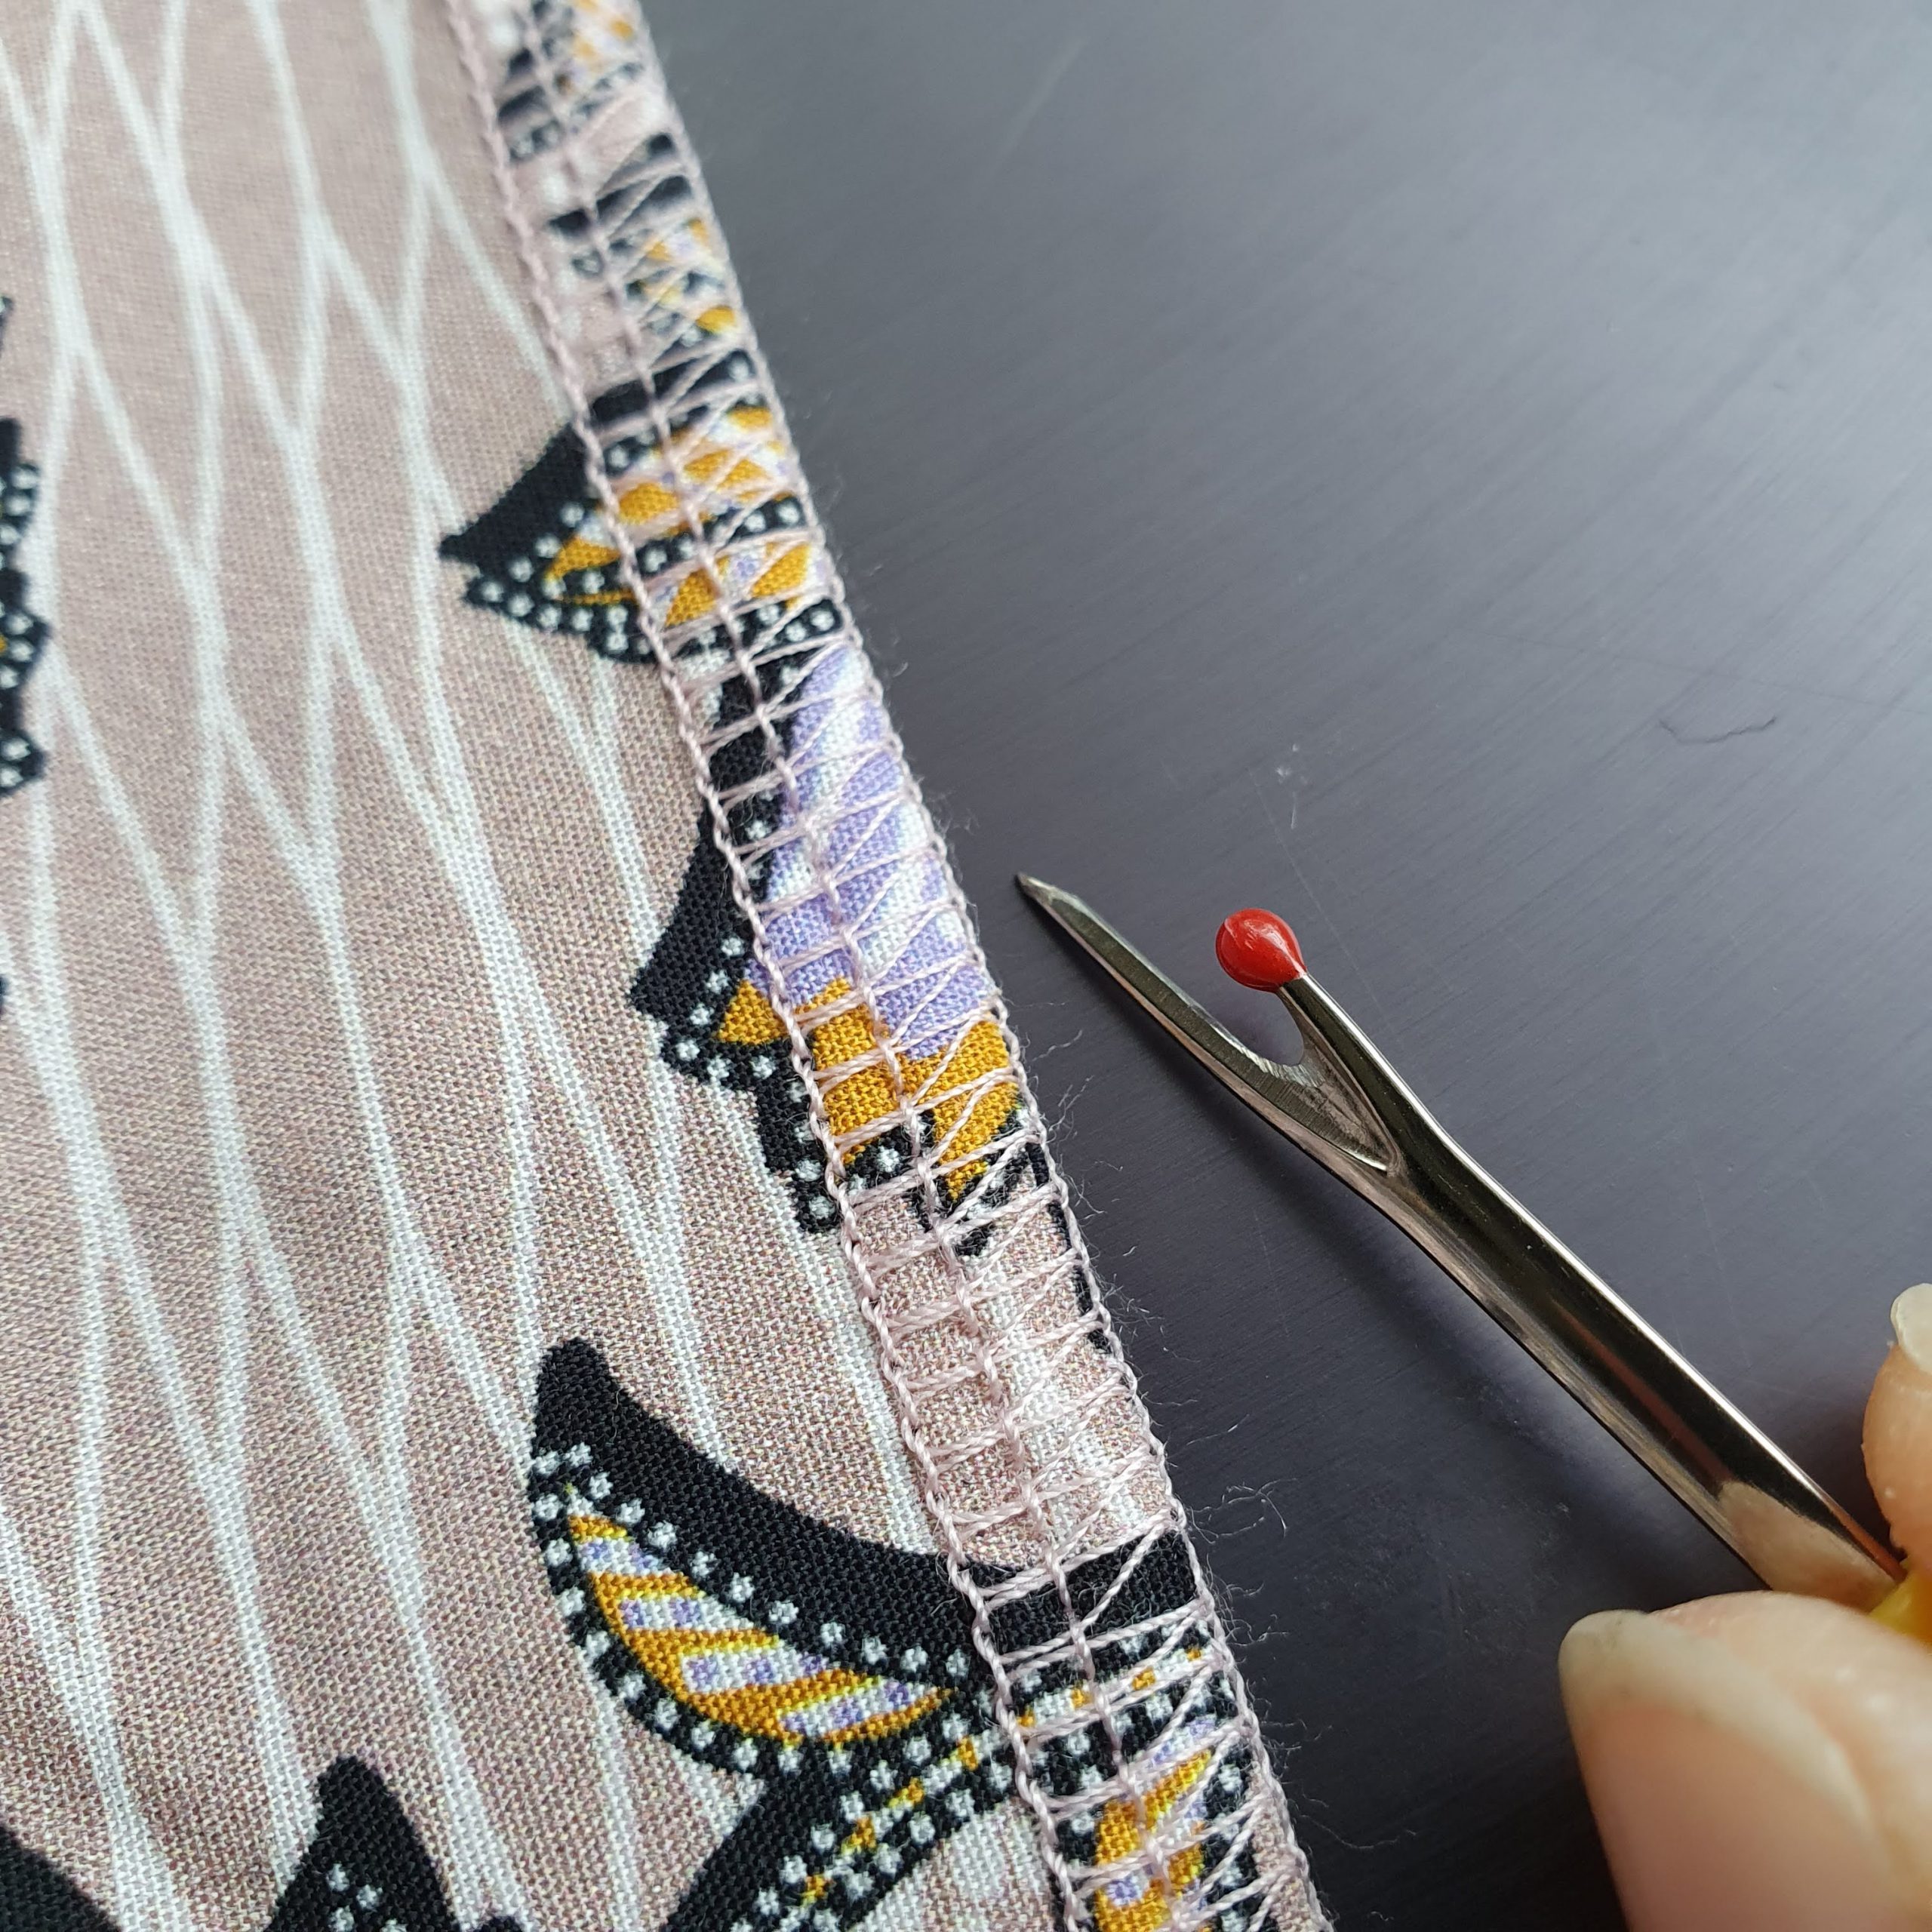
Lock tips
Loops
When you’re sure you’ve got the thread settings right, the needles are right, your knife is still sharp and your lock thread is of quality…..and you still have loops on the side. Then see if the following tip works.
Make sure your work is also parallel behind the foot. Especially with thin fabrics it tends to ‘run away’.
Darn loops
The fabric has already shifted to the left under the foot, creating loops.

It’s running away
Keep the fabric straight and parallel behind the foot to prevent slipping.

Hold it
Bye bye loops
Over locker and hemming
When the fabric does not actually need to be finished, because it is folded anyway, I usually use the overlocker anyway. This makes it easy to fold a neck finish or a hem. You can iron the overlocked seam first before folding it inwards and stitching it.
Neck finish with bias band

Folding is easier
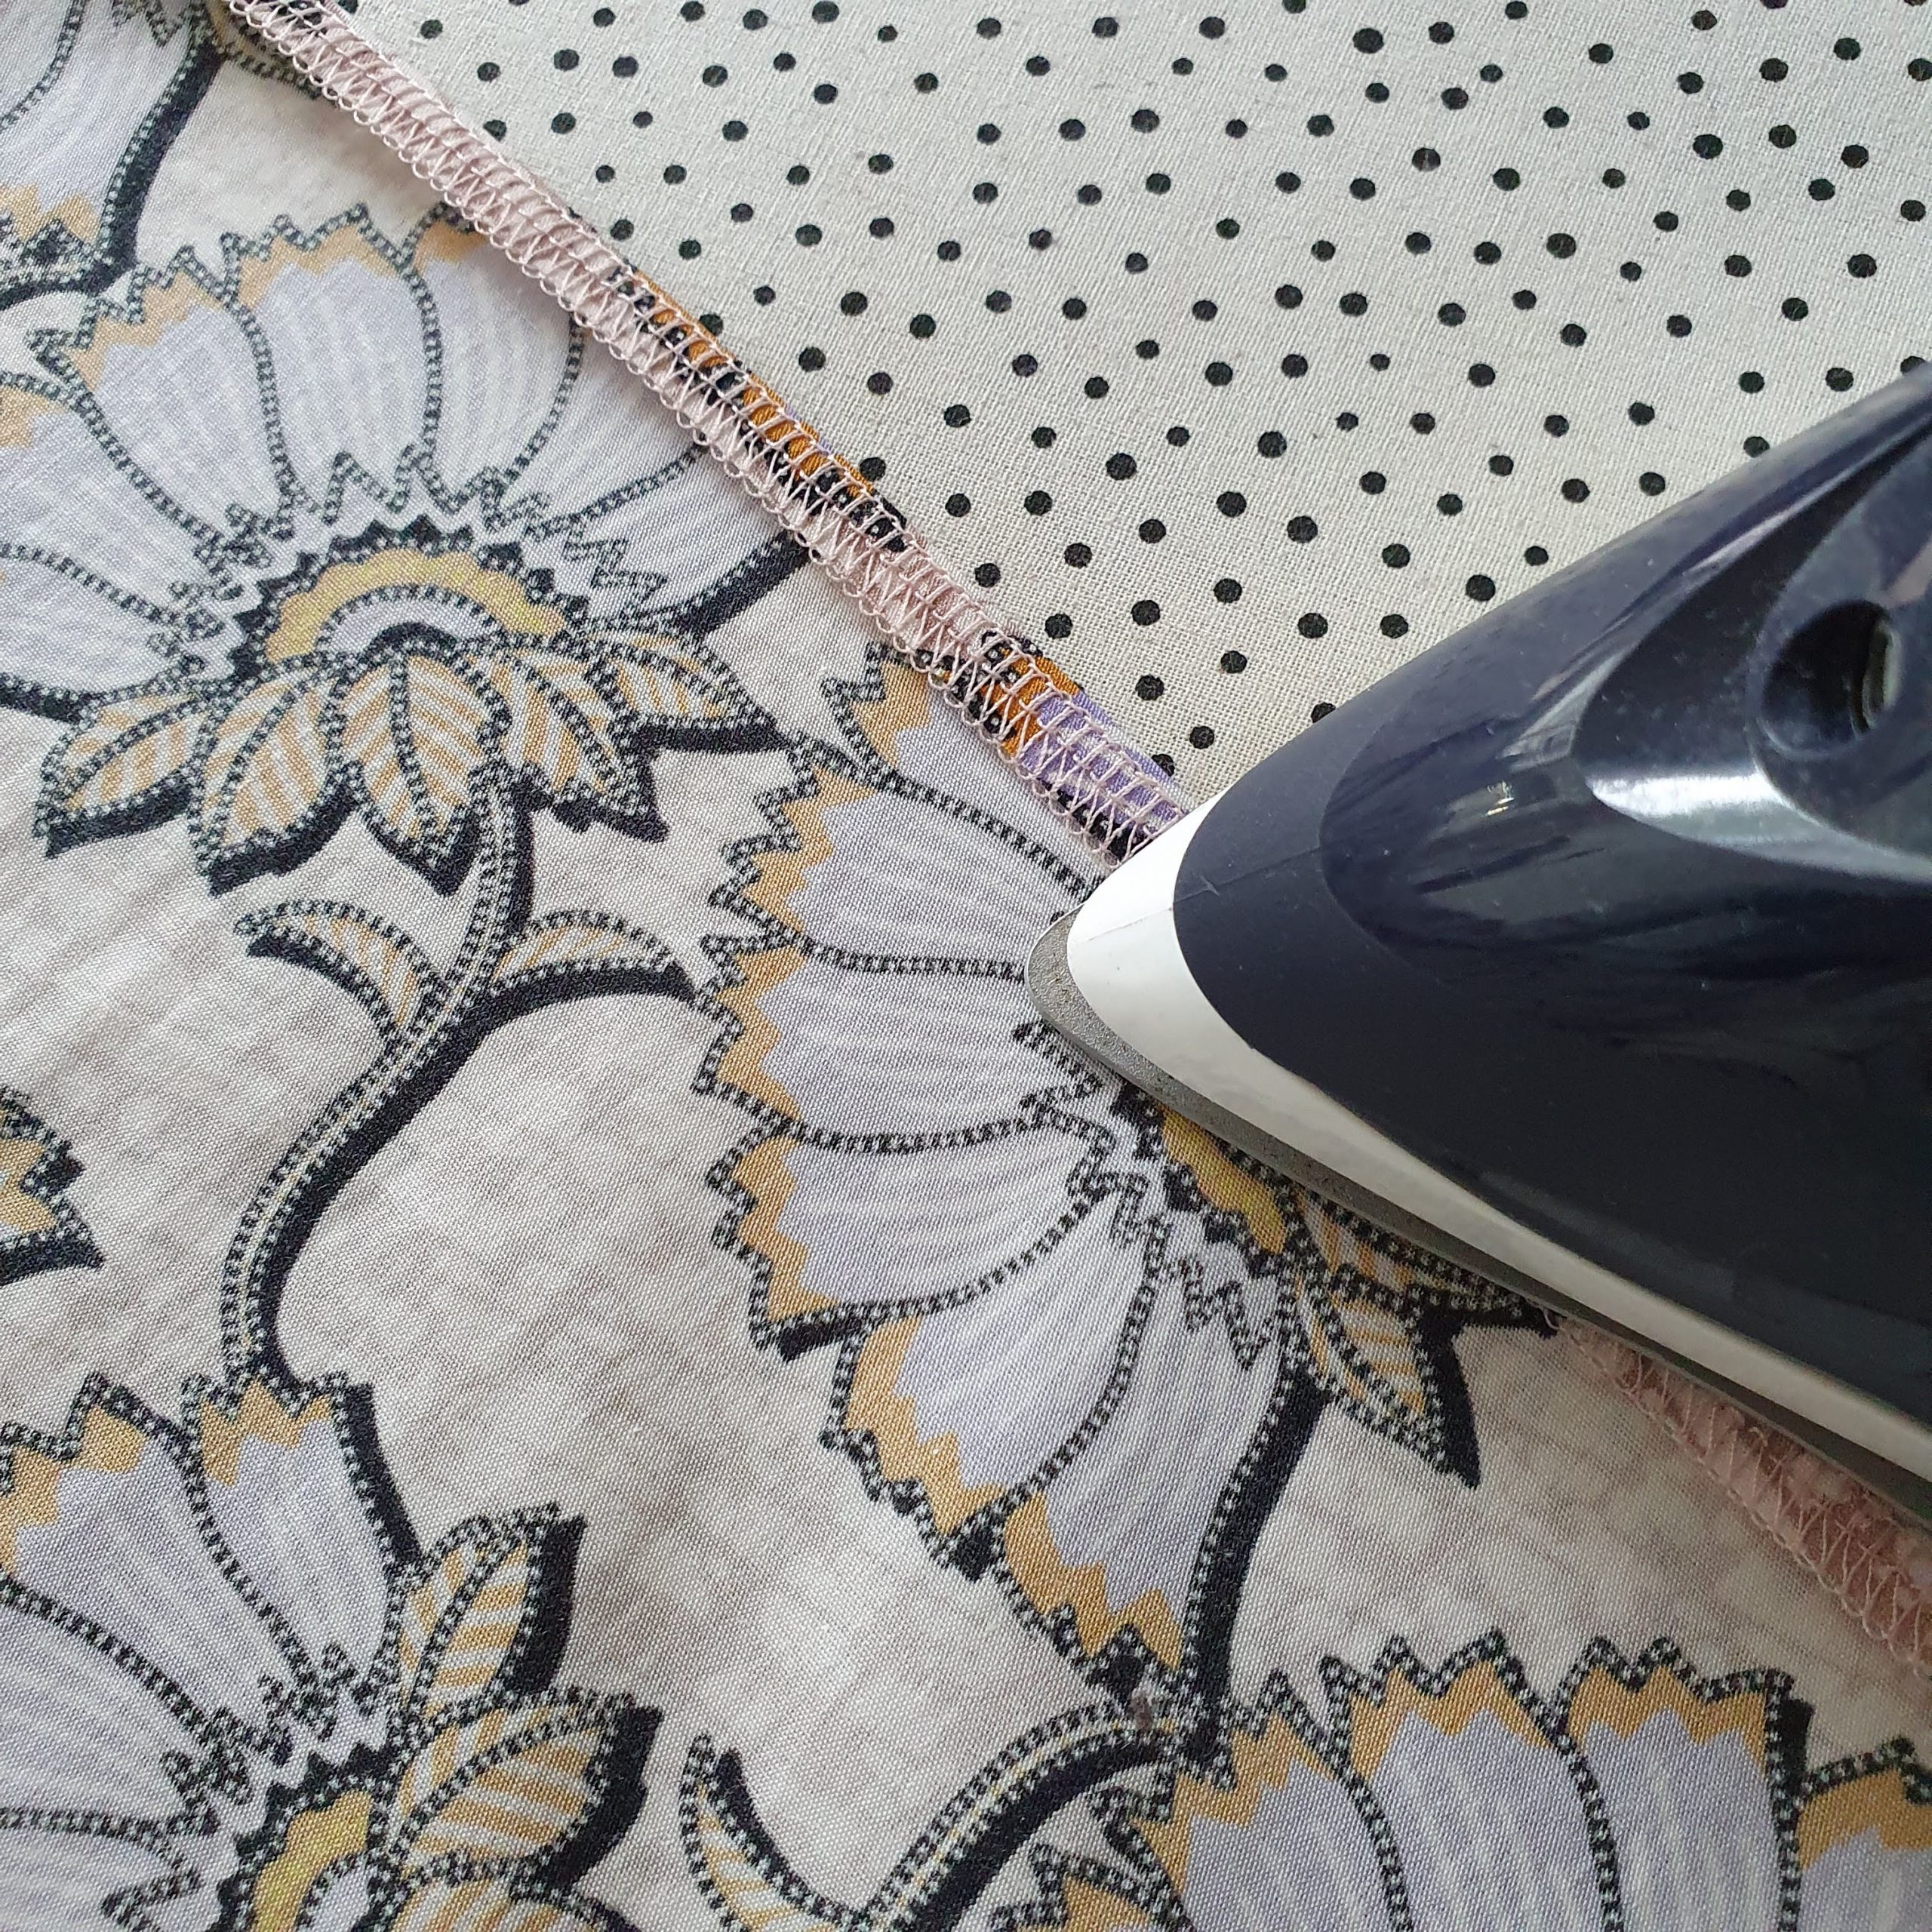
Optional: iron first

Sleefe hem
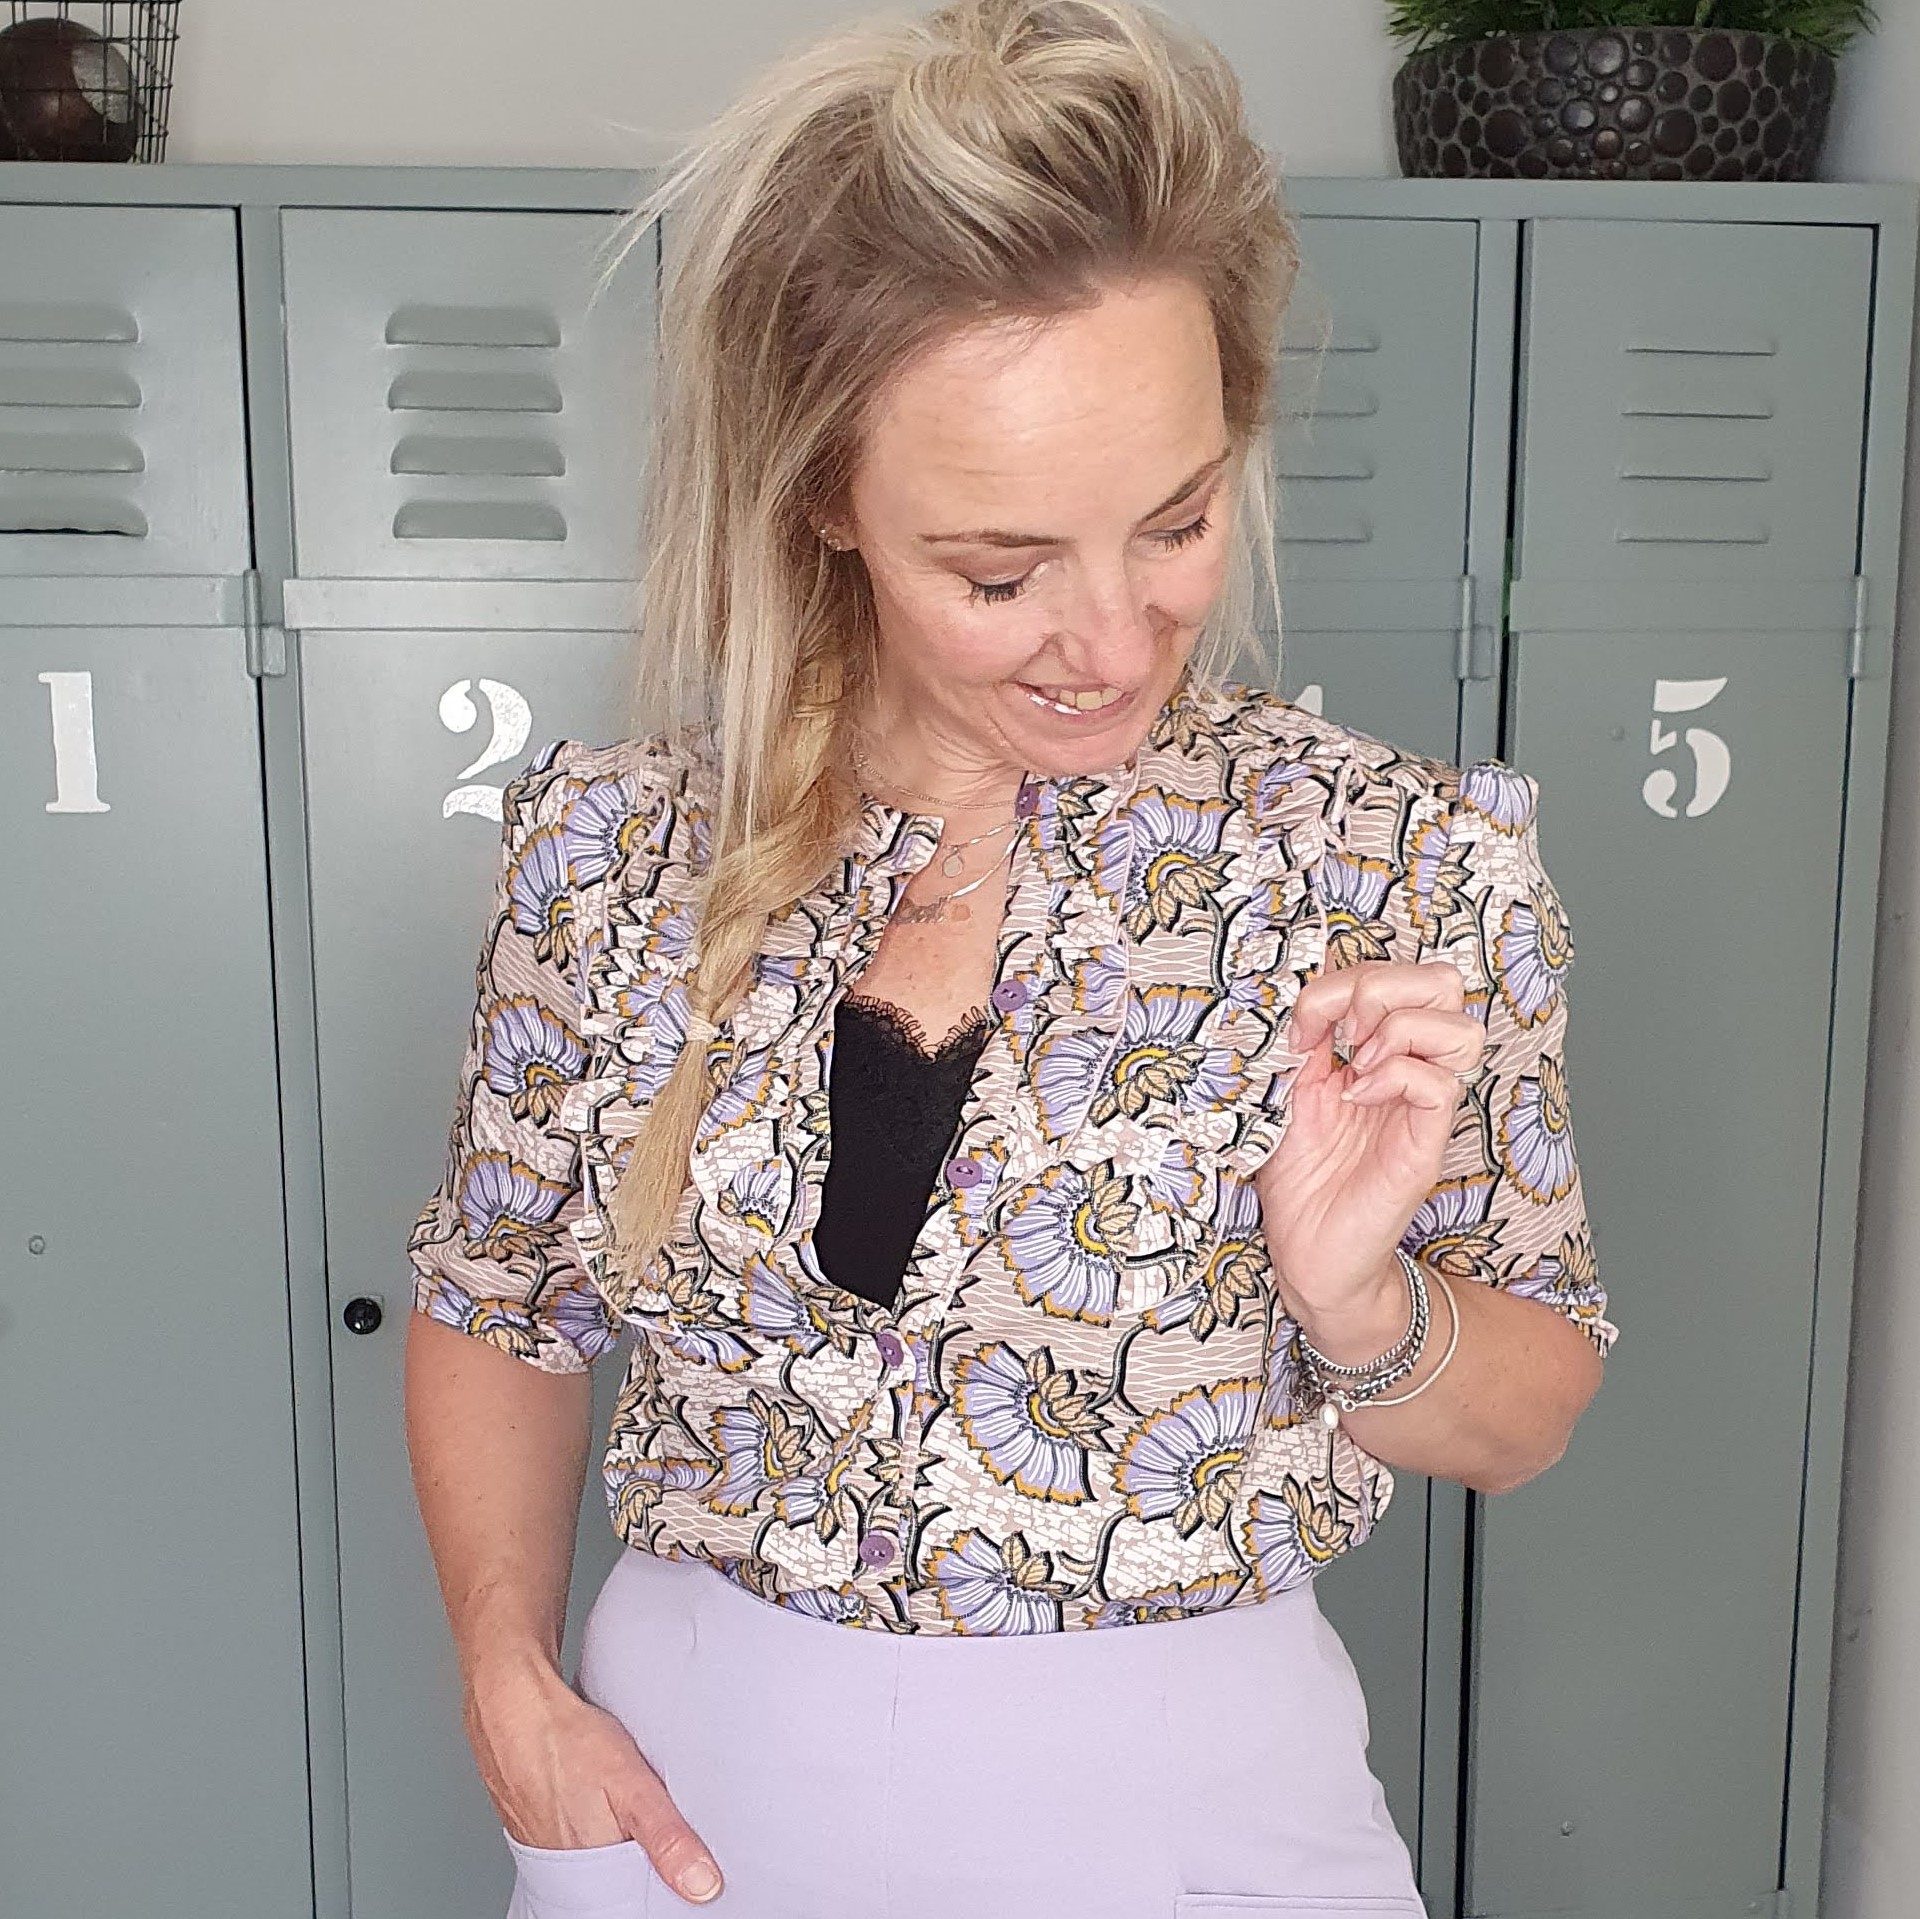
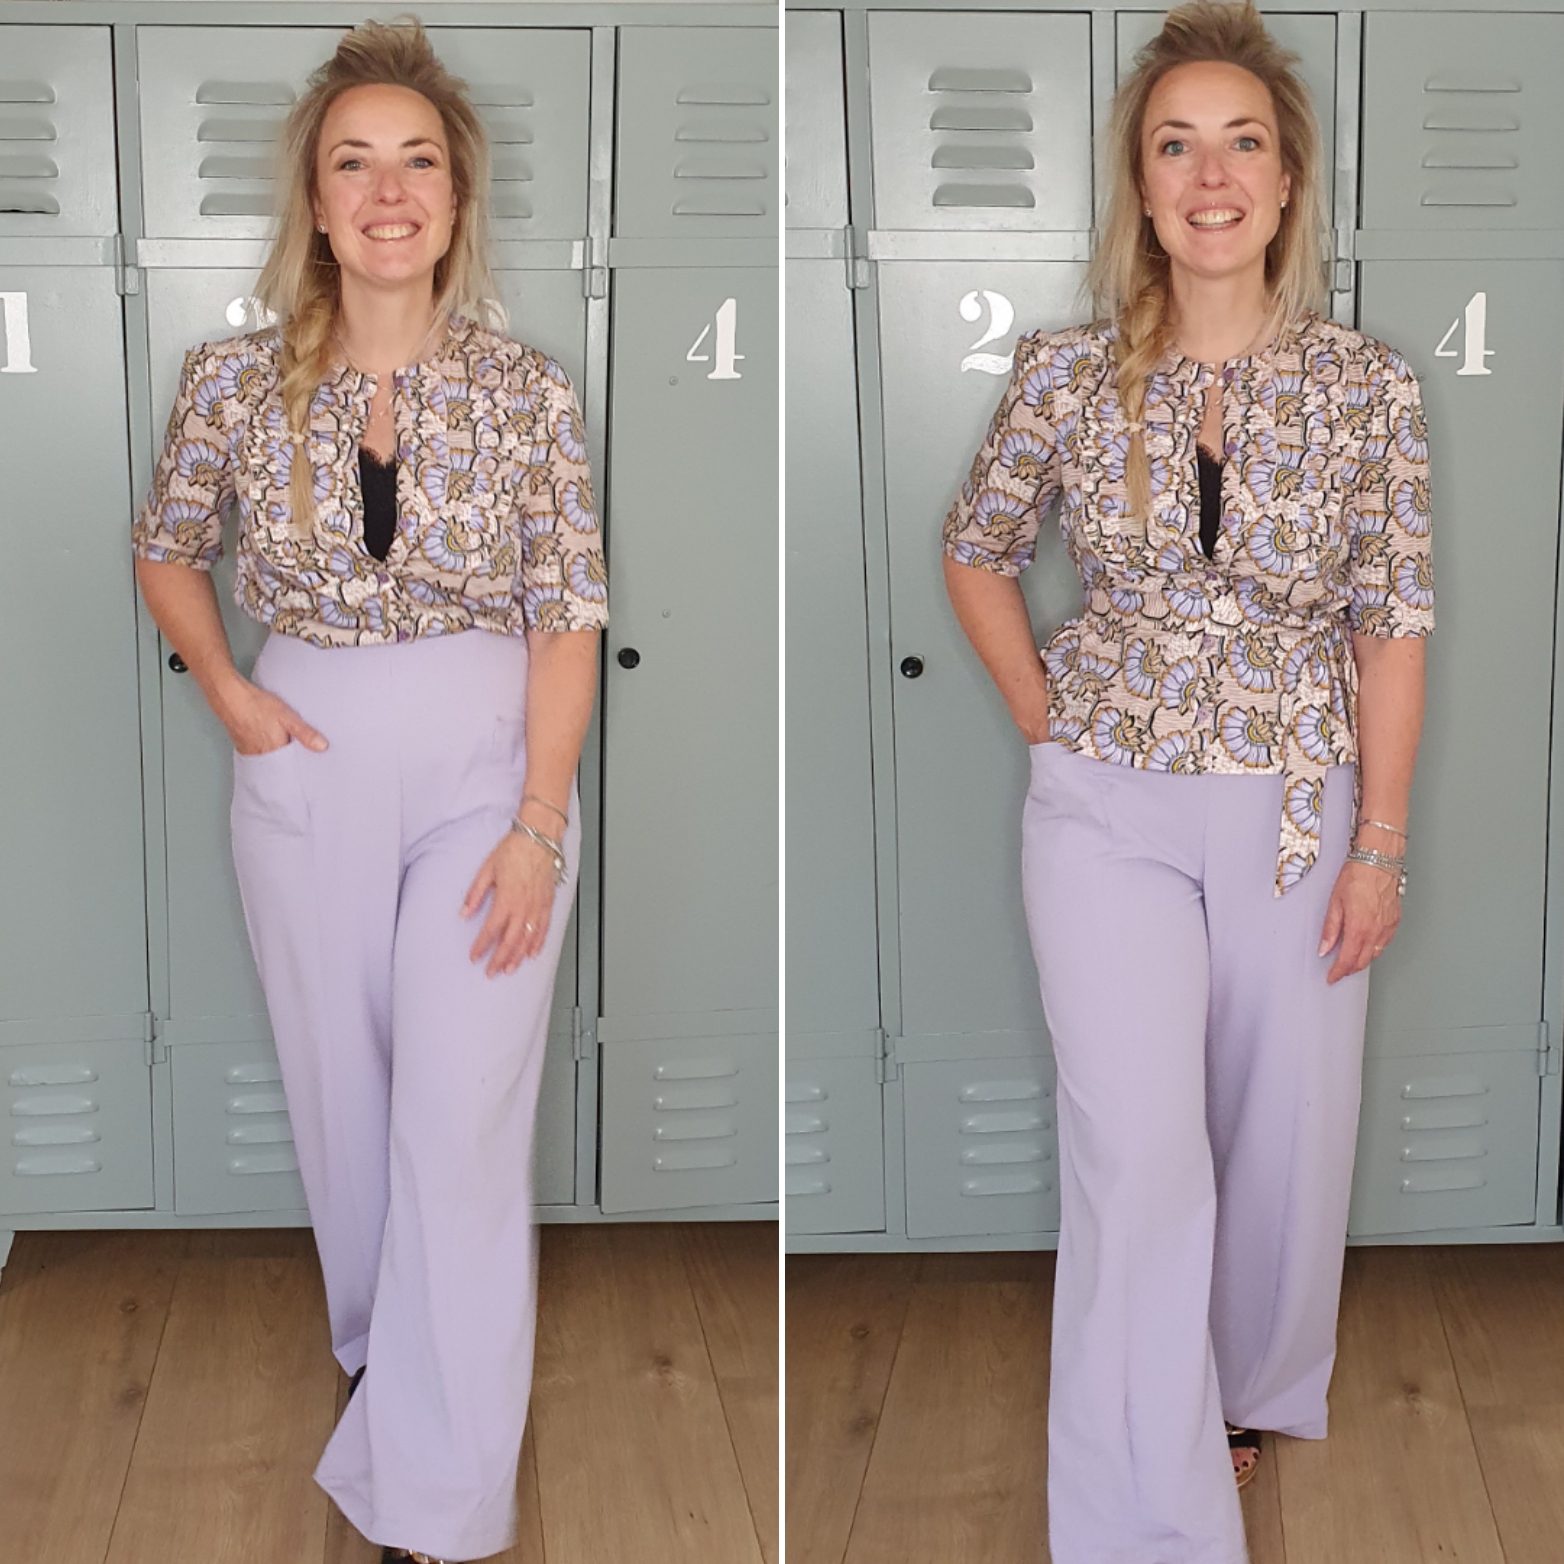
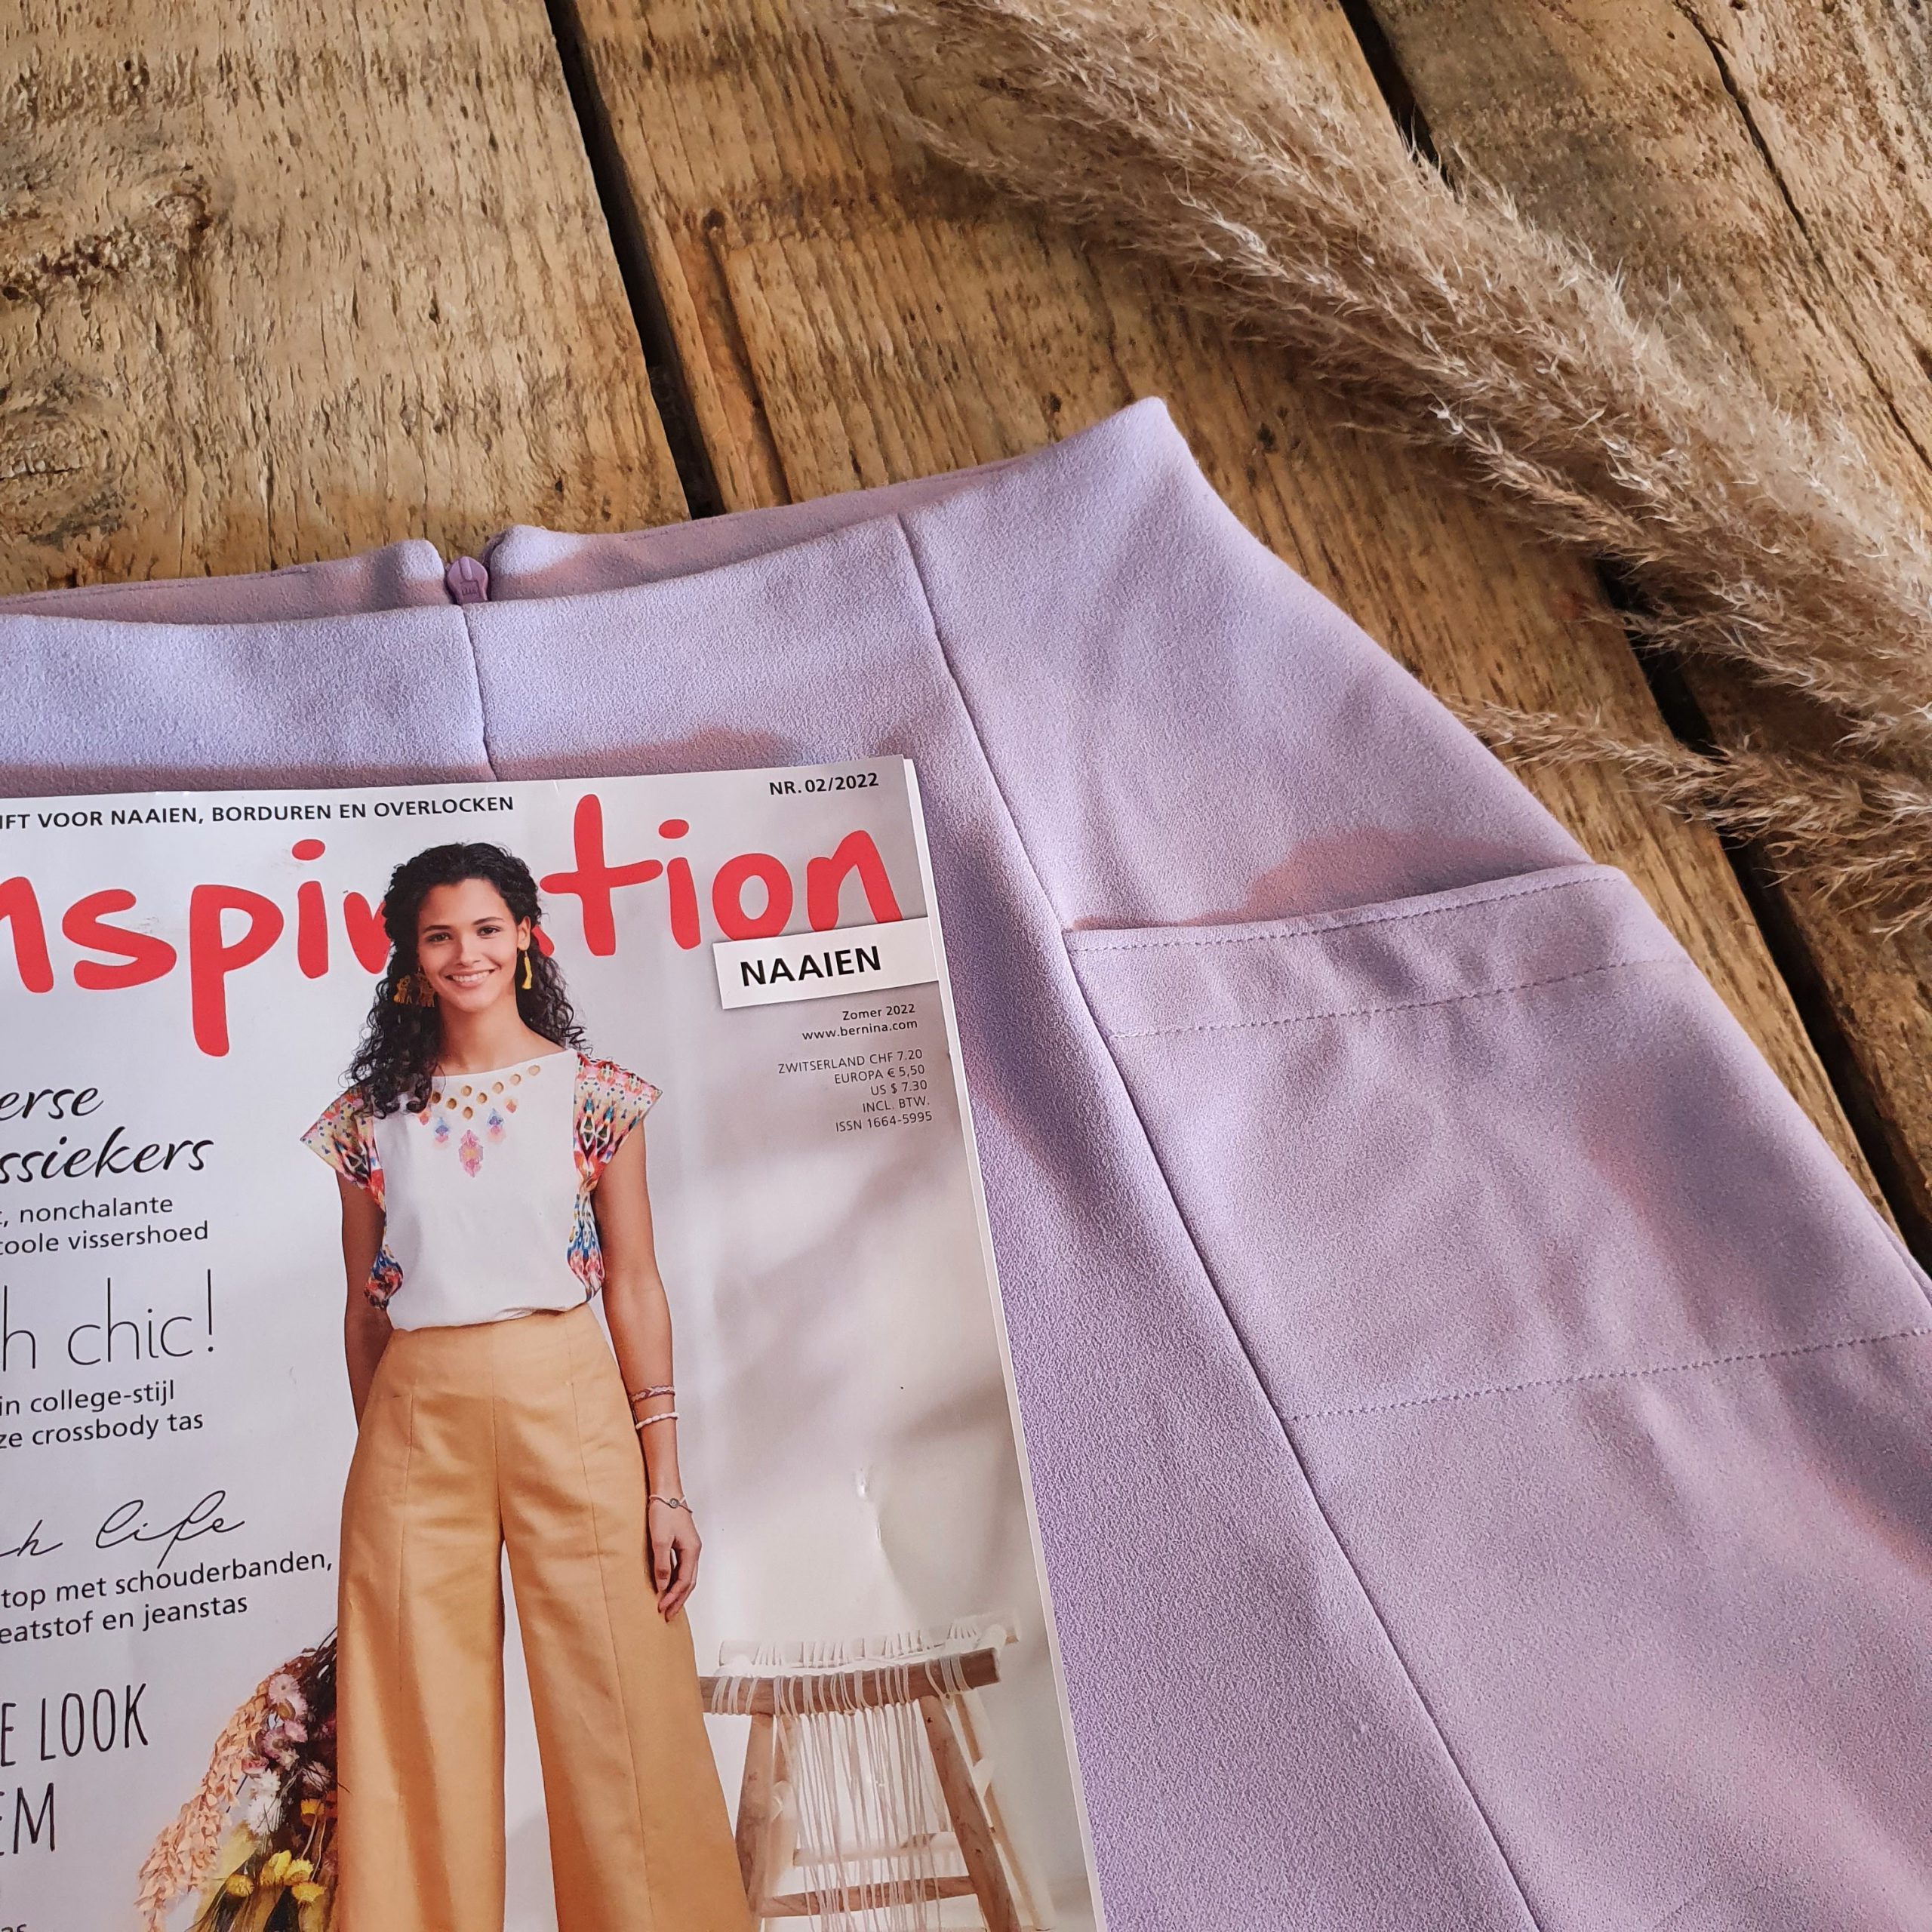
This summer blouse is a wonderful addition to my summer wardrobe, which has recently been enriched with cool pants ‘Sunny’. How appropriate! The pattern for this is from the latest Inspiration Magazine. With a loose belt, the blouse can be styled in two ways. Which one is your favourite?
Love,
Marlies
Marlies, you do wonderful..I posted your blog to my Bernina list for 890. I so thank you for all your work..Joann.
The fabric is lovely. Such a soft color. I like it worn out with a belt (or without belt) but that blouse will appear more like a tunic and I like that effect. Is this blouse pattern in the current edition of Inspiration?