 BERNINA Corporate Blog -
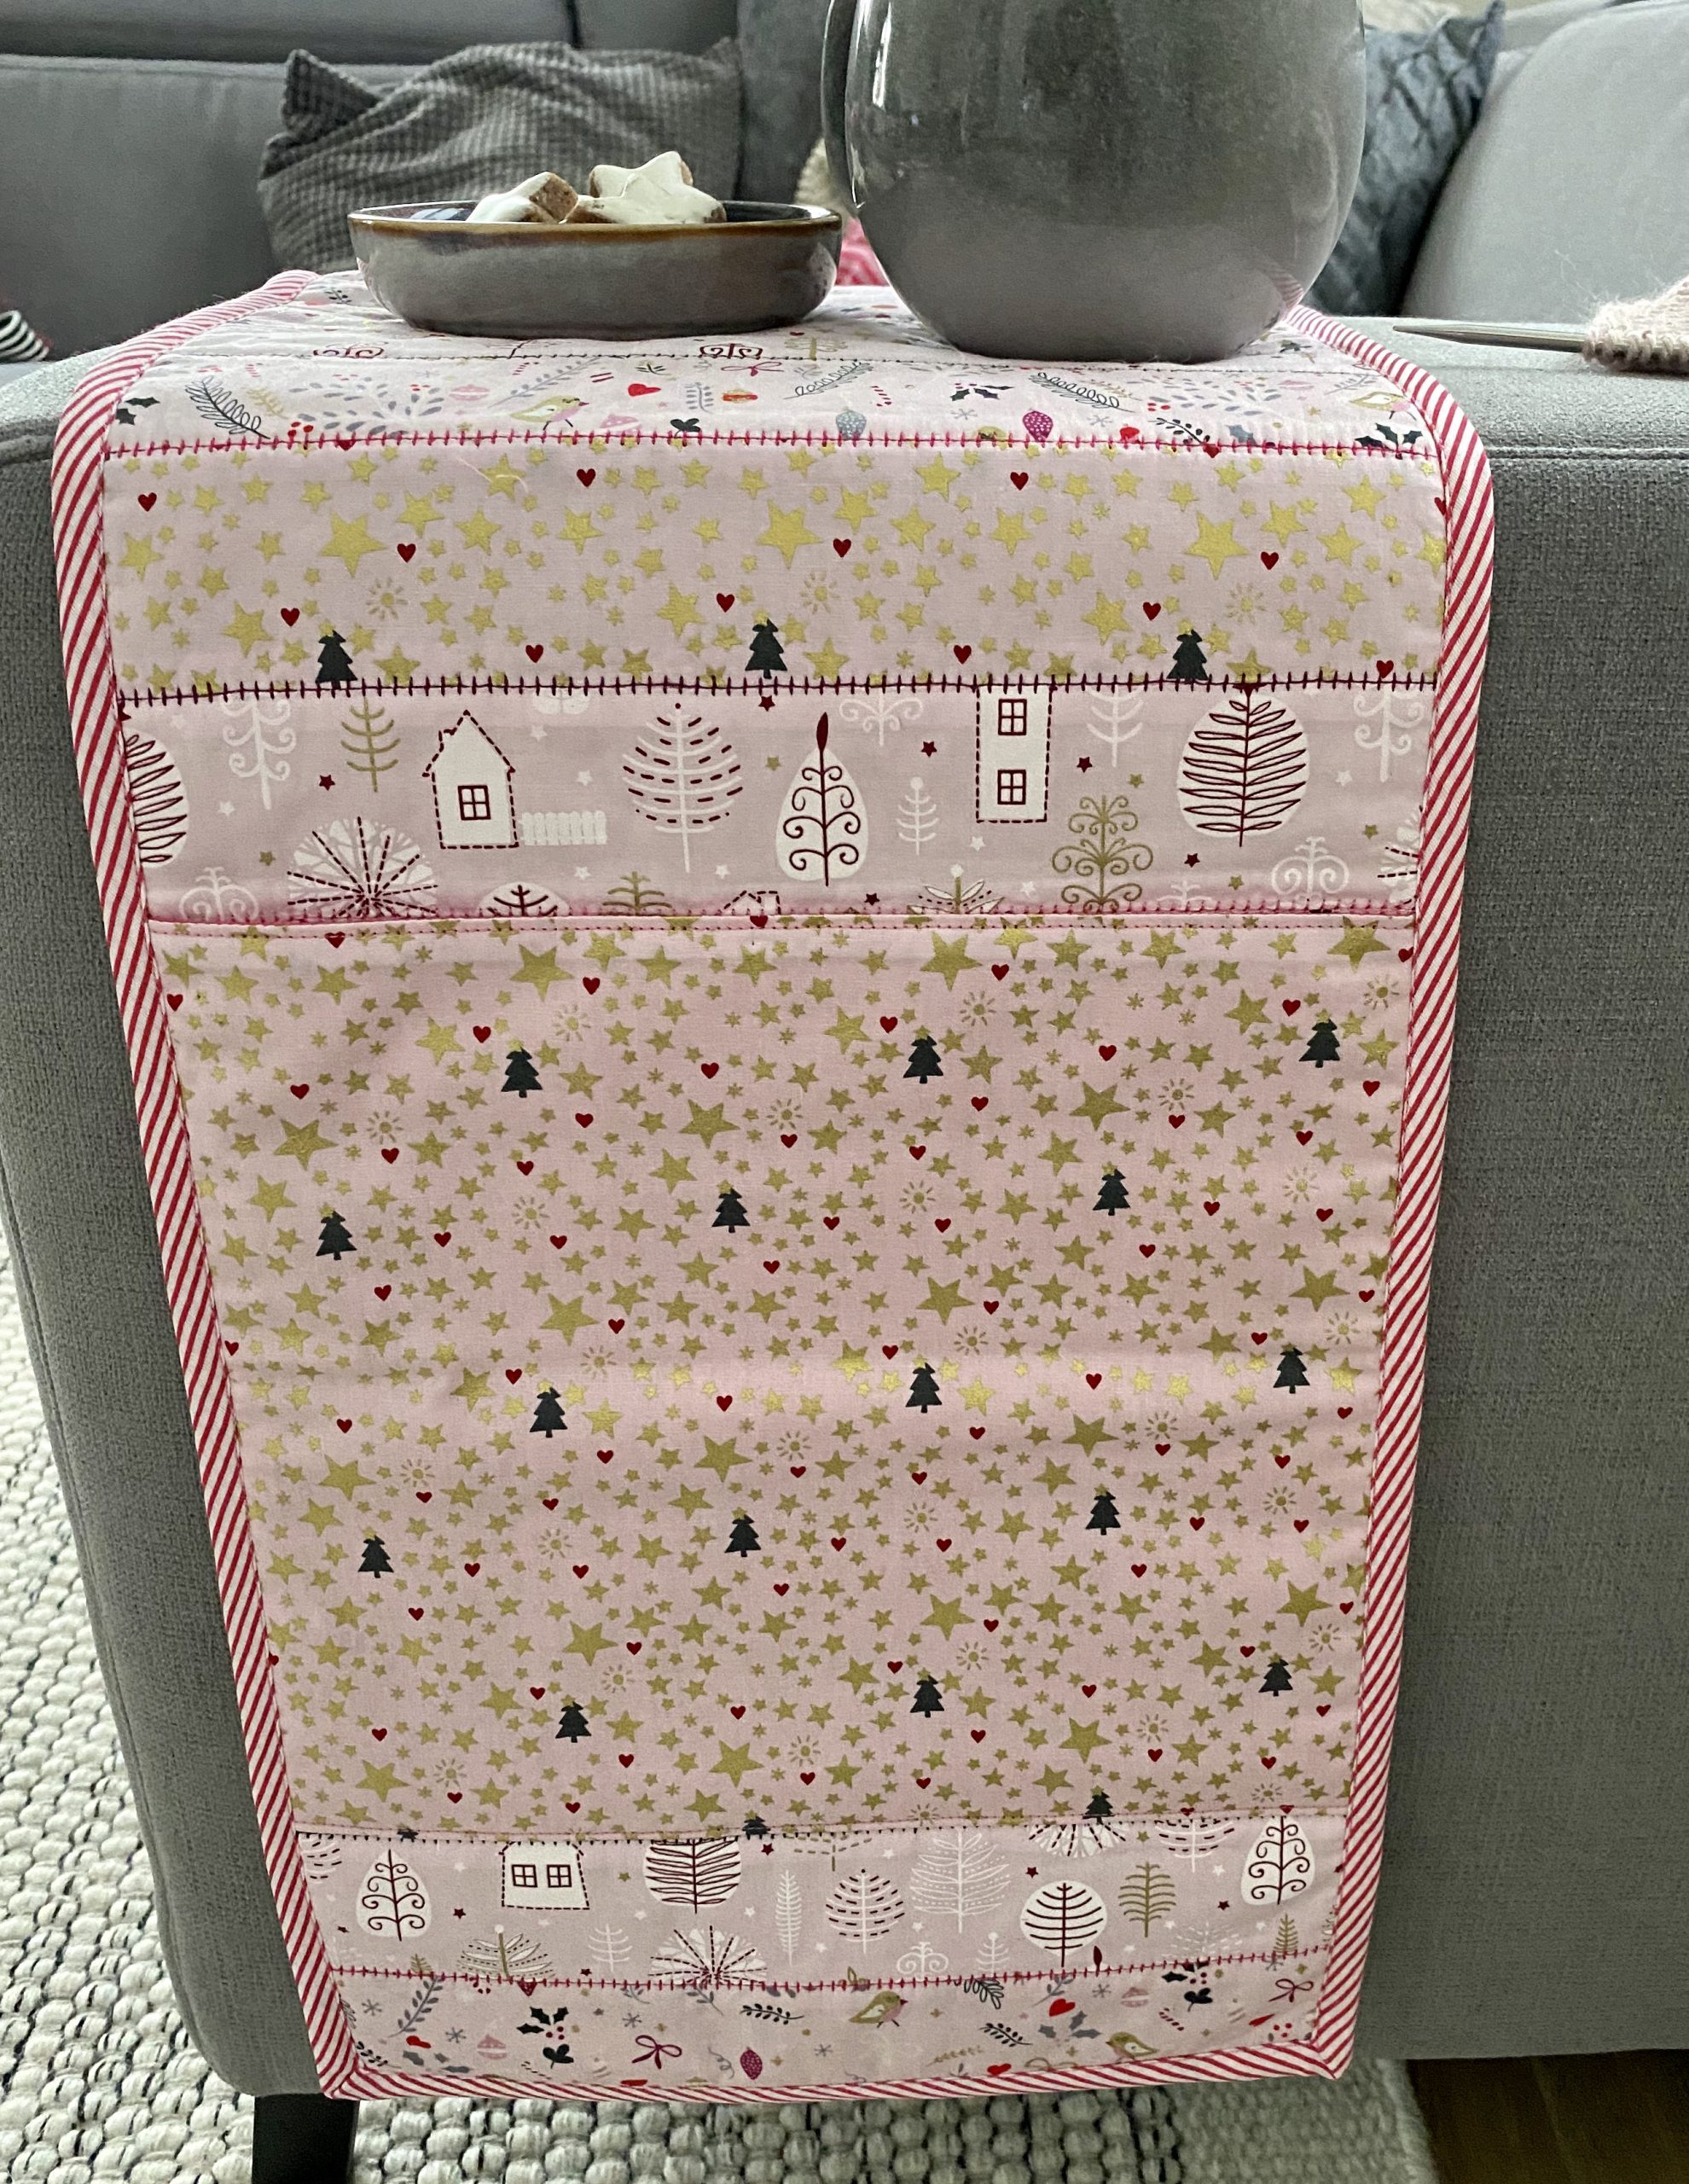
Sewing a sofa organizer for your Christmas knitting
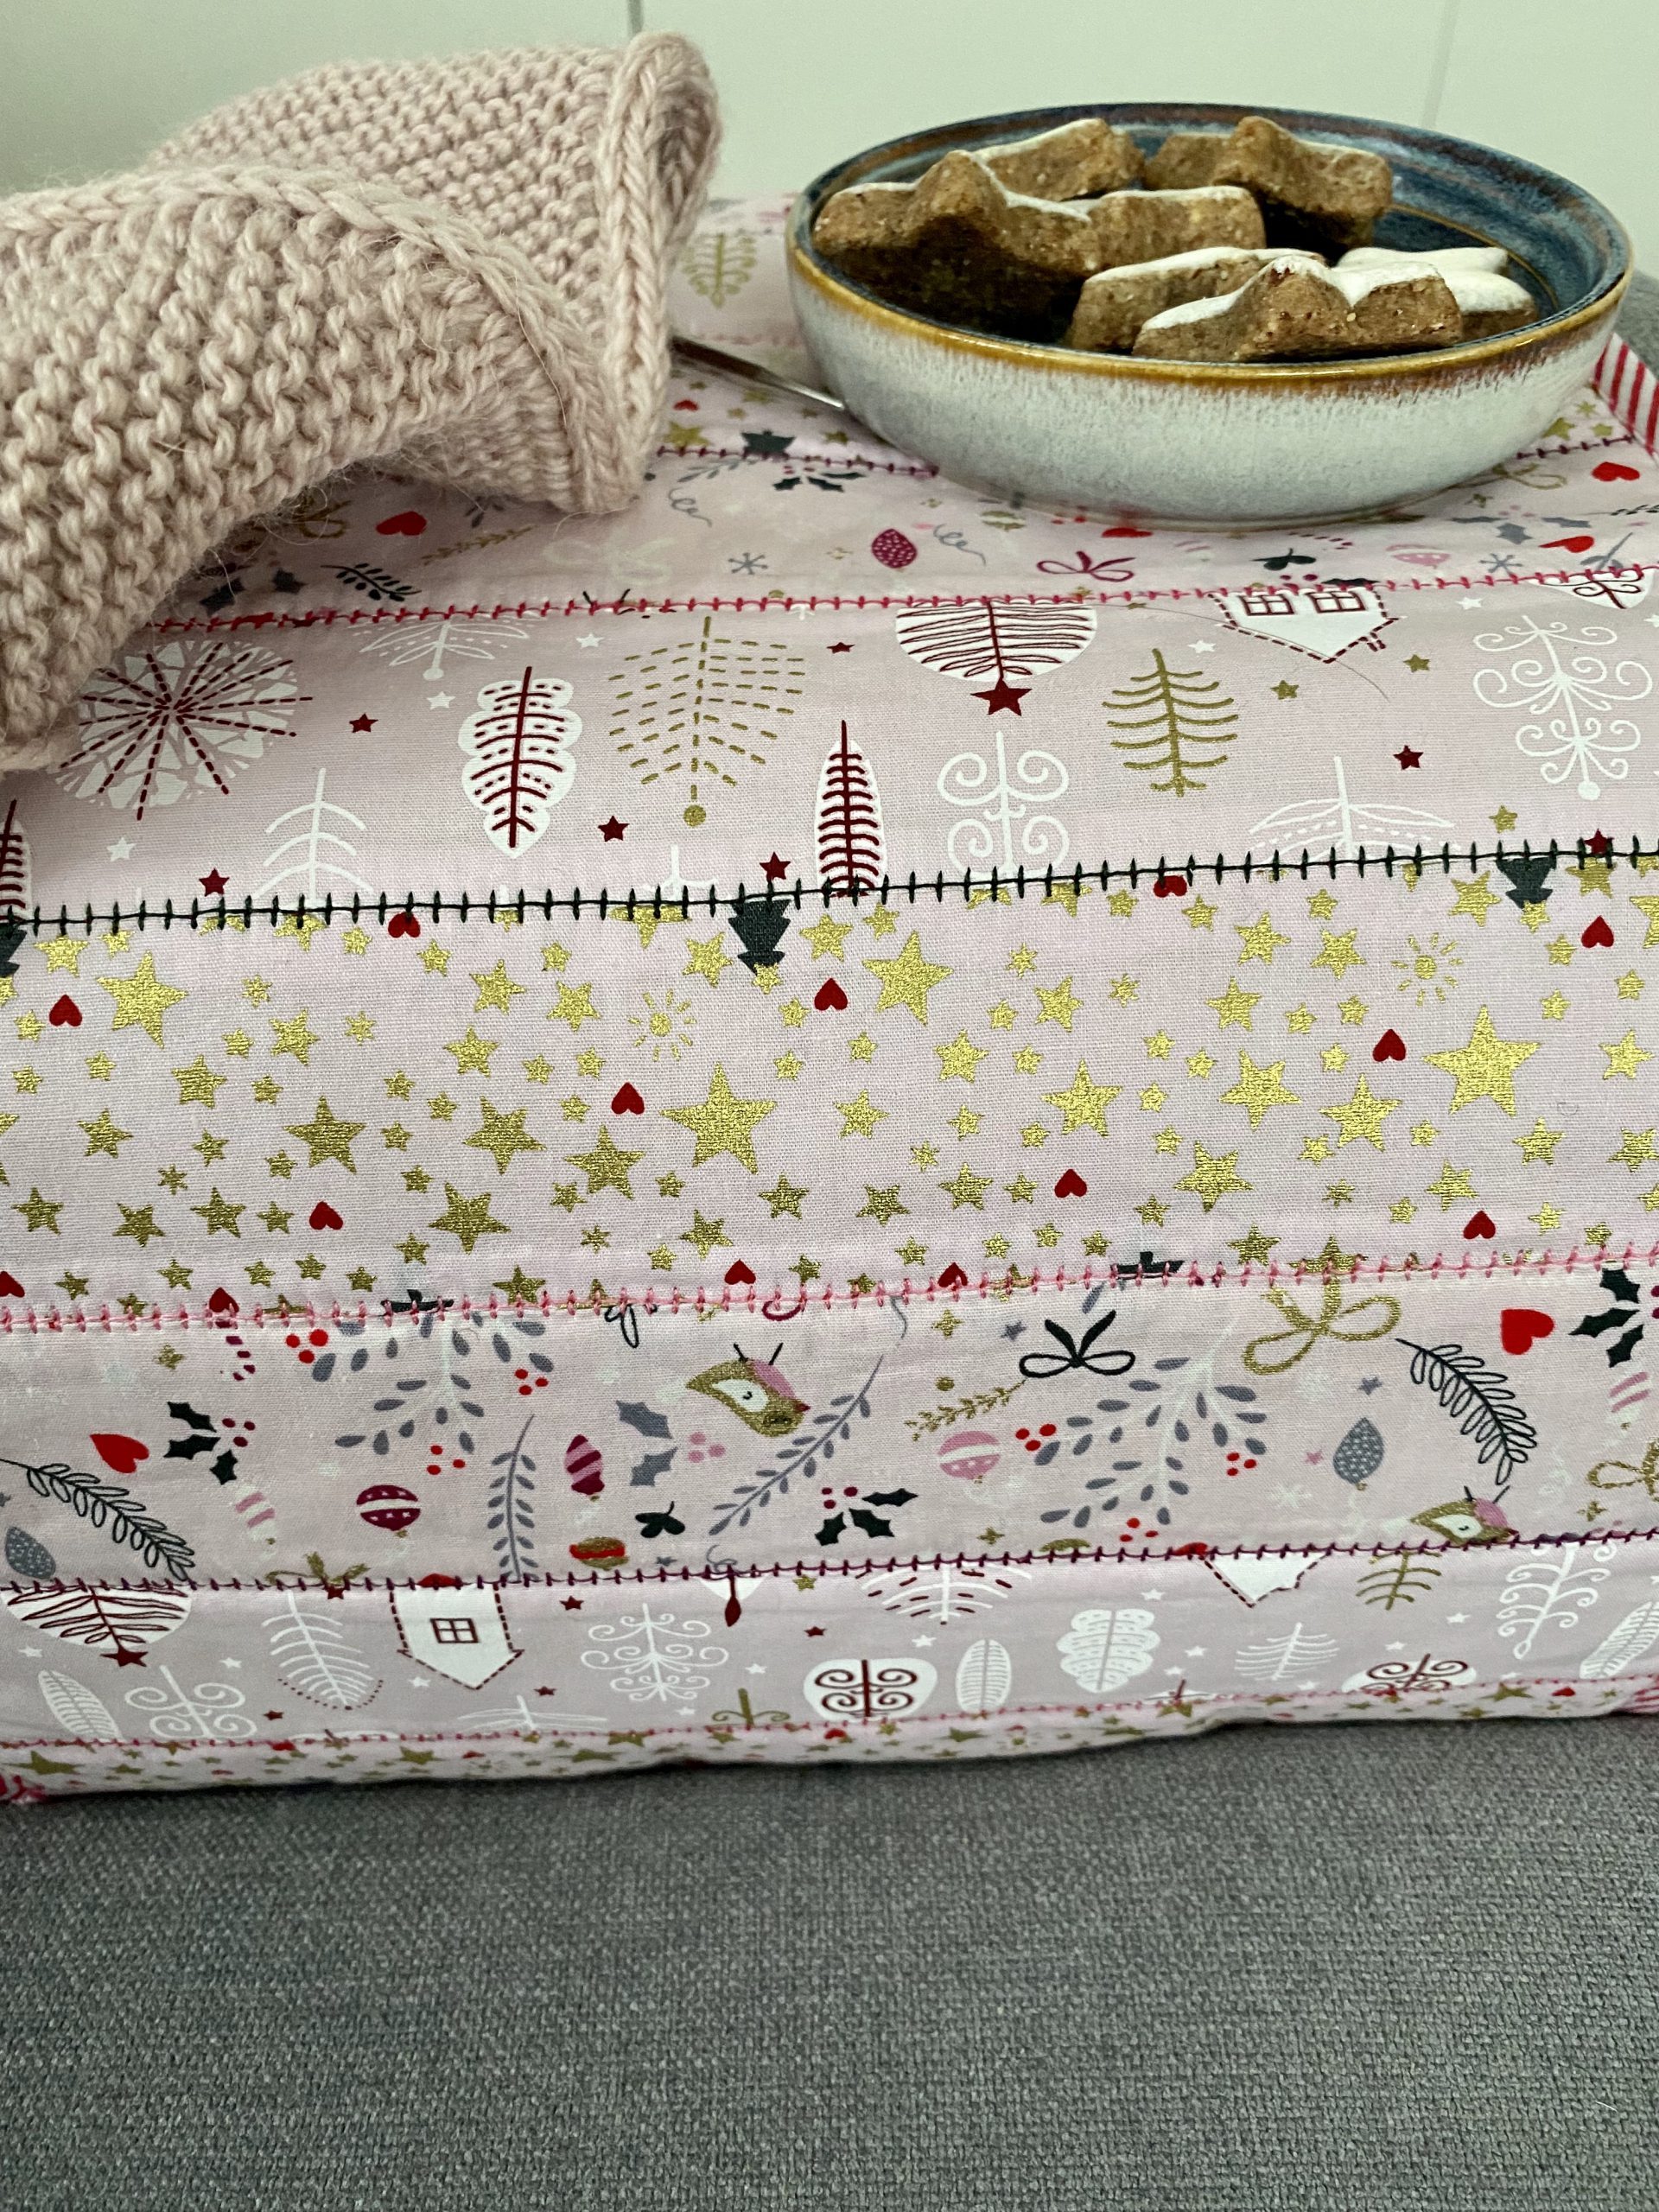
I really love the Christmas holidays. It’s so wonderful to cozy up on the sofa, sip a tasty hot drink, eat cookies and knit. For me, this is pure relaxation. I have come up with a Christmas-themed sofa organizer so that I can have everything at my fingertips, as well as a place to set aside cups and cookie plates. Today I will show you how to sew an organizer like this yourself.
This is the 15th window in the BERNINA Blog Advent Calendar 2022.
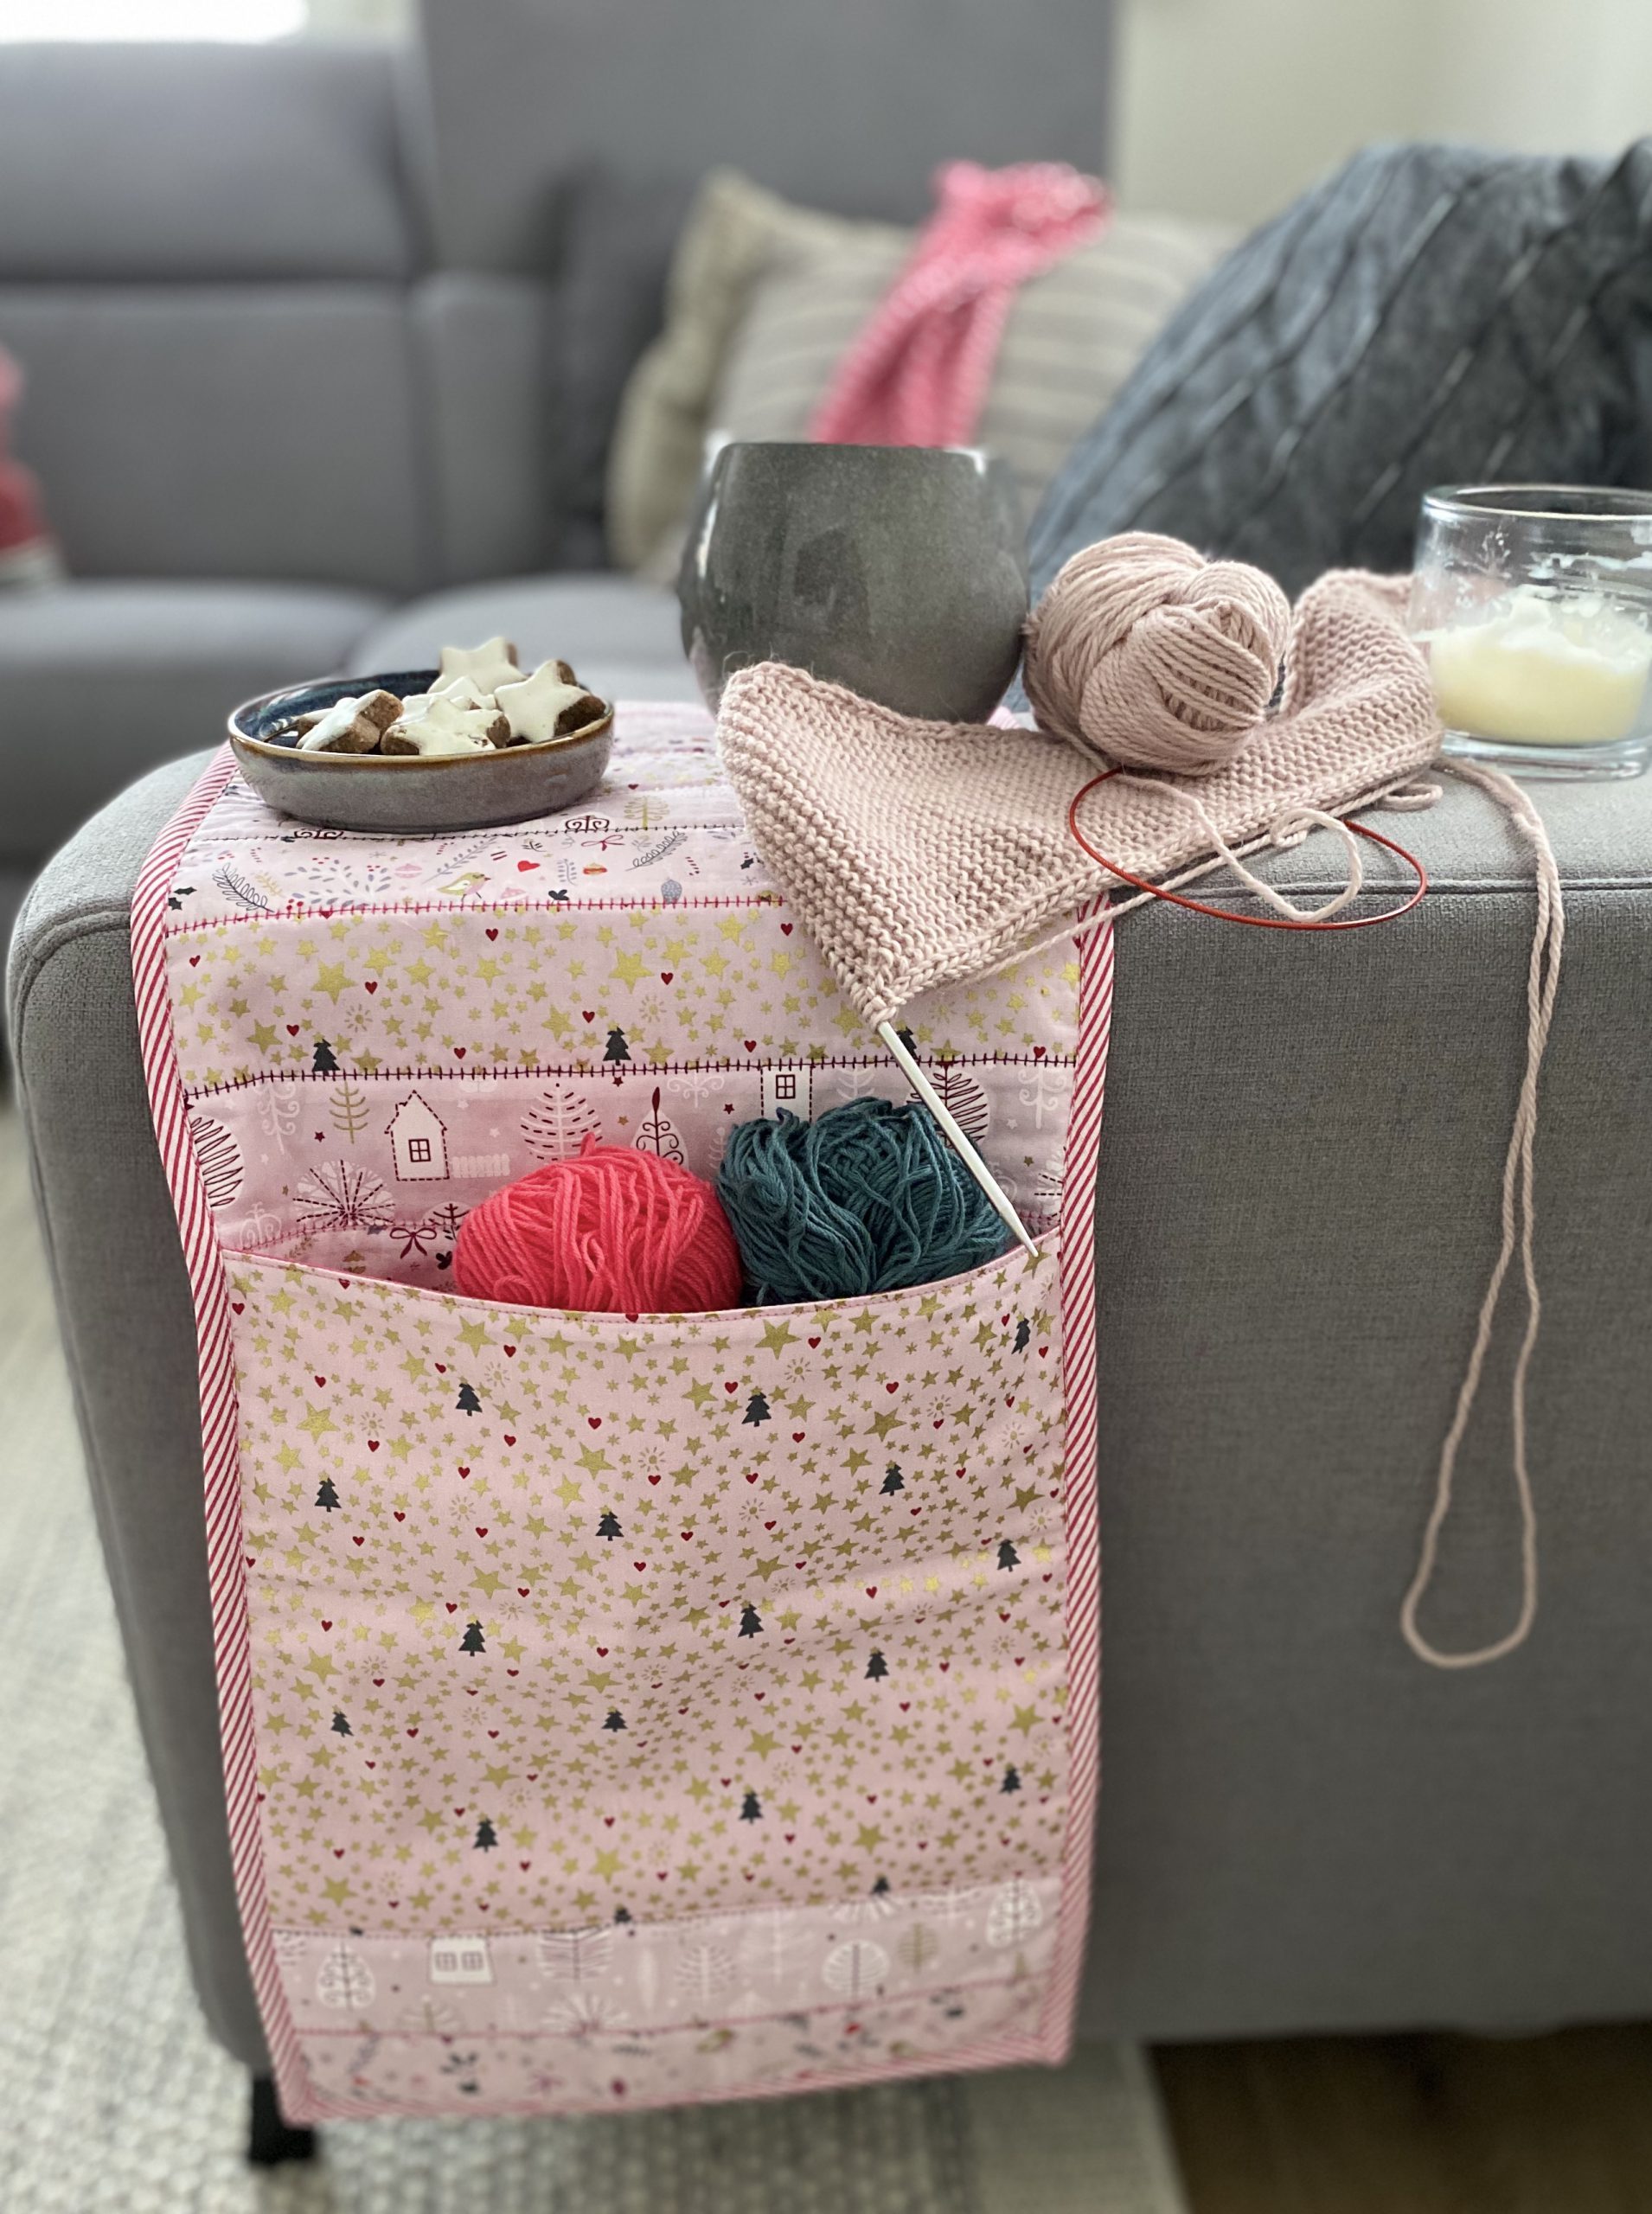
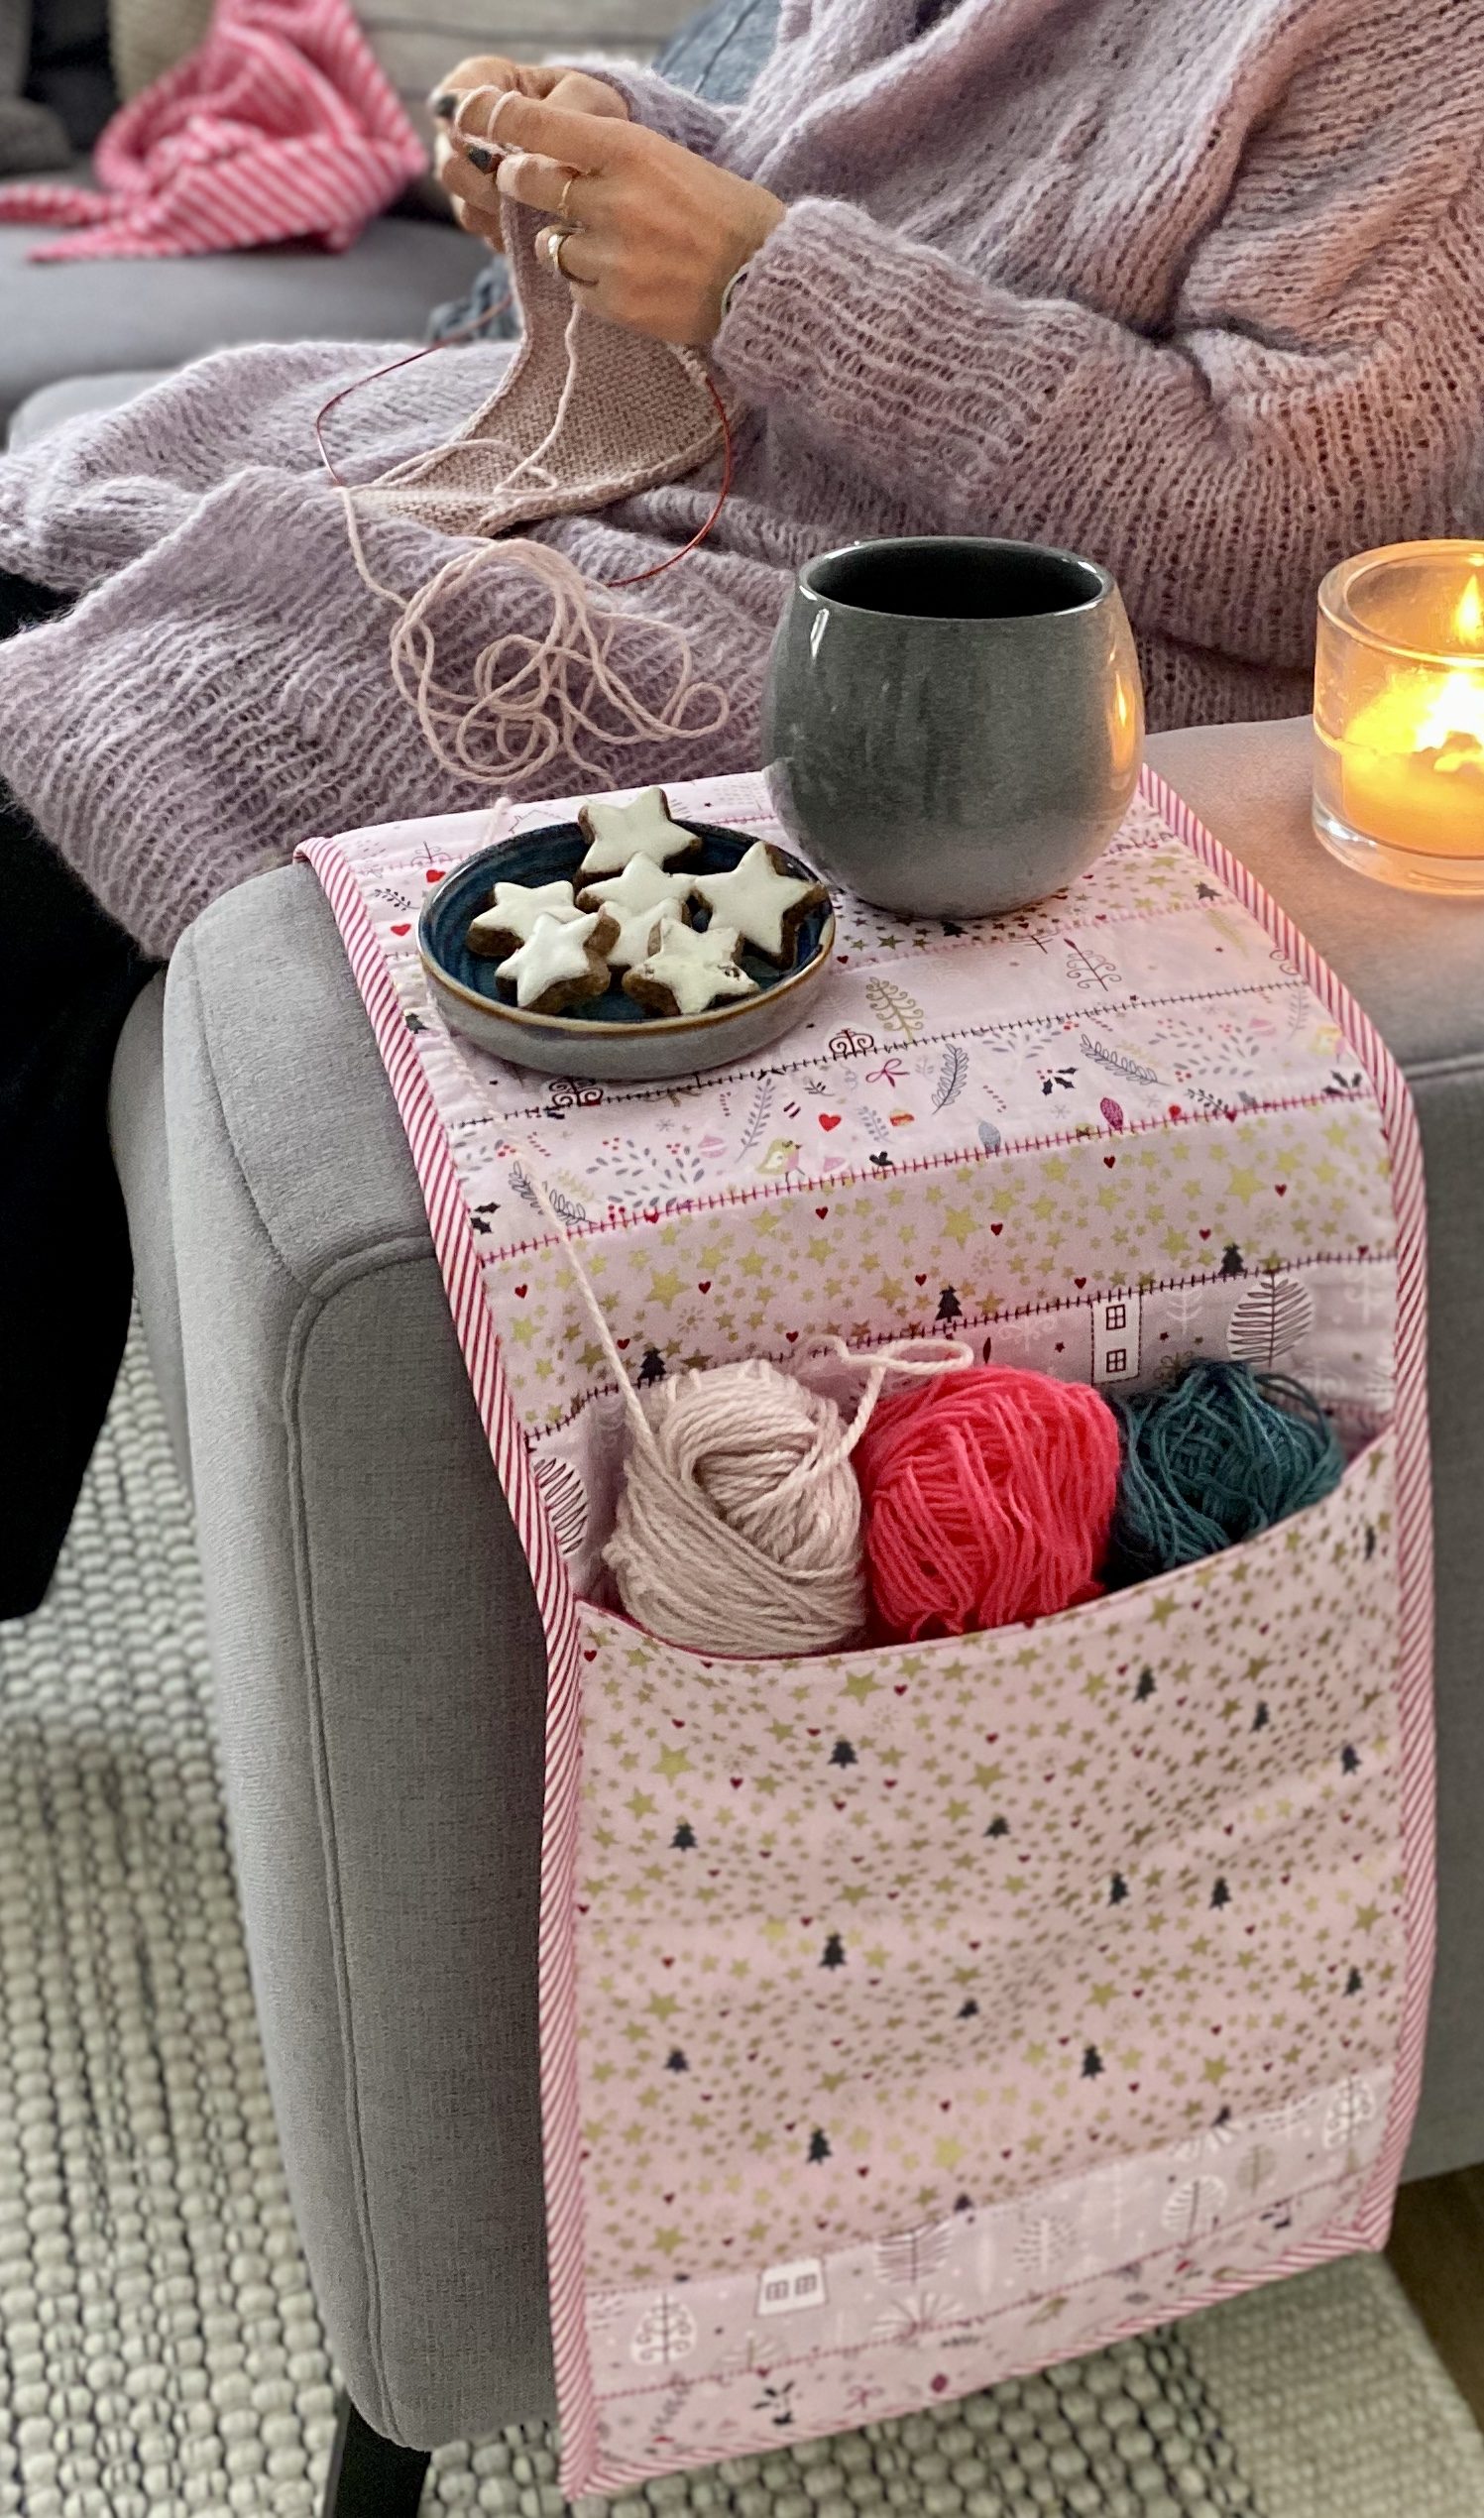
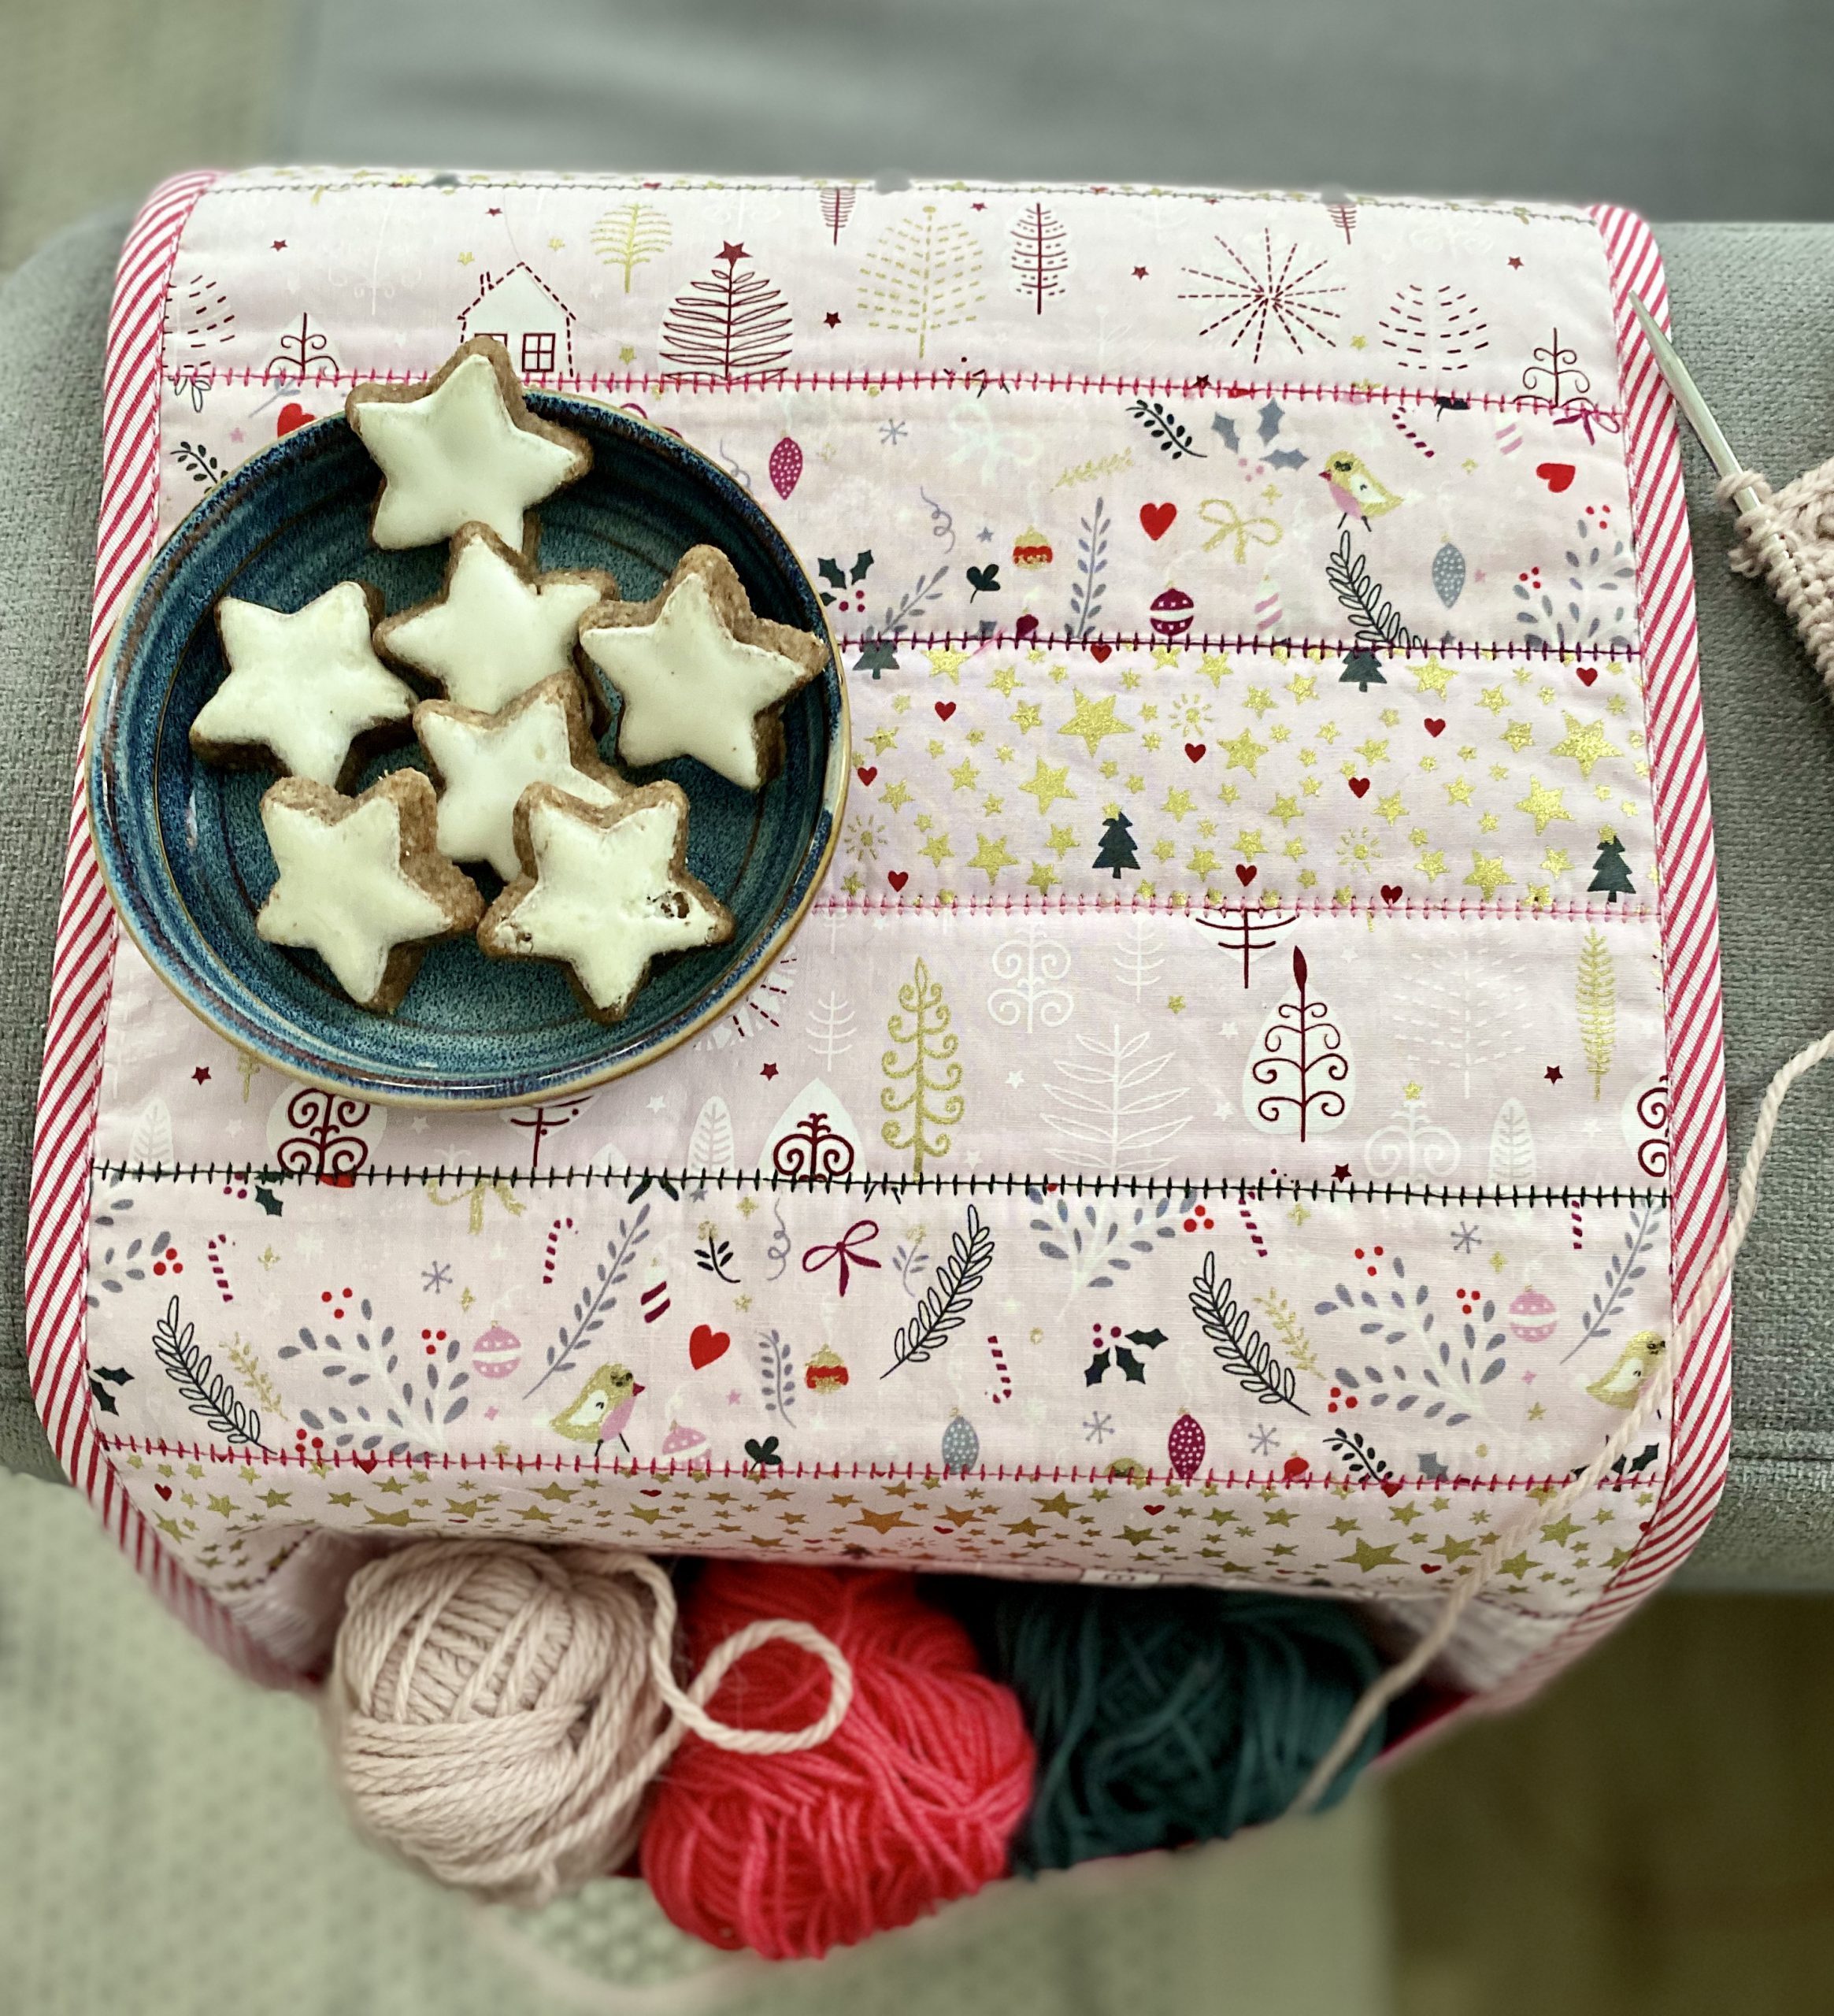
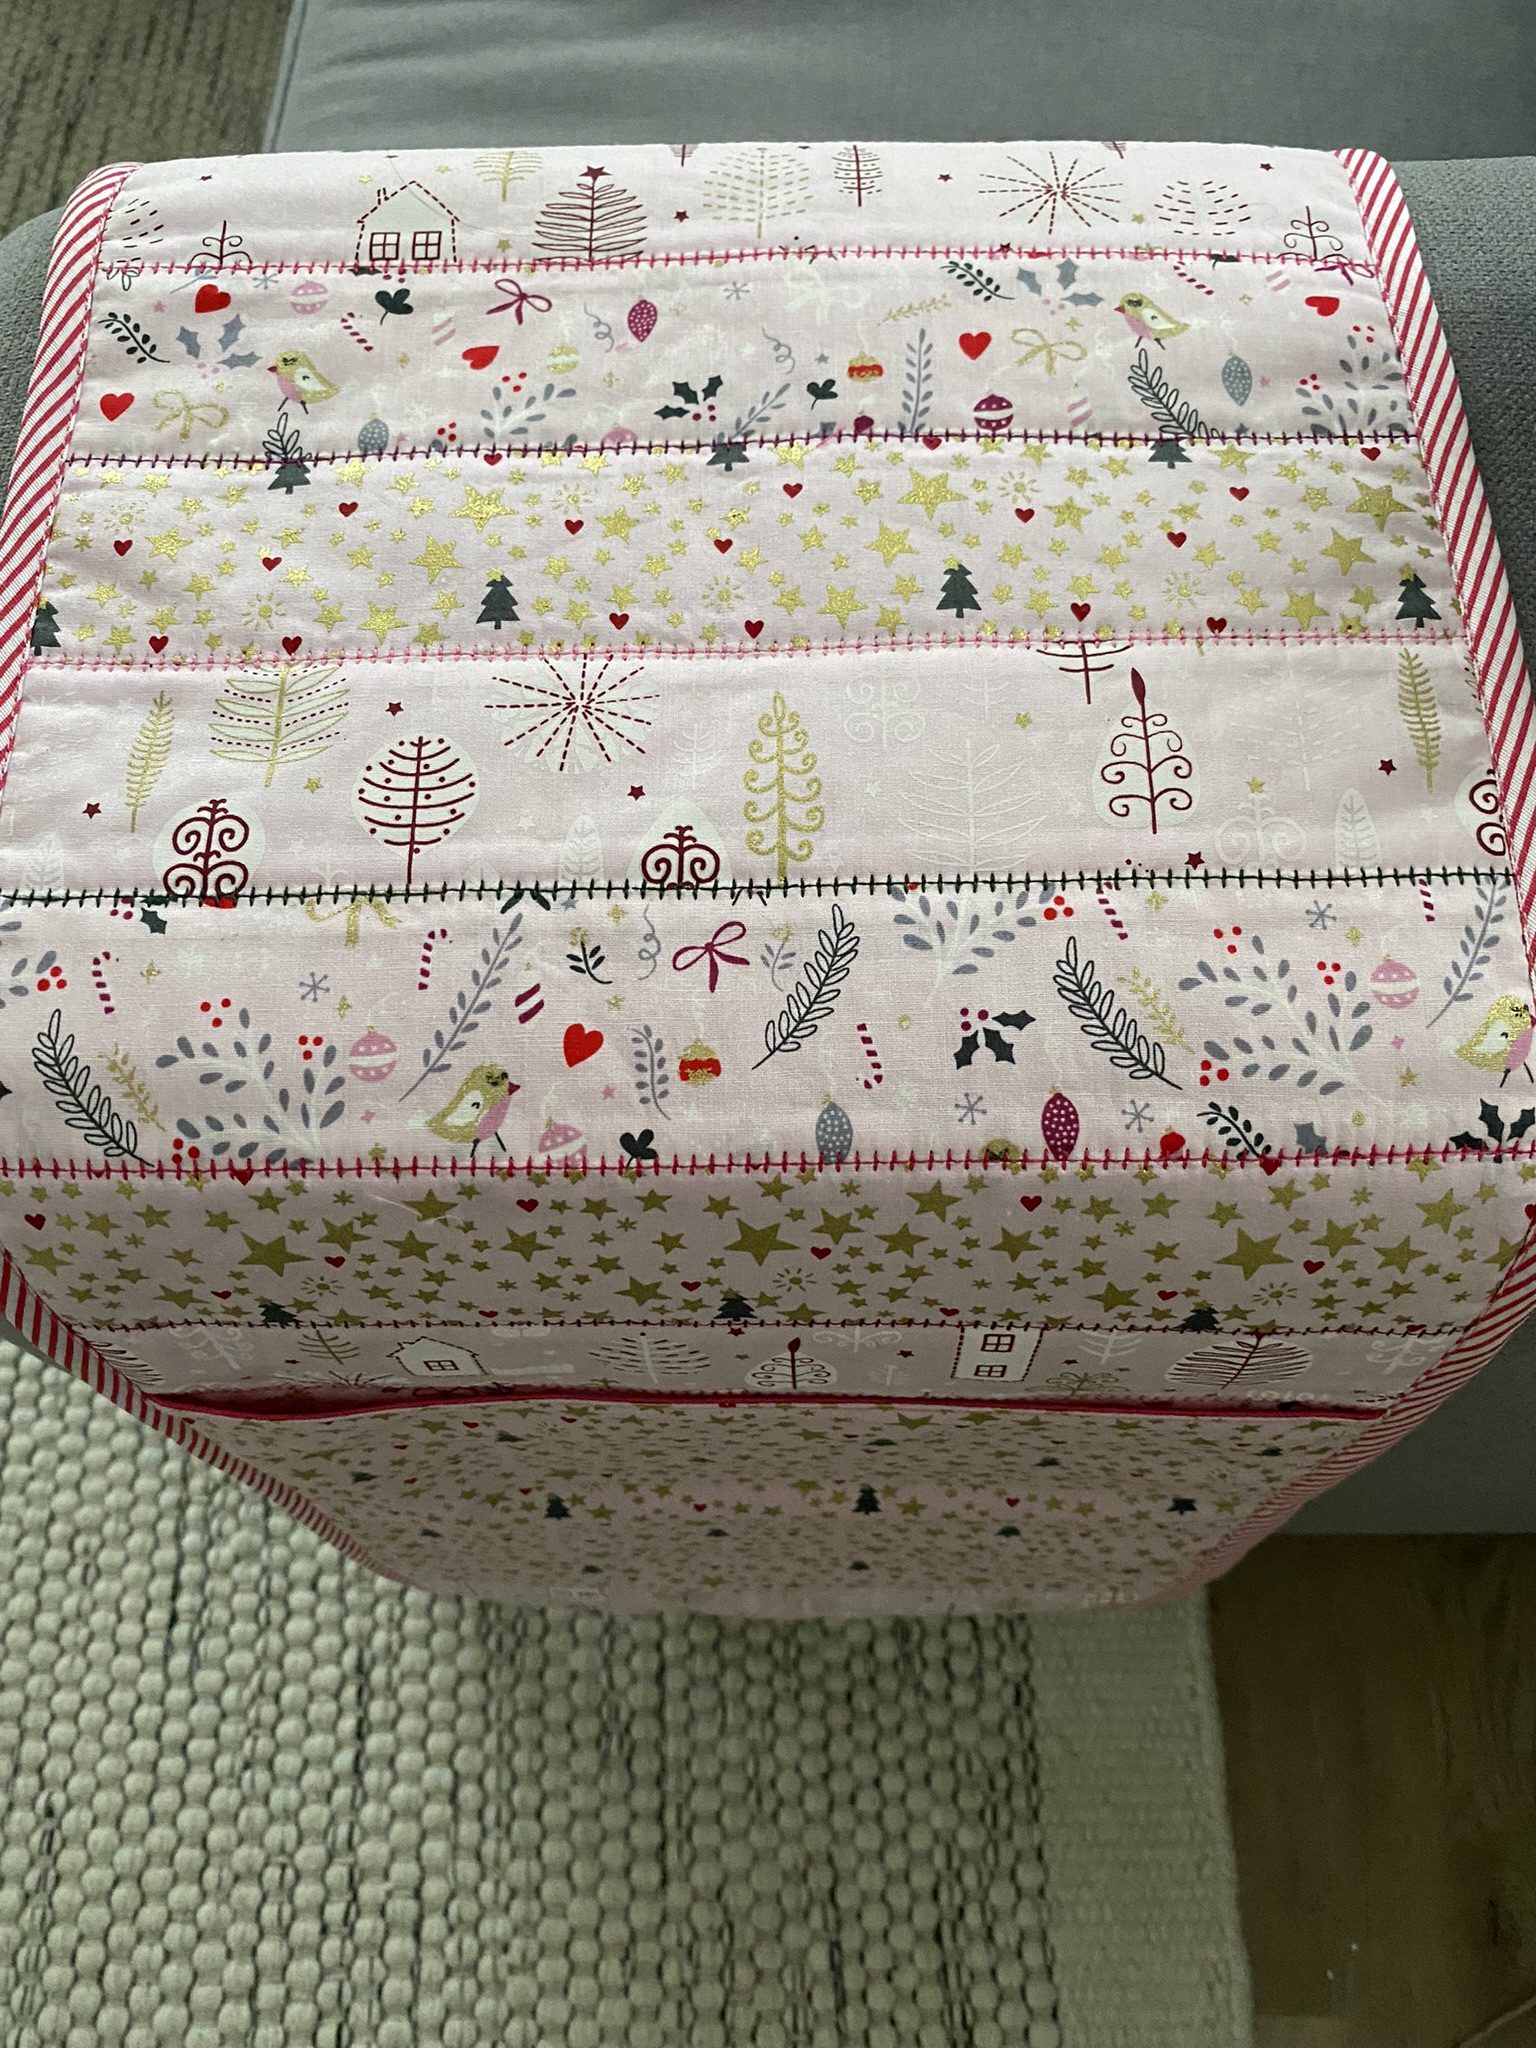
Of course, this sofa organizer is not only perfect for storing your knitting, but also items such as a remote control or magazine. In any case, colorful Christmas fabrics and festive decorative seams create a merry Christmas mood, and an attractive focal point on the sofa.
It’s only possible to set down a cup and plate if you have quite broad, angular sofa armrests or chair armrests. If this is not the case, you can only use the storage function.
Make your organizer long enough to allow you to tuck an end between the seat and the armrest:
Sewing the sofa organizer | Instructions
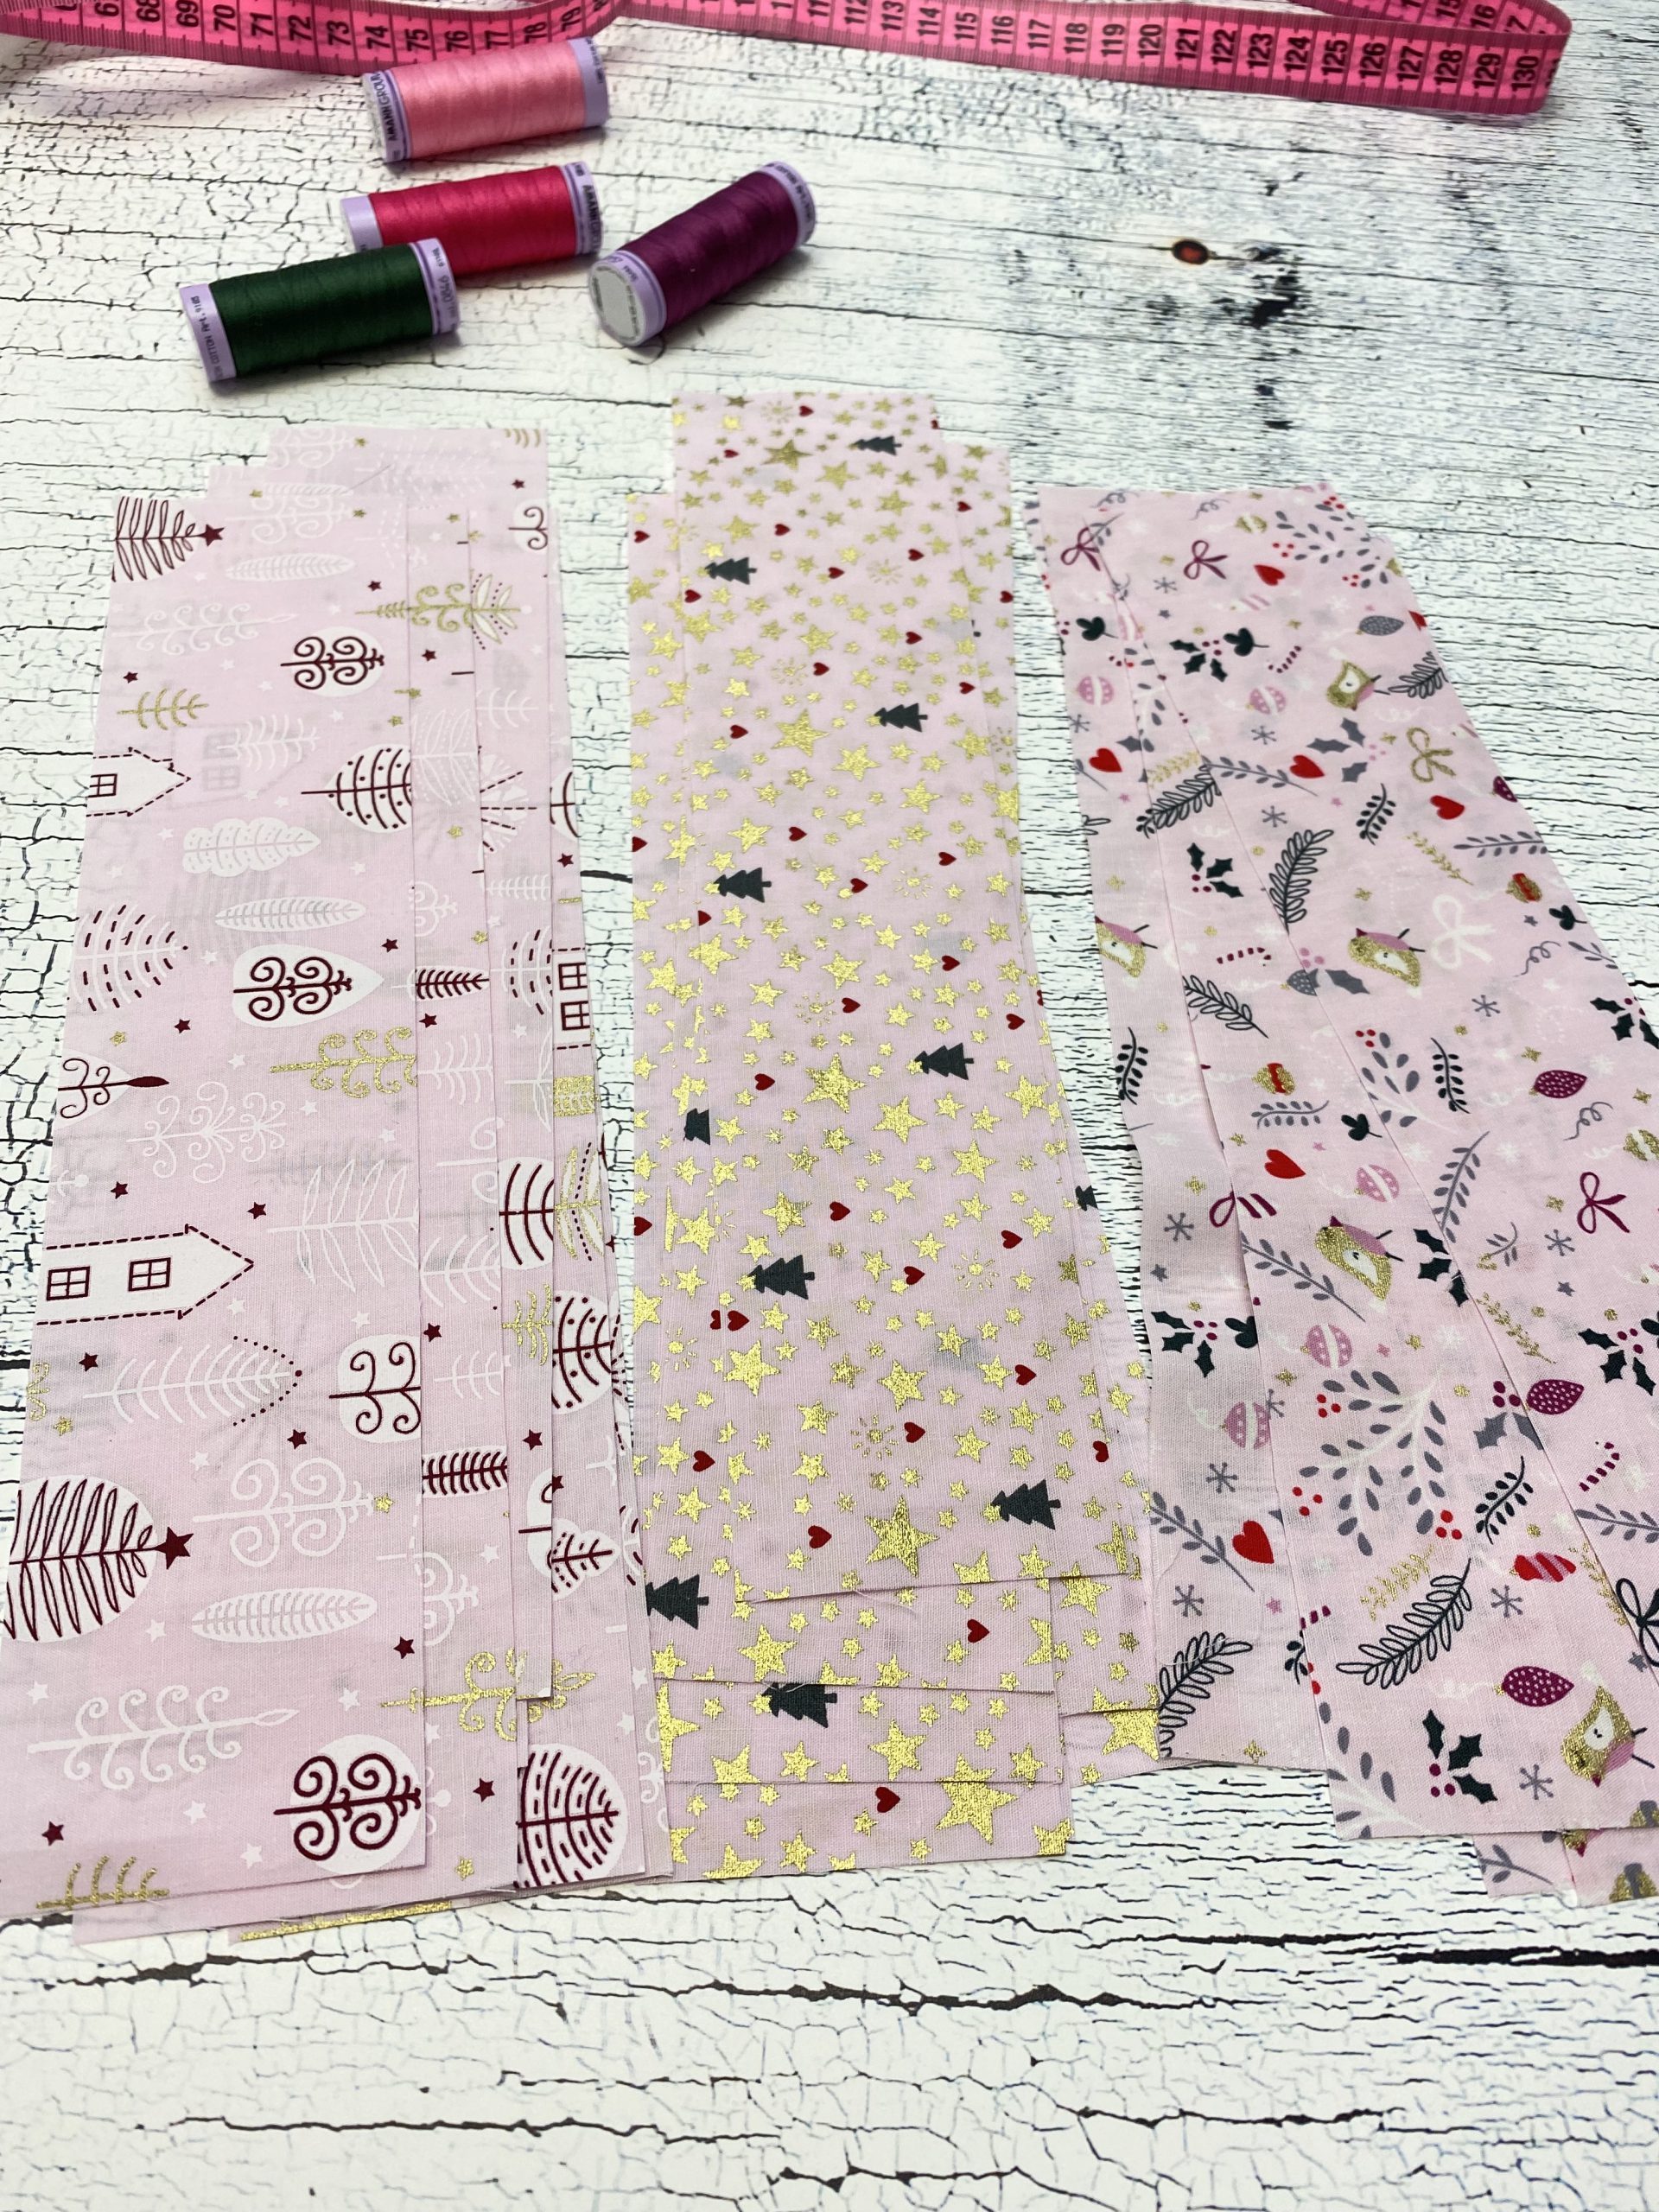
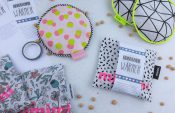
Material – For a 26 cm x 80 cm organizer, you will need
- Cotton fabric in three designs, each approx. 30 cm x 40 cm, plus 30 cm x 24 cm of a design of your choice for the patch pocket
- Cotton fabric plain, 30 cm x 85 cm plus 30 cm x 24 cm for the patch pocket
- Bias tape, approx. 1.40 m
- Vilene H63 wadding, 30 cm x 85 cm
- Silk-finish cotton in matching colors
- Seralon sewing thread and bobbin thread in matching colors
- Rotary cutter with cutting mat

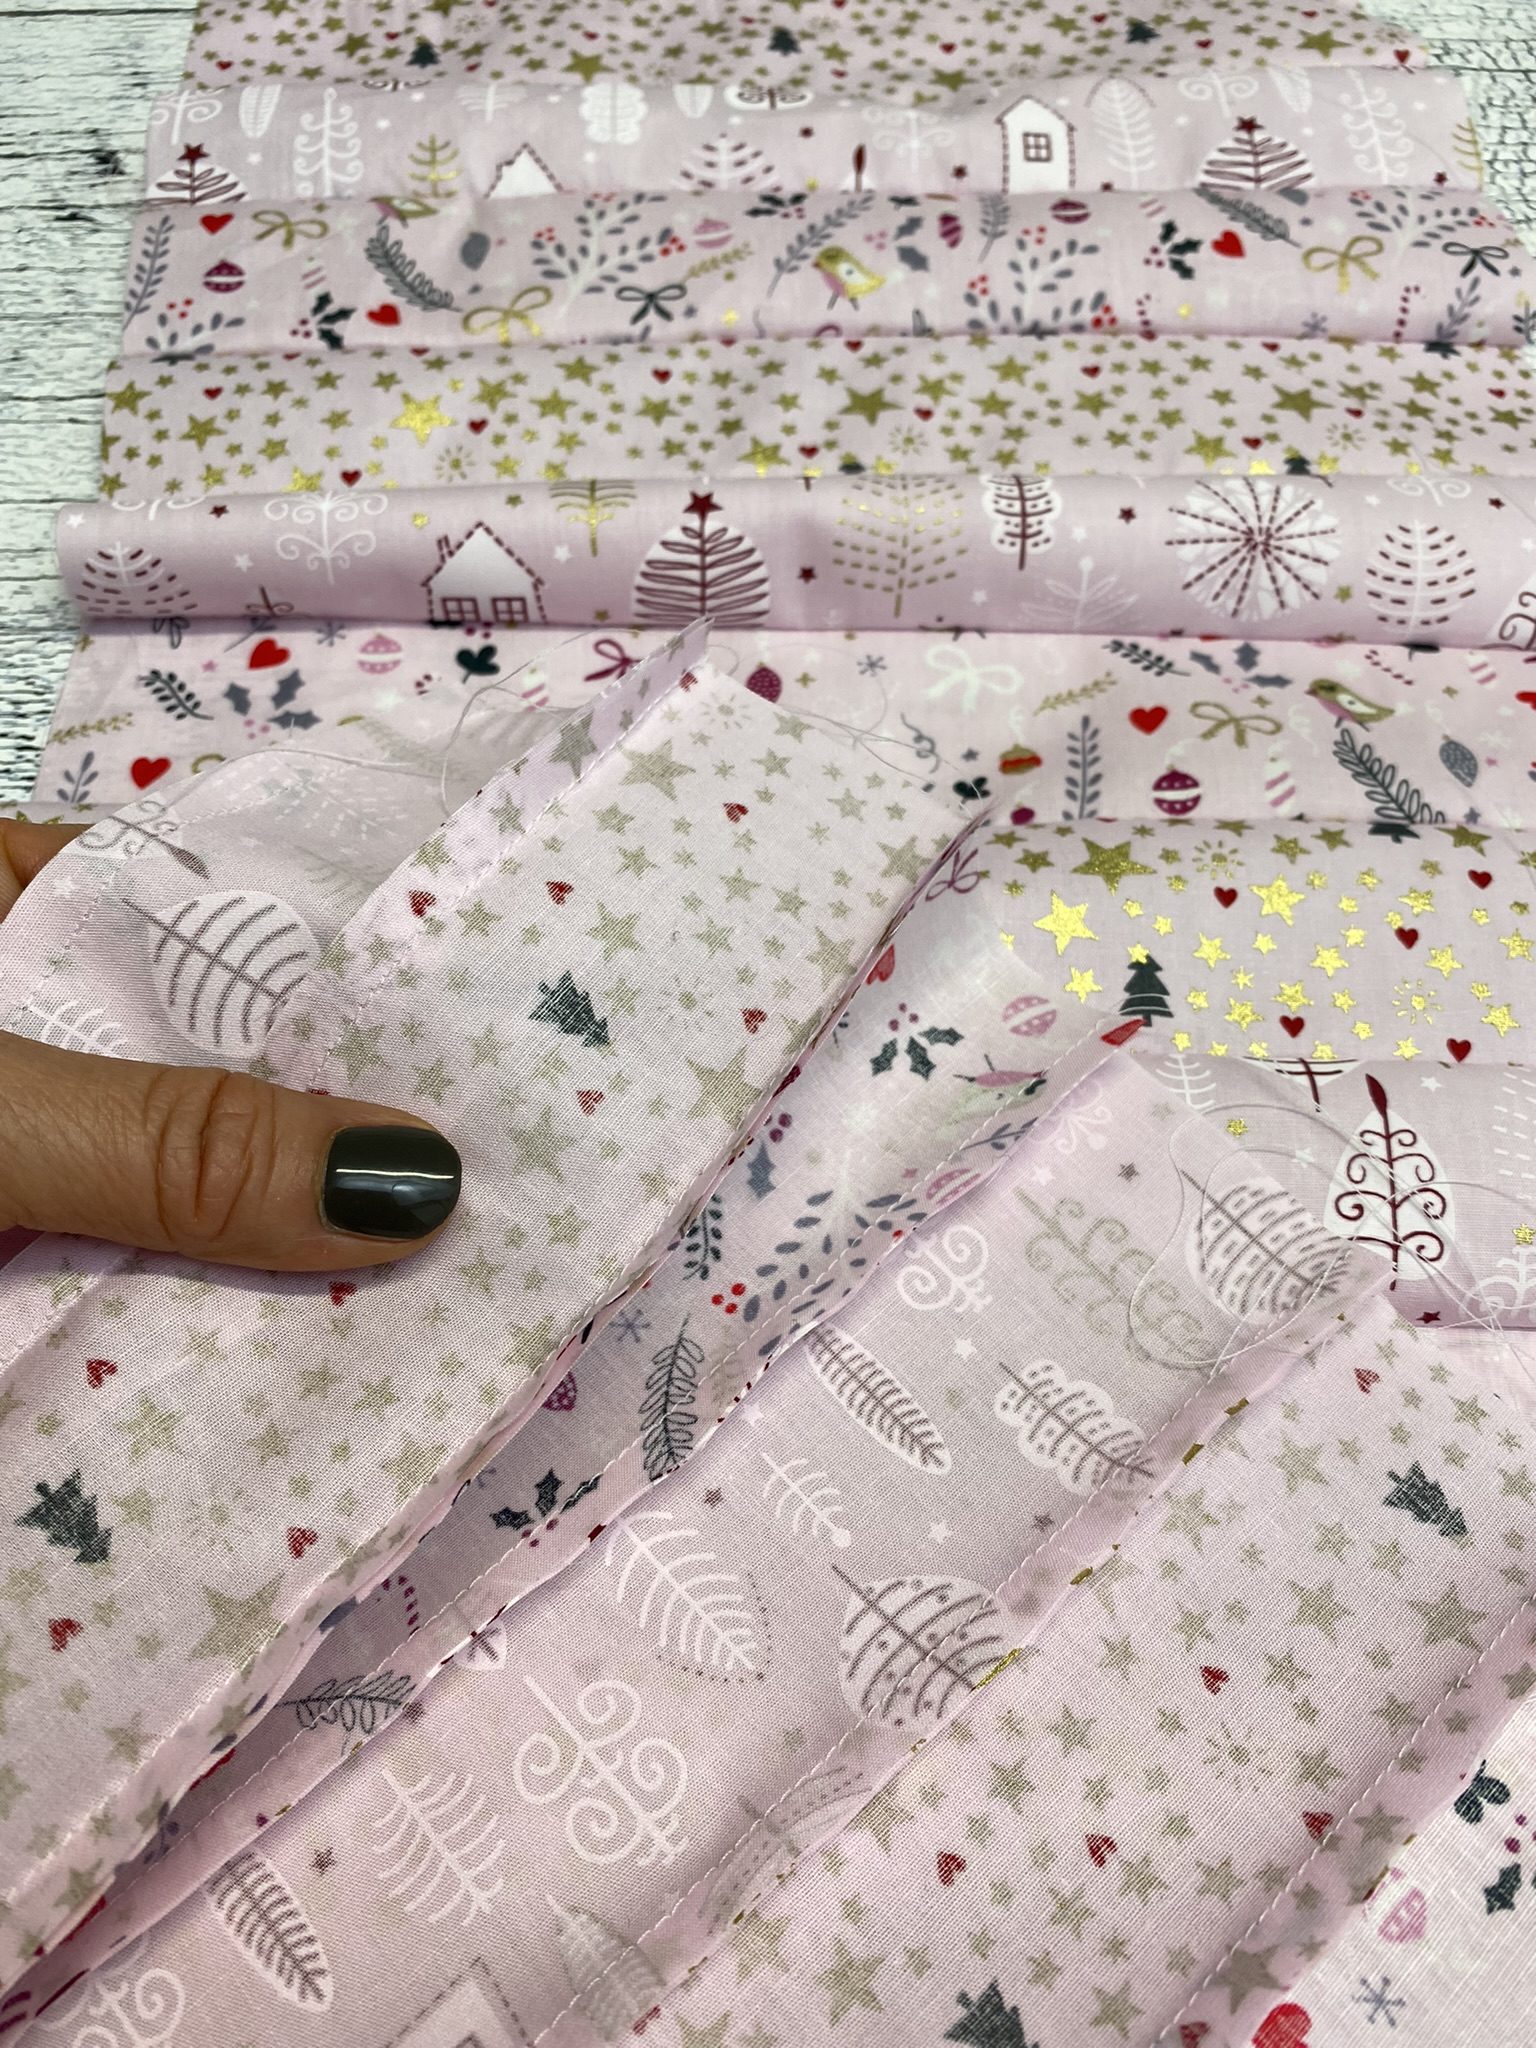
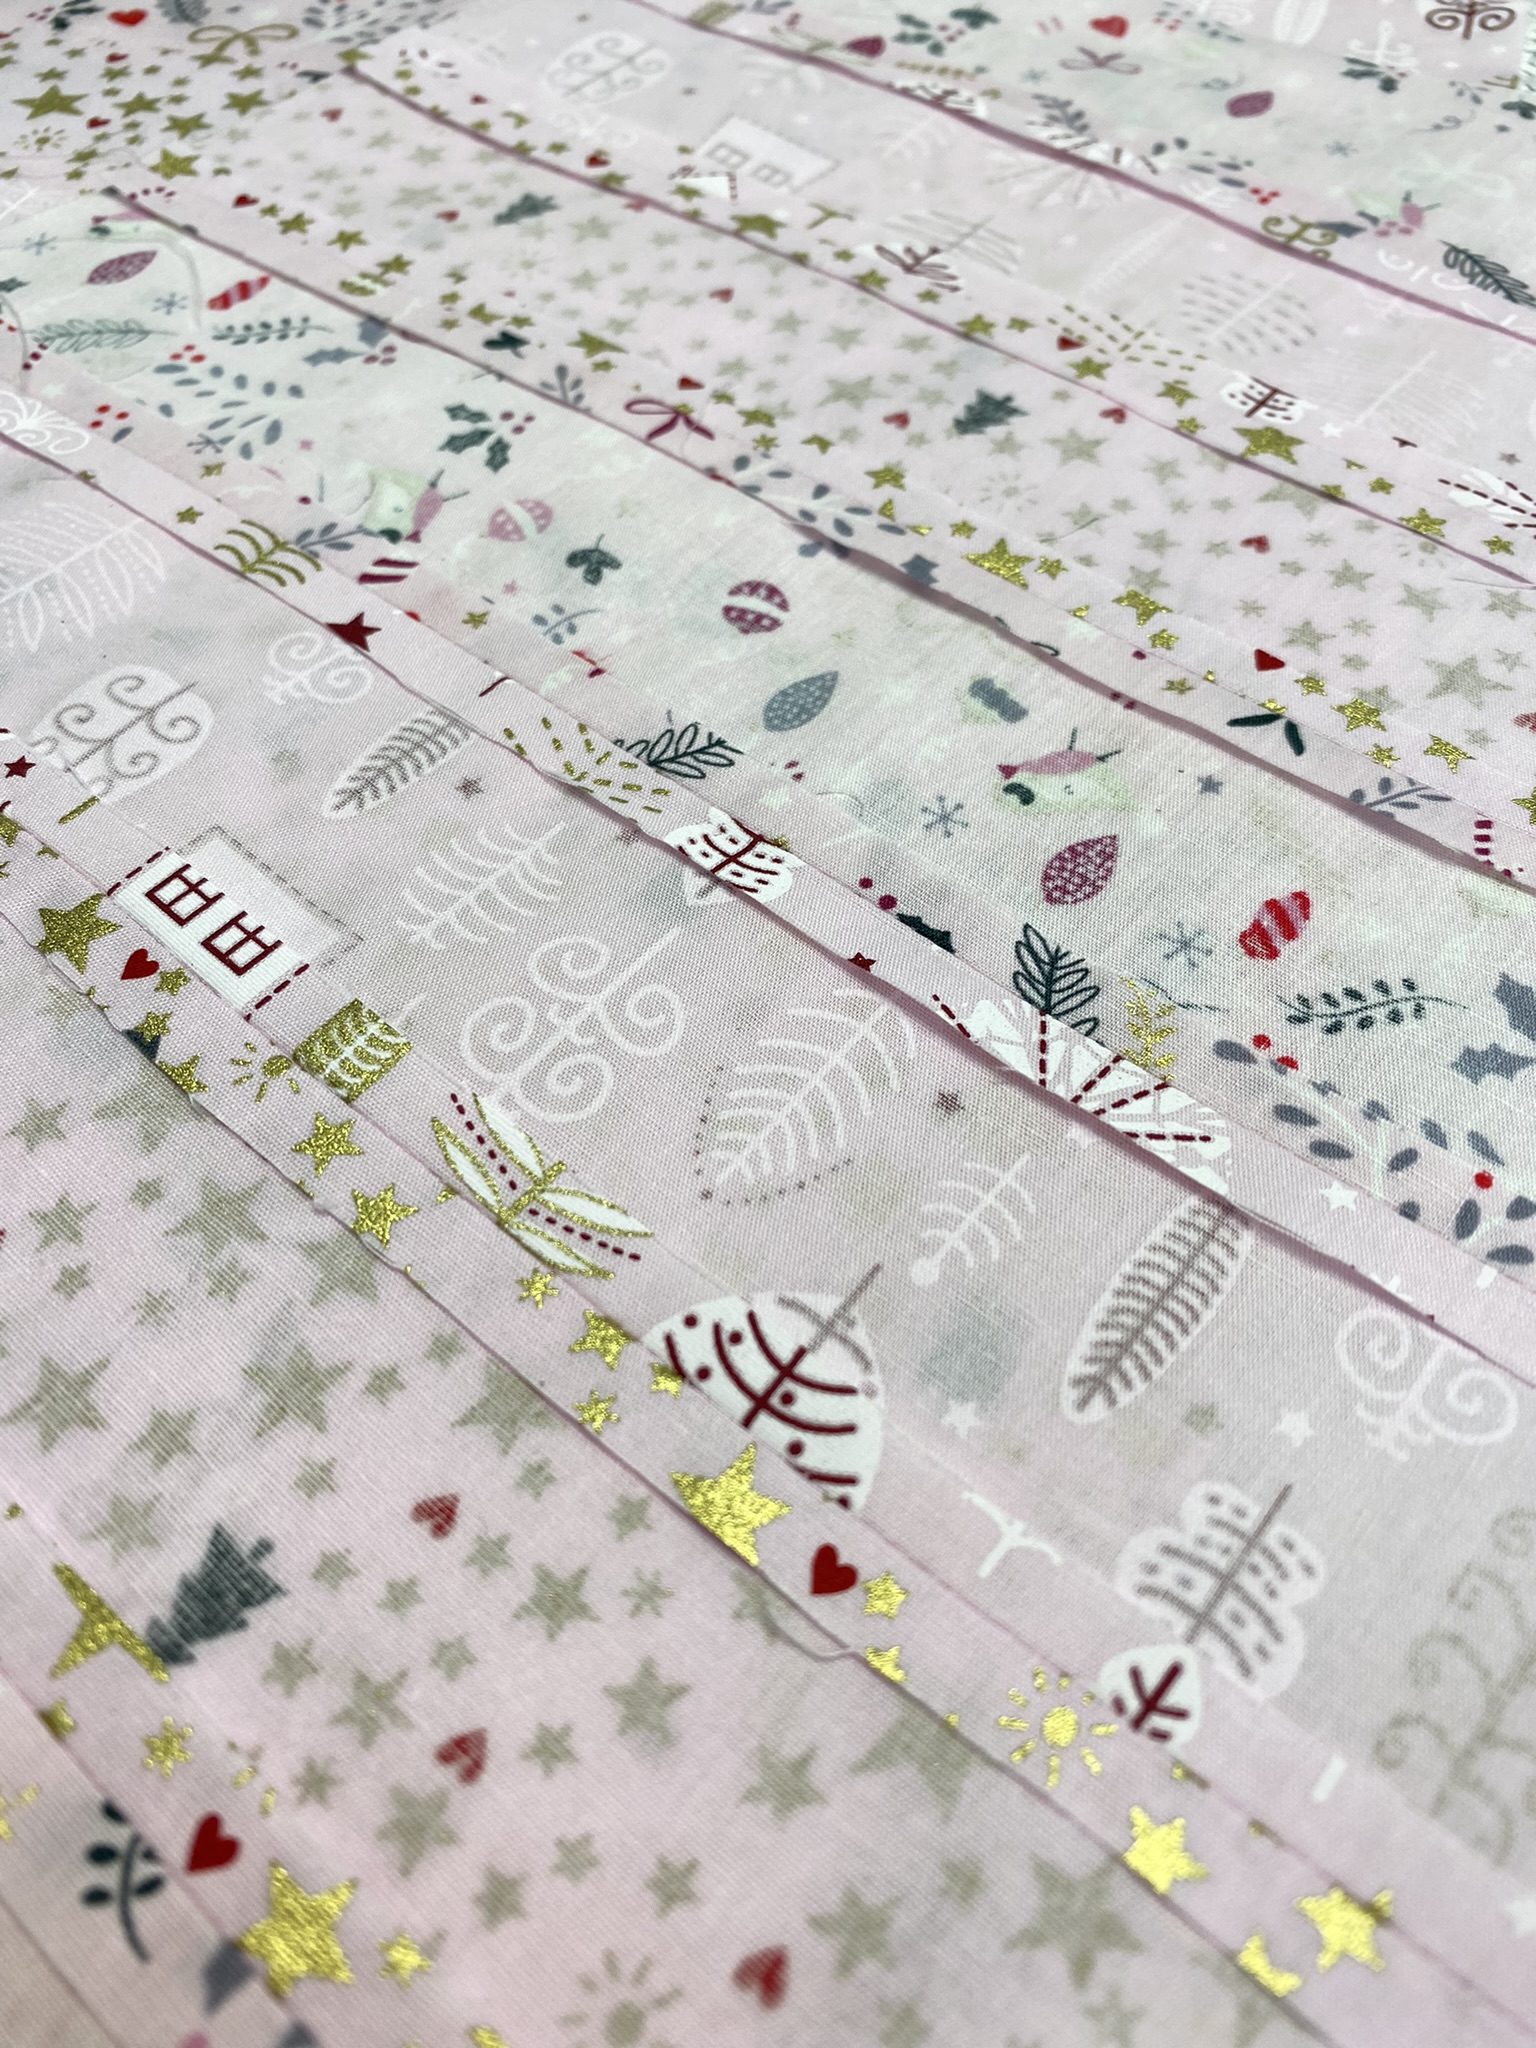
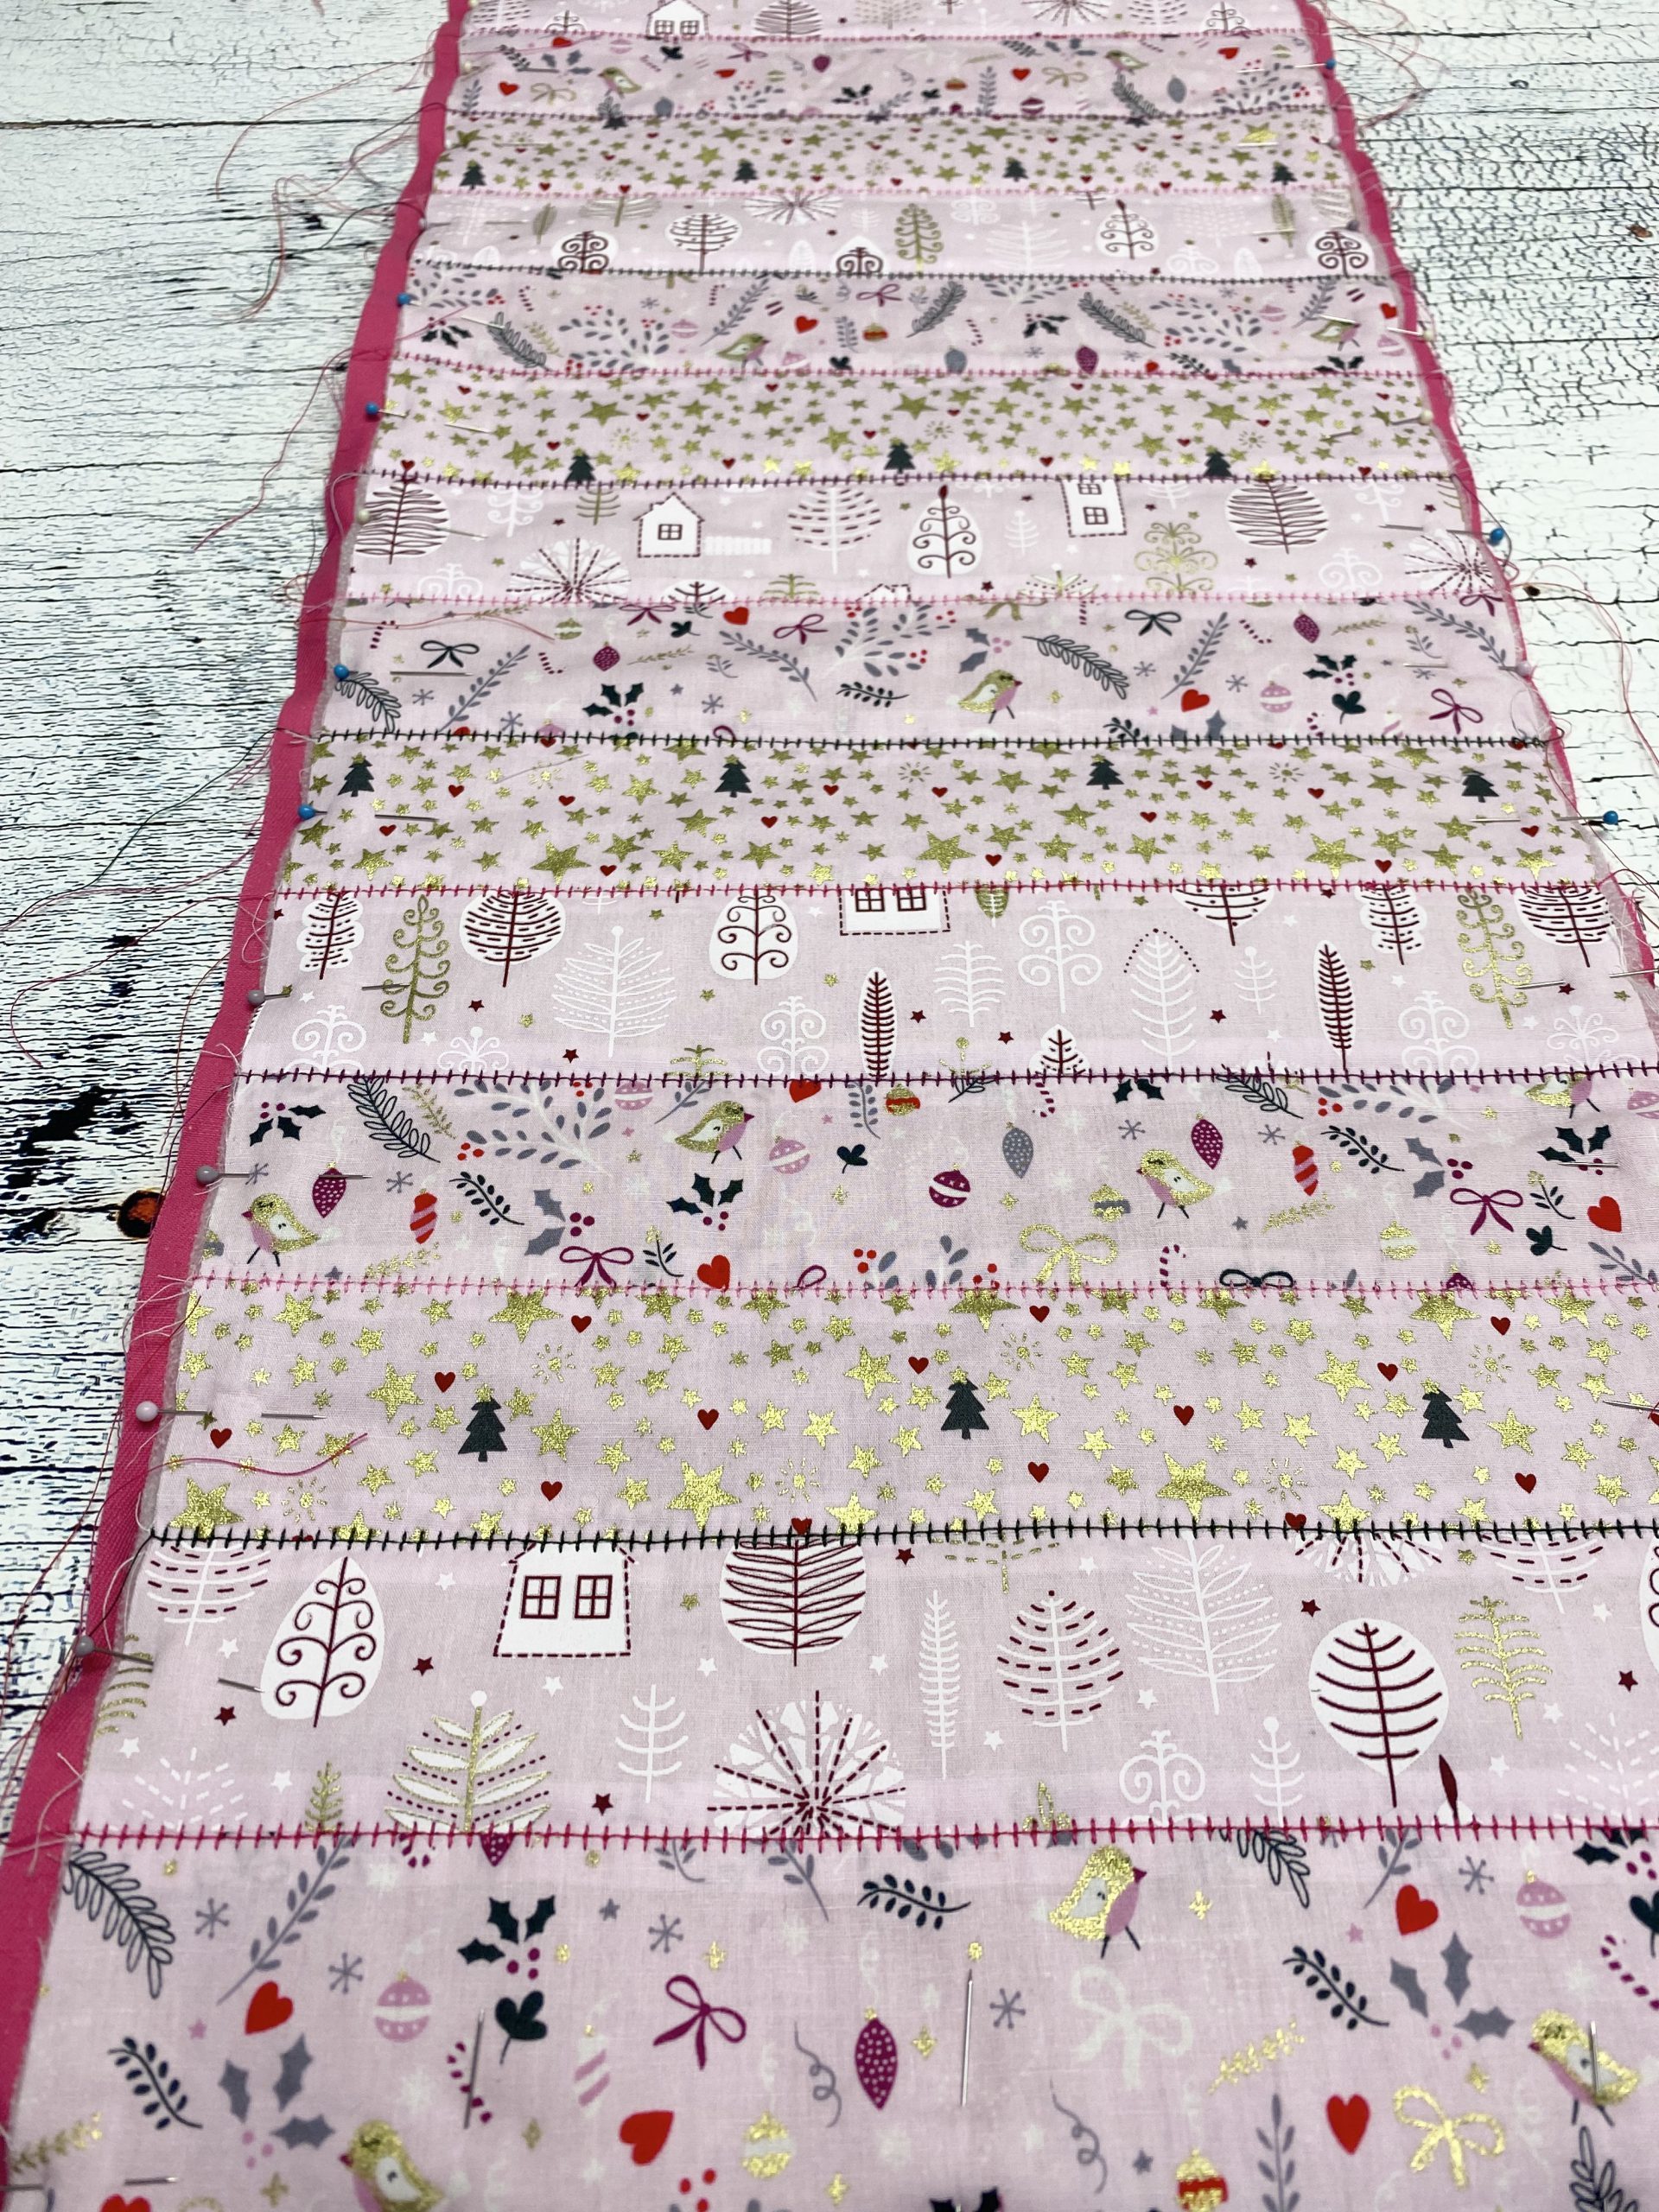
Cut out the strips and sew them together
Cut 6 cm wide and 27 cm long strips out of the patterned fabric using the rotary cutter.
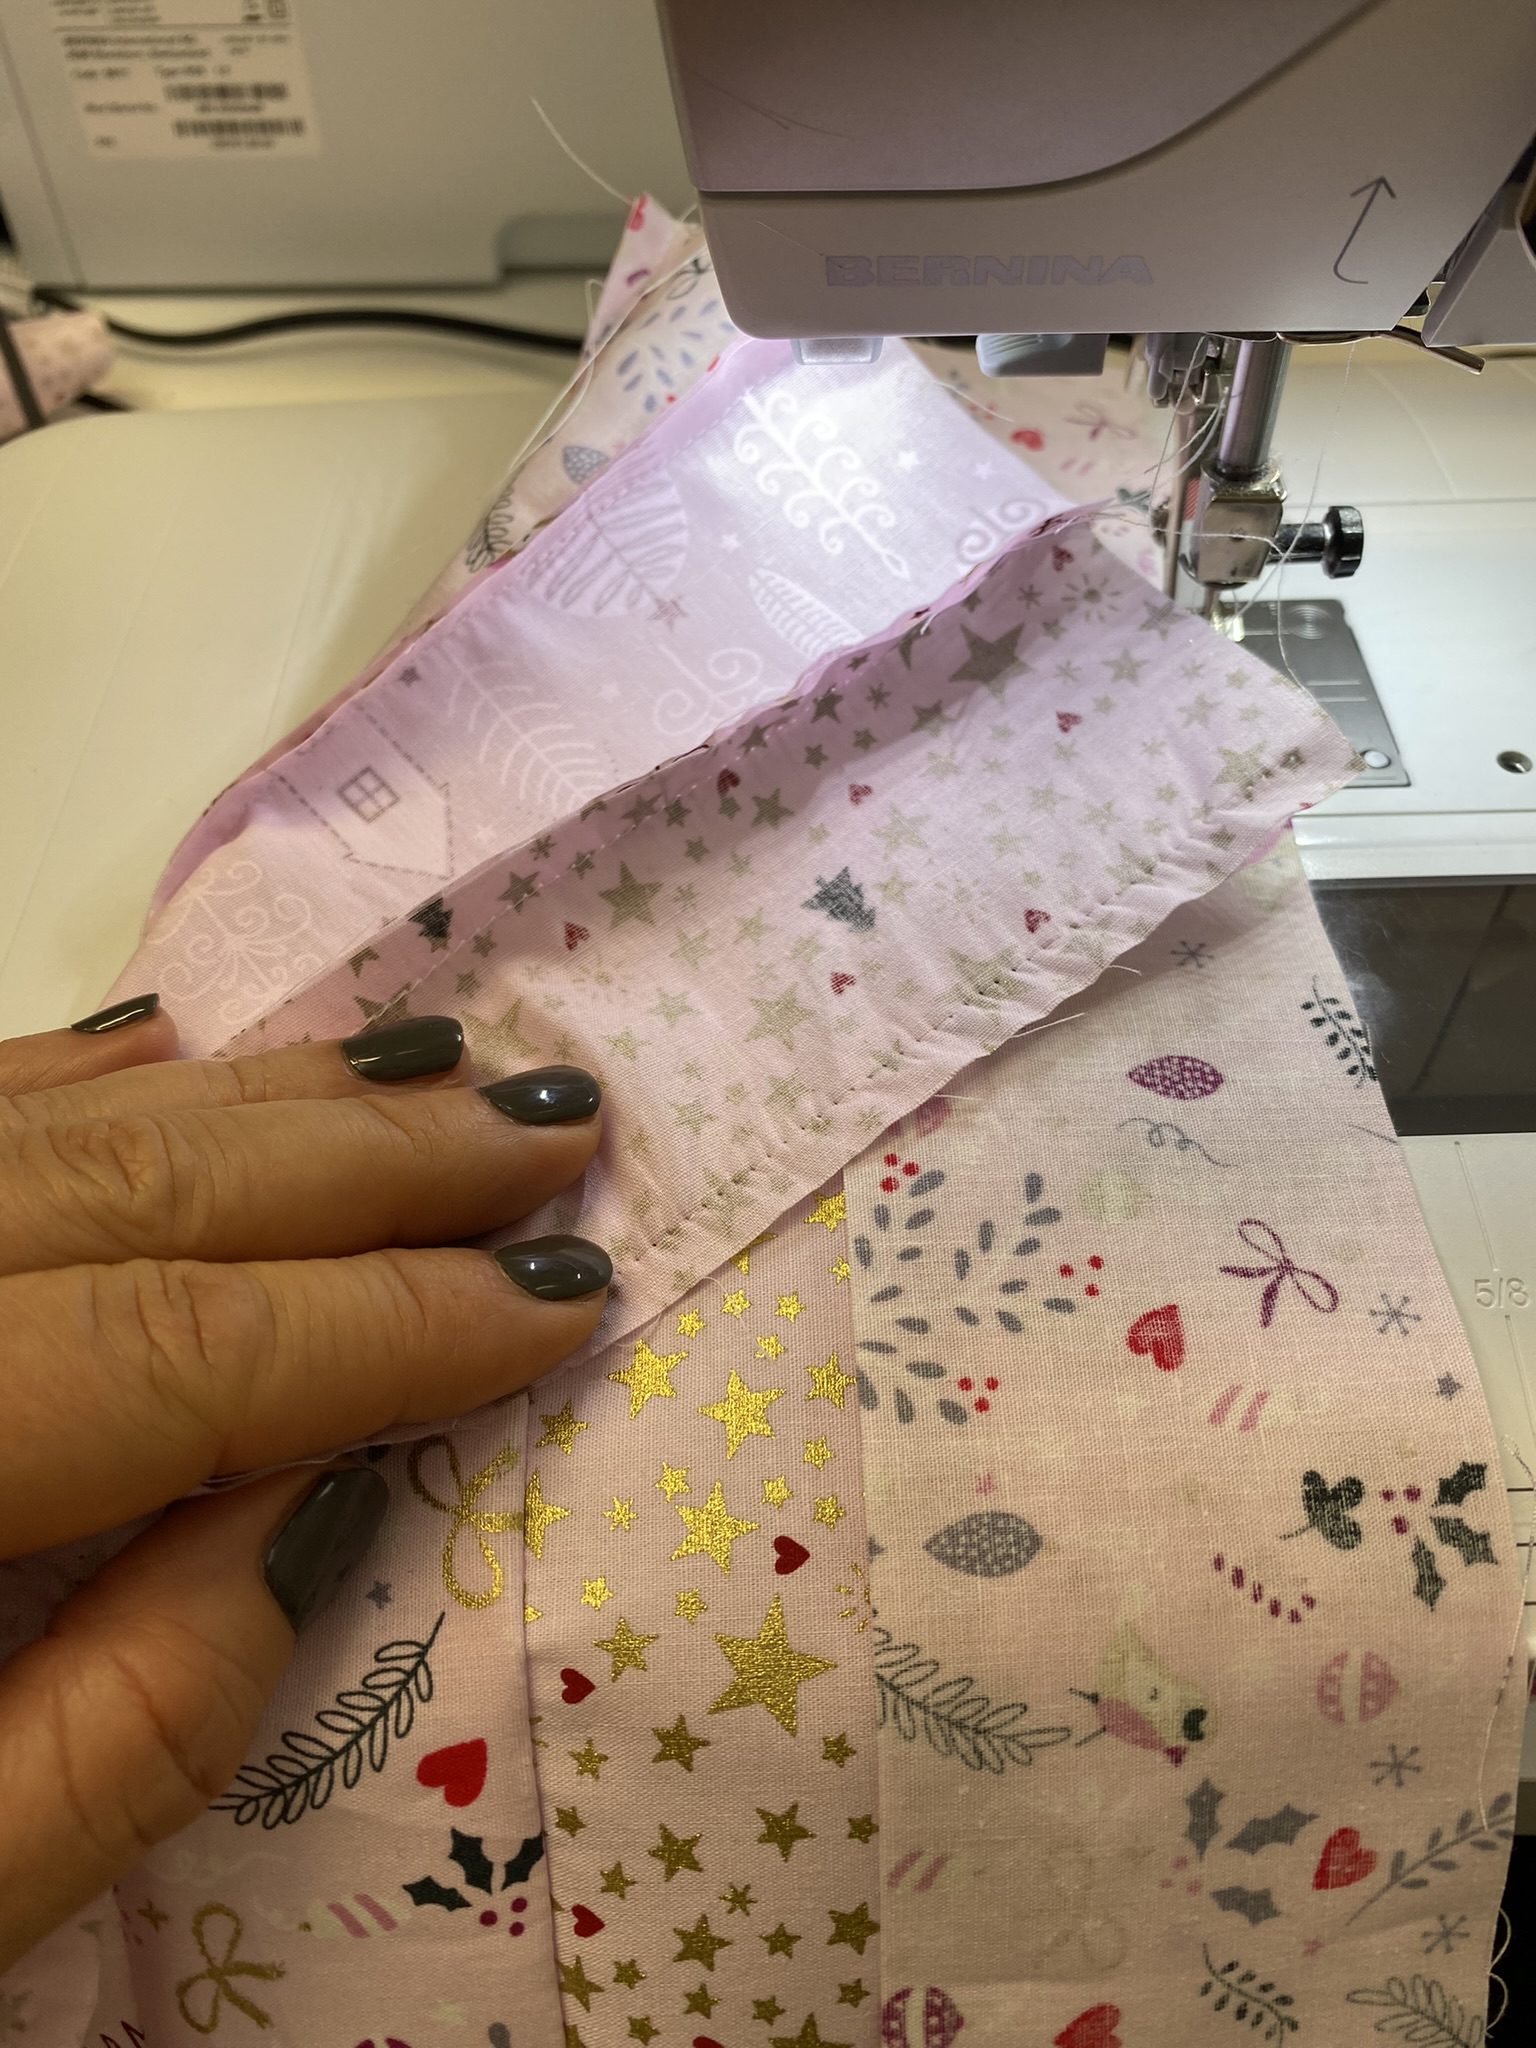
Sew the strips together along the long edge, one presser foot-width at a time, right sides together.

I used white Seralon for this. Make sure you change the pattern and always orient your designs in the same direction.

This is what it should look like now:
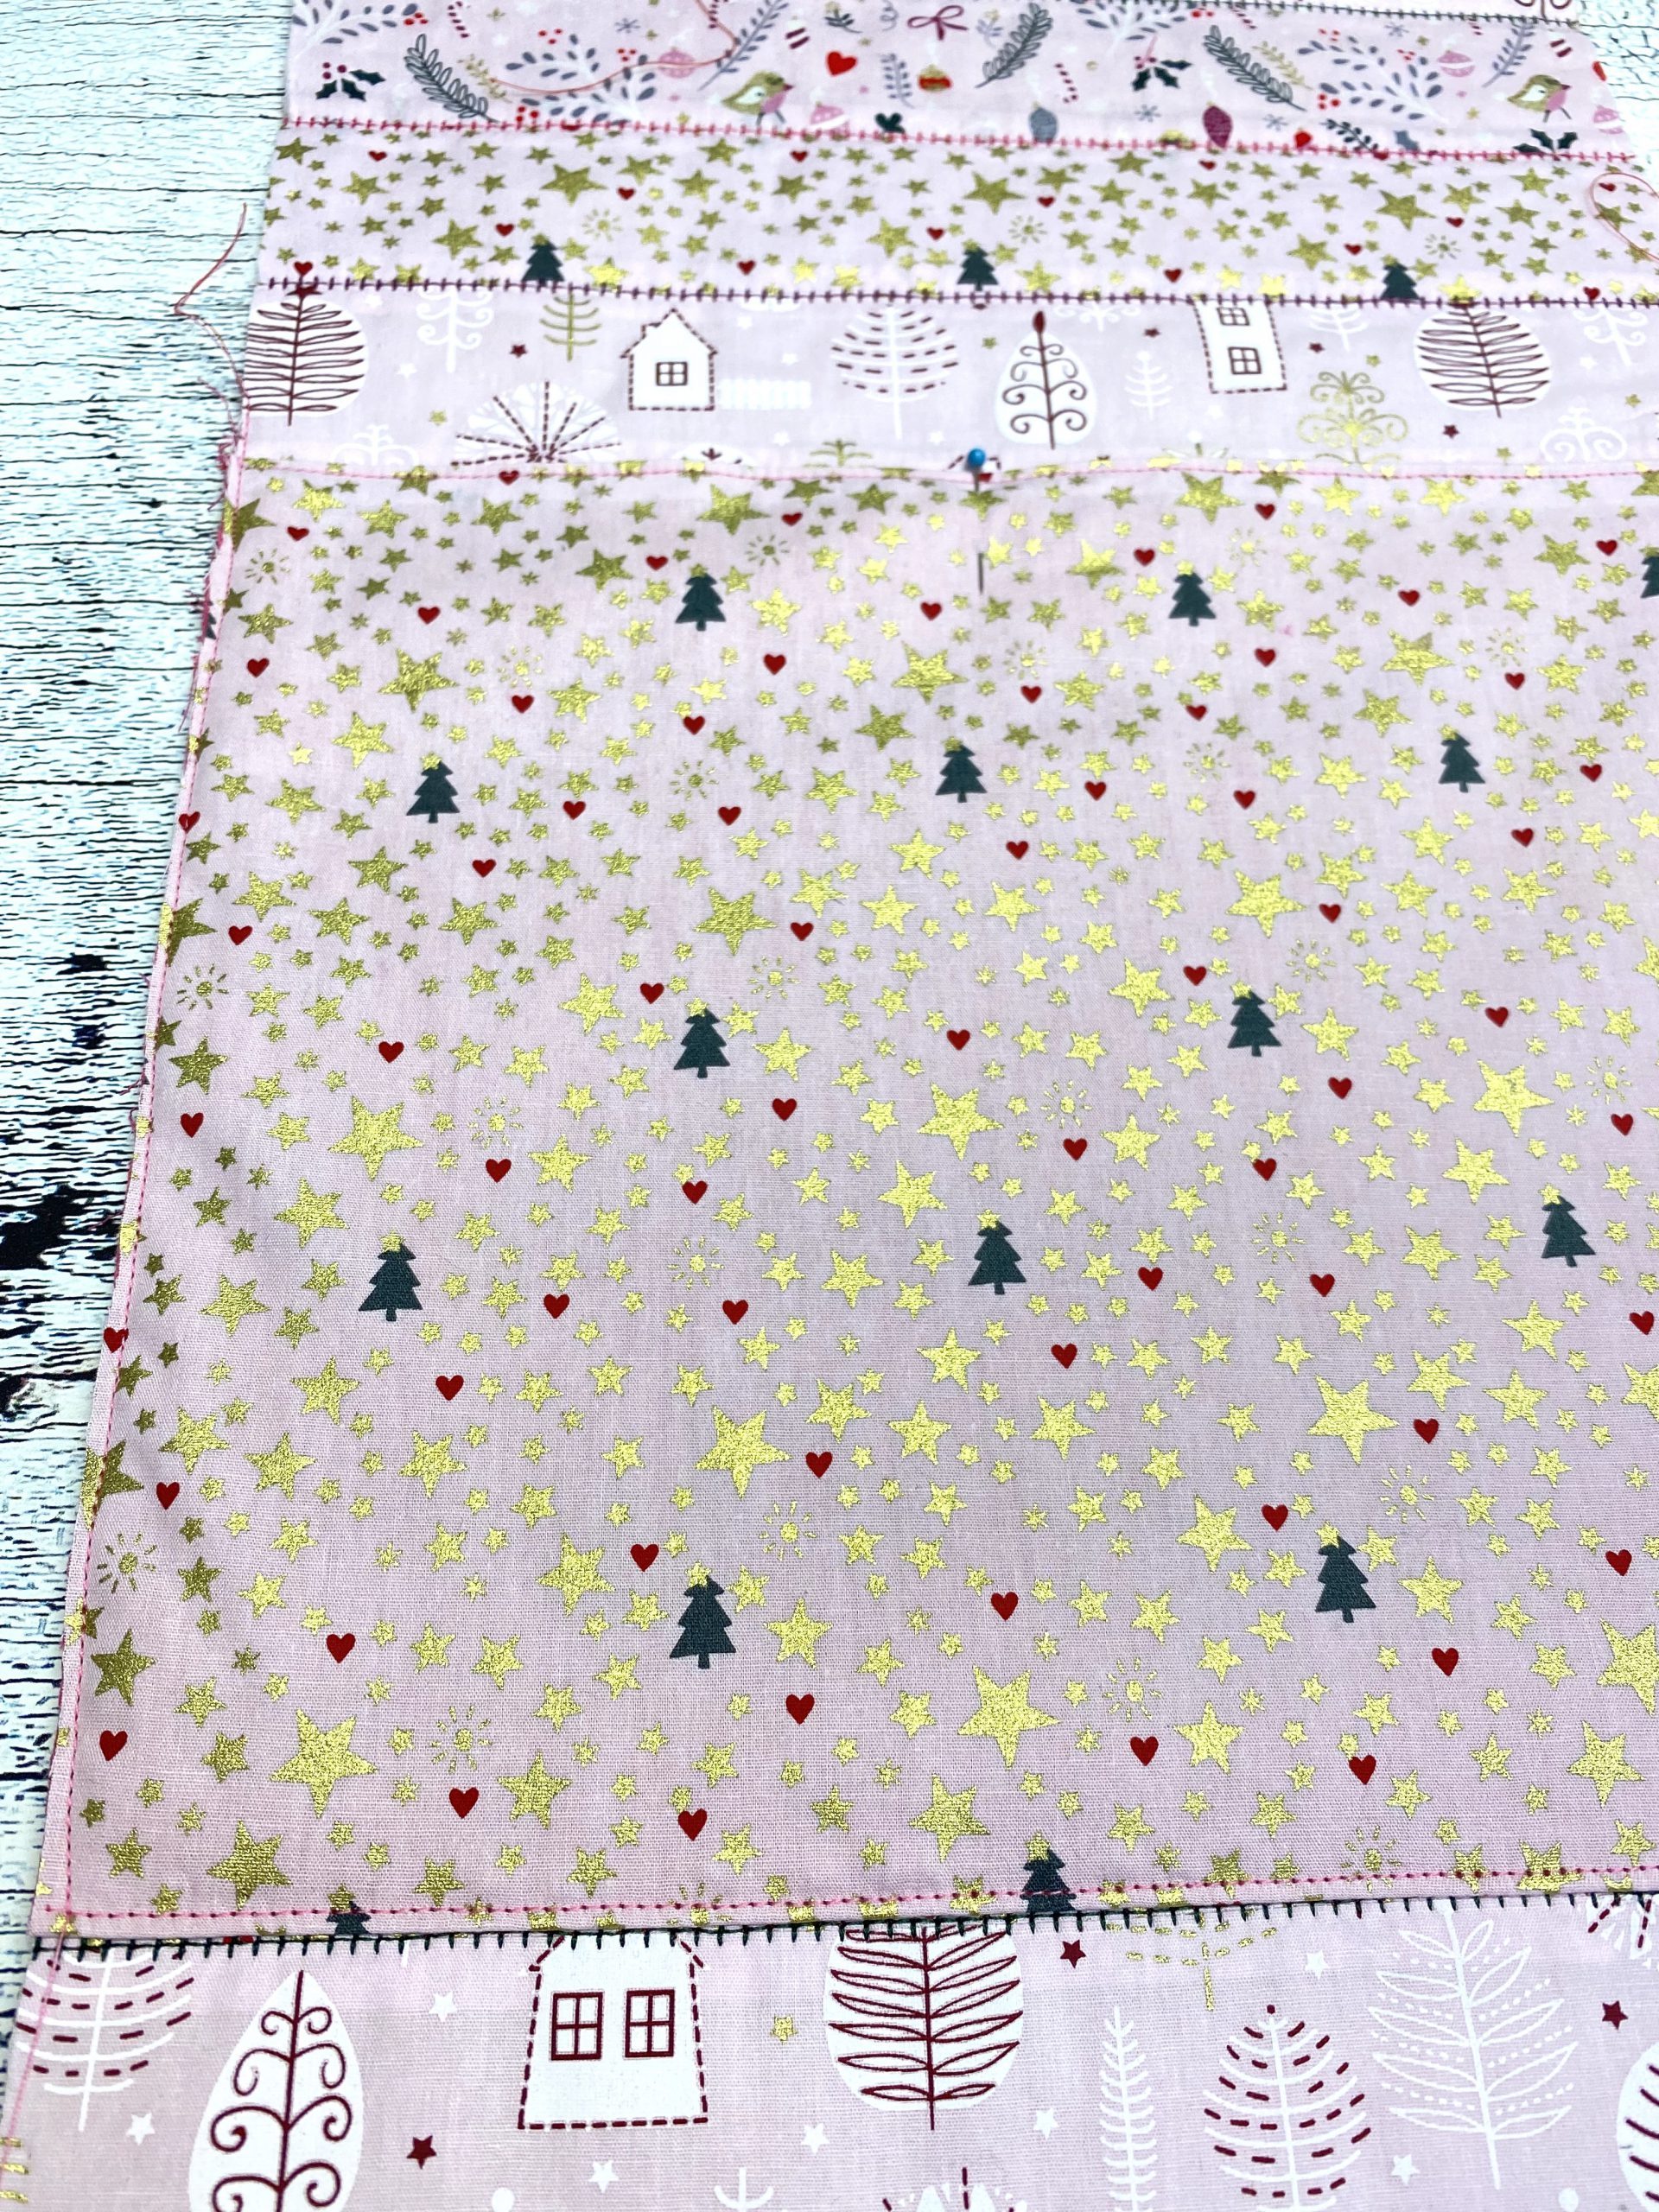
Iron open the seam allowances
Now carefully iron the seam allowances apart.
Cut out the wadding and iron it on
Once this is complete, you can cut out the Vilene (at each edge 1 cm larger than your piece of fabric) and iron it onto the wrong side of your patched fabric rectangle, according to the manufacturer’s instructions. Simply press, do not push back and forth, to ensure that the fabric does not warp.


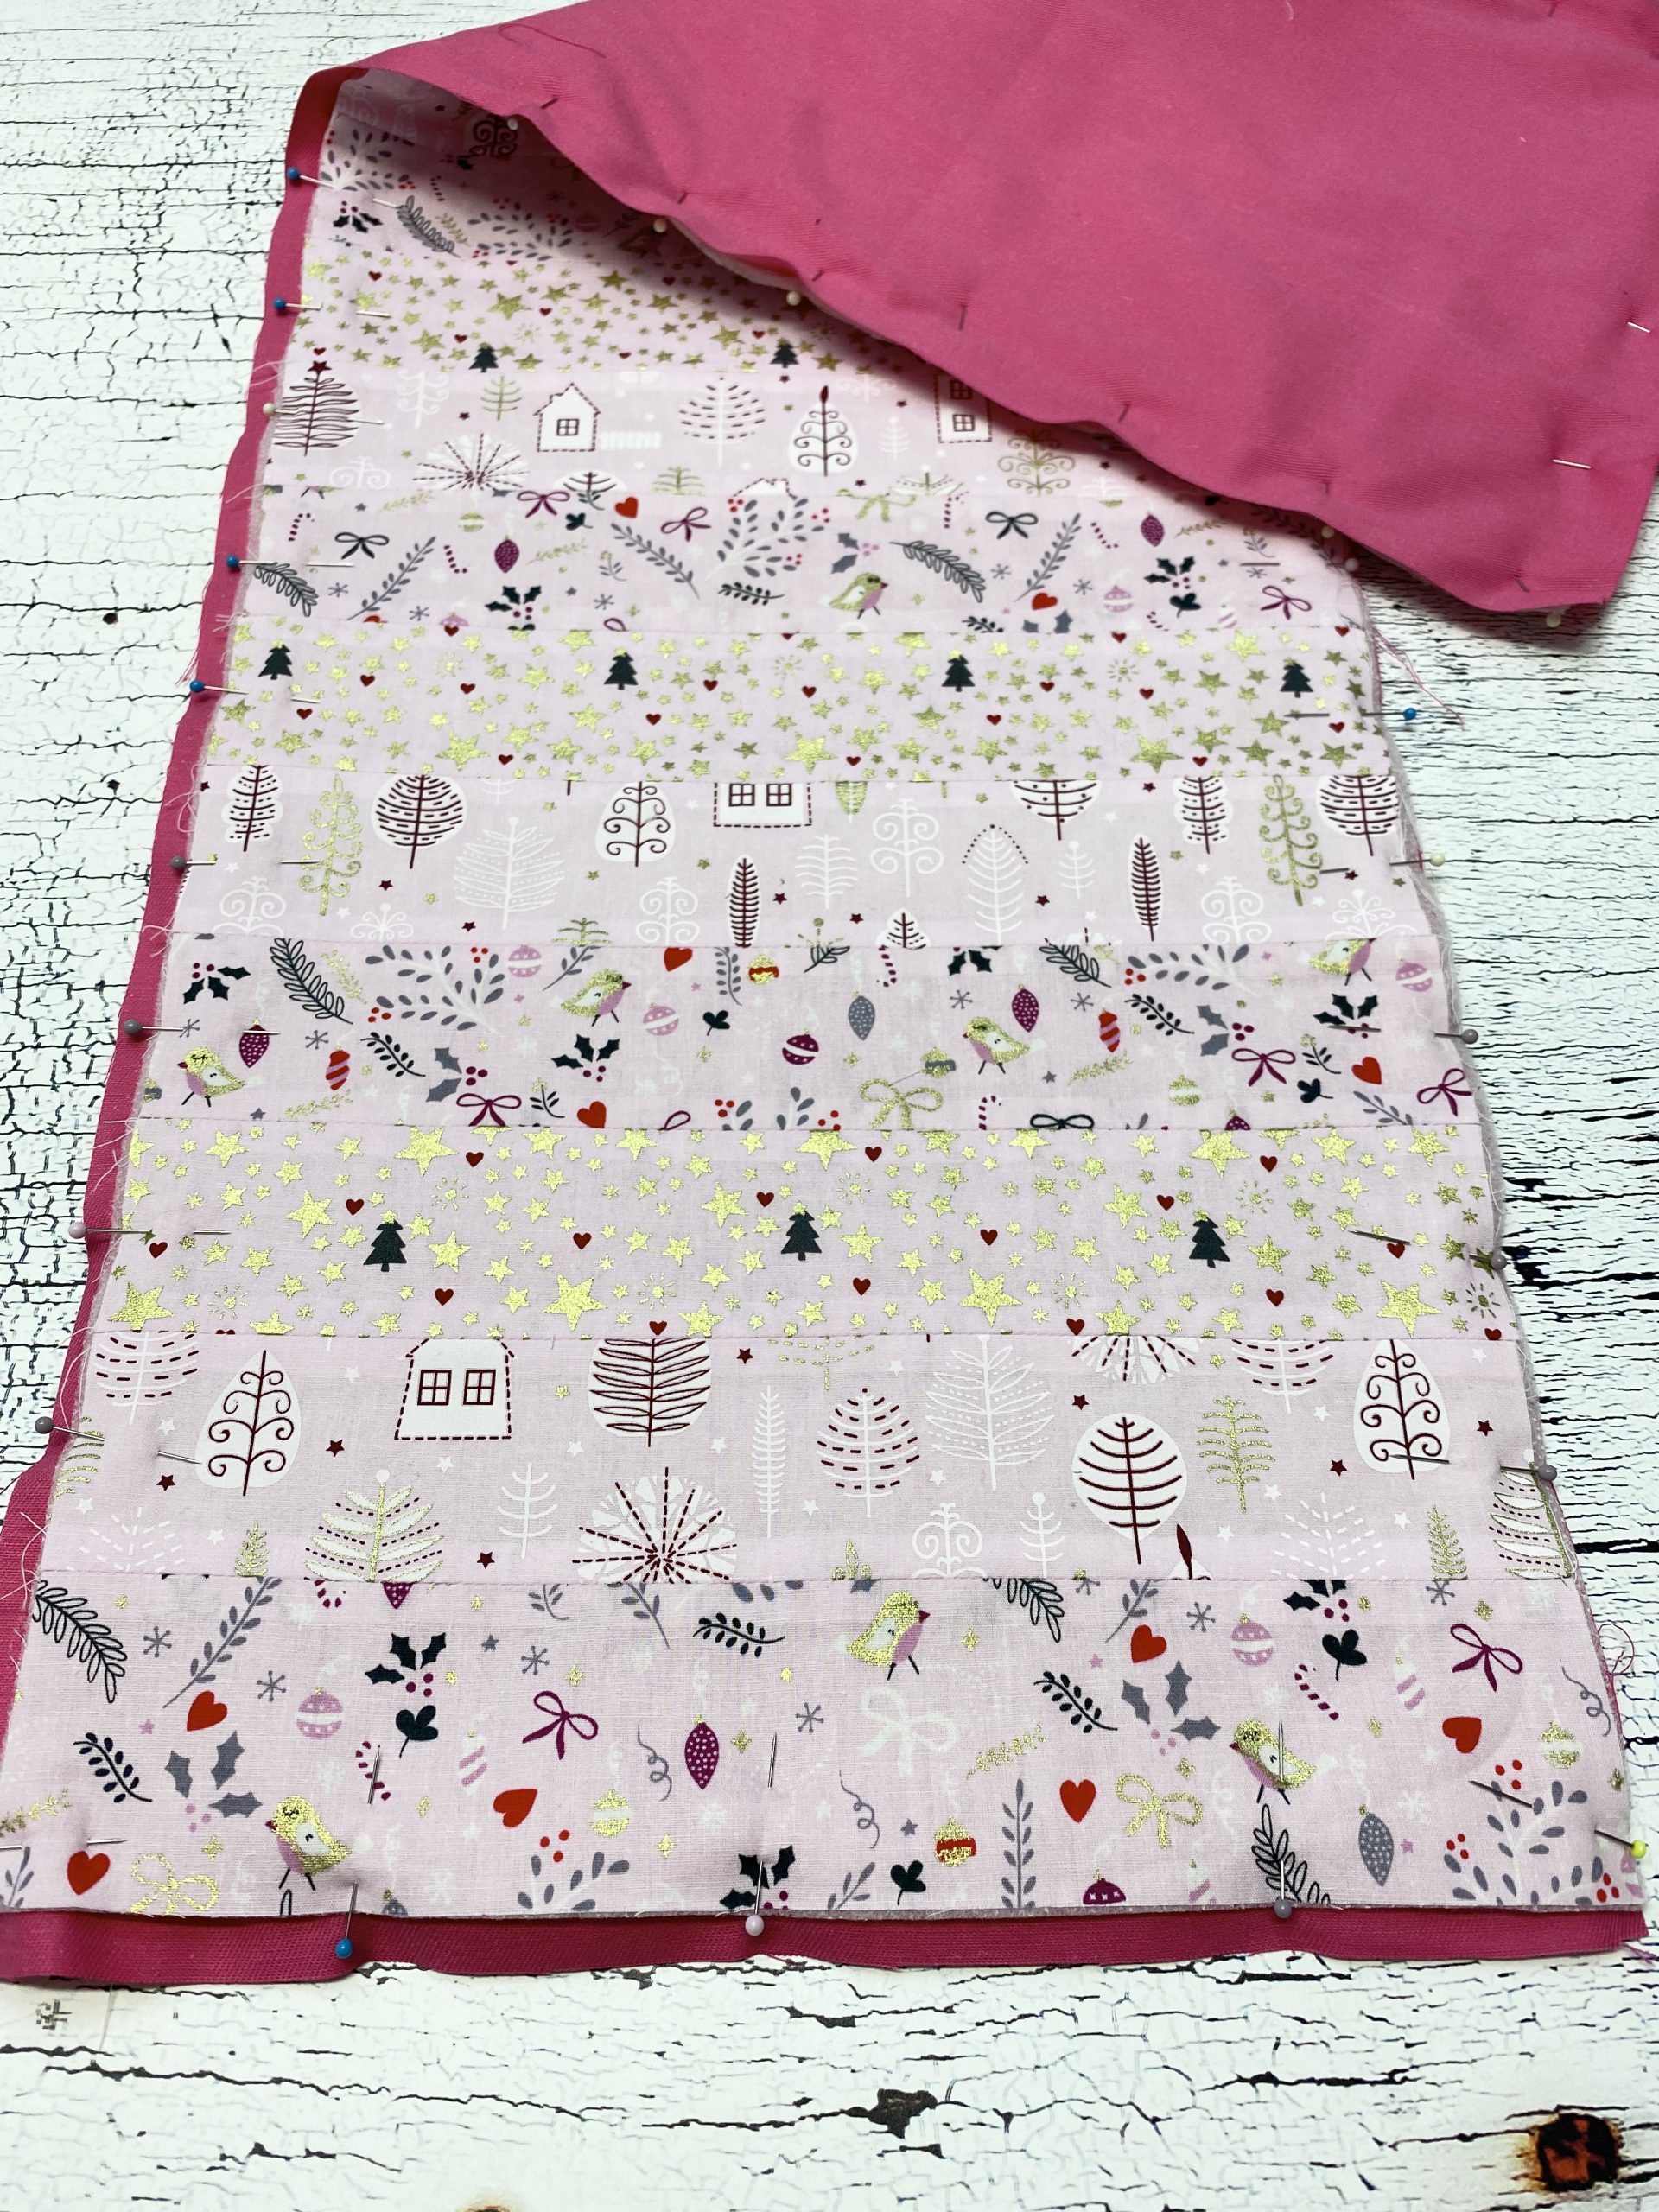
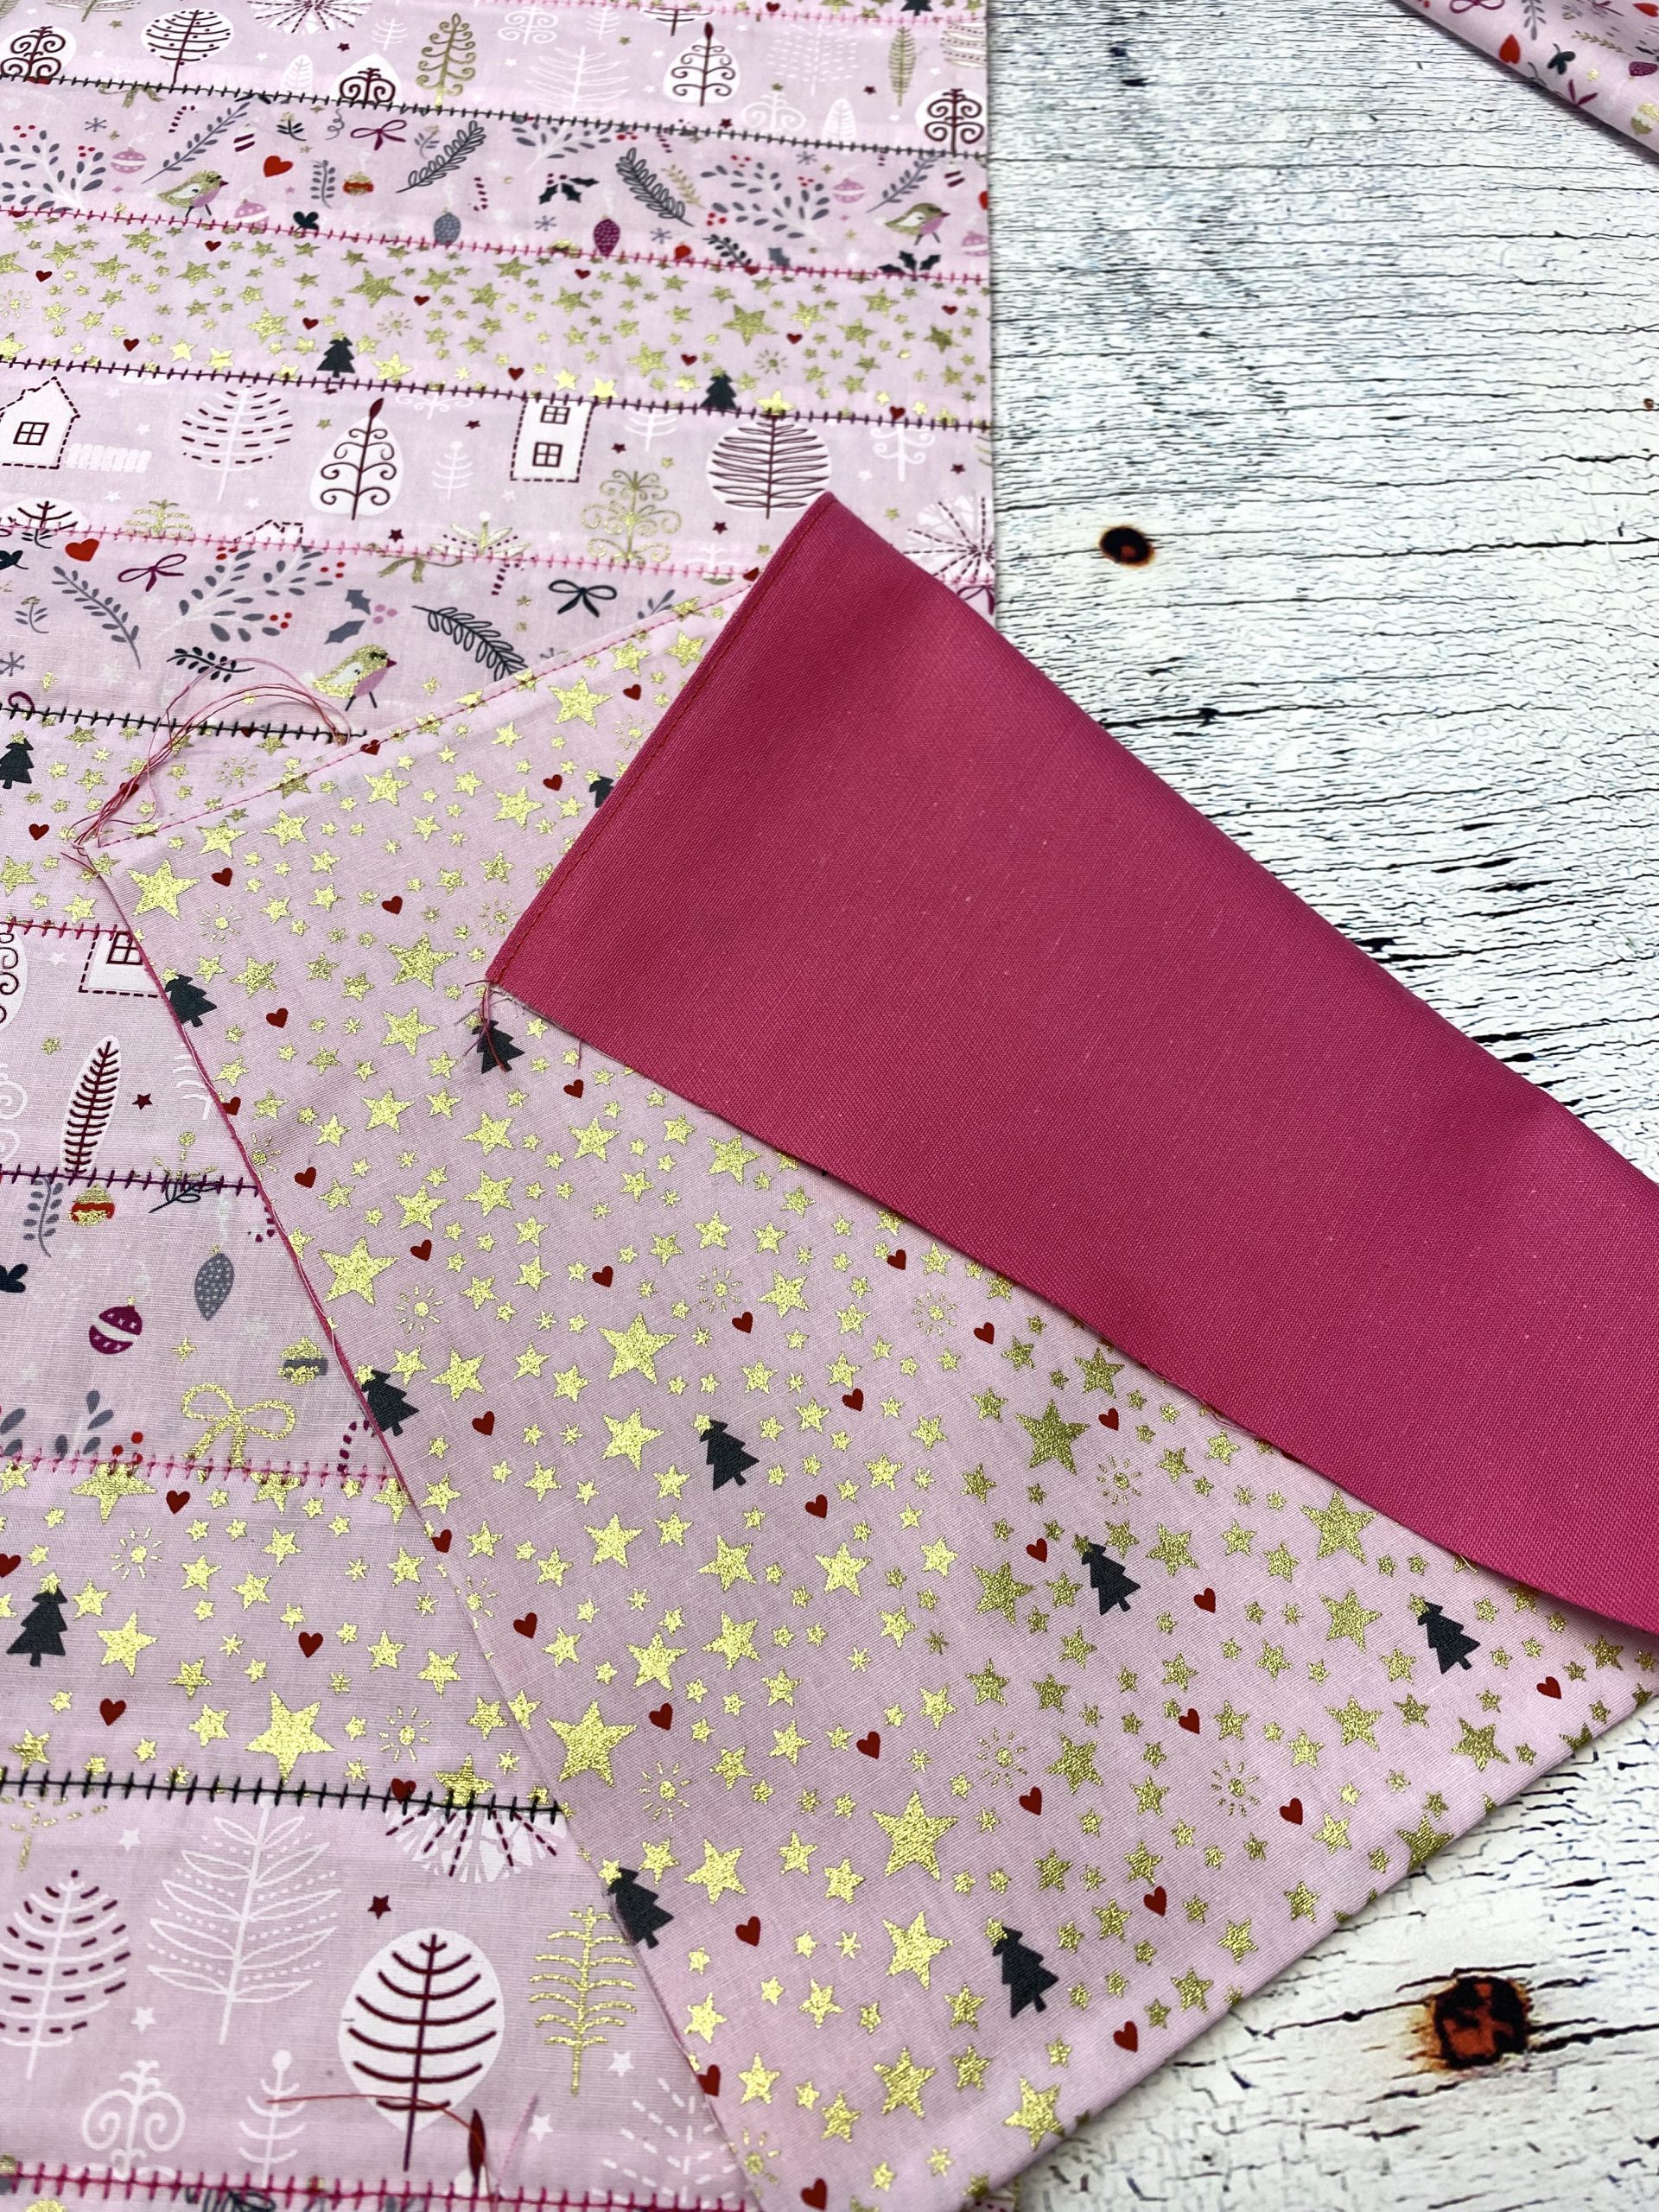
Cut out the back and pin all the layers together
Now place the padded top with the insert facing down on the wrong side of the solid-colored fabric for the back, and pin everything together well.
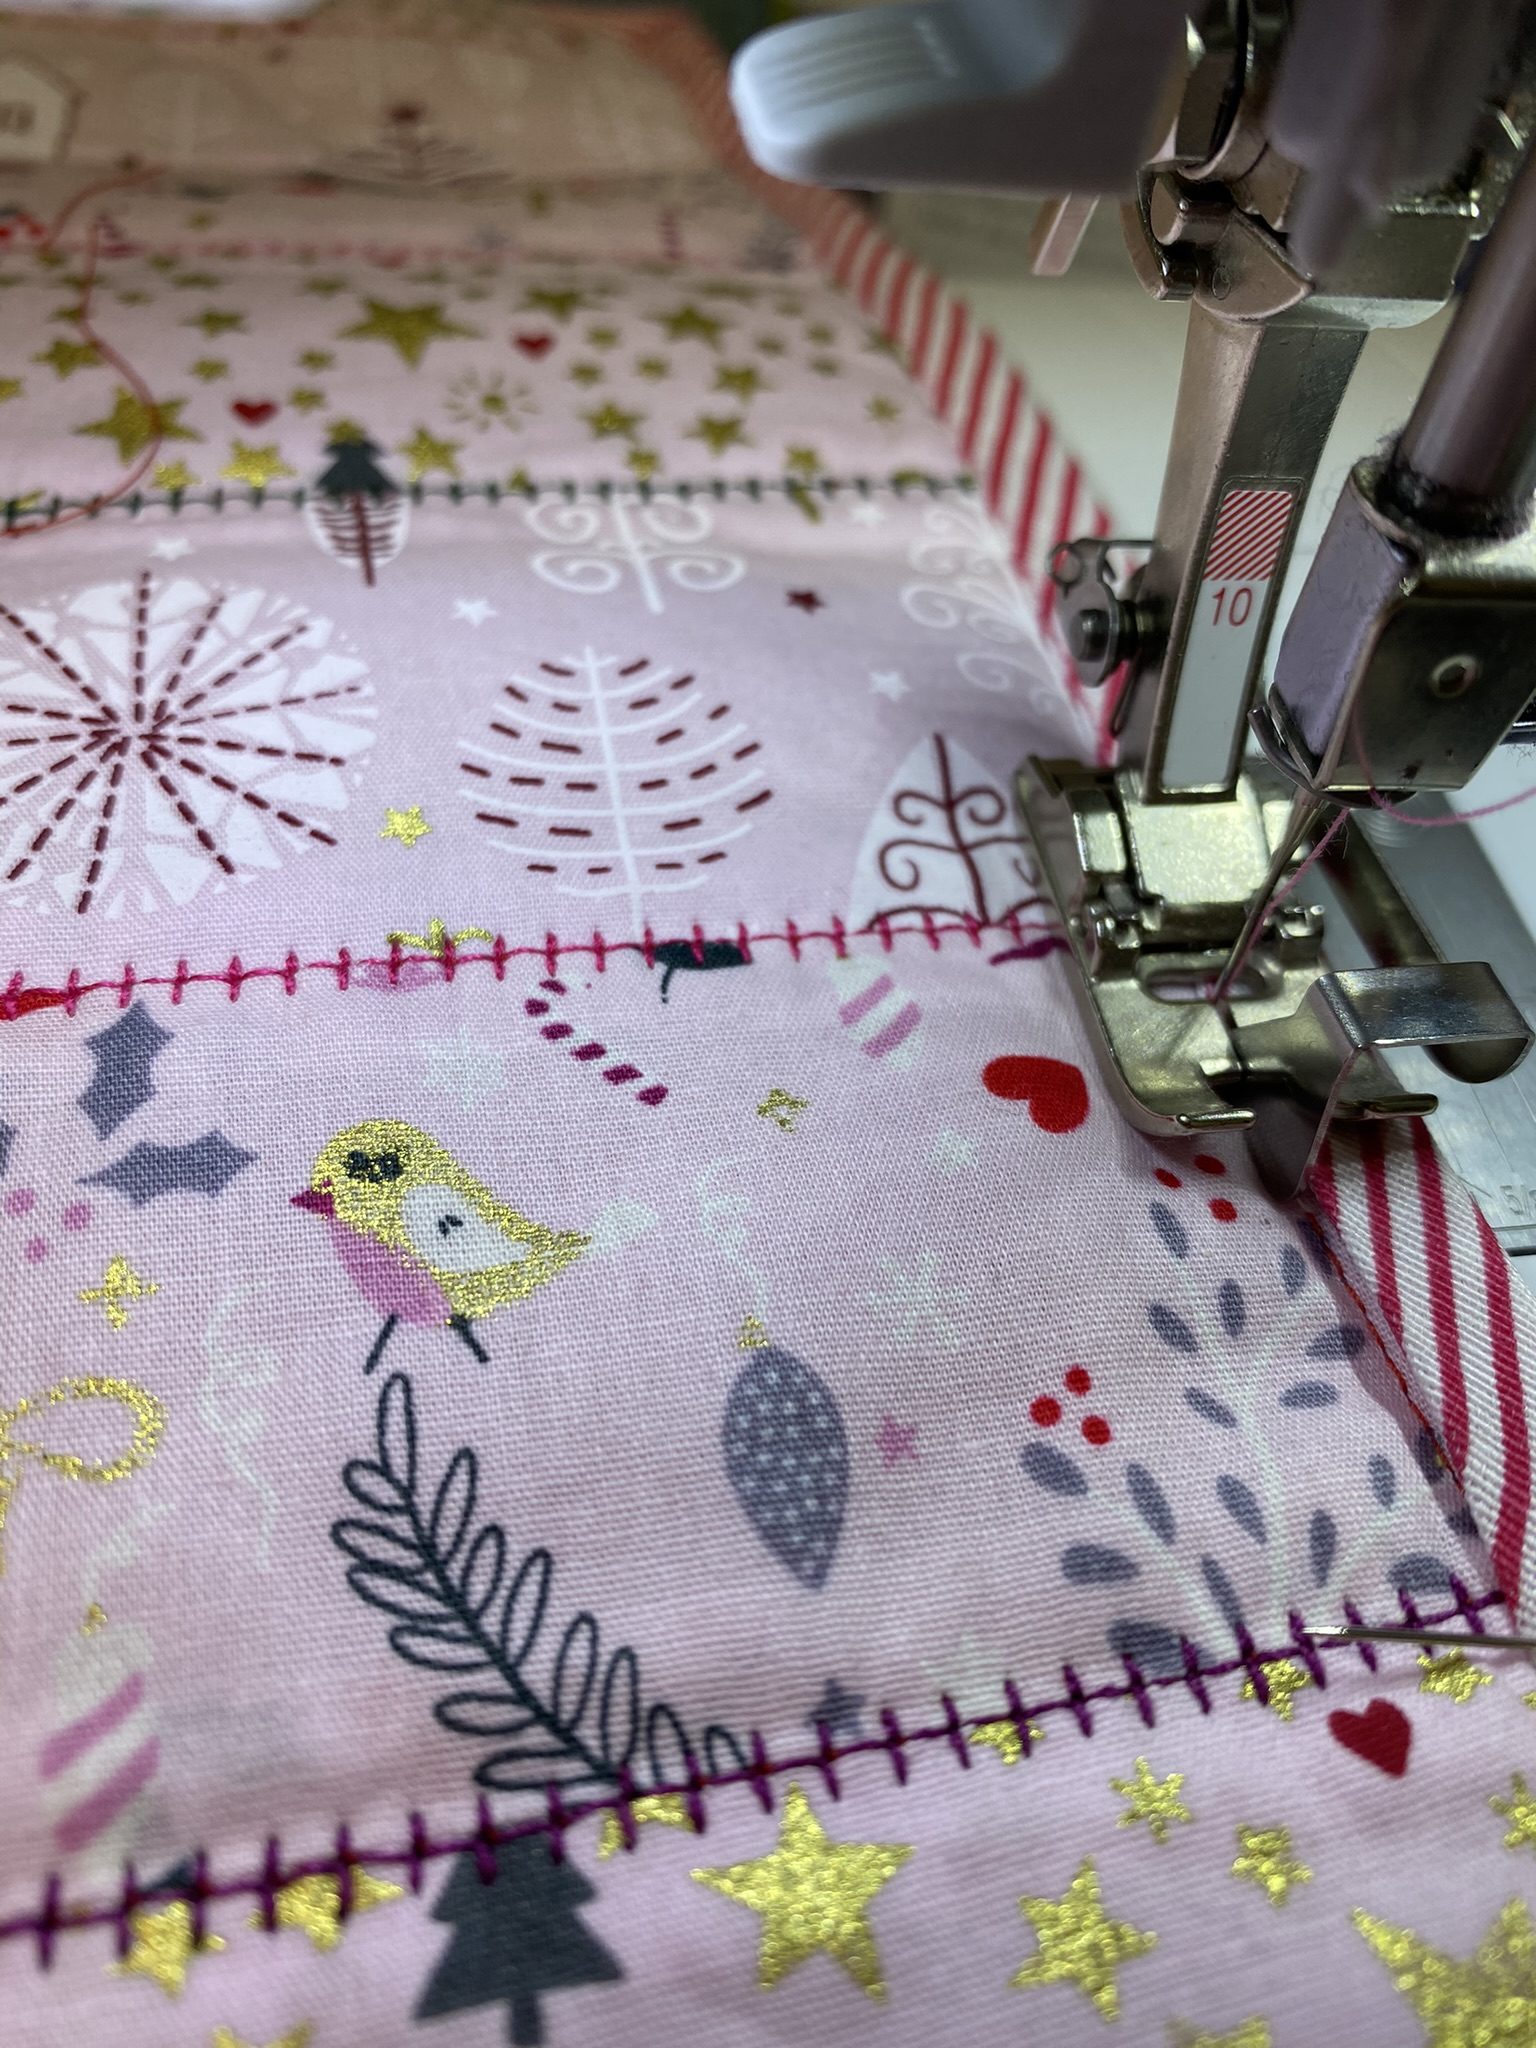
Topstitching
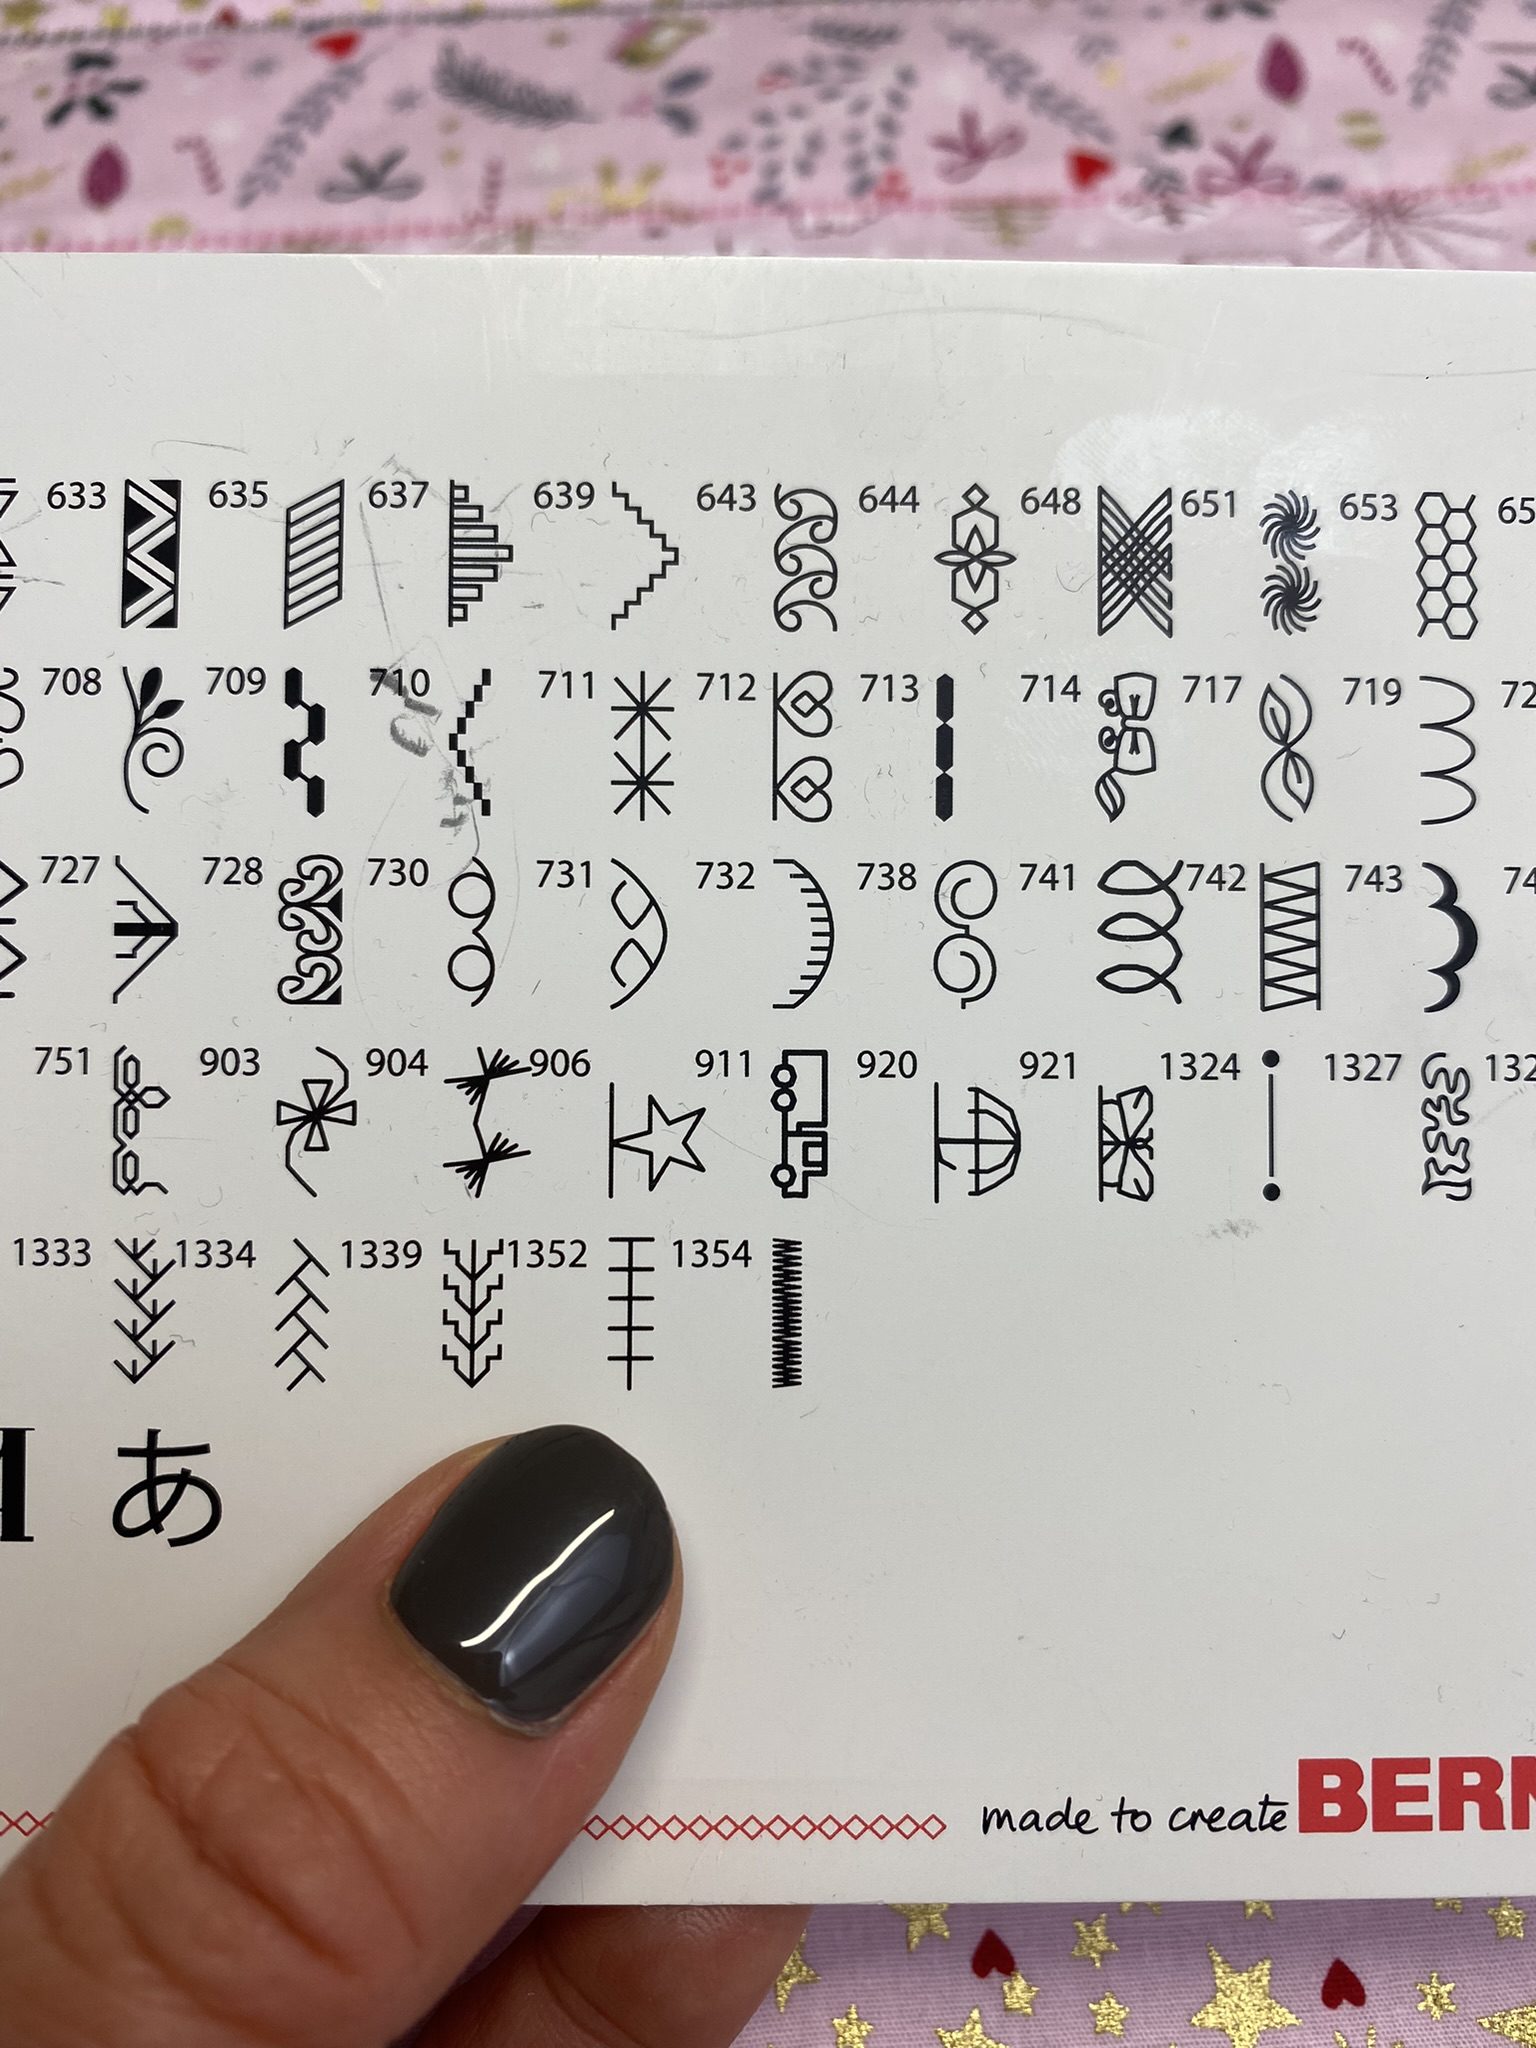
Now it is time for the prettiest part of the project: topstitching with colorful threads (I like to use silk-finish cotton for this) and decorative or patchwork stitches. For the decorative seams, I selected four different colors and used them alternately.
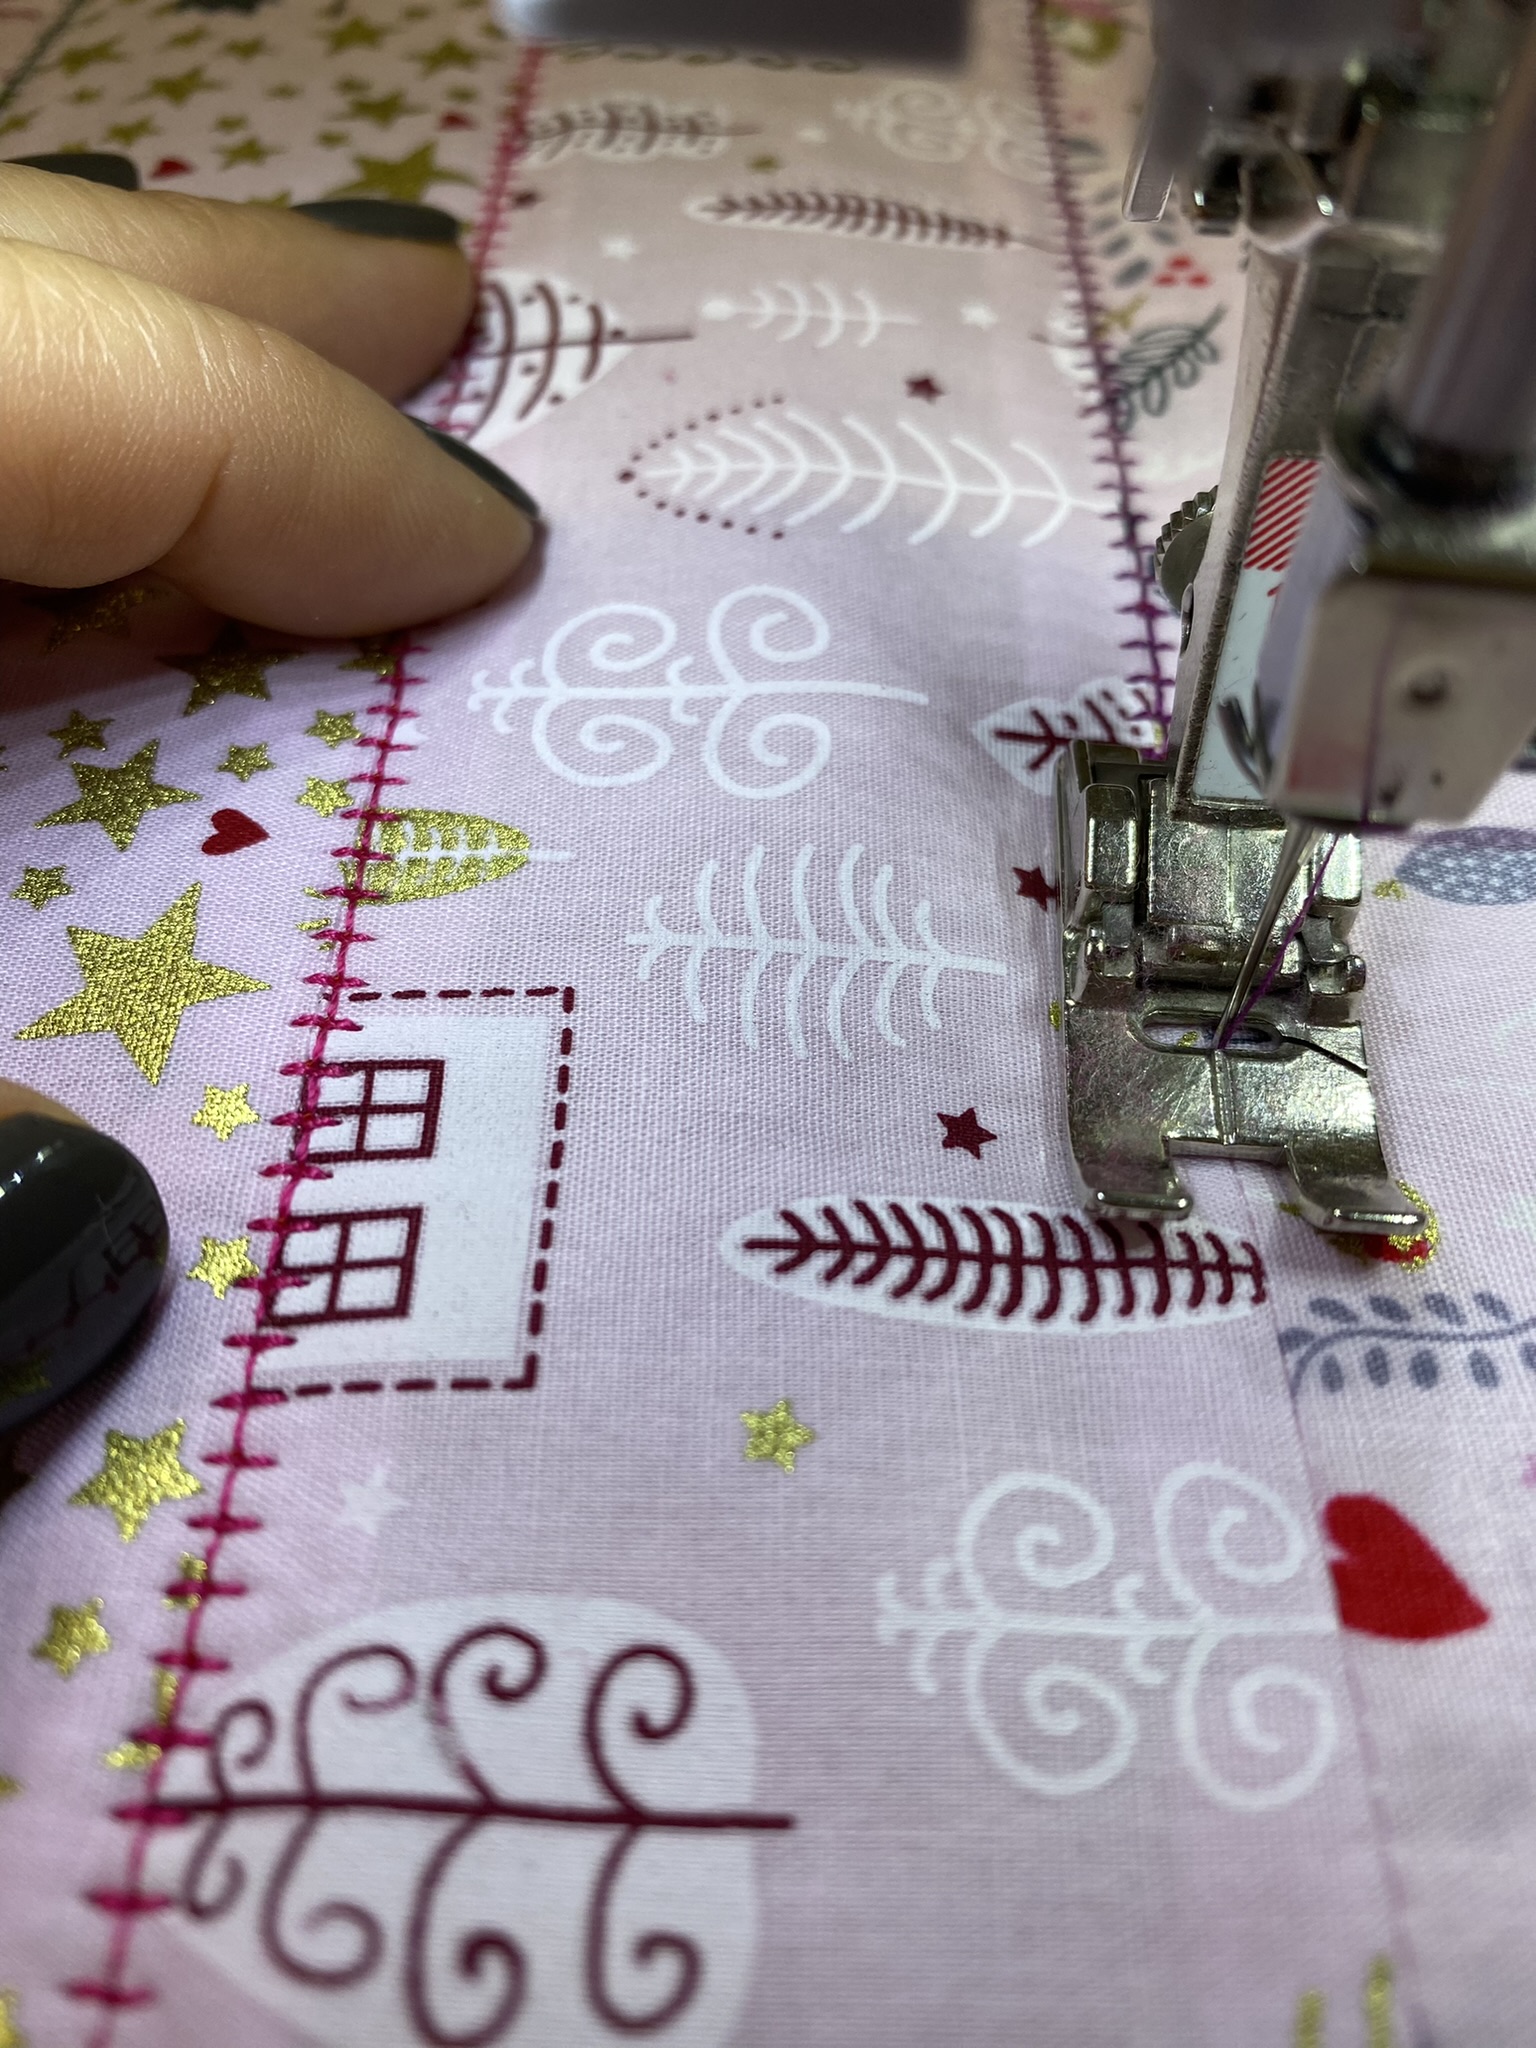
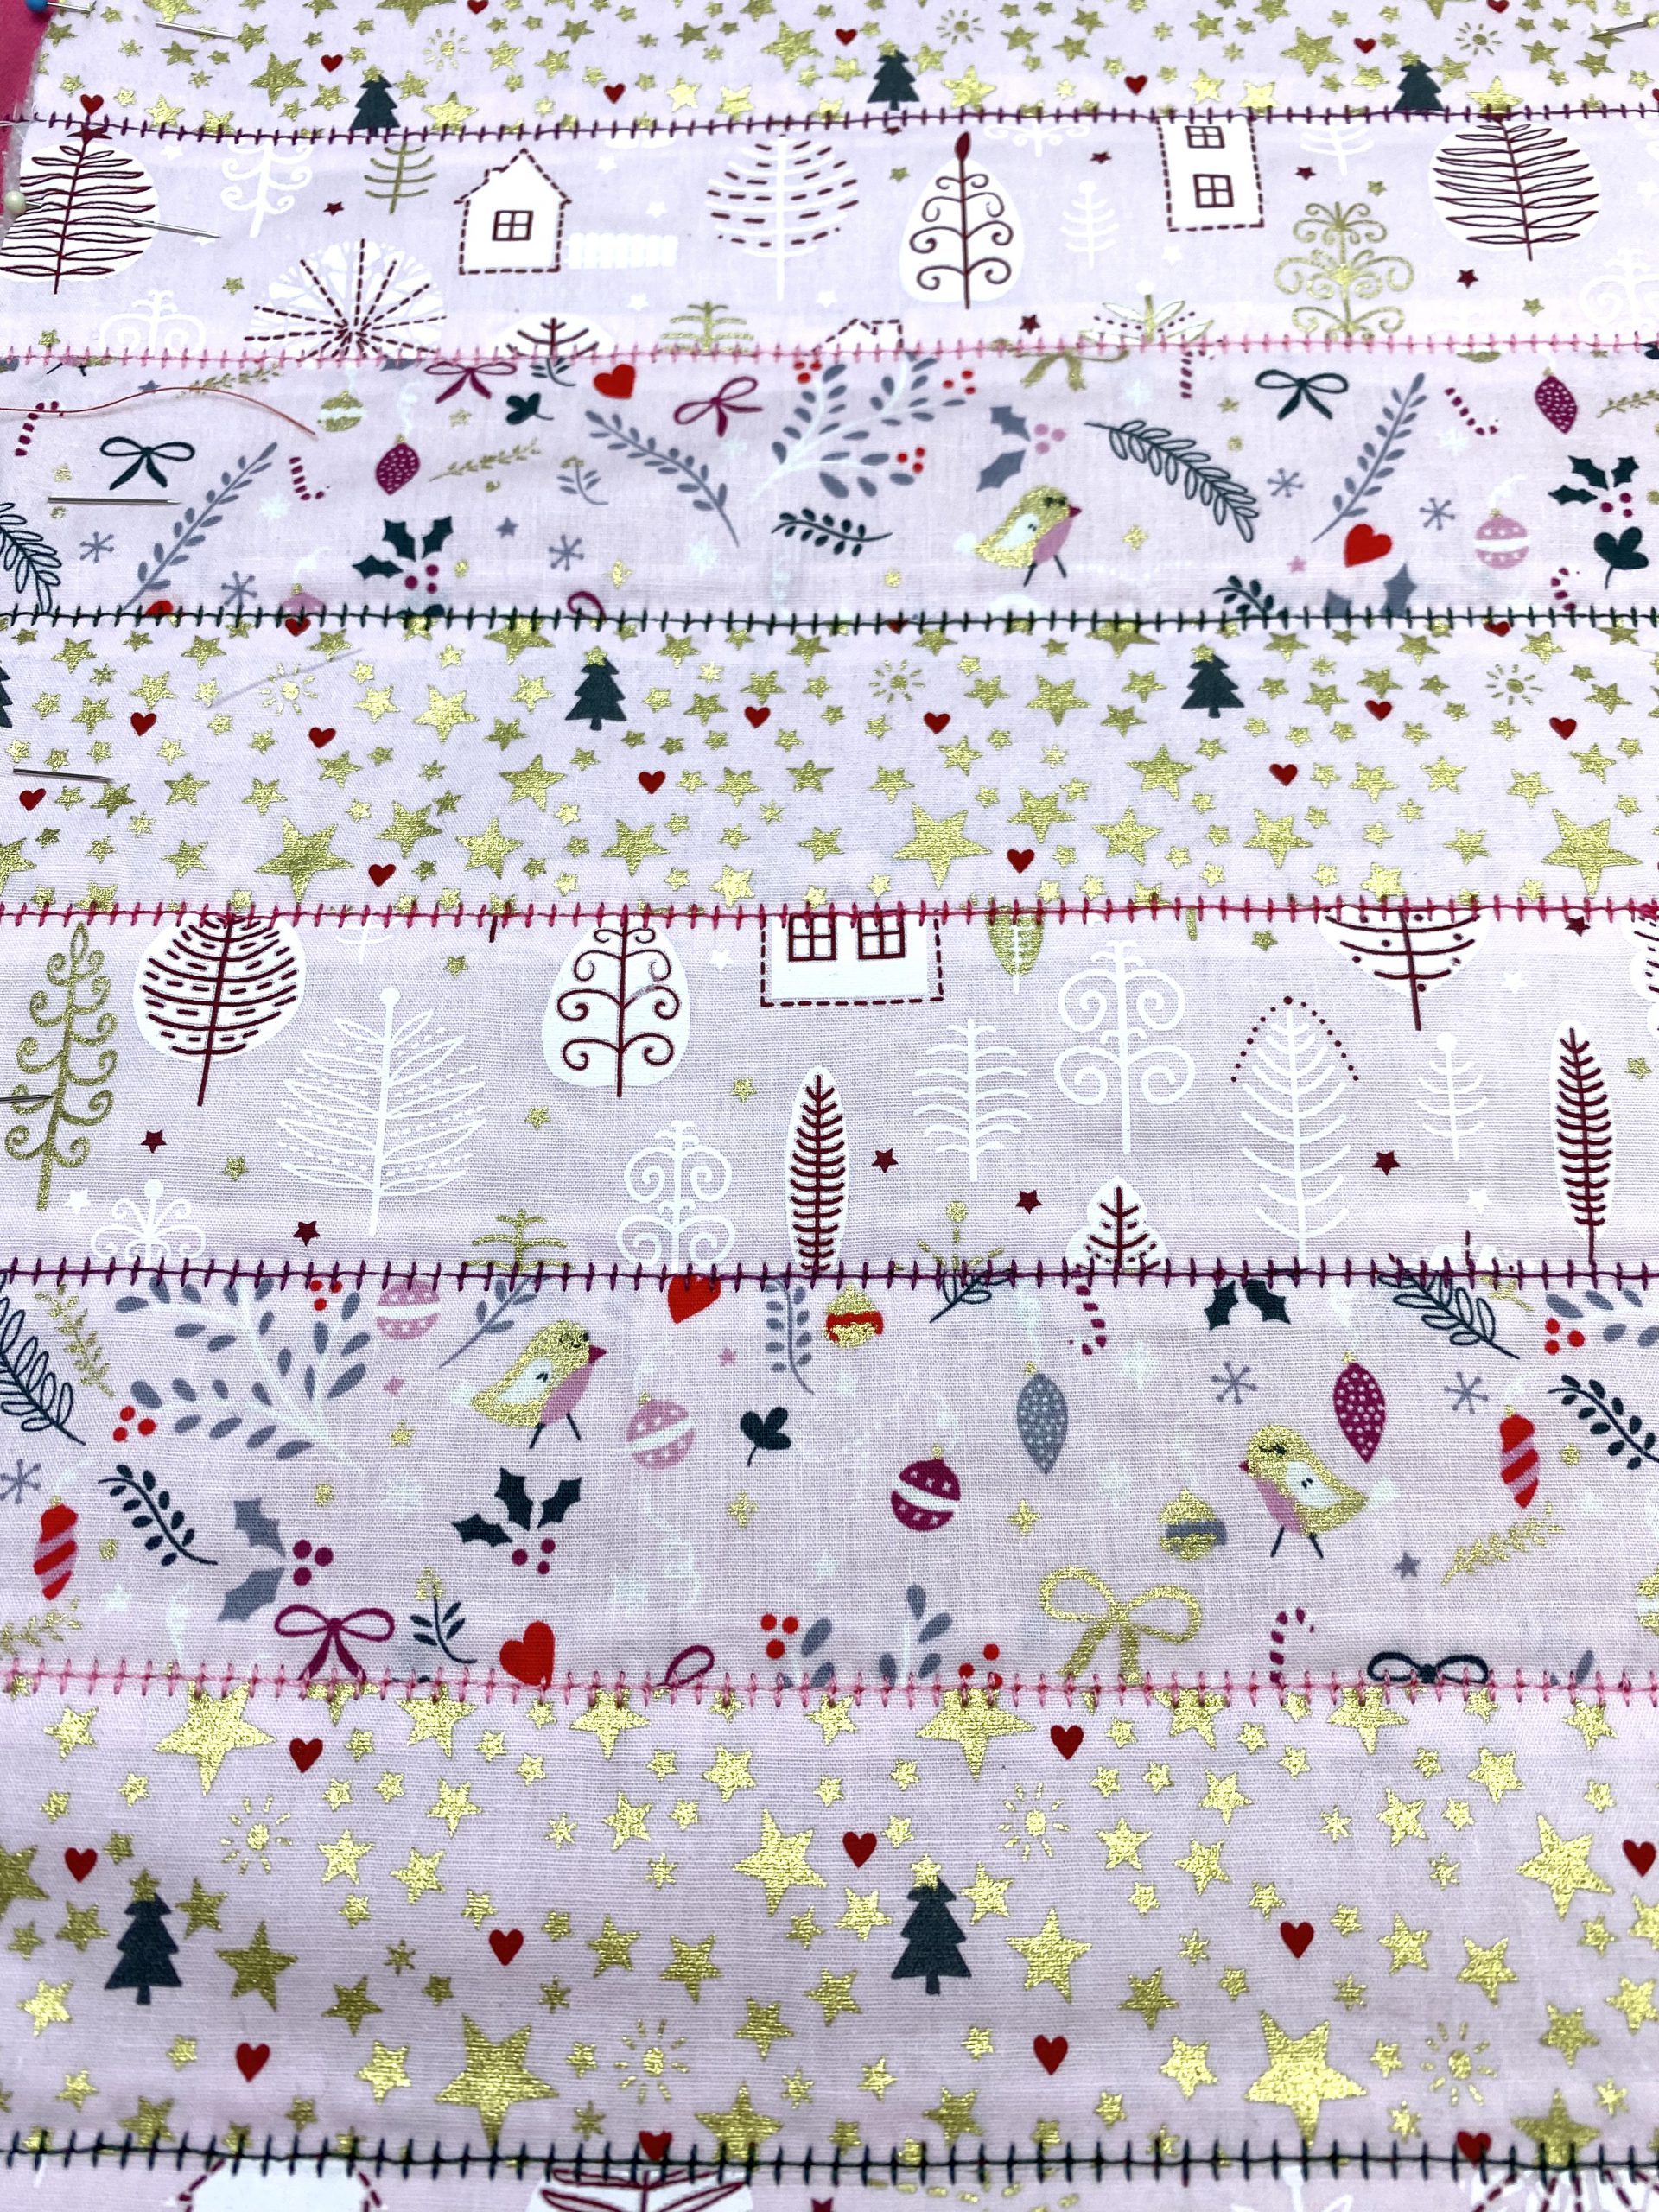
Select a bobbin thread in the same color as your fabric for the back. Then topstitch precisely along the top side of the seams using Quilt stitch 1352, stitch width 3. Of course, you can also experiment with the different stitches.
This is what it looks like:
Straightening the edges
For the next cut, the edges are straightened with a rotary cutter and cut to 26 cm x 80 cm.

Cutting out the pocket
For the attached pocket, cut one 30 cm x 24 cm piece each from the solid fabric and from one of the patterned fabrics, sew together with the right sides together at the top and bottom edge, then turn out and iron. Topstitch the top edge, staying close to the edge.
Sewing on the pocket
Place the pocket in the desired location. Mine is about 9 cm from the bottom edge. Pin in place. Stitch close to the edge at the bottom, secure the sides close to the edge (it is best to sew from bottom to top) and cut off the overhangs.

Attaching bias tape
Finally, the bias tape is attached. Fold it open and place it along the bottom edge, with the right sides together. Then sew precisely along the folded edge.
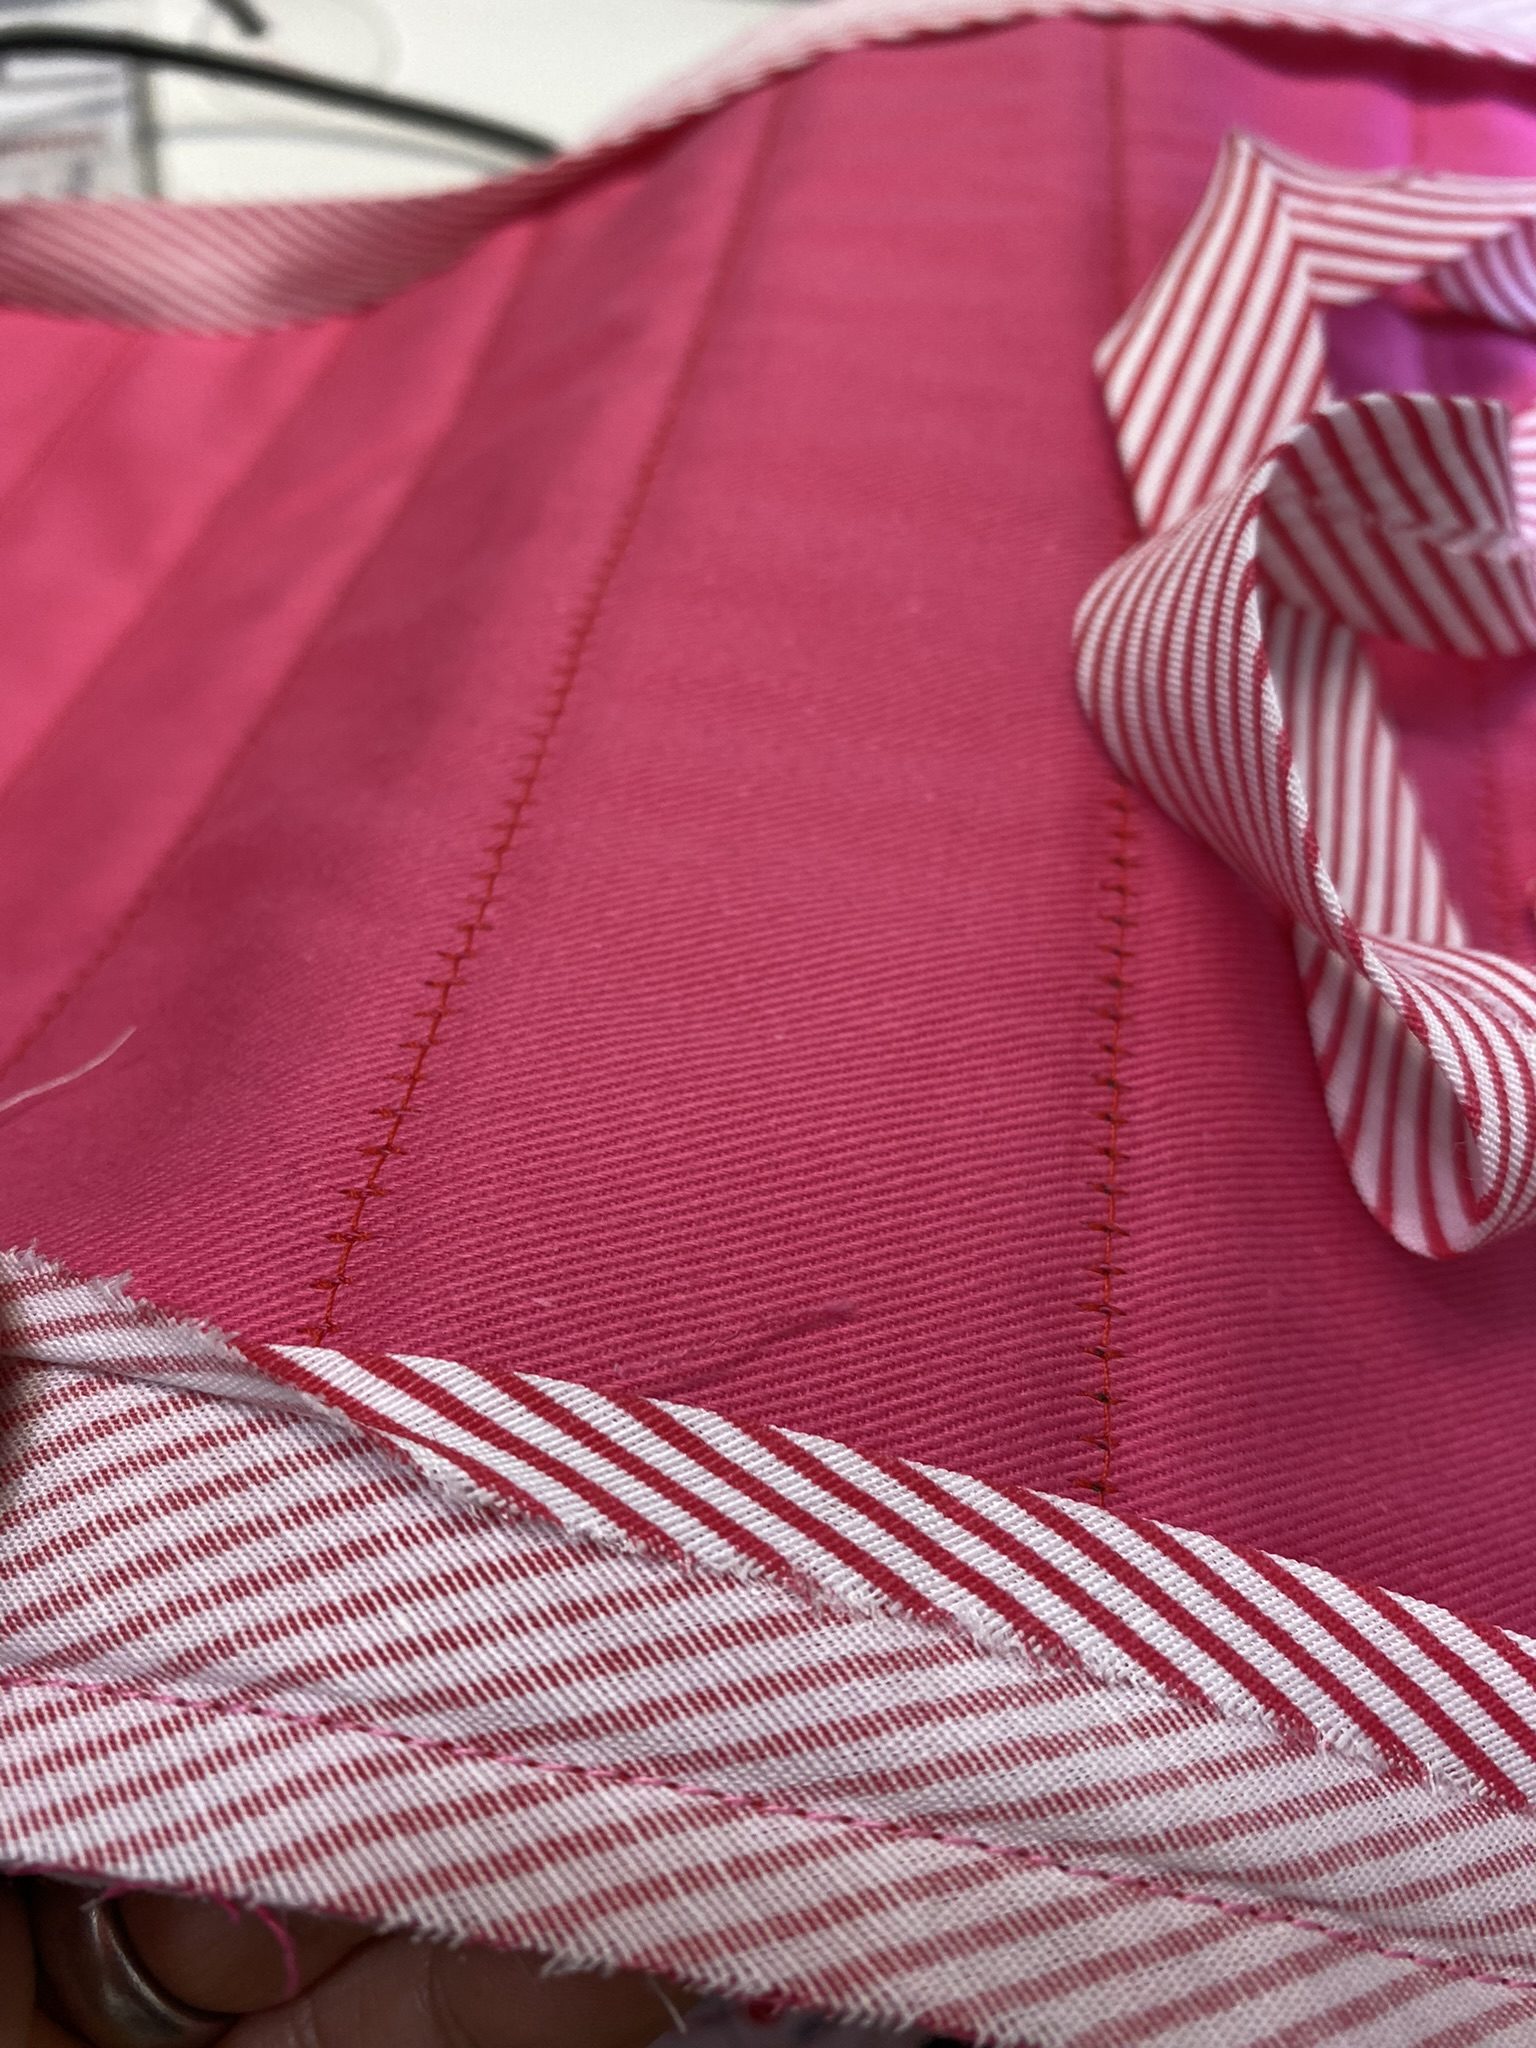
Finally, fold the tape onto the right side and pin it well.

You can then sew it on close to the edge. I like to use Edgestitch Foot #10 for this.

And your sofa organizer is ready for your Christmas knitting or cozy evenings in front of the TV!

An organizer also makes a great gift, and not just for the Christmas season. When sewn with neutral fabrics, it can be used all year round.

Have fun sewing and knitting, and enjoy the Christmas season!


0 Responses