 BERNINA Corporate Blog -
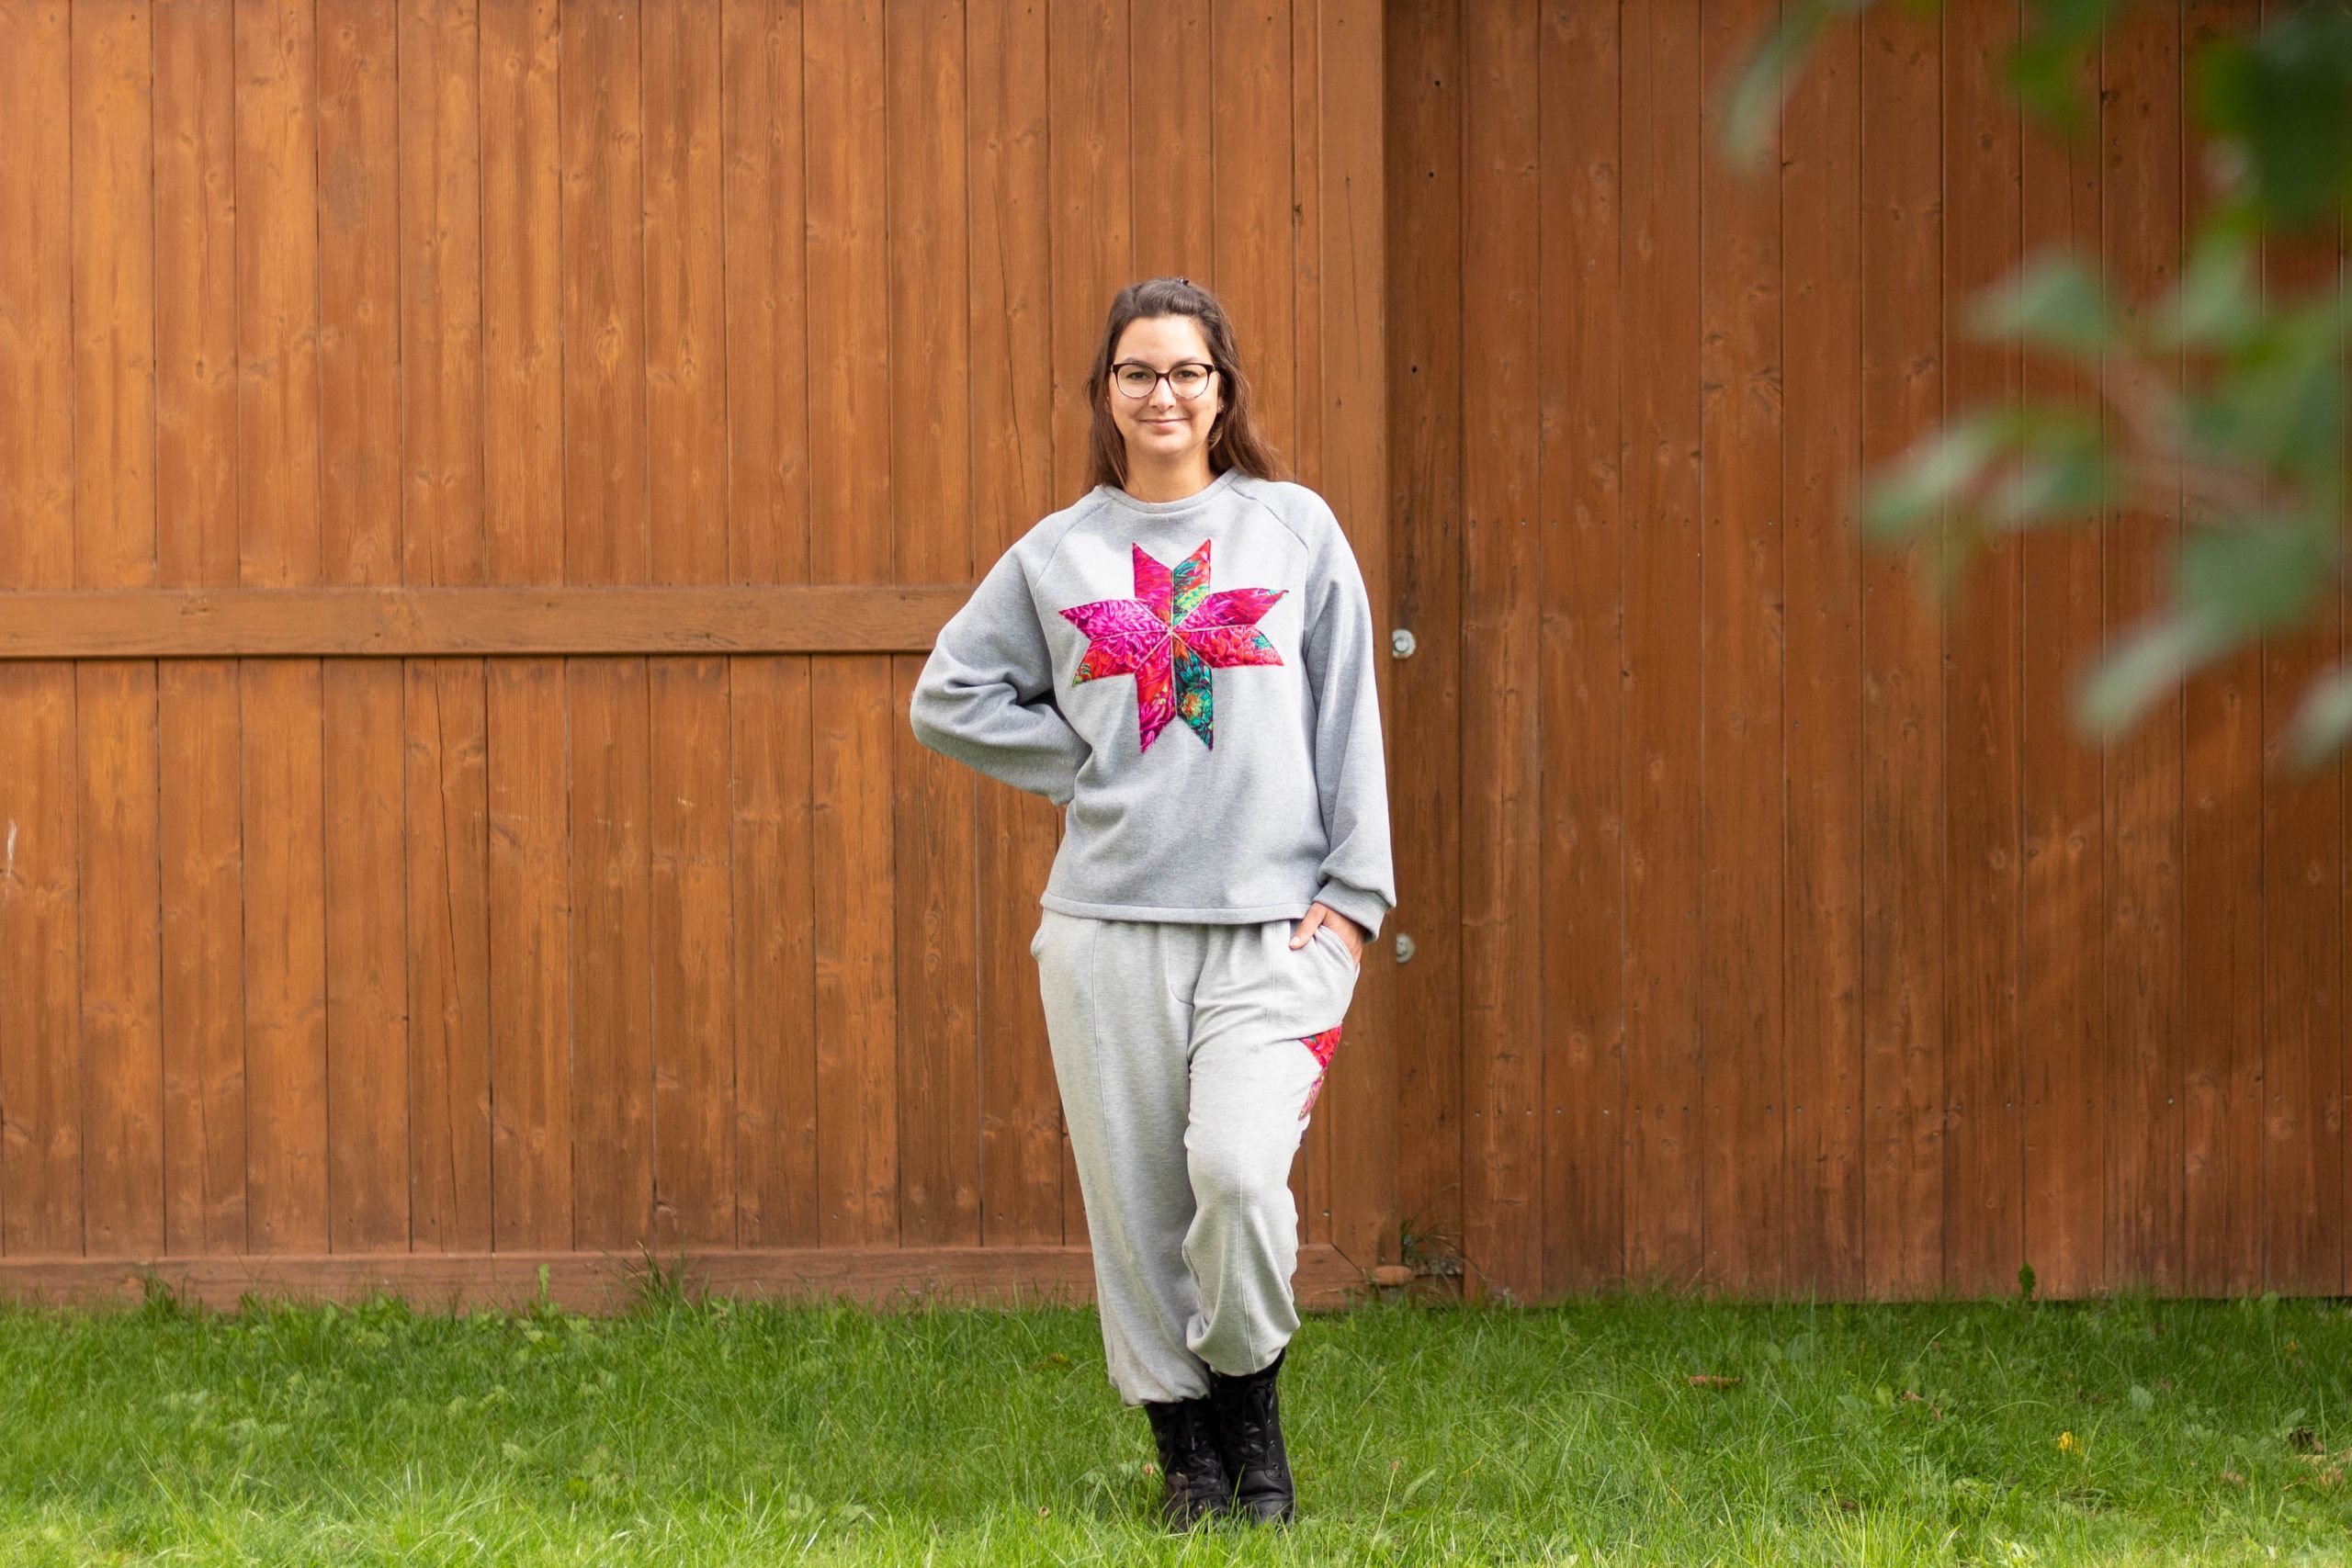
BERNINA Fashion Looks – instructions for the “Lilac” unisex sweater
The Fashion Looks collection comes from the imagination of Swiss designer Irène Münger and is inspired by the fabrics of English textile designer Kaffe Fassett. It’s the first sew-it-yourself fashion collection. The collection contains a whole range of patterns, including a casual unisex sweater, which I have sewn for you.
The fashionable patterns from the Fashion Looks collection are available online in the inspiration shop.
To help you sew this sweater as easily as possible, I’ve provided you with a detailed tutorial. I’ll use plenty of pictures to show you how to sew your very own sweater.
If you’d like more tips and tricks for using your BERNINA sewing machine, ideas about sewing in general and info about new blog posts, then follow me on Instagram and Facebook. I also run a giveaway for each new edition of the inspiration magazine, where one lucky follower can win a free copy!
You’ll need the following material for the sweater:
- Approx. 1.6 m (for women) sweat fabric, 140 cm wide
- Elastic band, if desired (I used cuffs without elastic)
- Seam tape, if desired
For the appliqué star on the front:
- Vlieseline R80 wadding (you can find care and application instructions here), approx. 40 cm x 40 cm.
- Stitch-n-tear embroidery backer, 2 squares approx. 40 cm x 40 cm
- Printed cotton fabric, 8 pieces approx. 20 cm x 8 cm, cut at 30° diagonal
Preparation work/fabric cutting
The pattern is part of the BERNINA Fashion Looks collection: Lilac sweater pattern.
You can find all of the patterns here.
When printing the pattern, make sure that you do not make any size adjustments. You can check this with the control square on the pattern.
The pattern includes all seam and hem allowances.
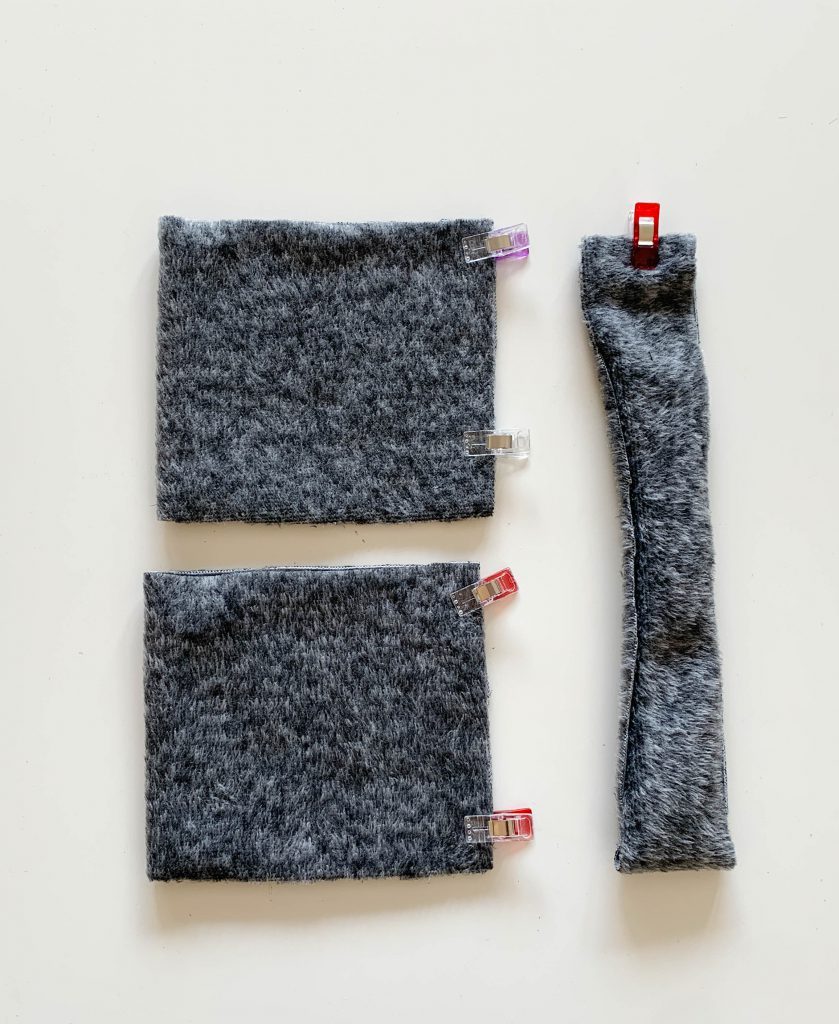
You will need to cut out the following pattern pieces:
- 1x front piece to fabric fold (piece 1)
- 1x back piece to fabric fold (piece 2)
- 2x opposite arms (piece 3)
- 2x opposite cuffs (piece 4)
- 1 x neckline (depending on the stretchiness of the fabric (piece 5a or 5b))
Sewing the sweater – let’s get started!
First I appliquéd the star to the front piece.
I have already explained how to appliqué the star in another Fashion Look tutorial. You can find the instructions here.
Before you start sewing, you can stick or iron seam tape onto the armholes on the front and back to keep the pieces in place.
Sew both sleeves to the front piece first.
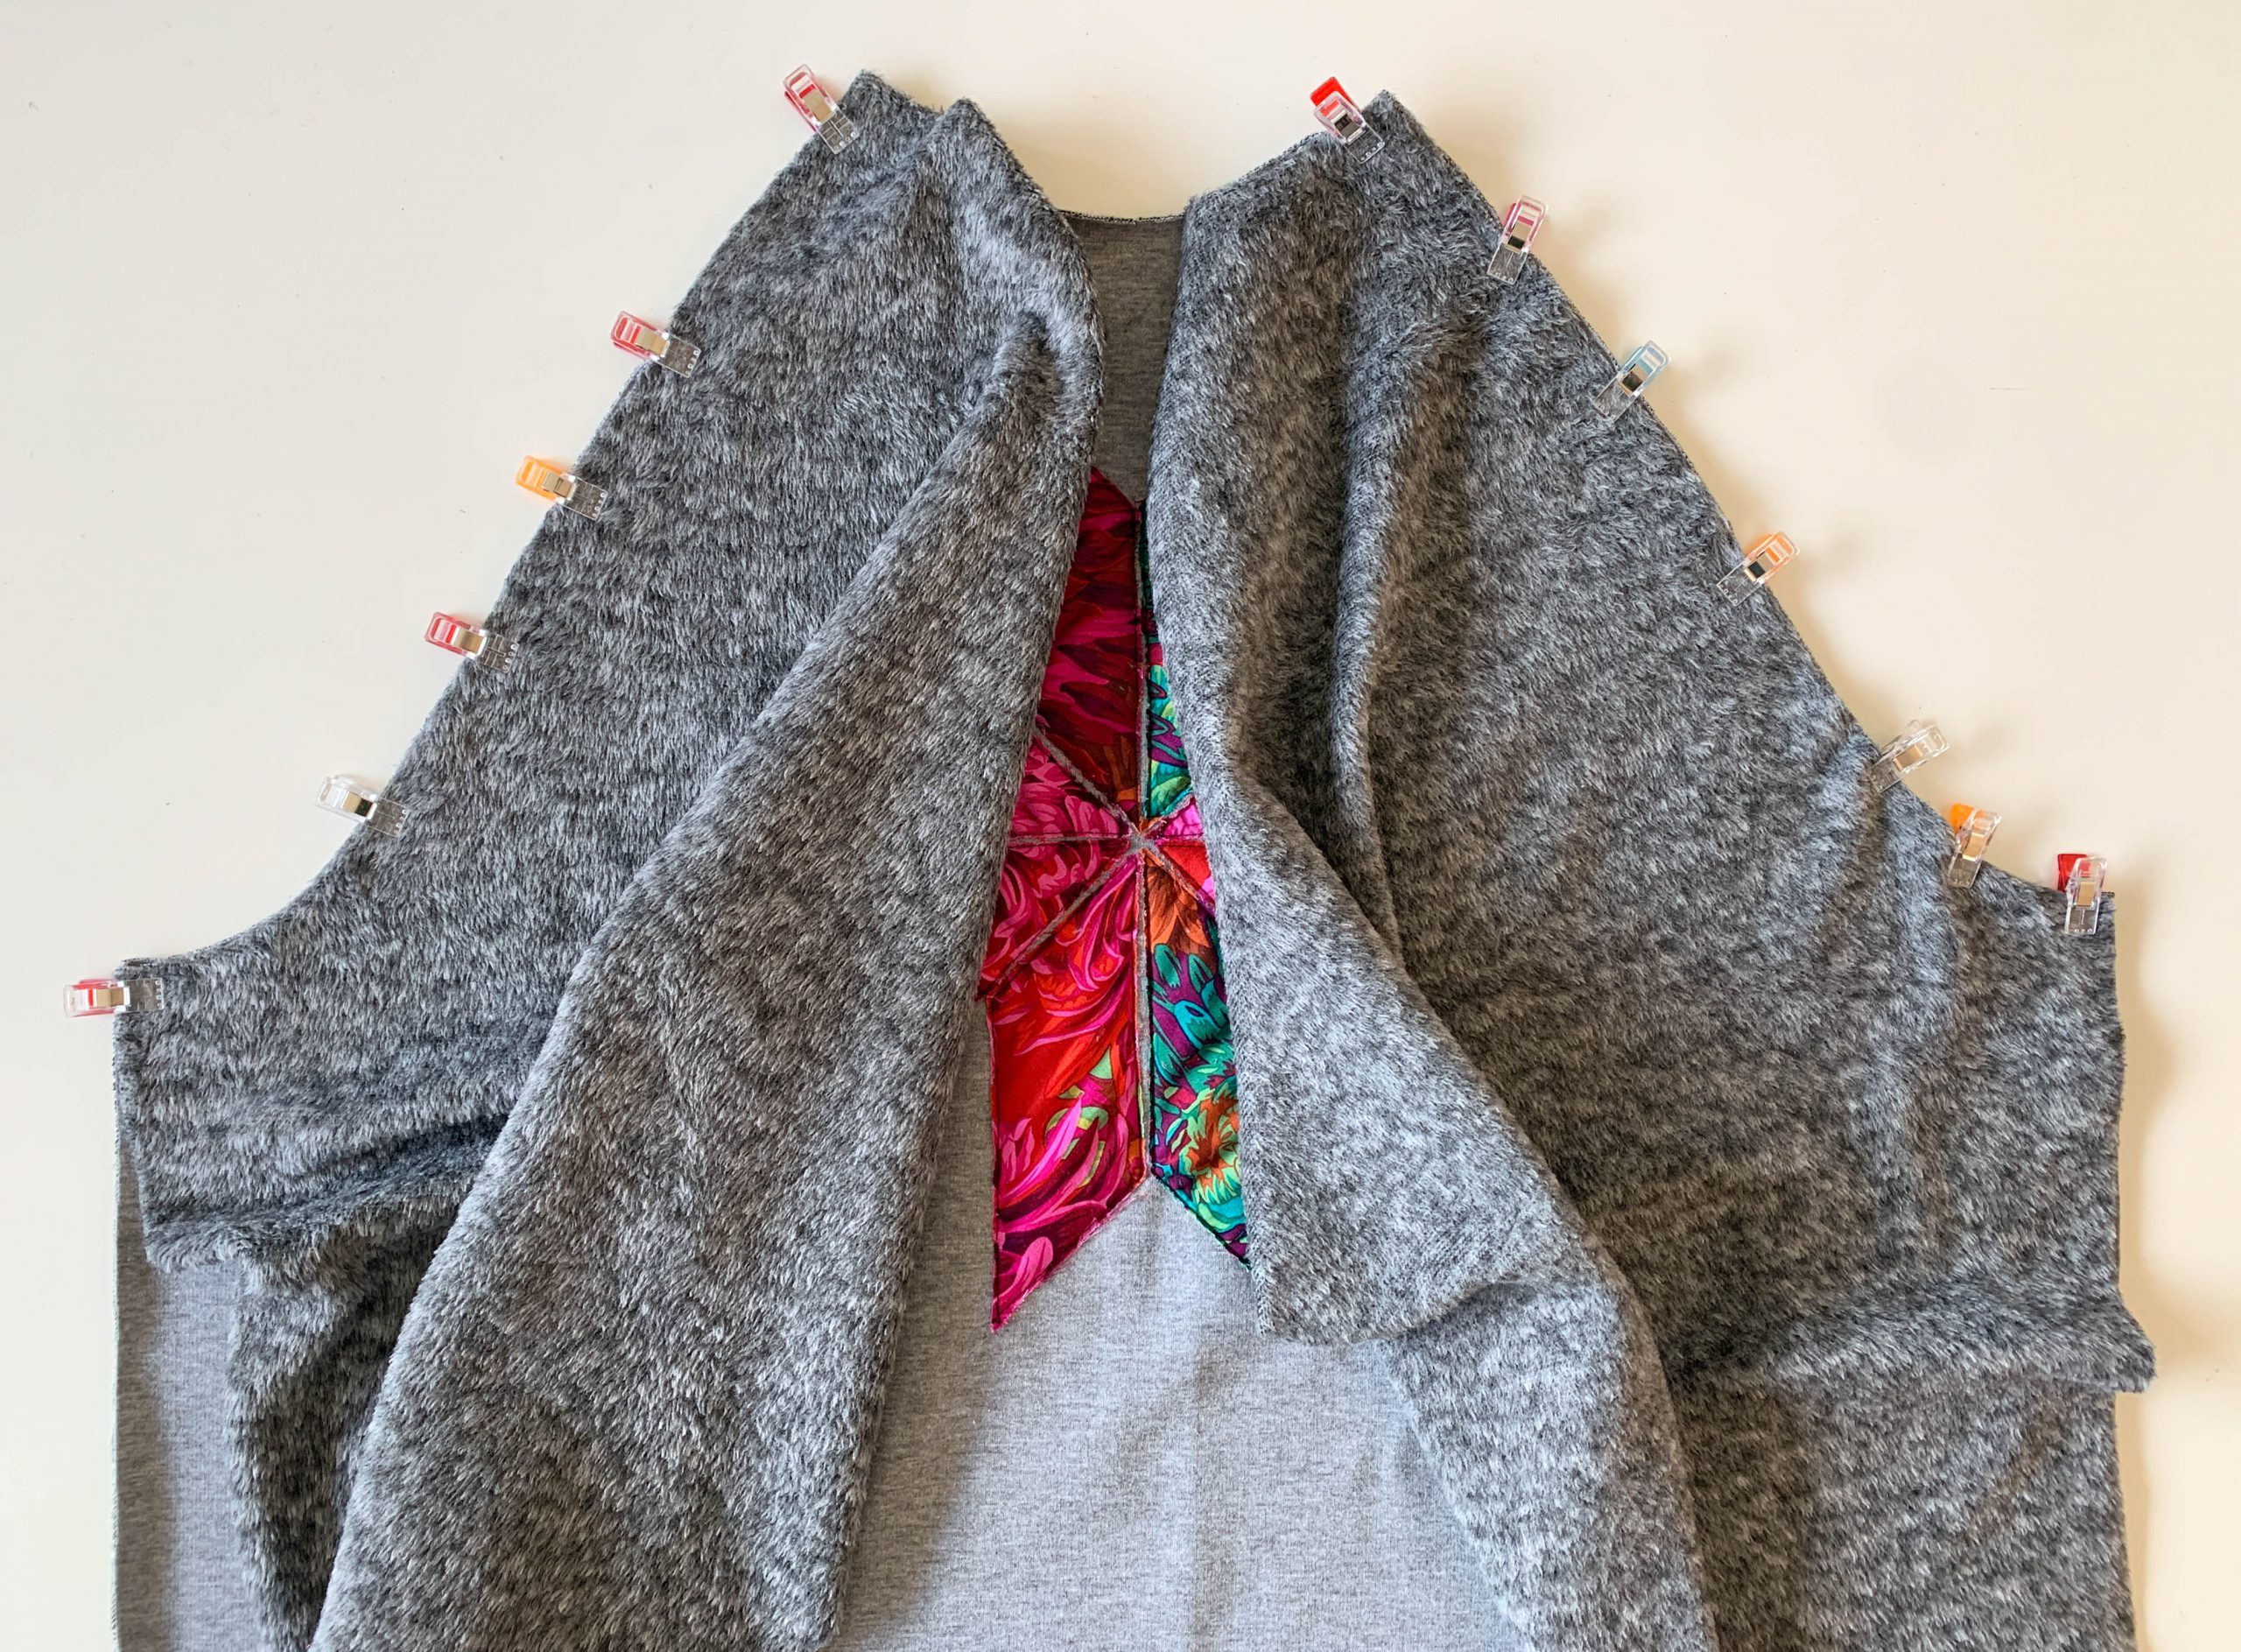
Then sew both sleeves to the back piece as well.
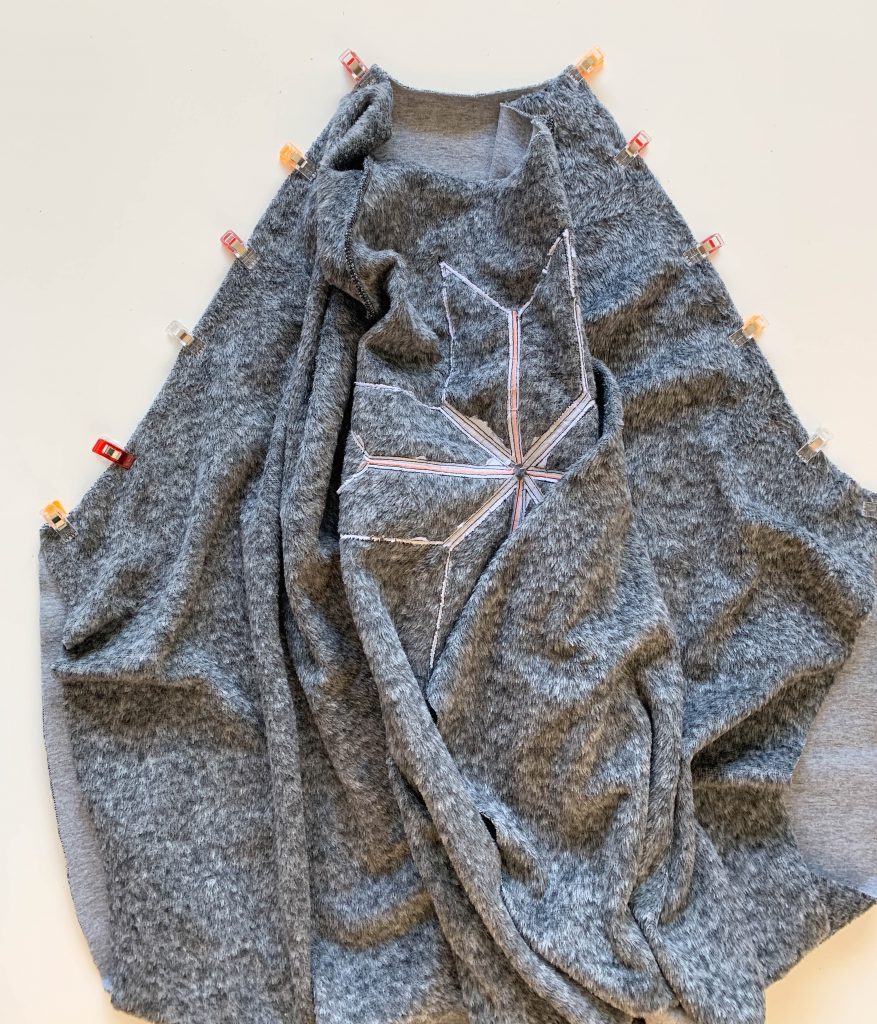
Now close the side seams and the sleeve seams in one go.
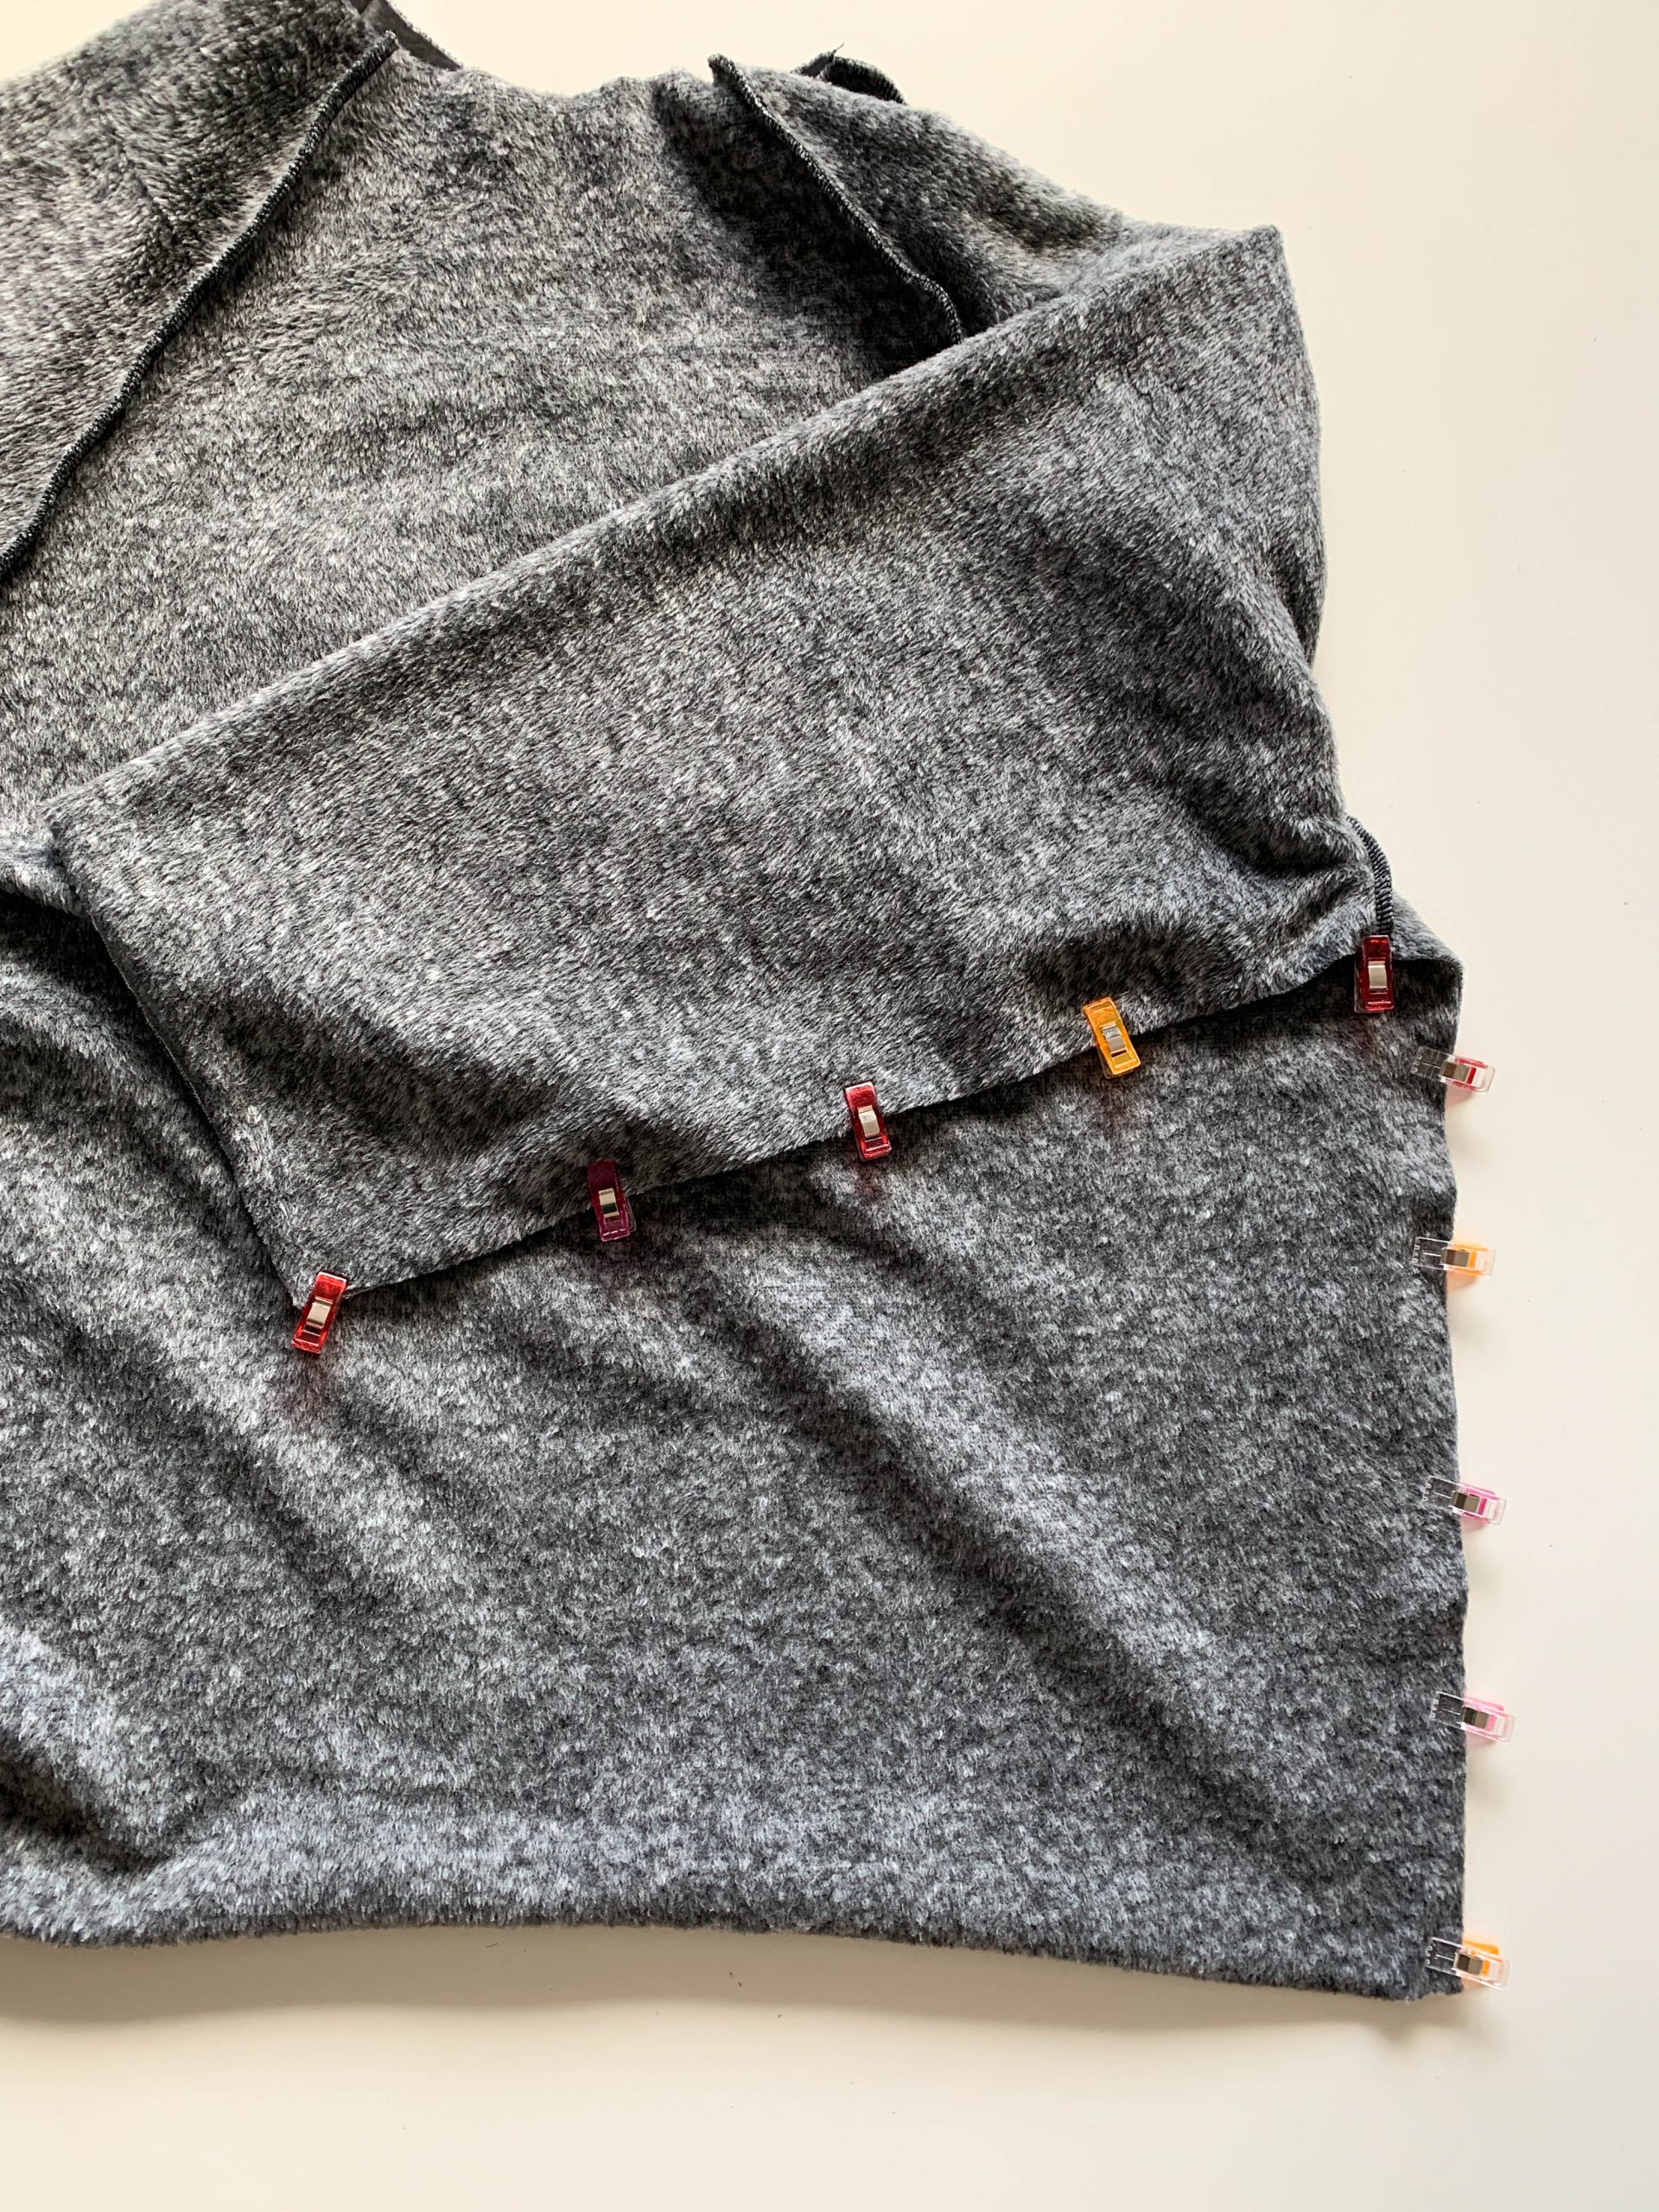
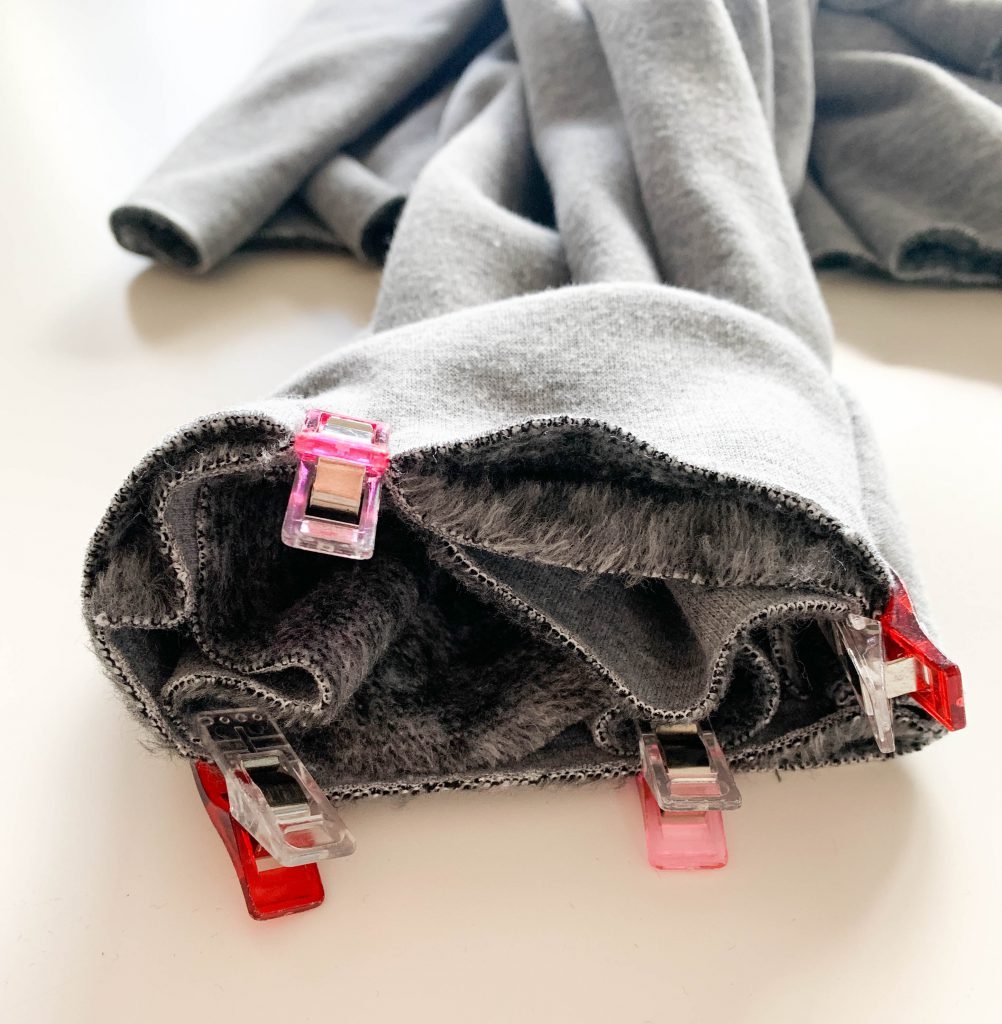
Close up the neckband and the sleeve cuffs, right sides together, on the short edge before sewing them on.
Divide the neckband into 4 sections with clips before attaching evenly to the corresponding 4 sections of the neckline, then sew in place. Do the same with the cuffs.
TIP: BERNINA includes cuffs with elastic in the pattern. The finished version will then differ slightly from my description.
For the final step, hem your sweater.

Your sweater is finished!
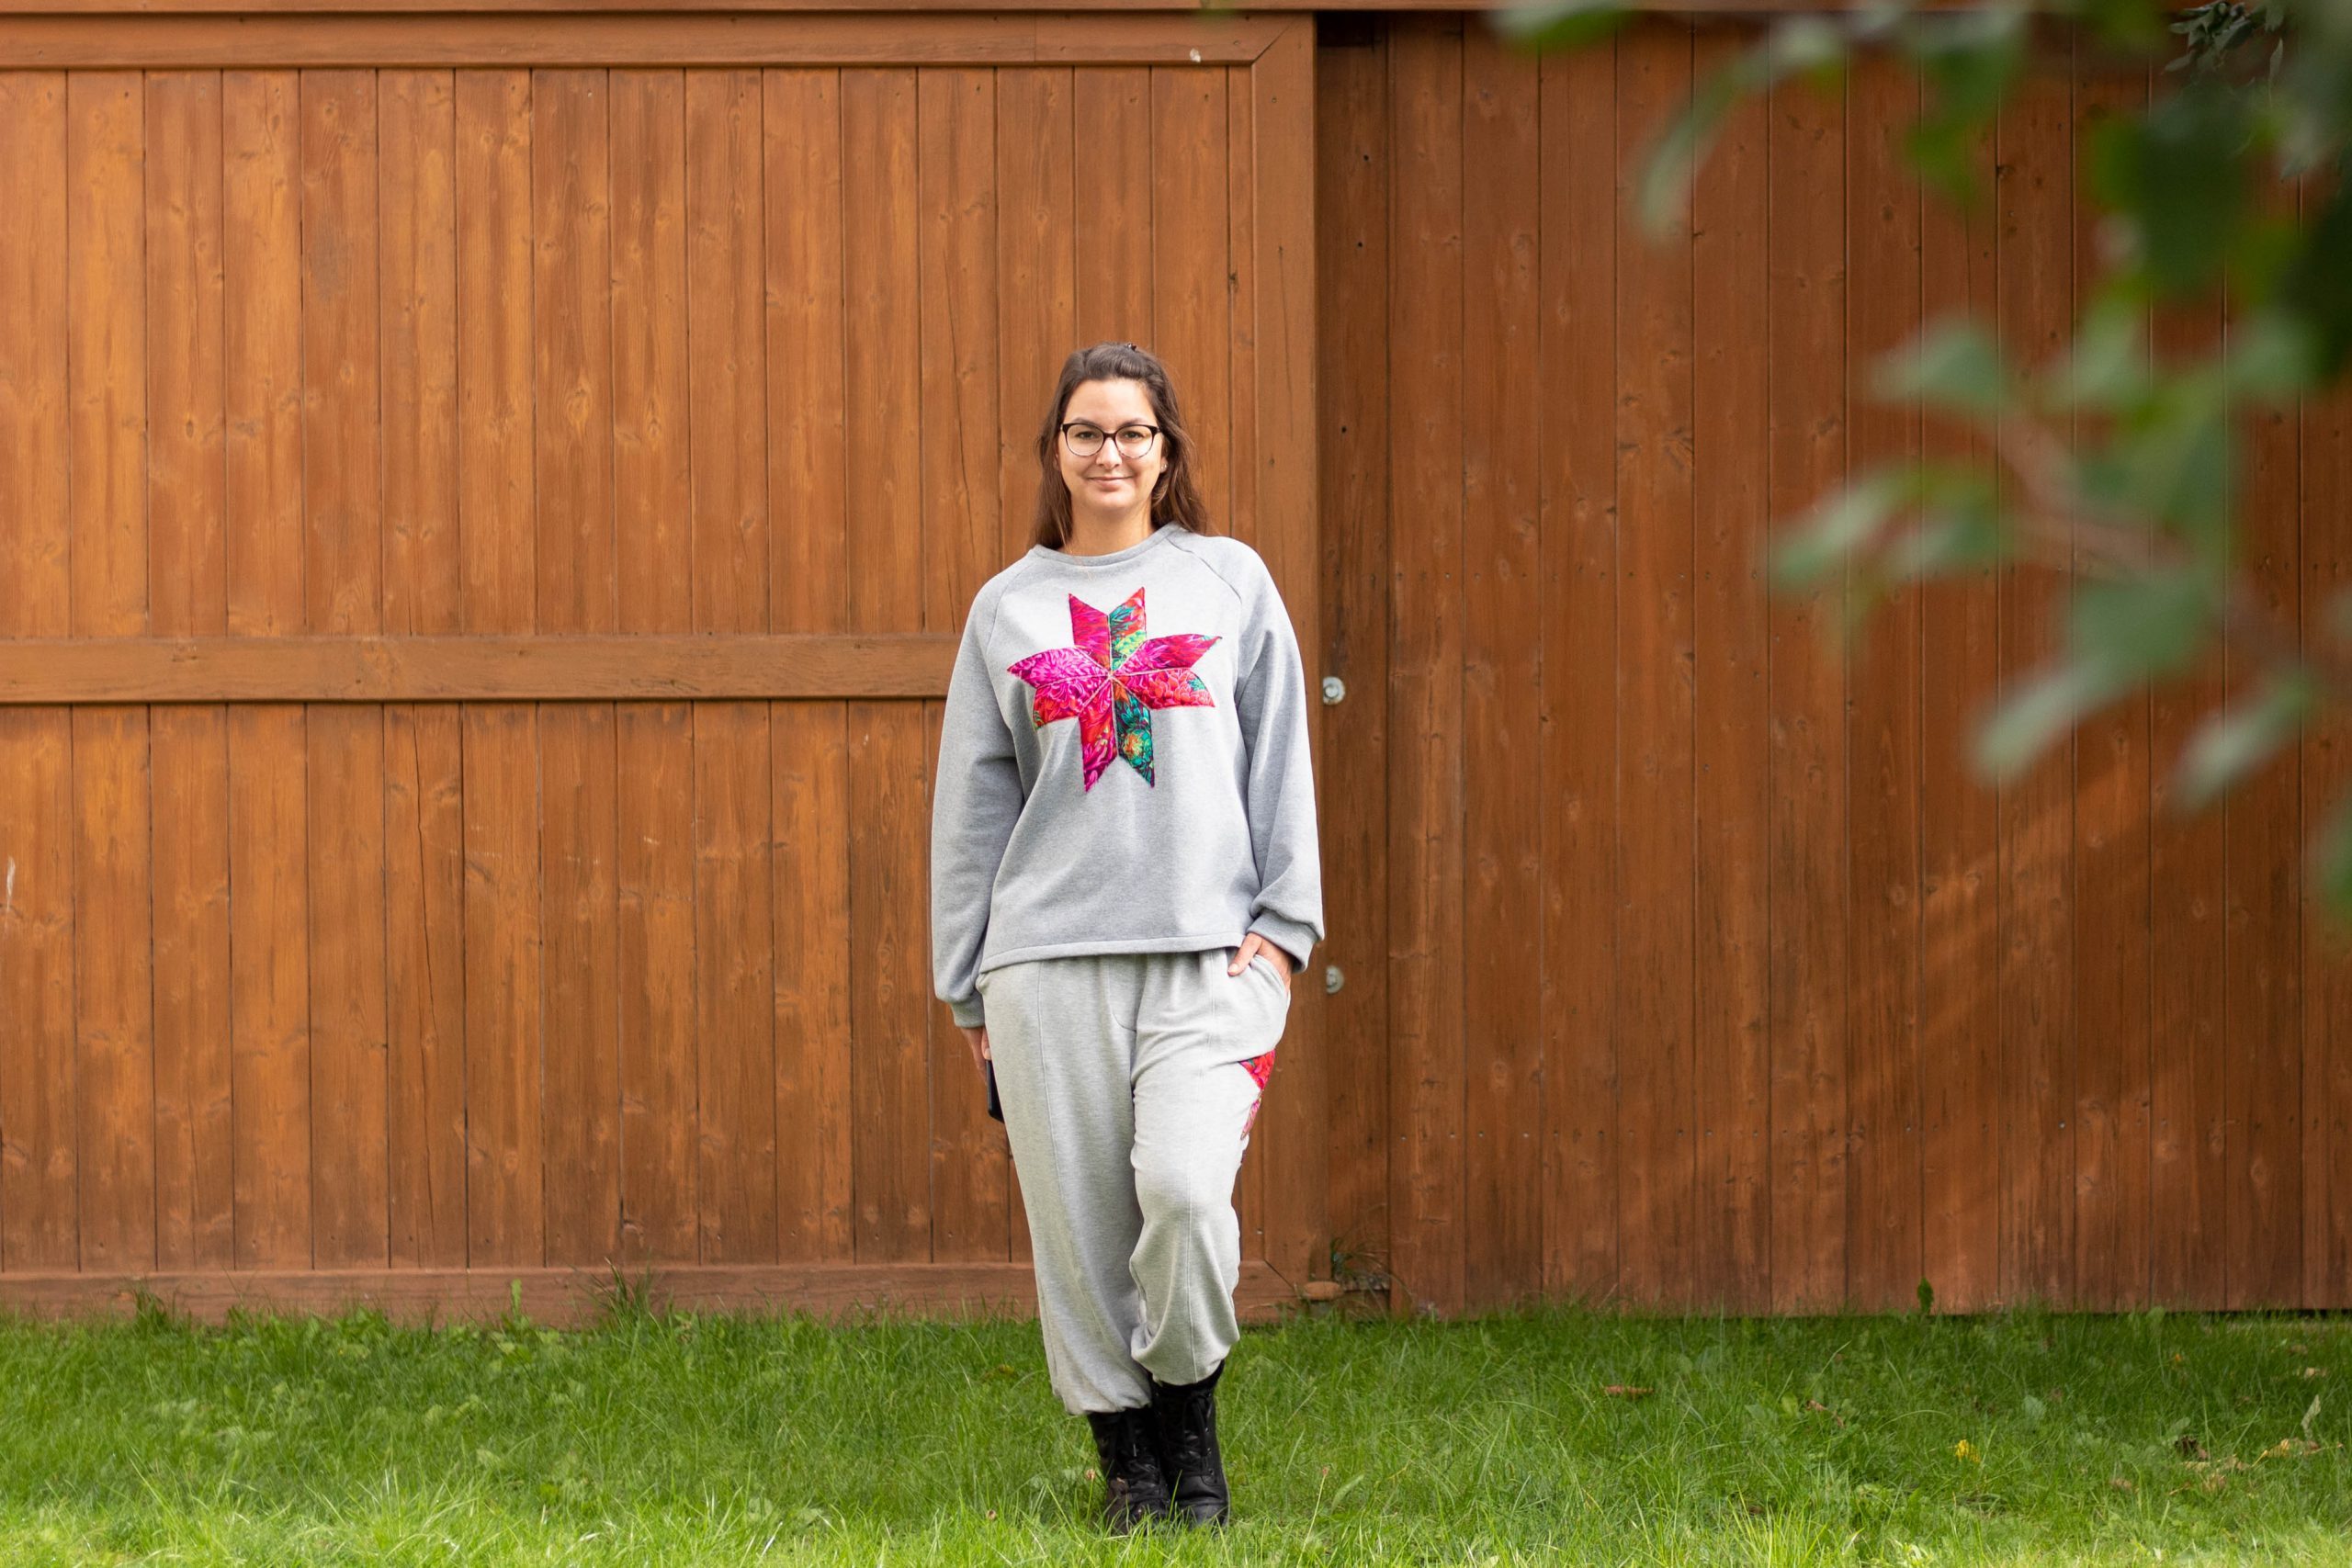

I hope you found my tutorial for this sweater helpful and you enjoy making it!


0 Responses