 BERNINA Corporate Blog -
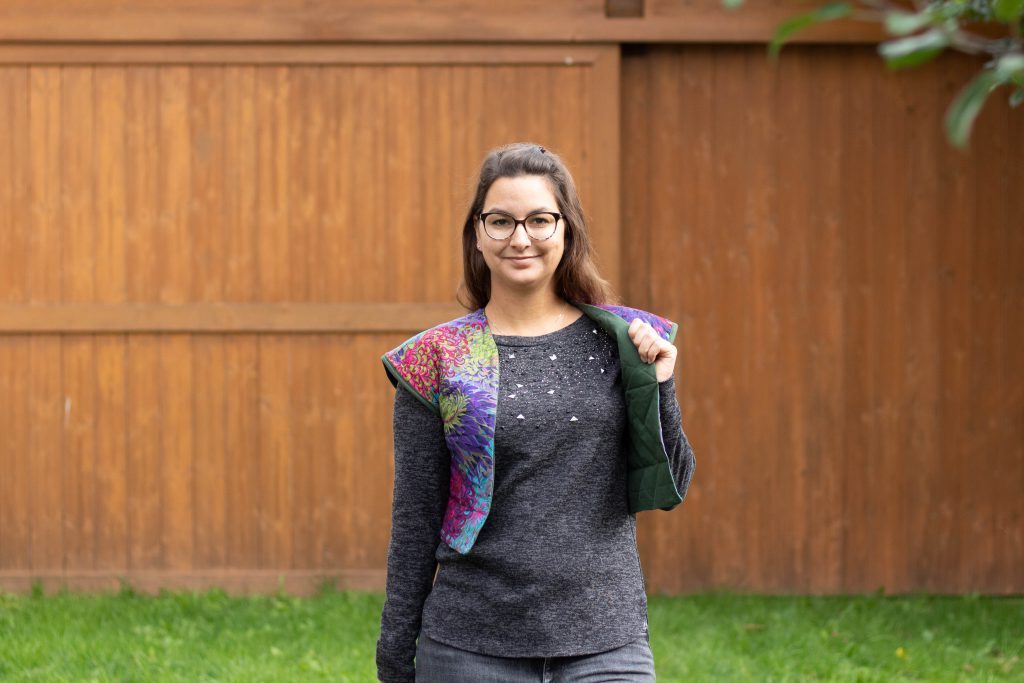
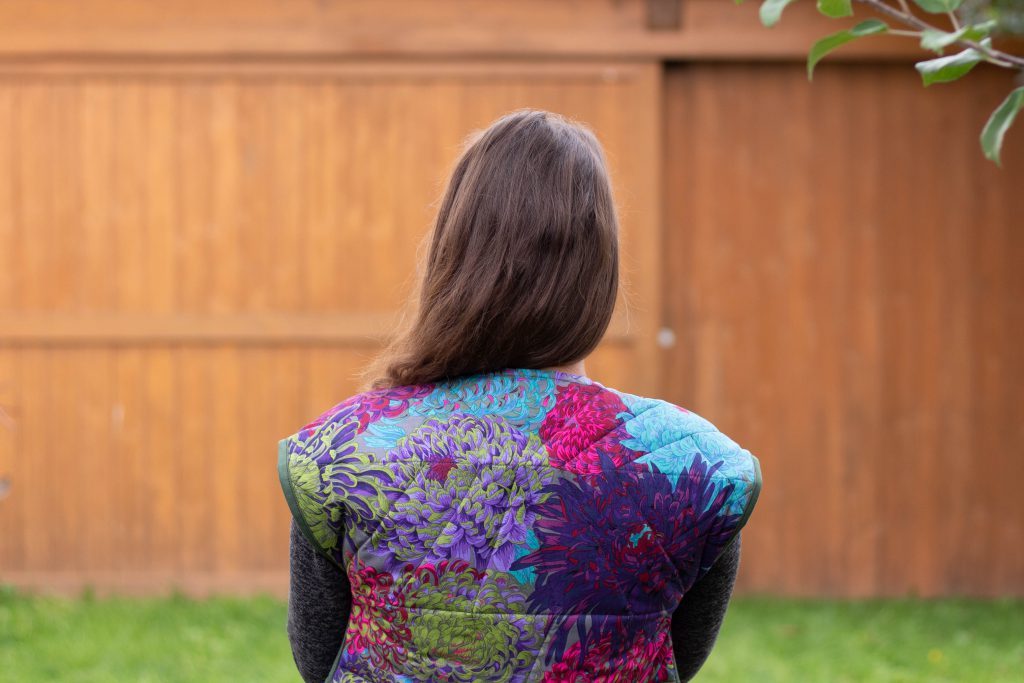
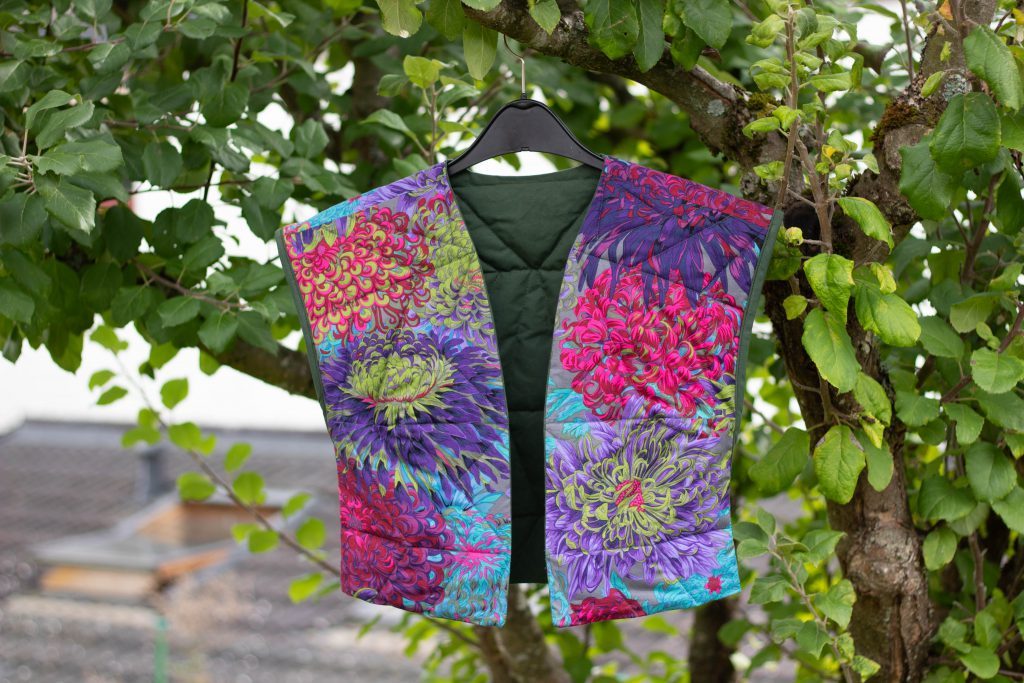
BERNINA Fashion Looks – tutorial for the Jasmine women’s gilet
The Fashion Looks collection is the creation of Swiss designer Irène Münger and is inspired by the fabrics of English textile designer Kaffe Fassett. It’s the first sew-it-yourself fashion collection. The collection includes this casual women’s gilet, which I have sewn for you.
These stylish patterns from the Fashion Looks collection are all available online in the inspiration shop. You can find more information about the collection and the different looks at www.bernina.com/looks.
To help you sew this gilet as easily as possible, I’ve provided you with a detailed tutorial. I’ll be using plenty of pictures to show you how to sew your very own gilet.
If you’d like more tips and tricks for using your BERNINA sewing machine, ideas about sewing in general and info about new blog posts, then follow me on Instagram and Facebook. I also run a giveaway for each new edition of the Inspiration magazine, where one lucky follower can win a free copy!
You’ll need the following material for the gilet:
- approx. 55 cm oilskin fabric (155 cm wide)
- approx. 55 cm Kaffe fabric in Antique print (110 cm wide)
- approx. 55 cm Vlieseline 266 wool mix wadding, 100g/m2 (you can find care and application instructions here)
- approx. 1.8 m bias tape, ready made or made yourself using oilskin (approx. 3.6 cm wide)
Optional:
- Walking foot #50
- Edgestitch foot #10
Preparation work/fabric cutting
The pattern is part of the BERNINA Fashion Looks collection: Link to the Jasmine gilet pattern.
You can find all of the patterns here.
When printing the pattern, make sure that you do not make any size adjustments. You can check this with the control square on the pattern.
The pattern includes all seam and hem allowances.
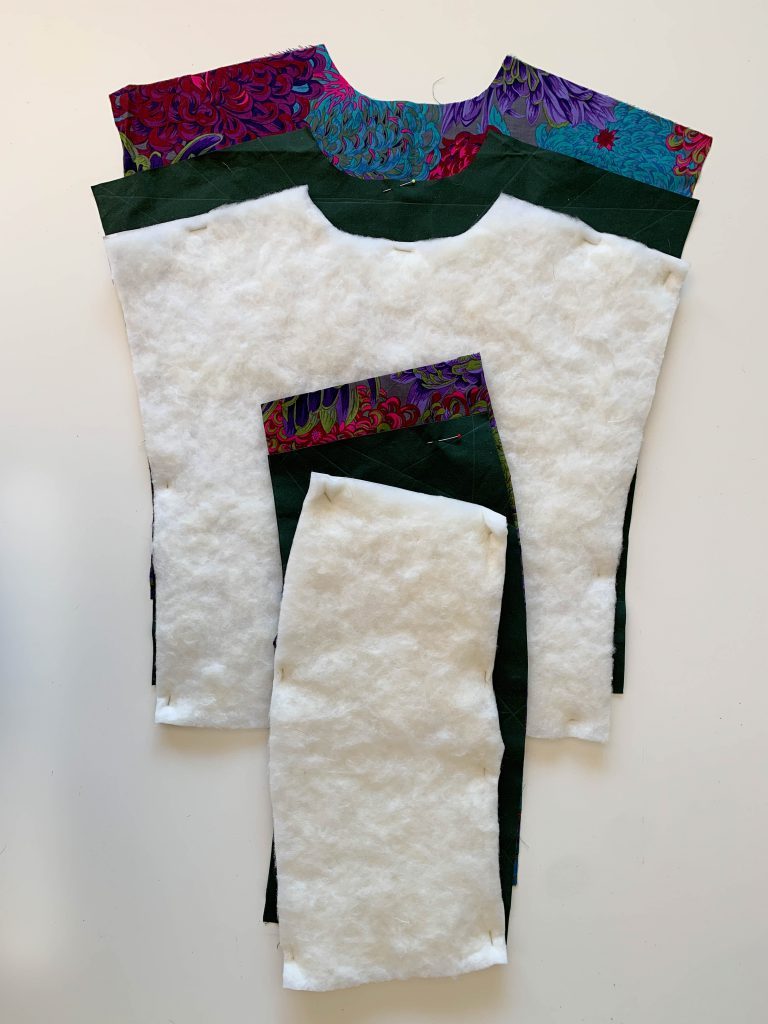
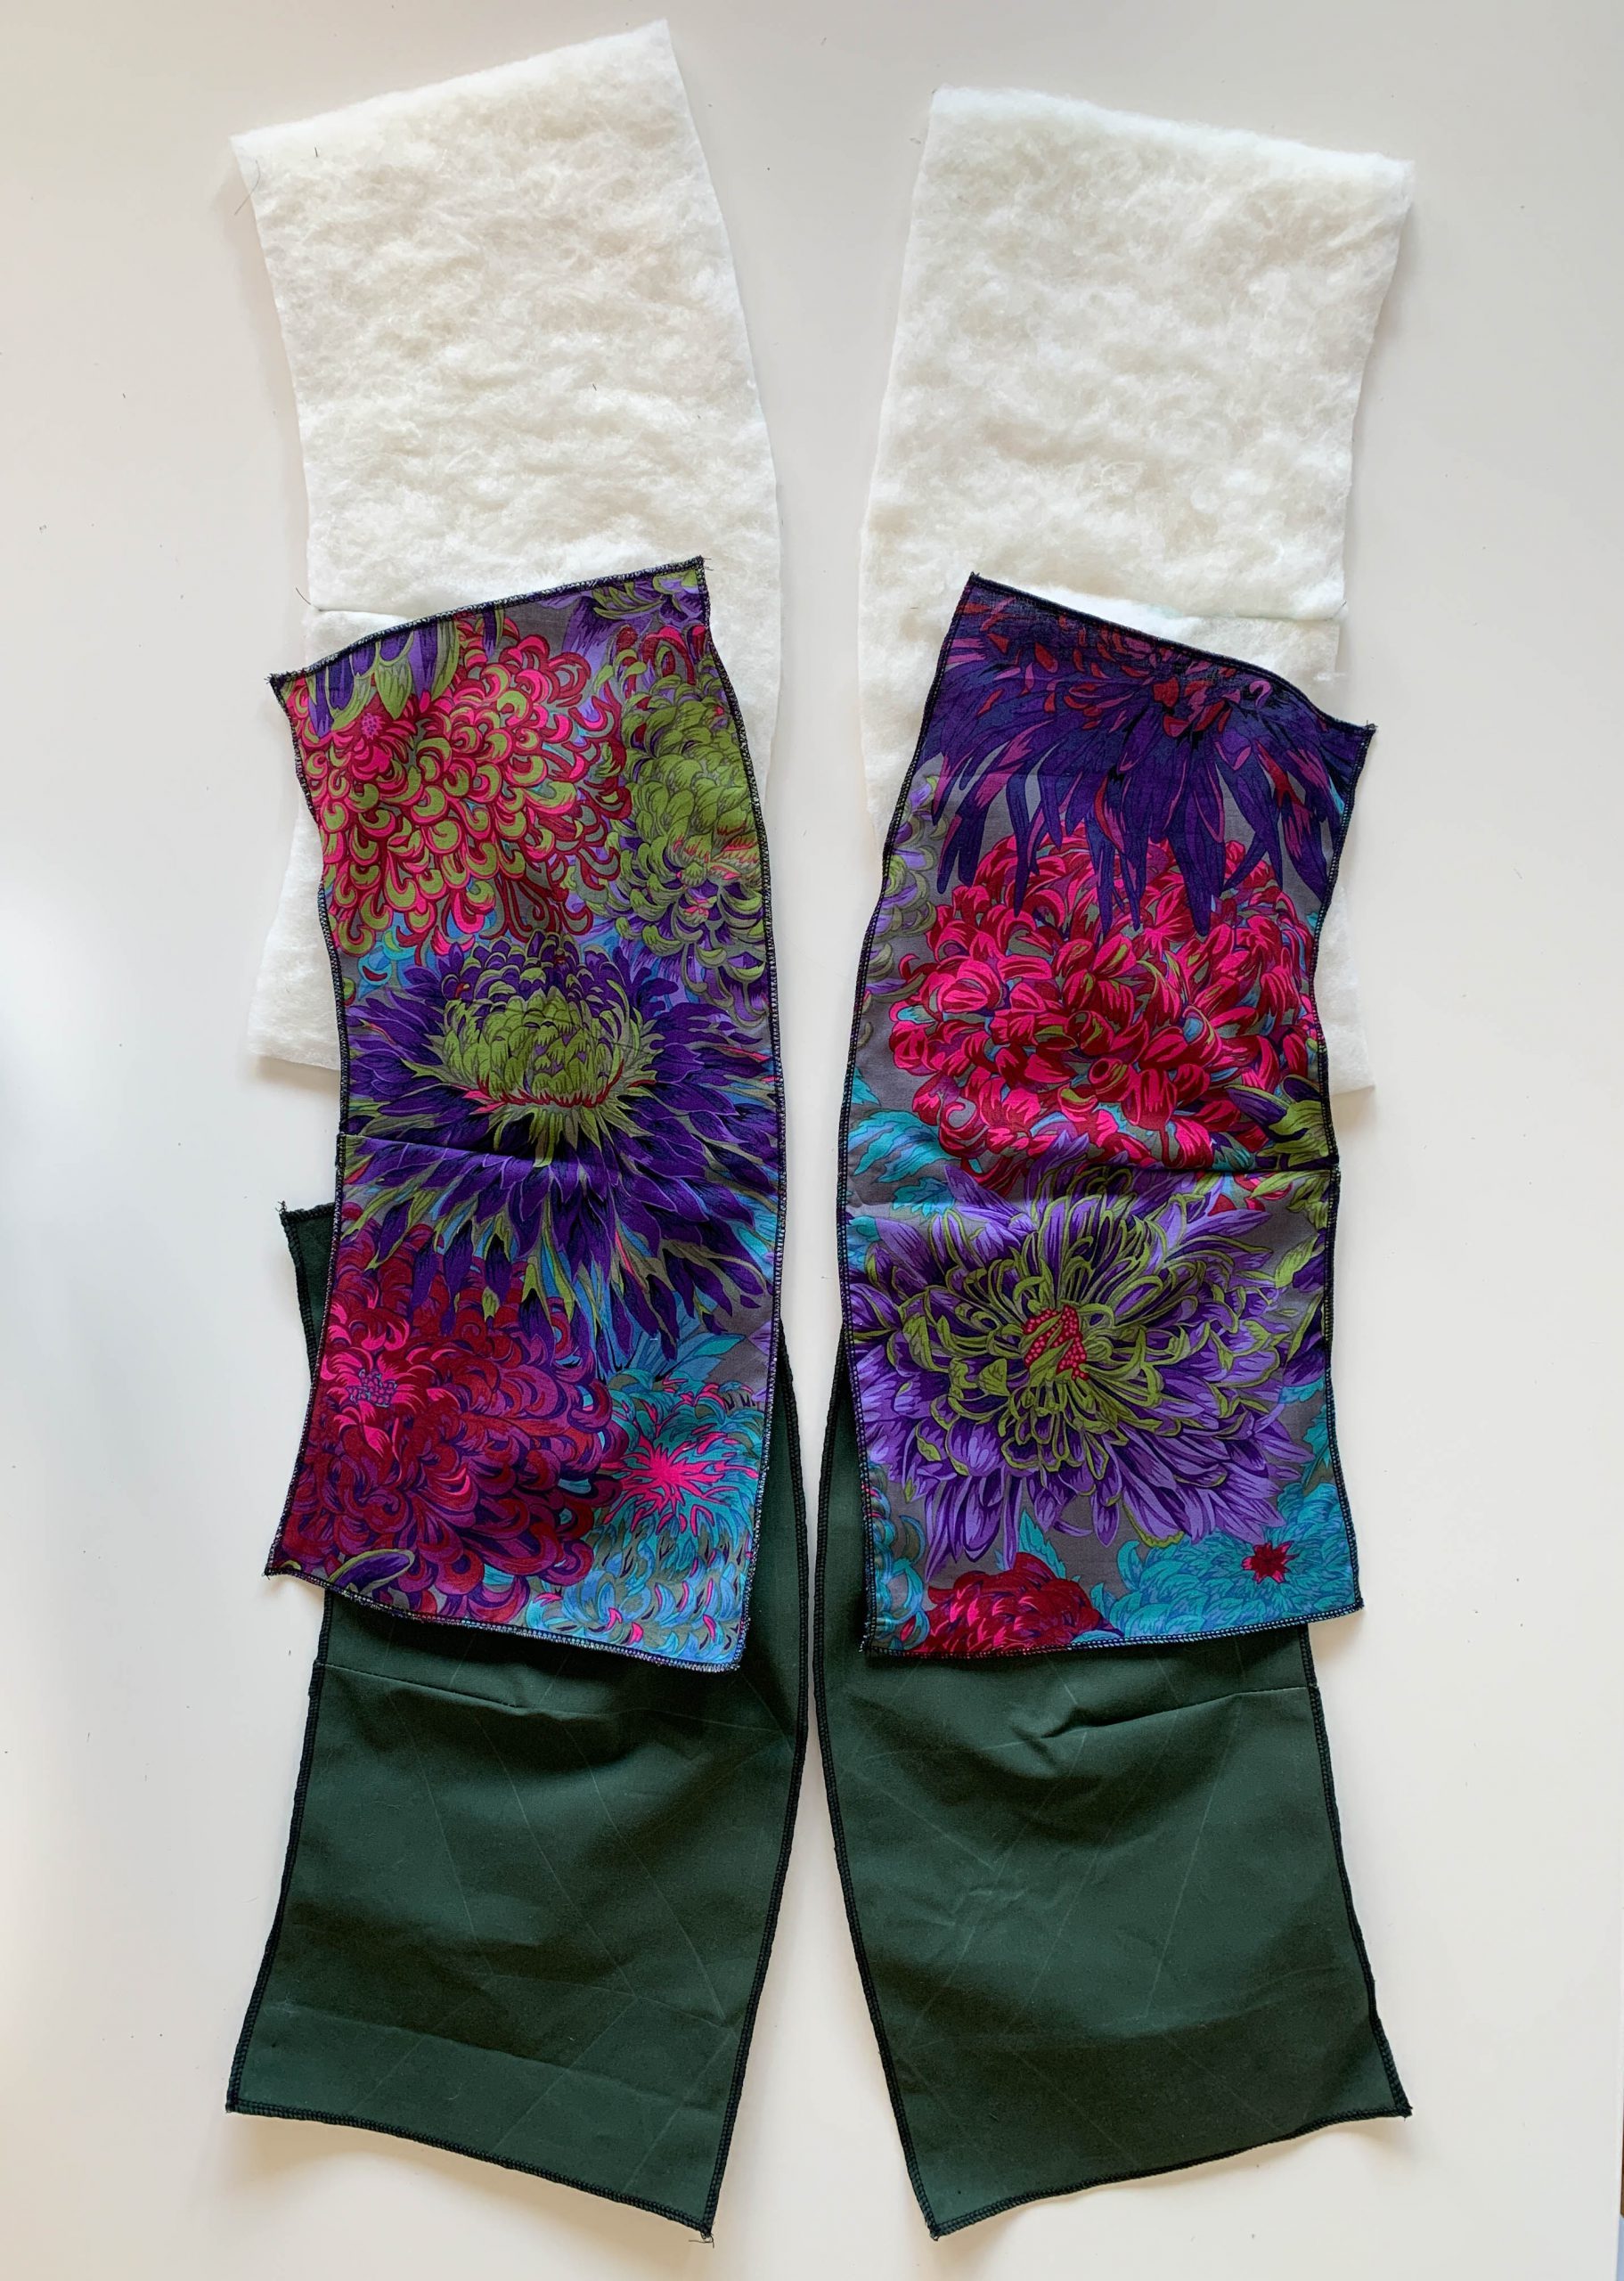
You will need to cut out the following pattern pieces:
- 2x opposite front pieces (piece 1) – oilskin
- 2x opposite front pieces (piece 1) – Kaffe fabric
- 2x opposite front pieces (piece 1) (without seam allowances) – wool mix wadding
- 1x back piece to fabric fold (piece 2) – oilskin
- 1x back piece to fabric fold (piece 2) – Kaffe fabric
- 1x back piece to fabric fold (piece 2) (without seam allowance) – wool mix wadding
- 2x lengths of oilskin bias tape (3.6 cm wide, mine were each approx. 85 cm long)
TIP: I wait until I’ve sewn the pieces together before cutting the bias tape to size. This means I can more accurately gauge how much bias tape I need.
After cutting, I used a tracing wheel to transfer all lines accurately onto the right side of the lining material (oilskin in this case).
Sewing the gilet – let’s get started!
Making the front pieces
First, you need to make the darts in each of the front pieces.
To make the darts, transfer the lines for the darts to the wrong side of your fabric and fold the darts down the center, right sides together.
Now sew a straight seam along the line you’ve drawn, from the outside to the center of the front piece.
TIP: The darts work perfectly if, instead of closing the end of the seam with the machine, you pull both threads out towards the center of the front piece and knot them together by hand.
I then overlocked all the pieces (apart from the wadding) so that the woven fabric wouldn’t start to unravel.
Joining the front and back pieces
In the next step, for both the lining and outer fabric, you lay the front pieces on top of the back pieces, right sides together, so that you can sew the shoulder seams.
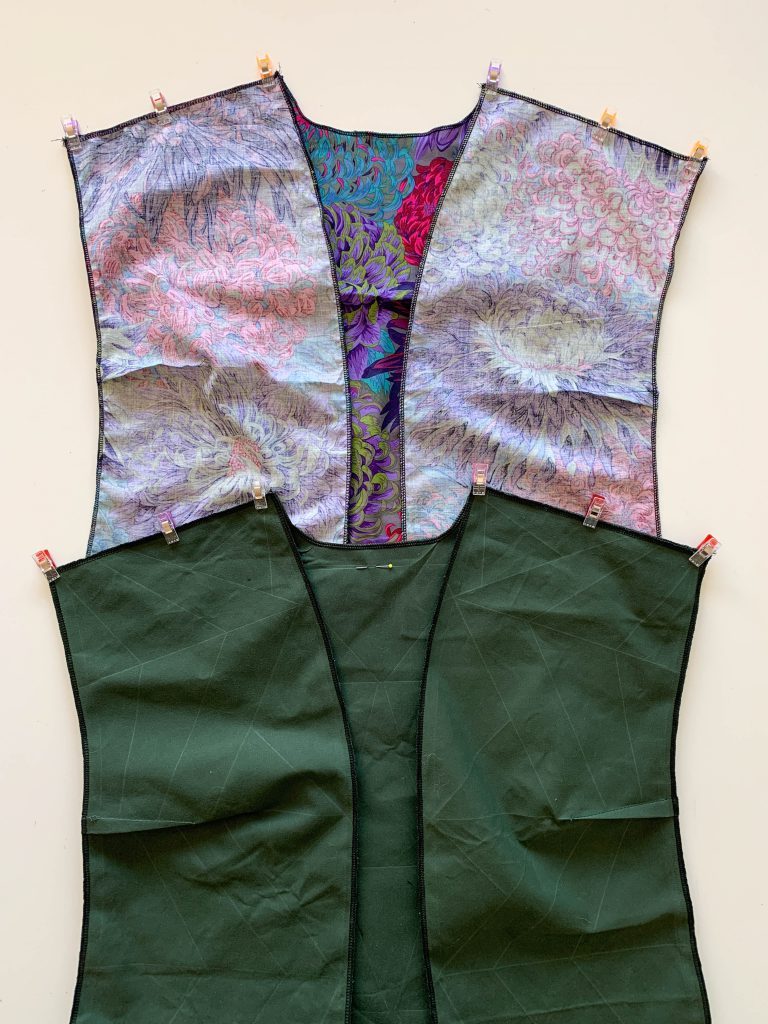
Joining the lining and outer fabrics
You can now sew together the lining and outer fabric, right sides together.
The clips show you which parts to sew: On the front pieces, sew from the edge, right around the neckline up to and including the edge on the other side. On the back piece, only sew the edge.
Then turn the whole thing inside out. At this point you can cut small notches to improve the curves around the neckline.
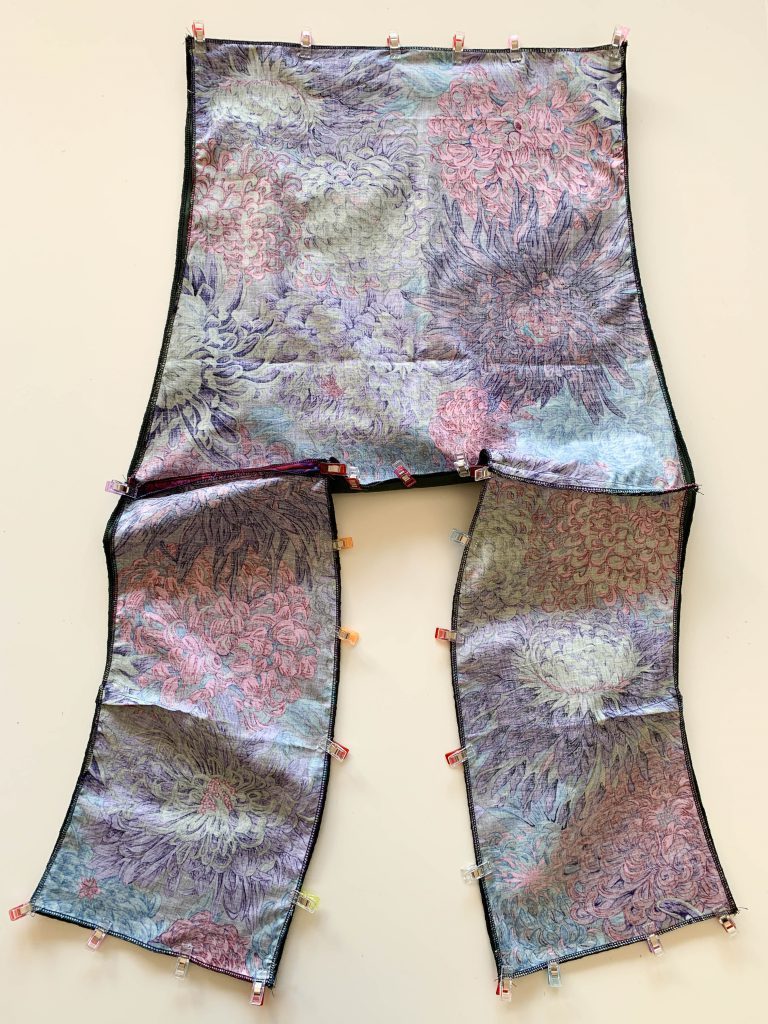
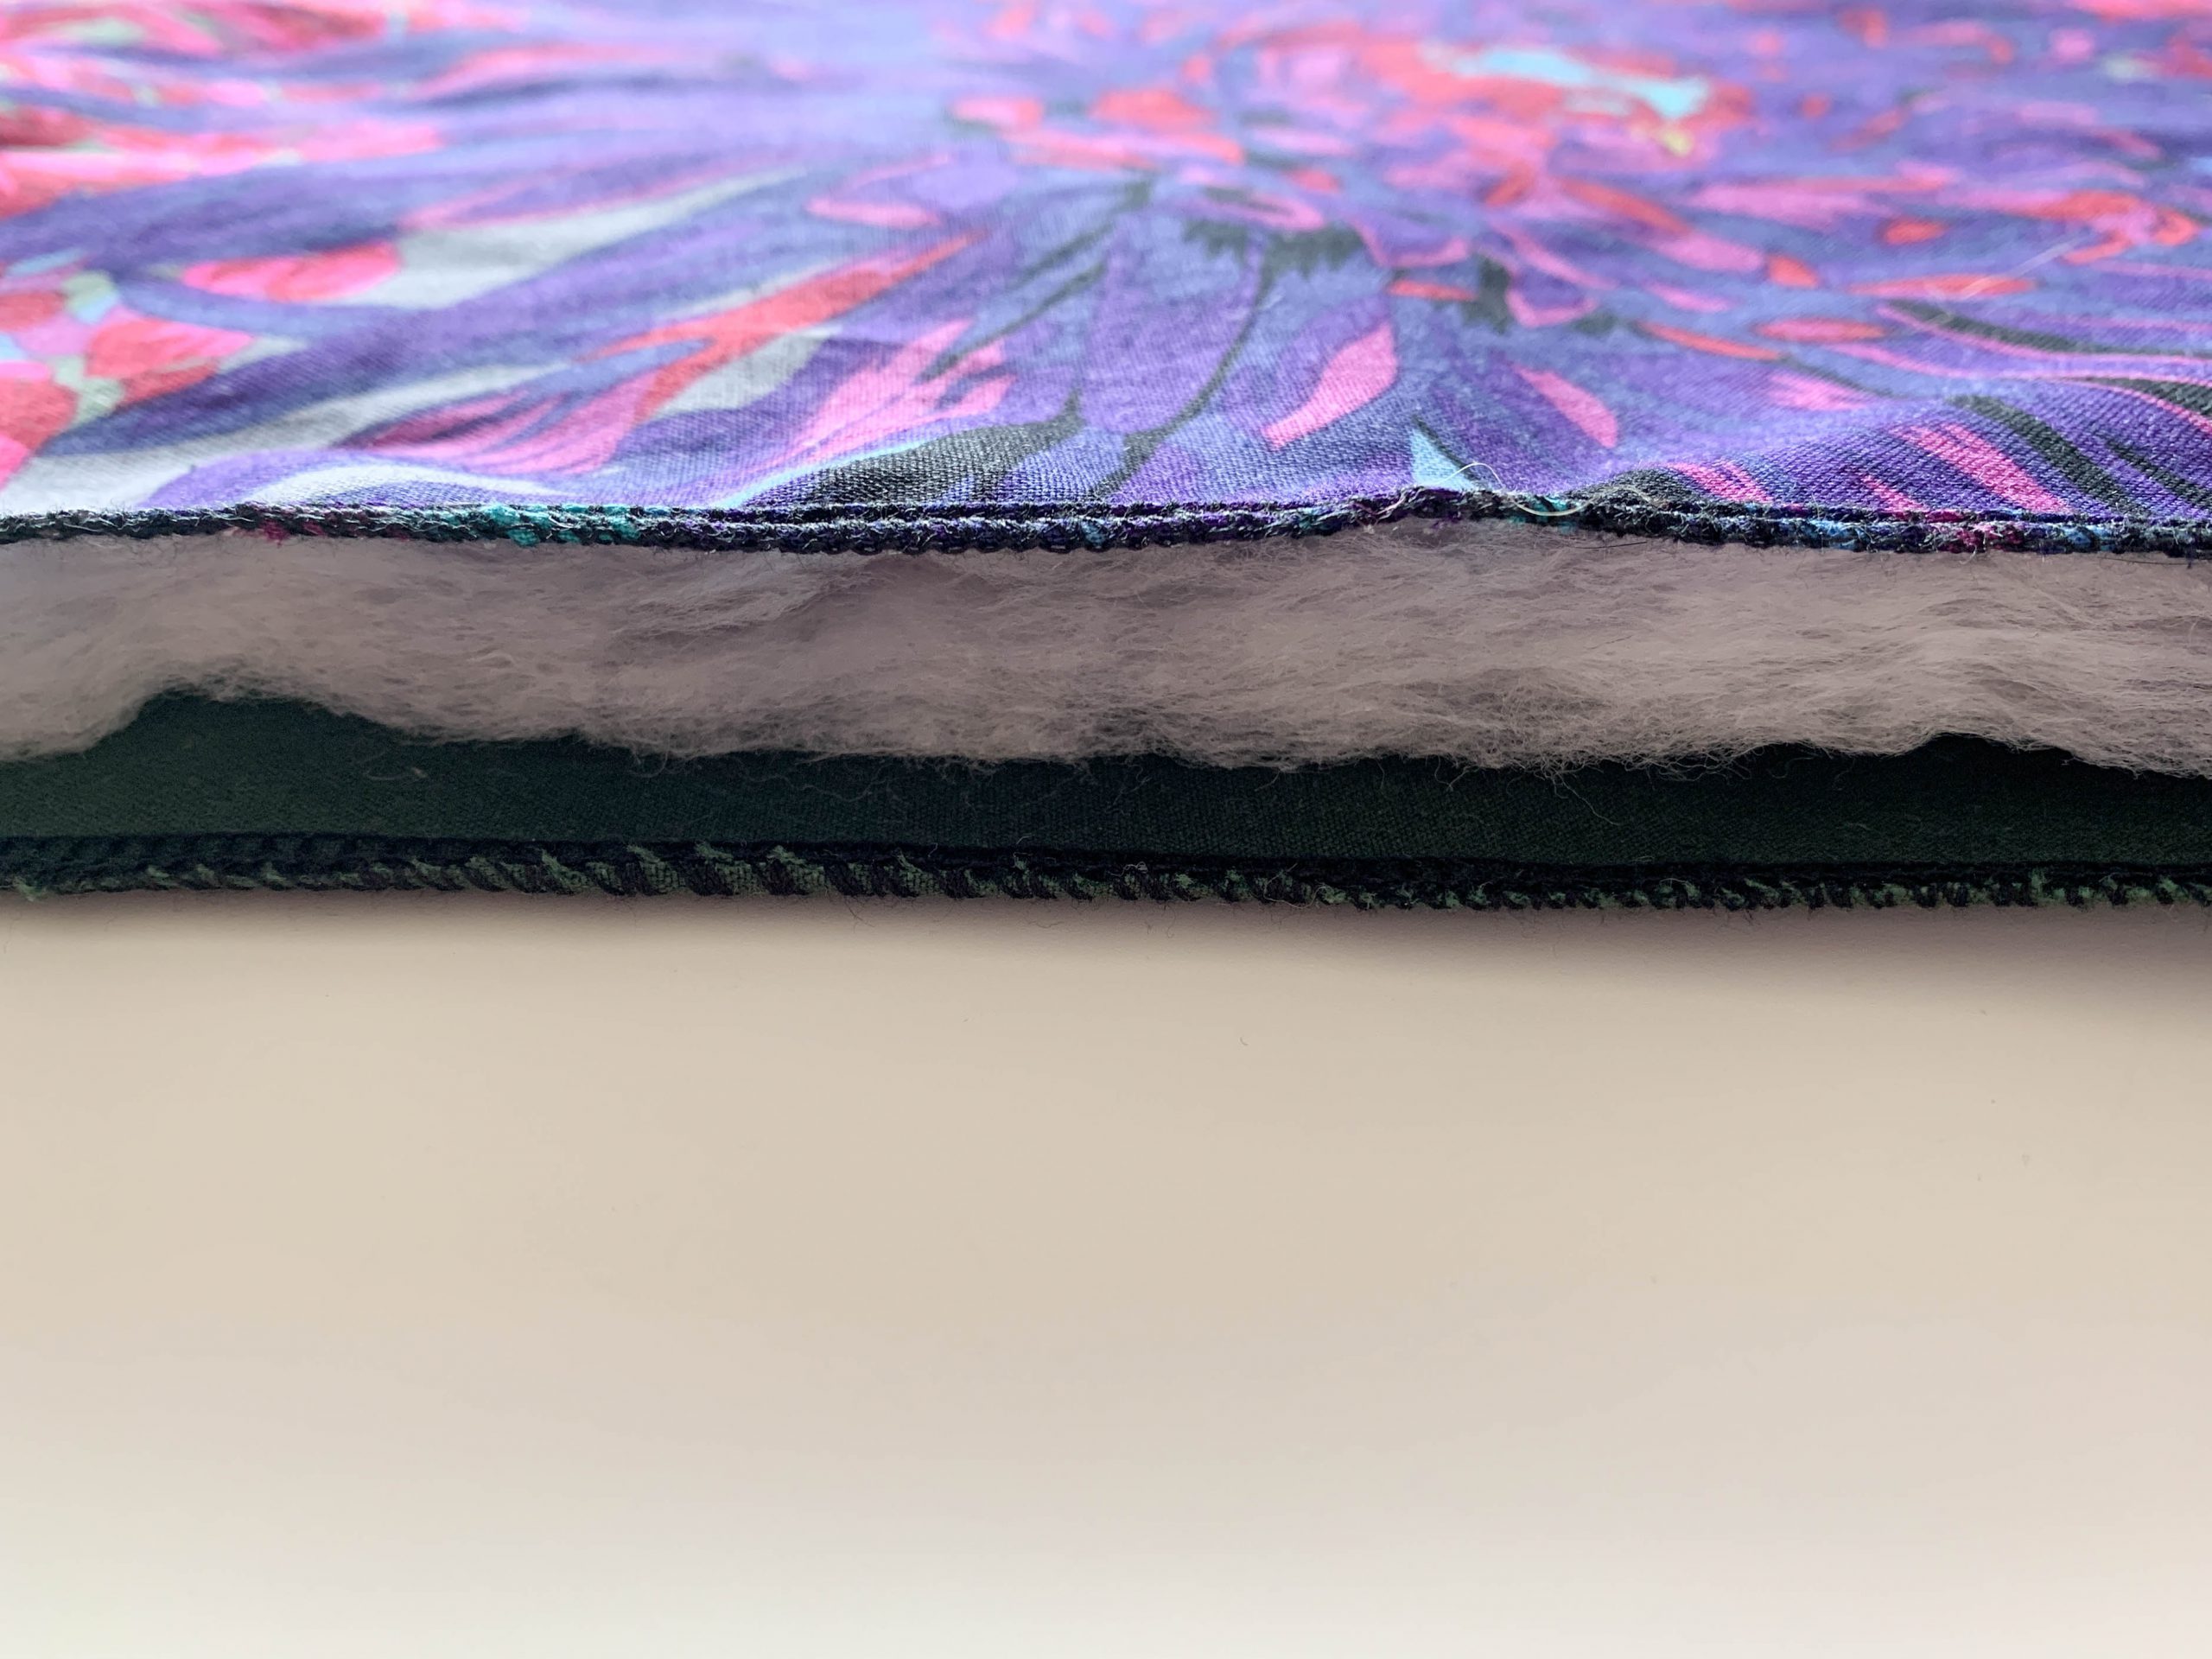
Now insert the wool mix wadding. Make sure that everything is even and is laying nice and flat. Clip everything together firmly and make sure that nothing moves.
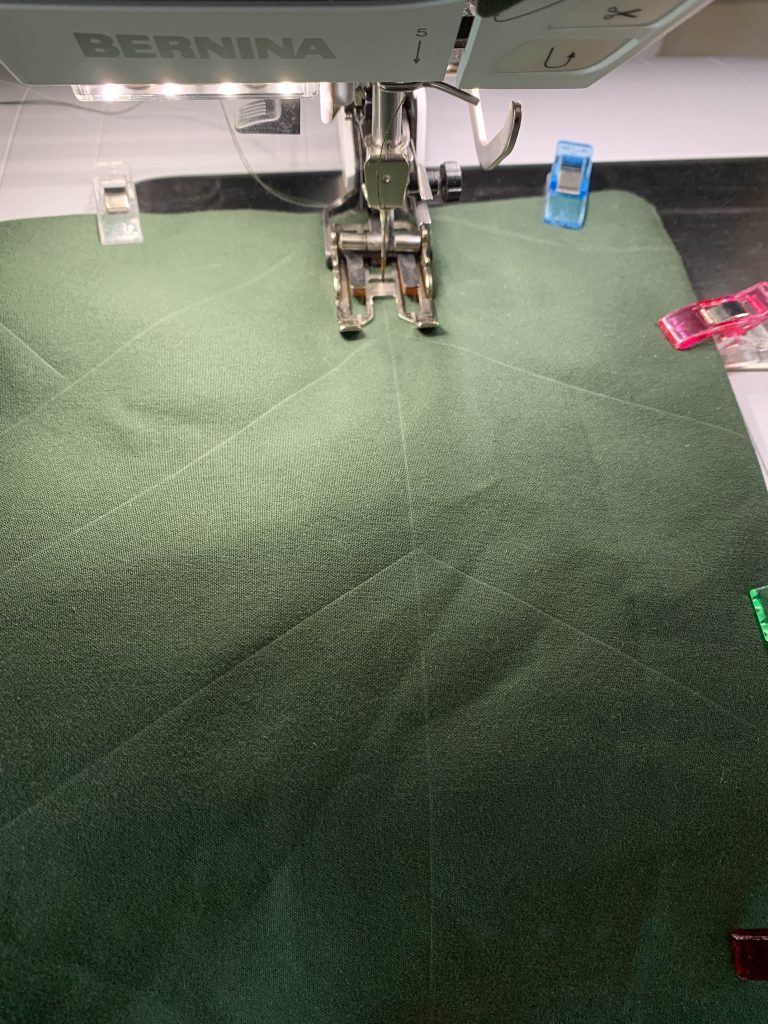
Quilting the gilet
Now, patiently and carefully, line by line, sew on the lining – I used the walking foot #50 for this. I started with the longer lines and worked my way up to the shorter lines.
TIP: When you start sewing, always hold onto the threads to make sure the start of the seam is neat. Also, make sure you cut the threads right at the end of the line to make sure that nothing gets tangled up.
And, if it takes a while, be patient – it’ll be worth it!
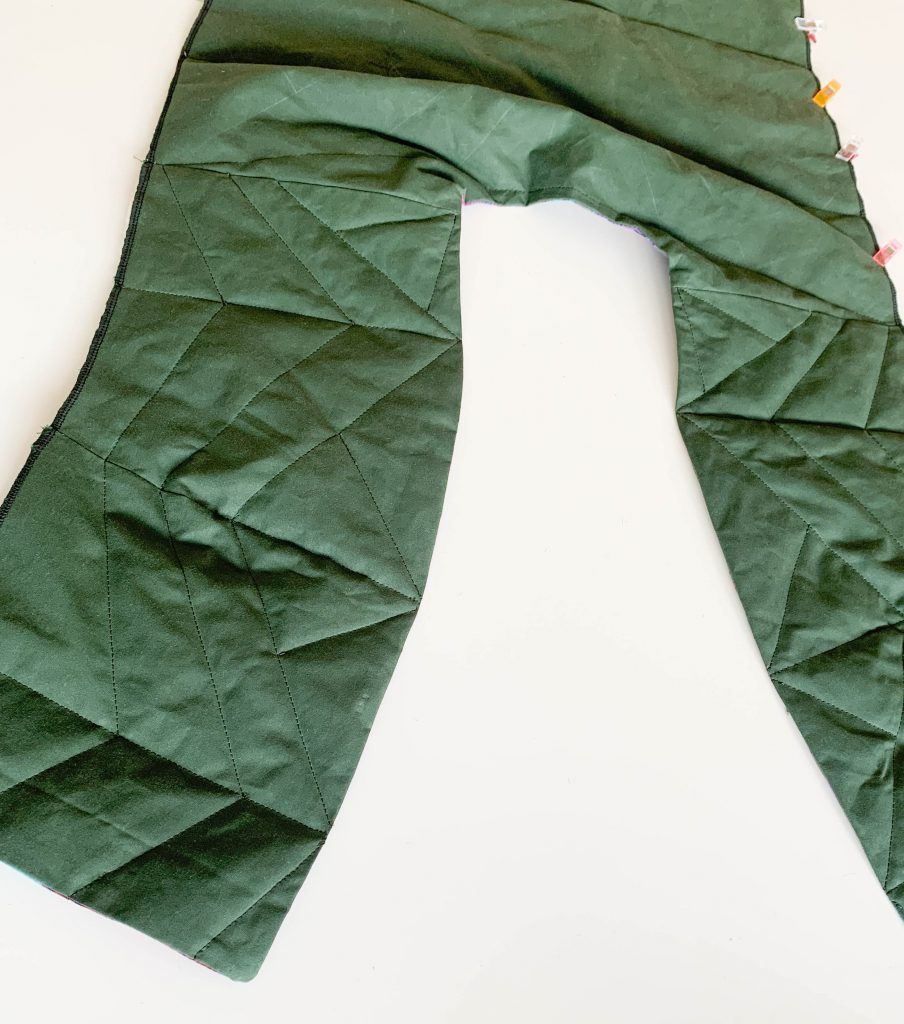
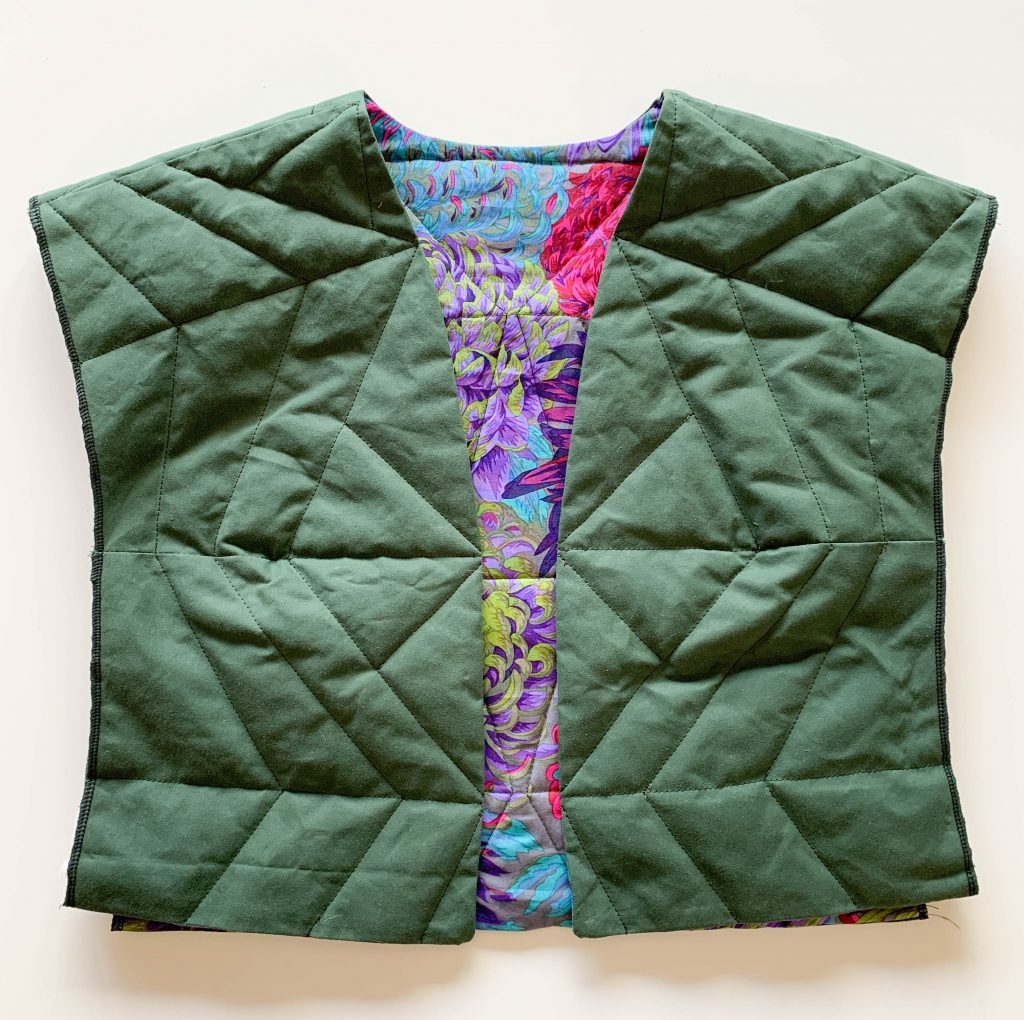
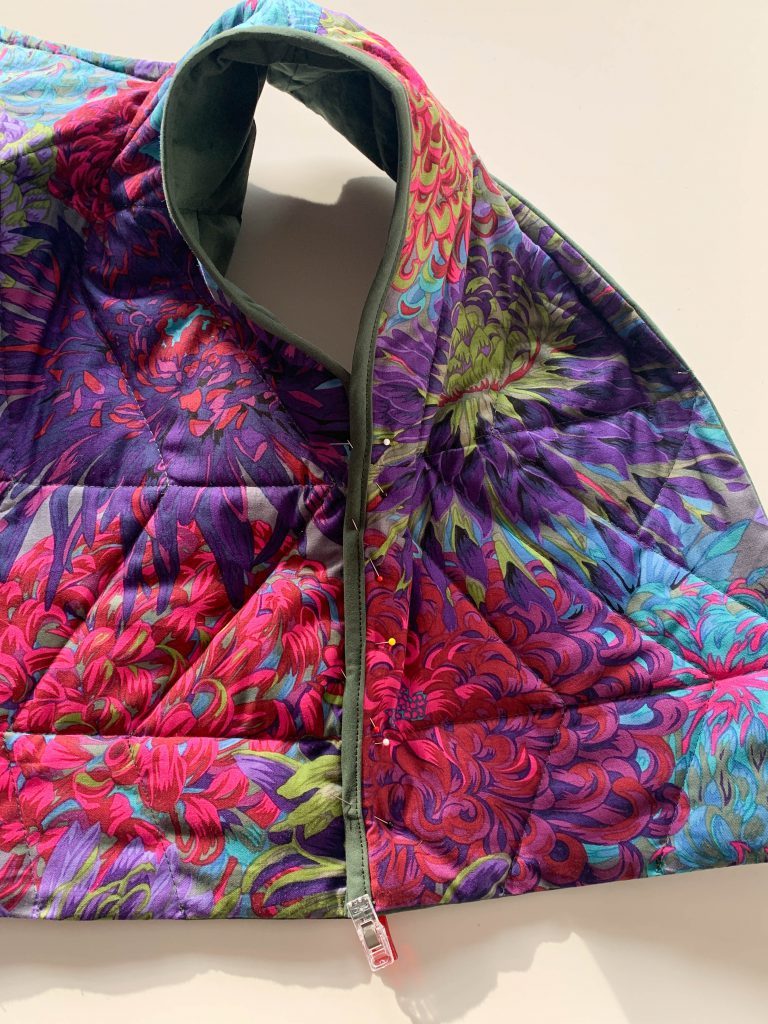
When the quilting is finished, the gilet will look like this.
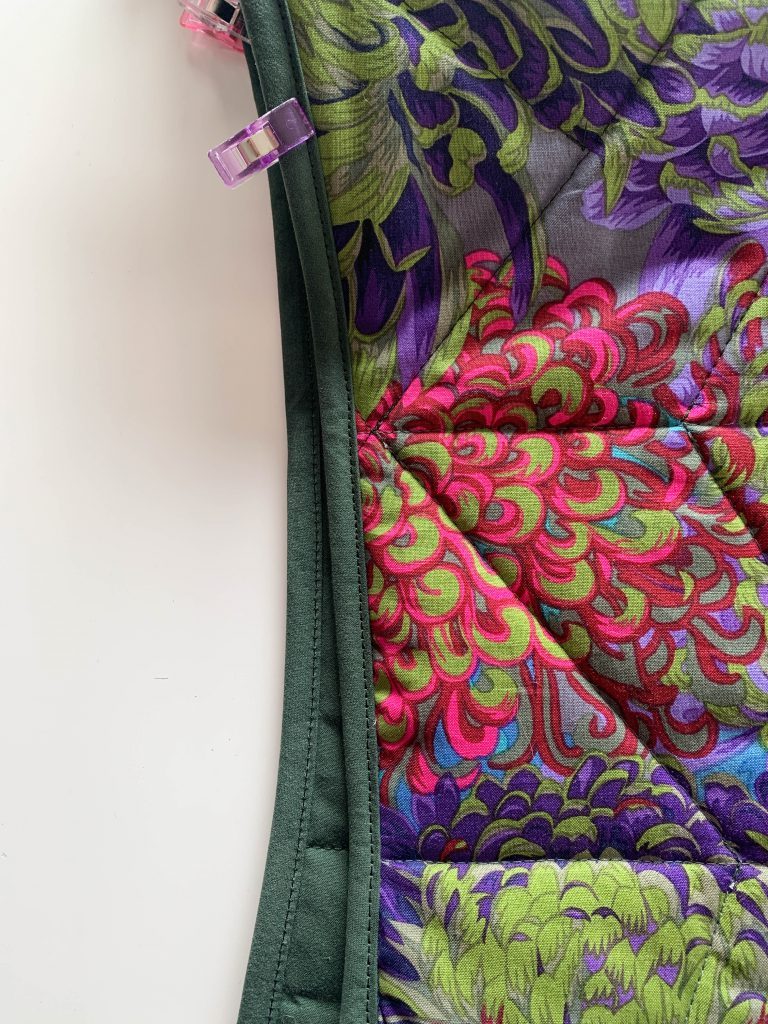
Sewing on the bias tape
You can now measure how much bias tape you need and can cut it accordingly. I cut my bias tape 4cm wide.
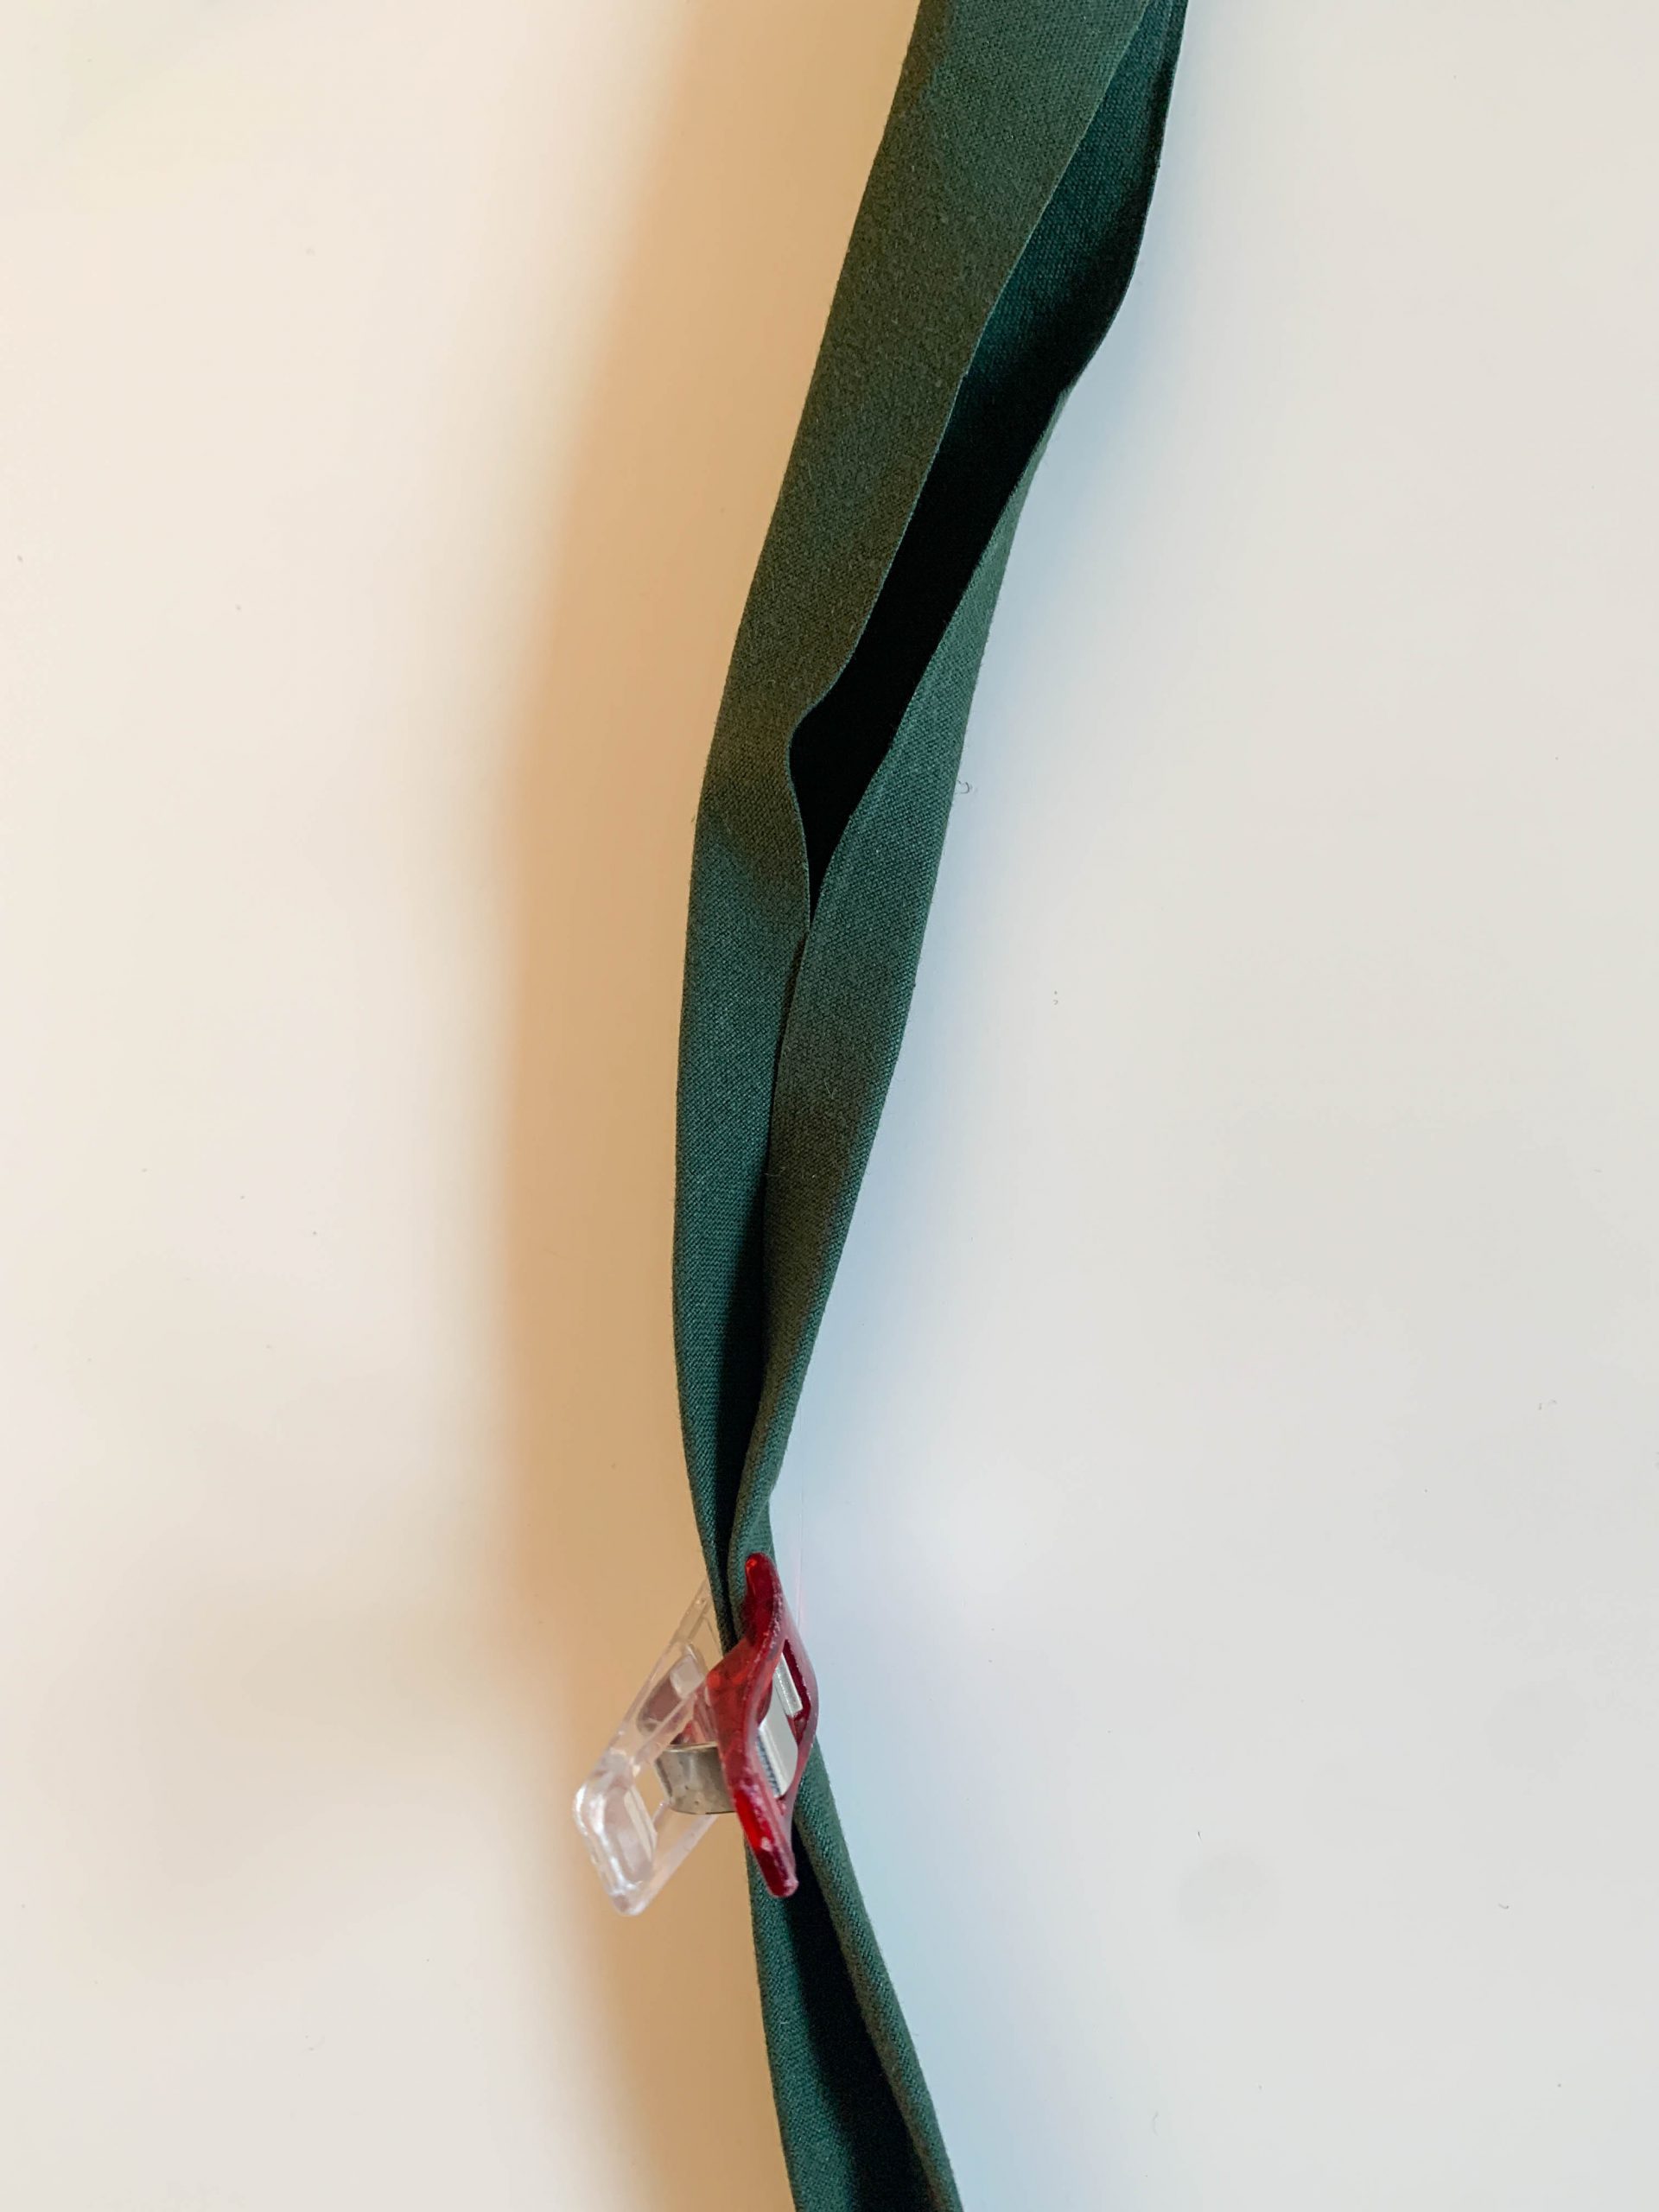
Clip the bias tape firmly all the way around so that you can sew it neatly.

For neat edging, I folded the bias tape in slightly towards the wrong side before sewing.
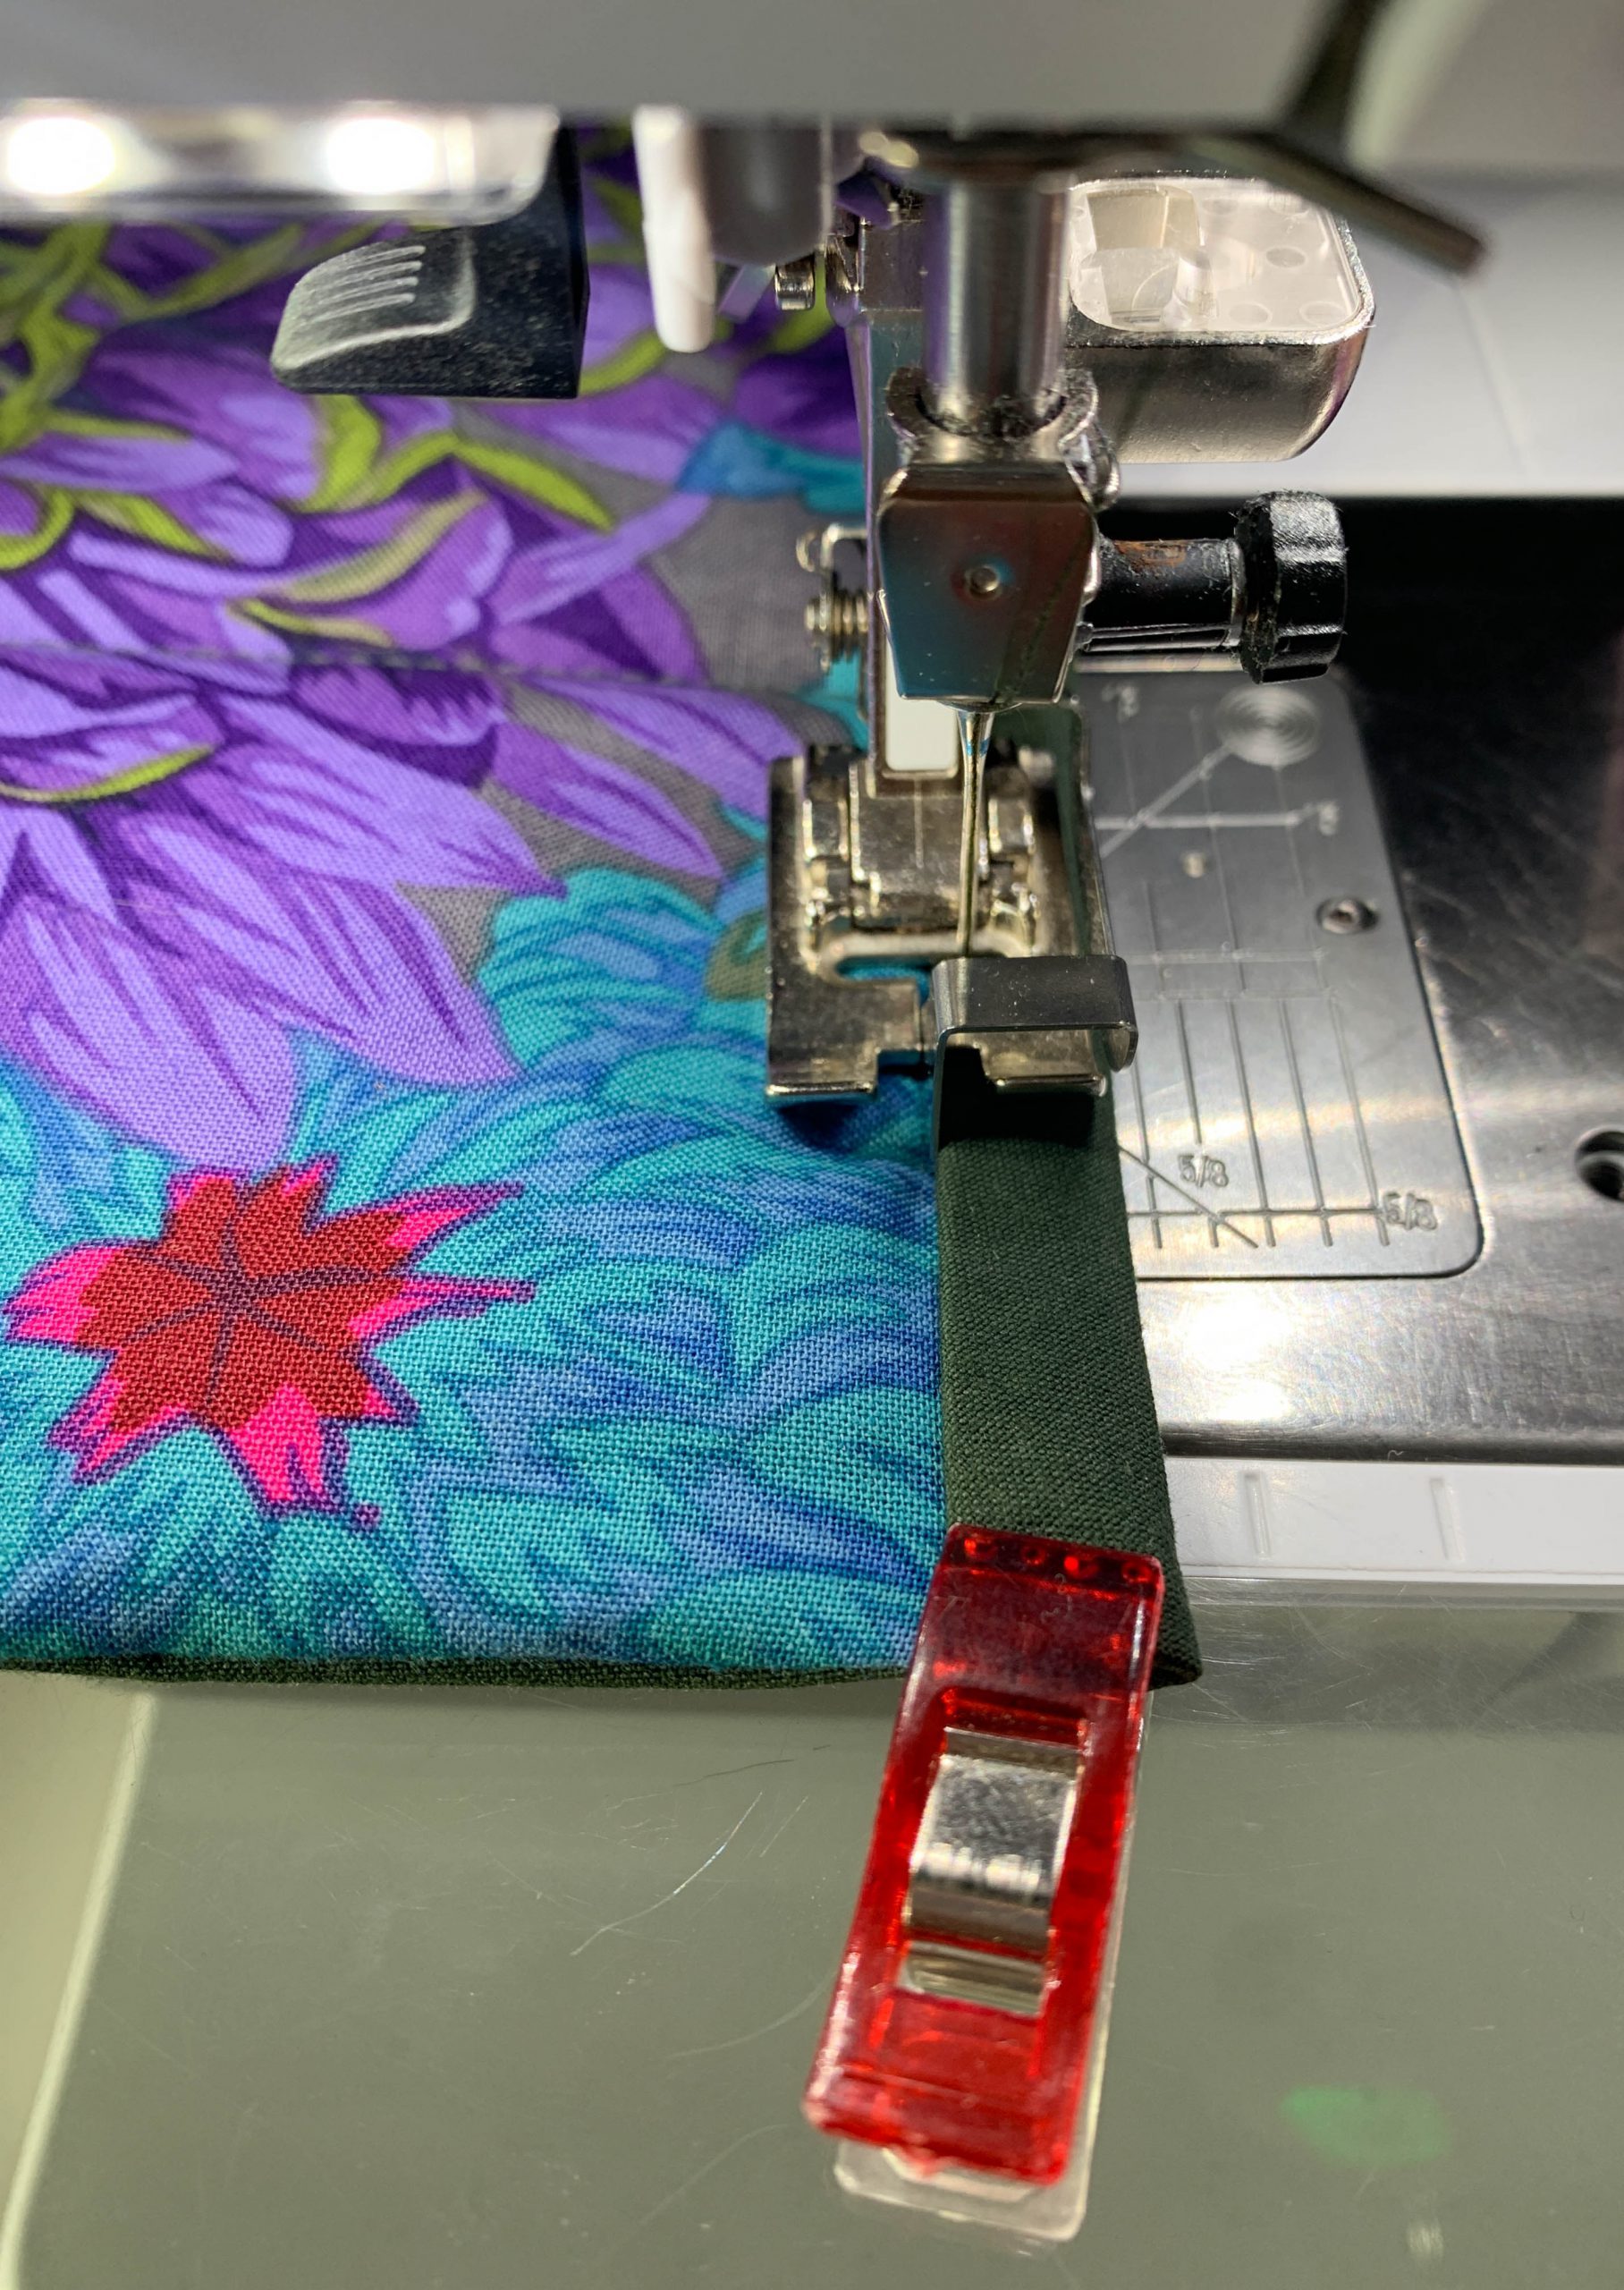
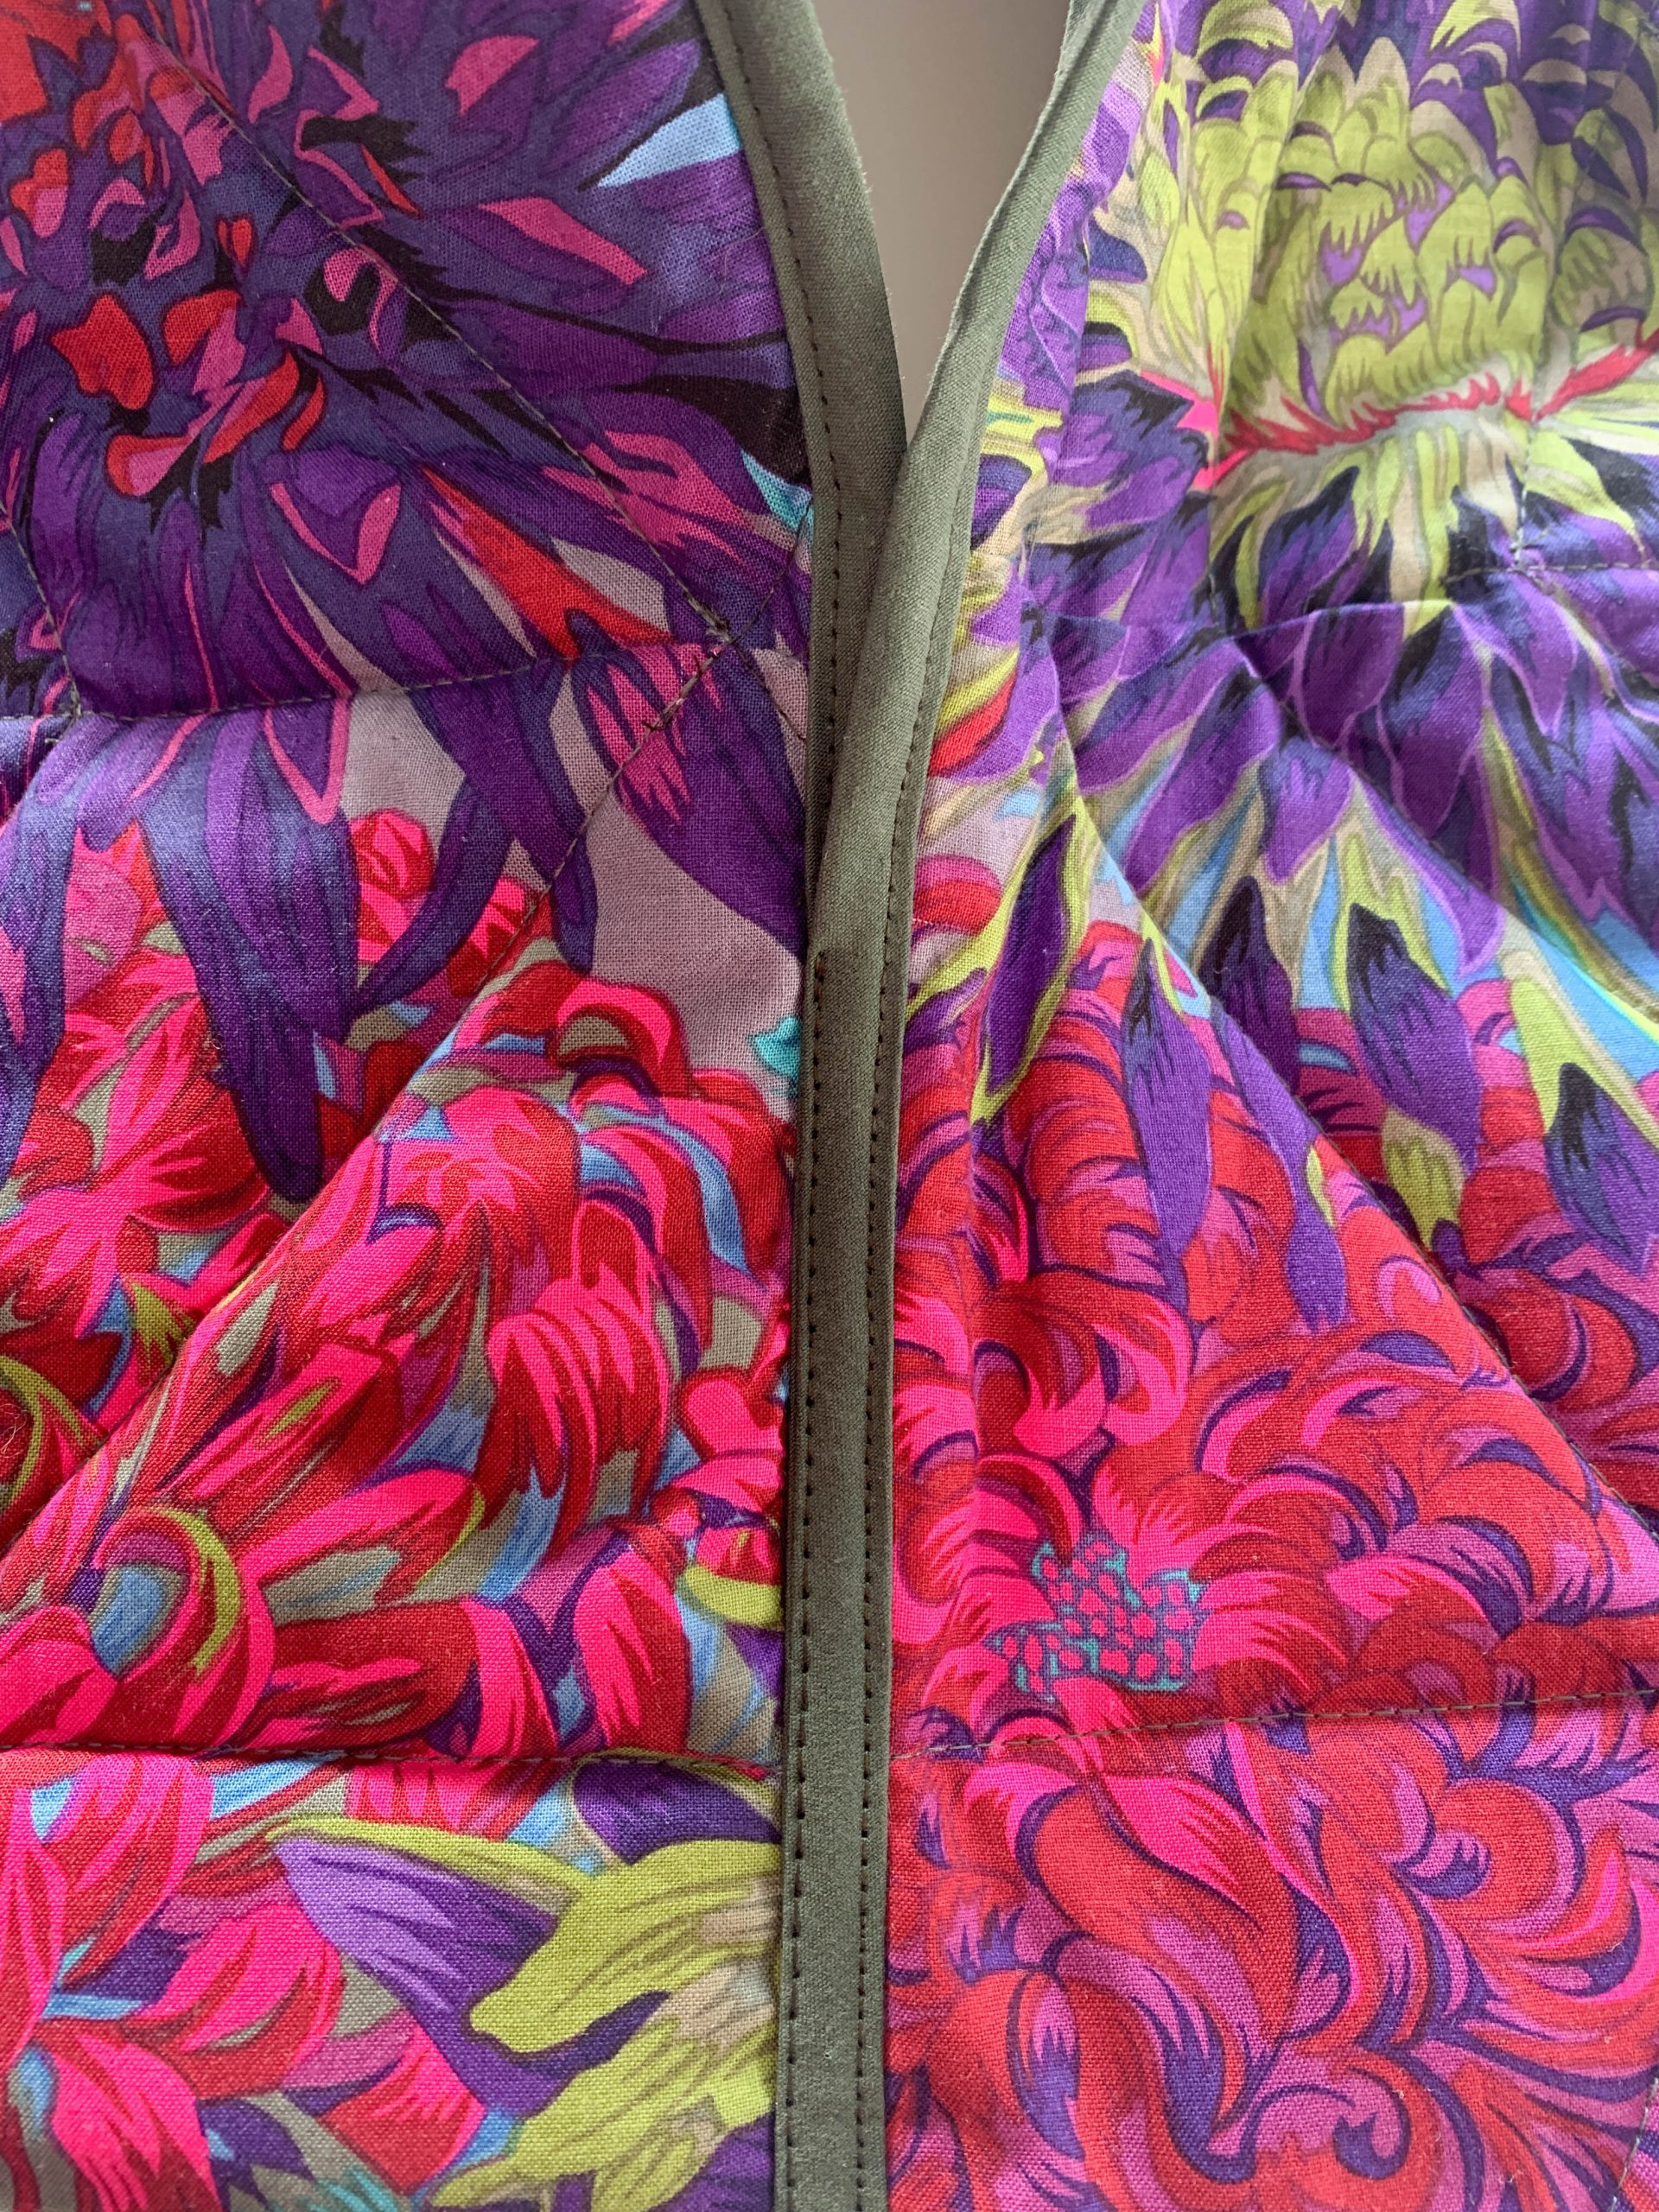
I used the edgestitch foot #10 for sewing on the bias tape.
To make the gilet reversible, lay the sides of the gilet on top of each other and topstitch them from both sides (i.e. twice), close to the edge.
Your gilet is finished!
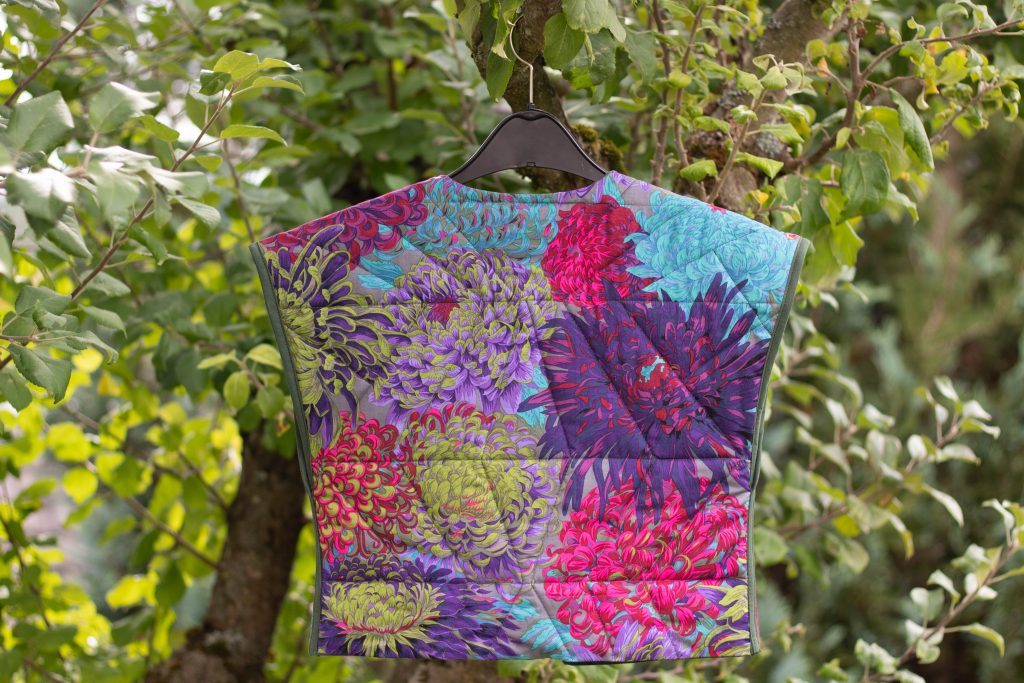

I hope you found my tutorial for this gilet helpful and you enjoy making it!


Can’t wait to start, love the pattern and your instructions and above all the material makes it special