 BERNINA Corporate Blog -
Hello friends,
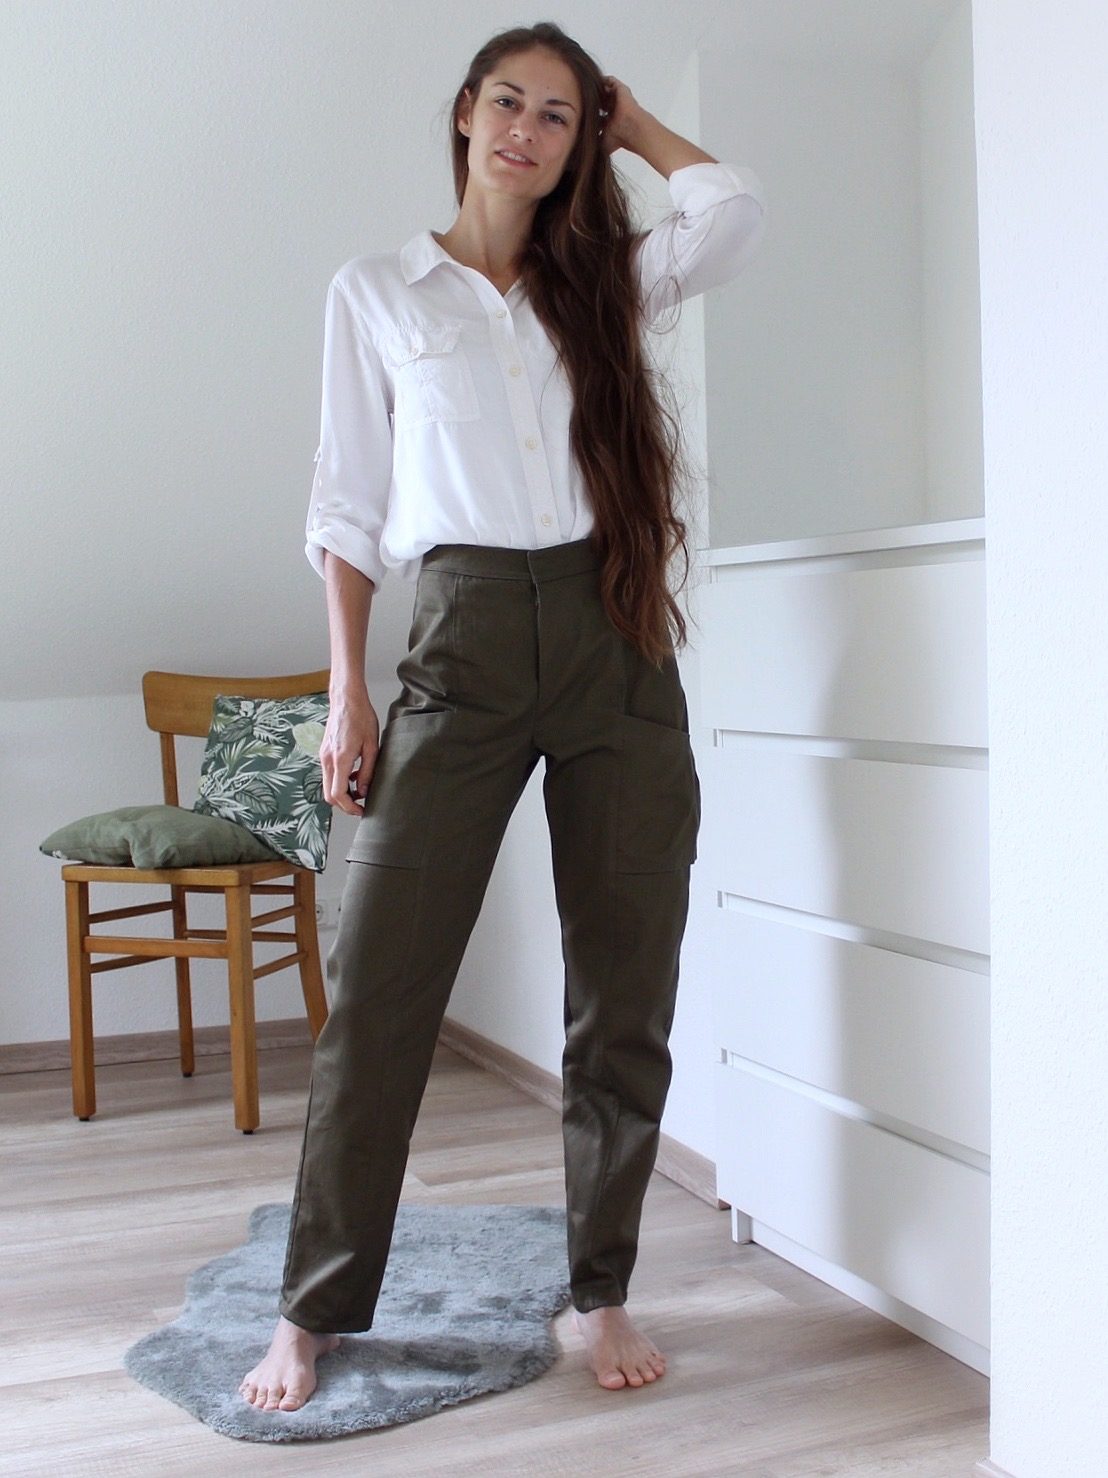
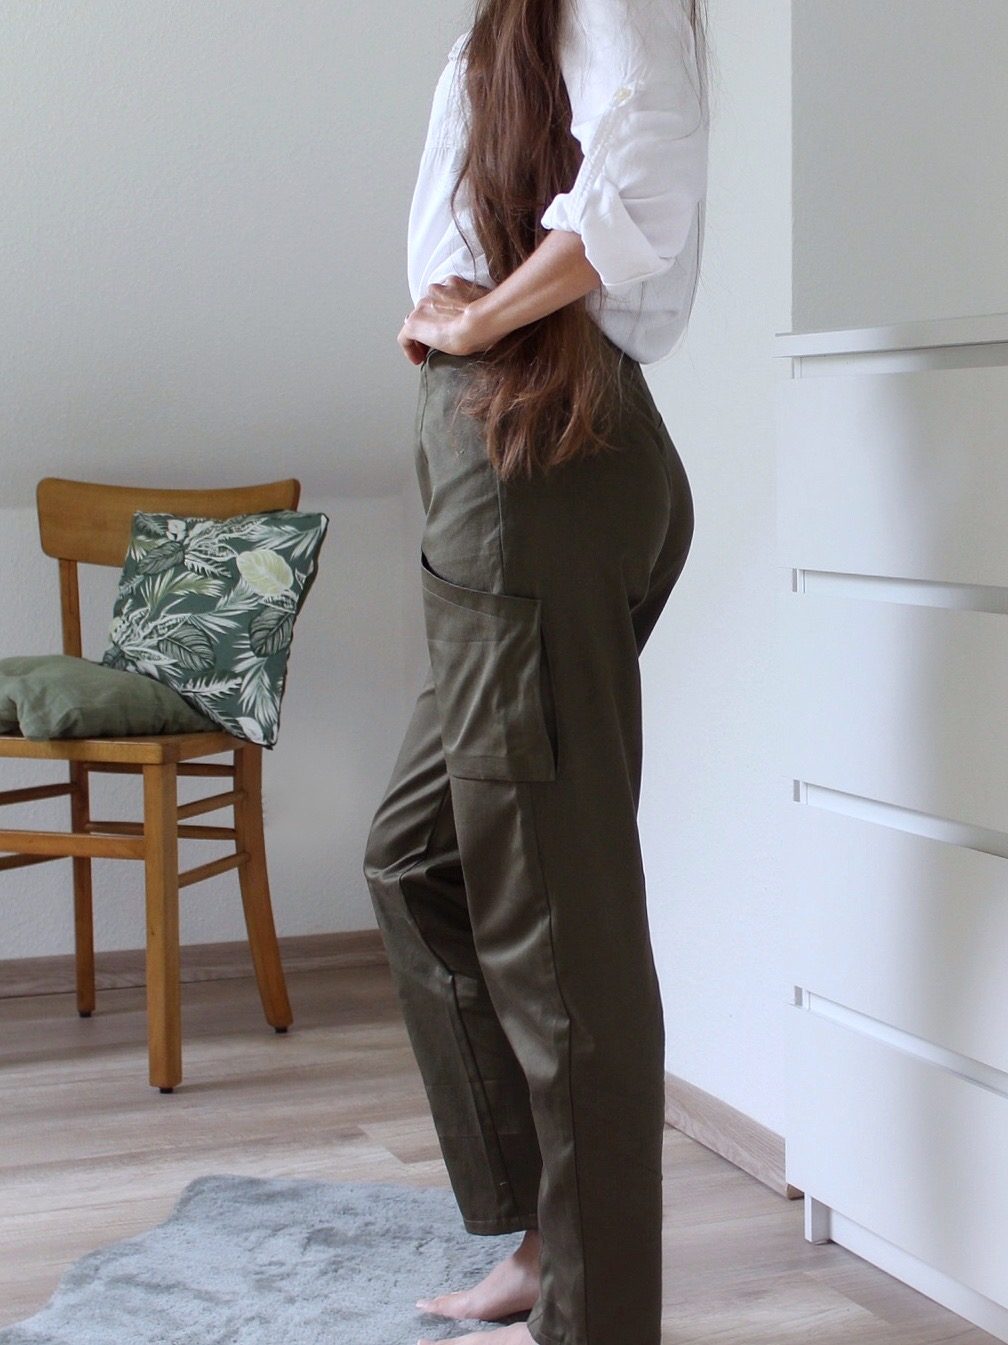
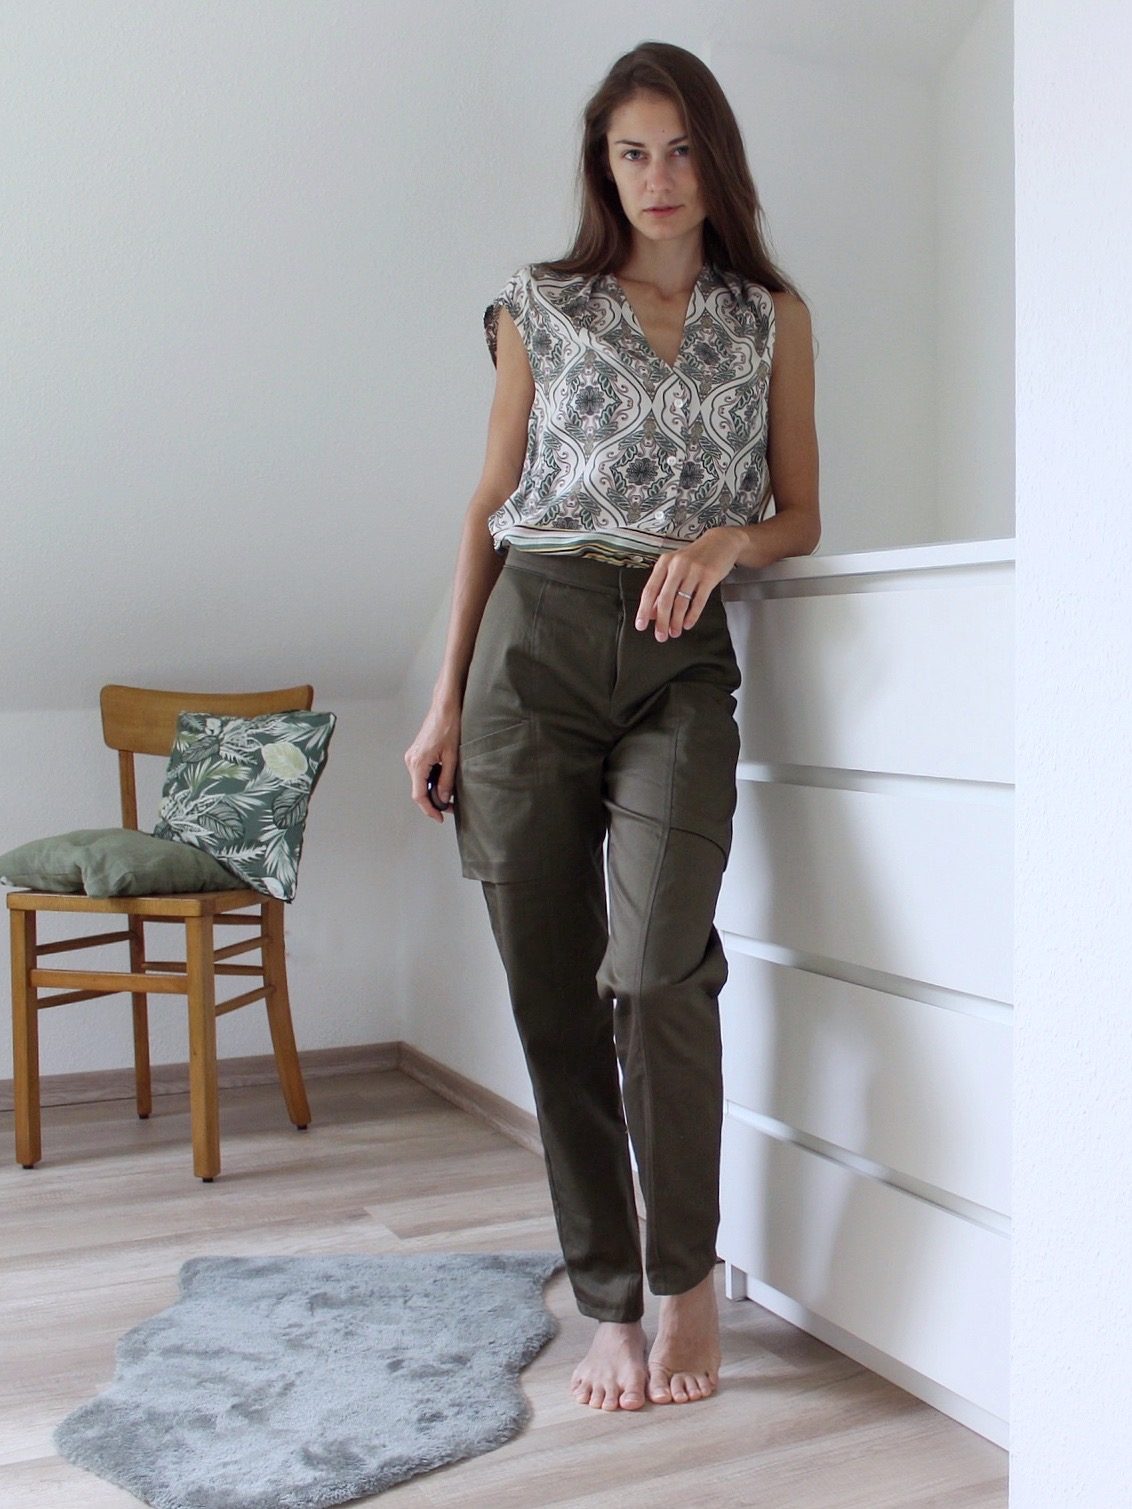
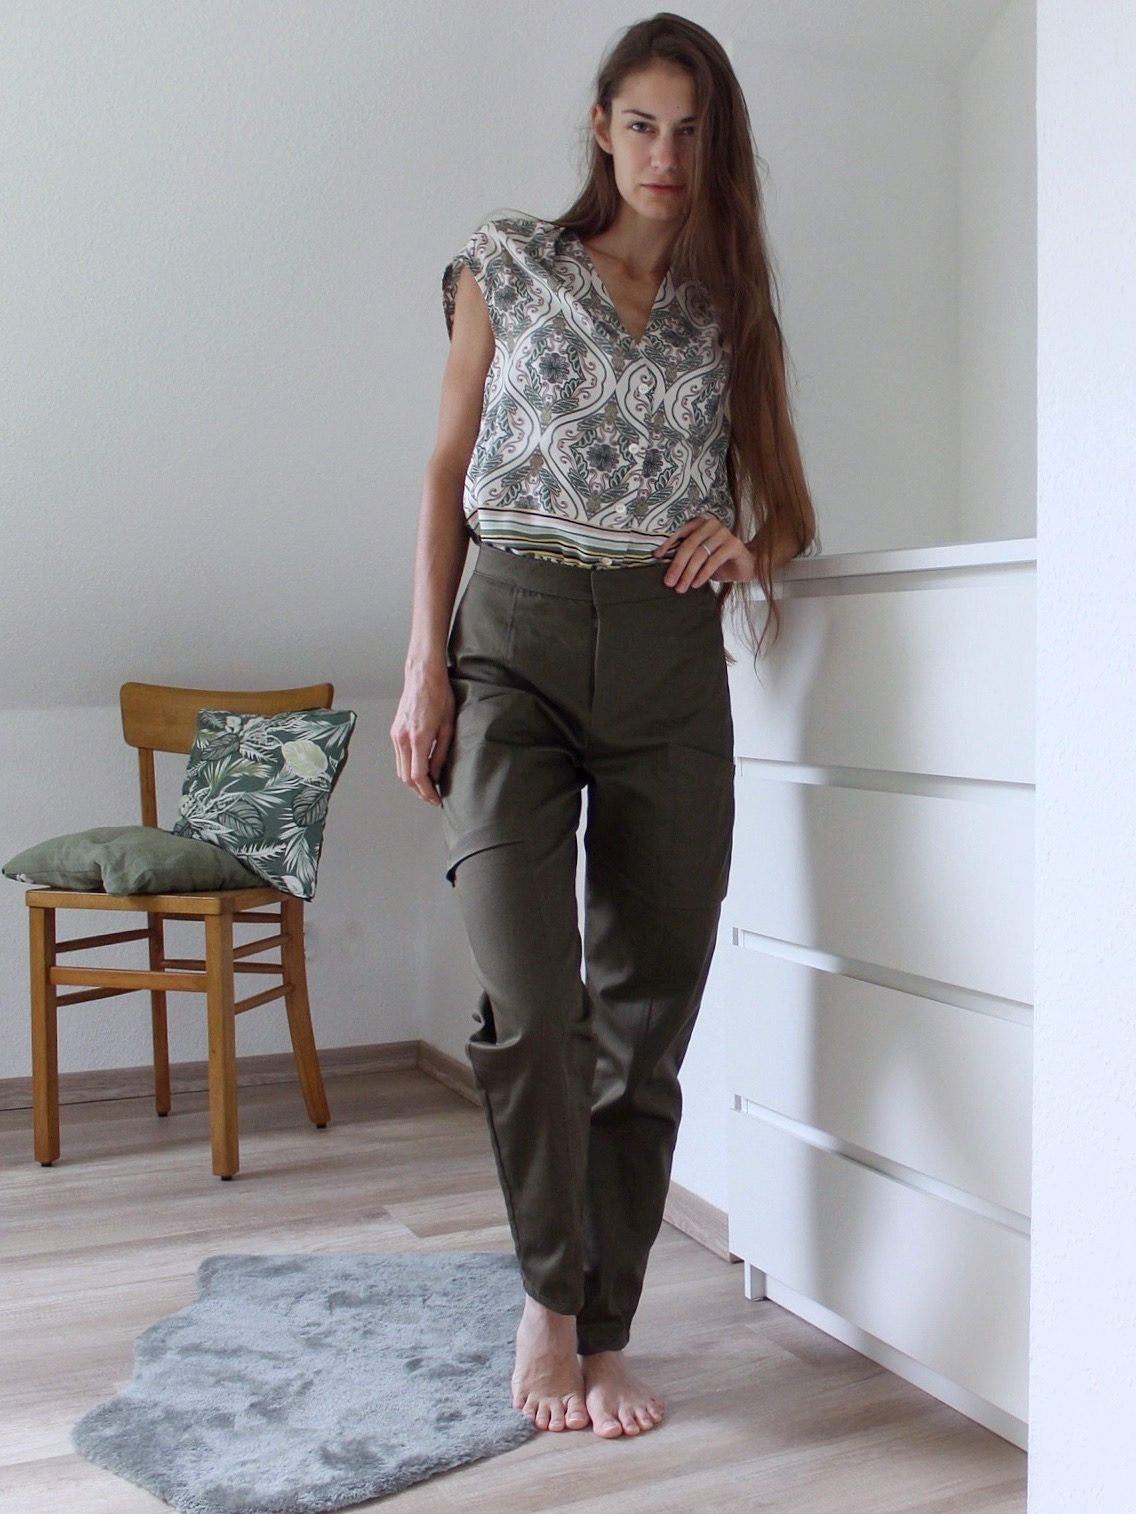
Do you want to sew the stylish pants Cecelia from the Fashion Look series with a pattern by the Swiss designer Irène Münger? It is one of 17 exclusive designs to sew your own fashion collection.
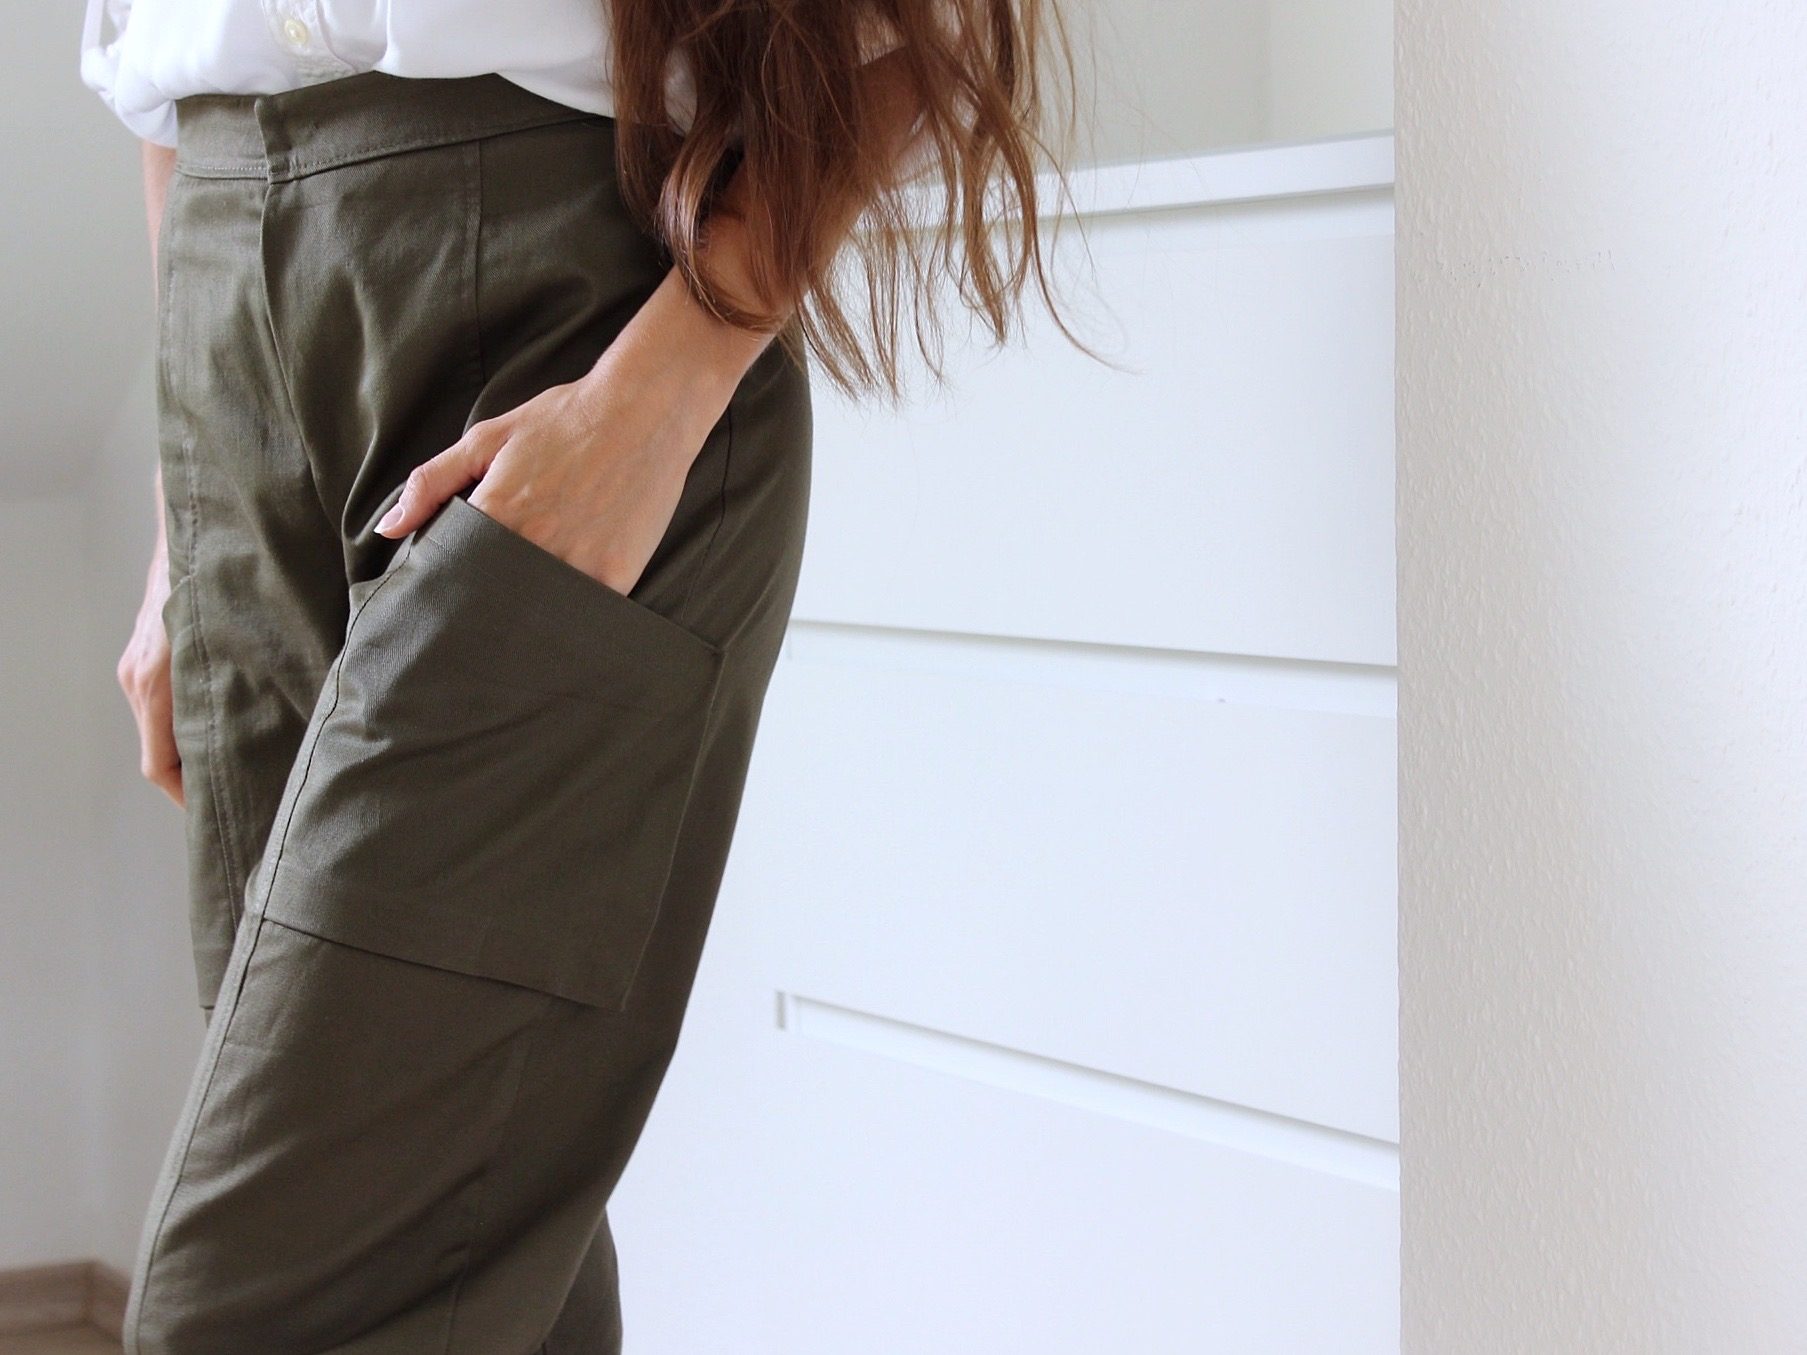
The pants come with unusual, practical bellows pockets and are a modern cross between cargo pants and office pants. You can easily vary the look of the pants through the chosen fabric.
It’s best to sew this project using your sewing machine, I used the b05 ACADEMY. I finished the edges with the BERNINA L 860.
Sewing the Cecelia pants – let’s get started
Fabric
First you need the pattern. The Cecelia pattern can be purchased directly from BERNINA Inspiration. You also need the right fabric. Firm fabrics are suitable here, for example canvas, denim, twill, whatever you prefer. I used a medium weight cotton twill for these pants, so the pants can be worn comfortably even on slightly warmer days in the fall.
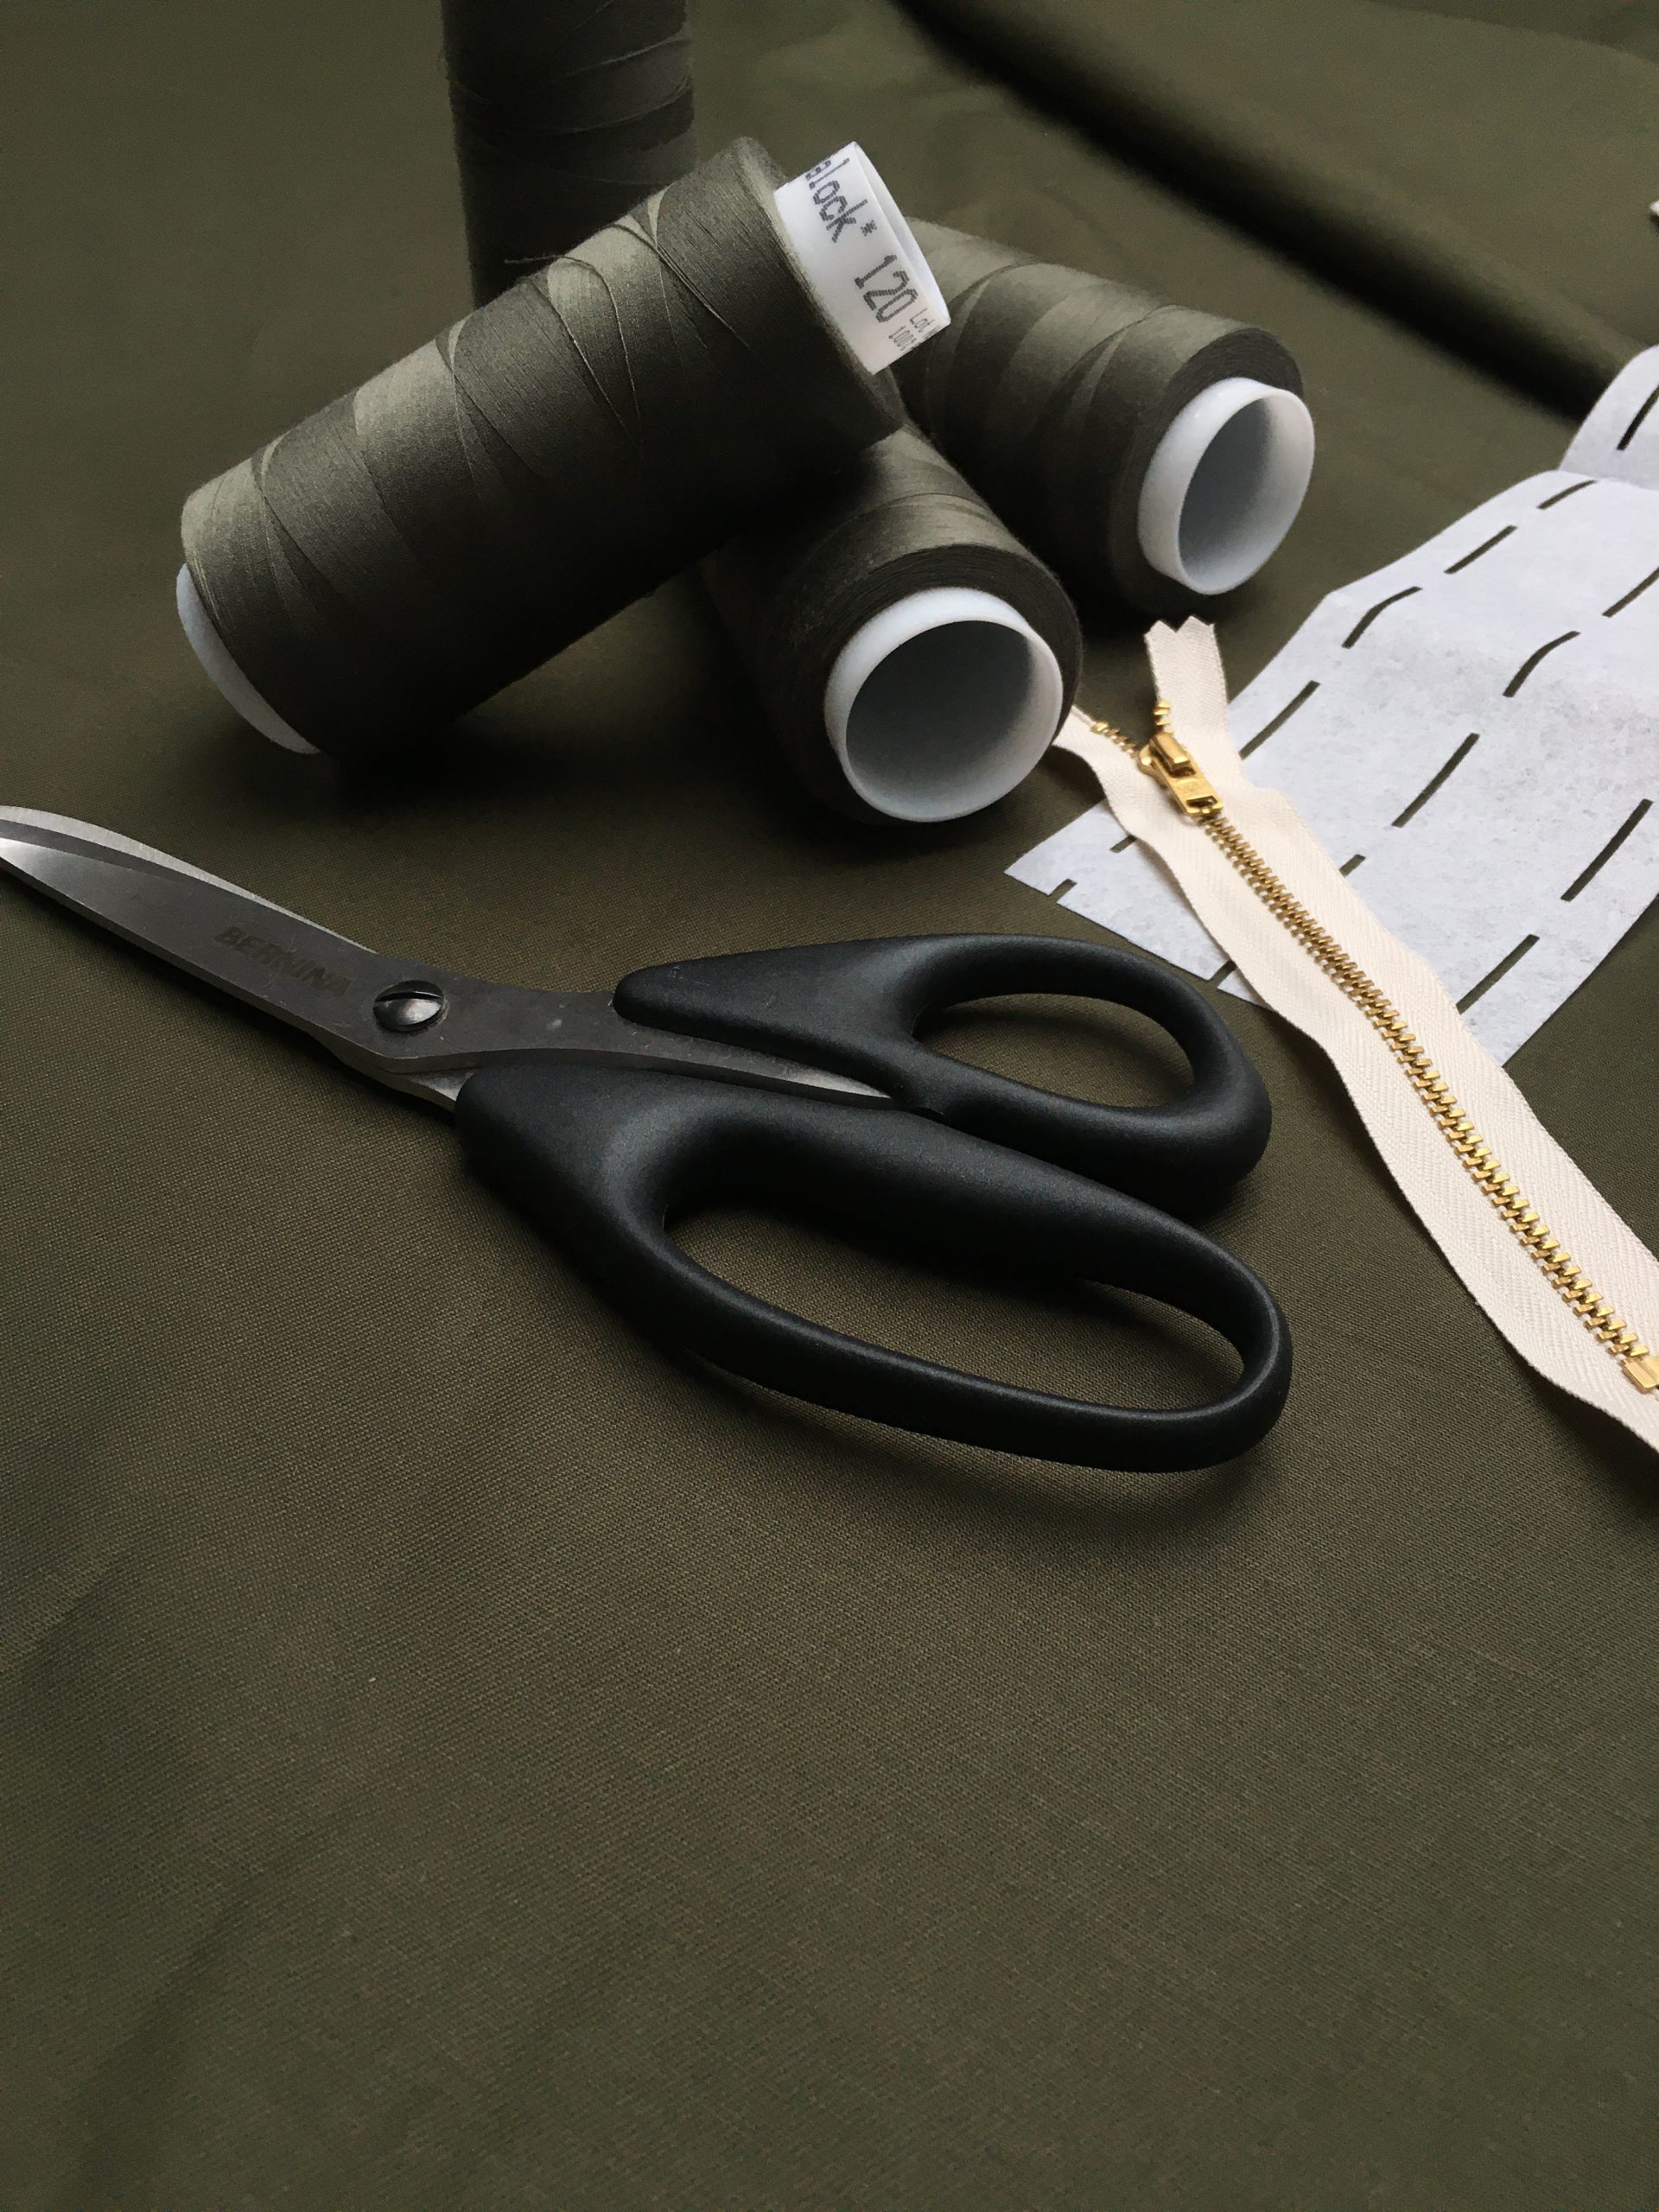
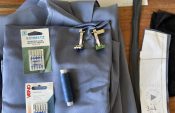
In addition to the fabric and pattern, you will also need the following:
• Pants zipper (13-14 cm long)
• Hook fastener for pants
• Matching sewing thread
• Universal or jeans needle for your sewing machine
• Vliesline Waist-Shaper
• Tailor’s chalk
• Pins/fabric clips
• Fabric scissors
Step 1: Cutting
Before you can start sewing, the pieces are cut out of the fabric. Remember that a seam allowance of 1 cm is already included in this pattern. However, if you prefer to choose a seam allowance yourself, you can also cut along the seam lines and add your own seam allowance when cutting.
Step 2: Sewing the back pieces together
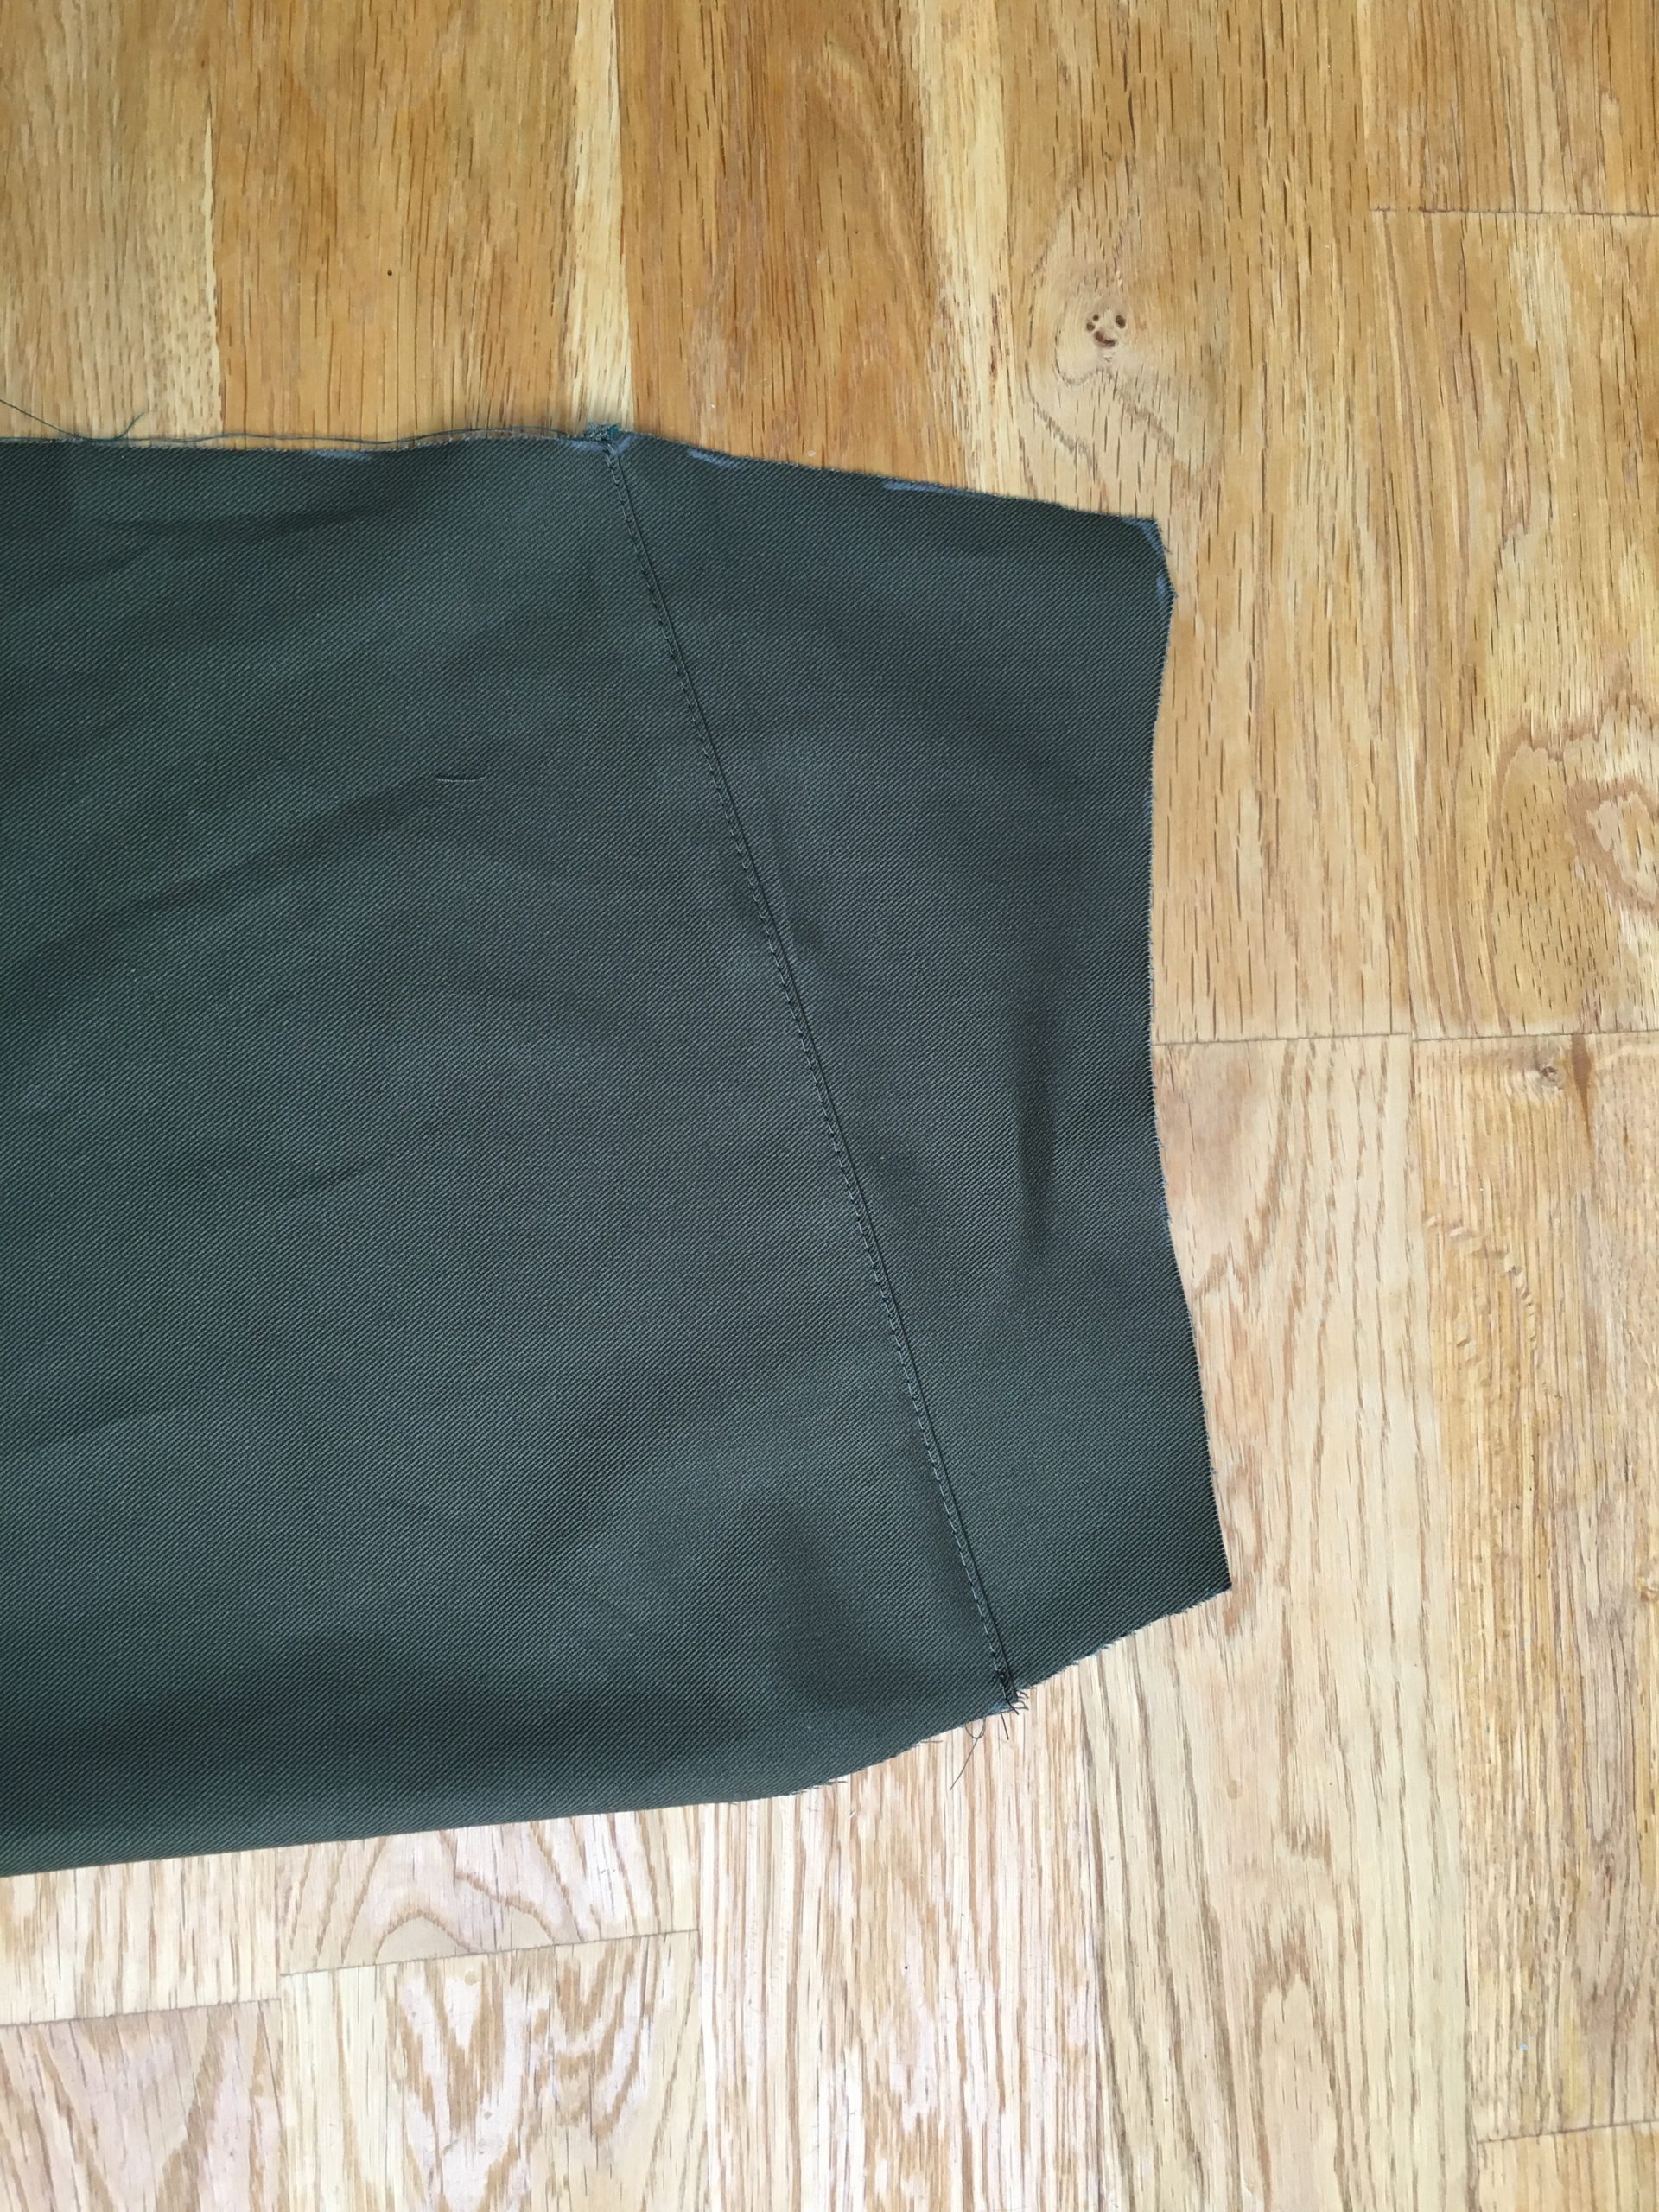
Sew the two back pieces, 1 and 1b, on top of each other with right sides together. Then finish using the overlocker, iron the seam allowance and topstitch again from the outside.
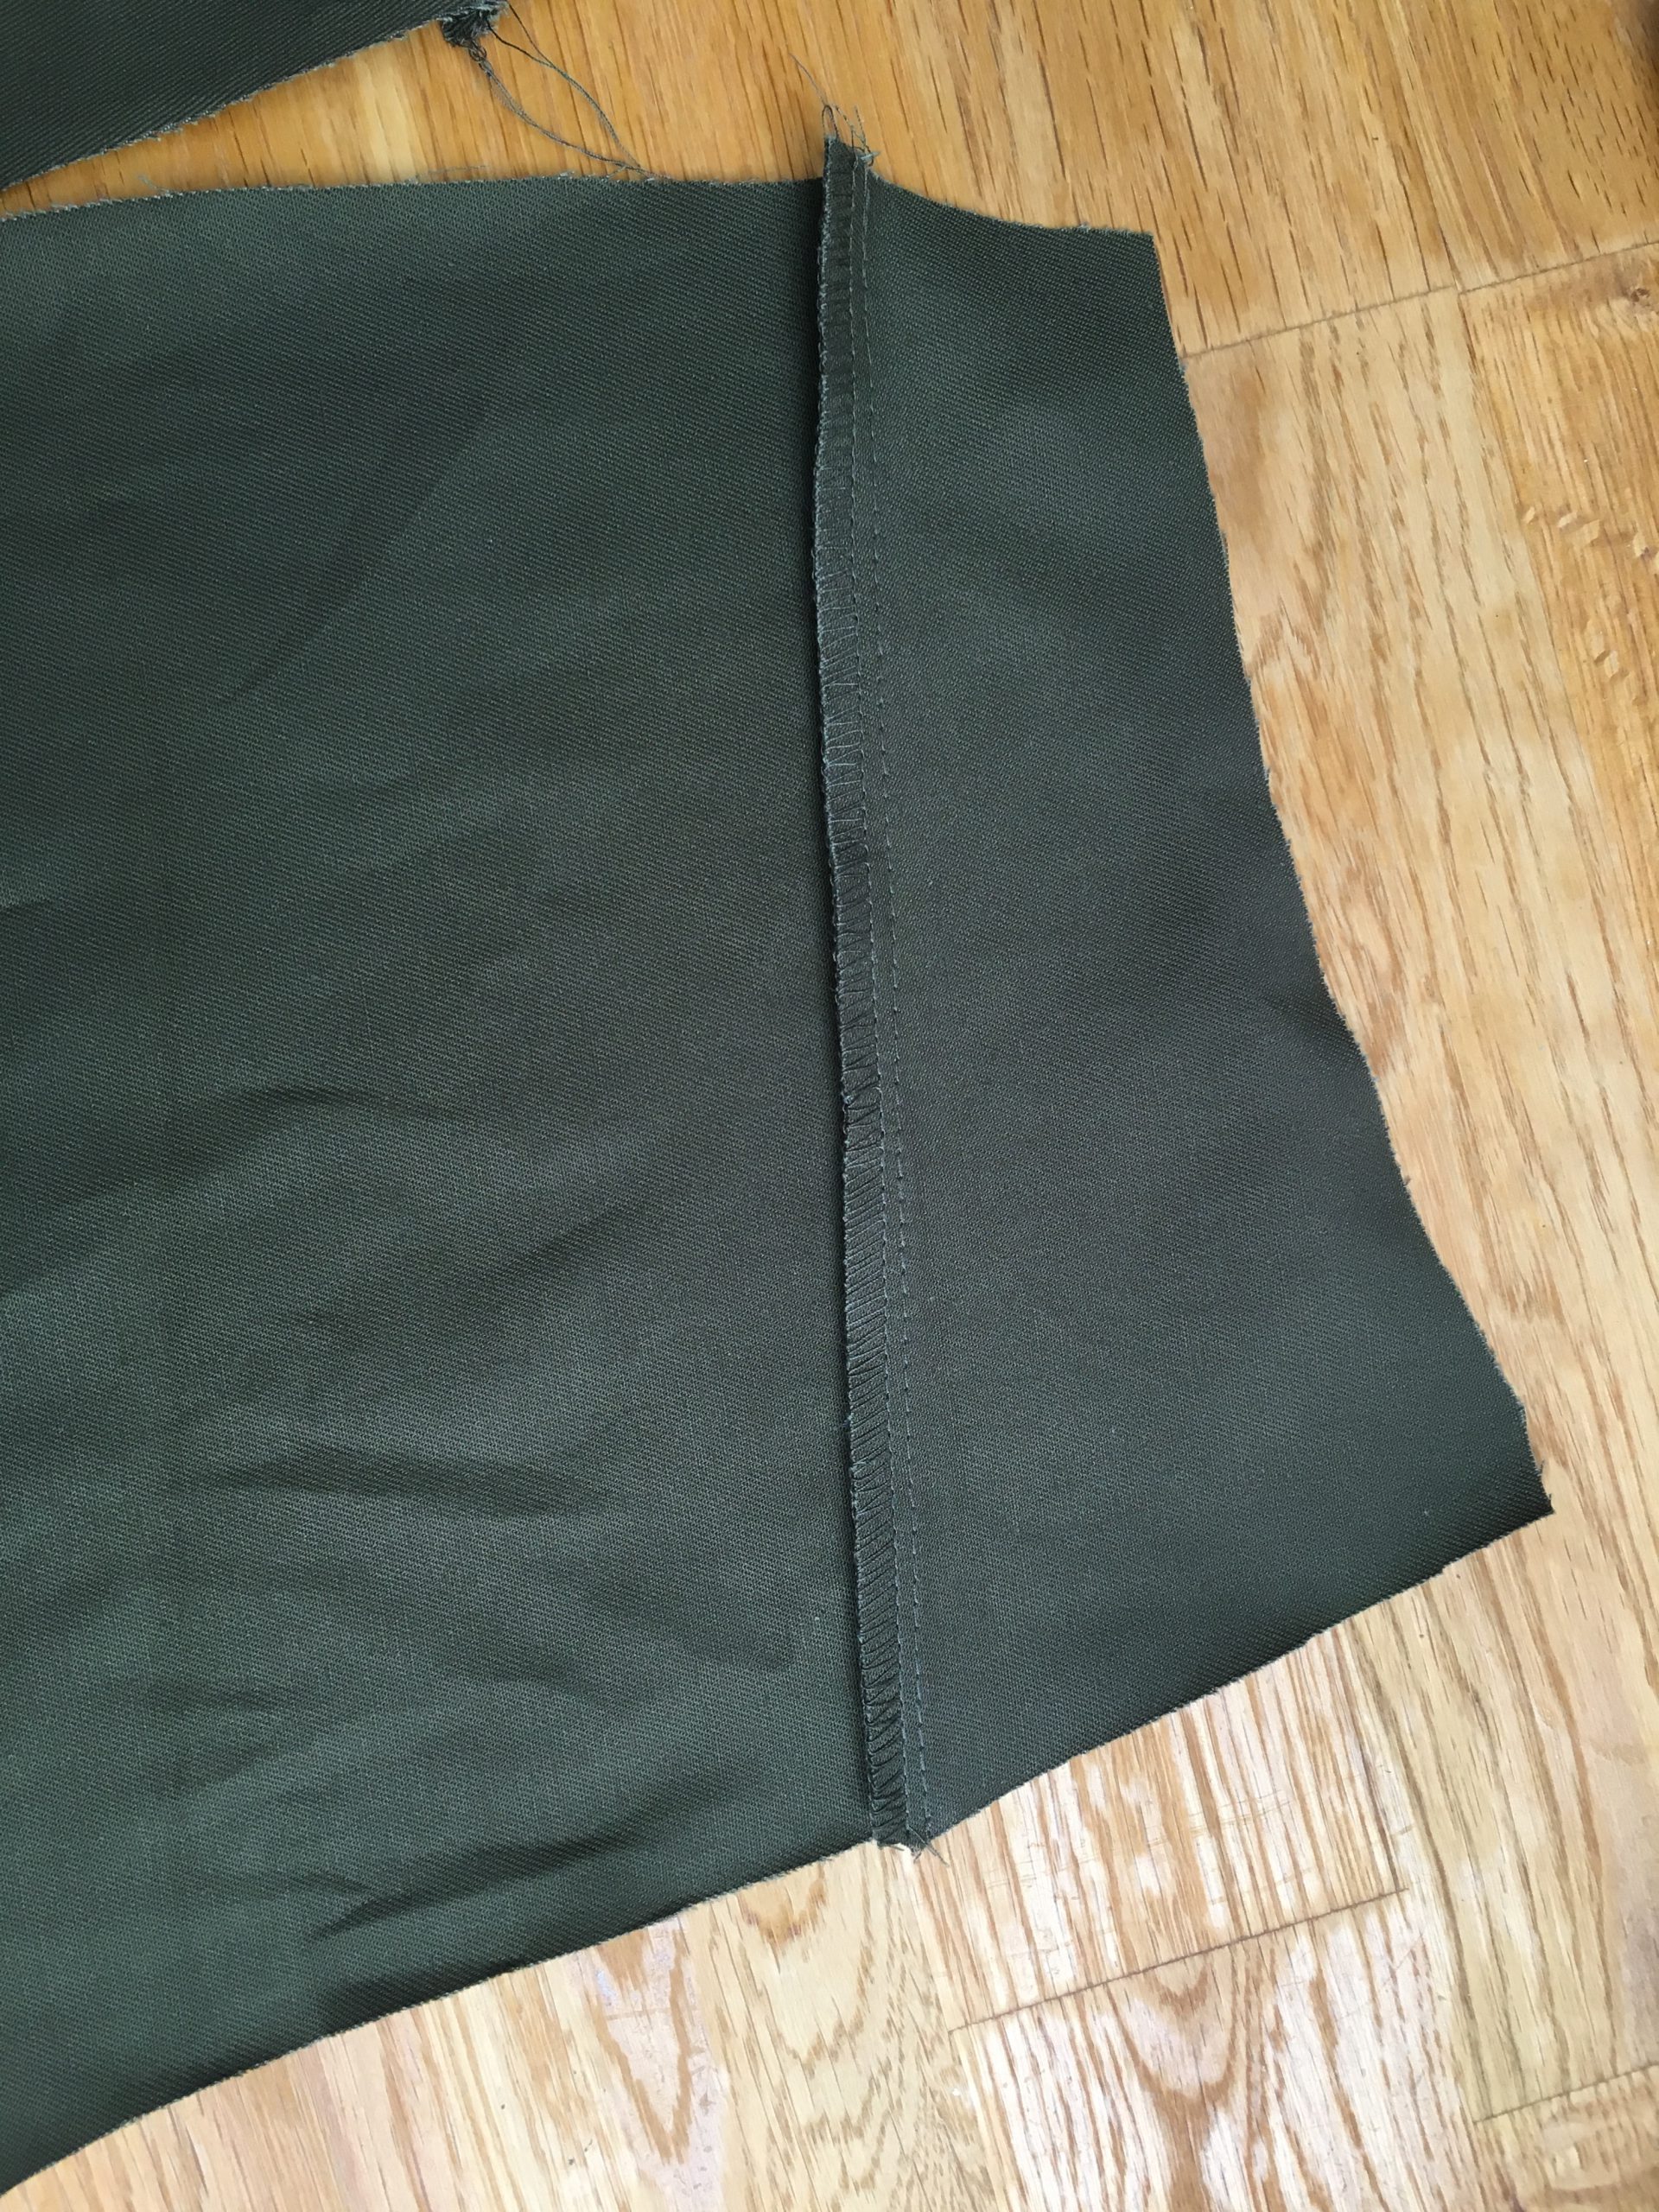
You can also close the back crotch seam straight away in this step. To do this, place both finished back pieces with right sides together. When sewing, make sure that the yoke seams are lined up on top of each other.

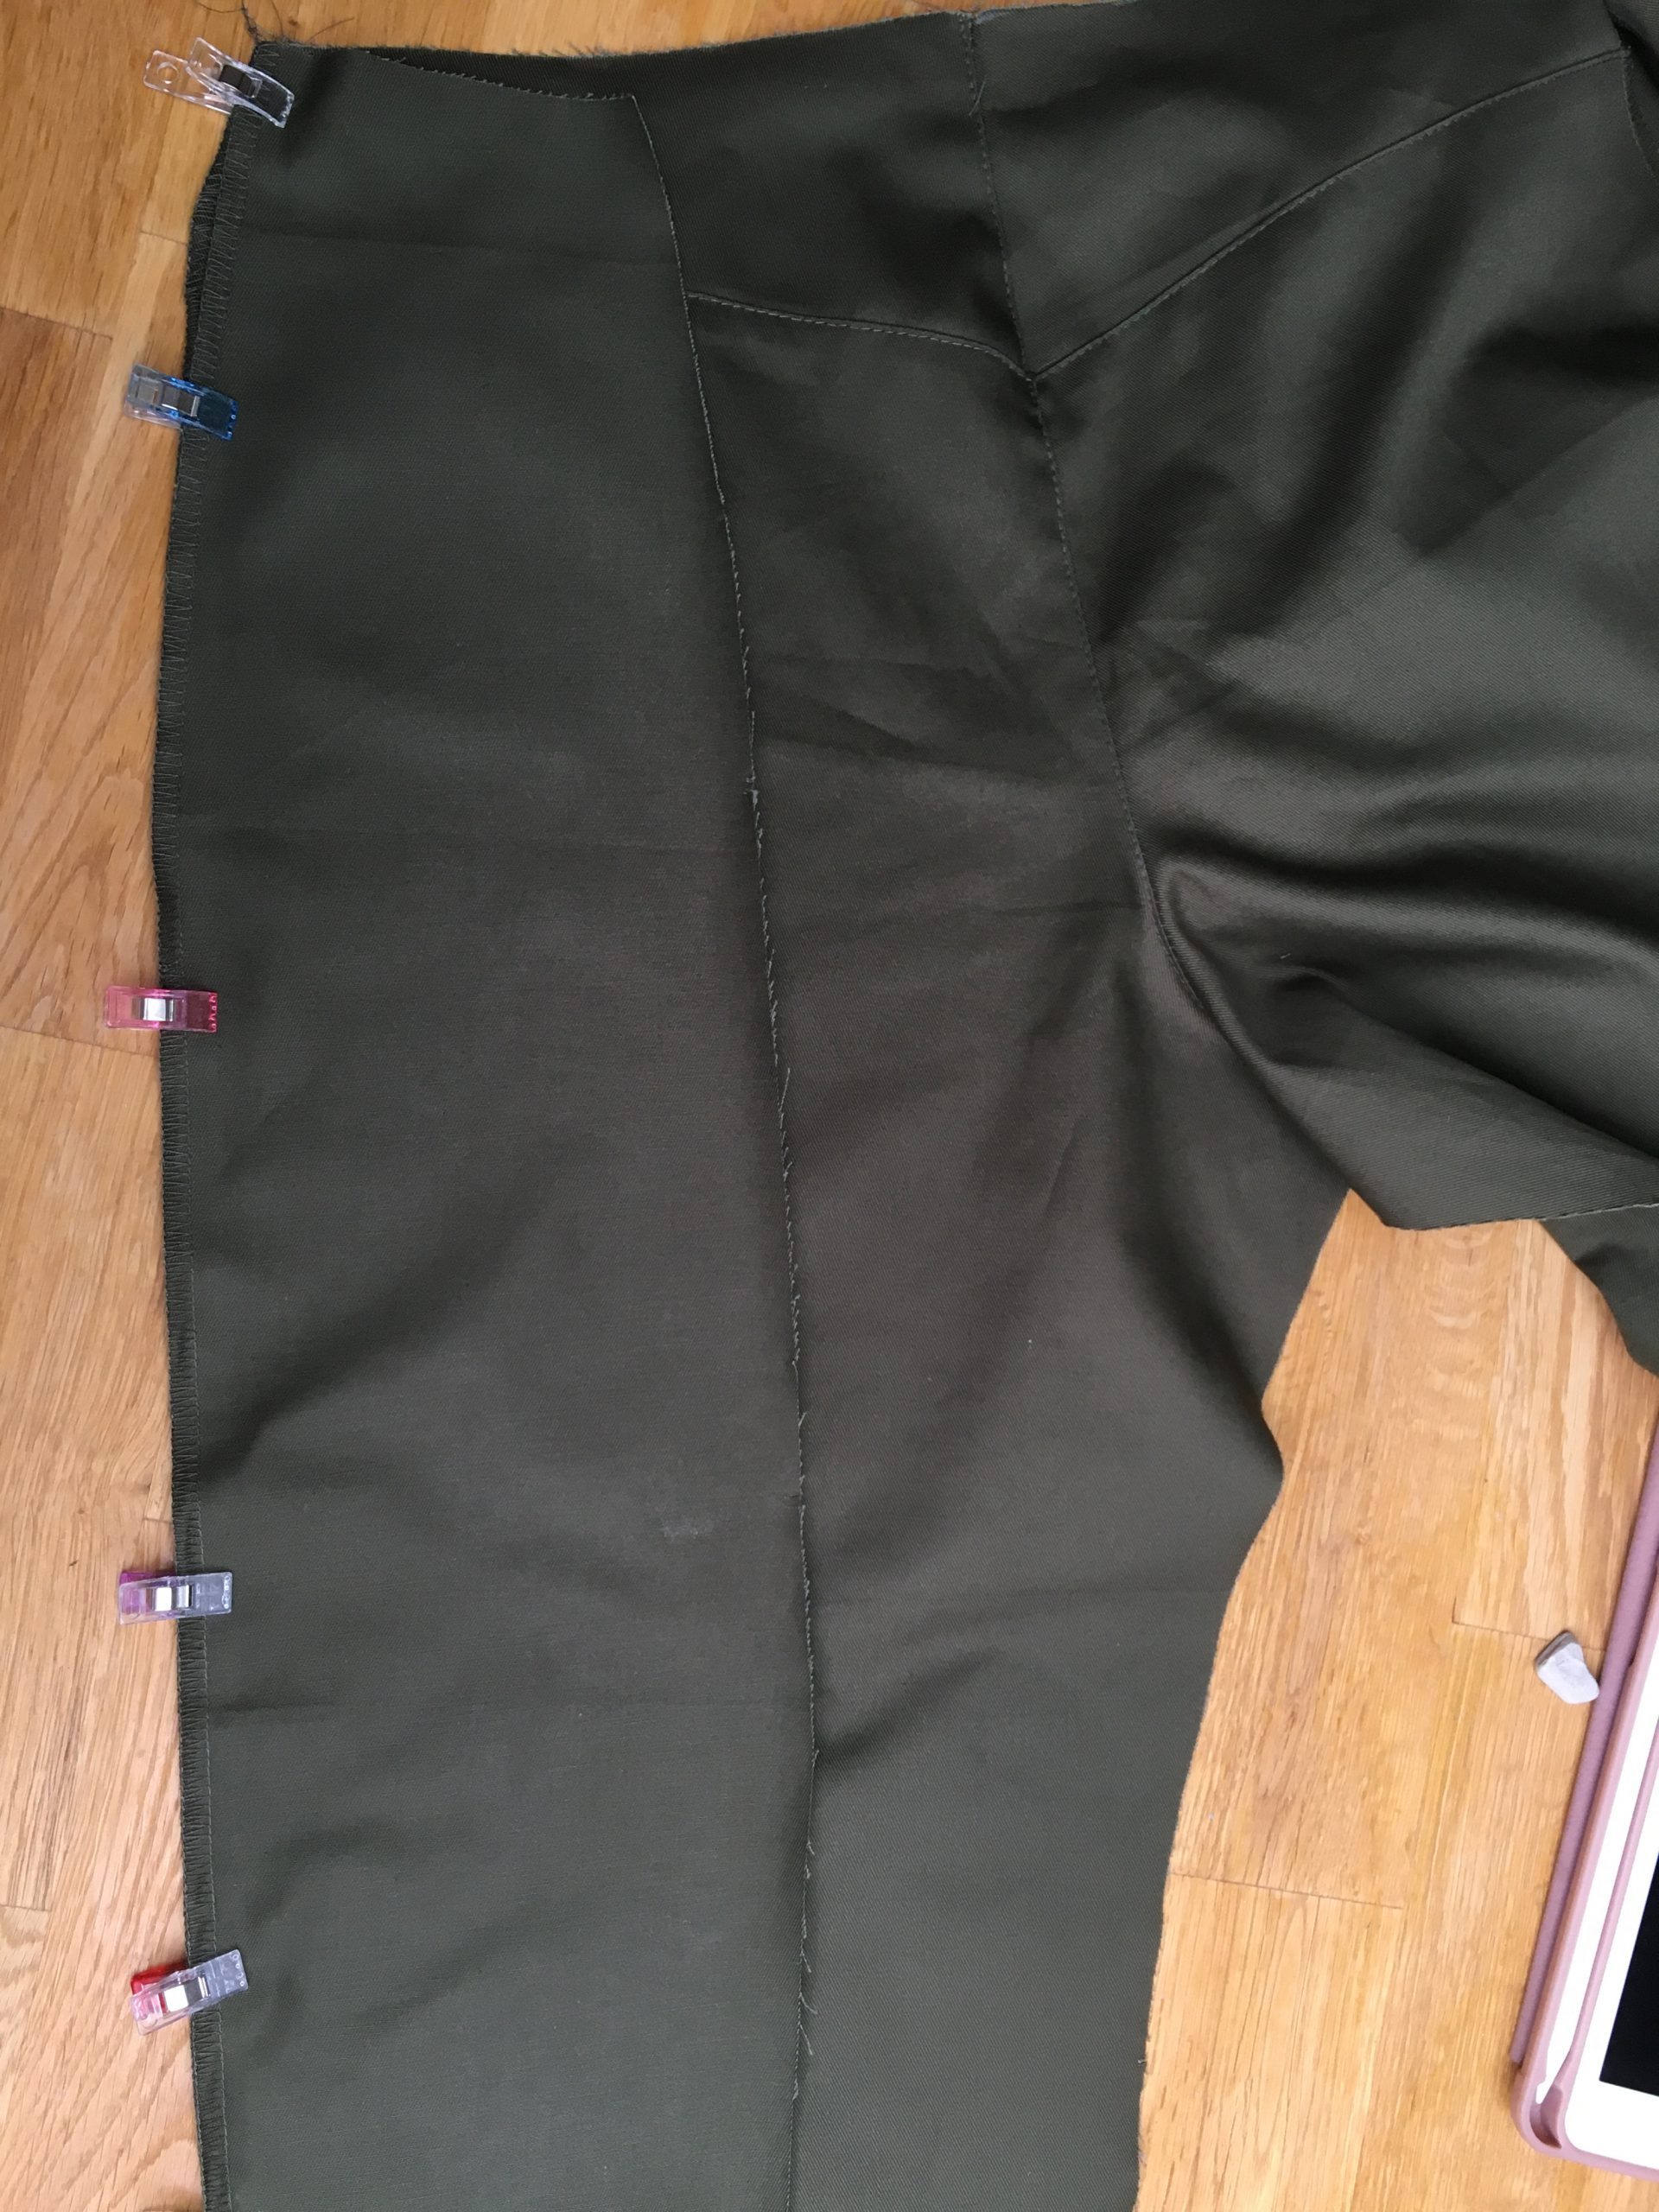
Step 3: Closing the back side seam
Now you can sew the side pieces (2b) onto the back pieces (1). Place them on top of each other right sides together and sew them using your sewing machine and a one centimeter seam allowance. Afterwards, you can finish it again using the overlocker.
Step 4: Bellow pocket
Now we come to probably the trickiest part of the pants. It’s not actually very difficult but you should work as carefully as possible to get a nice result and above all iron it well!
First, transfer the different marks for the folds from the pattern onto your fabric.
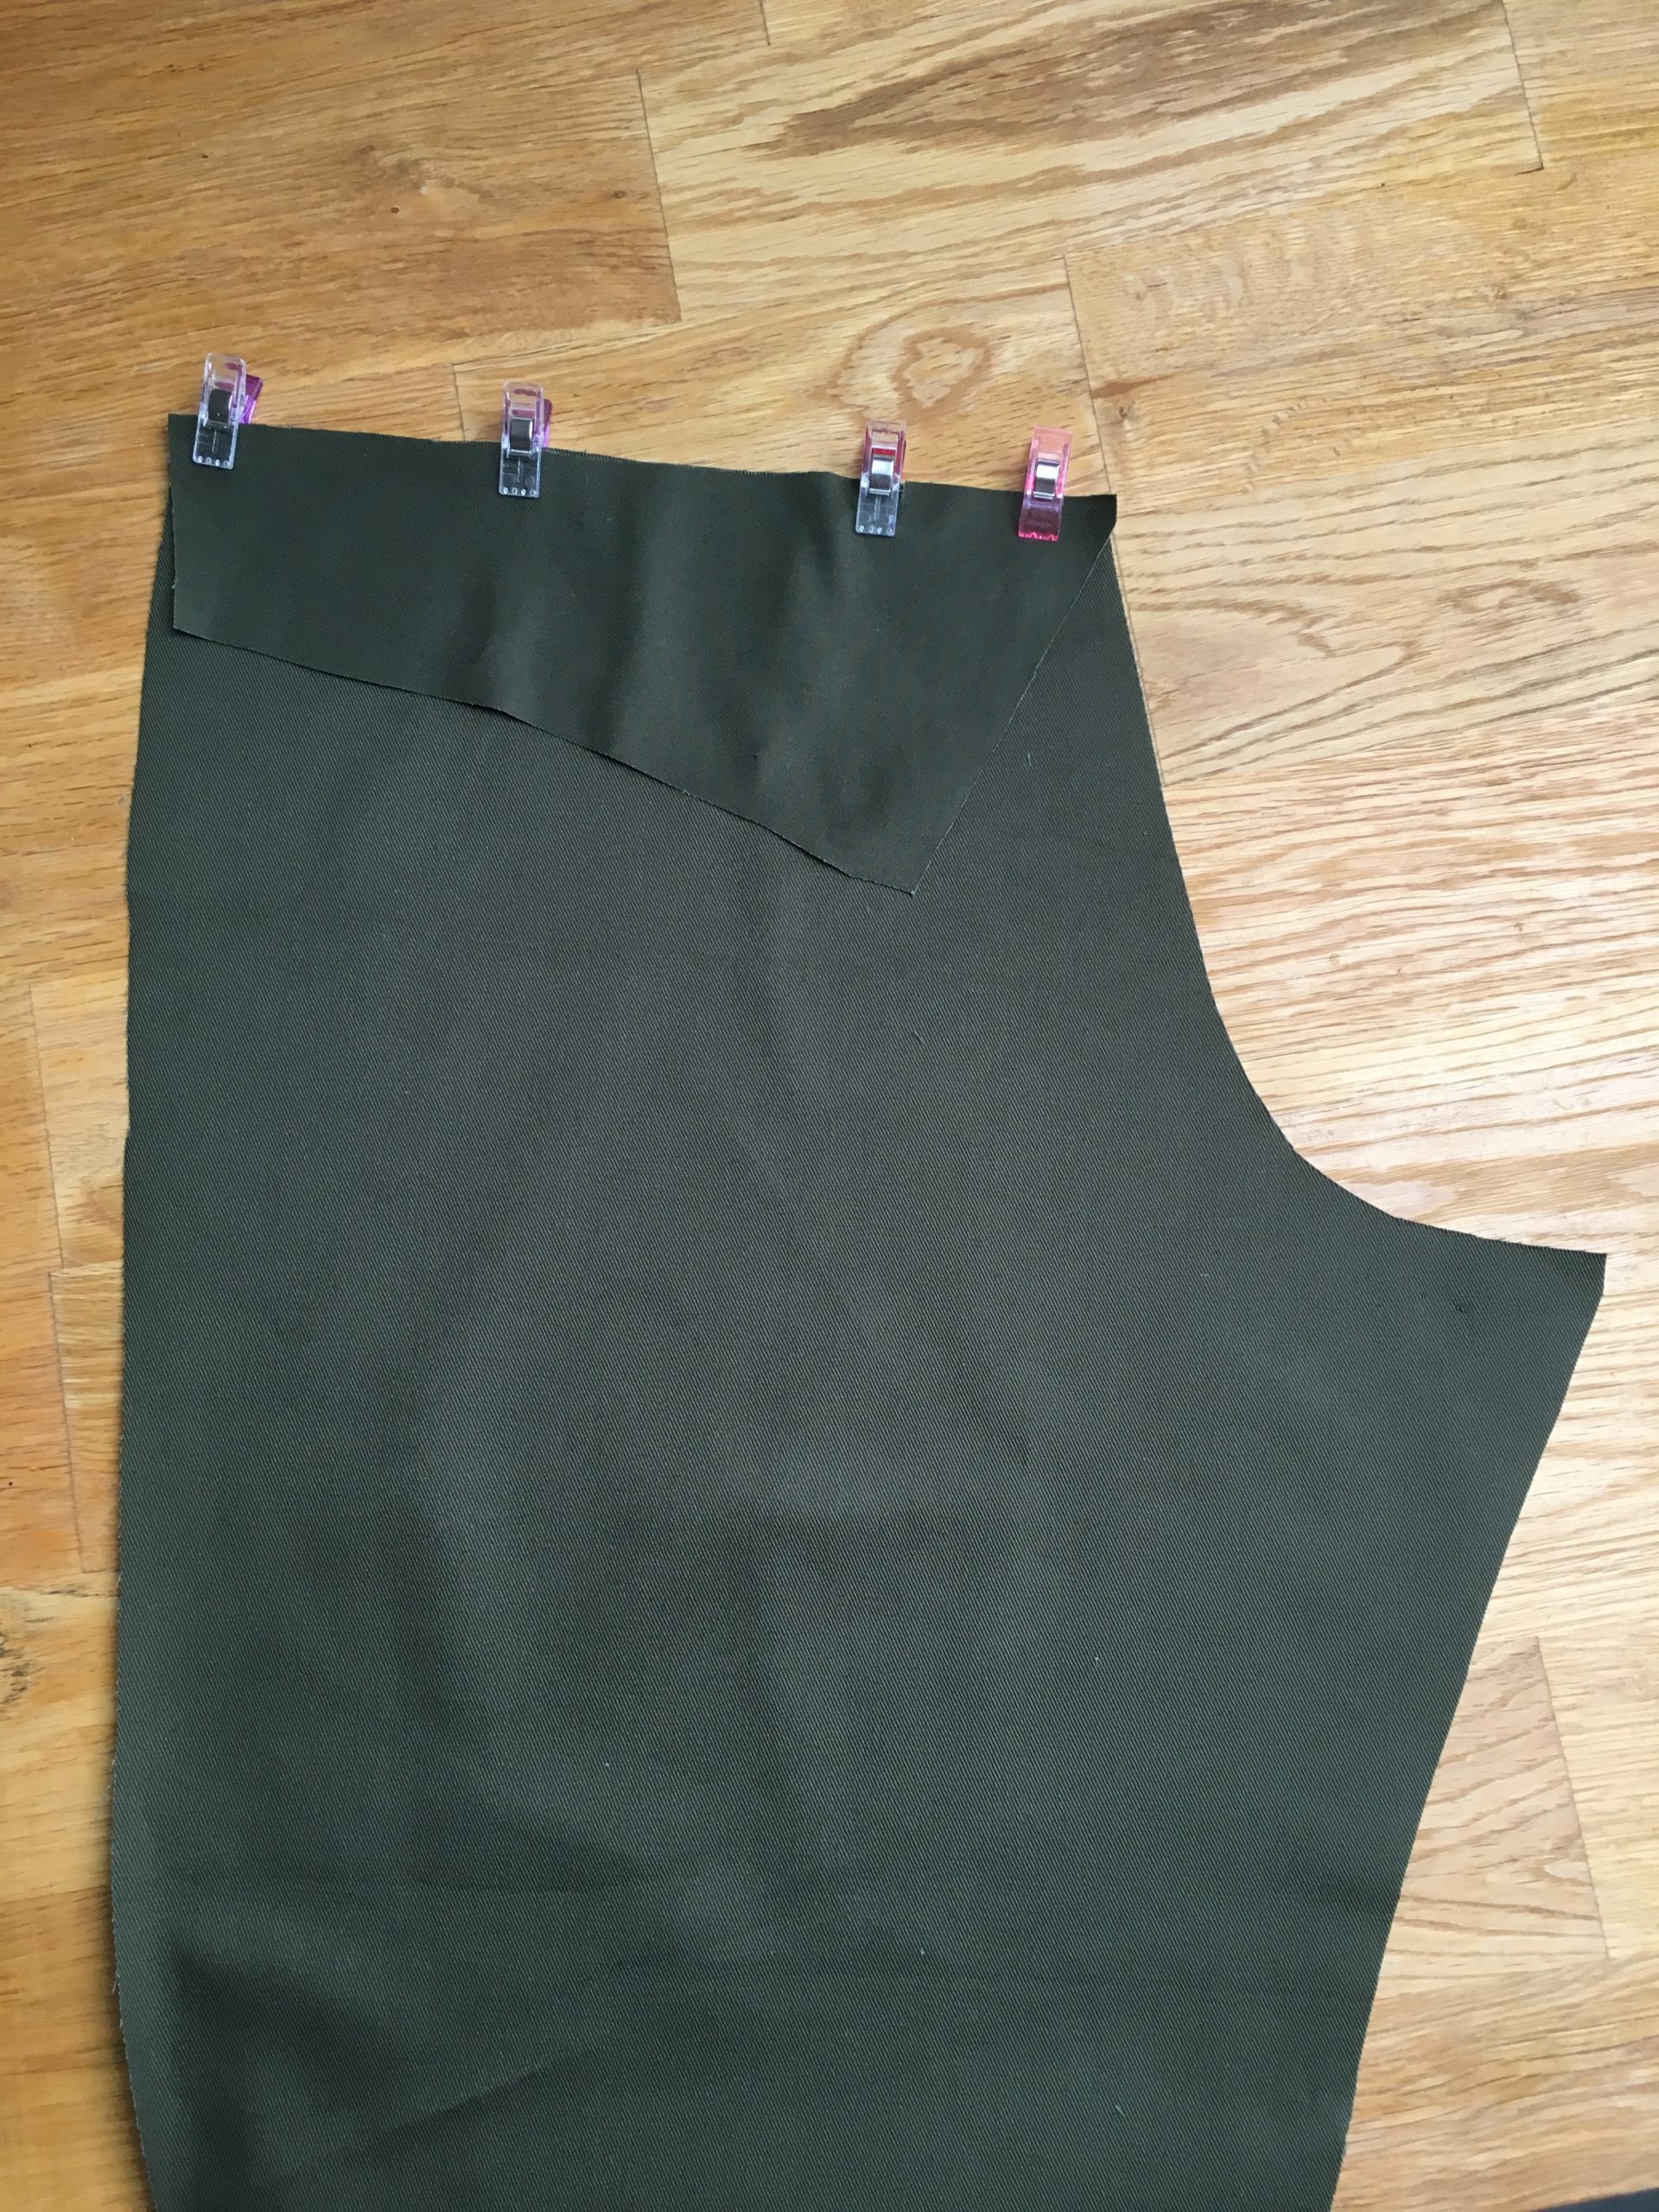
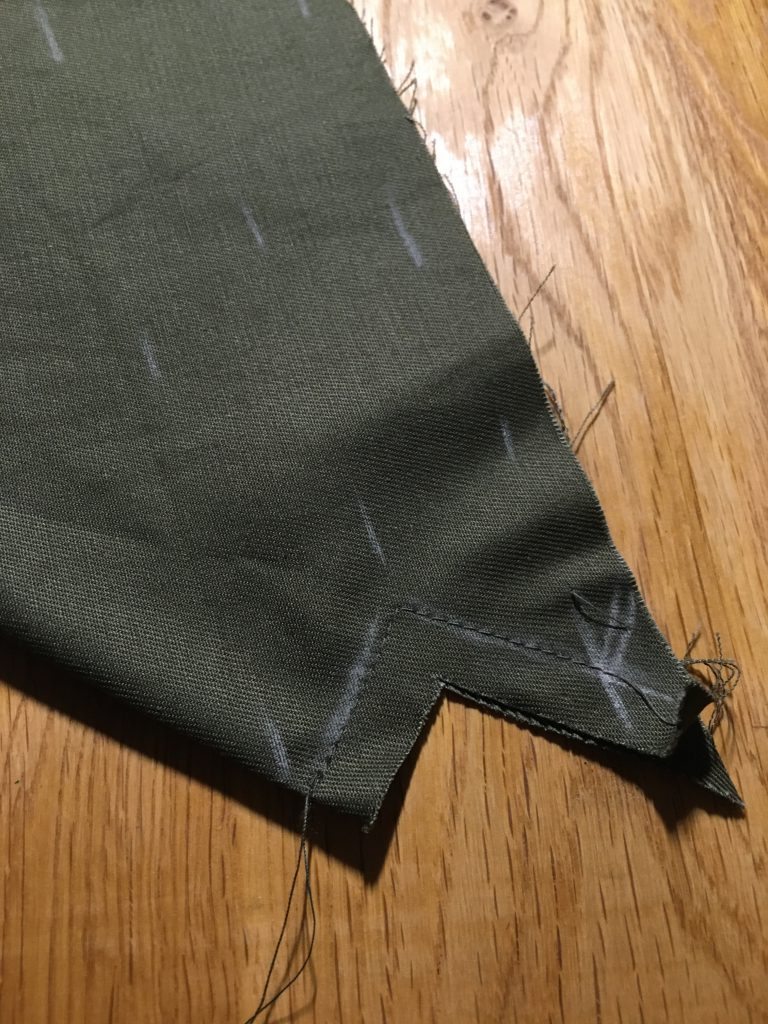
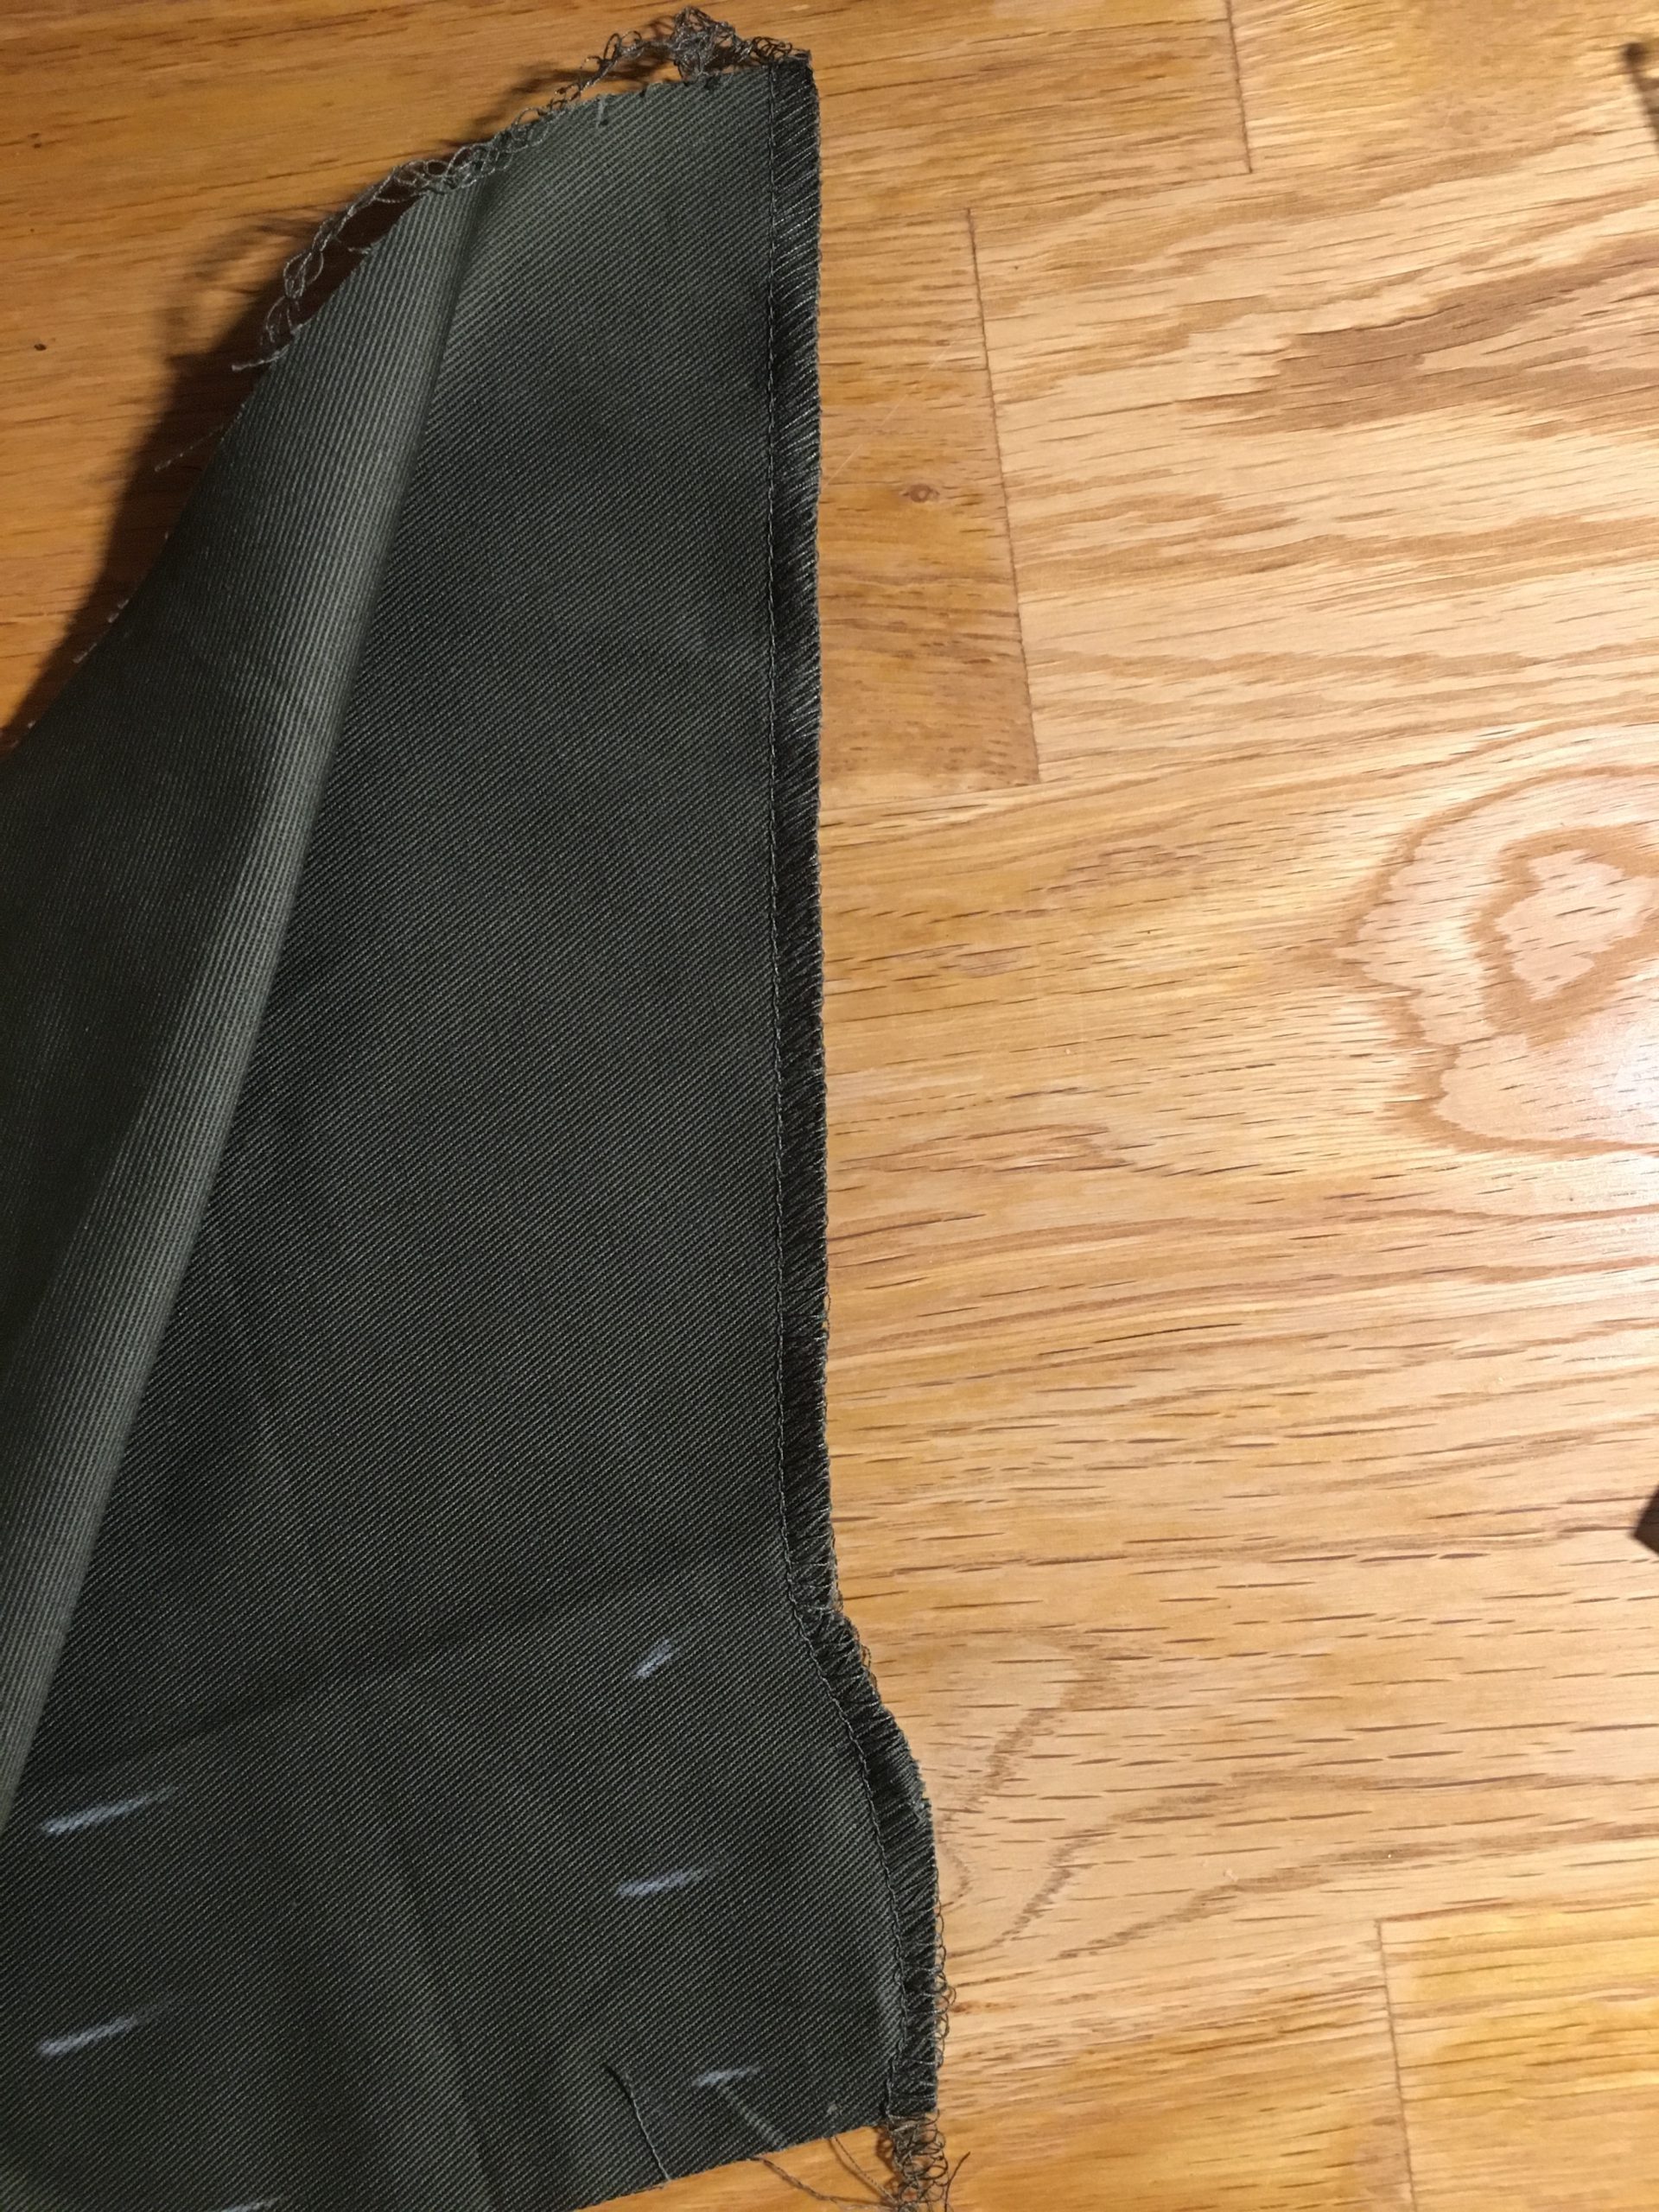
Then fold the pocket with right sides together so that the “cut rectangle” is lined up on top of each other and forms a V, as shown in the photo below. Sew this V with 1 cm seam allowance and cut the V at the tip until just before the seam. Turn the pocket and shape the tip carefully.
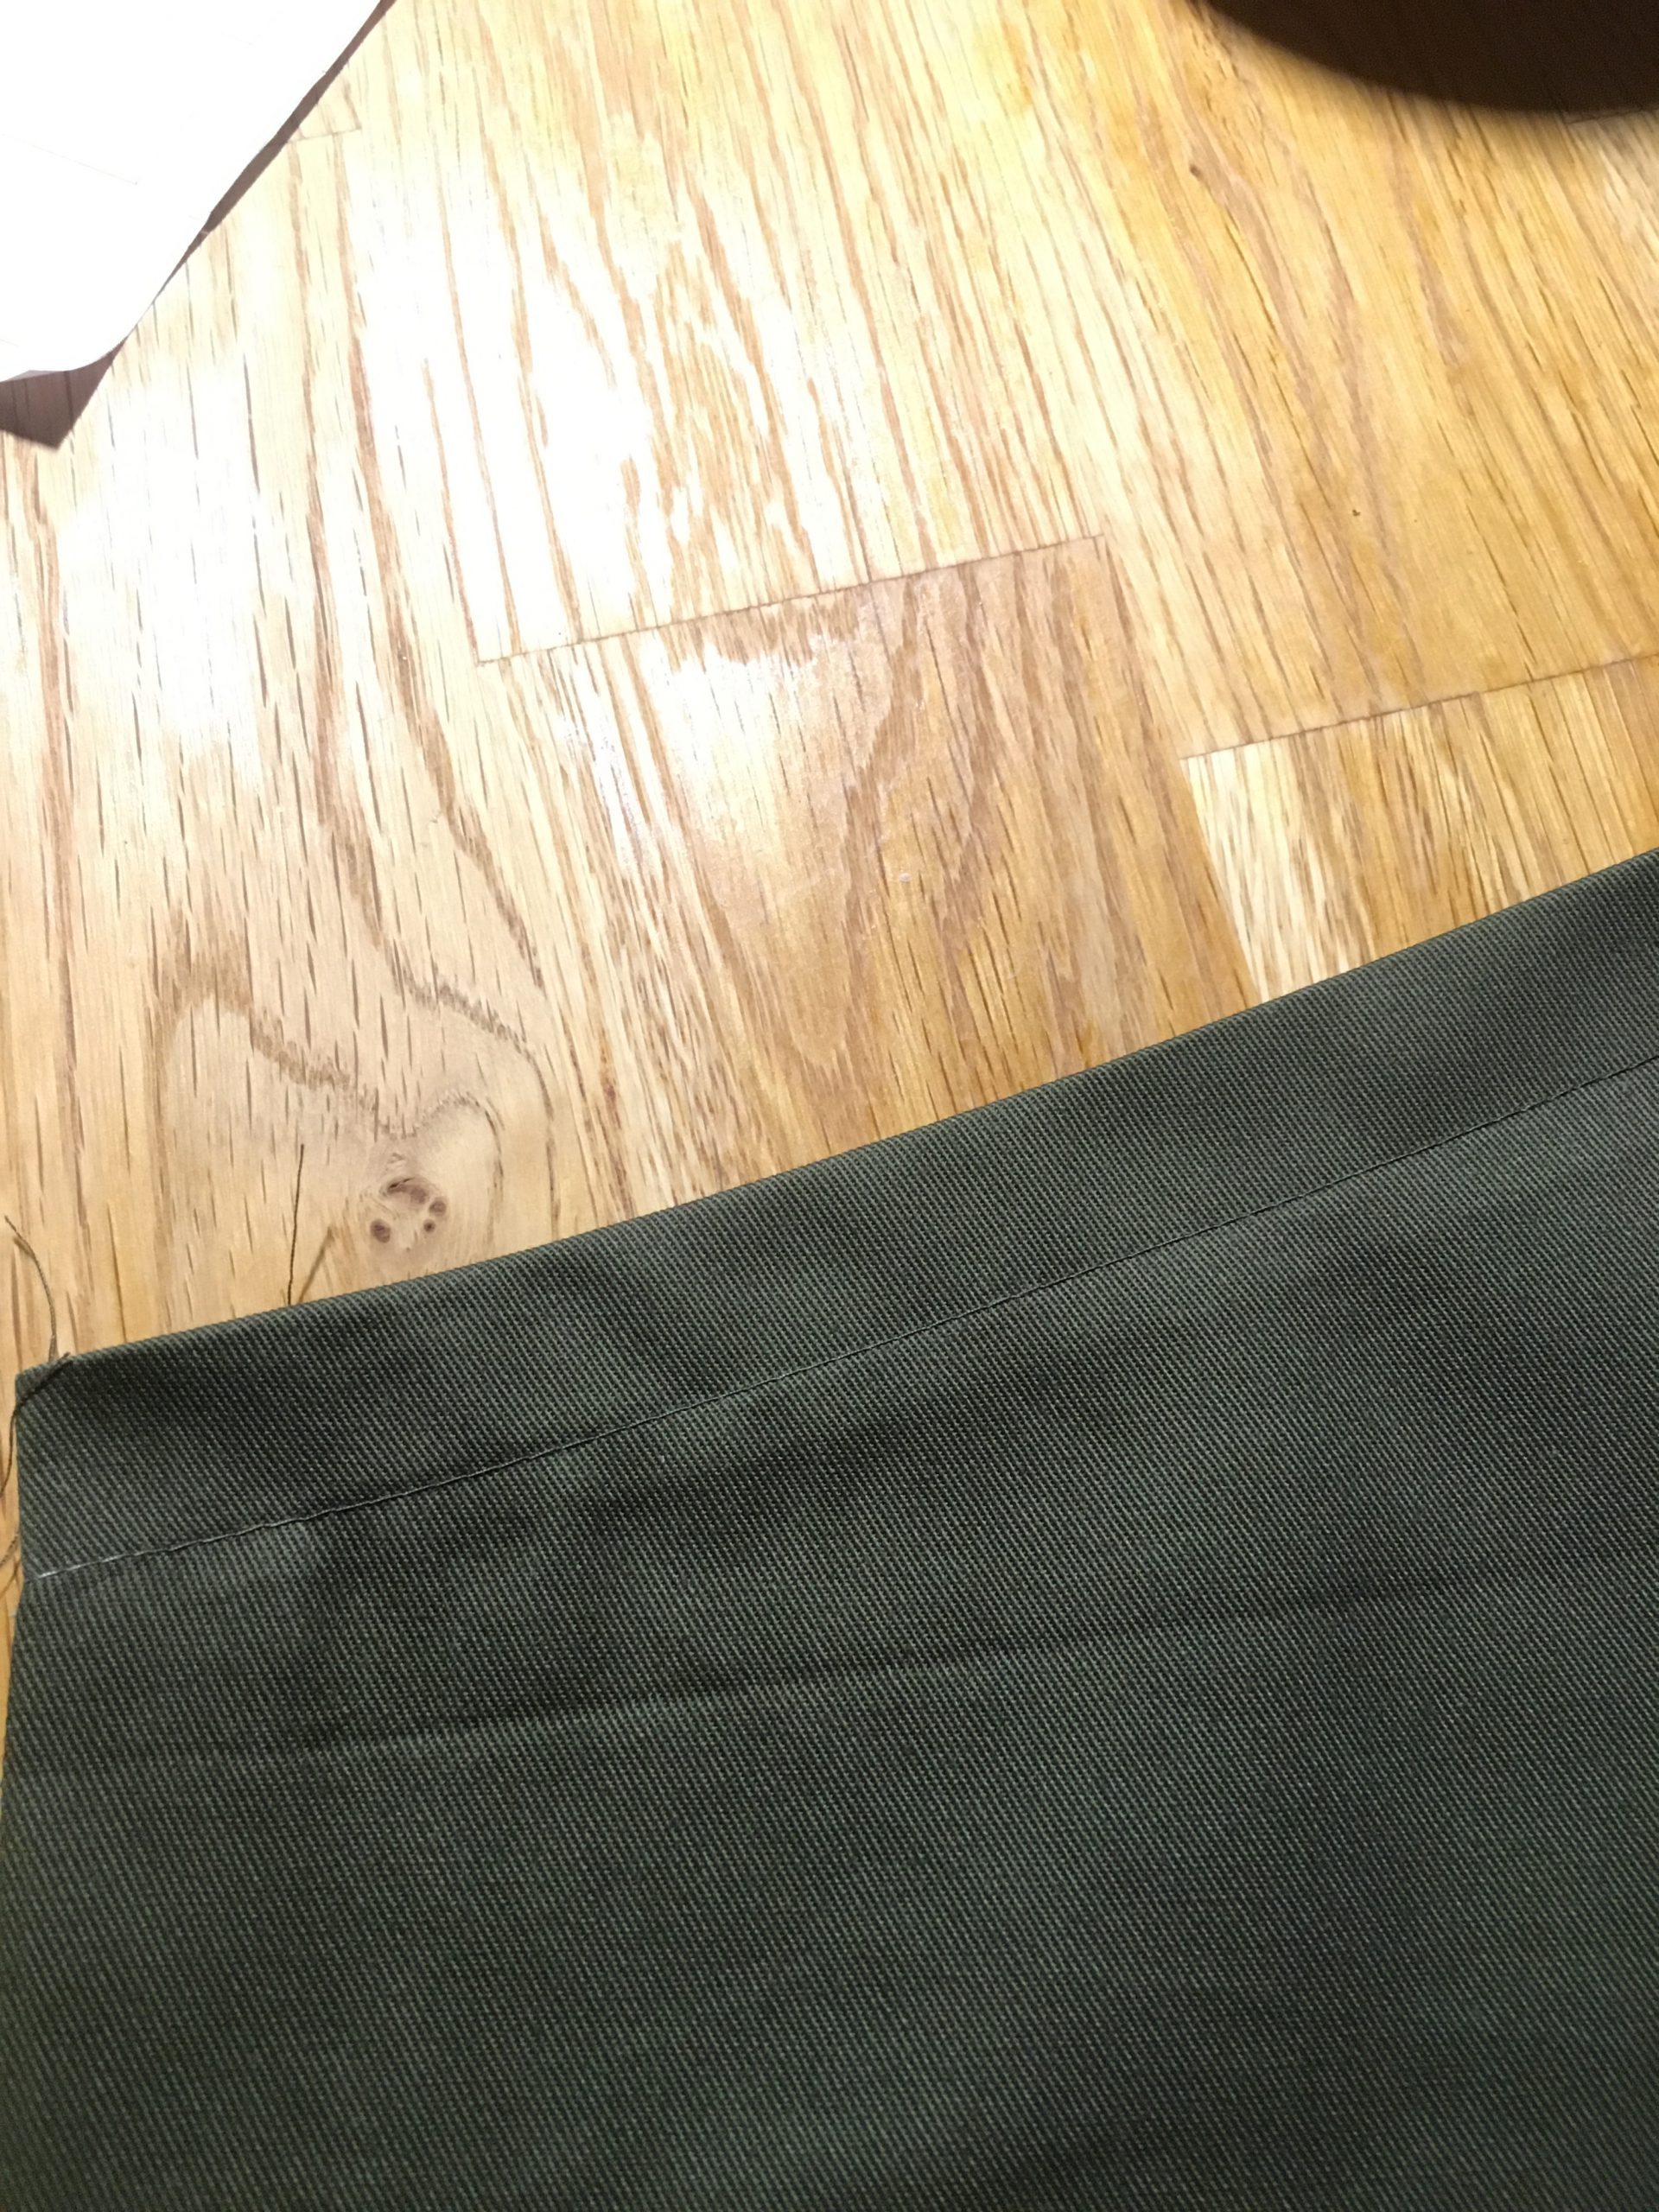
Now finish the top edge with your overlocker and iron it under as shown in the pattern. Topstitch the edge on the right side.
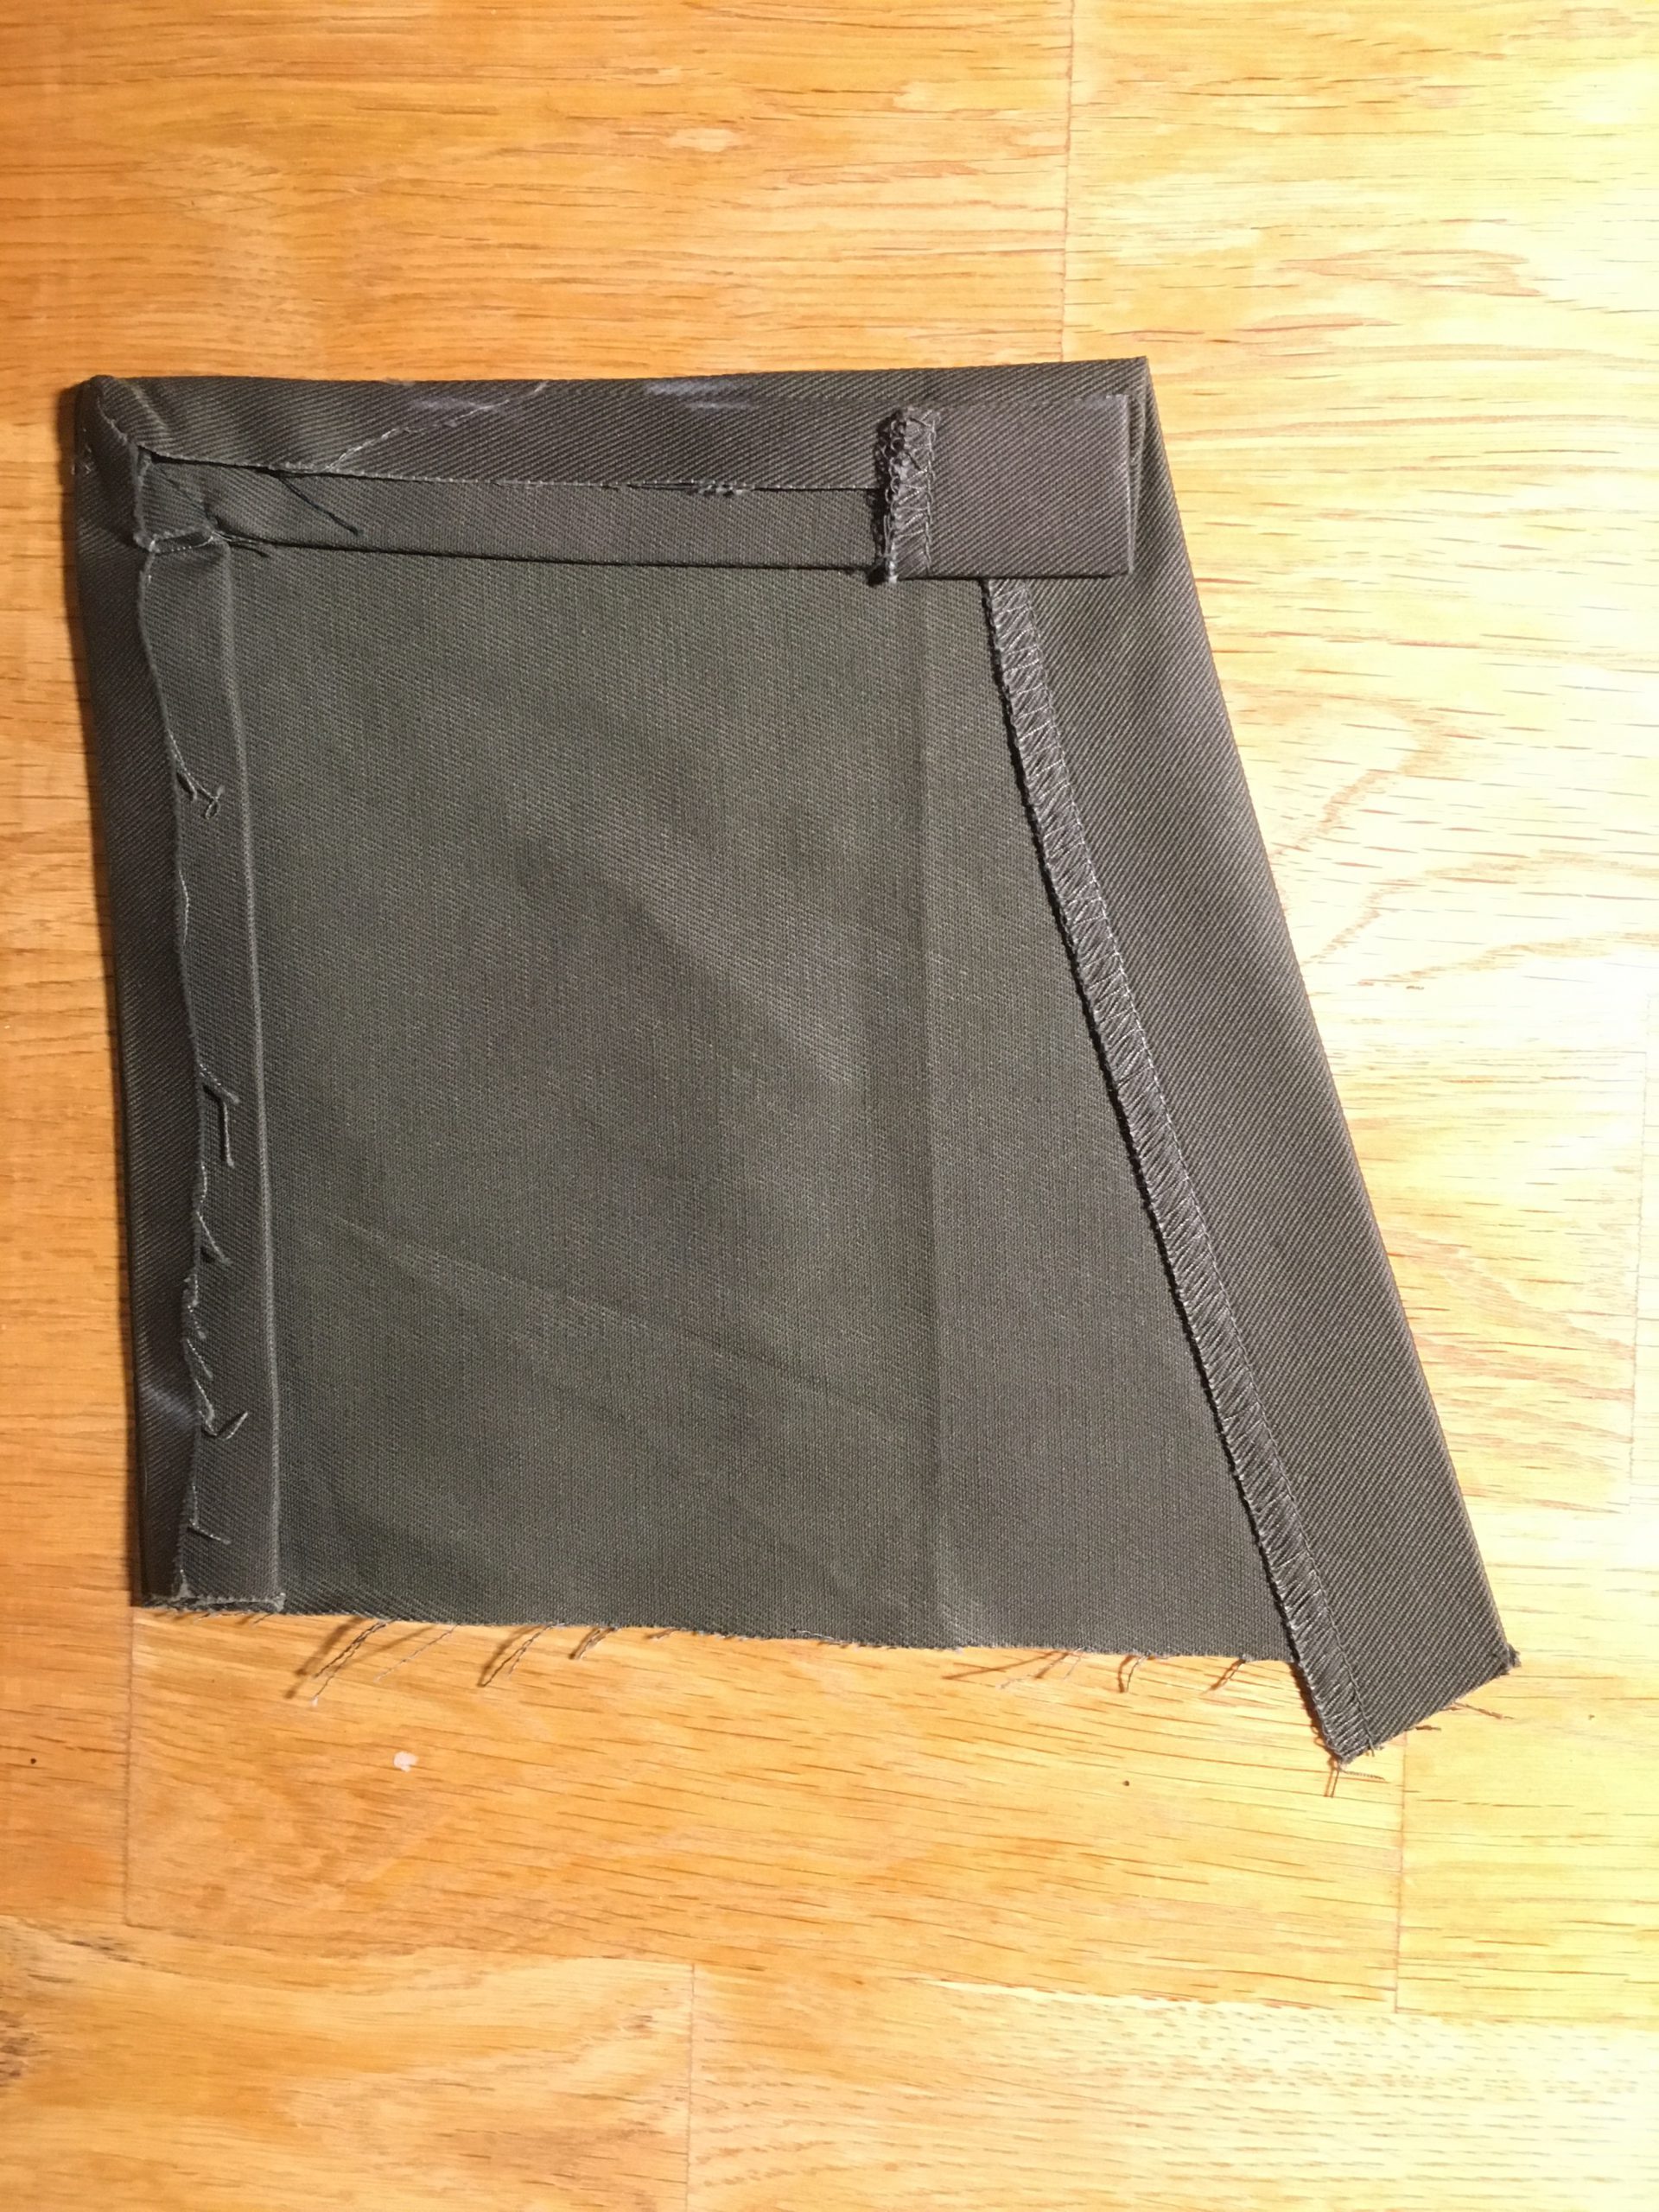
Now fold the pocket along the marked lines and iron everything well. Then the pocket should look like the photo below from the wrong side.
And this is what the pocket looks like from the right side.

Now the pocket is ready to sew onto the pants. Place one pants pocket on the right side of the pants and pin it to the corresponding markings in the pattern. On the front, the pocket is sewn into the seam with the front piece, on the back you topstitch it in the lower fold so that the seam is not visible from the outside.
Step 5: Sewing in the zipper
First, the overlap on the right front piece must be trimmed so that only a seam allowance of 1 cm remains from top to bottom.
Finish both edges using the overlocker. Be careful not to accidentally cut the fabric with the knife at the “curve”.
Then iron the seam allowance and the overlap (fly facing) onto the wrong side of the fabric.
Now take your zipper and measure first where exactly it ends with the teeth. Important: For this, place the zipper on the front center so that you have 1 cm space at the top from the waistband of the pants to the first tooth. Then mark the end of the zipper (last tooth) on the fabric using tailor’s chalk.
Now place both front pieces on top of each other with right sides together. Then sew the crotch seam from the bottom to your straight marking.
Now place the zipper on the inside of the pants and pin it on the side with the shorter allowance on the inside. Sew the zipper on this side using the zipper foot.
Now fold the other side of the fly over it from the outside, just like your pants should lie later. If you have any wonder tape, you can now use it to fix the other side of the zipper. But even without wonder tape the whole thing is not a problem. In this case, I attached the zipper from the right side of my pants first, so that everything has a lovely neat, smooth finish. Then I turned the pants wrong side out and placed the pins so that they only touch the zipper and fly facing. I then removed all the other pins that had held the outside of the pants.
Now sew the zipper just onto the fly facing. There should be no seam visible from the outside of the pants.
After this, the fly guard is prepared. Place this in the center with right sides together and close the lower seam. Trim the seam allowance back to about 3 mm and turn the fly guard. Iron everything nice and smooth and finish the long, still open edge using your overlocker.
Then you can place the fly guard on the edge of the zipper fabric tape so it is covered on the inside of the pants. Sew the fly guard exactly in the zipper’s seam.
Finally, you can close the small gap at the end of the zipper with a short, horizontal seam.
Step 6: Sewing on the waistband
All that is missing on the Cecelia pants now is the waistband. Prepare this with Vliesline Waist-Shaper. In my size, the Waist-Shaper band was a bit wide, which is why I cut it a bit narrower.
First sew the outer waistband on the pants with right sides together. There is a 1 cm seam allowance left over on each end.
The inner part of the waistband is then prepared. For this, iron the lower edge 1 cm onto the wrong side, this will make the next steps easier for you.
Afterwards, the inner waistband is sewn onto the outer waistband with right sides together. Also sew the short ends together. And in fact so that they are exactly level with the fly facing and guard. Trim the corners diagonally and turn the waistband. Shape the corners carefully for a nice result.
Now the straight edge, which is ironed onto the wrong side, is placed on the inside of the pants. This is then held and fixed with a seam close to the edge from the outside. Of course, you can also sew it on the wrong side but the seam is then often visible on the right side so it is important that the seam runs evenly on the right side.
Step 7: Finishing the Cecelia pants
You’re almost finished! Now sew the hook fastener onto the waistband with a few stitches by hand and hem the pants.
It’s worth trying them on quickly to determine the exact hem length. If the pinned hem fits, you can sew it using straight stitch (or a decorative stitch).


0 Responses