 BERNINA Corporate Blog -
CREATING BEAUTY WHILE RE-USING!
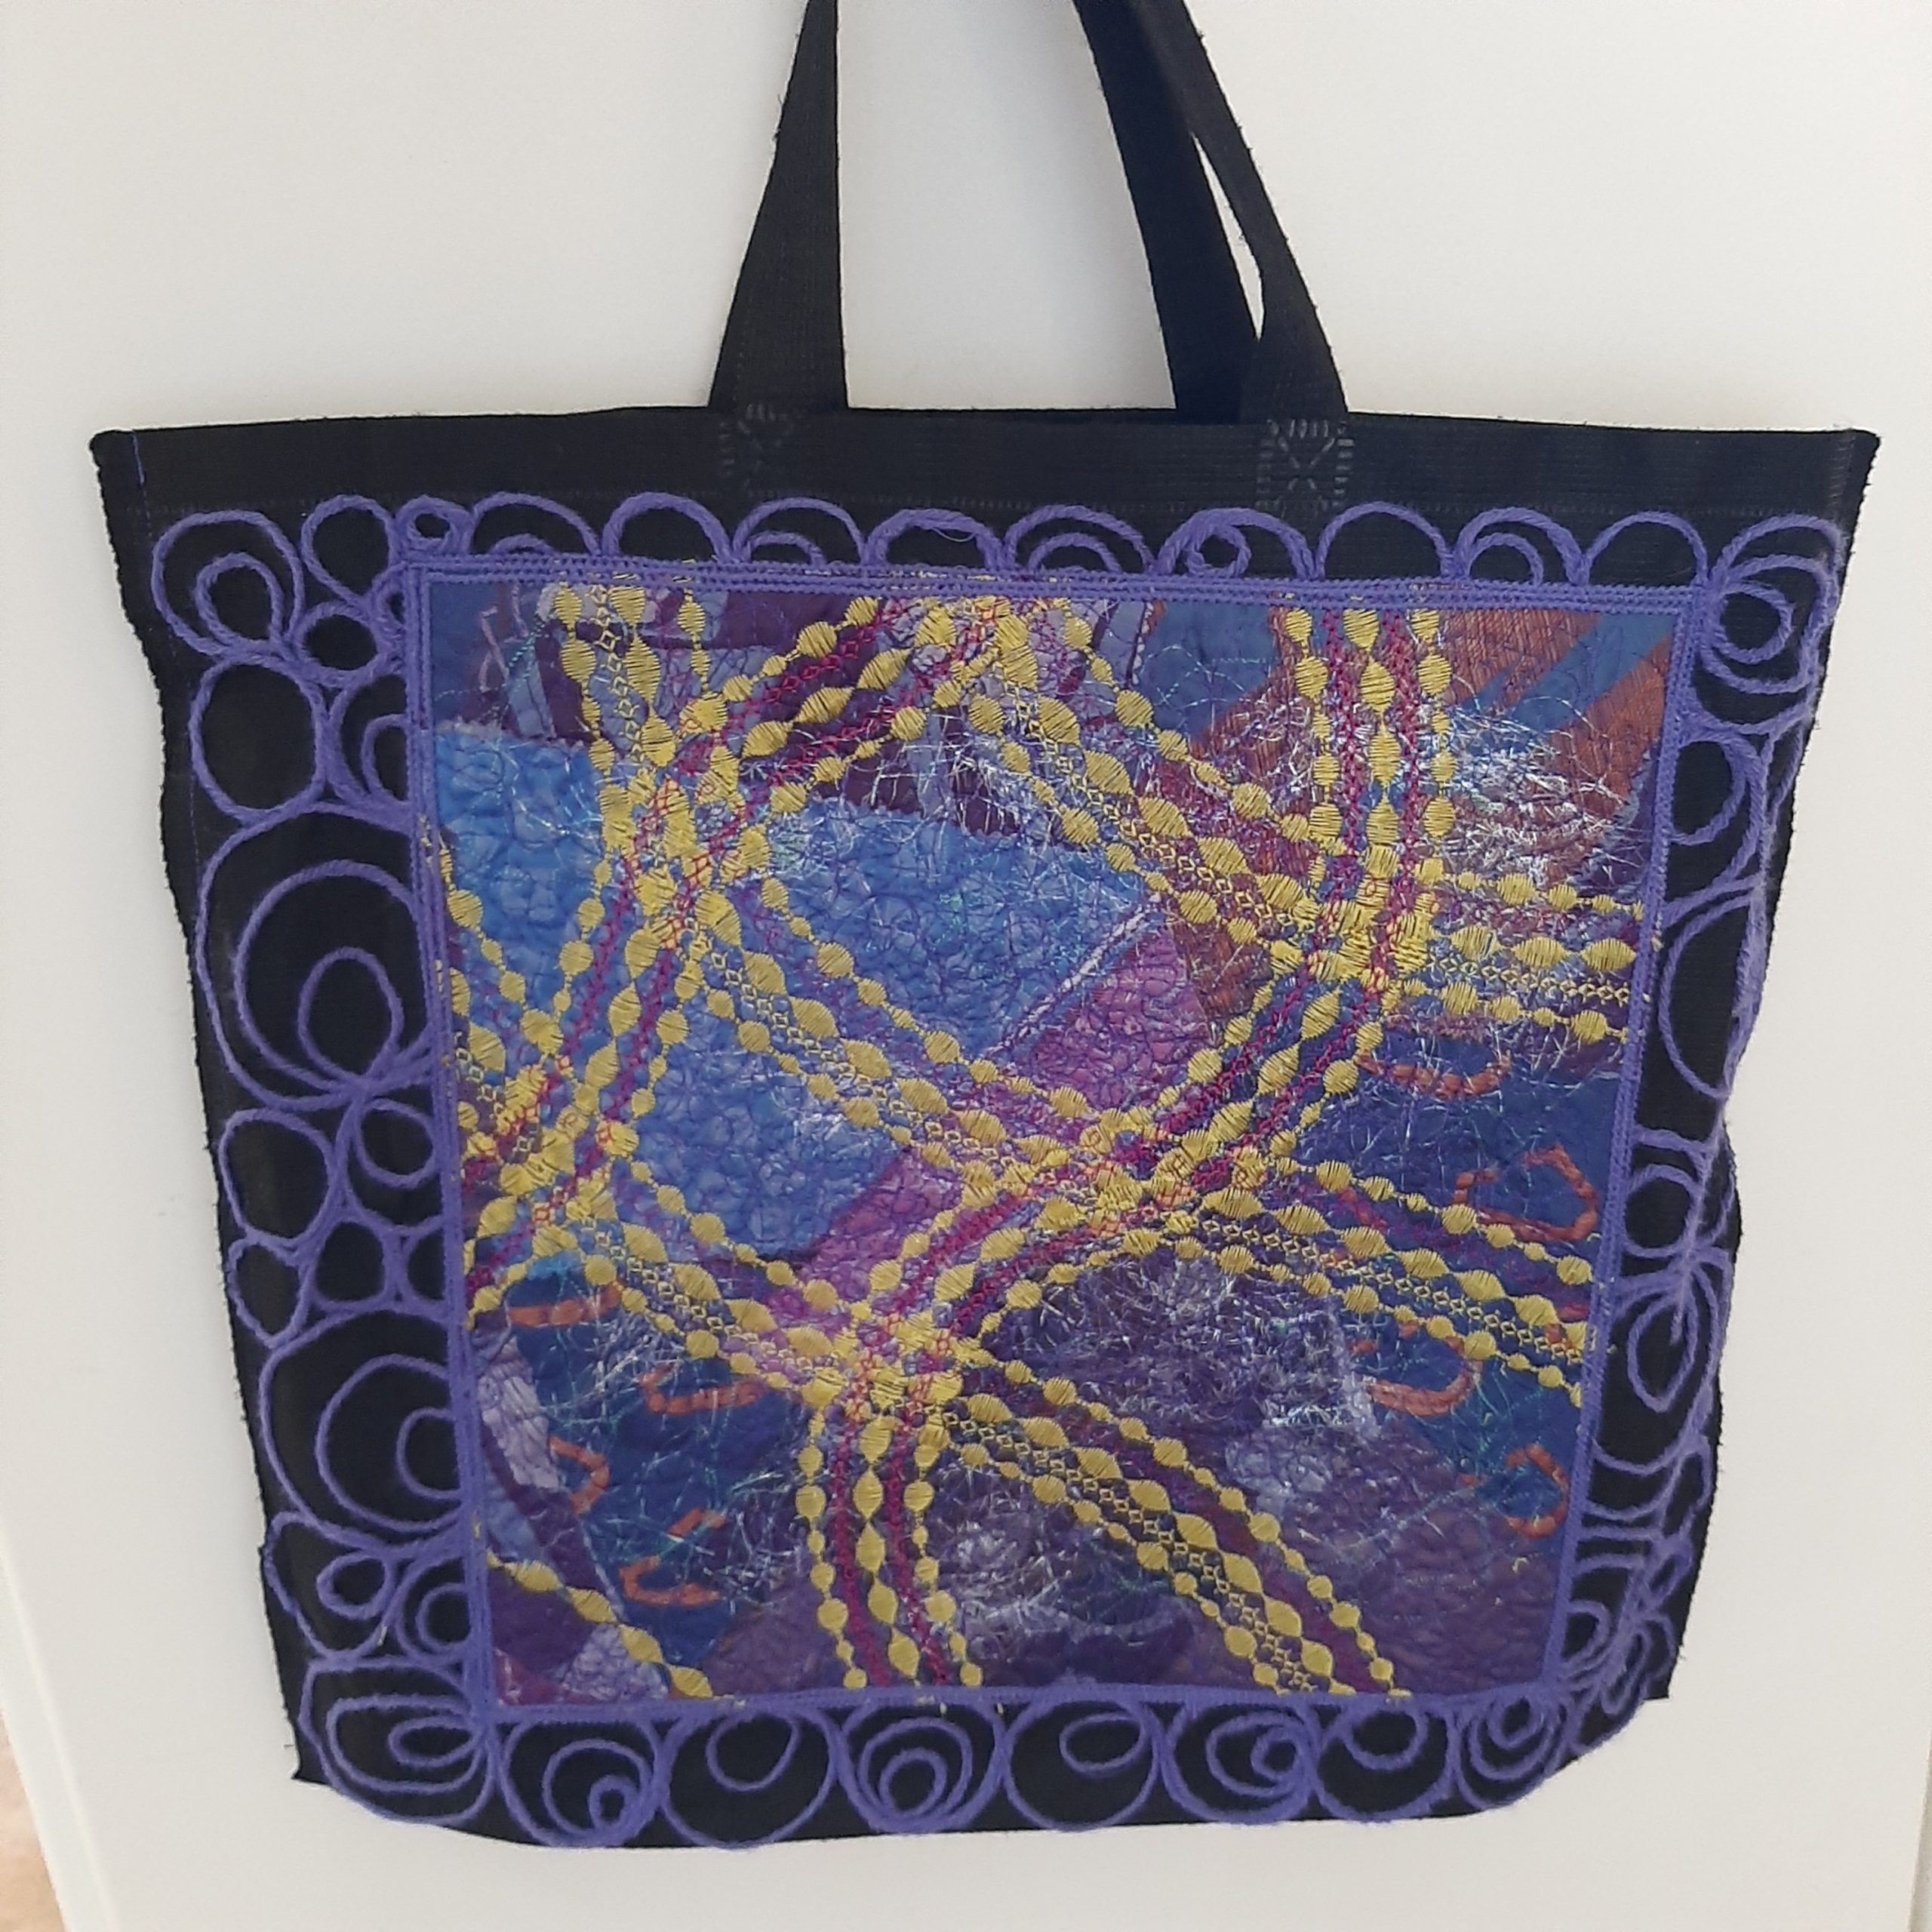
MY INSPIRATION FOR THIS RE-USED SHOPPING BAG.
I try to have a no-waste-practice. Therefore, I very seldom throw anything away. When I look at the boring shopping bags that one can purchase at local supermarkets, I always feel that there is some way to incorporate my snippets of thread and bits and pieces of fabric. This is my inspiration for the re-used shopping bag. I urge everyone to also start repurposing, re-using and lastly, when nothing can be re-used or repurposed, recycling in their studios! I created beauty while re-using old shopping bags.
CREATING BEAUTY WHILE RE-USING AN OLD SHOPPING BAG.
YOU WILL NEED:
- A re-purposed shopping bag from your local supermarket (I am not talking plastic….that is, in my opinion, the absolute last thing that I will ever use!)
- Loomtex batting (a bit bigger than the bag)
- A sheet of organza the same size as the batting.
- Machine compost (all the bits and pieces like threads and small scraps that normally go into the rubbish bin)
-
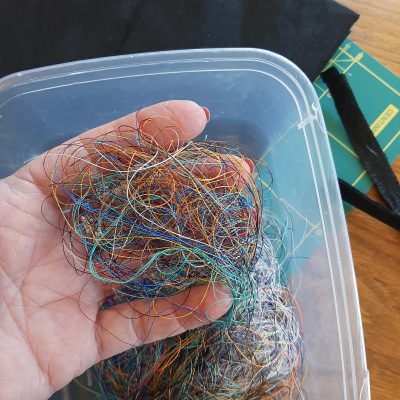
MACHINE COMPOST such as bits of thread and scraps that you would normally throw away.
- Machine embroidery thread.
- A neutral all-purpose thread that blends in with your shopping bag.
- Left-over yarn from previous knitting projects.

CREATING THE DECORATIVE PANEL
Place the batting on your work surface.
Cover it all over with the scraps.
Sprinkle machine compost over.
Place the organza on top and pin.
Set your machine up for FMQ and meander all over using foot #24 or Foot #73.
Set your machine up for decorative stitches and change to foot #20D.
Choose a stunning decorative stitch from the built in stitches on your machine and a contrasting colour machine embroidery thread.
Create interesting patterns on your background fabric.
Square off and set aside.

DECORATIVE STITCHES AND CONTRASTING MACHINE EMBROIDERY THREAD. Use these to decorate your recycled piece of fabric.
THE SHOPPING BAG
Lay the shopping bag on the cutting board and trim the sides off.
Open the bag.

CUT THE SIDES OFF and OPEN THE BAG.
Use foot #43 or foot #72 and couching inserts and couch the yarn on the back of the shopping bag.
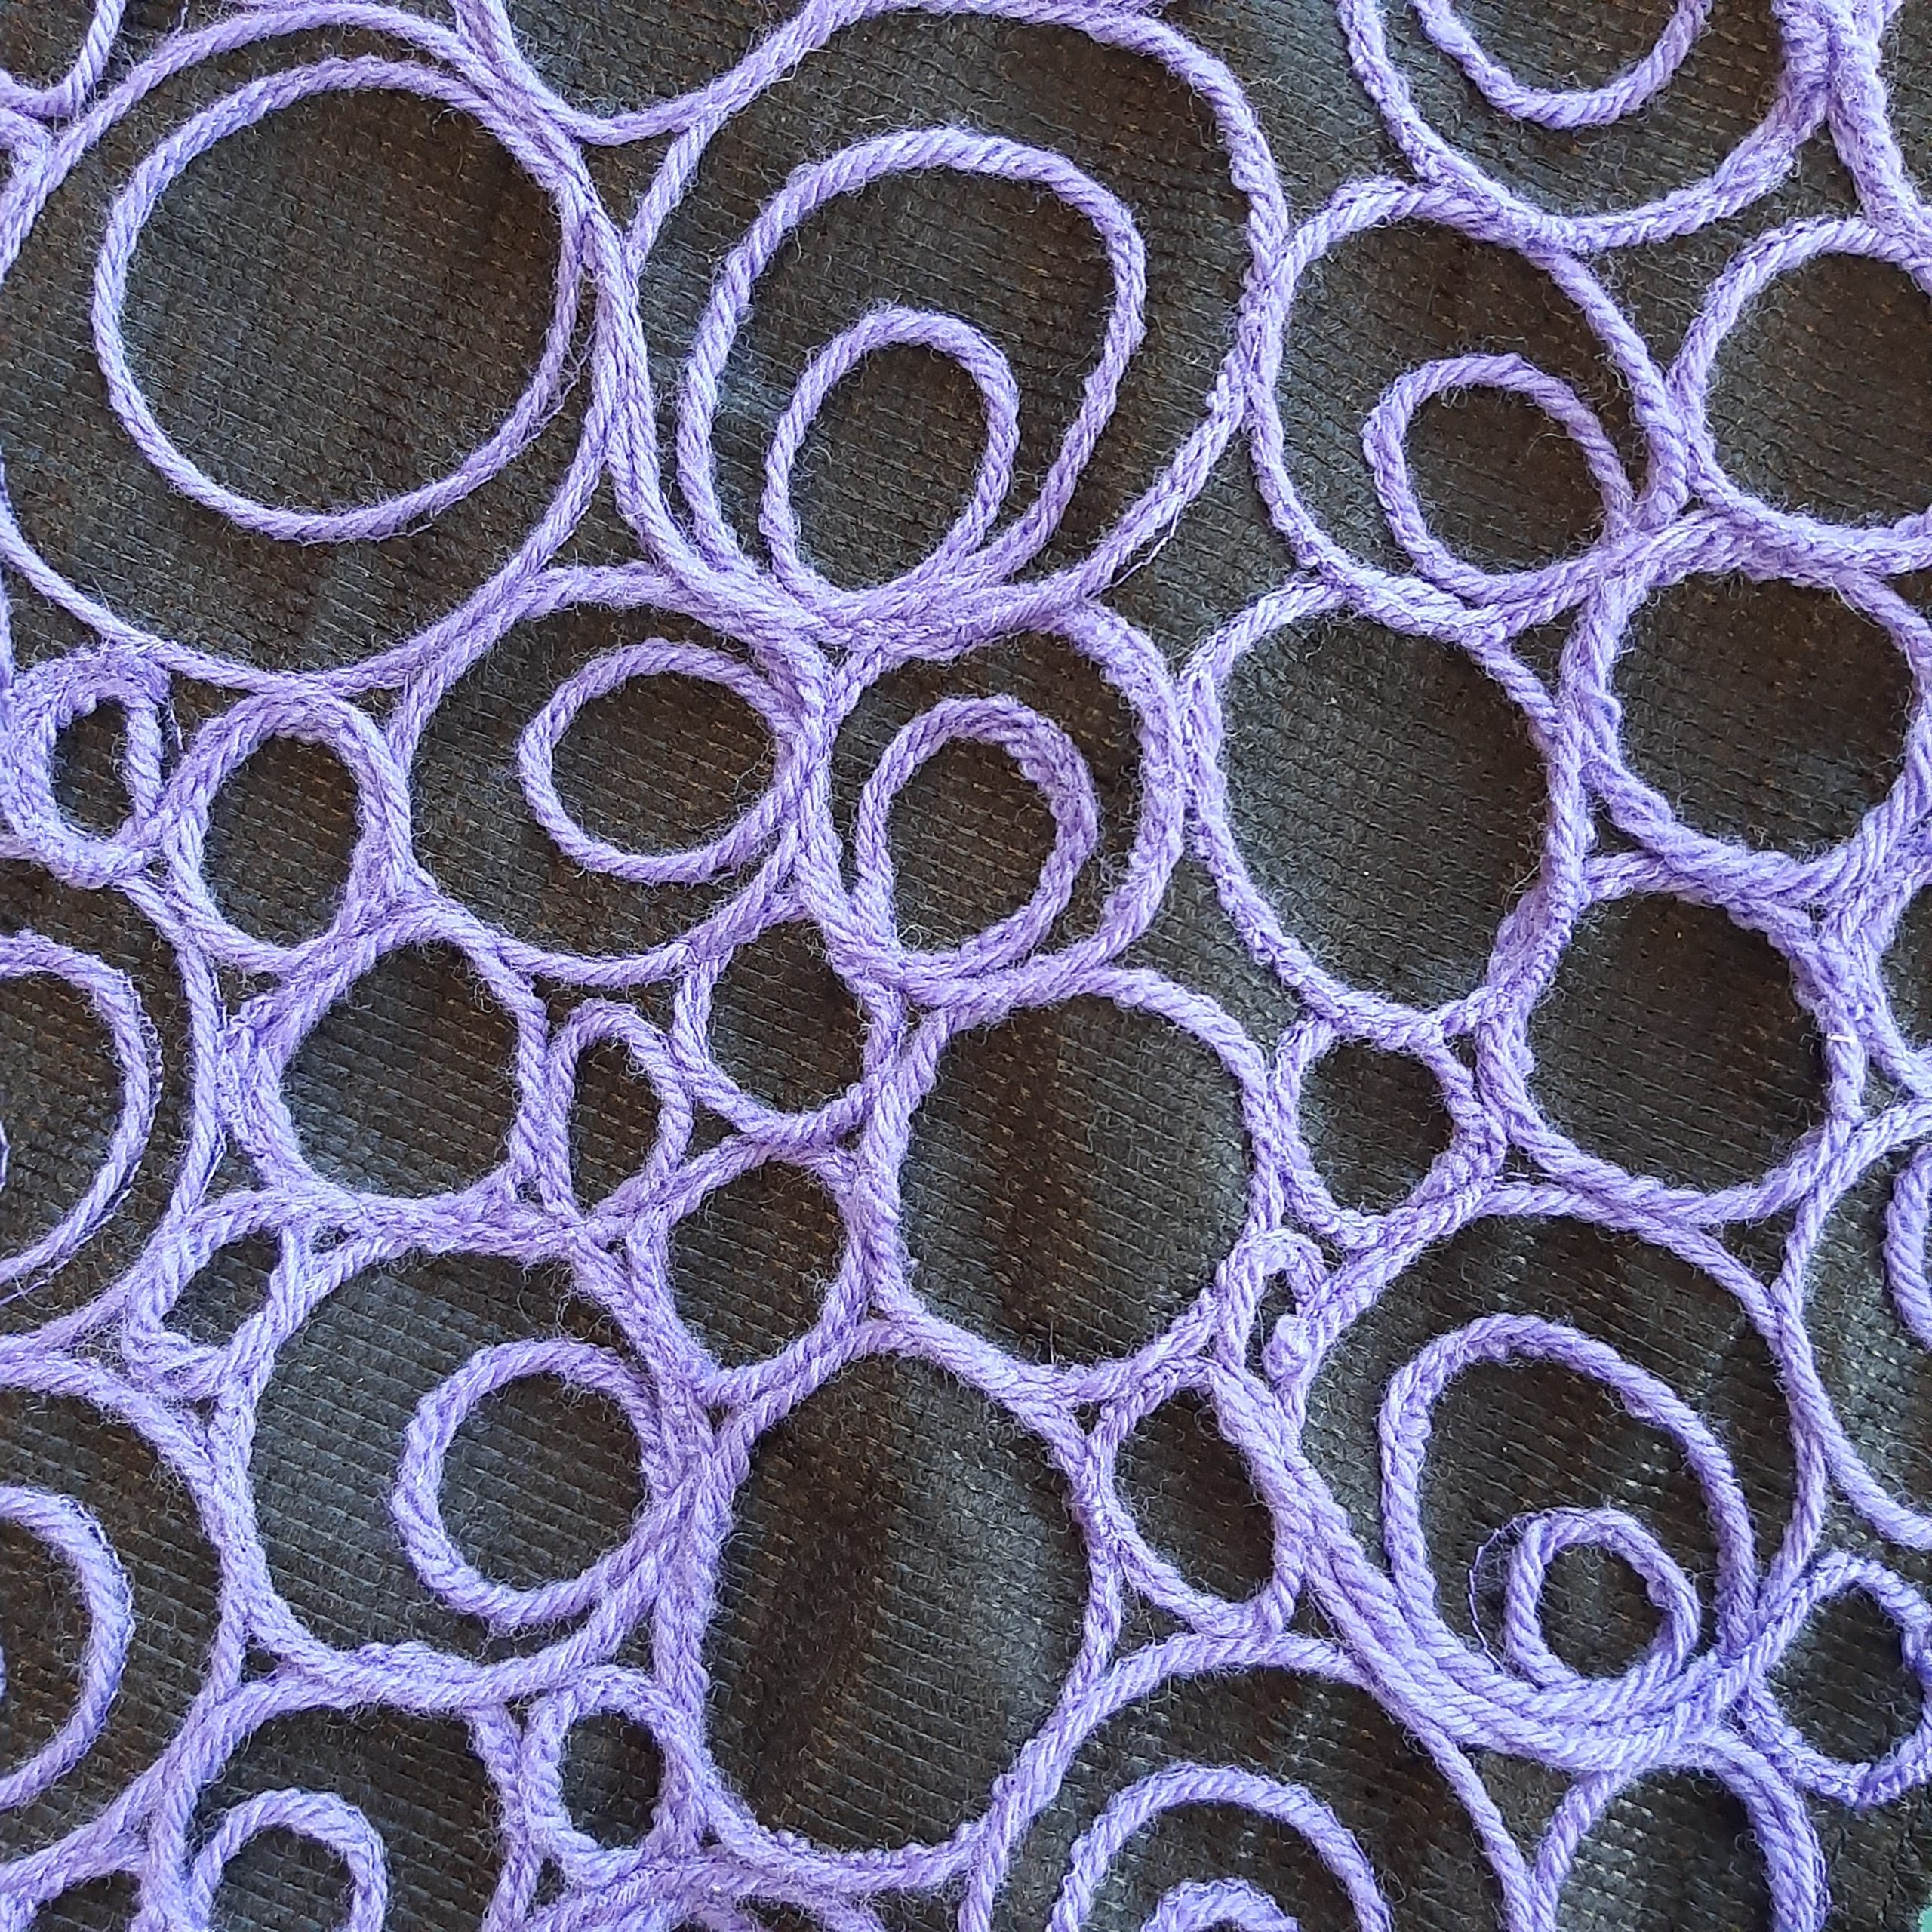
MACHINE COUCH YARN ON BACK OF BAG to decorate and reinforce the bag.
Position the background fabric on the front of the bag and sew around the edge, using foot #20D.
Use foot #21 and couch a piece of the yarn around the edges of the decorative panel to finish it off nicely.
Re-fold the bag on its original folds and stitch the sides. You may also want to overlock the edges.

RE-FOLD ON ORIGINAL FOLDS, STITCH SIDES and overlock for extra strength.
Your repurposed shopping bag is beautifully decorated and with all the extra stitching on it, it is stronger and will last longer!
If you are passionate about textiles and want to learn more about how to incorporate my innovative techniques into your work, follow me on Instagram @tillydeharde and Facebook, Tilly de Harde Fibre Artist & Teacher and visit my website www.tillydeharde.com & subscribe to my mailing list. The link to my Youtube channel where you will be able to look at video clips and tips is, https://www.youtube.com/@tillydehardeartwork
Please don’t forget to leave a comment in the comment box below!
Thanks Tilly that looks like a fun project
Hi Jenny, it really was! And a quick and easy way to use class samples as well! All those orphan blocks that we as teachers have so many of and don’t know what to use it for! Decorate an ordinary bag and make it special. Love, Tilly
Appreciate your work and will love to read your incoming articles too.
Hi Andrew, I’m so pleased to hear that! Keep watching, there are lots more to come! Regards, Tilly