 BERNINA Corporate Blog -
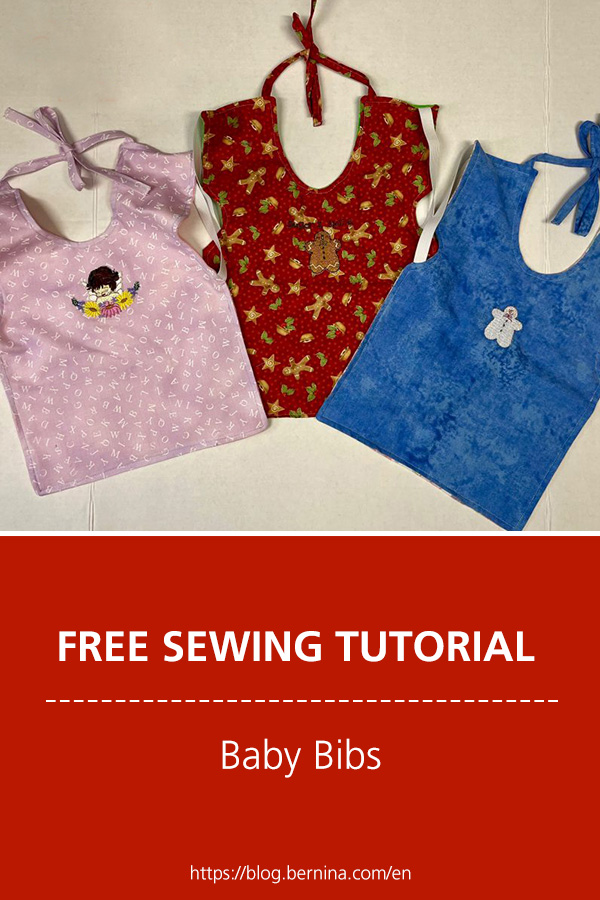
Full Front Baby Bibs
Sometimes when we think of babies we don’t know what to get them for Christmas. Christmas is all about the thought that counts. I personally am reluctant to leave out my littles when thinking about gifts. Today, I will share with you a free pattern for practical baby bibs that you can embroider or appliqué. This full front bib will protect special holiday attire and prevent messy moments from ruining clothing. Moms, dads and all family will be happy with all this useful & easy sewing project.
Supplies Needed:
- 12 1/2” x 16 1/2” (31.75cm x 41.91 cm) of front fabric- cotton used
- 12 1/2” x 16 1/2” (31.75cm x 41.91 cm) of back fabric – flannel used
- 2- 7” (17.78cm x .635cm) pieces of 1/4” elastic
- 2- 1 1/2” x 12” ( 3.81cm x 30.48cm) of fabric to match front for ties ( could use ribbon)
- thread to match
- sewing machine with embroidery module, used was BERNINA artista 200 with Embroidery Module (pre existing embroidery designs could also be appliquéd onto the bib) (optional)
- small embroidery designs for Christmas or children’s motifs (optional
- mid-weight stabilizer for embroidery hoop
- embroidery threads
- Fusible product ( like Steam a Seam 2 Lite) if using a pre existing design that is appliquéd to the bib (optional)
- anti fray product ( optional)
- Embroidery Foot #15
- Free pattern for Full Front Baby Bib available here
Sewing Instructions:
- Gather all supplies as shown

Supplies gathered for full front baby bib, using a pre existing embroidery design to be appliquéd
Cutting:
- Cut out your bib pieces ( front & back) with the pattern provided. Cut on the fold of fabric as shown.

Pattern & fabric prepared for cutting

Front & back of baby bib now cut out
- Cut out all elastic and straps and set aside
Embroidery:
- Mark the centre front of the bib to have it ready for the embroidery design, the top of the design should be centred and 2” (5.08cm) down from the top.

Centre mark made for placement of embroidery
- If embroidering with an embroidery module as I did with the snowman and gingerbread designs, I found it effective to use a midweight woven stabilizer in the hoop and hoop the fabric with it and a small embroidery hoop. I cut away the excess stabilizer when the embroidery was complete.

Embroidering a snowman on the Full Front Baby Bib
- If using a pre existing design, apply an anti fray product to the edges, let this dry. Cut out the embroidery design. Fuse a fusible product to the back of the embroidery design and fuse with a hot iron to the front of the baby bib.

Embroidery design from Elsa’s Favorite Florals being applied with her an anti fray product

Ironing fusible web to the wrong side of the embroidery design
- If using a pre-made embroidery to appliqué, fuse the design to the bib front as marked, sew with a very small zig zag & Open Embroidery Foot #20


Zig zagging the embroidery design with Open Embroidery Foot #20 & my BERNINA 350
TIP: Use thin matching thread to adhere the embroidered appliqué
Sewing the ties:
Press both ties on the long side , 1/4” towards the centre on both sides as shown:

Ties Pressed 1/4” towards the centre on long sides
- fold the ties towards the centre, press & clip, ready for sewing as shown.

Ties folded in the centre and clipped, ready for sewing

Stitching 1/8” (.31cm) in from the edge for the 2 fabric ties
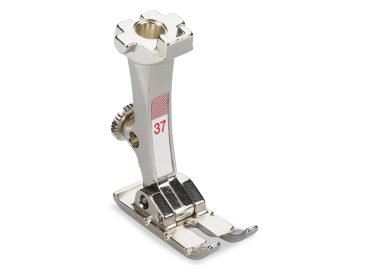
- Edge stitching was stitched with a Patchwork Foot #37
- Zig zag the short ends of each tie and apply some fray stop product to the stitches.
Sewing the bib together:
- Pin & baste the ties and elastic to the right side of the bib 1/8” (.31cm) in and 1/2” (1.27cm) from the neck line edge for the ties. Place elastic close to the shoulder and bottom of arm hole also & baste 1/8” (.31cm) in. See photo below for placement:

Ties & elastic attached to the front of the bib fabric
- Pin the ties and elastic to the front of the bib to keep them away from seam allowances.
- Pin the right side of the back fabric to the right side of the front fabric and sew with a 1/4 (.635cm) seam allowance. Leave a 4” gap at the bottom for turning. Clip curves.

Right side of back fabric pinned to right side of front fabric
- Remove all pins, turn the bib to the right side through the 4” gap, press & top stitch 1/4” (.635 cm) from the edge.

Top stitching 1/4” (.635cm) from the edge to finish
Admire your efforts or the baby modelling it 😊

Baby “O” modelling Full Front Baby Bib
Full Front Baby Bibs
If you need more baby gift ideas check out my website here.
These full front bibs take no time to complete and even if you don’t own an embroidery machine, they’re so fun to make, explore your stash of fabric for cute prints and enjoy the gift of giving this season. Wishing you all a Happy & Healthy Holiday🎄


Searched high and low for pattern, would love to make it, where is it.
Link for free pattern is at the end of the supply list, please click on ‘here’ after the sentence Free full front baby bib pattern available here
Looks like a great bib for a 1-year-old but…where is the Pattern.why is it so difficult to find patterns on your site especially the ones that are offered free.
Hi Annette , please click on the word here at the end of the supplies list it says free pattern for full front baby bib here . Happy Holidays 🎄