Dear community,
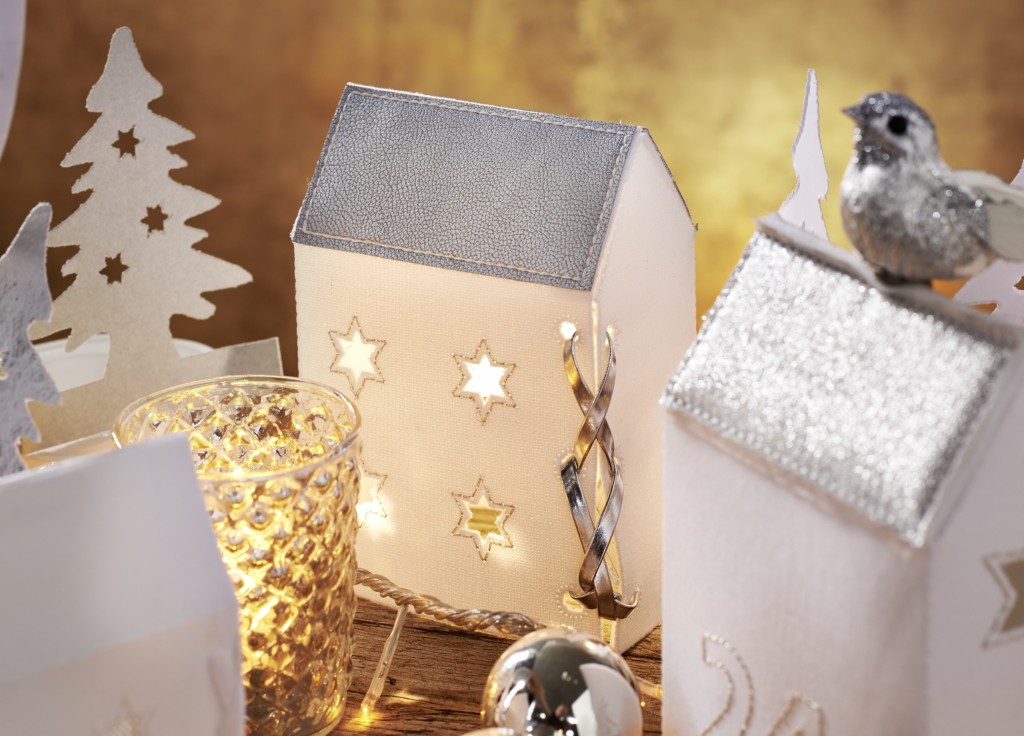
in this blog post you can find easy instructions on how to make decorative Christmas houses (with free Cutwork template) – perfect for Christmas and New Year’s Eve!
On behalf of the entire BERNINA team and all of the BERNINA bloggers I wish you a very happy Christmas! Enjoy the time among your loved ones, have a great start to the New Year and, above all, I wish you good health! And leave the sewing machine aside for the next few days too. The New Year will hopefully provide ample opportunity and inspiration for creative projects.
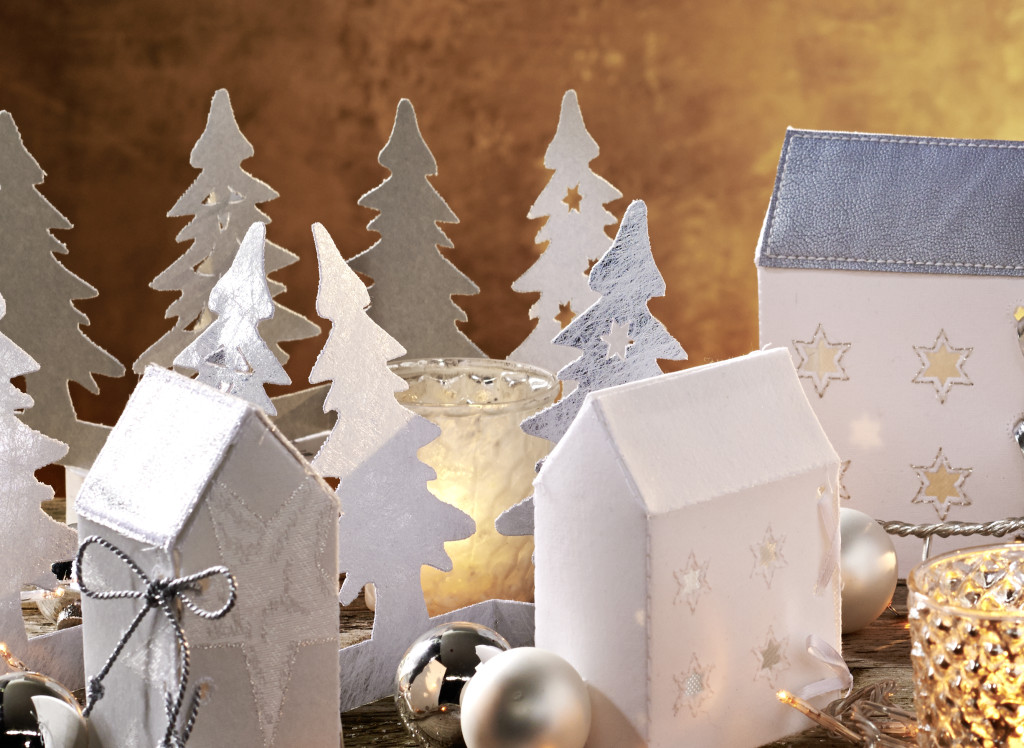
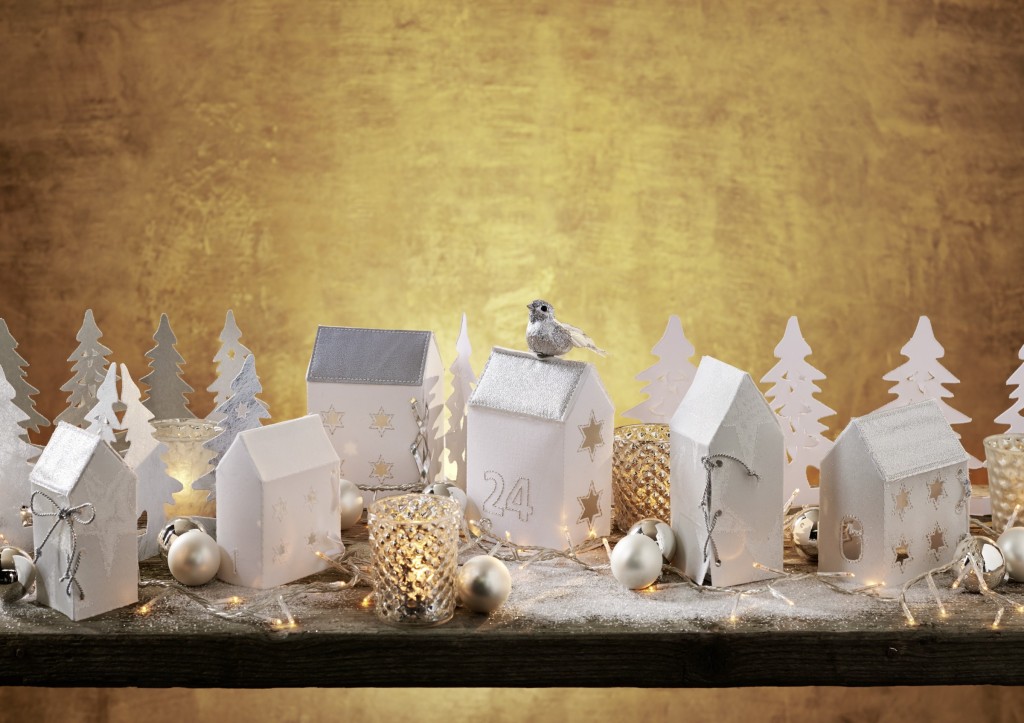
This article also comes with a little bit of inspiration for December 2015 – build your own little Christmas village! You decide whether to use it as a decoration or as an Advent calendar. It would be charming to hide Christmas presents beneath the little houses. The instructions come from Issue 60 of our inspiration magazine.
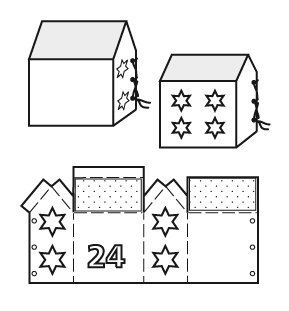
If you have the Jumbo Hoop, you can make bigger houses, but the little houses are also great in mini format. With CutWork, you can produce ready to go cut-out houses! Just lace them together, stick on the roof, and you’ve finished! You can download the CutWork patterns free here:
Download CutWork patterns
Those of you who do not have DesignWorks software can use our pattern here:
Little Houses and Christmas Tree Baubles Pattern
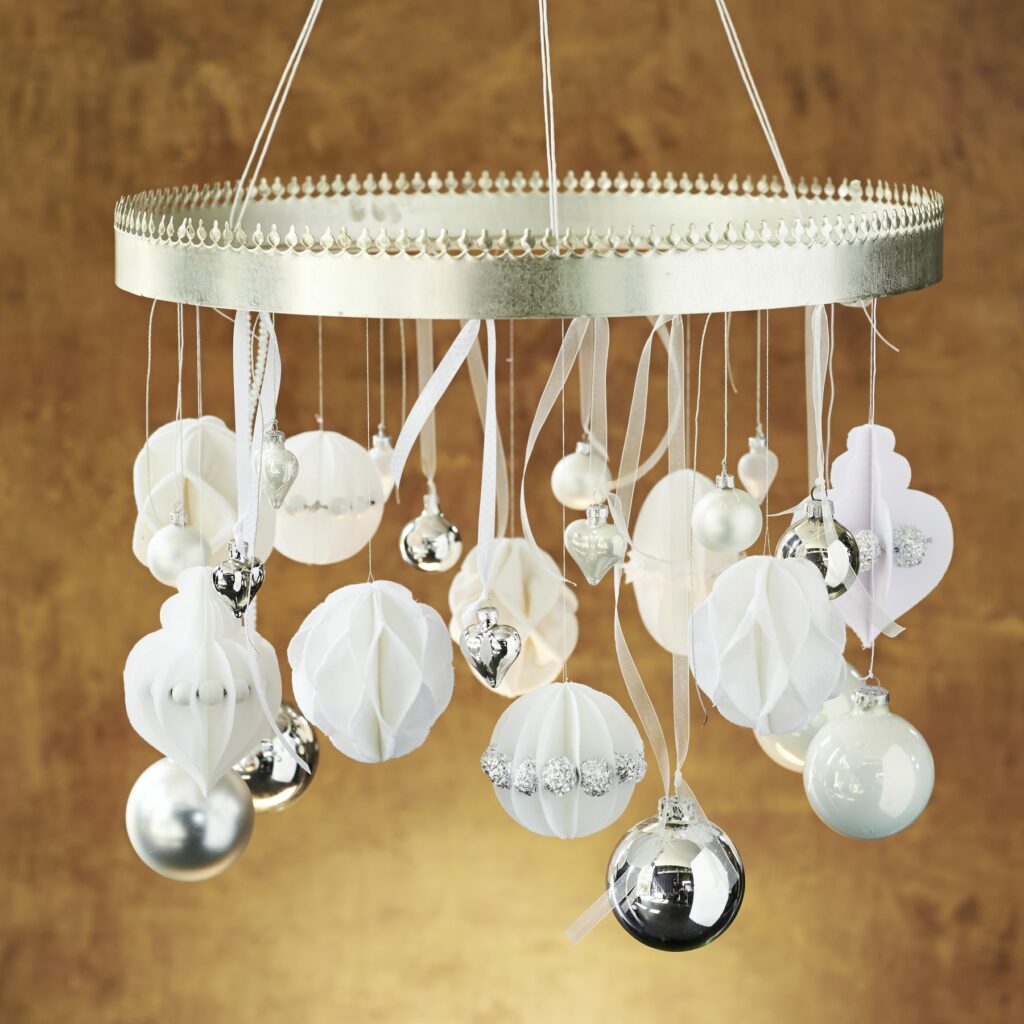
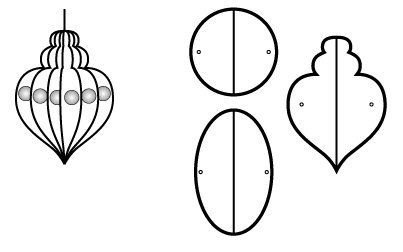
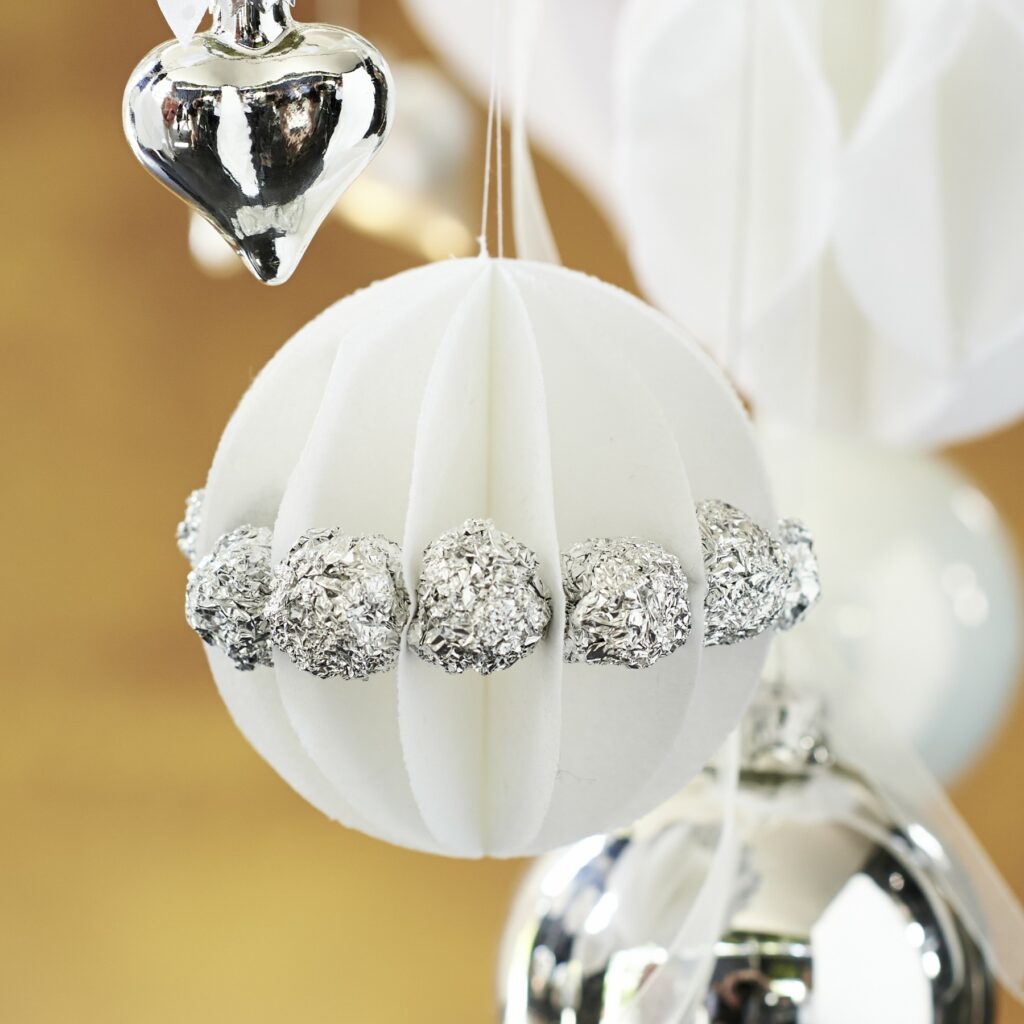
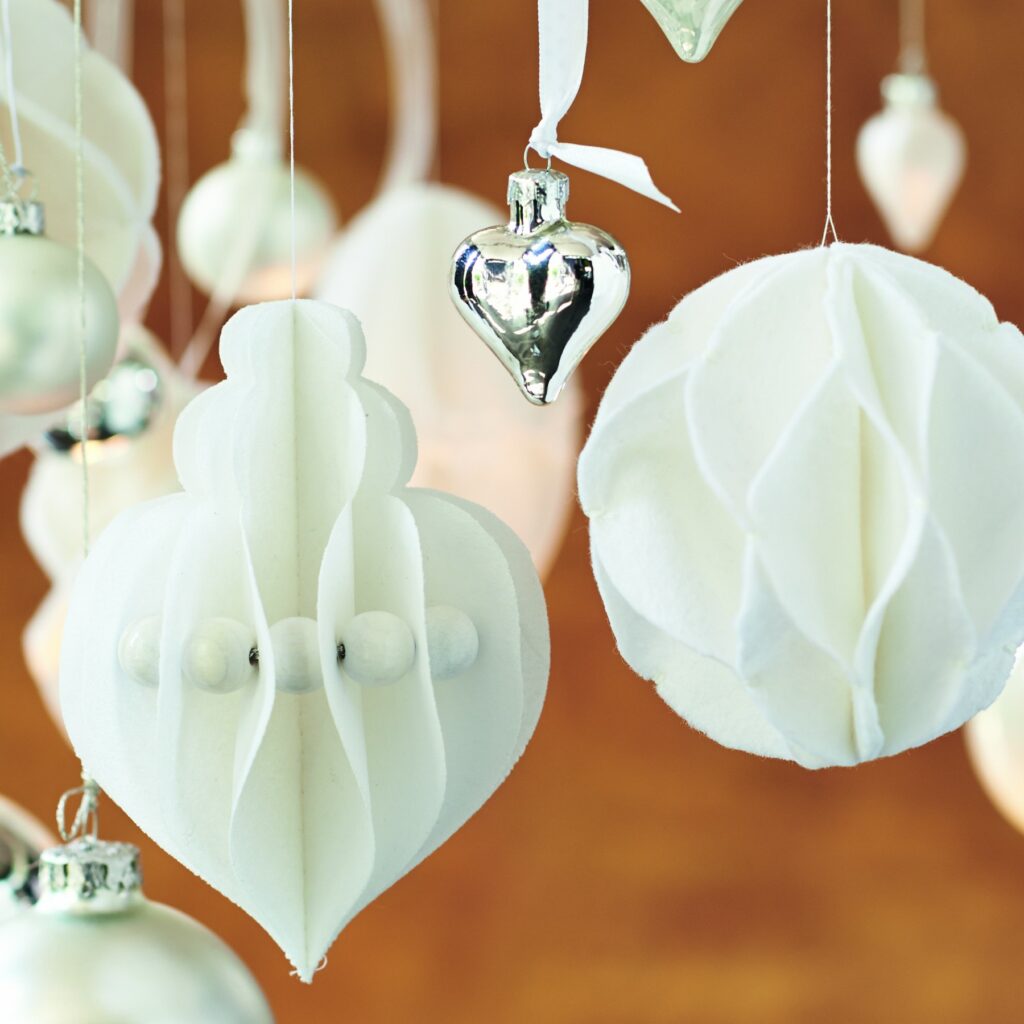
As well as the little houses, we have designed Christmas tree baubles made from paper and embroidery fleece remnants, again using CutWork. With the addition of beads or balls of aluminium foil and little ribbons, we made really unique pieces:
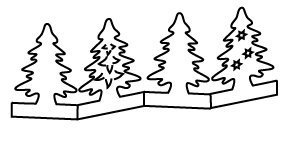
Last but not least – we remembered the simple cut-outs that children make. We created a row of pretty trees with CutWork:
Of course, you can also do without CutWork for the baubles and the mini fir tree forest and use your scissors. All of the cut-outs are contained in the pattern available for download below. And now here are the instructions:
Sewing instructions for Christmas houses
Dimensions up to 10 × 14 x 6 cm
Cut-outs:
Materials
- White fabrics, e.g. ‘Josepha’,
- 160 cm wide (from Swafing)
- Silver fabric remnants
- Ribbon remnants
- Metallic thread
- Saddlecloth insert or thin Decovil
- Glue
- Free CutWork file, see page 35
- BERNINA sewing machine
- DesignWorks/CutWork
Instructions
Adjust the file in your software to your screen size if necessary, or add other details, such as numbers. Cut out a saddlecloth insert a little larger than the house dimensions and iron on the wrong side of the fabric. Stretch the backing fleece and fabric in the frame and use the machine to cut and stitch it. Add some roof material if you wish. Take out the house.
Alternatively, cut out the sections using the printed out and stuck together A4 pattern.
Fold and iron all stitched house edges. Thread the ribbon through the holes and lace the house together. Push in the tabs and coat them with glue. Stick on the roof edges.
Sewing instructions for «paper» Christmas baubles
Dimensions 8 to 14 cm
Cut-outs:
Materials
- Stiff paper or embroidery fleece remnants
- 14–16 beads, diameter approximately 15 mm, aluminium foil or other decorative material
- Carat tape (from Madeira) or thin silver cord (from Union Knopf)
- Free CutWork file, see page 35
- BERNINA sewing machine
- DesignWorks/CutWork
Instructions
Stretch the fleece backing in the frame. Depending on the size of the beads and the distance you want between layers, lay 6 or 7 layers of paper or fleece backing together and attach them. Alternatively, cut out the sections using the printed out pattern.
Pull a thread through the top for hanging. Fan out the baubles, pull a tape through the holes at the sides and thread beads on in between the layers. Coloured card will stay in place without the need for a bead in between, but backing fleece requires the beads to stabilise it. Tip: if you cannot find any suitable beads, you can also roll aluminium foil into little balls. For larger beads, only cut out 4-5 layers of paper.
Sewing instructions for «felt» Christmas tree baubles
Cut-outs (Circles of diameter 10.5 cm):
Materials
- Felt remnants
- Free CutWork file, see page 35
- BERNINA sewing machine
- DesignWorks/CutWork
Instructions
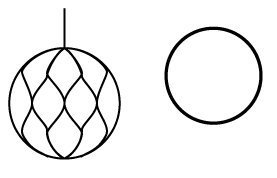
Stretch the felt in the frame. For thicker felt, usually only 2 layers will fit in the frame; if it is thinner you can use 4 layers. Attach the layers. Cut out 4-7 circles per bauble with the CutWork tool. Alternatively, cut out circles with a diameter of 10.5 cm.
For one bauble, put 4 layers of thicker or up to 7 layers of thinner felt on top of each other and stitch together along the middle from top to bottom. Do not cut off the upper and lower threads at the end, instead pull them out to the desired length or simply keep stitching, as they will be used as hangers for the baubles.
Using the bartack program, stitch the layers together in pairs in the middle all around. Do staggered bartack stitches all around the top and bottom of 2 other layers .
Sewing instructions for Christmas tree garland
Dimensions 12.5 × 36.6/10 × 14 cm
Cut-out:
Materials
- Coloured card
- Free CutWork file, see page 35
- BERNINA sewing machine
- DesignWorks/CutWork
Instructions
For the Oval Hoop (Illustration 45) cut a strip 16 cm high and 50 or 60 cm wide, depending on the paper thickness. Fold these every 10 cm exactly like an accordion.
Stretch the backing fleece in the frame and stitch the placement line. Lay the folded paper on top in the correct position and attach it. Let the machine cut out the garland. Carefully pull the trees apart. Bend the inner cuts forward slightly.
For the Jumbo Hoop (Illustration 44) cut out 3–4 paper strips of 14 × 37 cm.
Stretch the fleece in the frame, lay the paper on top and attach using the machine’s outline stitch. After the trees have been cut out, fold them like an accordion and stand them up.
Happy holidays!
 BERNINA Corporate Blog -





Wonderful Matthias – thank you. What a month it’s been for us all and such lovely presents we have had from Bernina. Merry Christmas to all in Steckborn and Bernina users the world over!
Hi Jan
Thank you! Merry Christmas to you and to all your loved ones.
Kind regards from Steckborn,
Matthias