 BERNINA Corporate Blog -
Dear community,
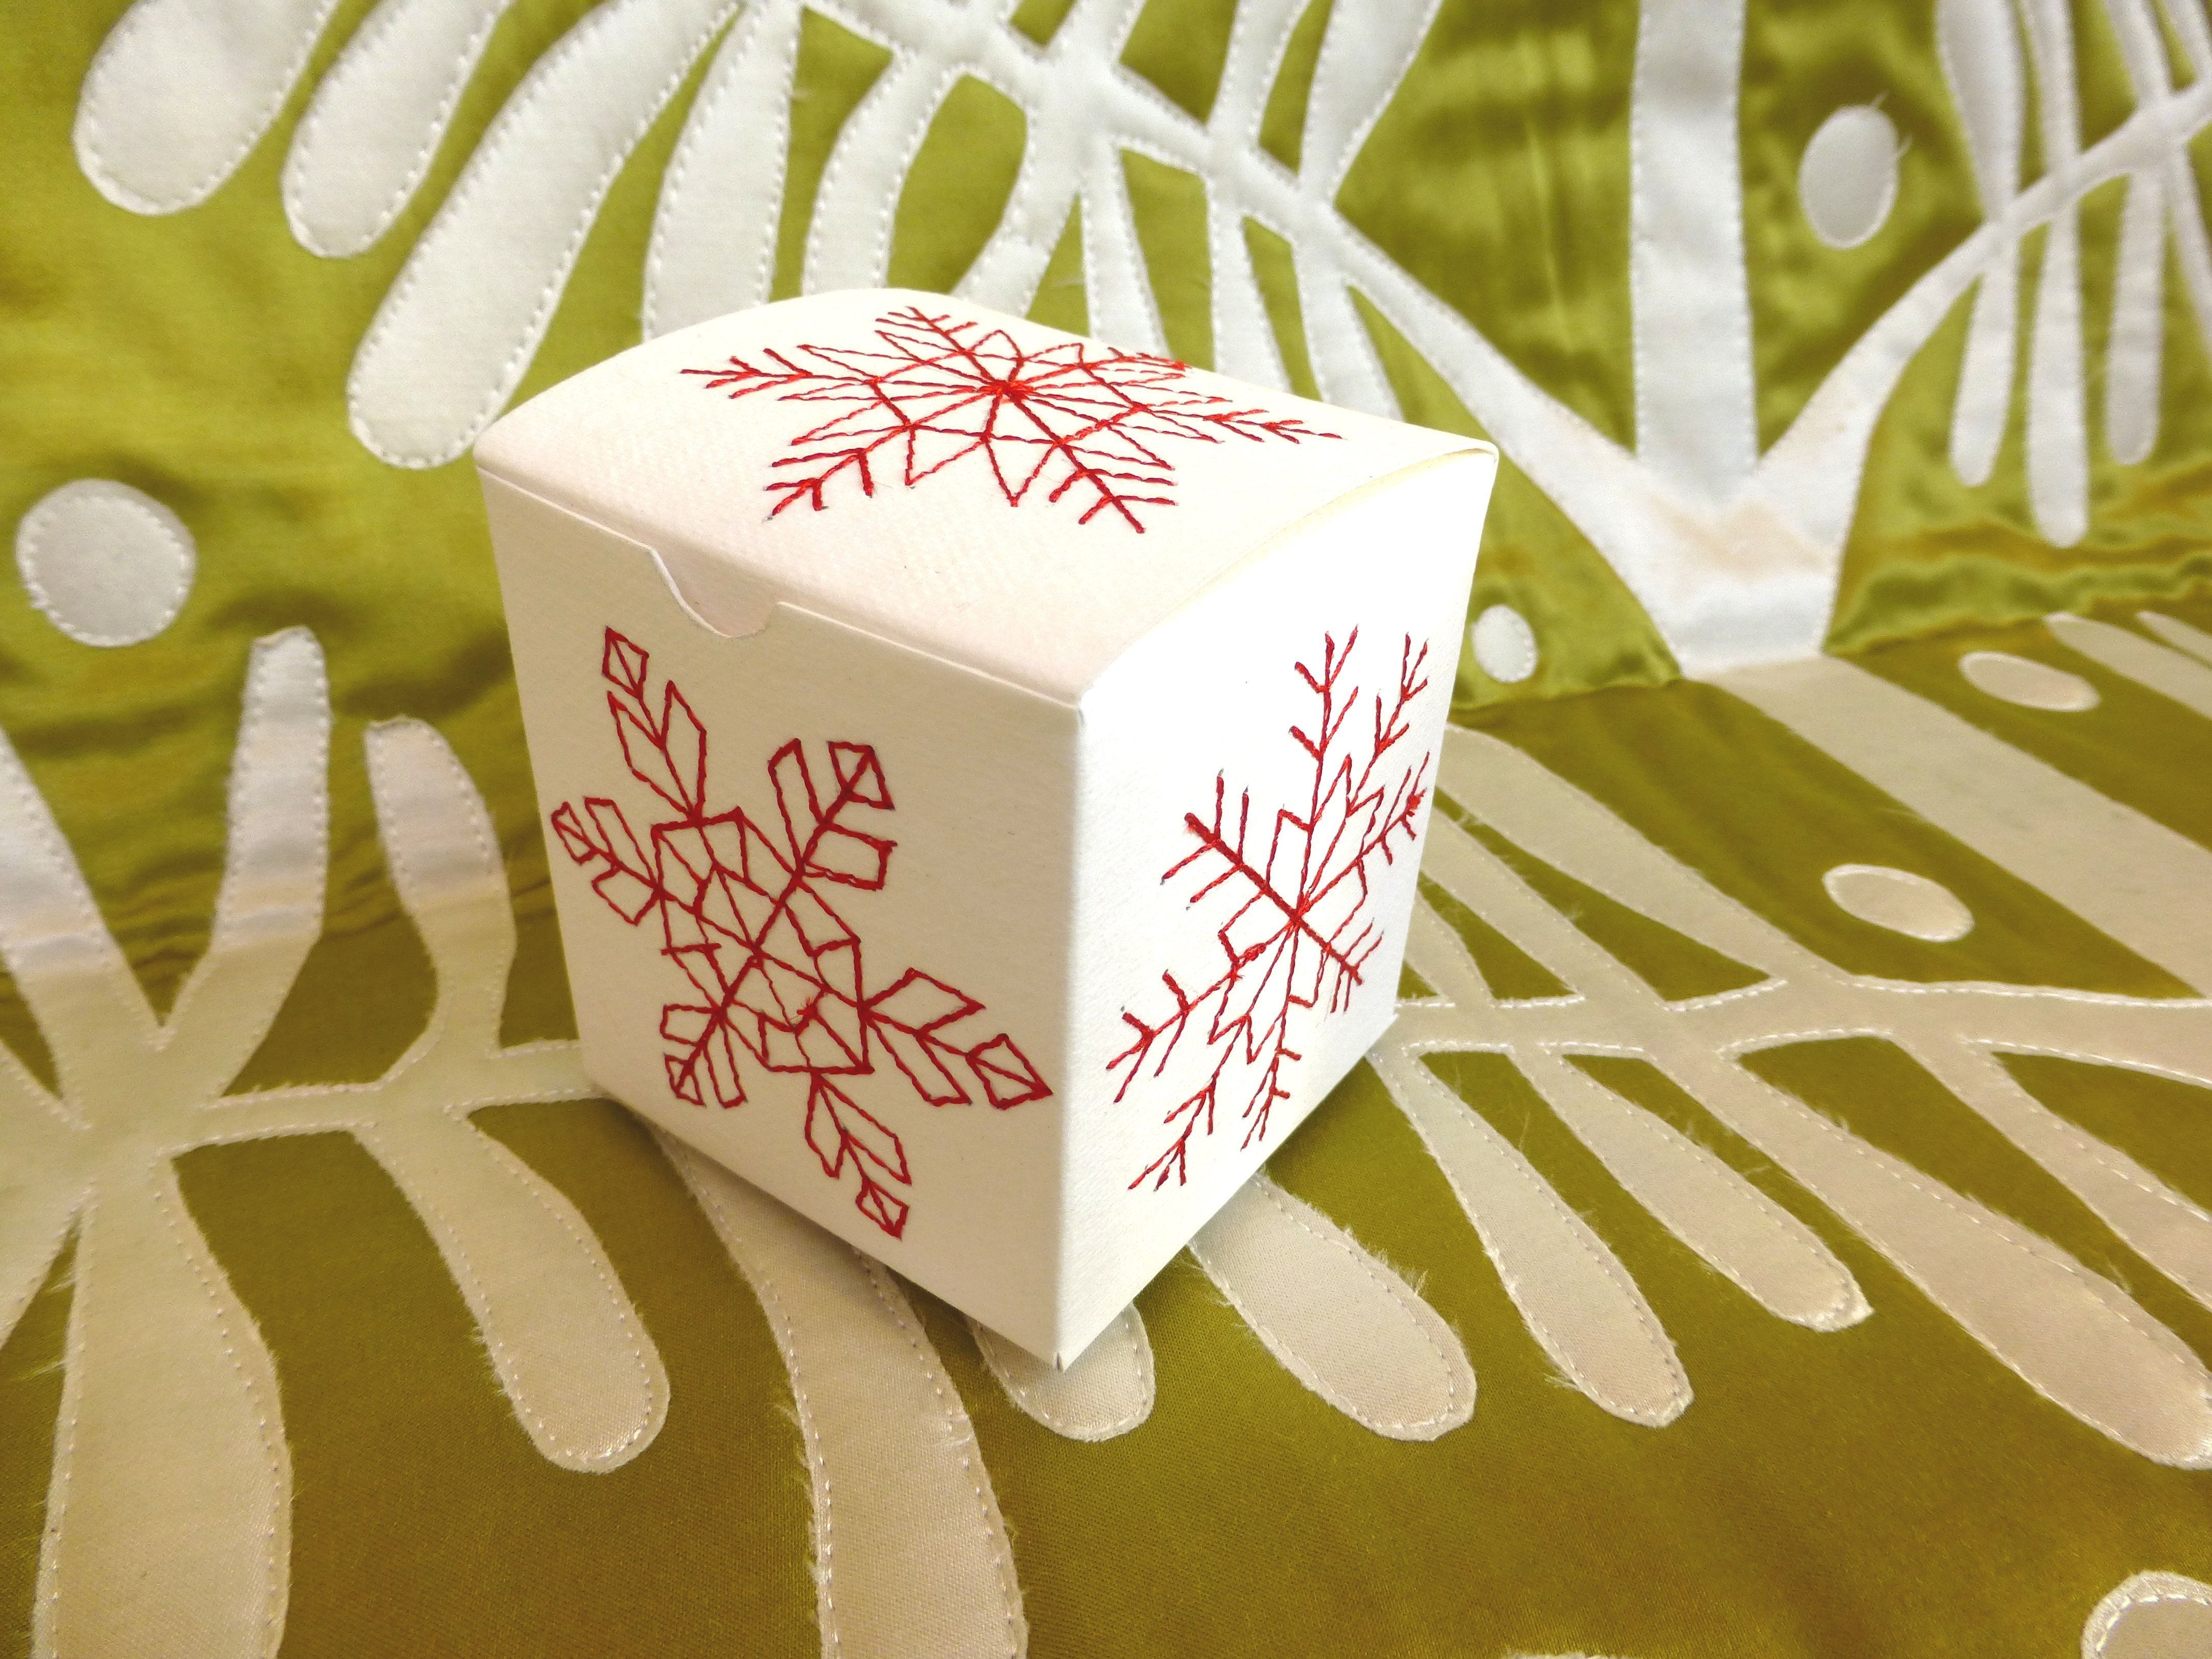
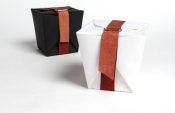
in this blog post you can find detailed instructions on how to make an embroidered paper gift box.
When I got the invitation to contribute to this year’s Bernina Advent calendar and then read the theme of “wrappings”, my heart leapt – I am a big fan of home-made wrappings!
When my children were little, I started making wrappings for all the various festive occasions myself if possible, because I was concerned about the mountains of rubbish created by Christmas wrapping paper. People buy expensive sheets of Christmas paper or thin, cheap paper rolls, wrap things up in them, only to tear the paper off them again and throw it away. Very environmentally dubious in my opinion! I prefer to sew beautiful bags that you can reuse or – and this is what I want to show you today – I make my own gift boxes. Some of these boxes are now doing the rounds among my friends and family and I am delighted that they are also better for the environment 🙂 Packaging templates come with every purchase! They include cardboard boxes that make cosmetics jars look bigger, milk cartons and pizza boxes – check out yourself how everything is packaged next time you go shopping. These cardboard coverings are good templates for all kinds of home-made gift packaging. All you have to do is take them apart and draw round the outline onto a sheet of paper and you have a great template for your own home-made gift box!
When I met Jutta Hellbach at the Creative Days event and we talked about the great possibilities of SnapPap and/or Krafttex, I had the idea of making gift boxes out of it and decorating them with stitching. Jutta has already presented some great ideas using this material on the blog. And when I was able to see and feel her examples for myself, I realised that this material would be perfect for making my idea!

So I looked through my collection of templates and found a small box, which I decided to cut out in SnapPap and then decorate with Christmas designs on the sewing machine. I have created a PDF for you to download if you want to make exactly the same box: Quiltmanufaktur Bernina Adventskalender 2015 Schachtel PDF.
I transferred the outlines of the template onto my sheet of SnapPap. The dotted lines indicate where to fold. To do this, I placed the ruler on the lines and drew along them with a fingernail – making it easier to bend them. The continuous lines are the ones that you have to cut along.
For the designs, I decided to search for snowflakes on the Internet. If you type in the search term “snowflake”, you will find many examples. In some cases, it may be necessary to reduce the size of the design to fit onto the box.
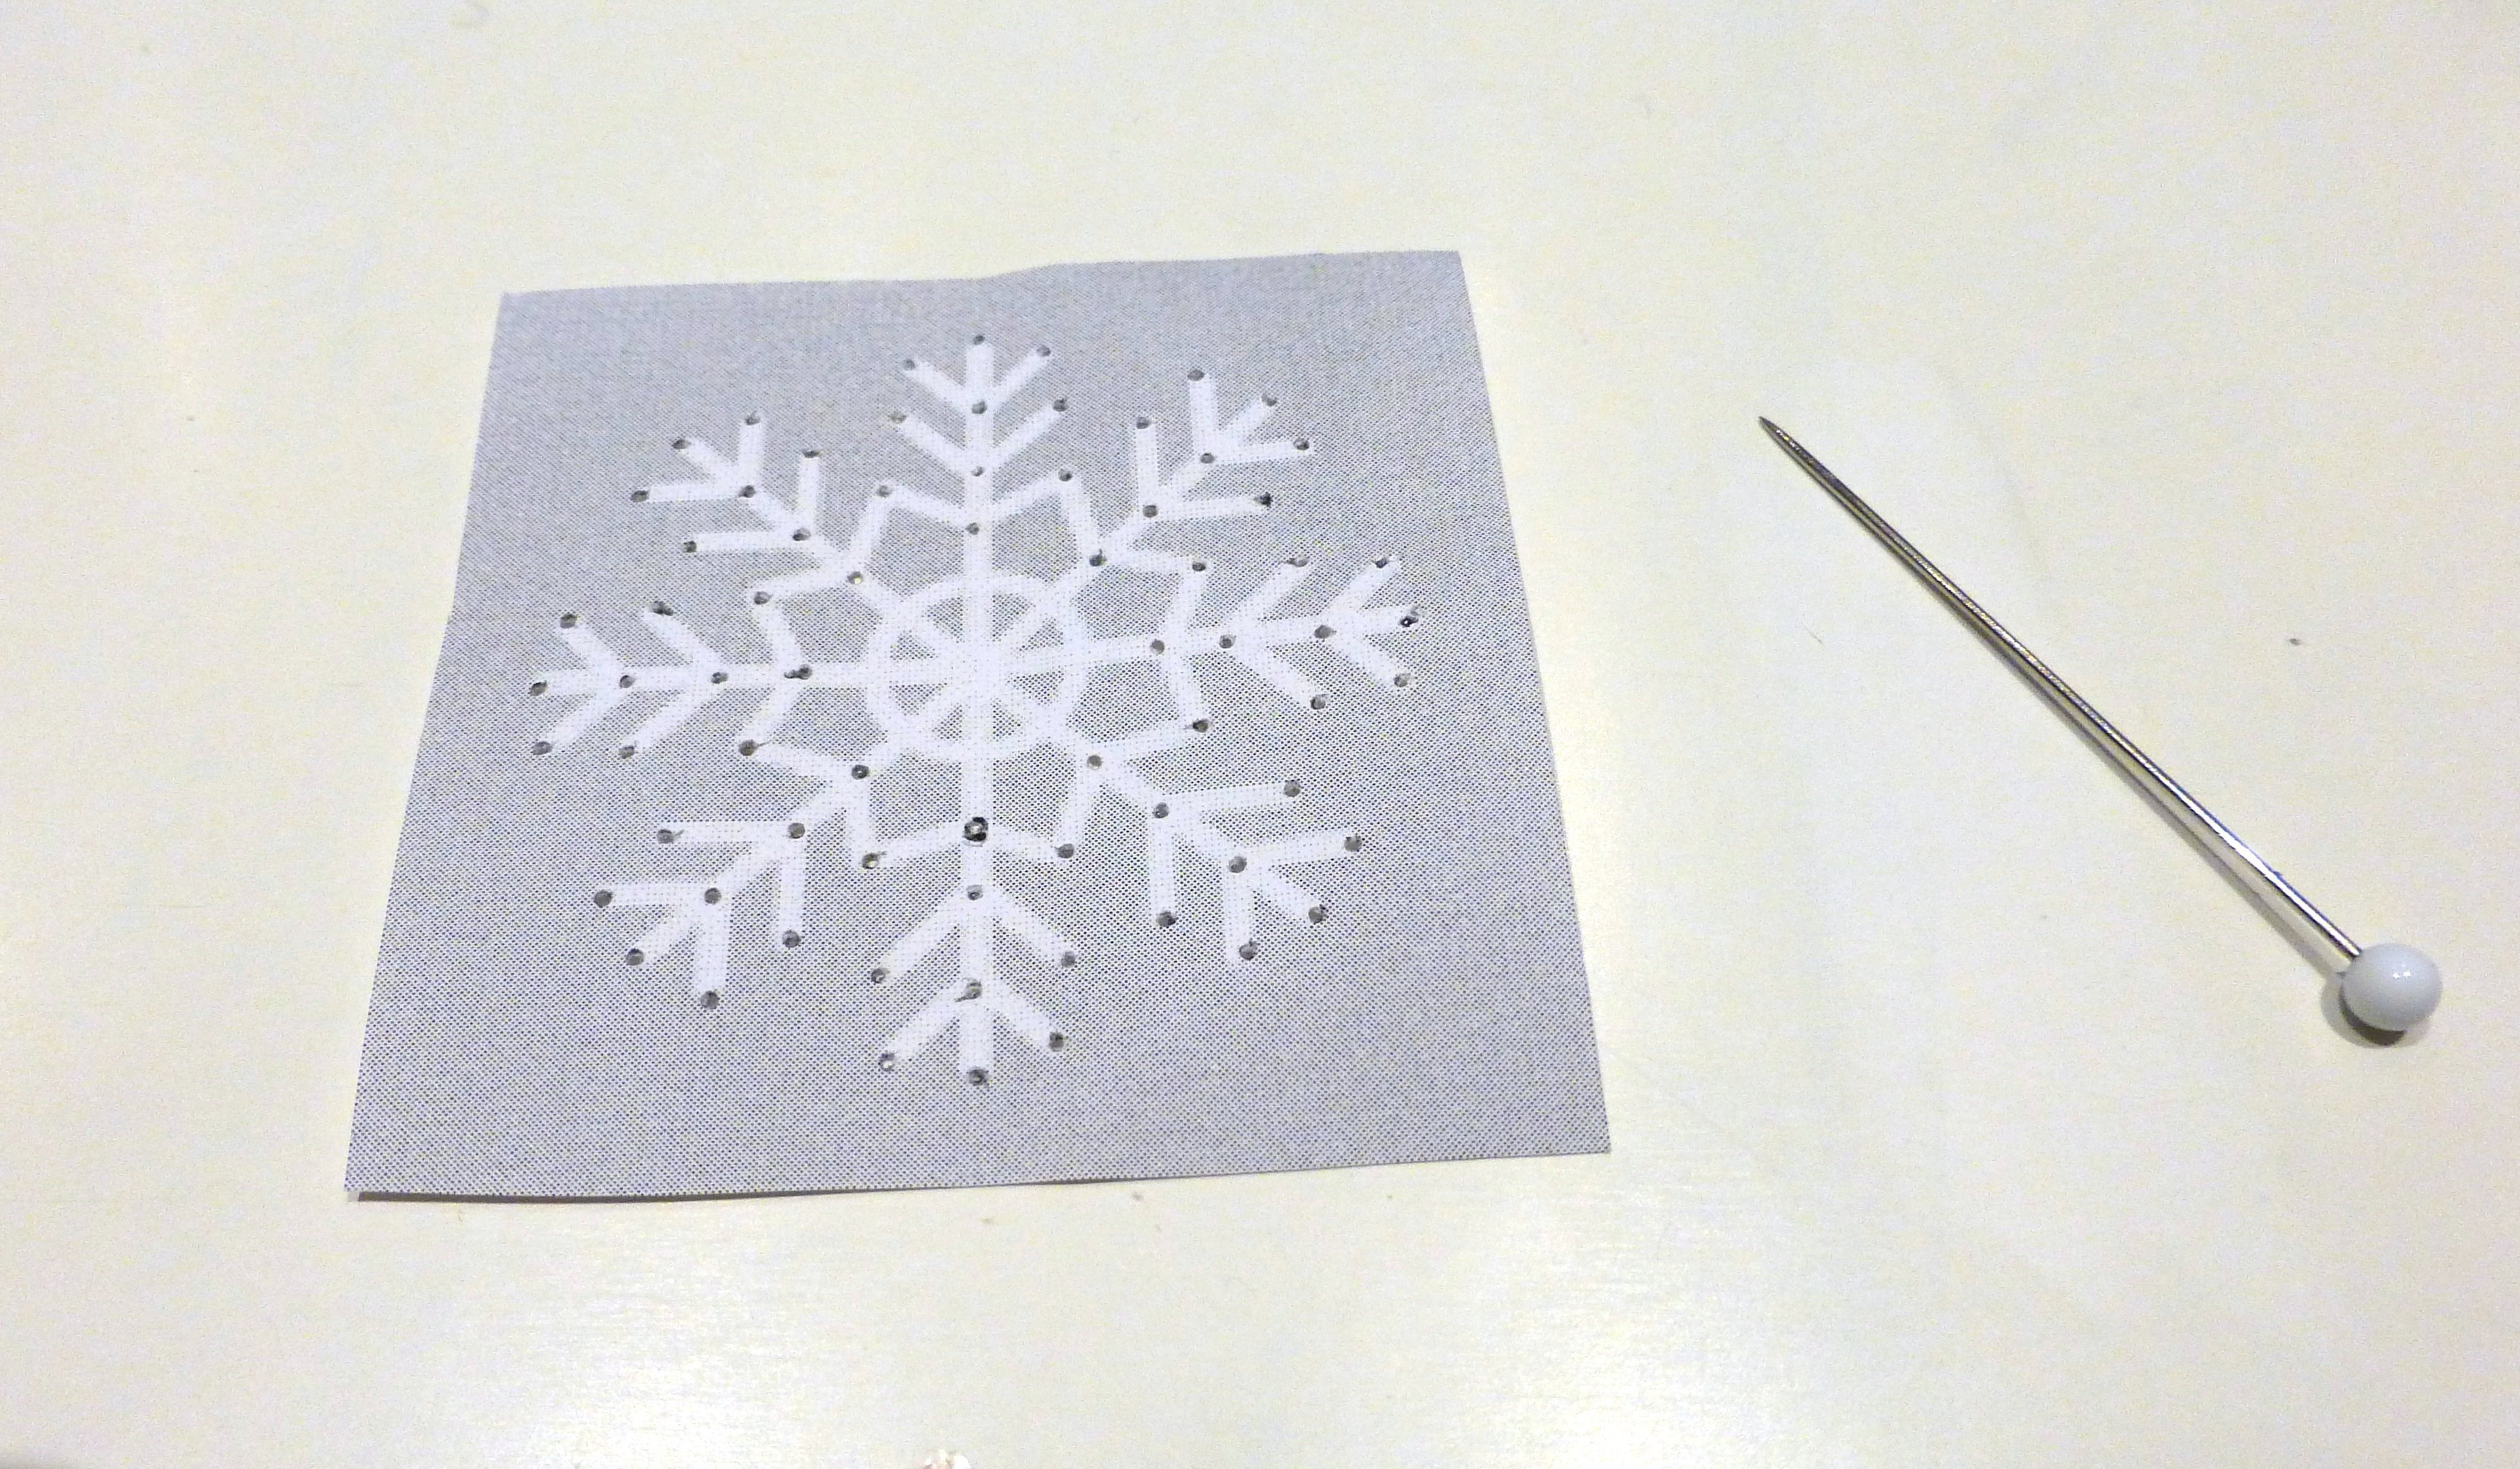
Using a needle, I pierced the main points of my template so I could mark them onto one of the box sides through the hole with a pencil. I then drew lines in pencil to join up the points, creating a template on this material which is so lovely to sew with 🙂
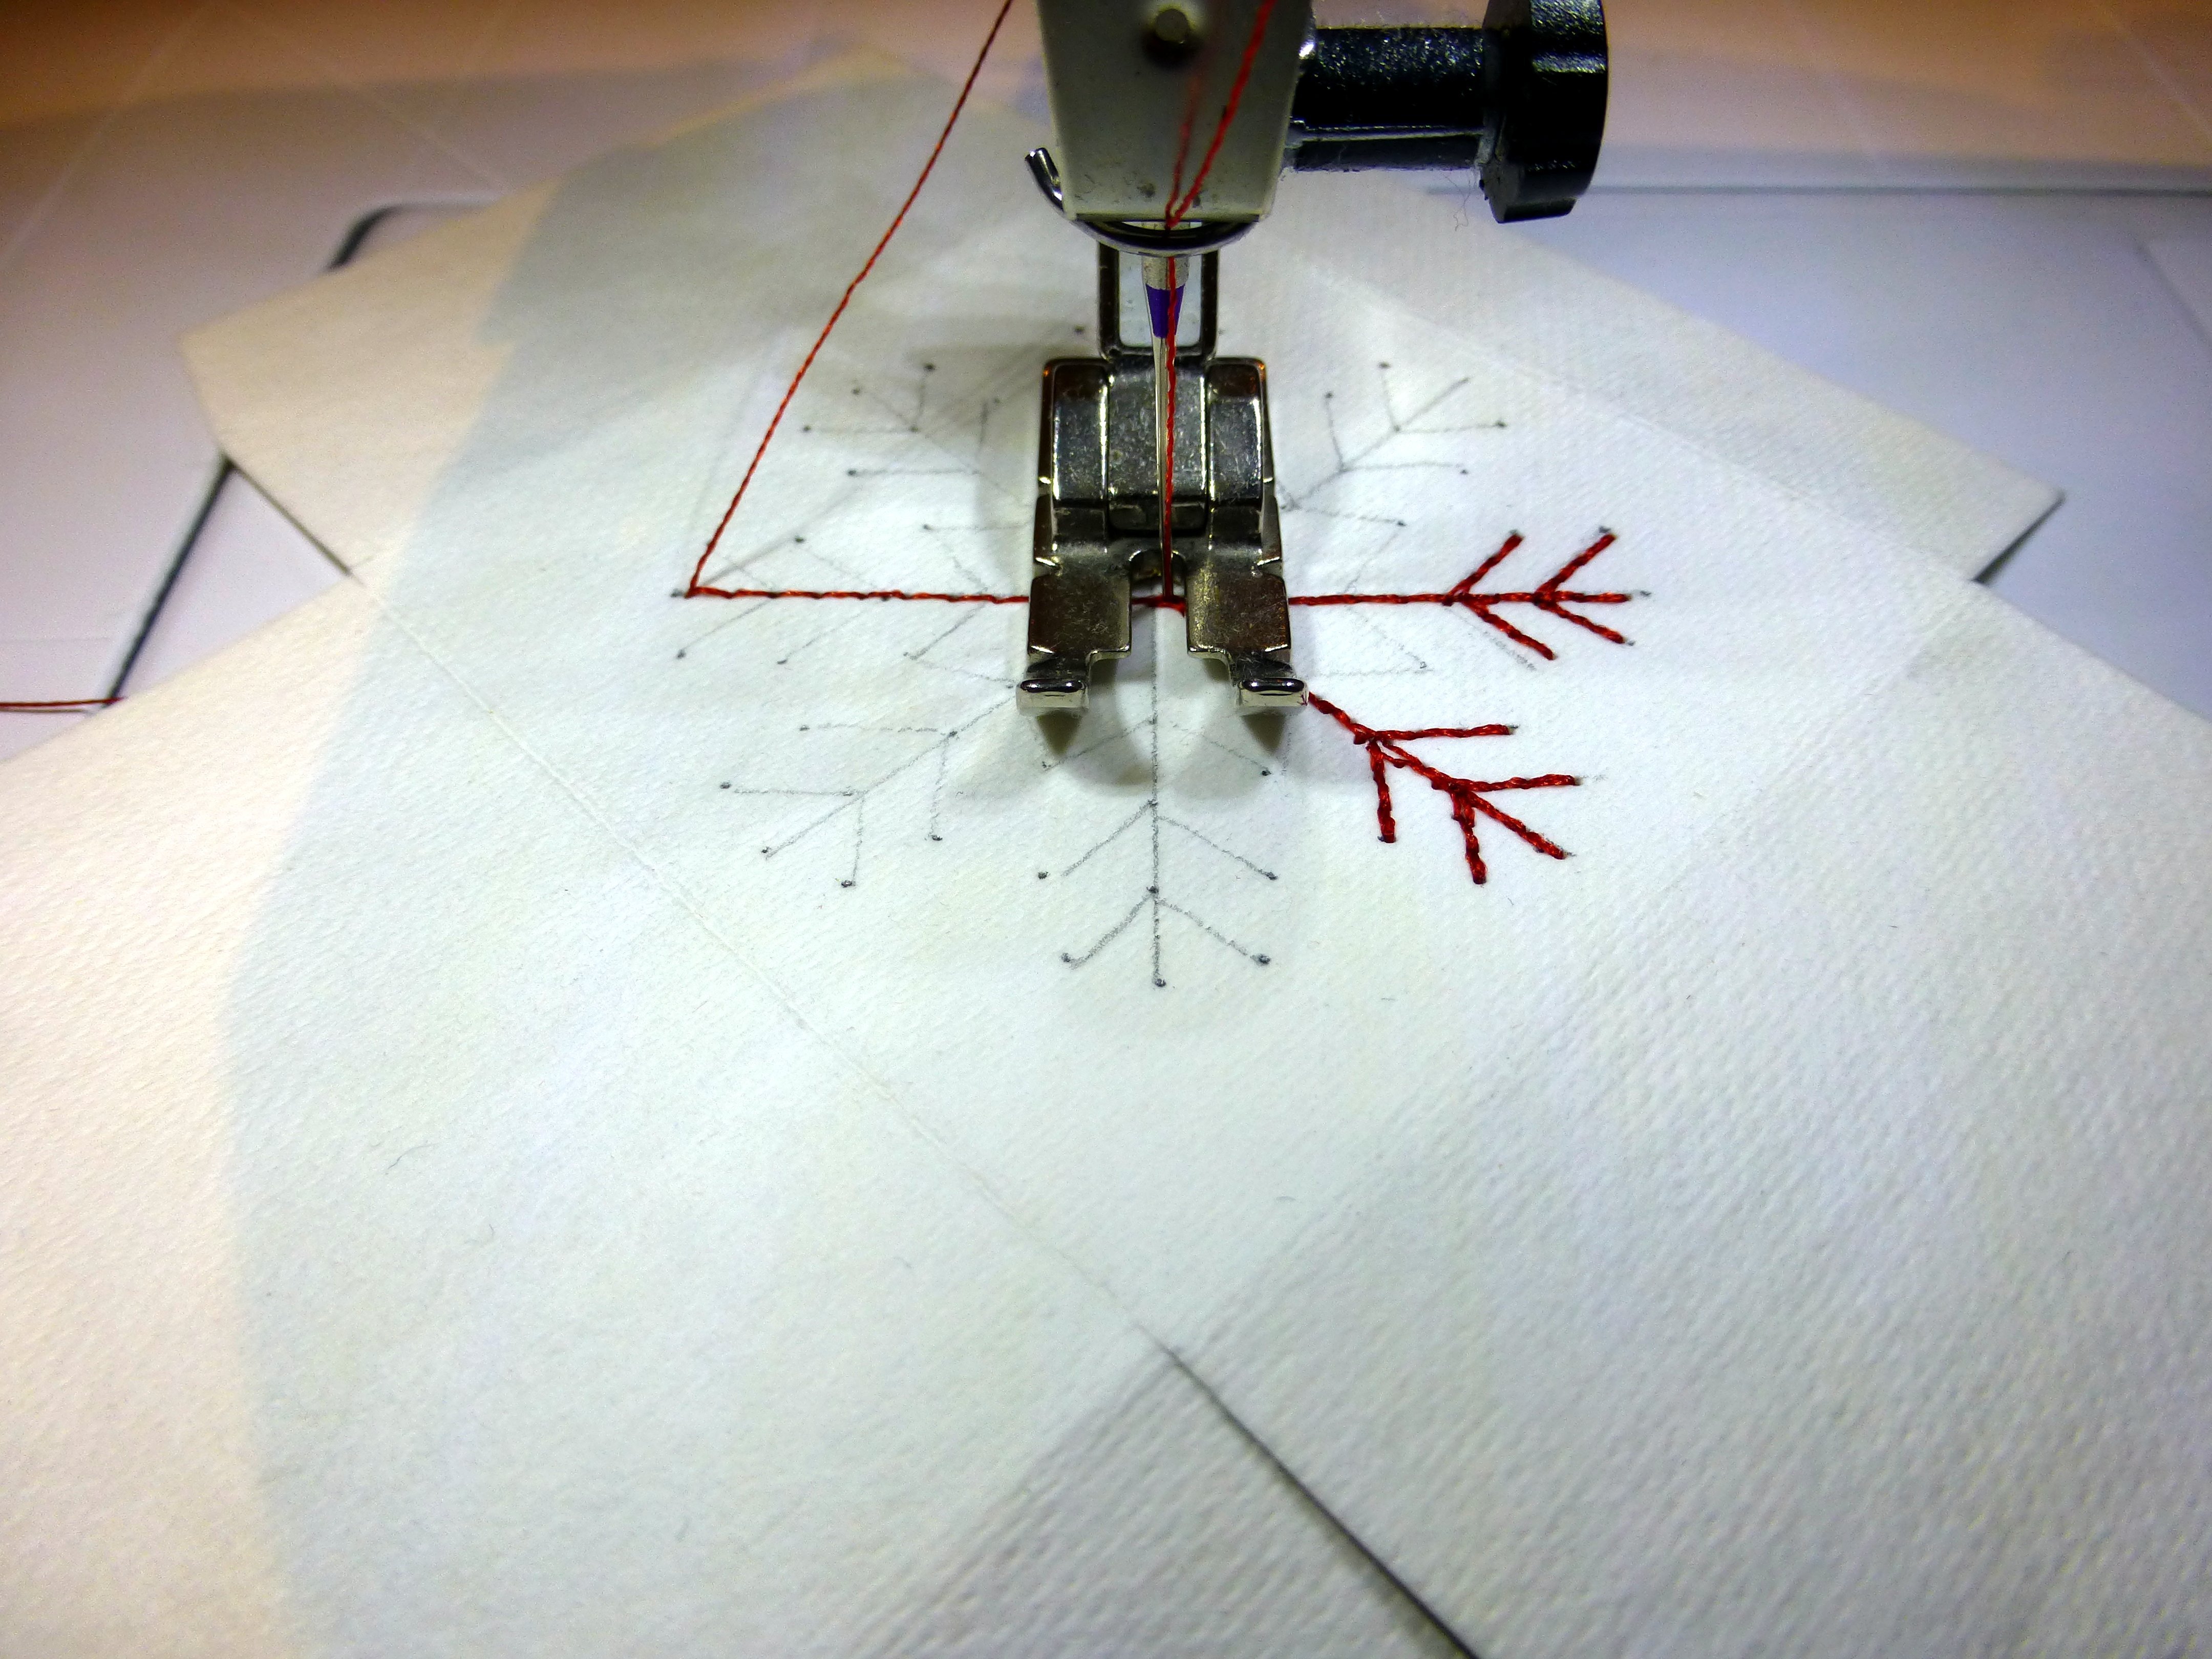
Using a stitch length of 2.5 mm, I then stitched along the lines – at least twice, to make them a bit thicker. I could also have used a thicker thread….
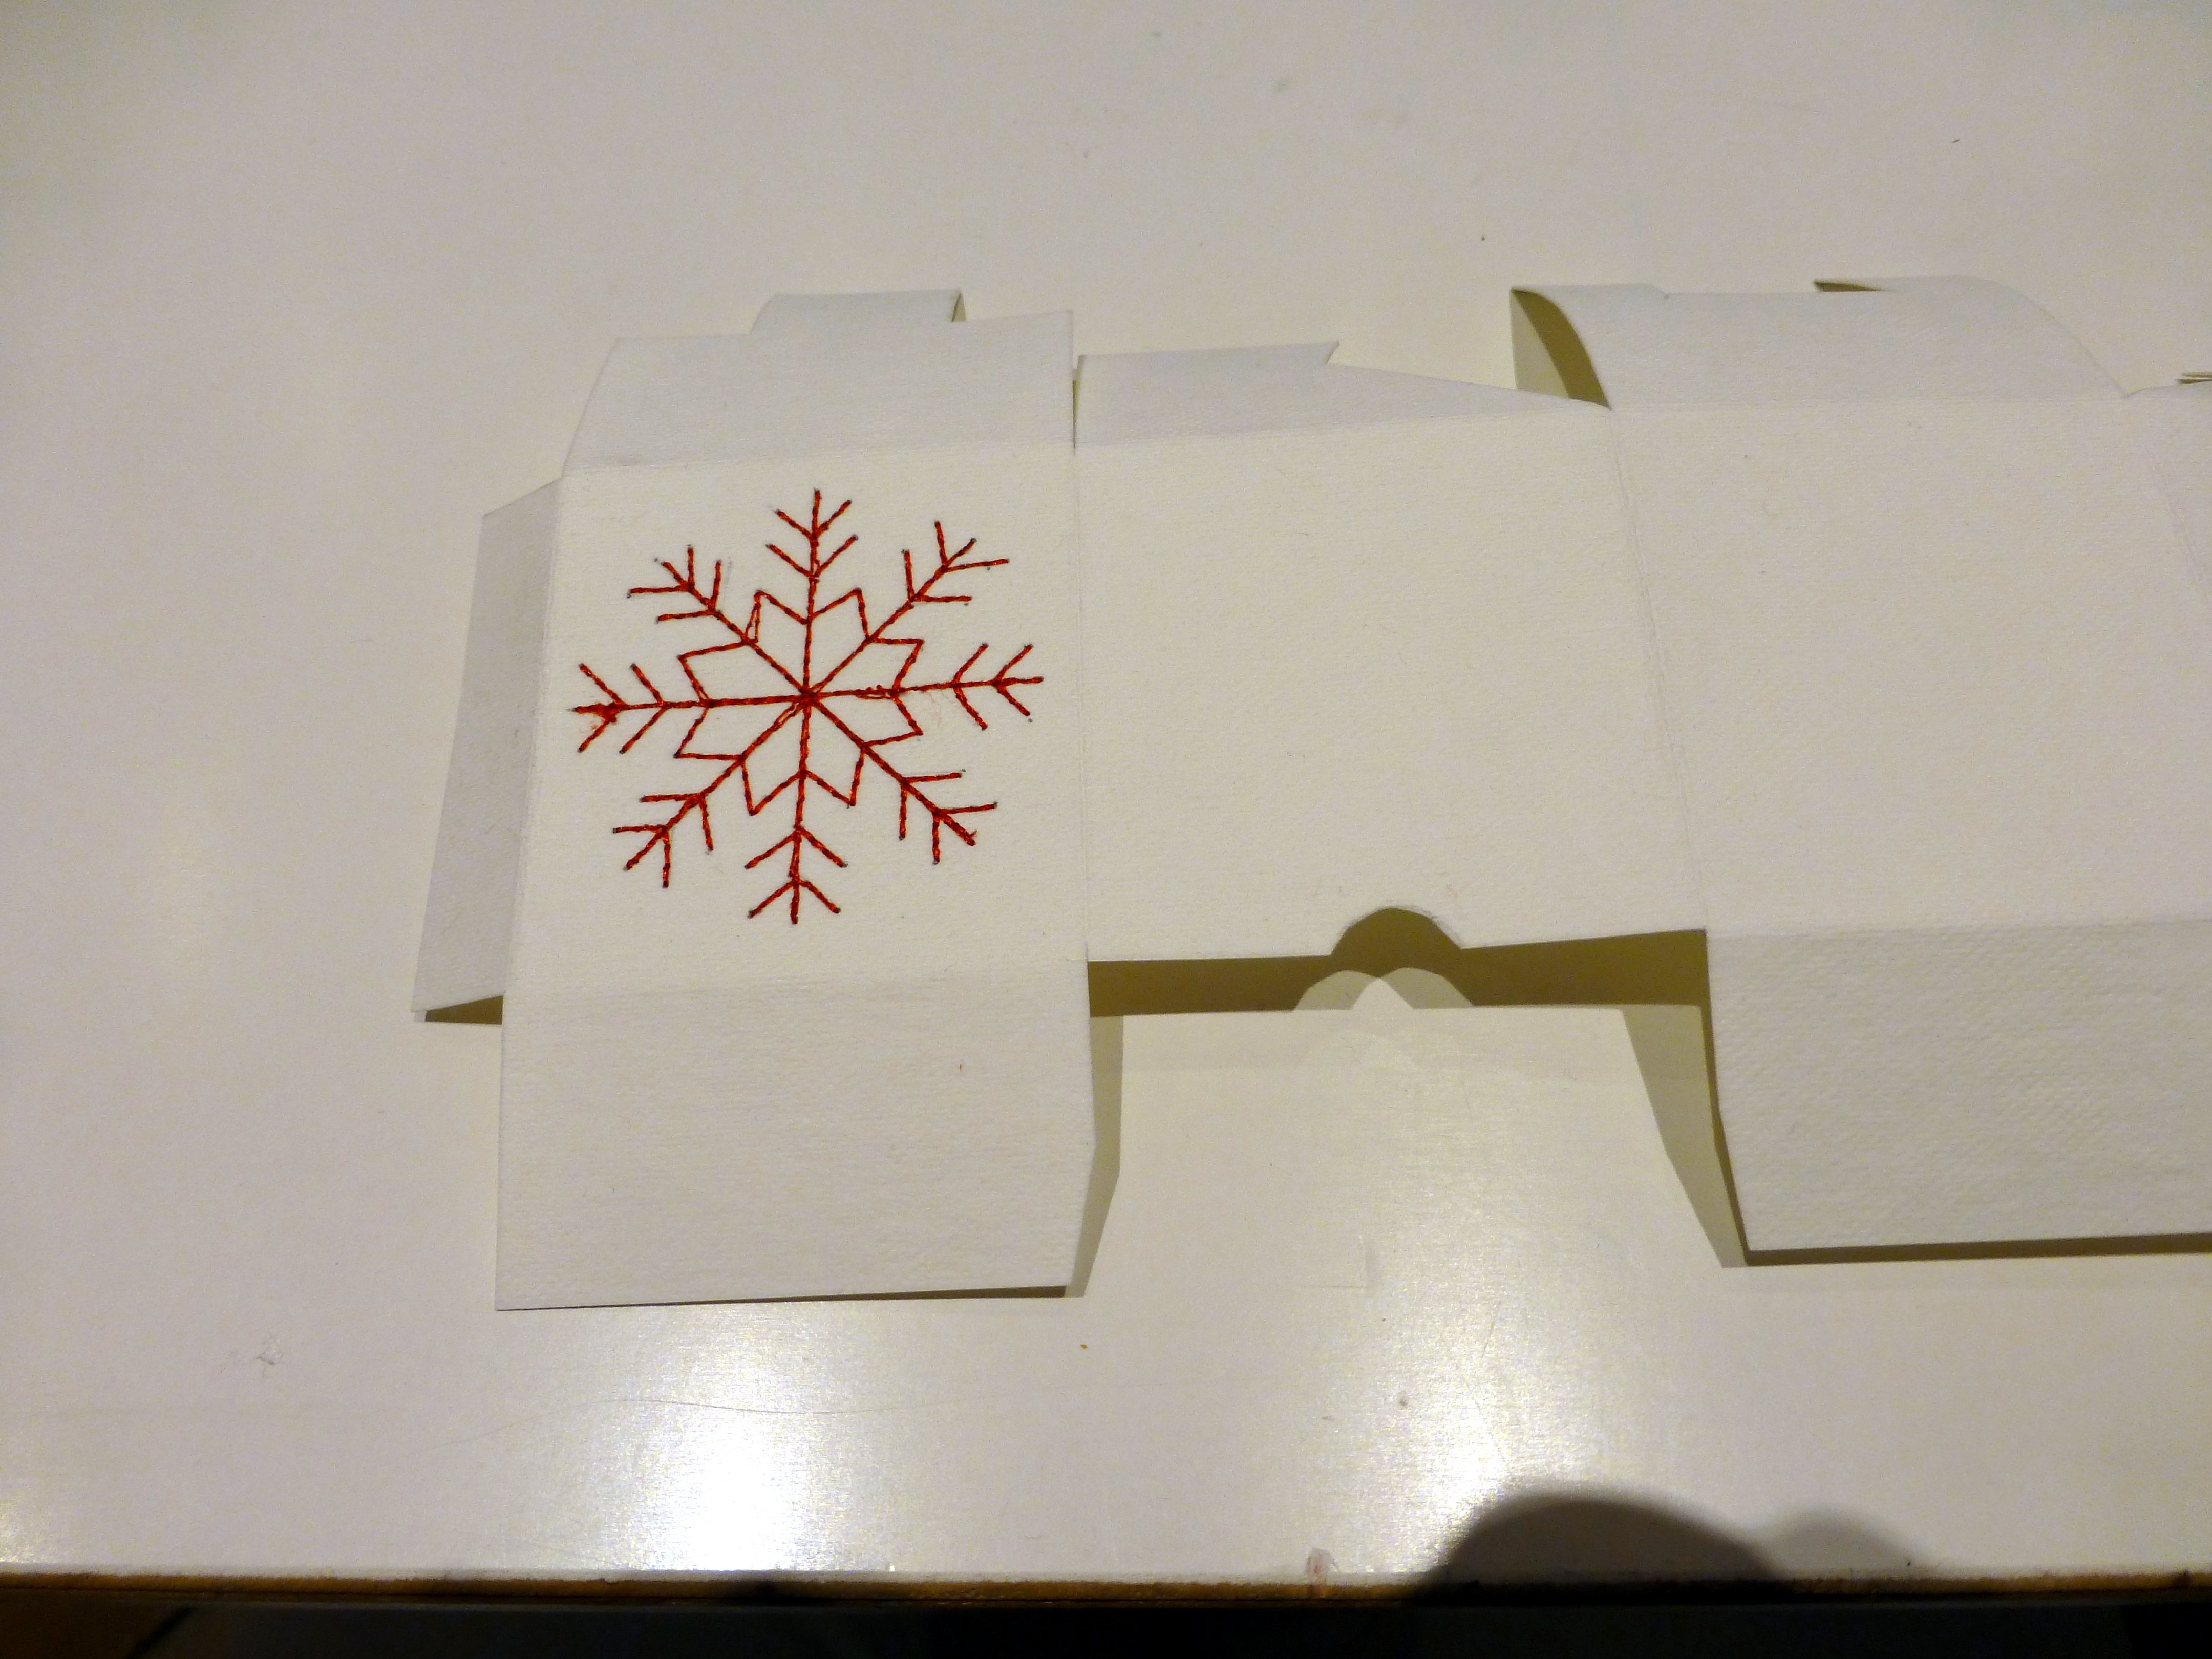
… and the first snowflake was finished. The great thing about SnapPap is that it does not tear like normal paper when you sew a large number of very small stitches. You could also create embroidered or quilted patterns for a really fantastic result!
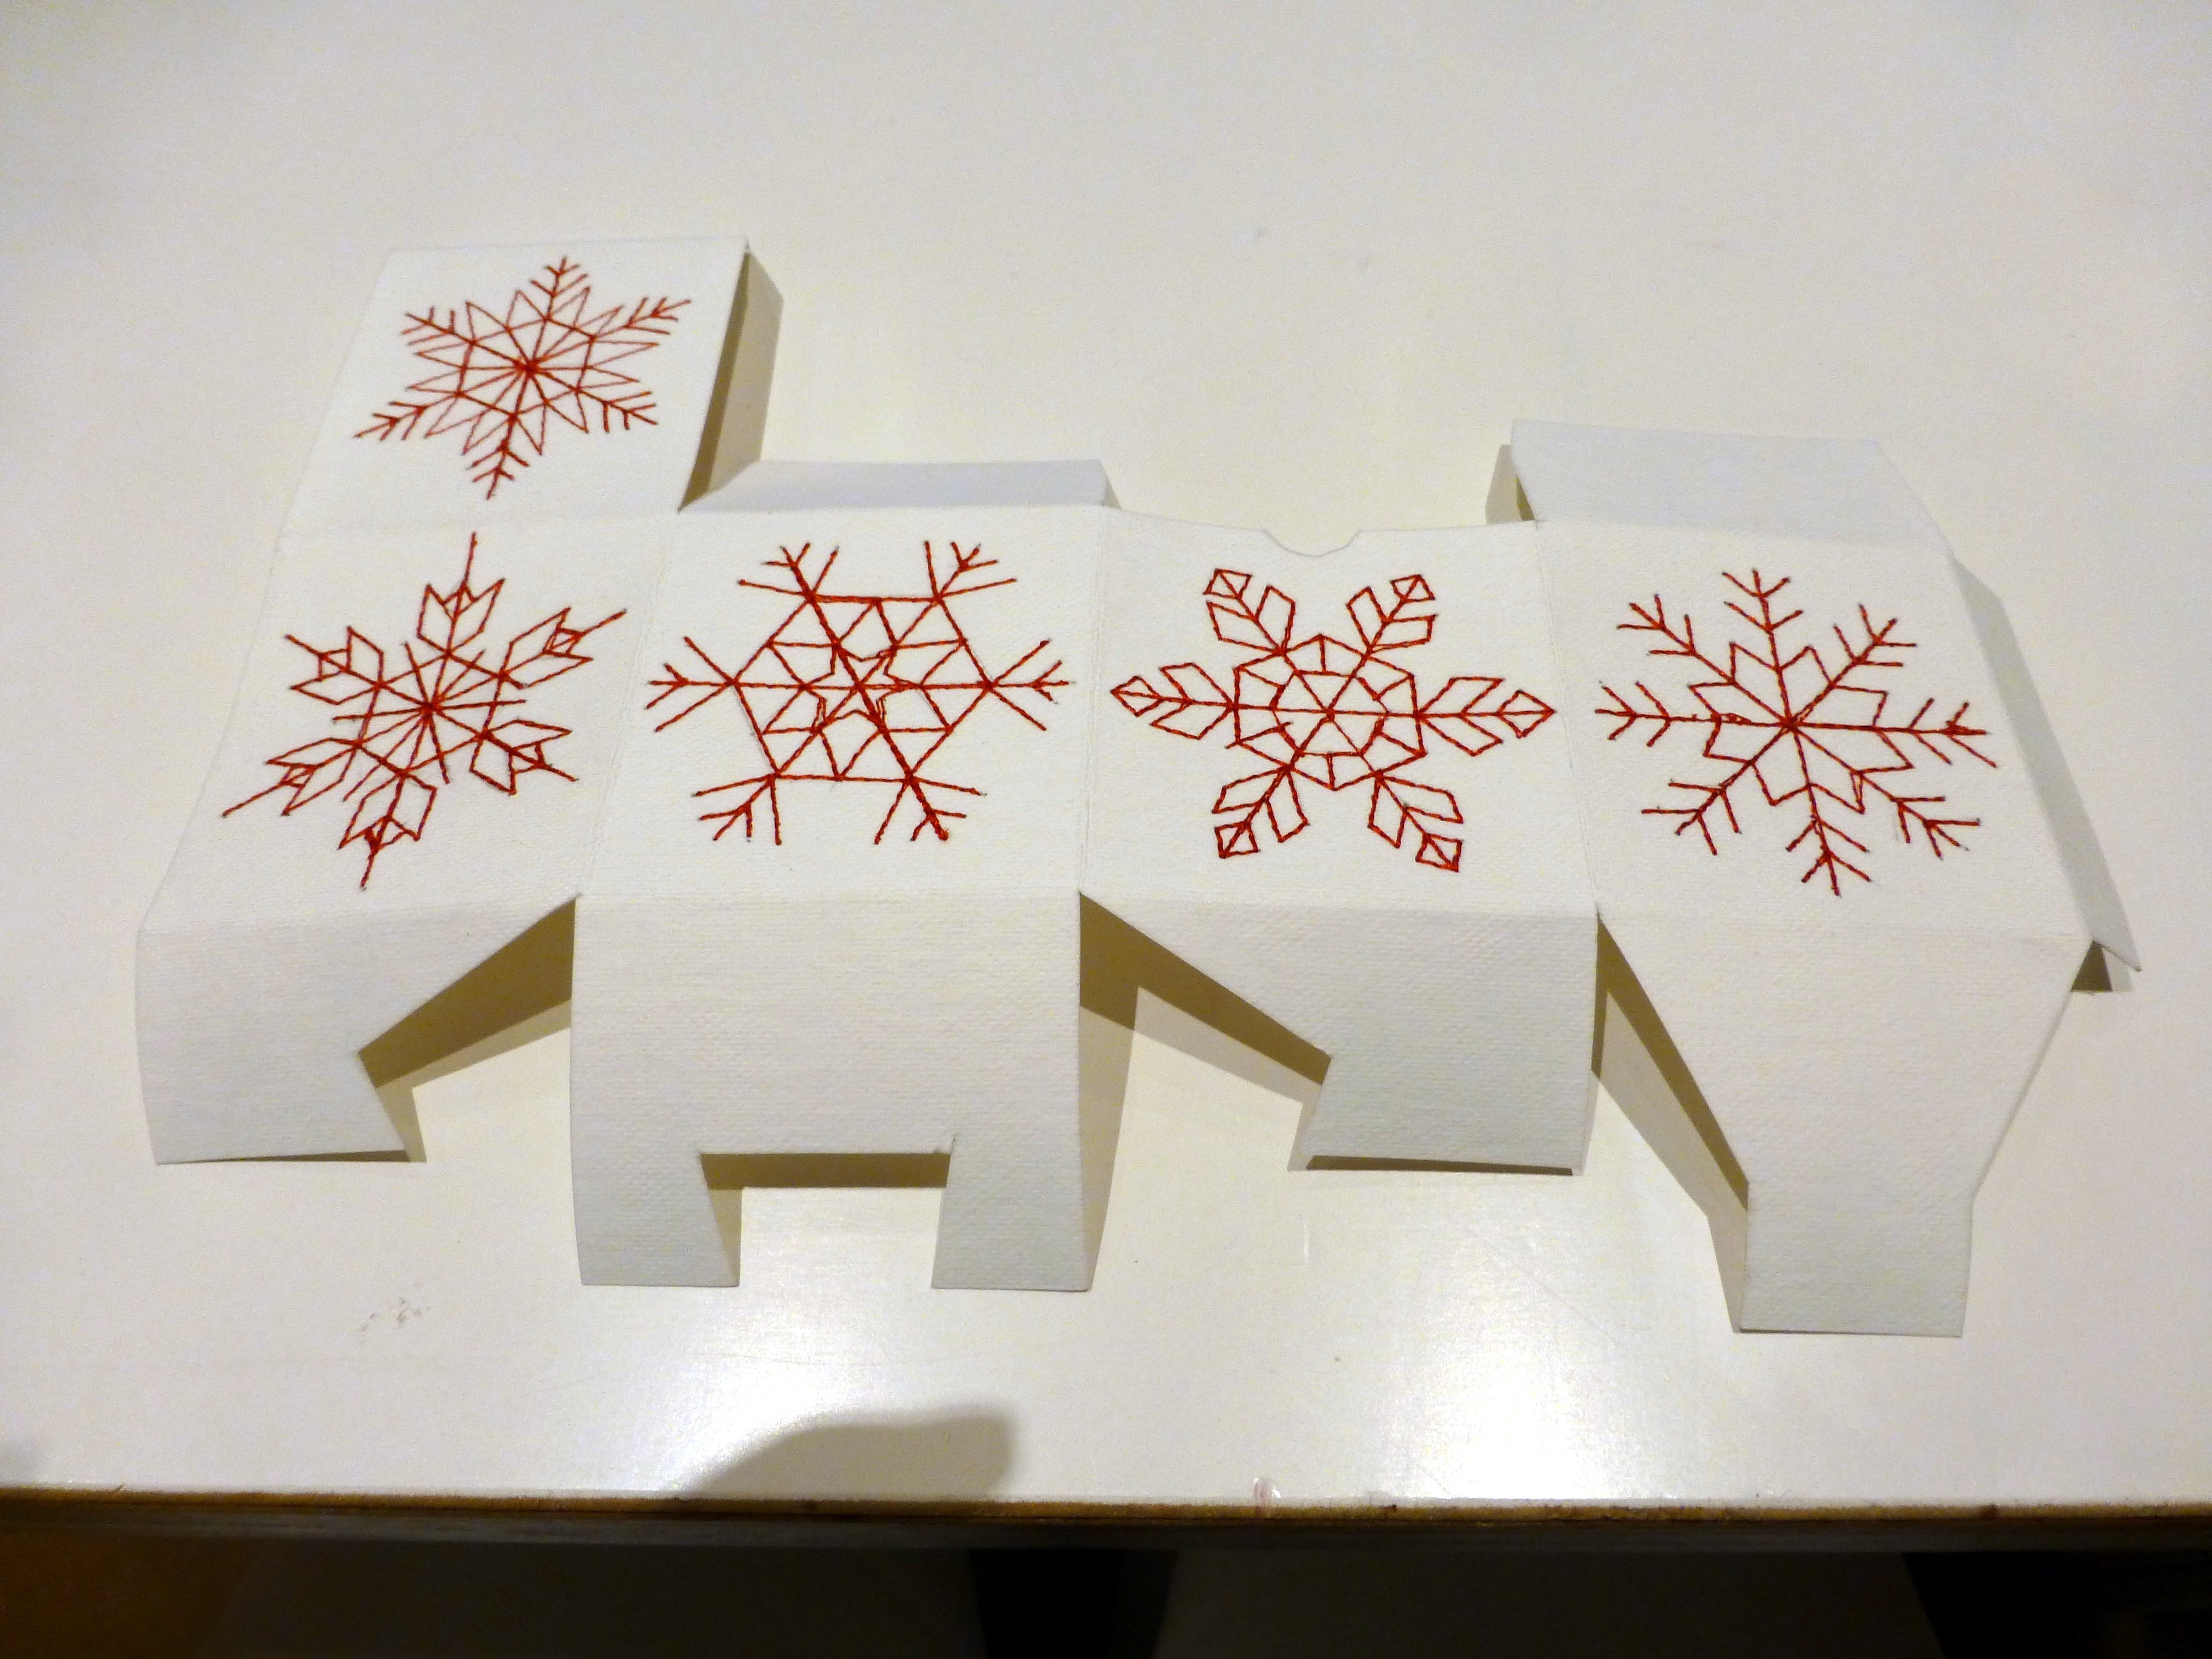
As you can see, I have used five different snowflake motifs. If you have not read Jutta’s post, it is worth mentioning here that you can also dye the material! And since helping out at Creative Days with a course about sewing on tapes, and the presser feet to use for this, I can also imagine this working really well for decorating this box. Or – to mention another related project by Jutta – you can quilt designs onto this material. There are wealth of possibilities for creatively letting off steam – why not challenge yourself? 🙂
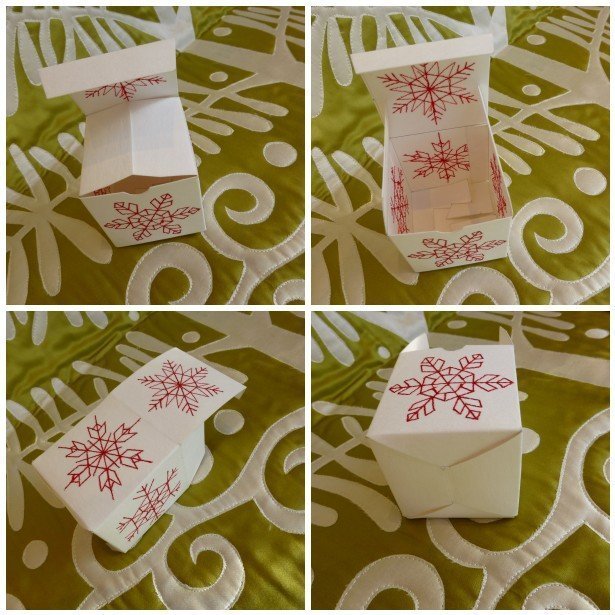
The final step is to glue the side and assemble the bottom and your home-made gift box is finished – you can now fill it with small, exquisite and, if you want, home-made gifts! And I can imagine the recipient keeping this beautiful box and using it again to wrap another present!
I wish you, your family and friends a wonderful Advent period and a Merry Christmas!

0 Responses