 BERNINA Corporate Blog -
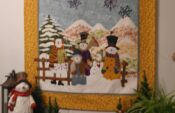
My quilt ‘Snowmen Gathering’ – first blog post about this quilt was on November 16th – is ready to be sandwiched.
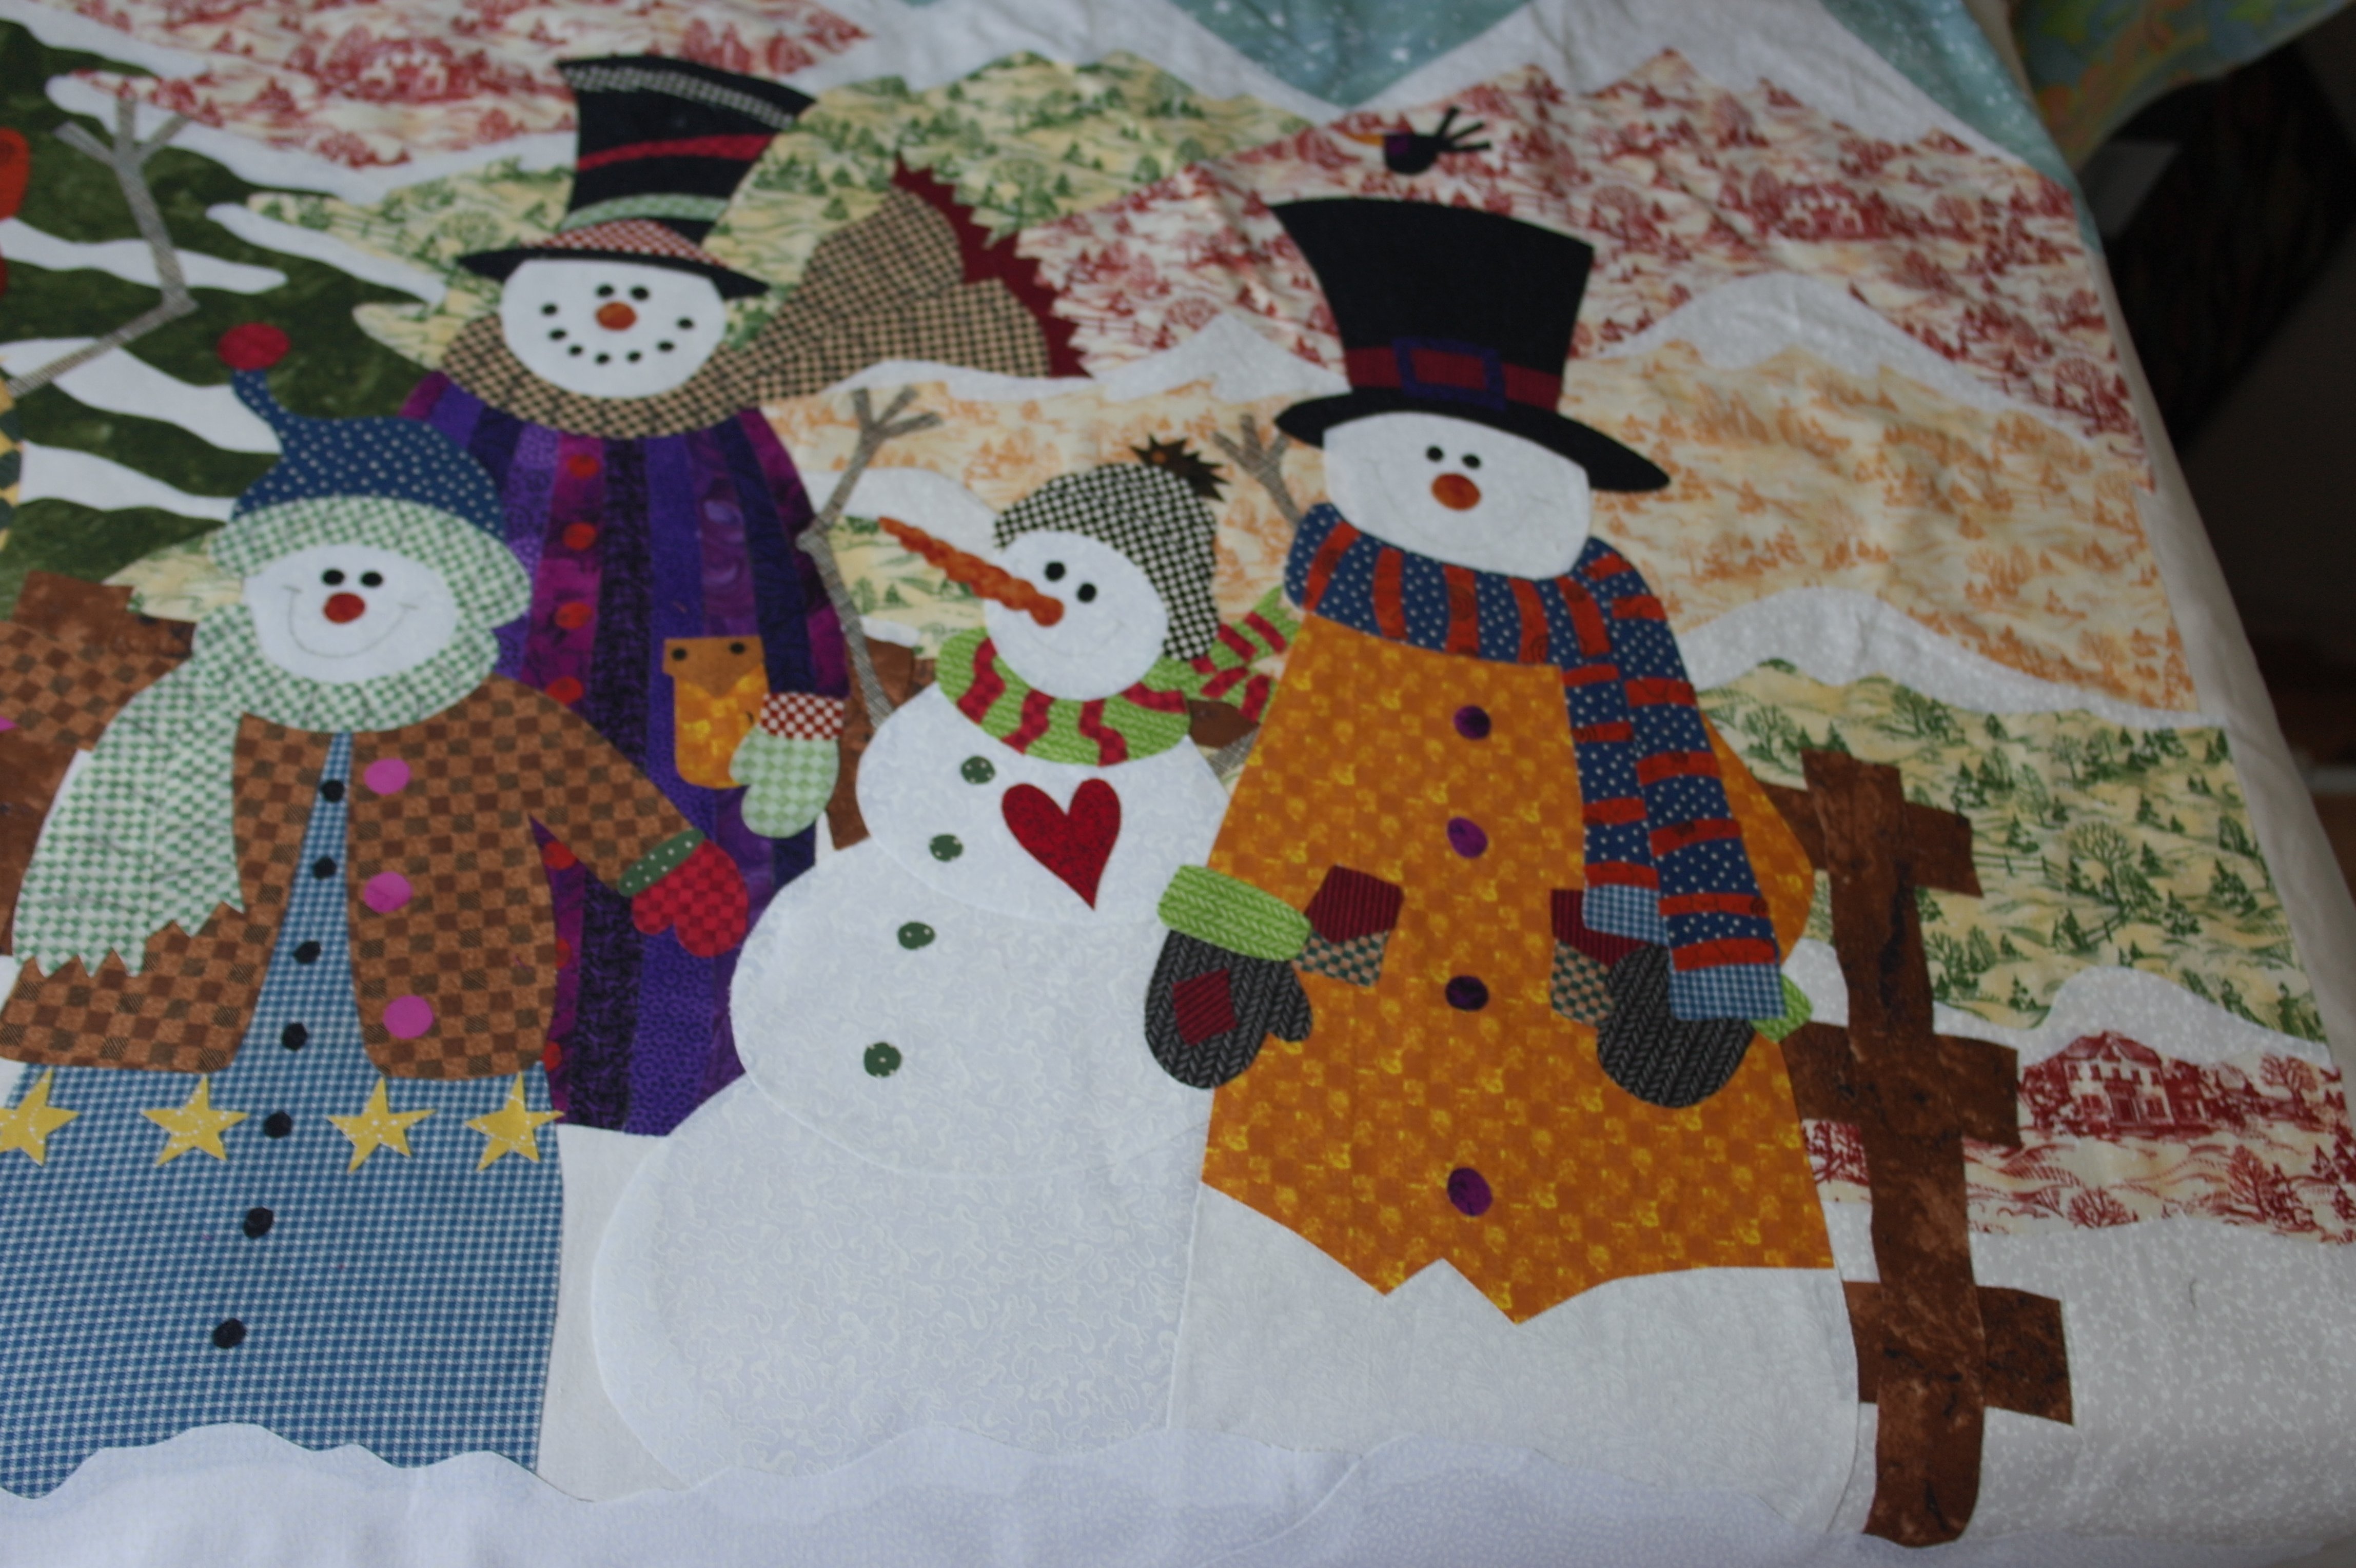
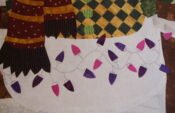
The top is ready: all fabrics are glued onto the thin ecru background fabric.
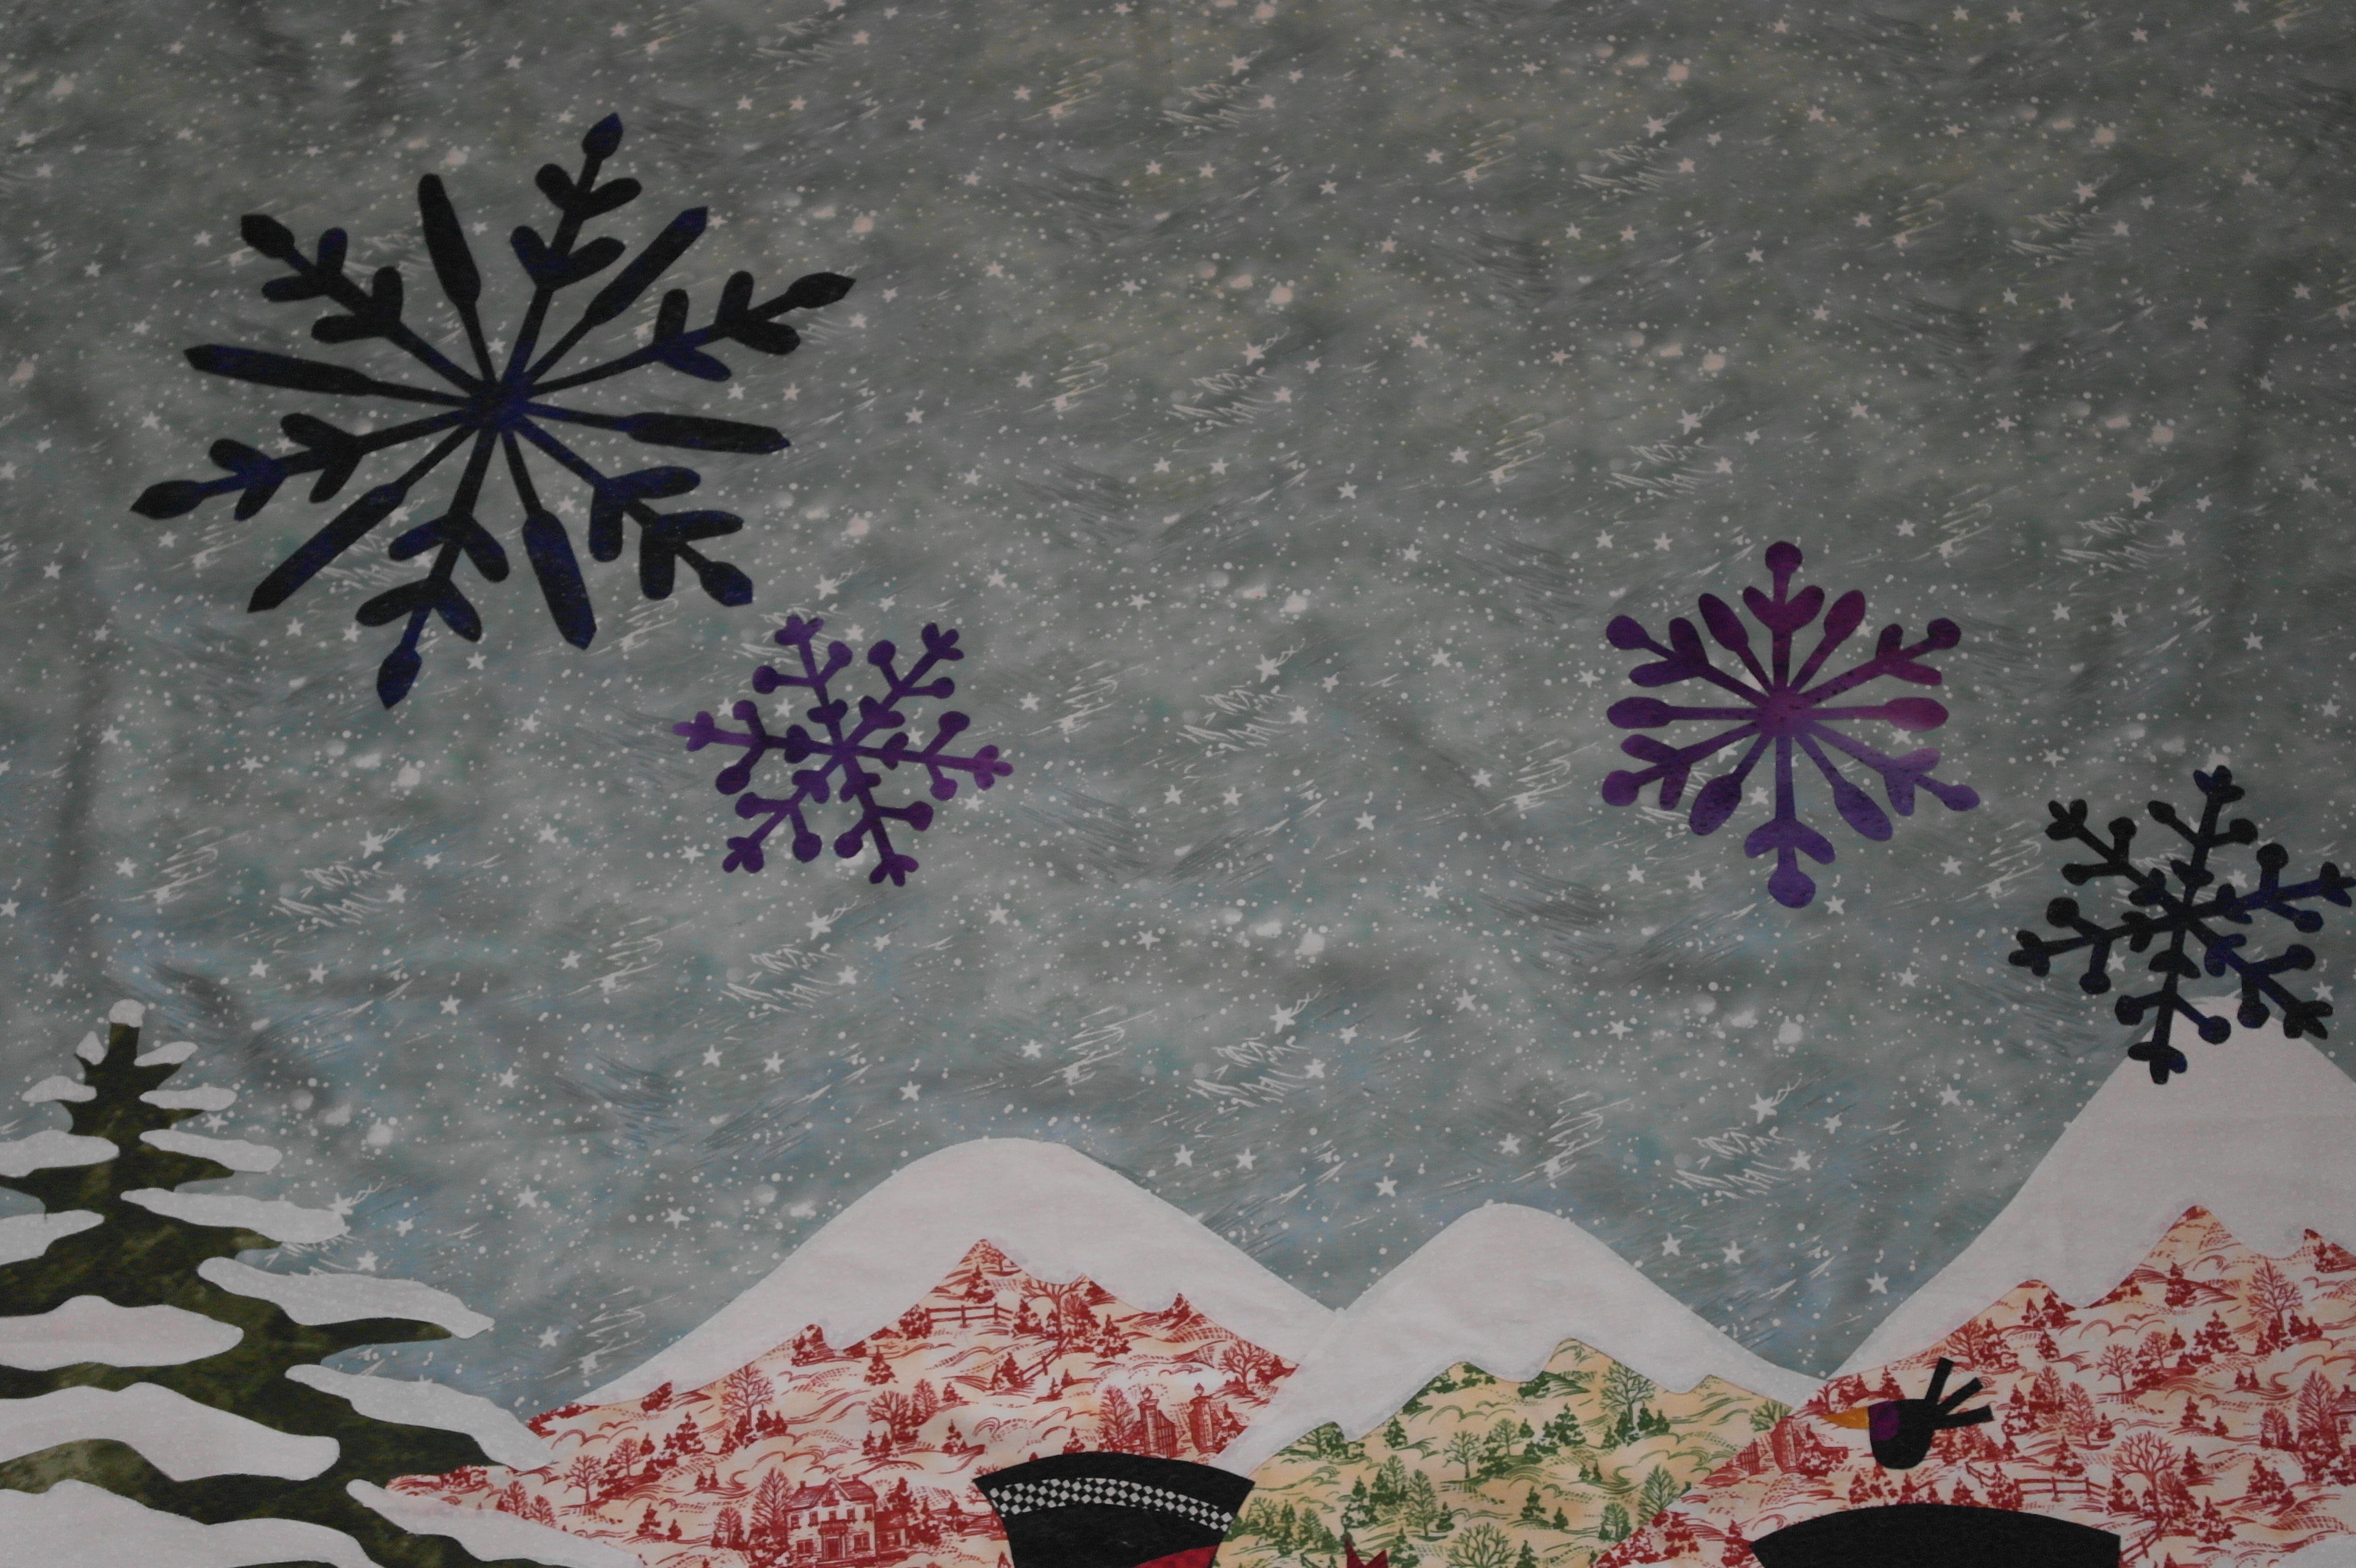
I have cut 4 Ice Crystals from fabric/Heat’n Bond Lite and ironed them onto the sky fabric – it’s like painting with fabrics and shapes.
Adding borders.
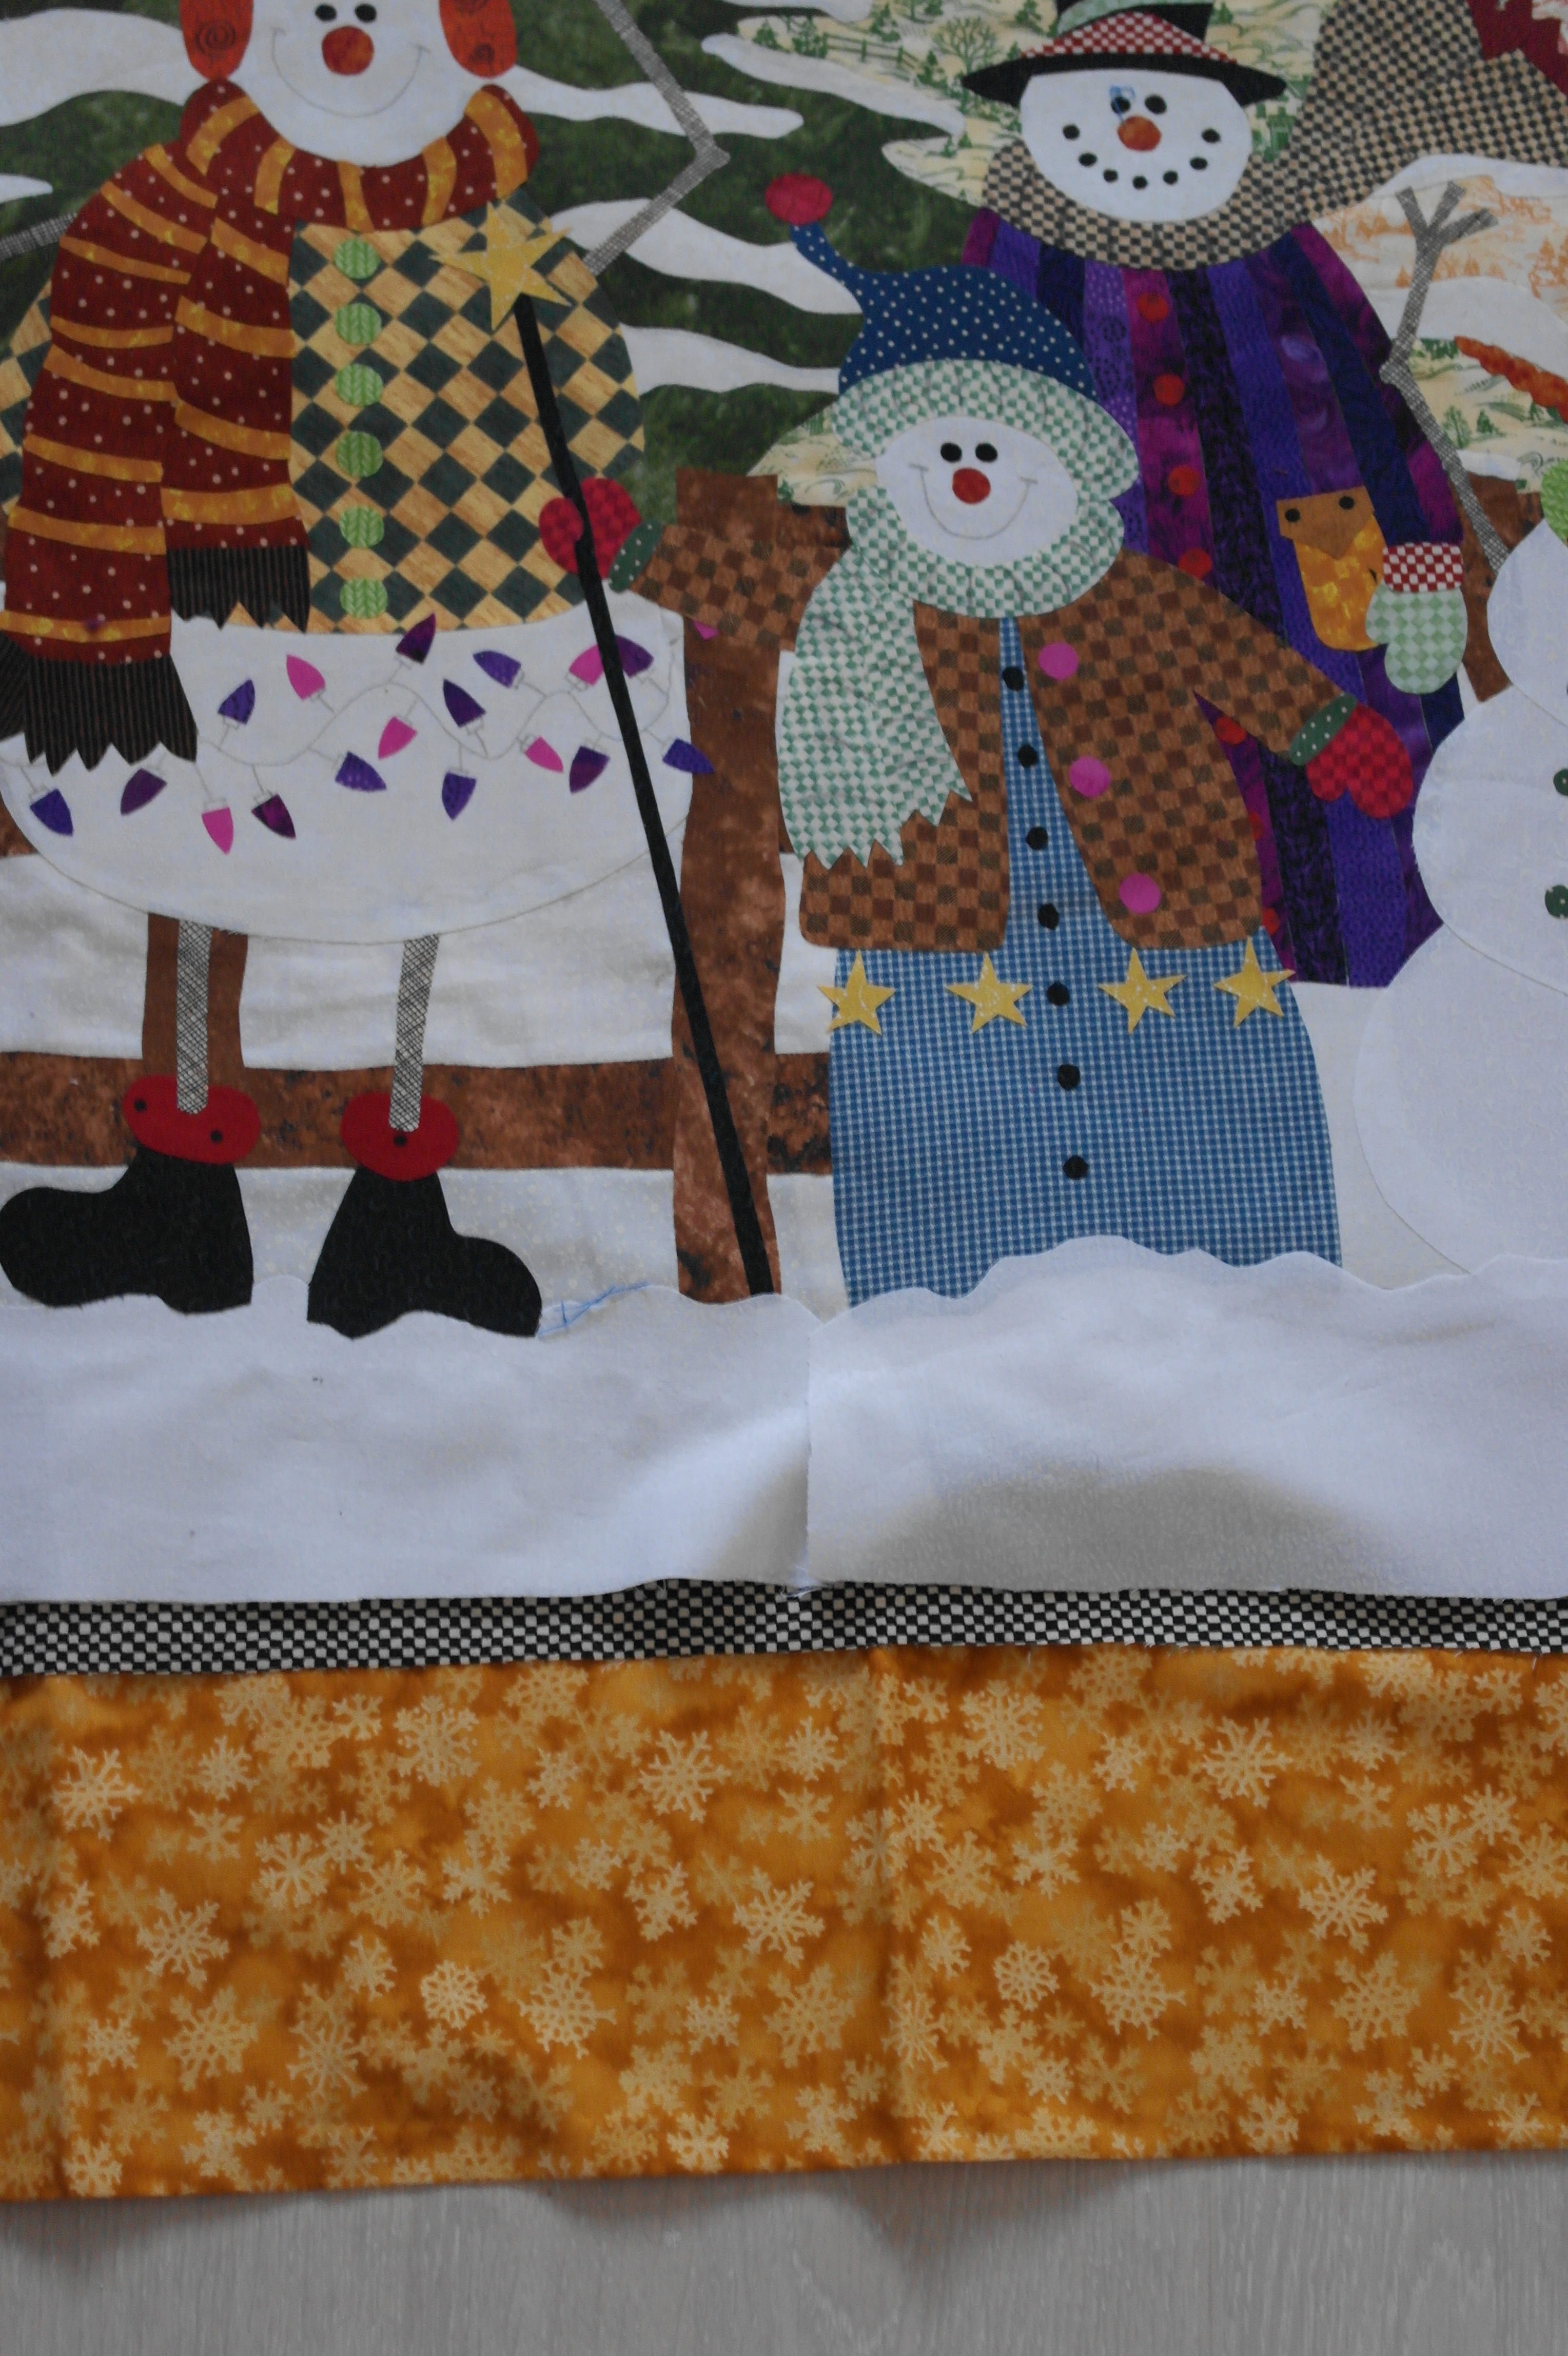
Two borders are added: a small black/white checker, and a wide yellow with ice crystals. But first I had to square up the center of the quilt, before adding borders.
Mitered corners.
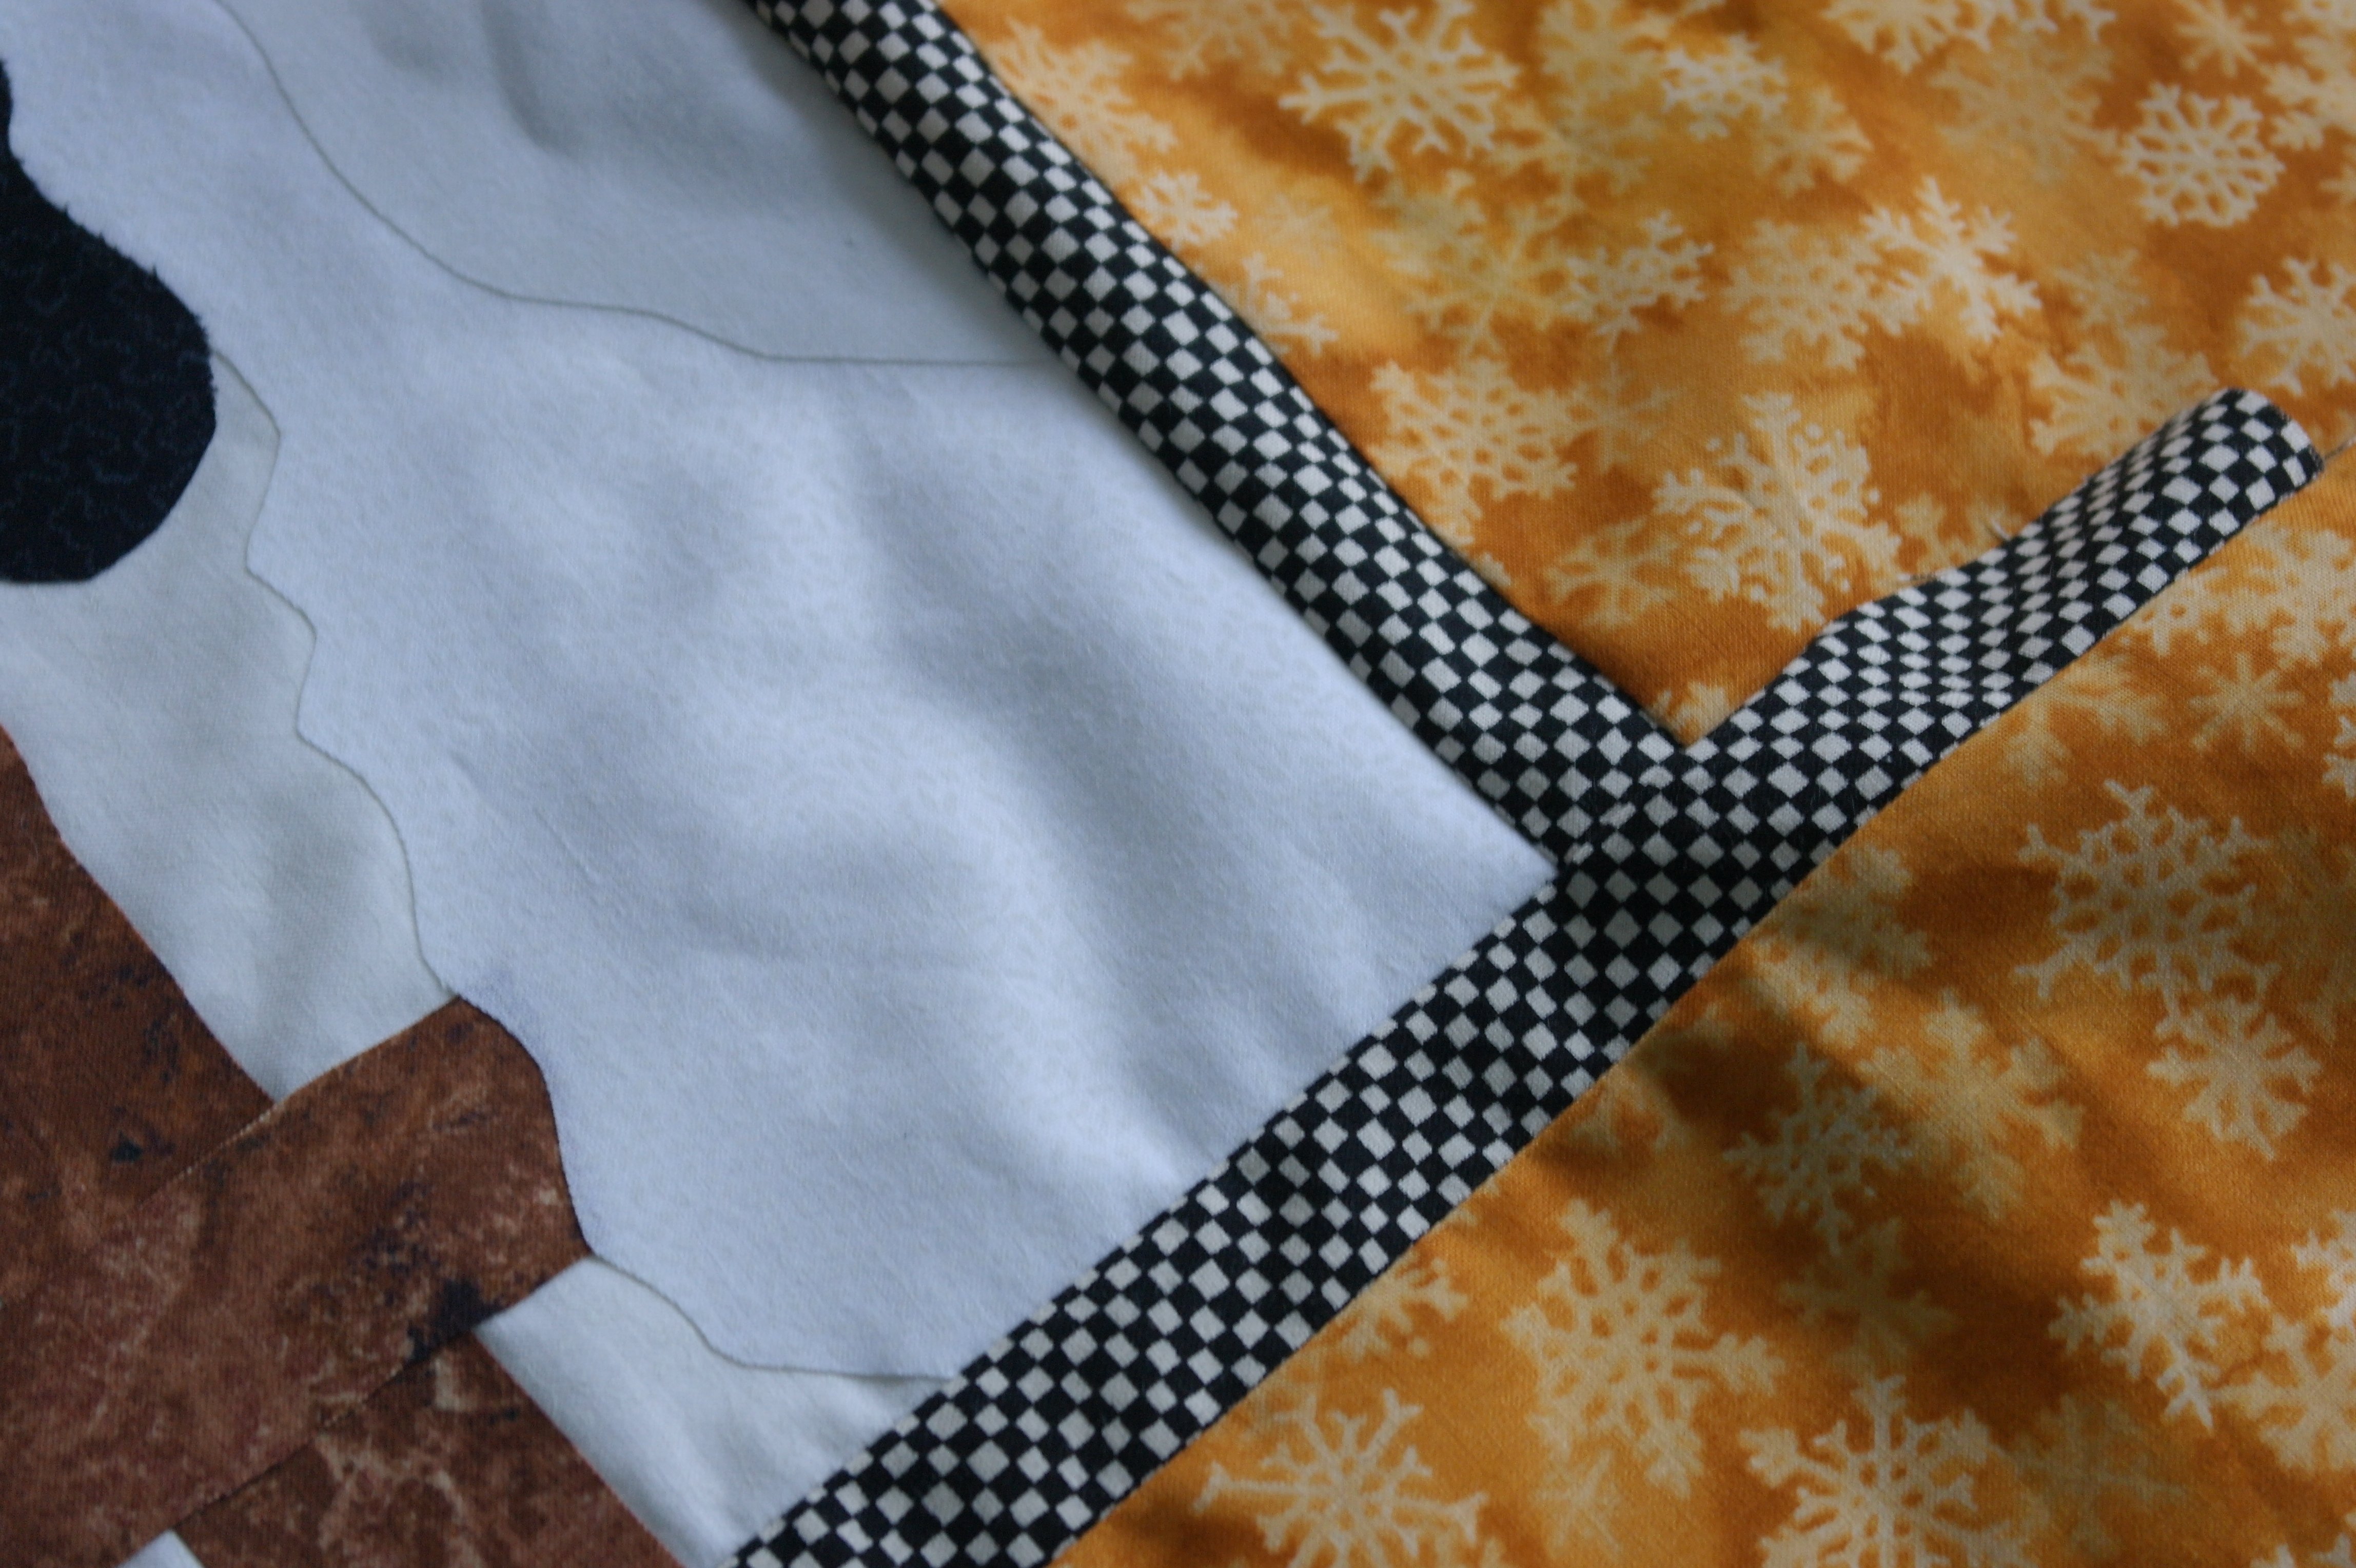
The corners are mitered: it is important to add both borders, sewing NOT further than the exact corner and stopping before touching the seam allowances. This is to be able to make a Y-seam, which is the corner of a mitered piece.
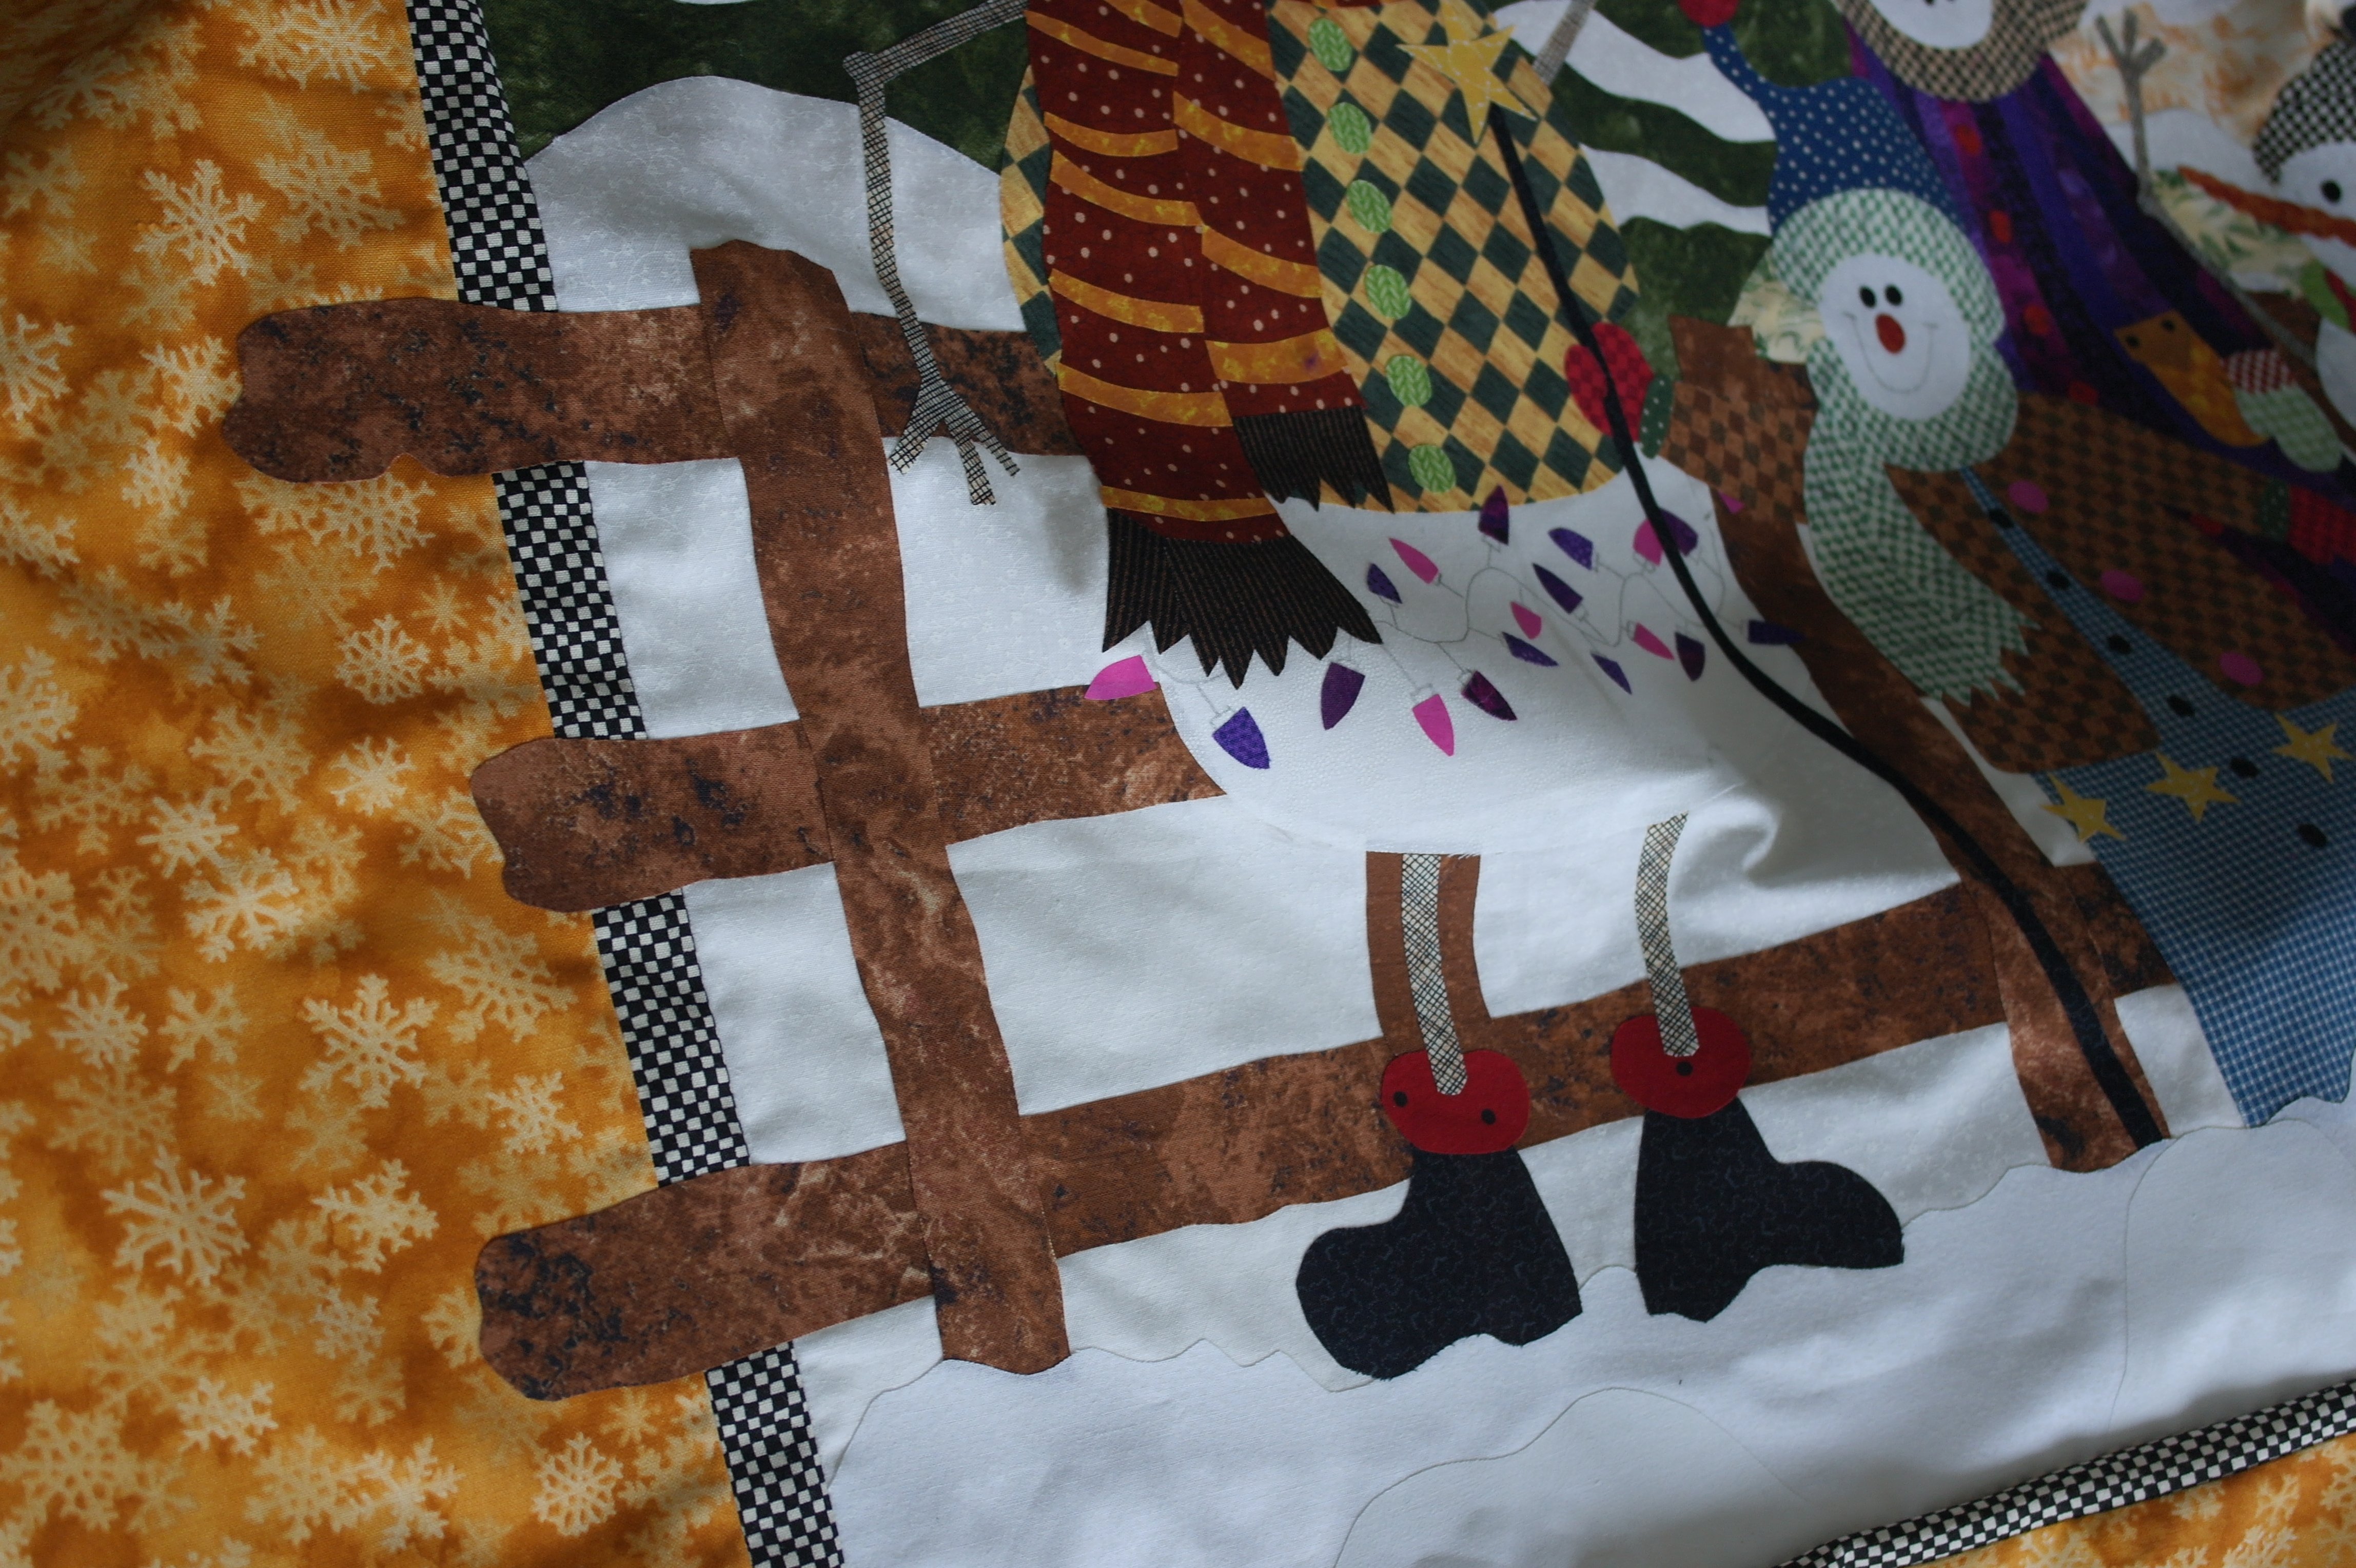
To the left, the fence protrudes from the center, over the borders: I like such a playful detail.

Making the mitered corners, I am always using the 45° lines of my quilt ruler, to draw lines for sewing.
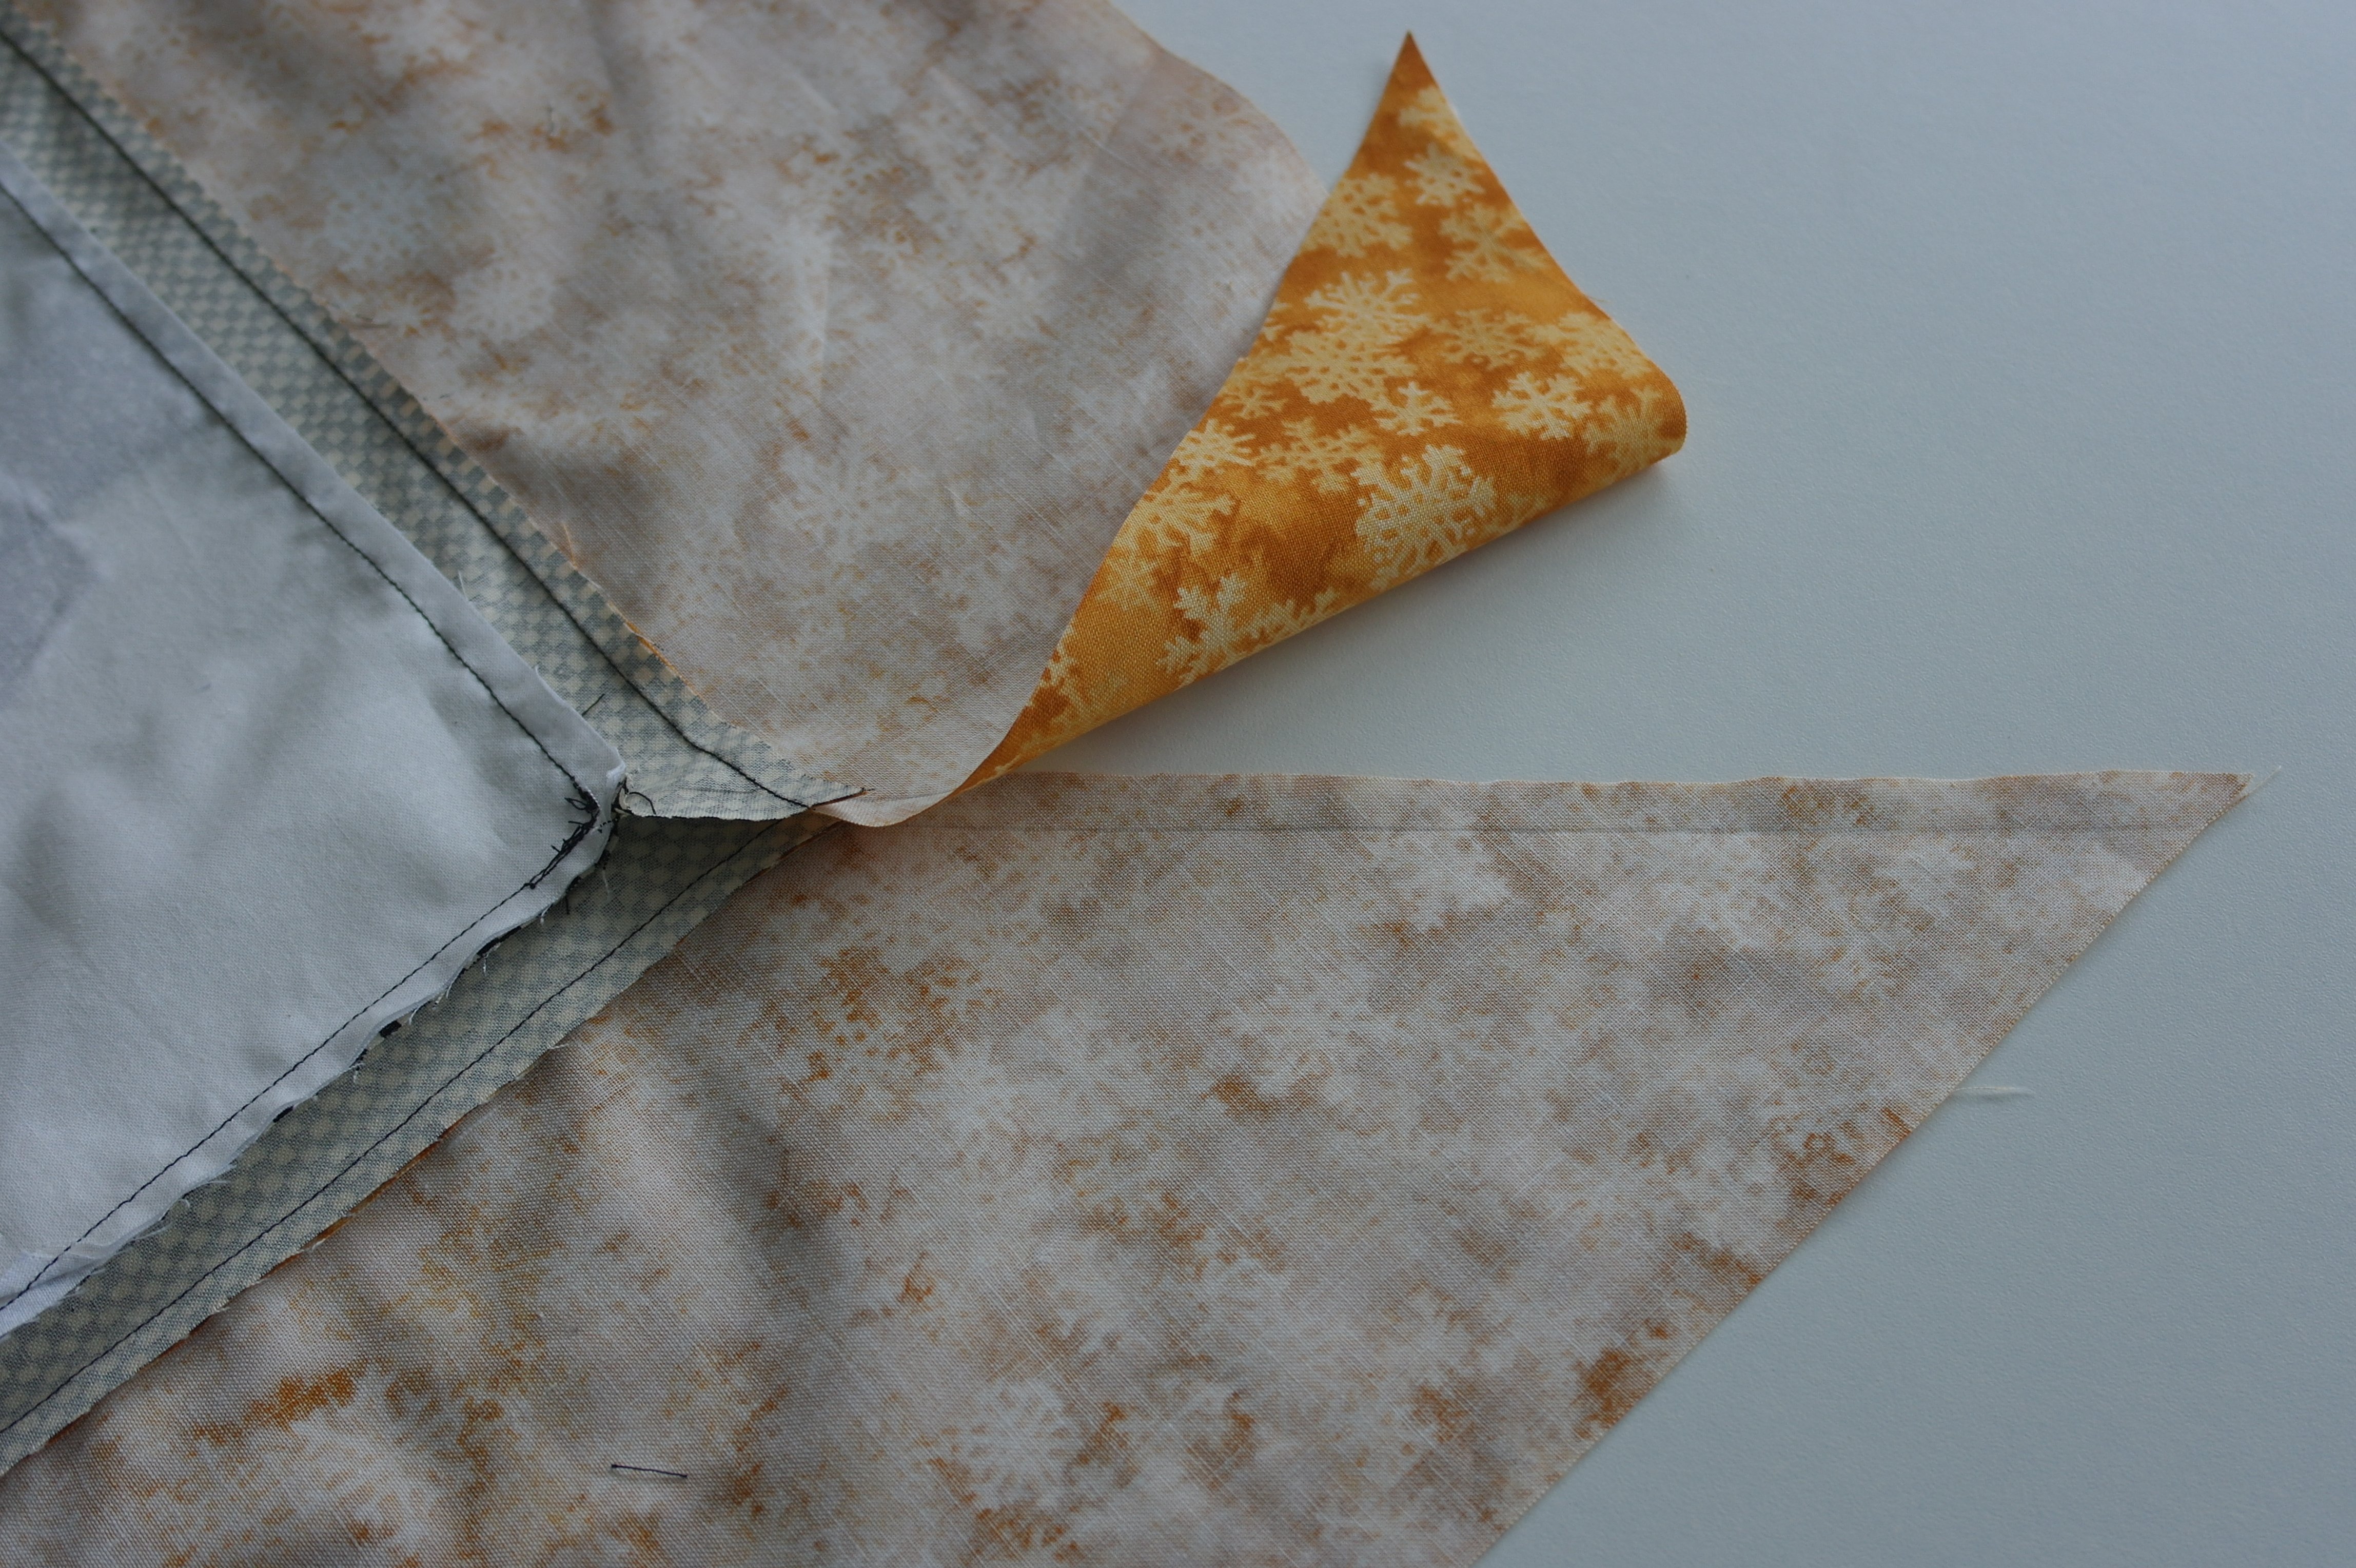
It is really important to cut OUTWARD, beyond the seam allowance of the mitered pieces. Sometimes quilters cut on the inside by mistake, discovering they have placed their quilt ruler the wrong way. Making sure and checking before cutting!
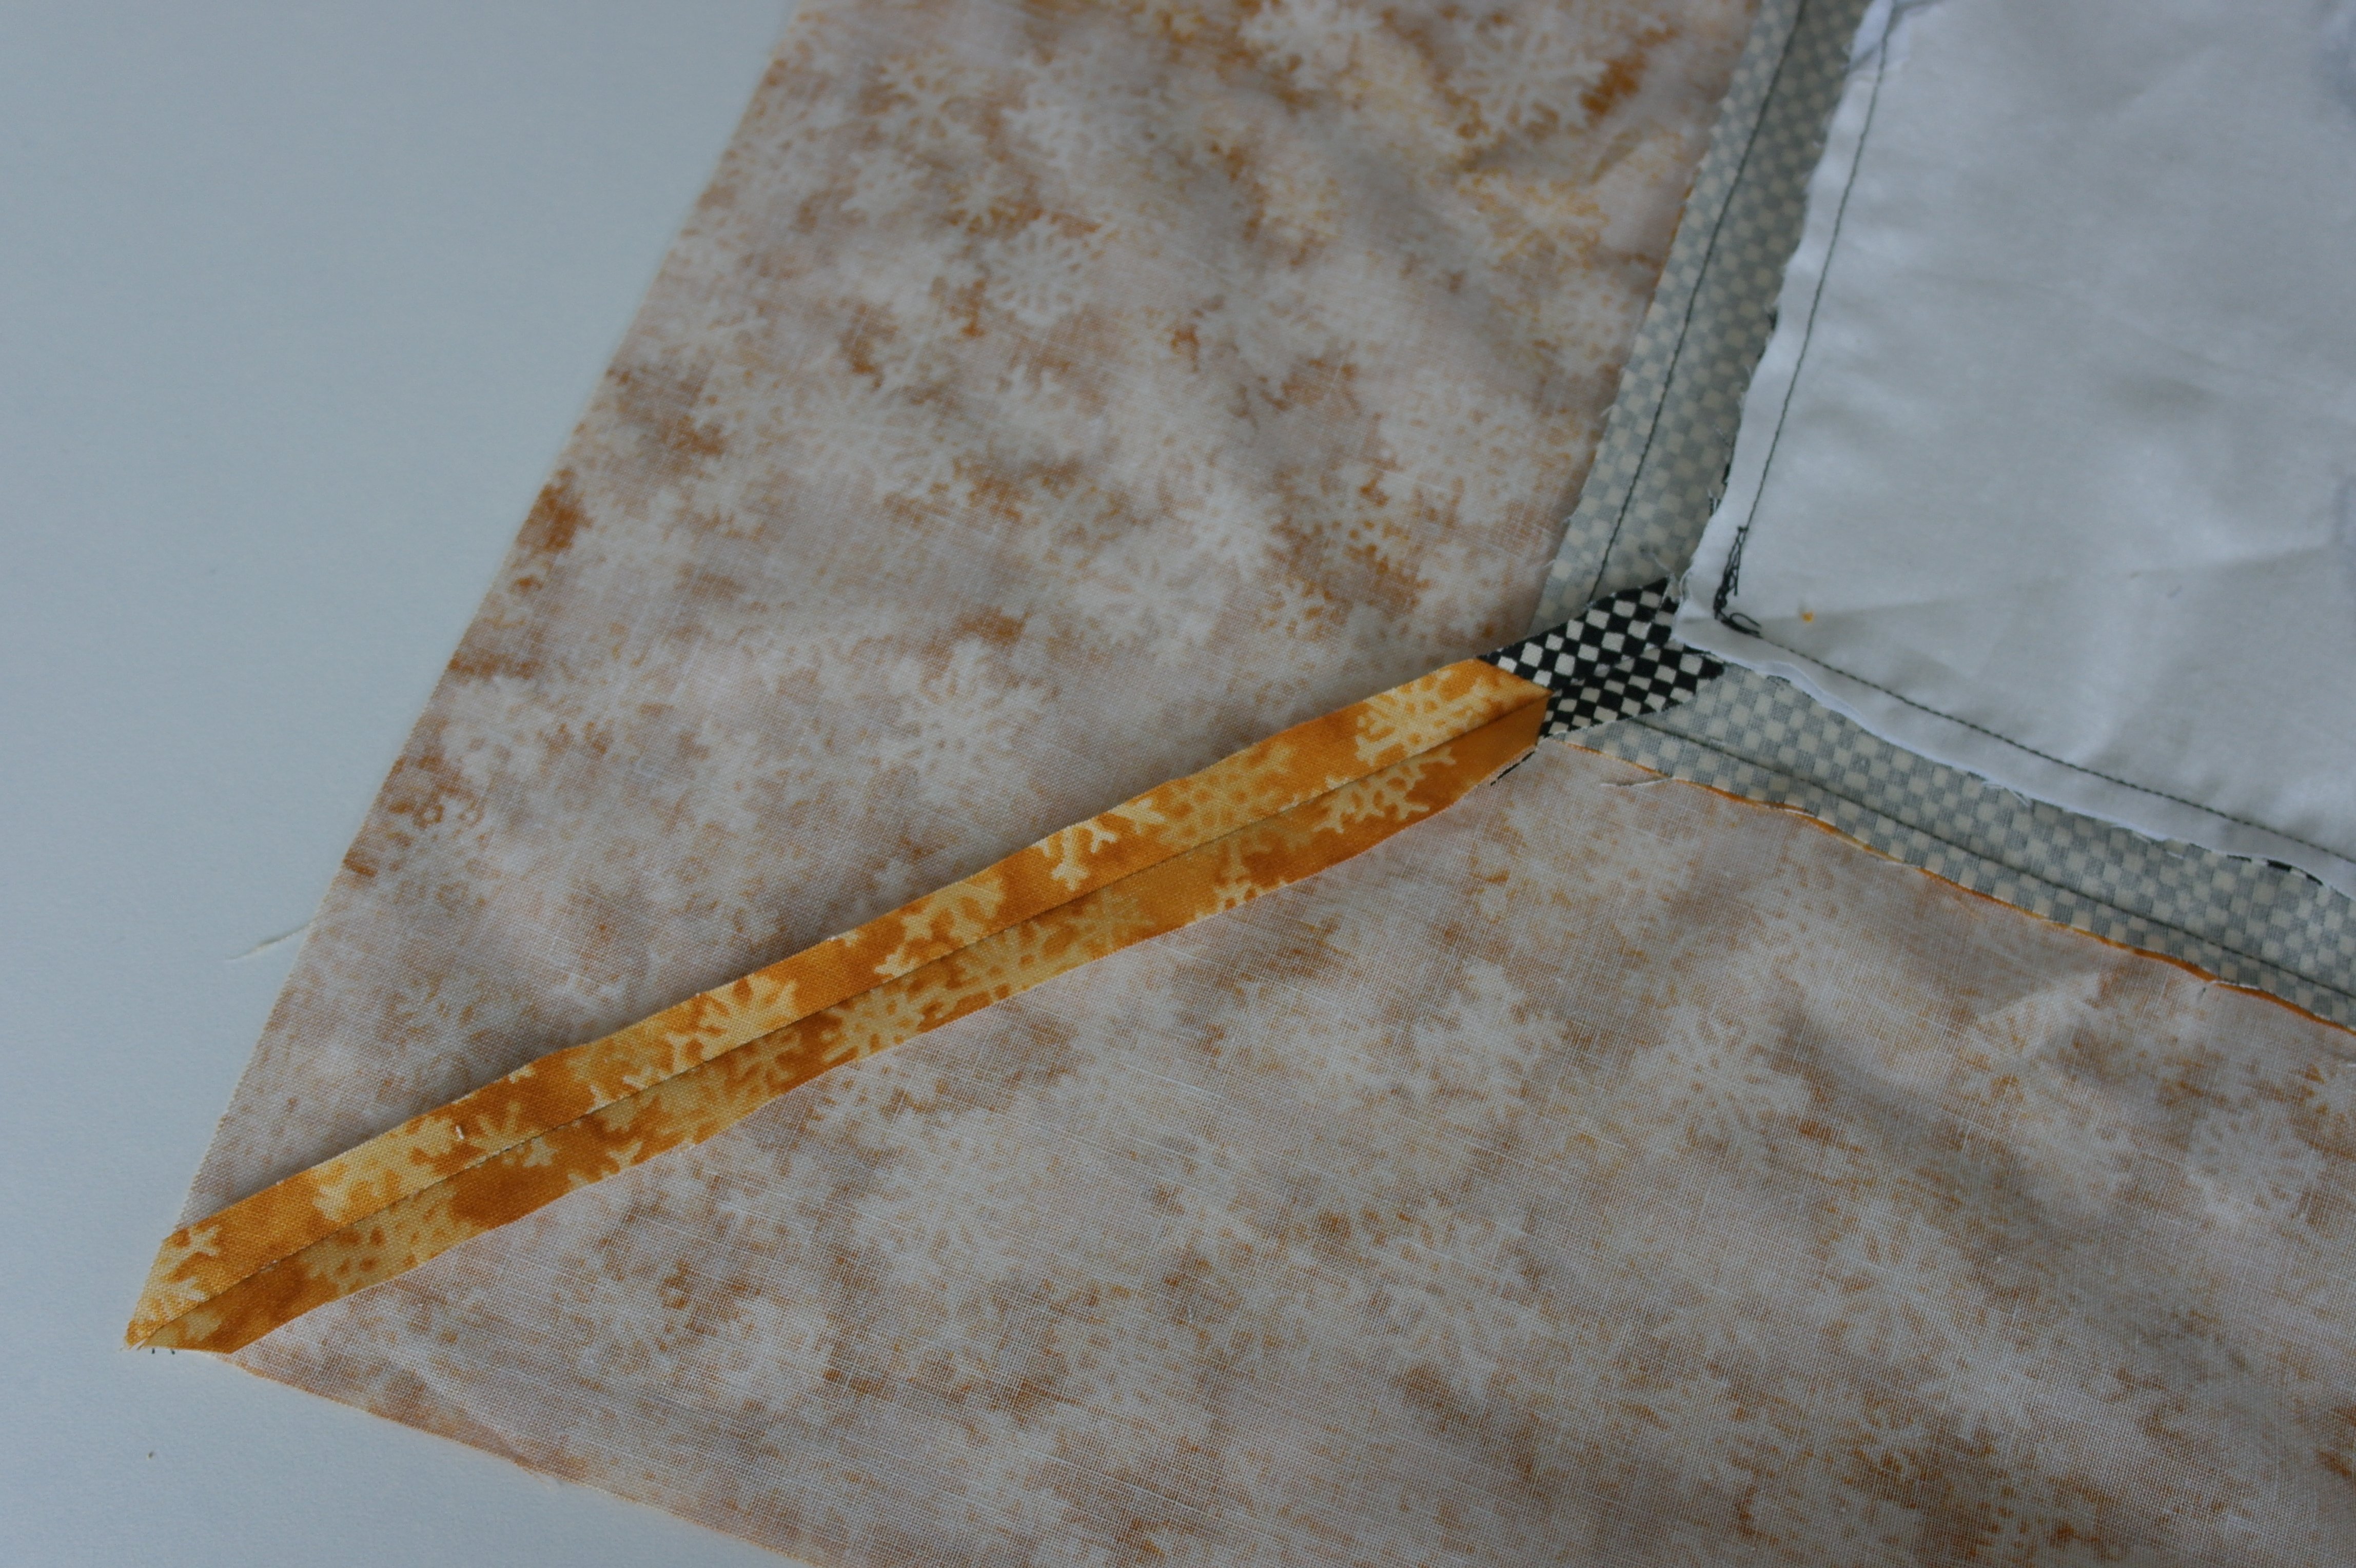
All mitered corners are ok: I’ve ironed the seam allowances open, to prevent bulk.
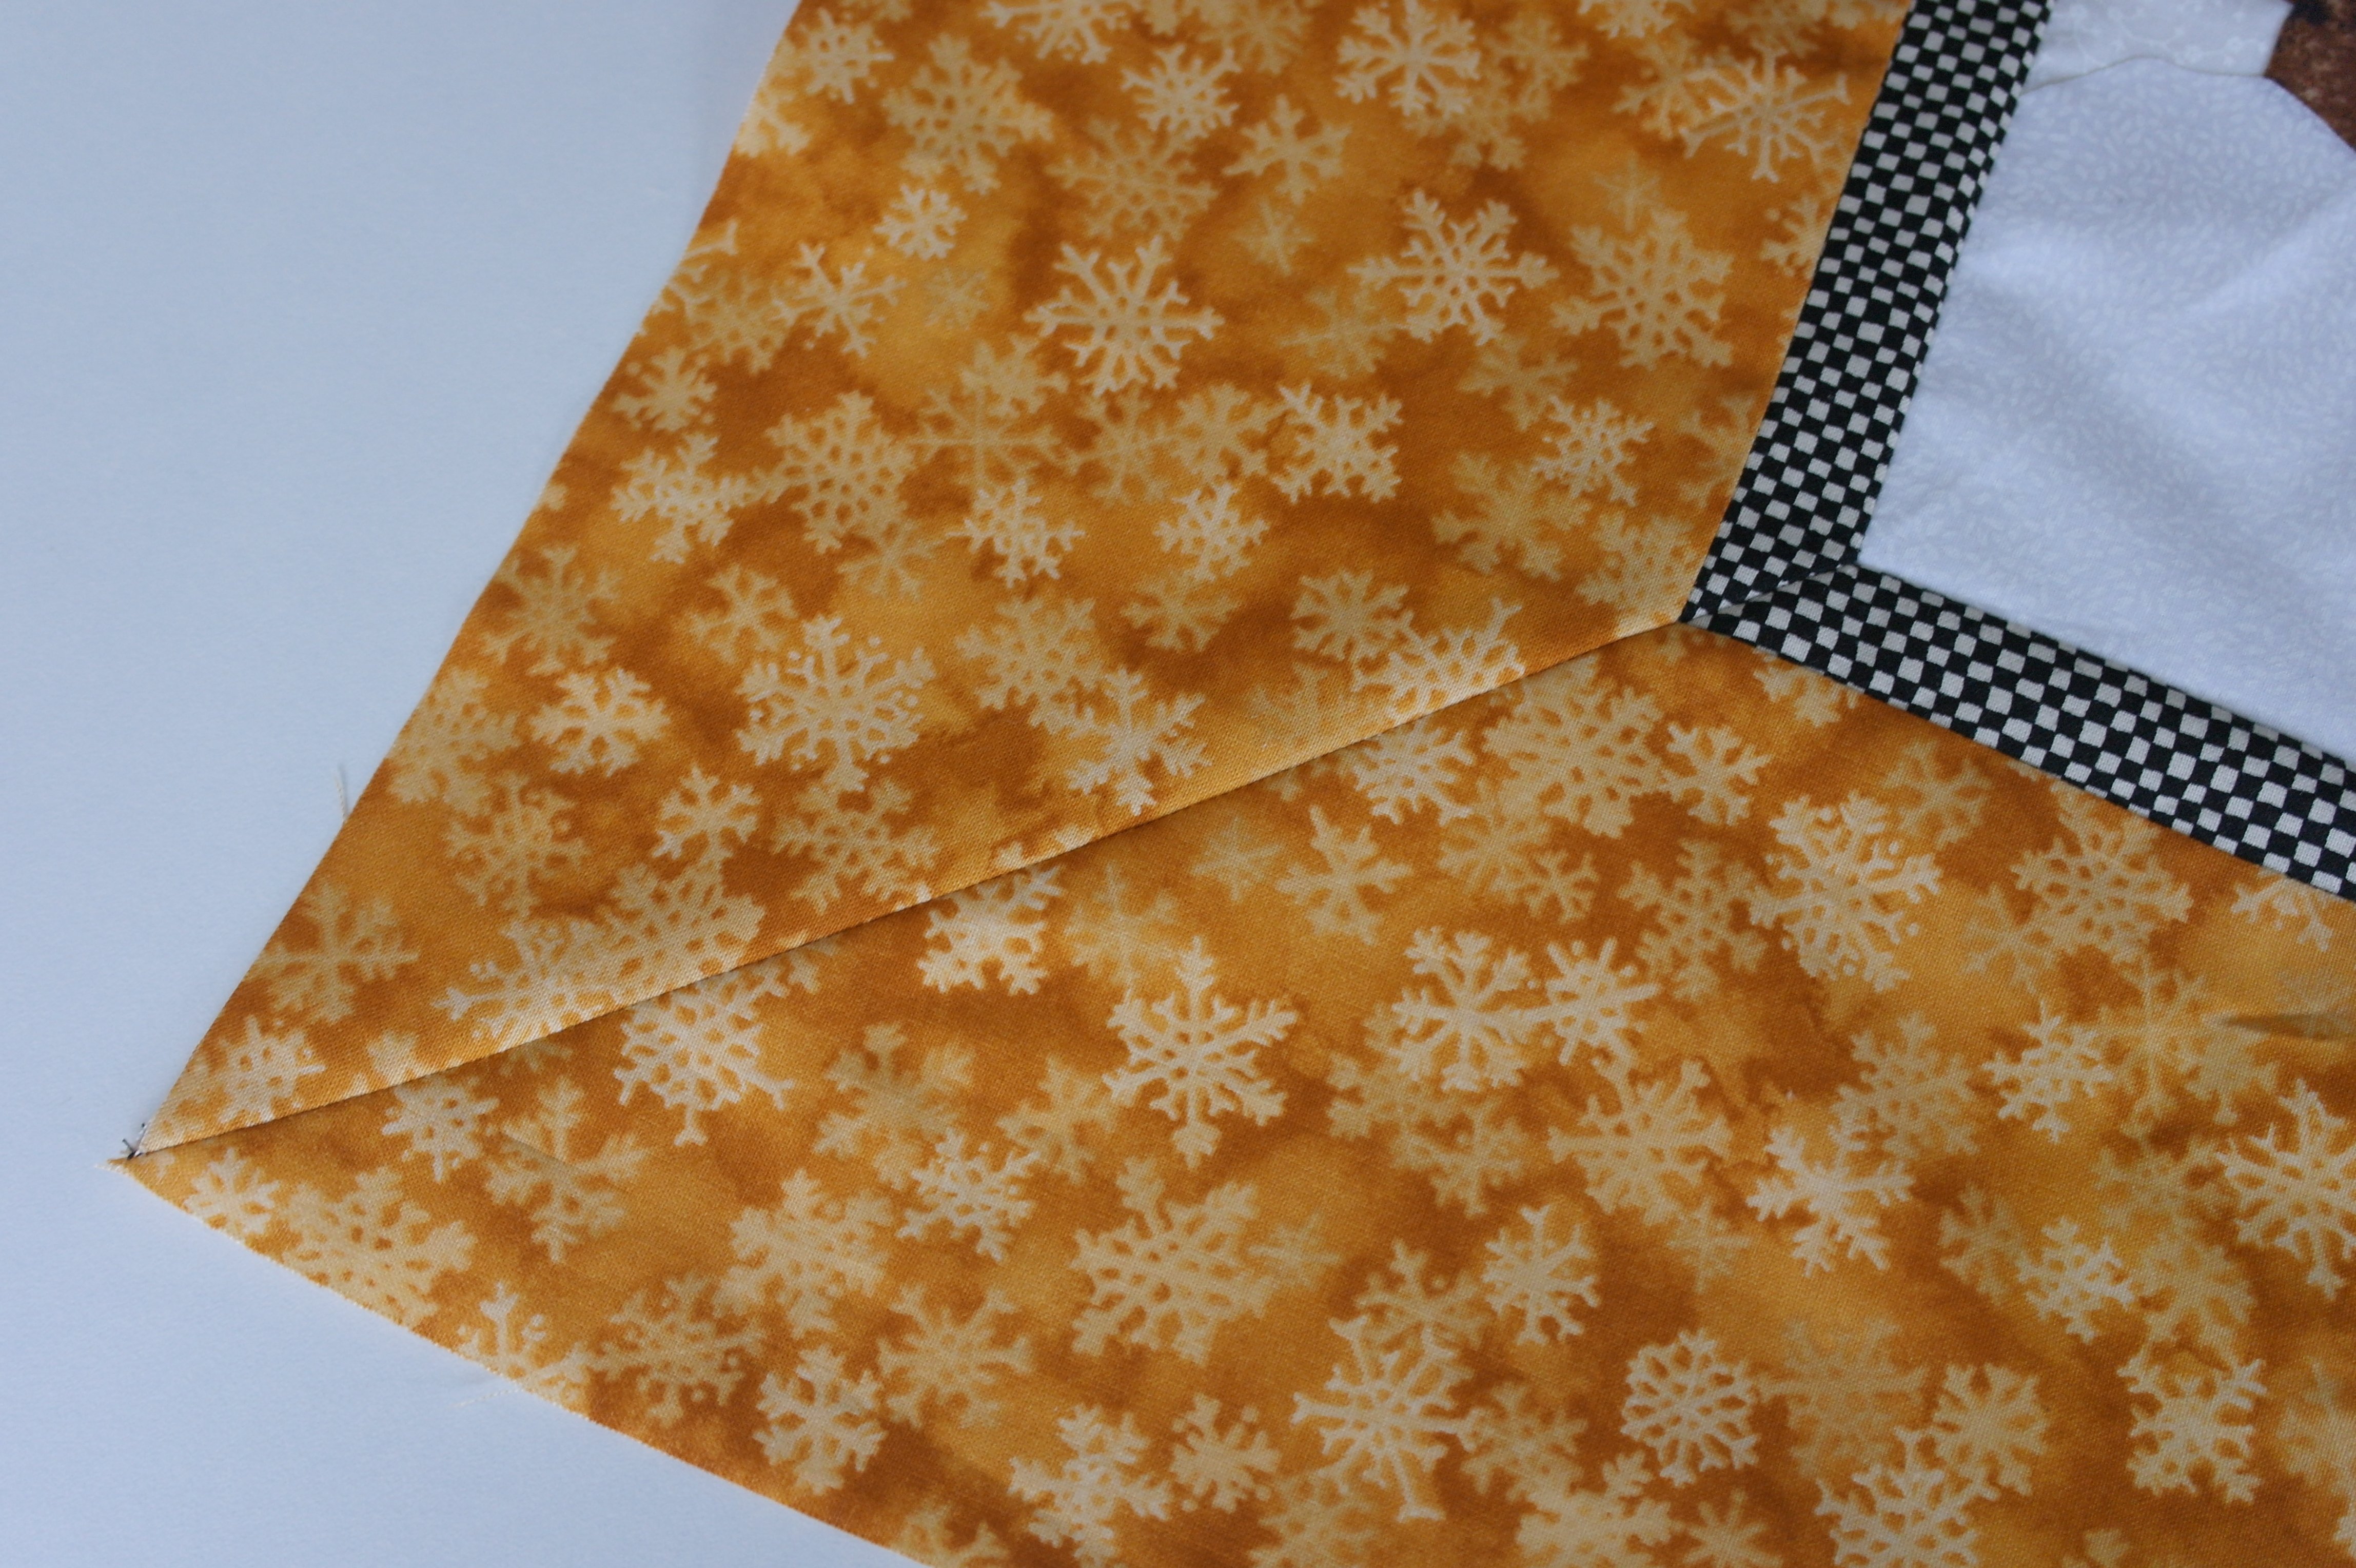
This is the front of the borders: looks ok to me – all fabrics are aligned.
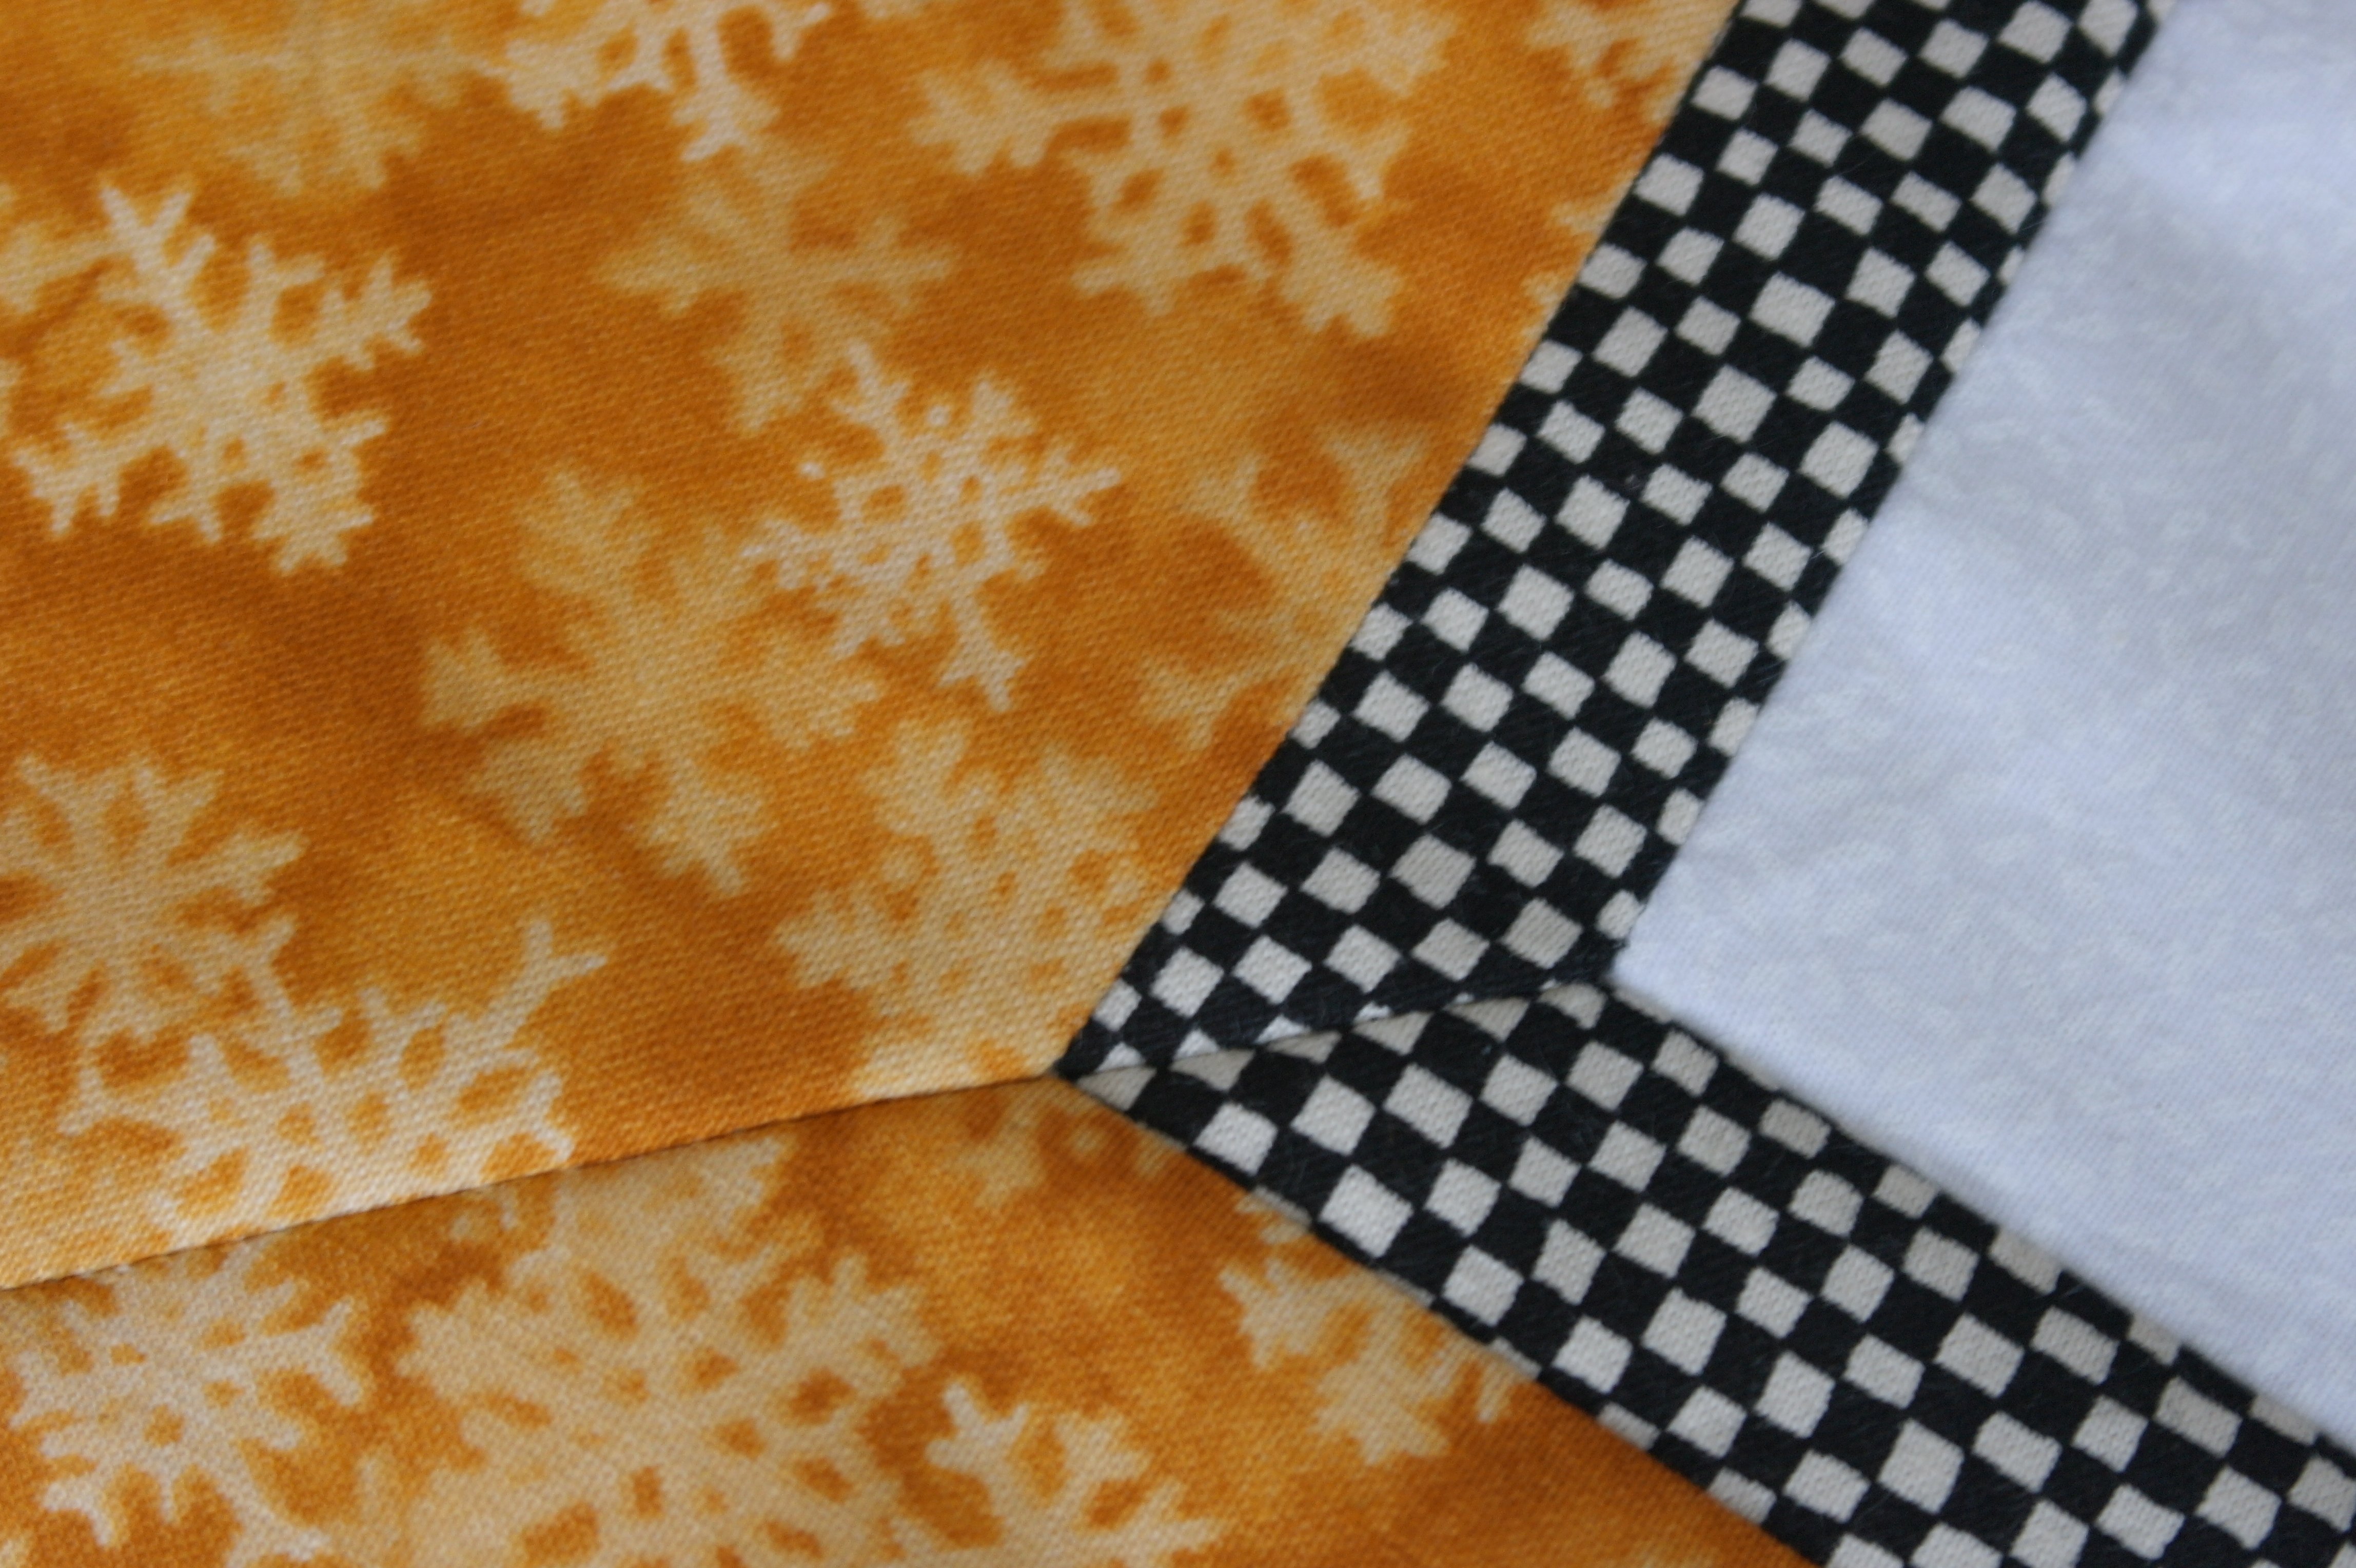
A detail to show how well it went with making a mitered corner: I am happy with this.
Making the sandwich.
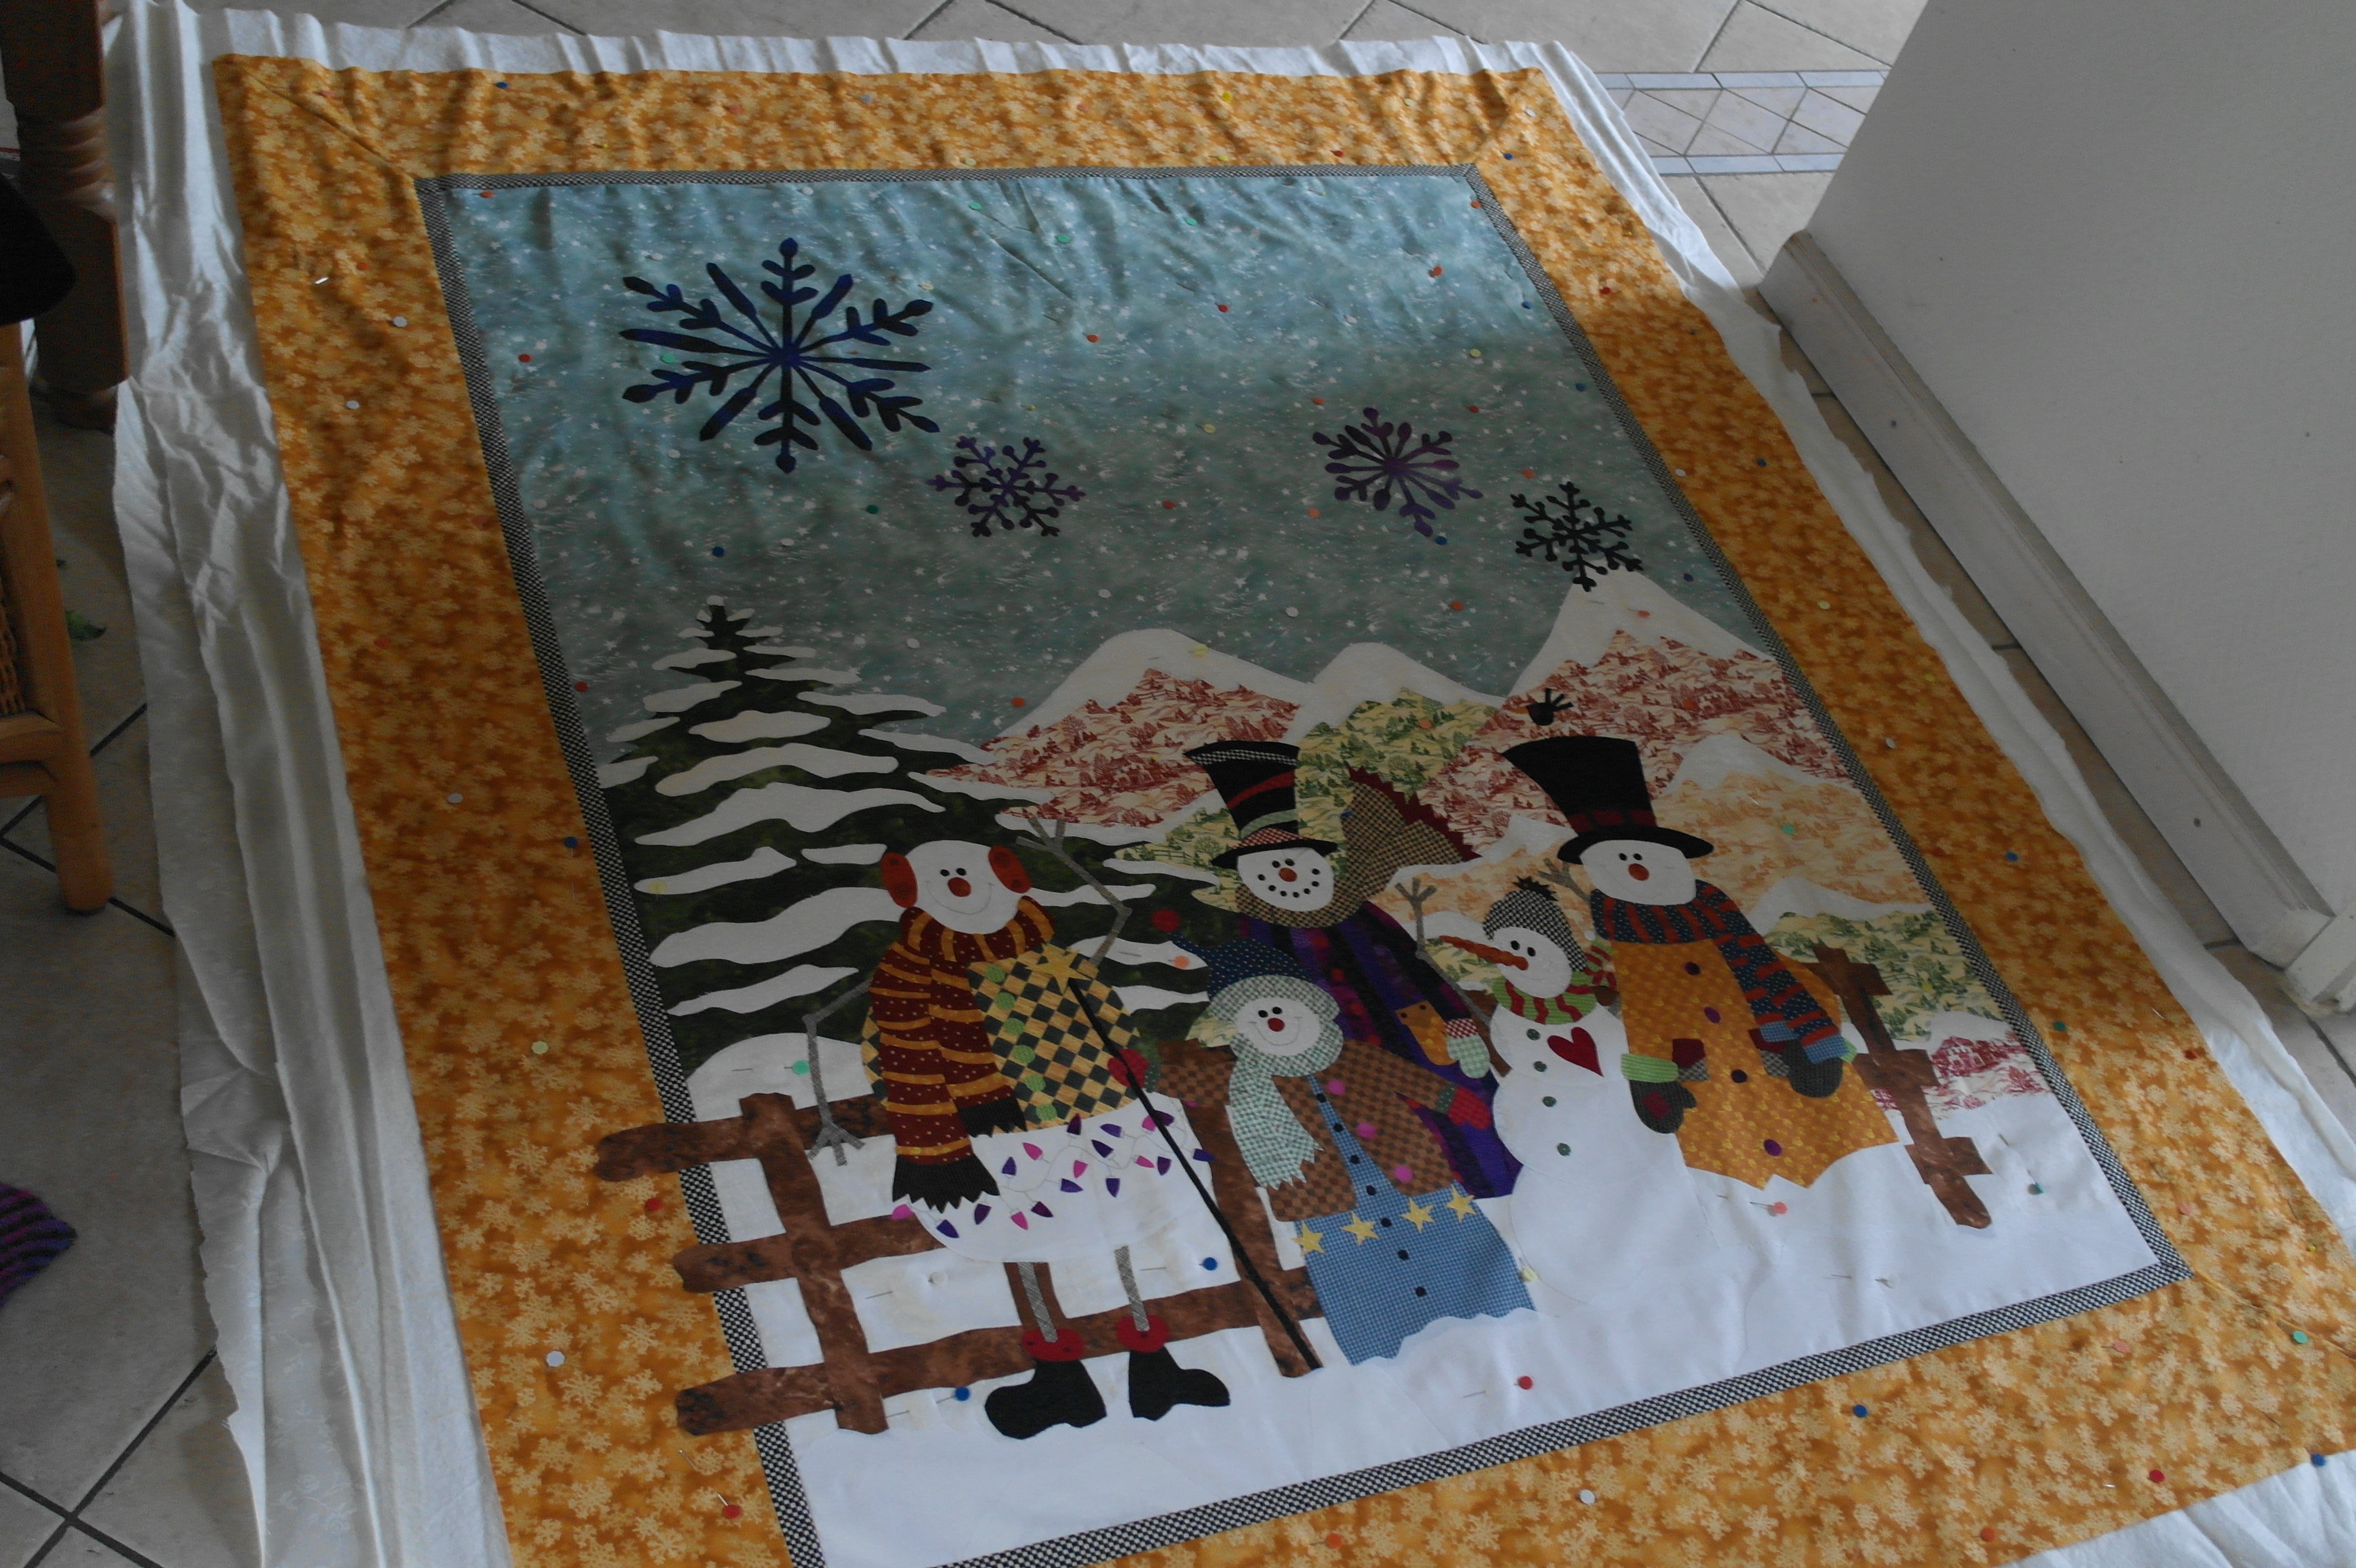
After adding borders to the center, and finishing the mitered corners, the top is placed on 100% bamboo batting and a backing fabric. Because I want no starts/finish endings from threads visible, I am often working with a thin ecru backing, which is the first/temporary backing to quilt. After the most part of the quilting, I will add a beautiful backing fabric, and finish some quilting details to attach this fabric to the rest. I have used Flower Pins to secure the layers.
Extra table for quilting.
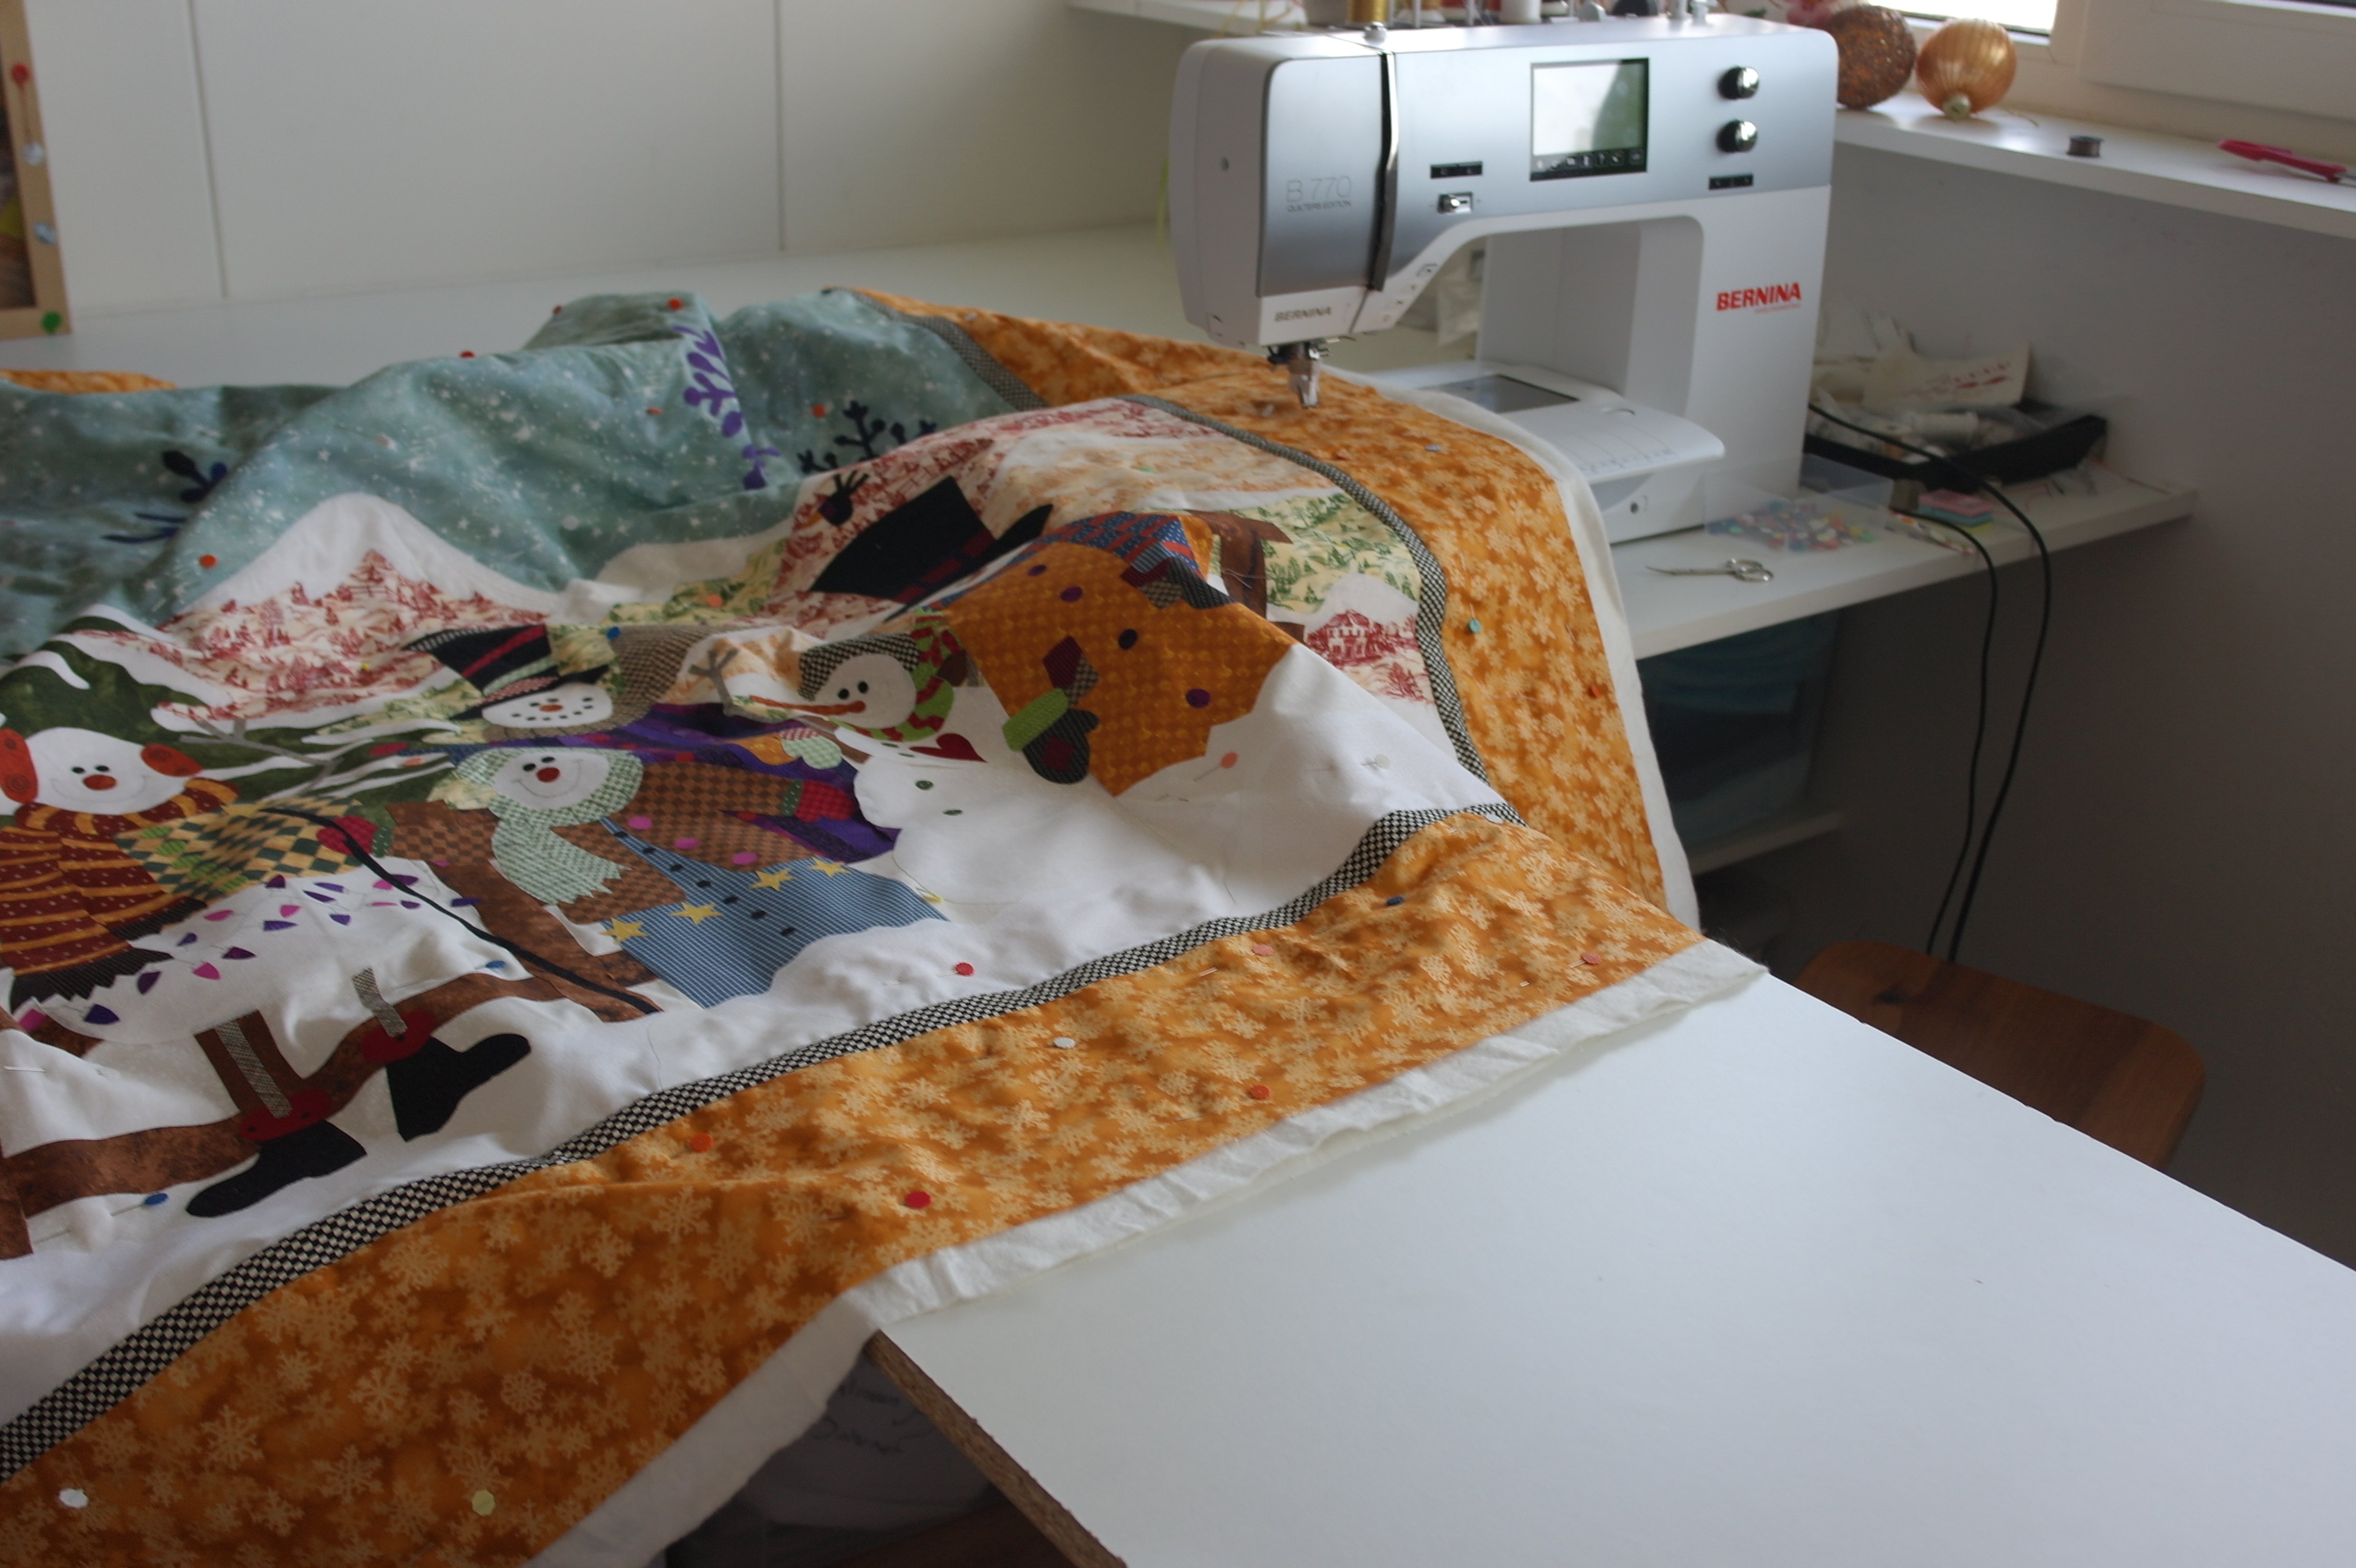
Because this is a medium size quilt, but still a bit large, I have placed an extra table to the left of table/machine, to prevent the quilt falling off and ruining my quilting stitches. The weight of such a quilt pulls the quilt down, when a large piece is on the left of the machine.
Using my BSR on the BERNINA 770QE, feed dogs down and happy to quilt…
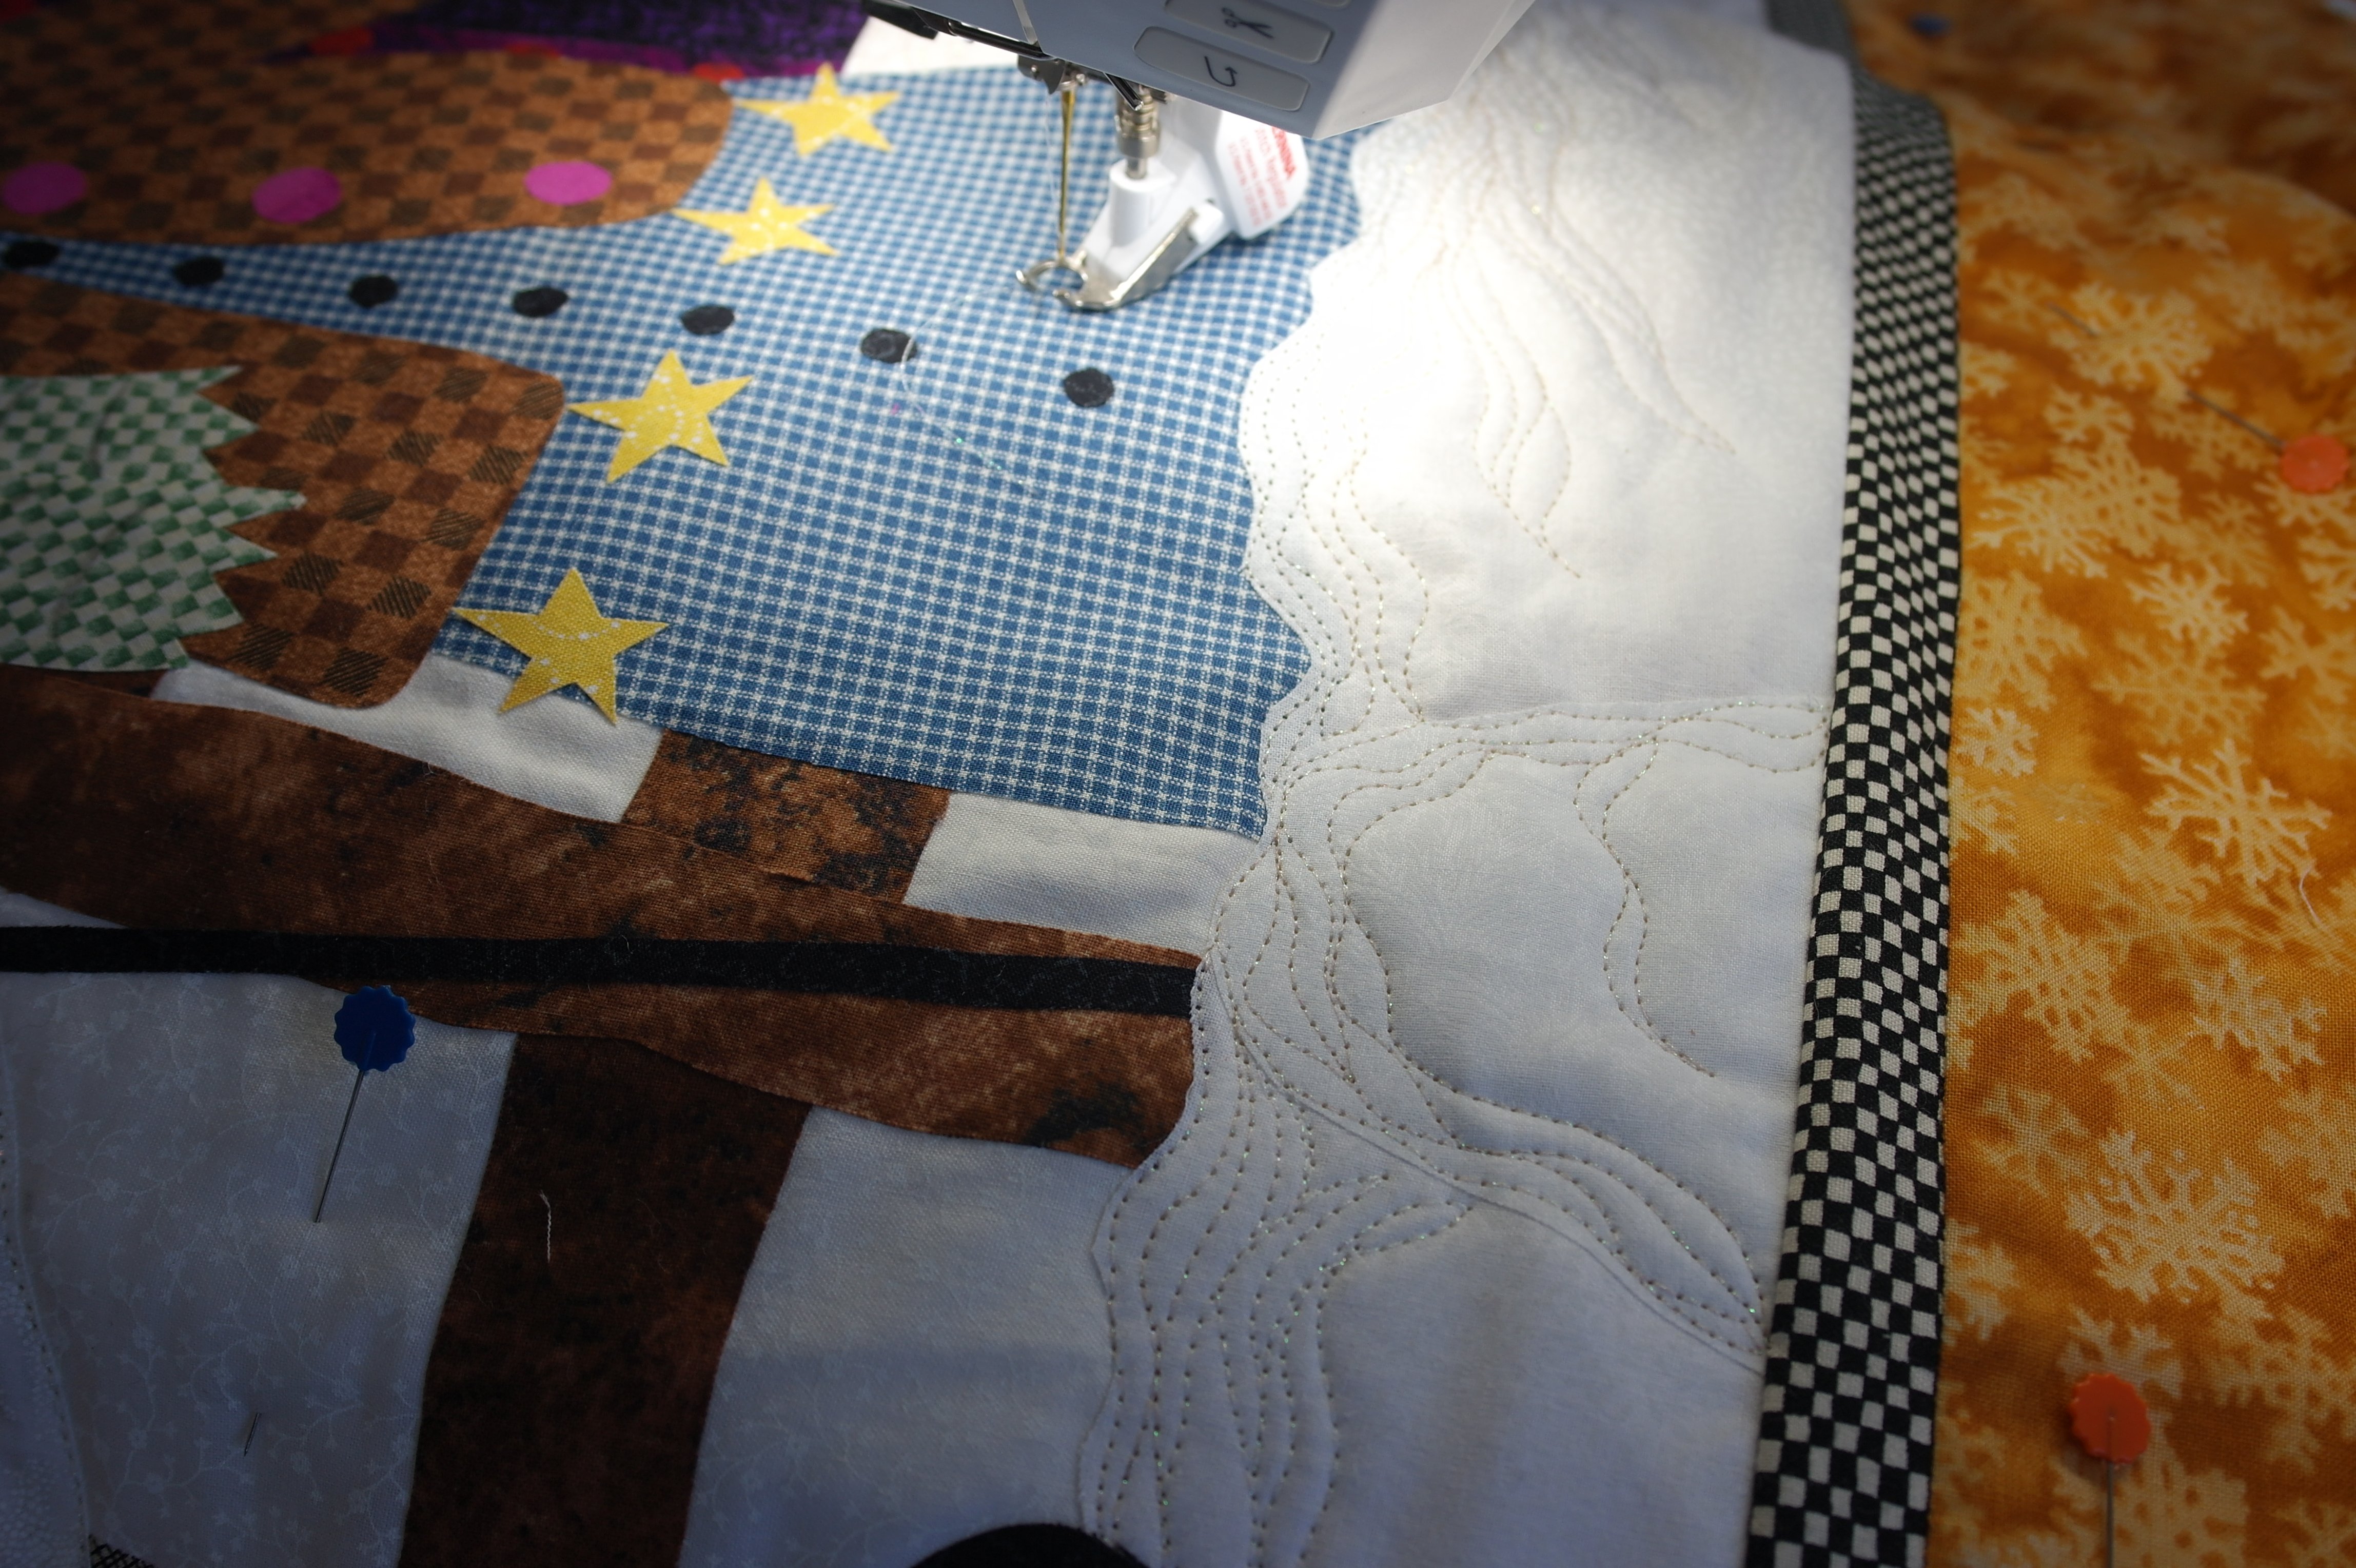
I am using different weights of machine quilting thread, changing needles often. For regular machine quilting thread, I have used a Topstitch 90/14 needle, but for working with the thicker GlaMore metallic thread, I have used a Topstitch 100/16. op de machine.
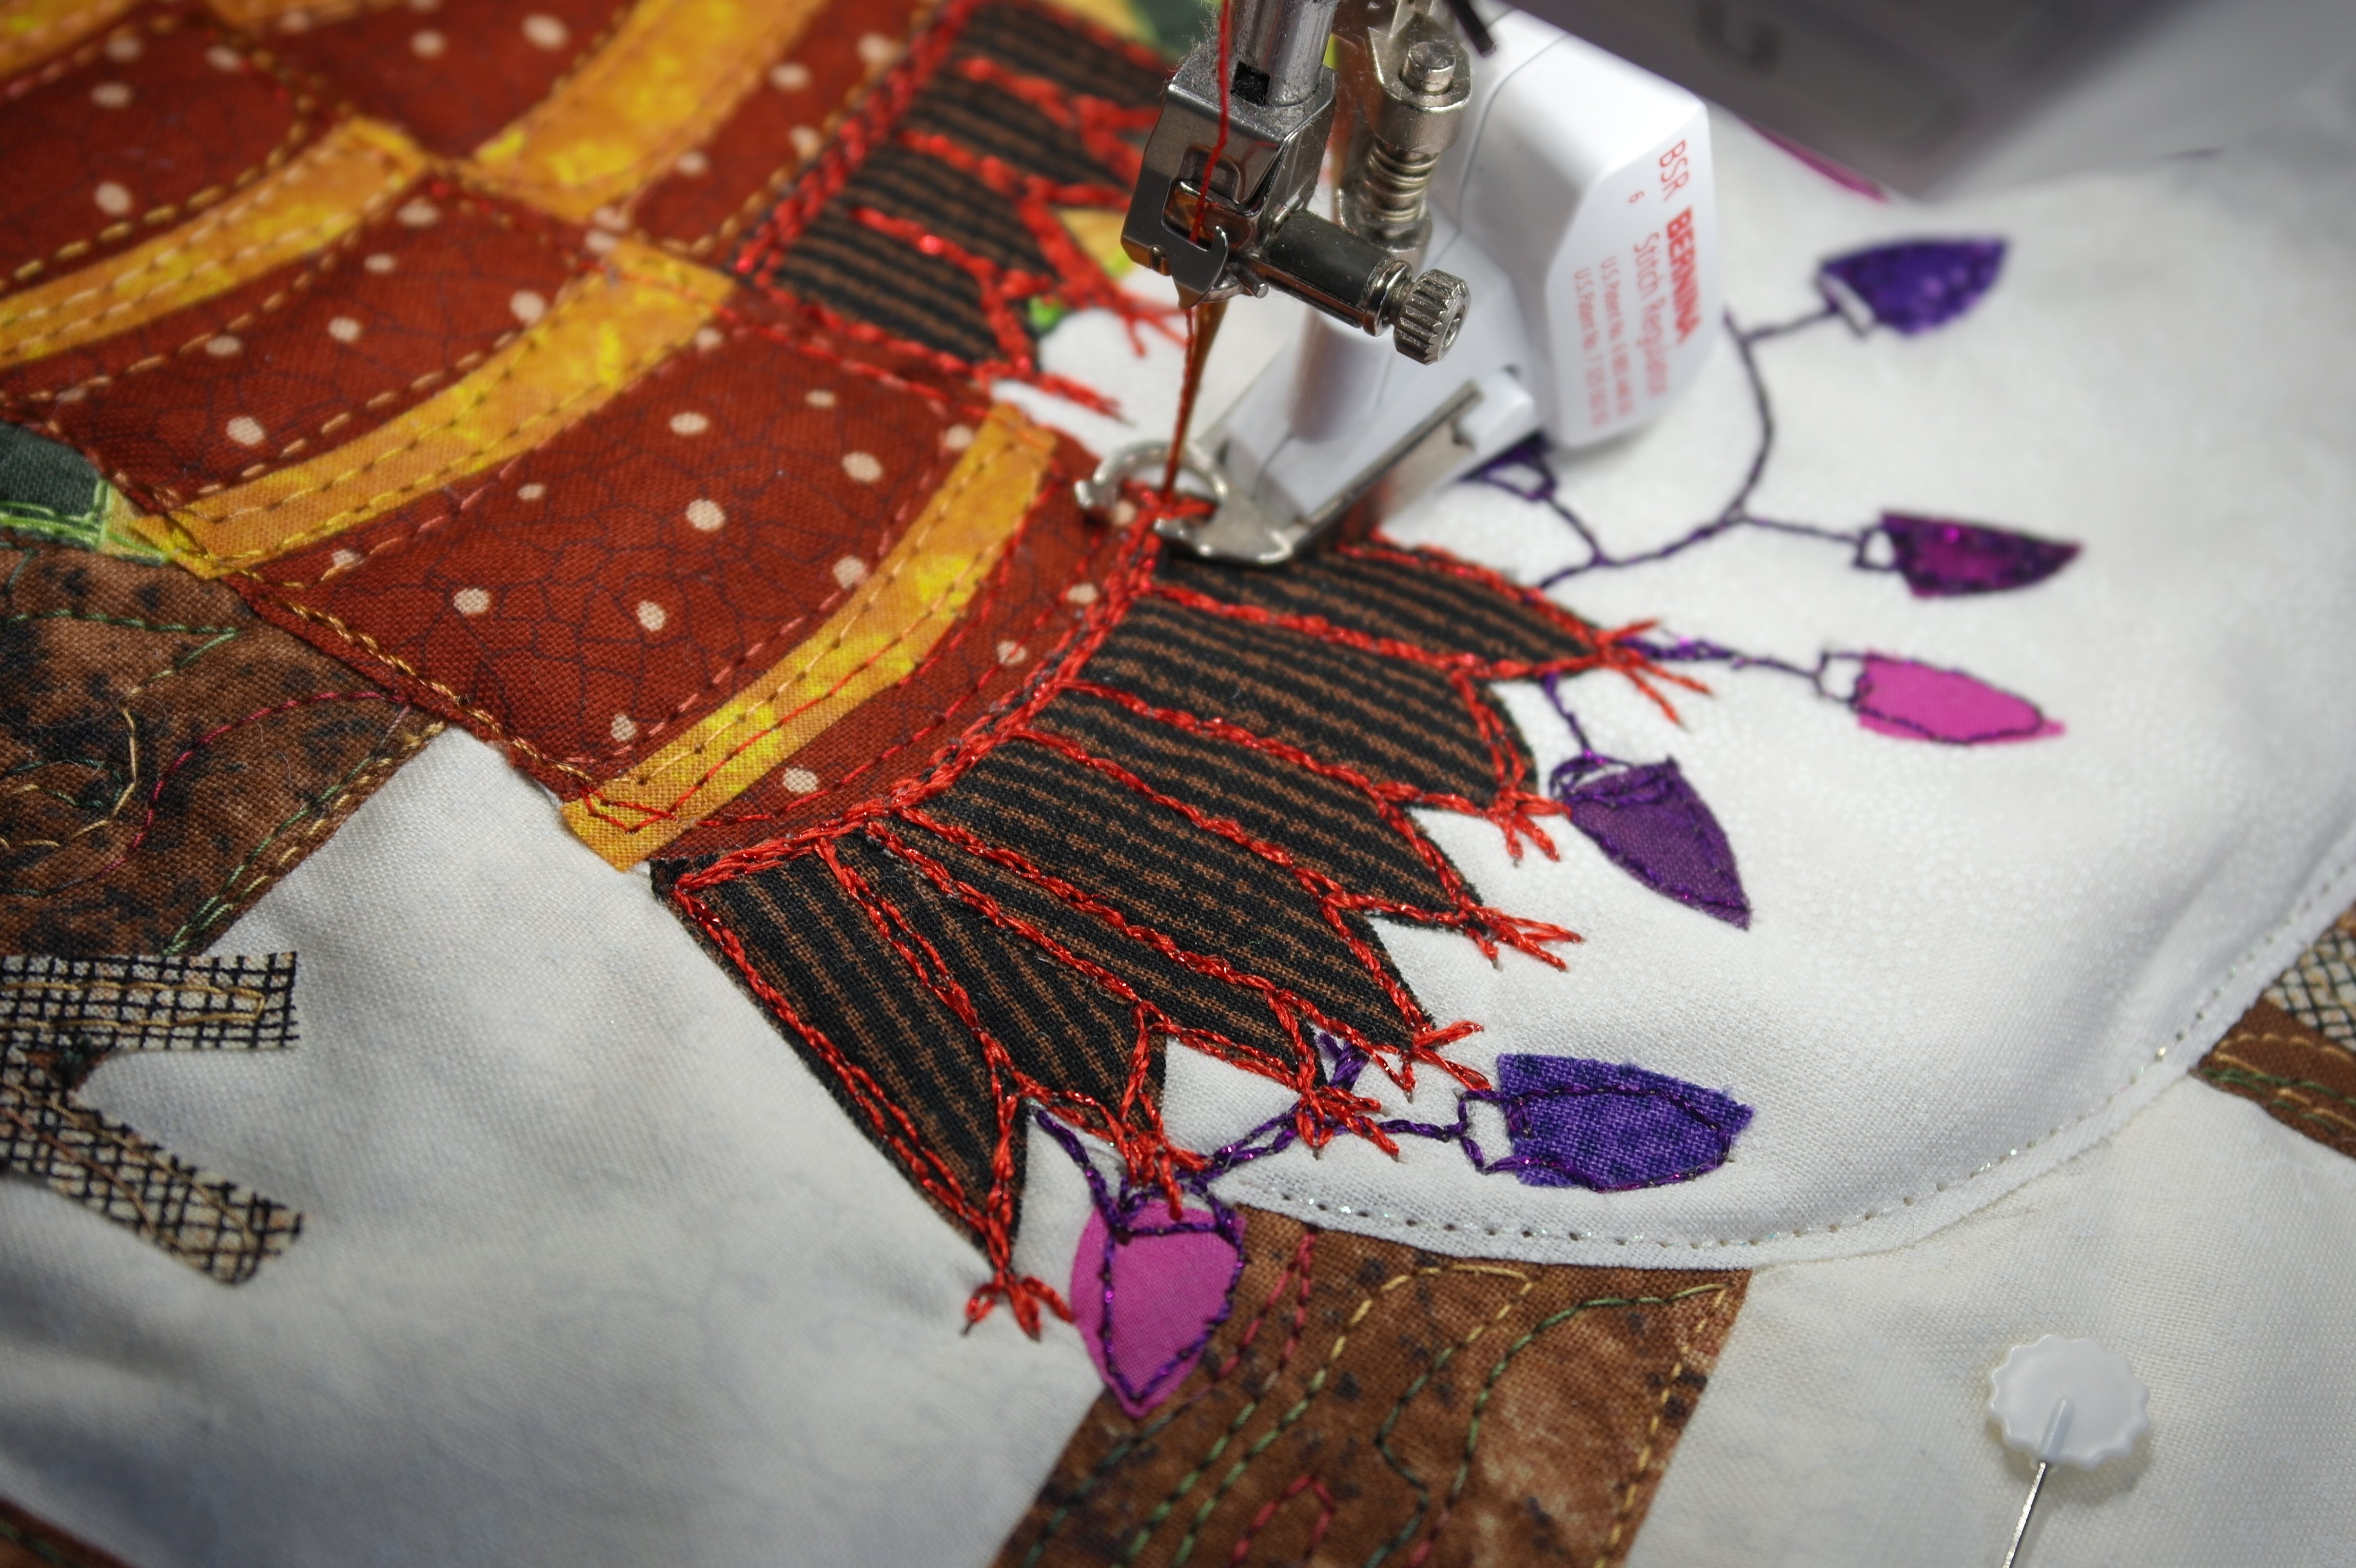
Details which have to stand out more, are made with the thicker GlaMore threads: I love the difference between regular machine quilting threads and the GlaMore. Even with the last mentioned thread, I have quilted back and forth to make the quilting stand out even more. Working slowly, to prevent thread breakage, is essential. Let the machine do its work!

You can see the quilting at the back: it’s like drawing with threads! I really love doing this.
The rest will be quilted too: sky with crystals, and the borders. I will show you this in the next BERNINA Blog post: see you then!
Happy Quilting!
Sylvia Kaptein
www.sylviasartquilts.nl
(* Copyright Sylvia’s Art Quilts Studio)
Love your snowmen! Beautiful quilt, makes me smile.
Thank you Carla, hope this inspires you to make your own snowmen!