 BERNINA Corporate Blog -
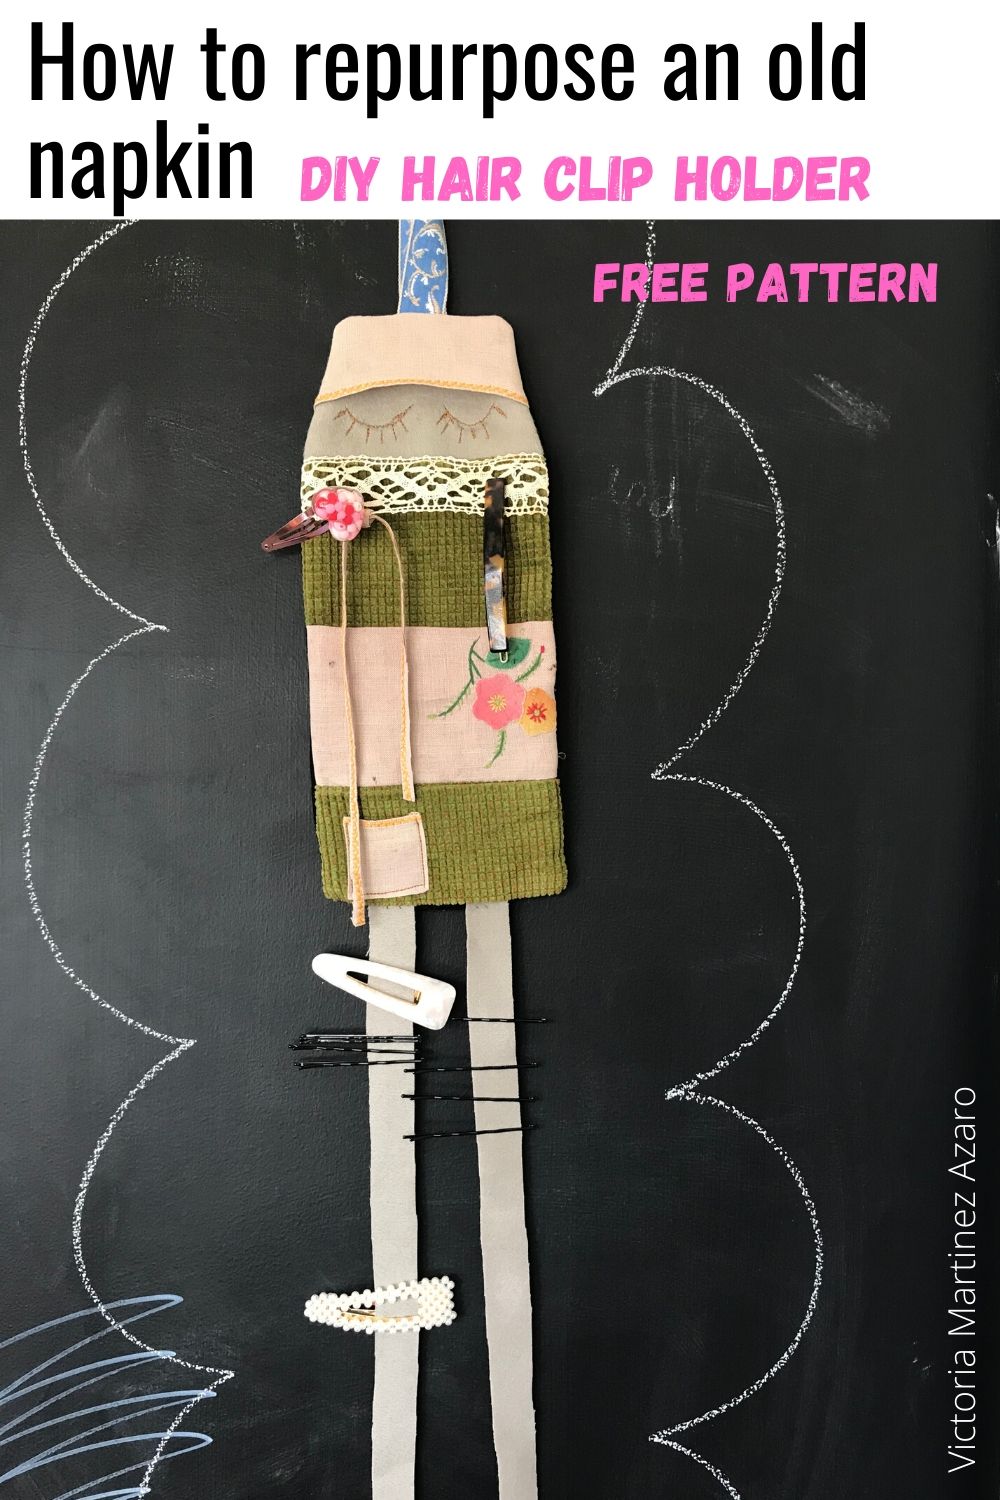
How to repurpose an old napkin into a hair clip holder
I am so excited to share with you one of my favorite processes within my sewing practice: Repurposing. This is a wonderful way to re think the original purpose of an object and to create a new purpose for it through the use of our imagination, our creativity and in this case through the use of our sewing craft. In this post I want to show you how to repurpose an old napkin into a hair clip holder. I have used a napkin that my grandmother made. It had been in my linen closet for 2 decades inside my treasure box. The problem with keeping things precious is that no one gets to enjoy them so it was time to take it out of the darkness and make it part of our home.
I have repurposed this old napkin into a hair clip holder for my daughter to hang all her hair clips, but most importantly, it has created an opportunity for my grandmother’s craft to be part of our daily lives. My daughter has been asking for a hair clip holder for a while now (her hair ties and clips are all over her room and we keep losing them). So I was super excited to repurpose this special old napkin into something special but also into something super useful. It will give me joy to see it every day hanging from my daughter’s bedroom wall.
How to repurpose an old napkin tutorial
Materials:
- An old napkin ( you can also use an old table cloth or an old handkerchief)
- Extra fabric from your fabric scraps or old clothes
- Ribbon to hang
- Fabric scissors
- Sewing Machine
- Hand sewing needles and thread
- Download your FREE PATTERN
Step 1:
The first step and the most enjoyable one for me is to choose the fabrics for the project. Once you have identified the star piece (the old napkin or table cloth you want to repurpose) you can start going through your fabric stash or your fabric scraps from old projects. This is also a great opportunity to upcycle old garments or worn out clothes.
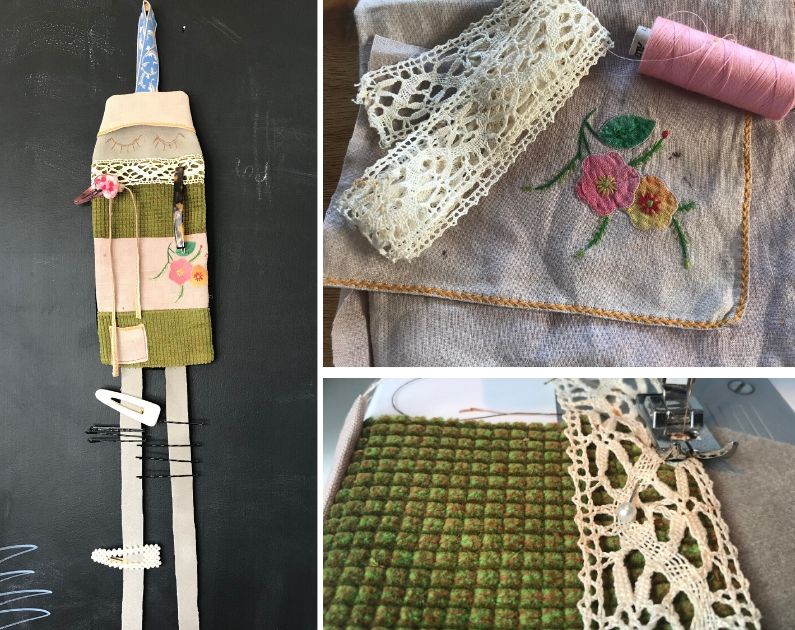
I have chosen an old napkin that was embroidered by one of my grandmothers and because I have kept it for so many years in my linen closet it had a few stains. I wanted to create a beautiful vintage and antique look but it needed to look clean and even.I solved this problem by giving the old napkin a “new” vintage look through this really great technique. Read here to learn how to give fabric a vintage and an antique look.
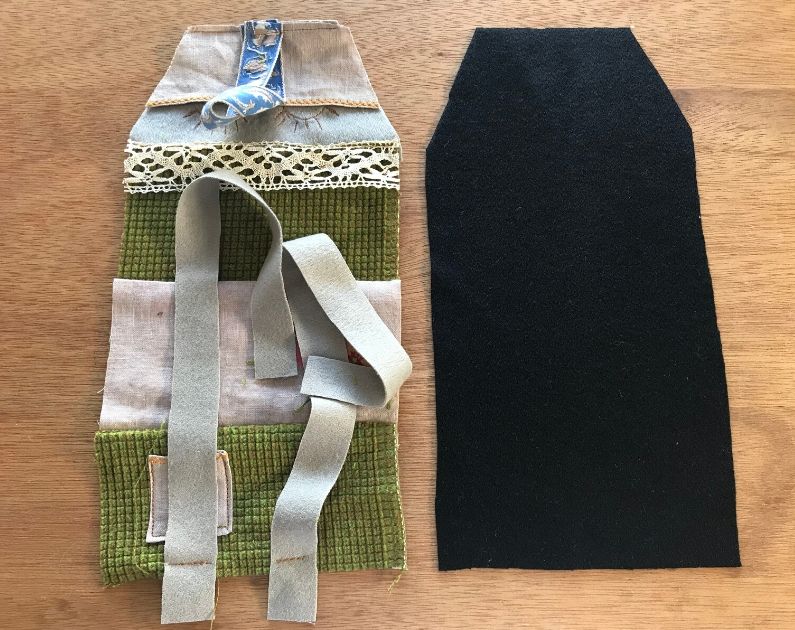
I also used some lace that was given to me when I was younger by one of my aunties, a piece of green corduroy and some grey woolen felted fabric from my fabric scraps.
Step 2:
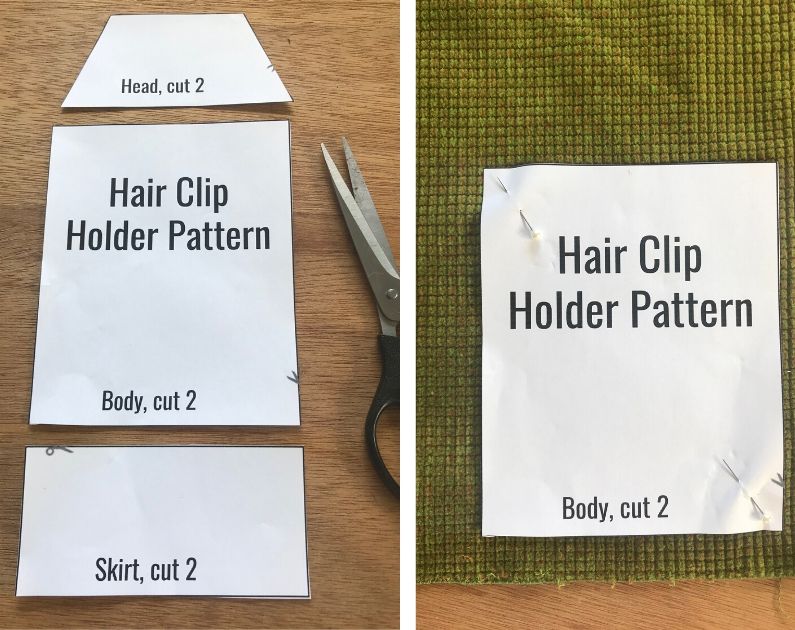
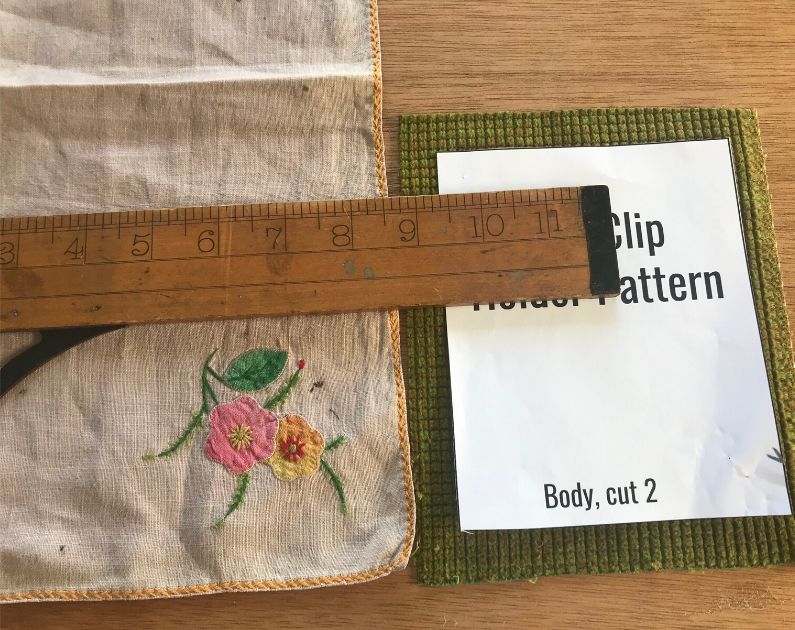
Download your free Clip Holder Pattern. Cut out the pattern pieces. Place them on top of your chosen fabric and cut around them. Please note that the pattern doesn’t have a seam allowance so be sure to add your seam allowance when cutting the fabric.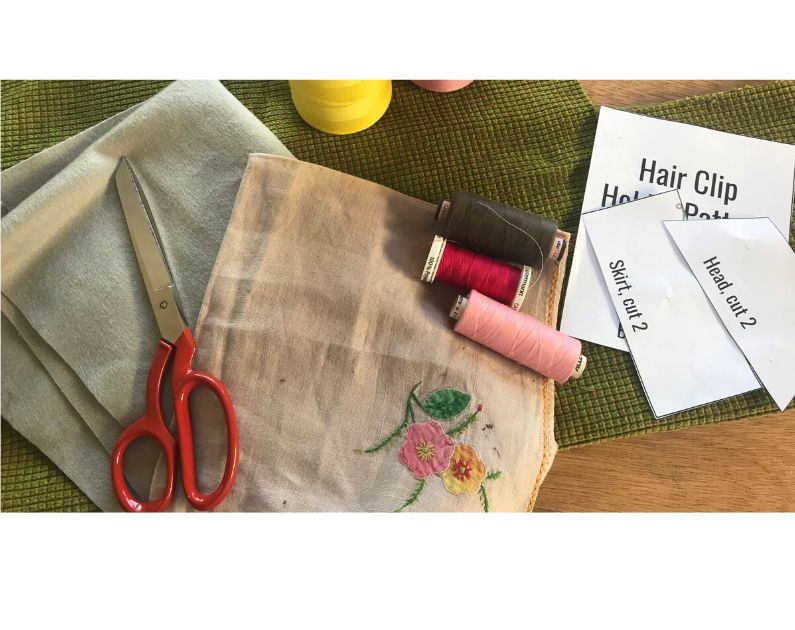
Step 3:
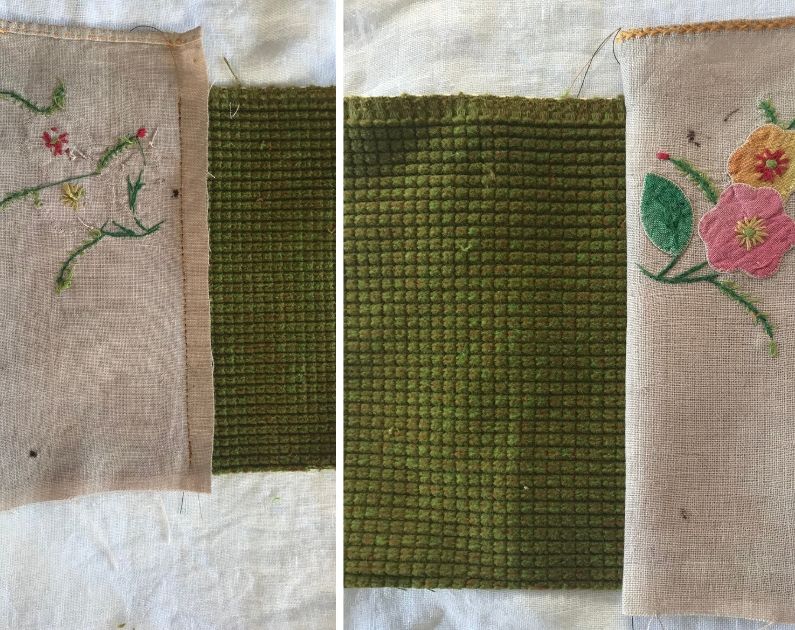
At this stage you can decide where you will be placing your repurposed fabric for maximum benefit. In this case I am repurposing an old napkin that has an embroidery detail which I want to use as the main feature of the clip holder. I will also use some of the napkin fabric as a little hat and as a little pocket but the main thing is to decide where to place the flower embroidery within the clip holder. I will be patching the napkin fabric to the body piece (in the corduroy) so no xtra pattern pieces are required.
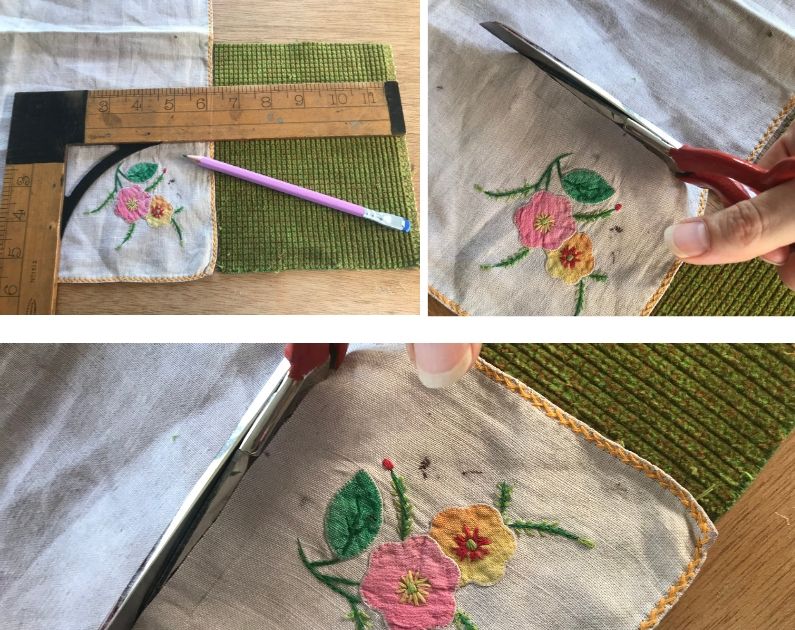
Cut the repurposed fabric pieces and have some fun arranging all the parts of the clip holder together. When you are happy with the look of it and the fabric combinations you can then move onto the next step ?
Step 4:
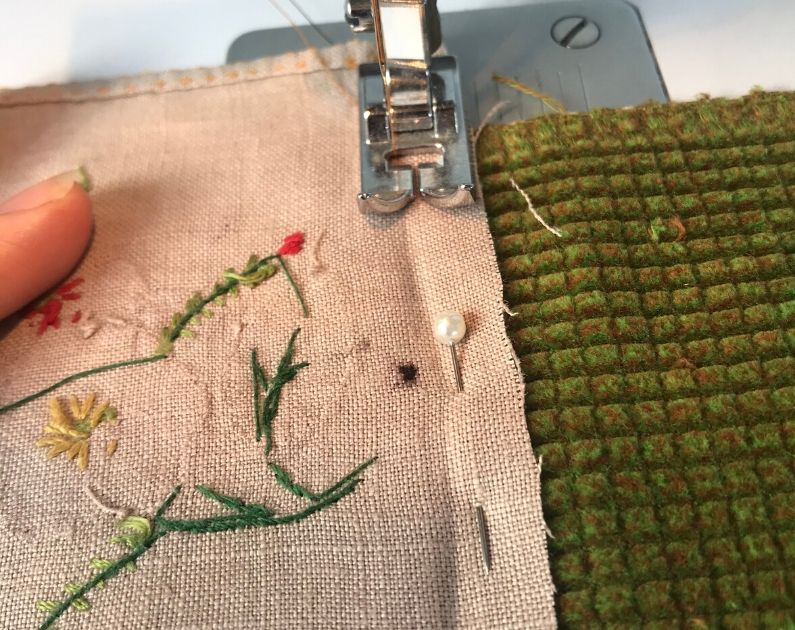
Place the featured repurposed napkin fabric on top of the main body and sew it in place by placing the two fabrics right sides together and sewing with a straight stitch line. Flip the featured fabric to the right side and press.
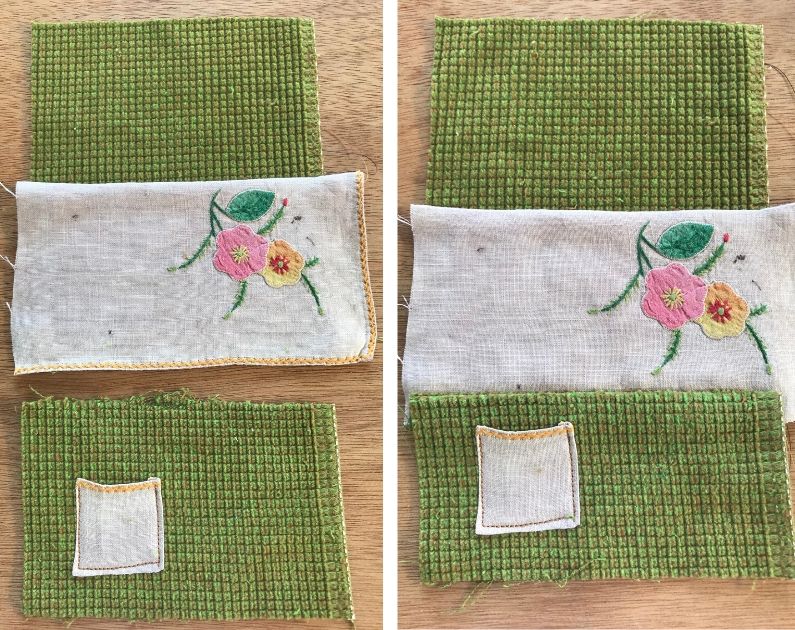
Step 5:
Sew the little pocket in place. Sew the skirt piece to the main body. Press.

Step 6:
Sew the skirt piece to the main body. Press.
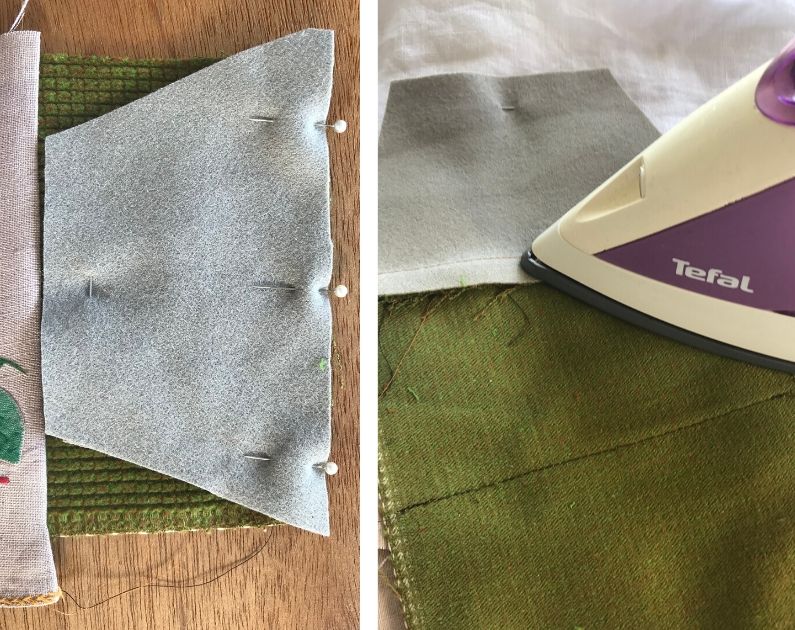
Step 7:
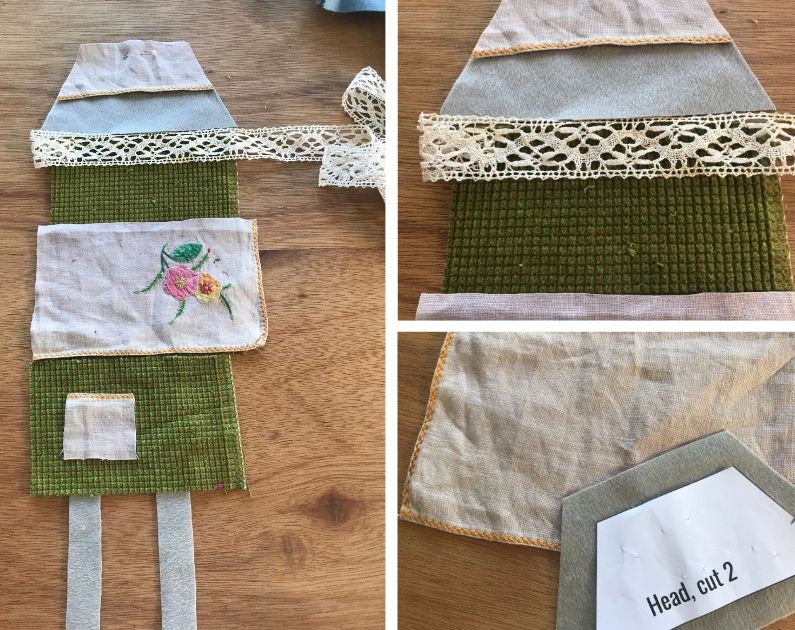
Attach head piece to the main body and press.
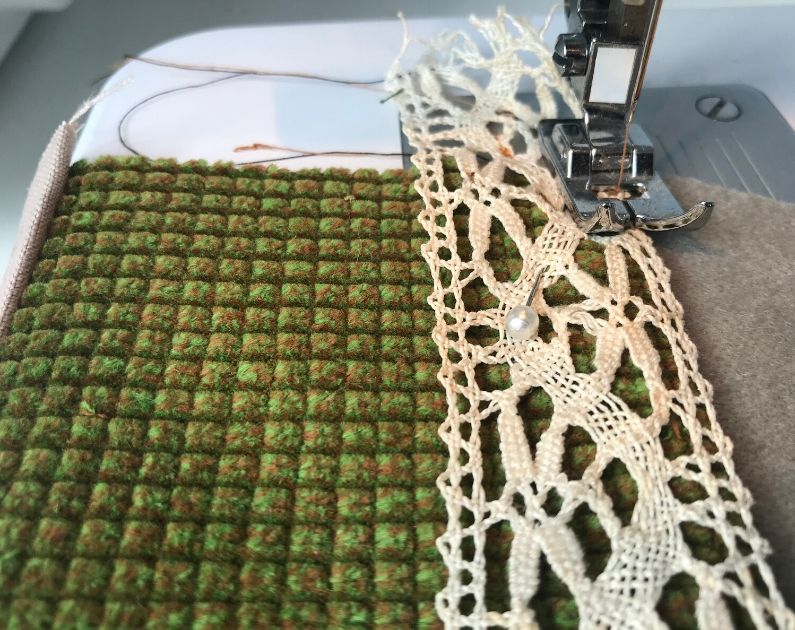
Step 8:
Patch the lace piece to the main body making sure to cover the seam between the head and the body.
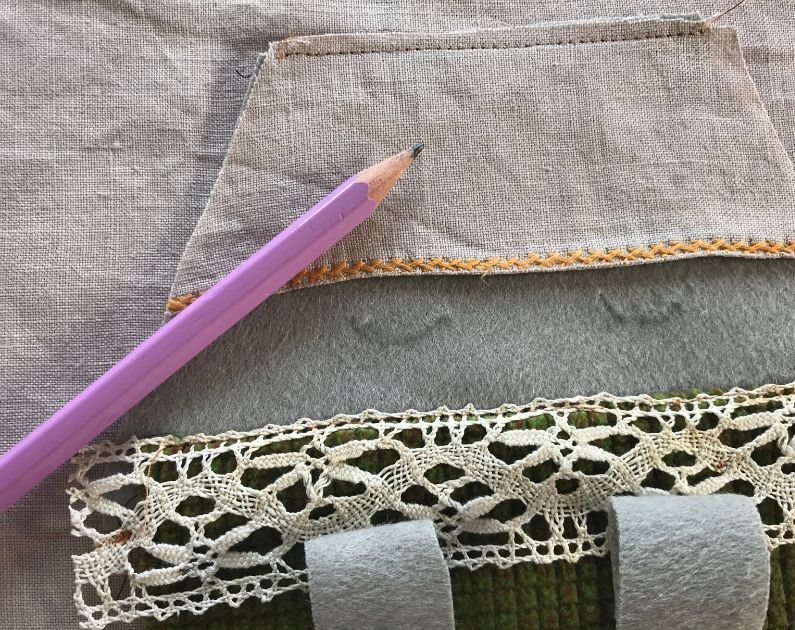
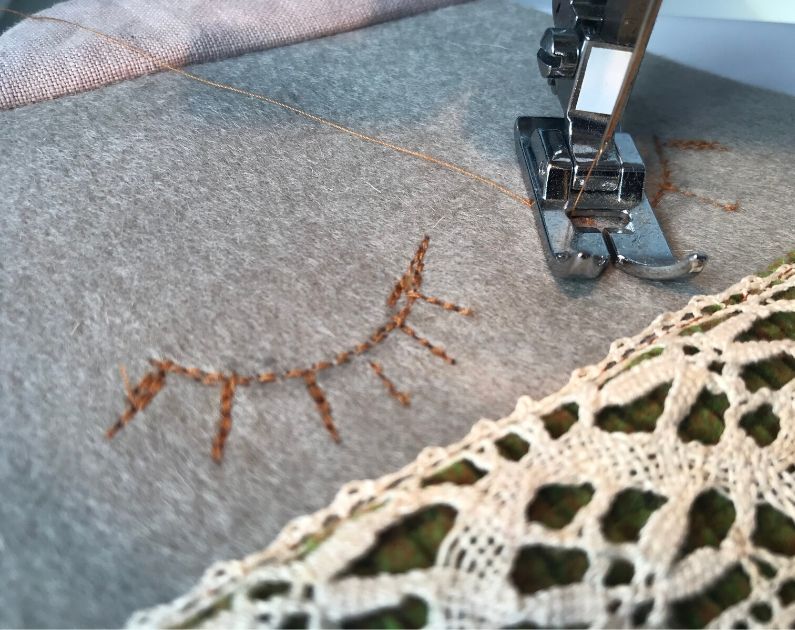
Step 9:
Stay stitch the little napkin hat in place. Draw a pencil line as a guide for the eyes outline making sure they are well positioned between the lace and the little hat. Embroider the eyes and eyelashes with your chosen embroidery stitch.
Step 10:
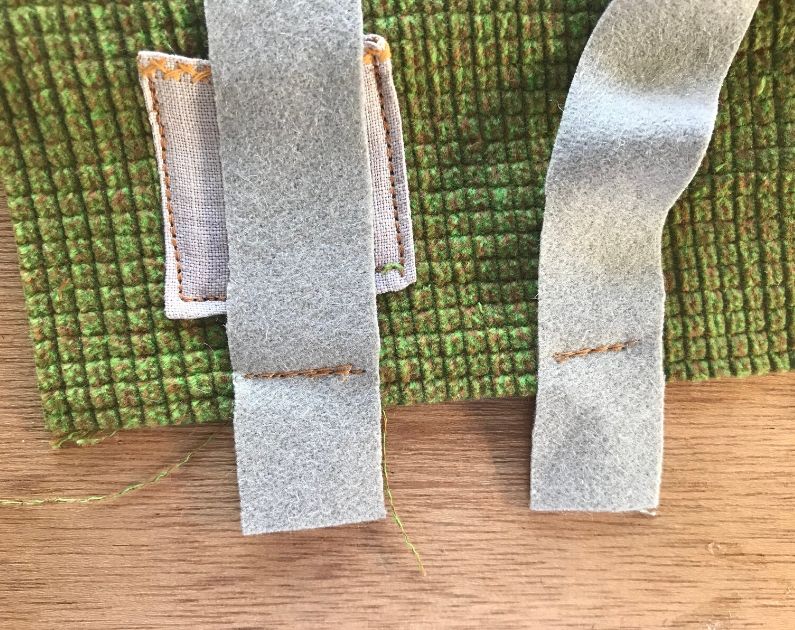
Place the legs and the skirt lower seam right sides together and sew in place.
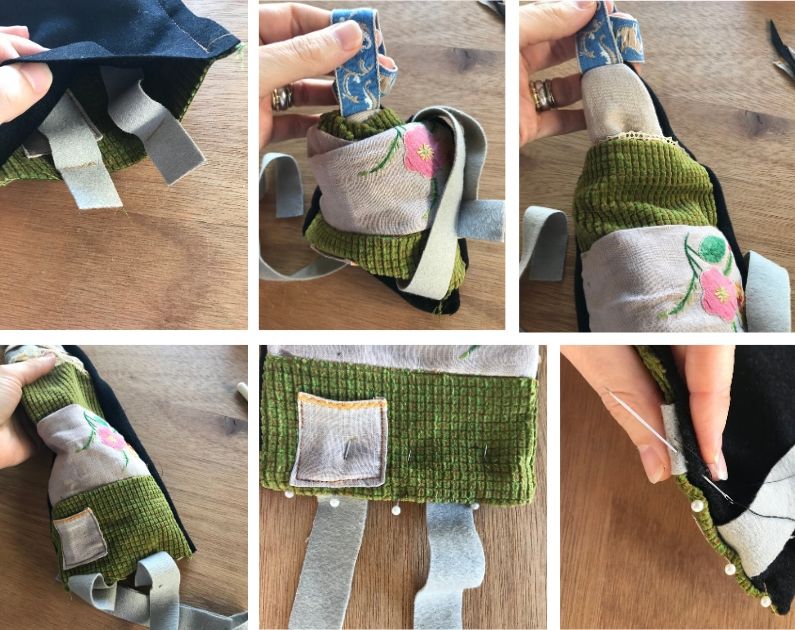
Step 11:
Fold the ribbon in half and sew to the head piece following the little hat’s stay stitch.

Step 12:
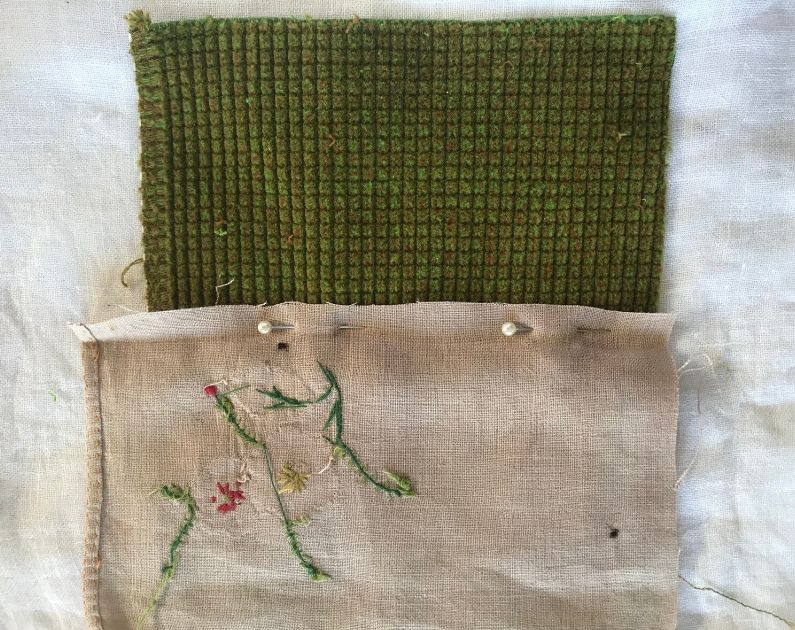
Place the back body side by side to the assembled front body. Make sure that they are exactly the same size. Place the back body on top of the assembled front body sandwiching the hanging ribbon and the legs in between the two layers. Sew around the two sides and the head but leave the lower part open. Trim the head corners by creating a 45 degree cut.
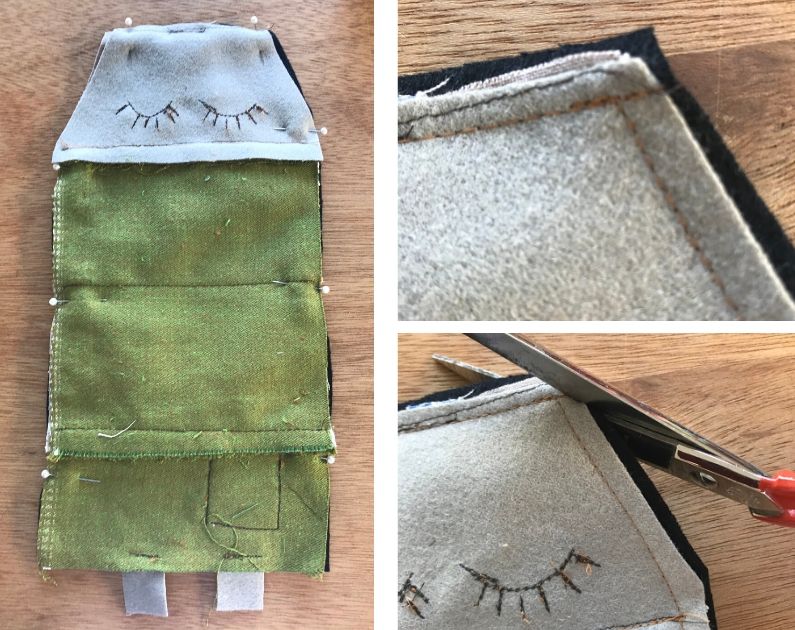
Step 13:
Turn the hair clip holder inside out by pulling through the ribbon. Once the hair clip holder is flat, pin the lower opening and close it using a hand sewing stitch. I used a whipstitch which is nice and strong.
I hope you like this idea and I look forward to your comments 🙂


0 Responses