 BERNINA Corporate Blog -
Tips for collar darts and topstitching can help you to get a better sewing result. Of course, there is more to think of, but I like to share these with you today.
I sew on a BERNINA 710 it’s a machine in the 7-series, with similar technical features as the BERNINA 740 .
The standard presser foot is often replaced by the Open embroidery foot # 20 when I’m sewing. It gives a good view at the work.

1. Take measures and check.
Don’t skip this part. Patterns are made for the average person and he/she does not exist… Every body deviates from standard in some area.
Let someone help you to take measures. Save them in a notebook. If your weight changes from time to time, mention the weight with the measures. Check the pattern with your measures and if wished, with an existing garment with a good fit). Adjust if necessary. It takes a little time, but could prevent you from disappointments.
If adjustments need to be considered for a next use of this pattern, adjust it right after sewing.
2. Stabilizer and ironing
Many parts in a pattern need stabilizer: sleeve cuff, collar, waistband, pockets. It gives more body to the finished garment and don’t ignore it.
Iron parts before the next sewing step. No sewing without ironing!
Let’s start with the real tips for collar darts and topstitching
3. Tips for accurate topstitching.
Take the right needle for toptstitching. For most garments, you take a longer stitchlength for topstitching, except for a men’s shirt. Set the stitchlength to 4 or 4,5 depending on garment, style and fabric. For a jeans or casual trousers, you could use cordonnet thread, f.i. Mettler Cordonnet. Lower tension if you do and try on scrap first.
Sew parallel to the side of the pocket or seam. The Edgestitch foot # 10 is your best friend for this job. Guide the fabric along the vertical metal part in the middle. Set the needle position to -3, -4 of -5, as you like most.

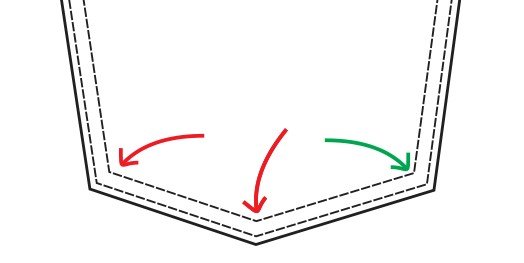
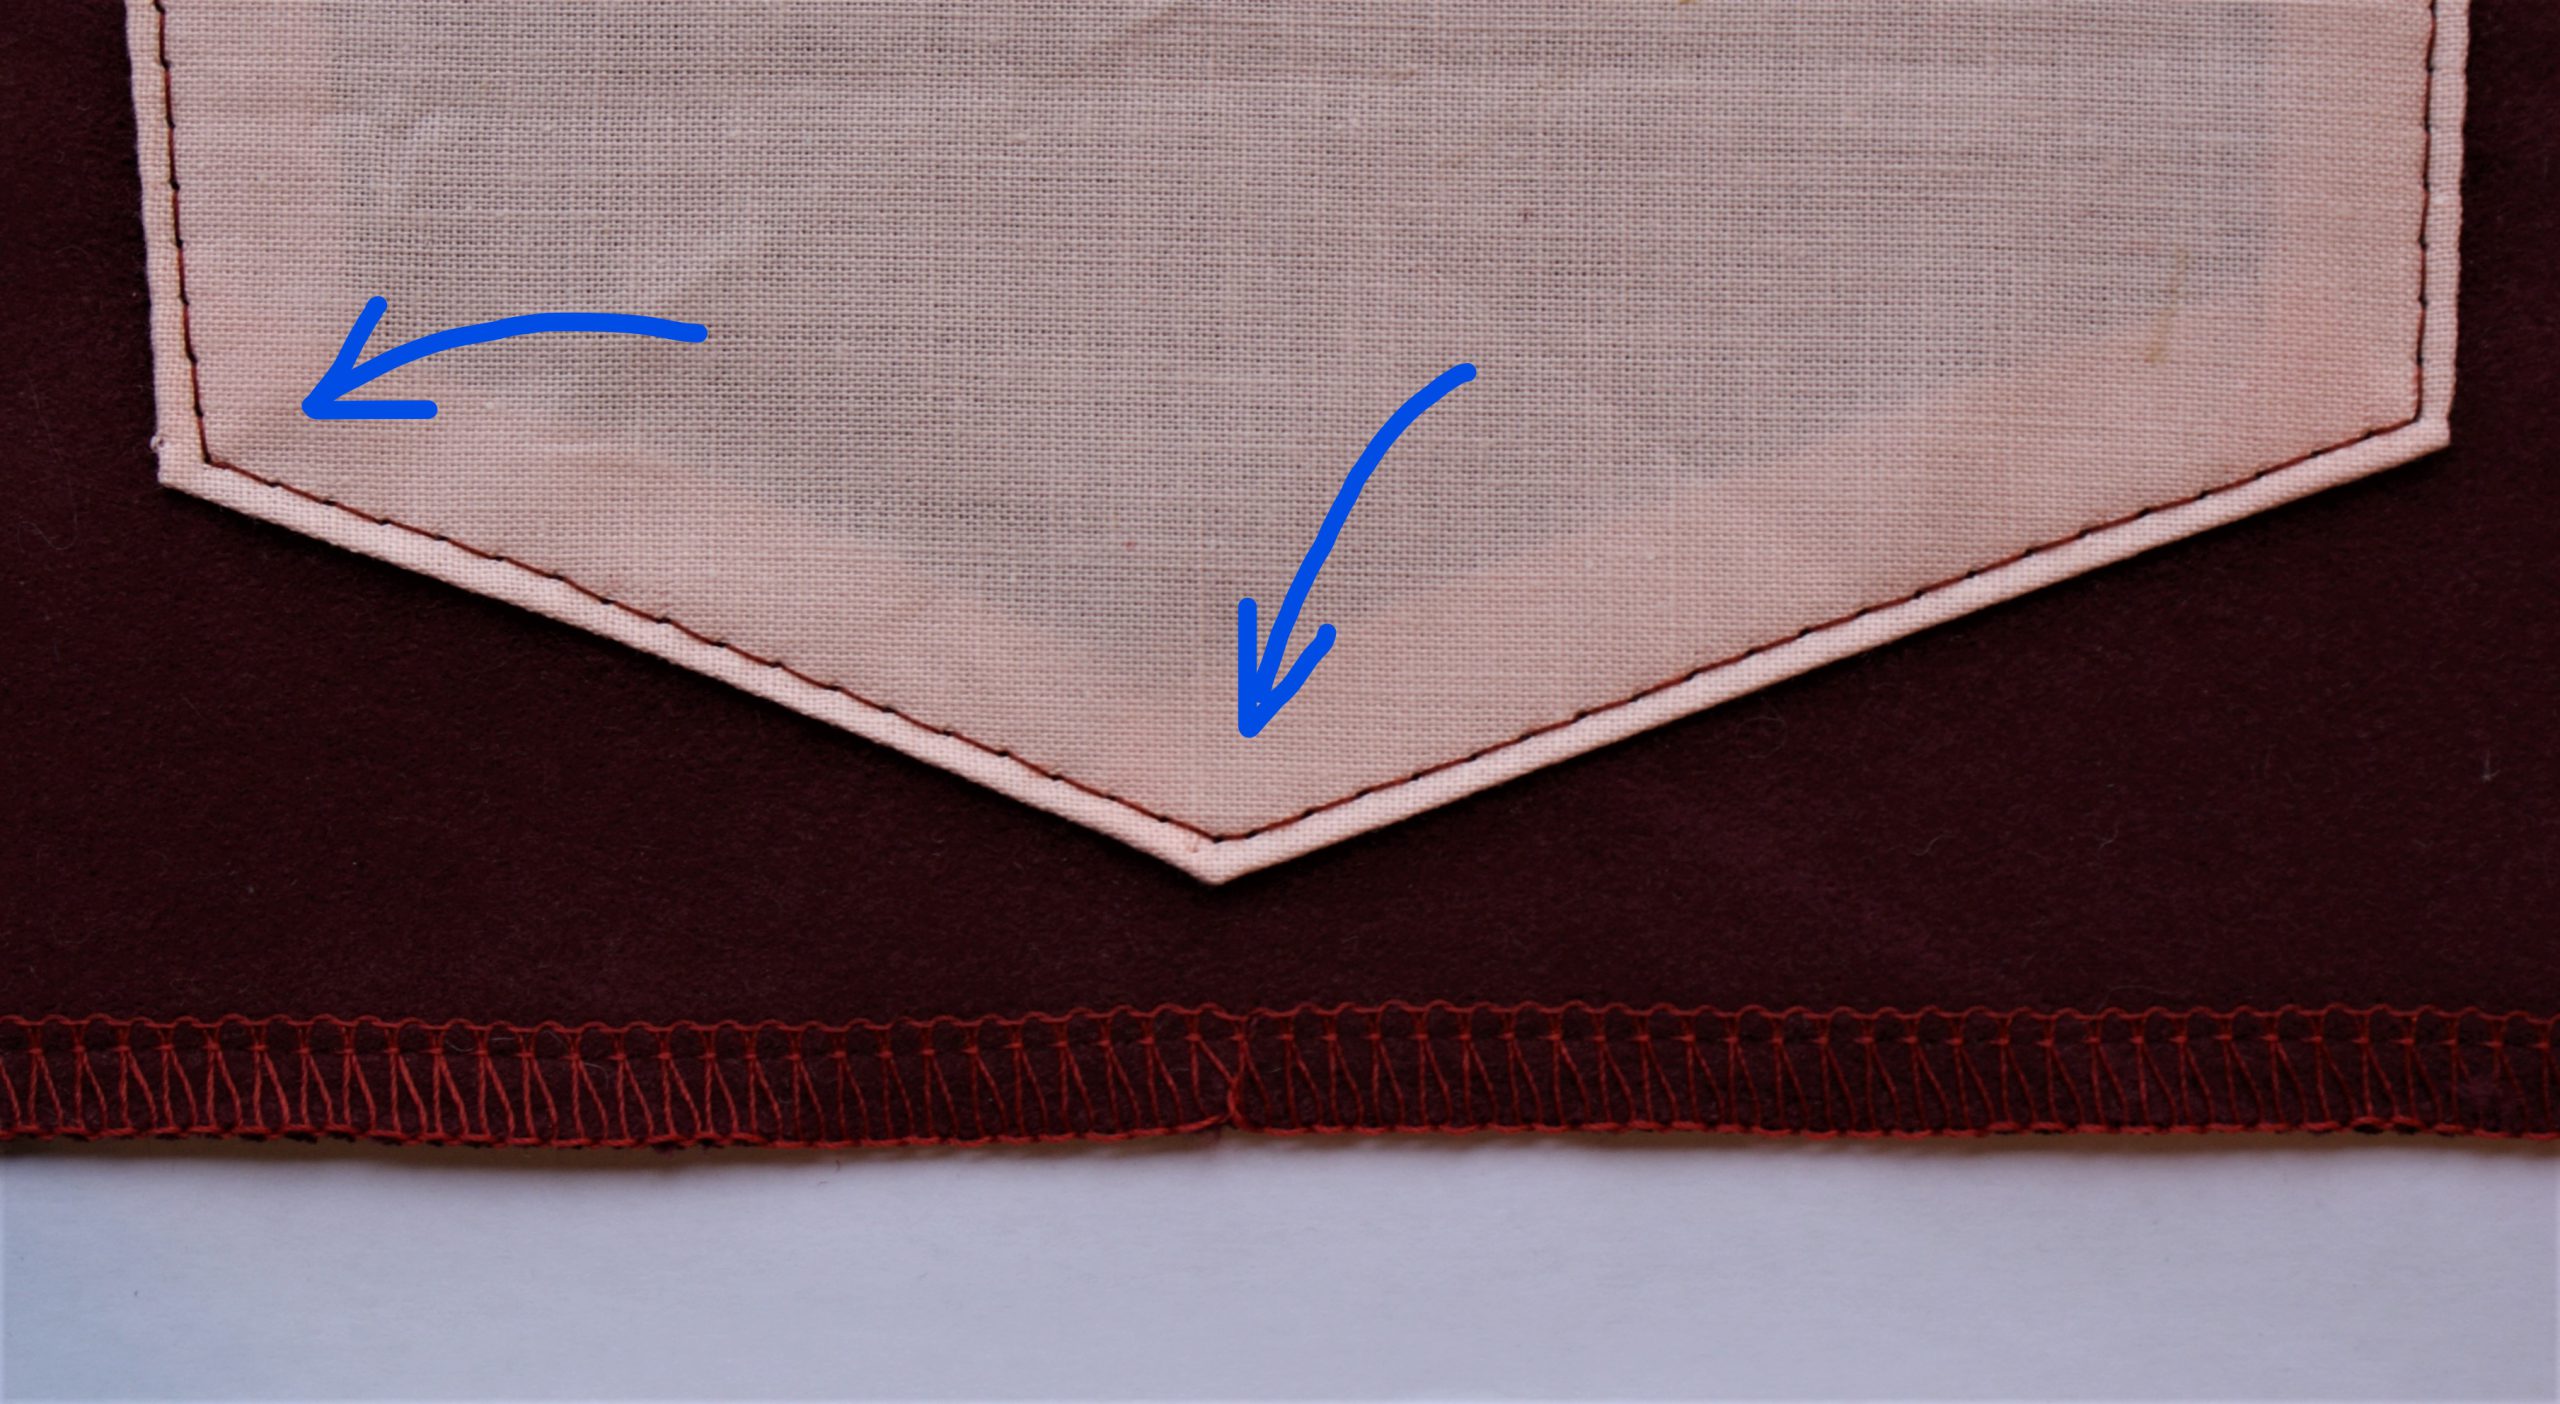
How to sew a corner in a pocket?
Watch these pictures.
Sew towards the first corner. Turn your work (needle down) and check if the distance to the edge is the same as before. As your machine is set to a longer stitch length, it will probably be different.
Turn the handwheel towards you (for some machinetypes, you need to retry a second time). When your needle is up, replace the fabric and retry. Check if you found the exact place, at the same distance from both sides. Now, your last stitch is a little shorter than the previous. Look at the image below to see clearly. In the first corner (green) it was perfect by coincidence. In the other corners, I needed to replace the needle to have an equal distance to the side of the pocket.
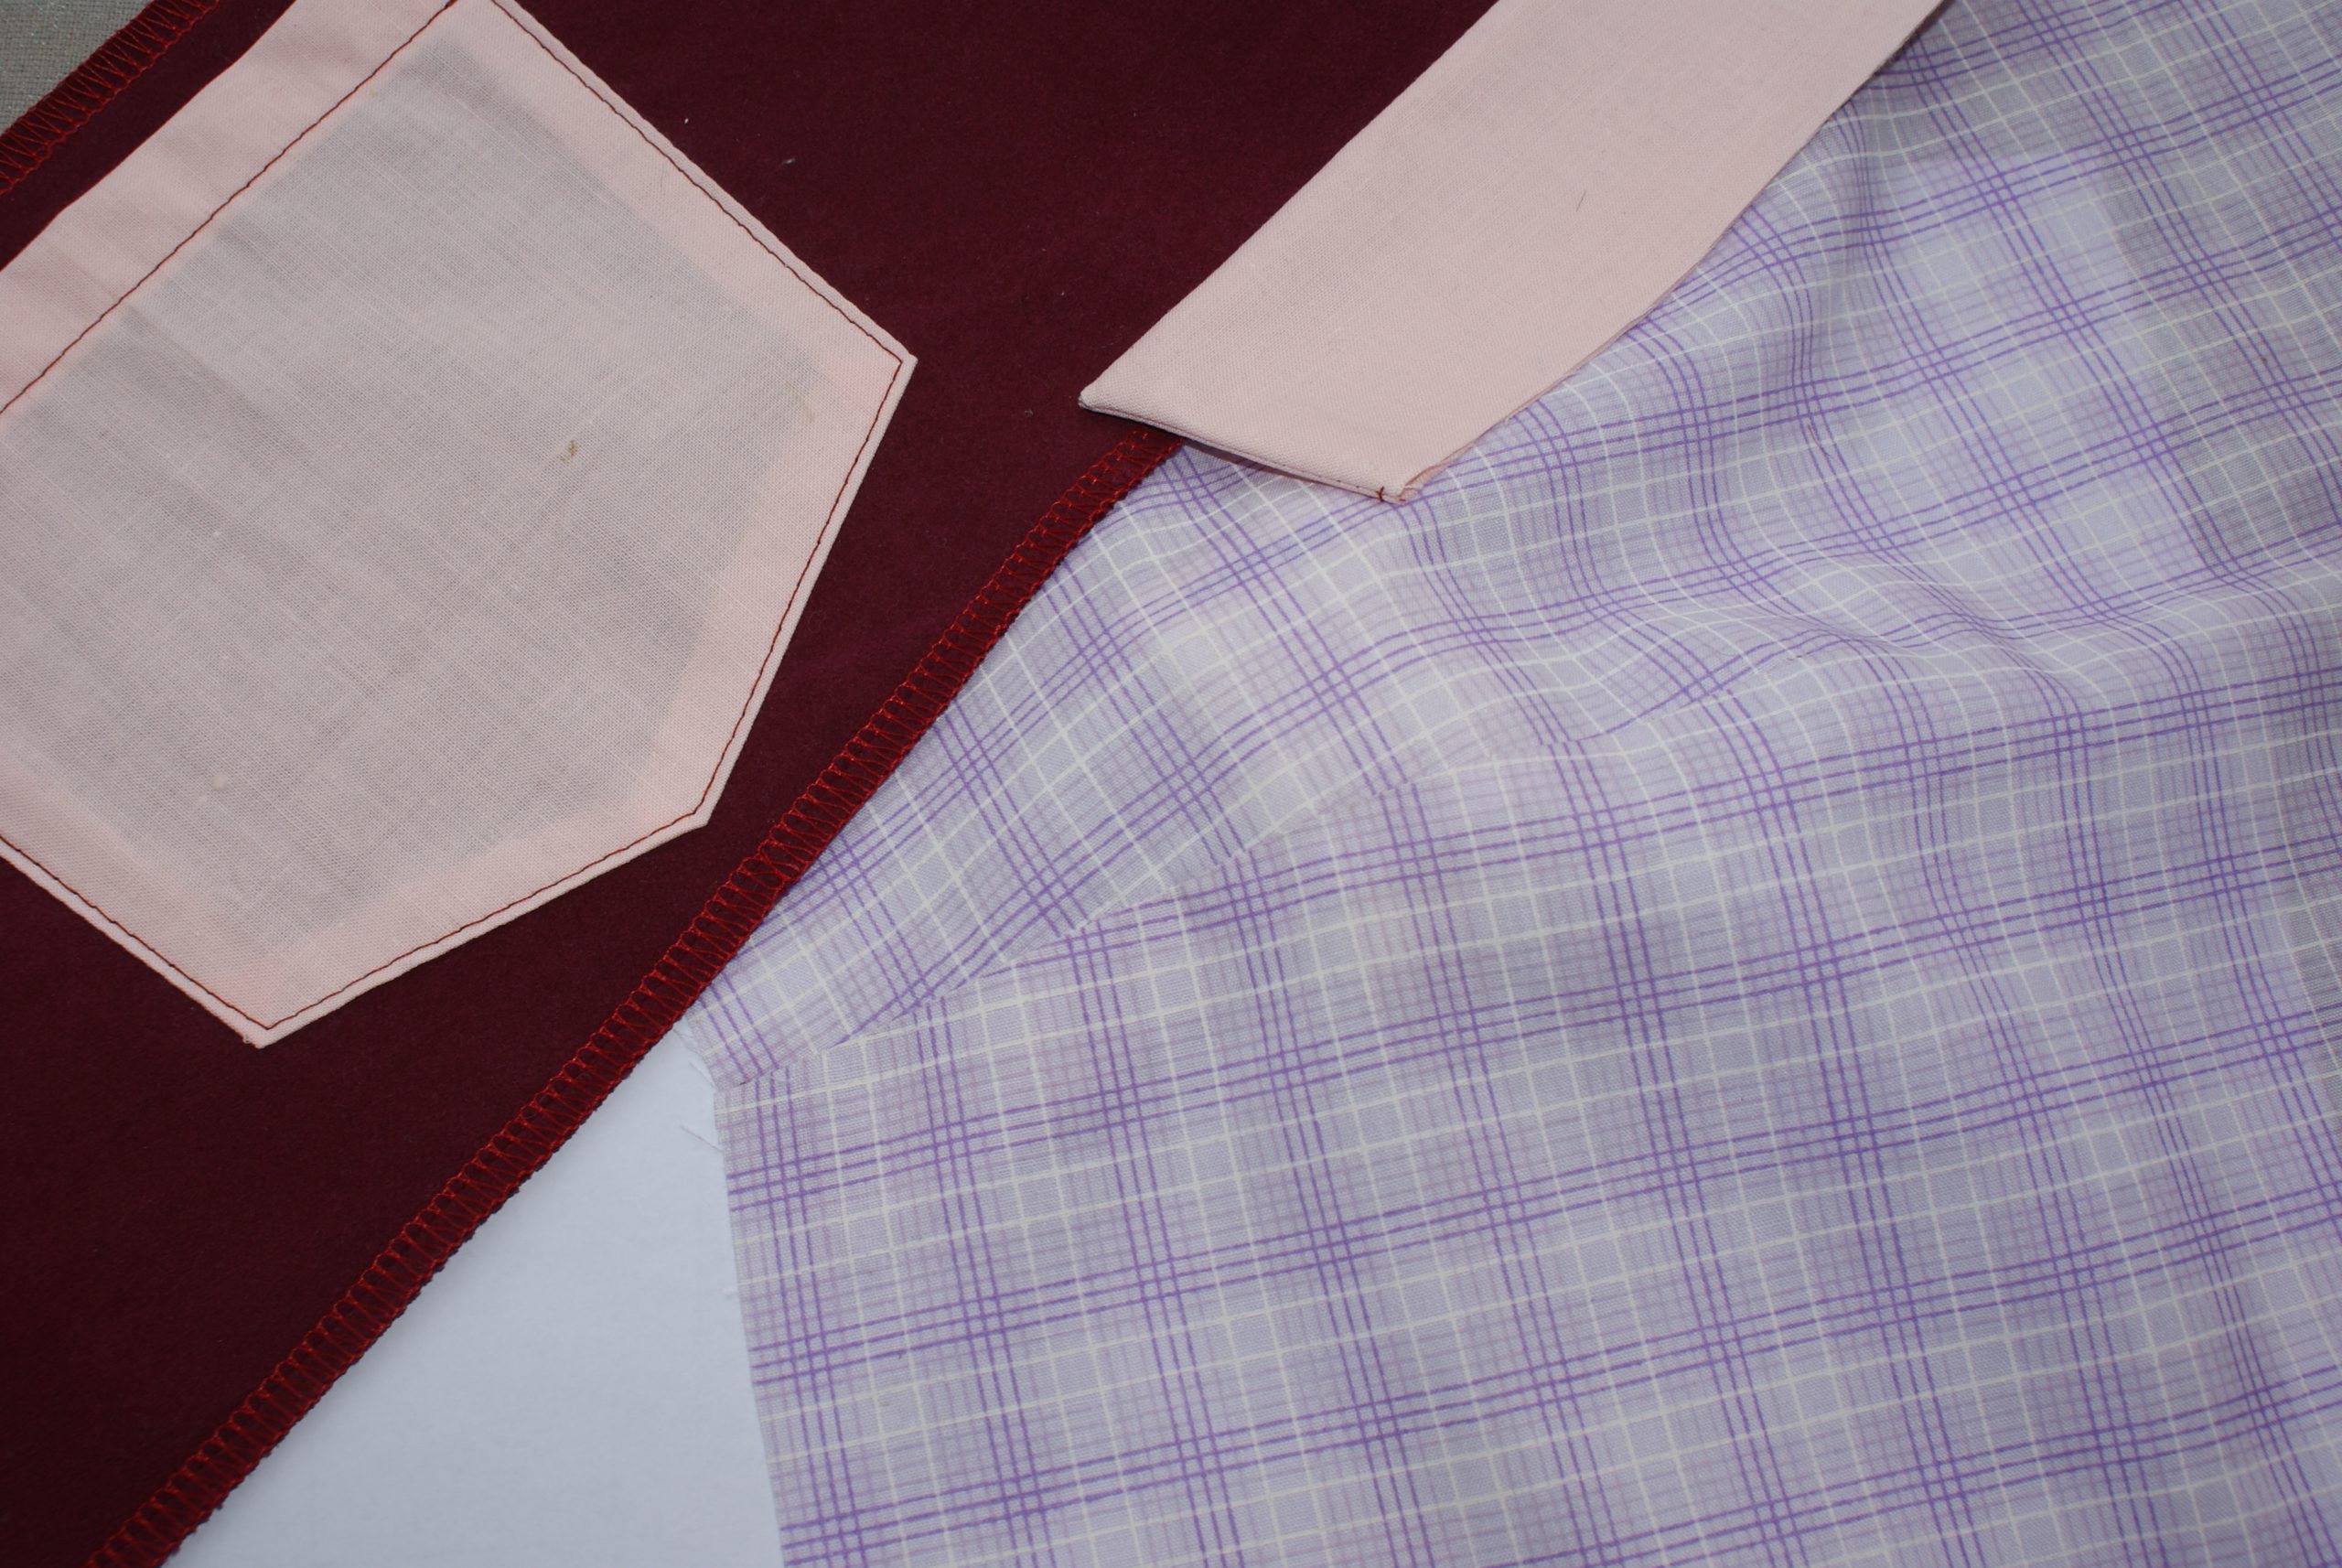
 And sewing in fabric:

A detailed look shows you the stitches. I set the machine to stitch length 4.
4. Tips to sew a dart.
Darts help you to give your garment a volume according to your body curves (hips, breast, waist, back) I’ll sew a bust dart today.
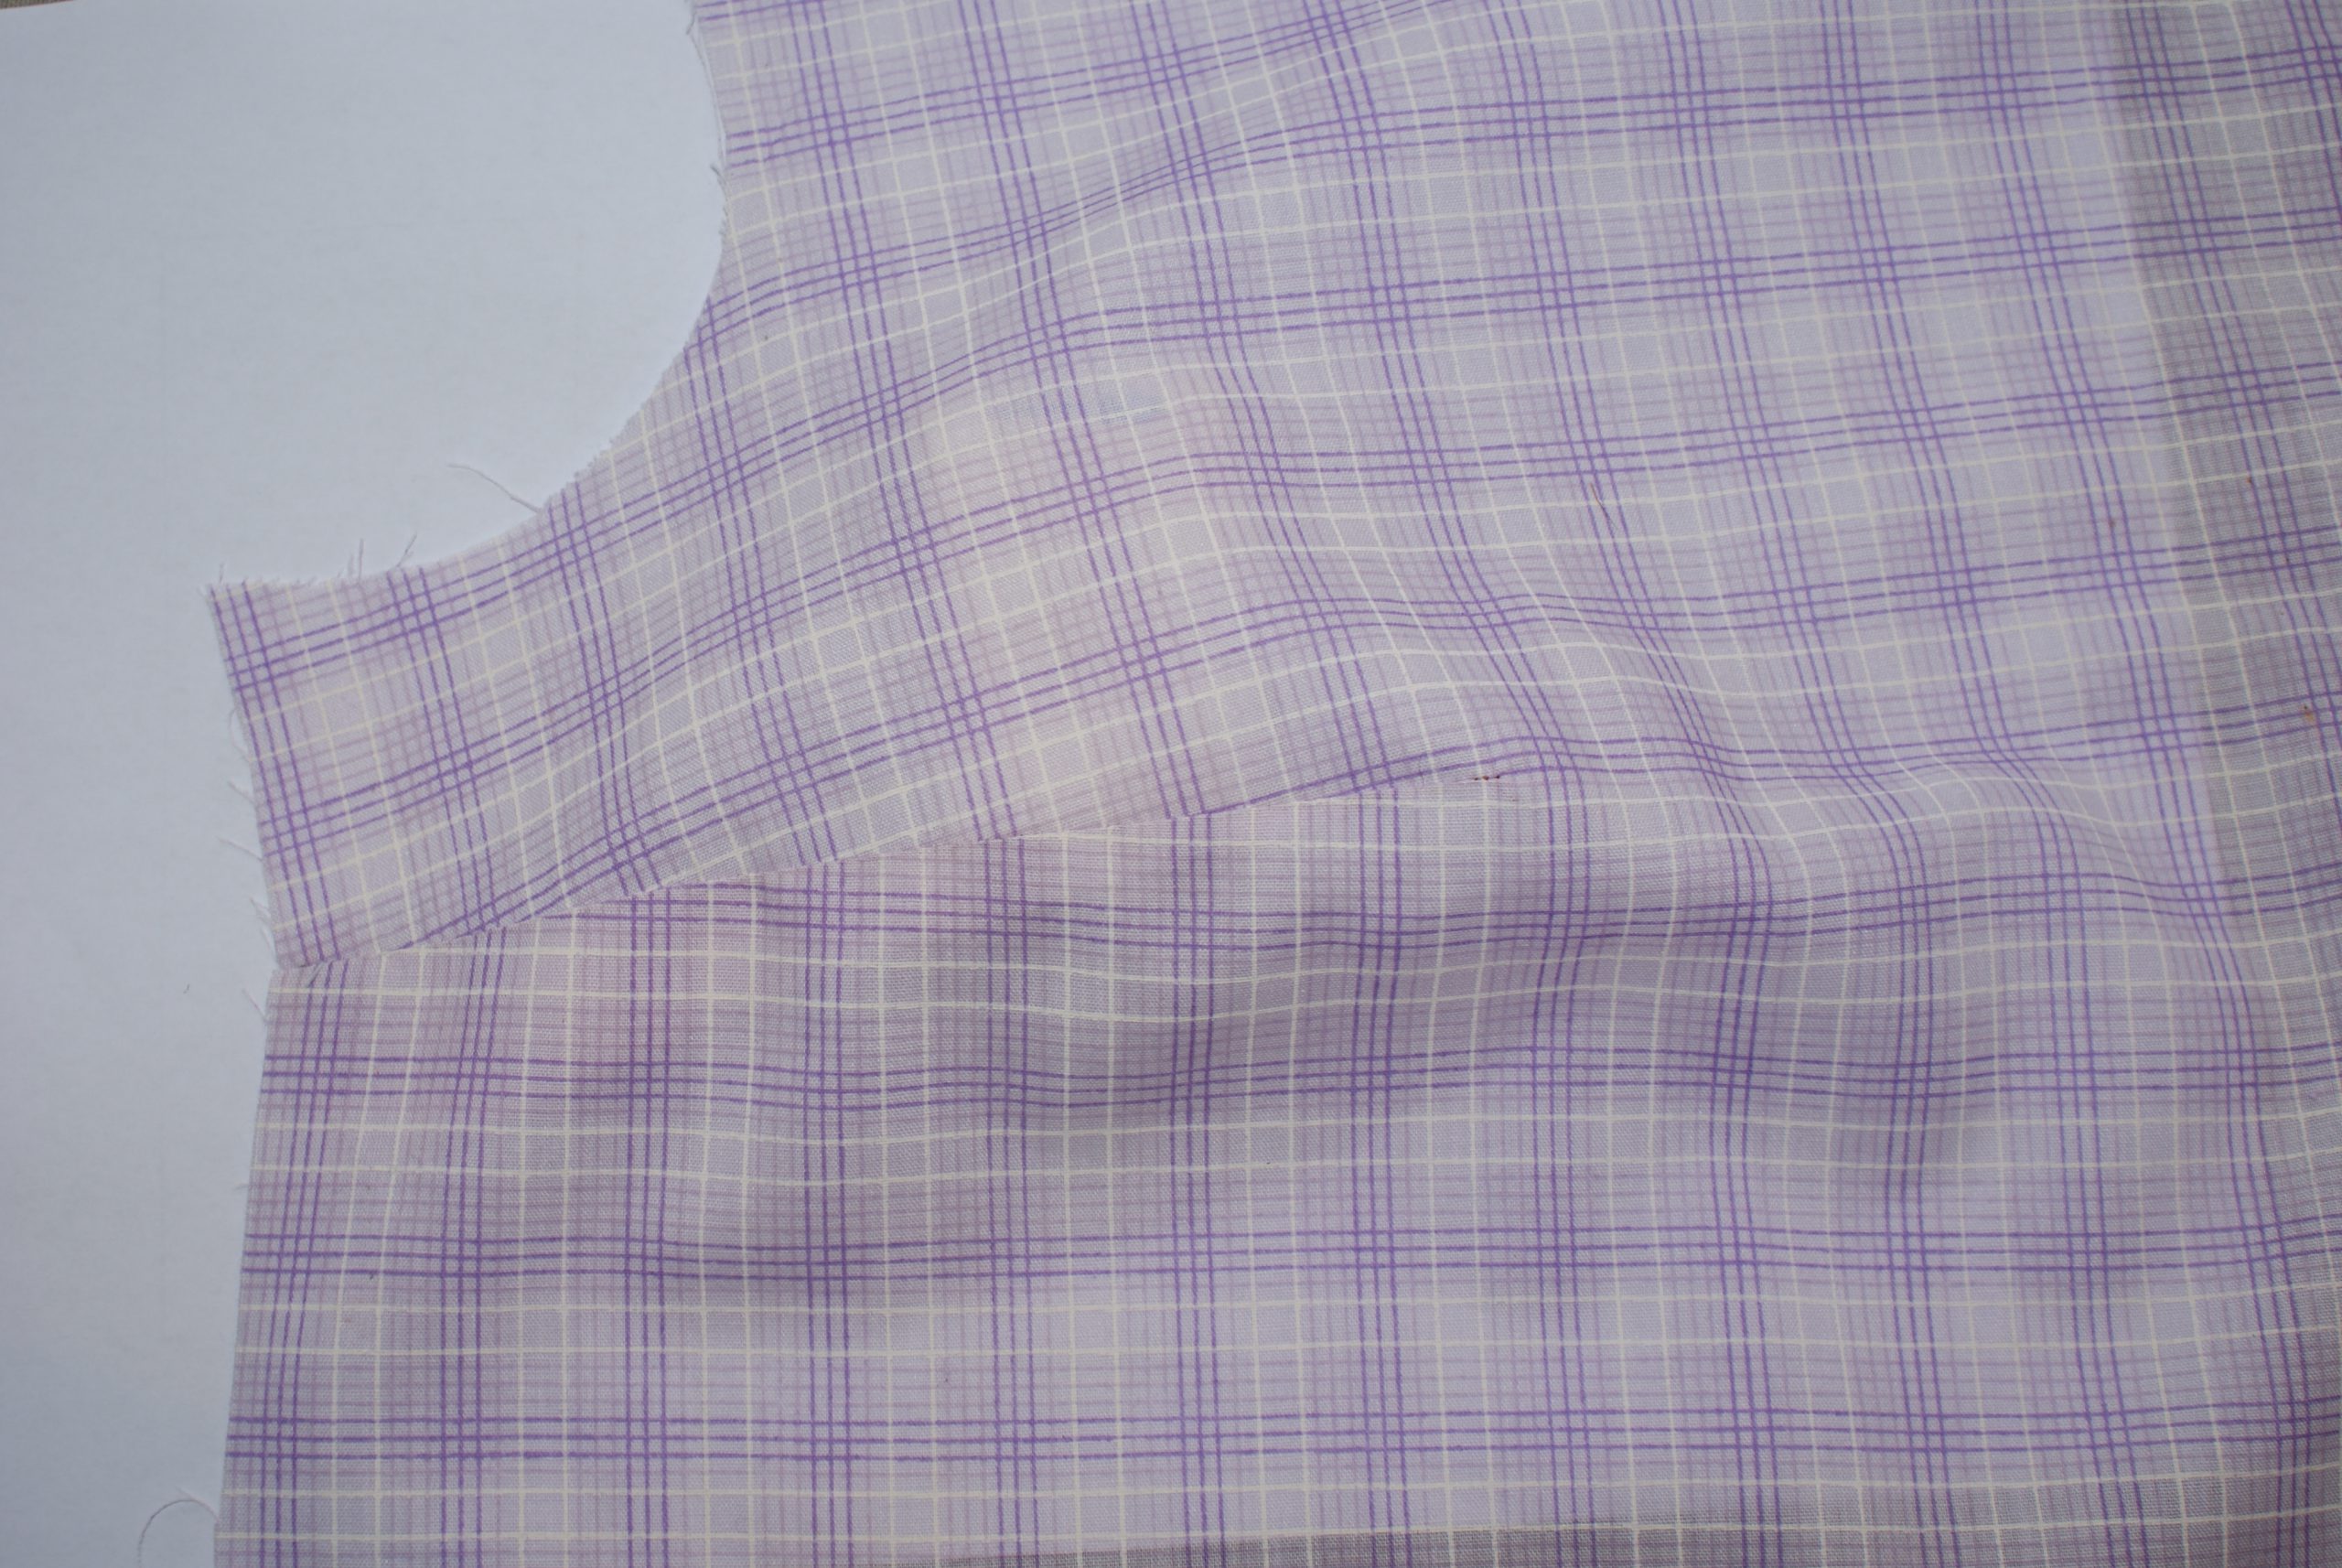
Fold the fabric over in the middle of the bust dart. (in de tekening is dit op de rode lijn):
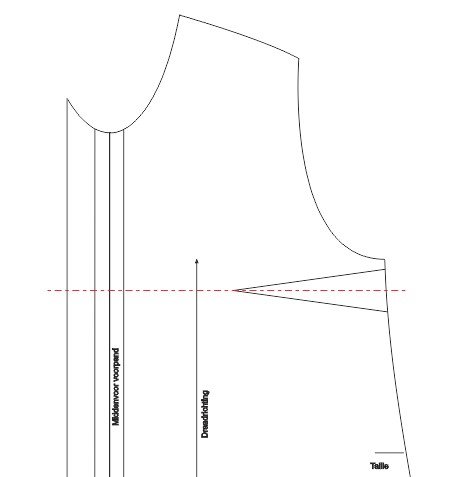
In the picture below, you can see a half bust dart and a line that shows the opening of the dart.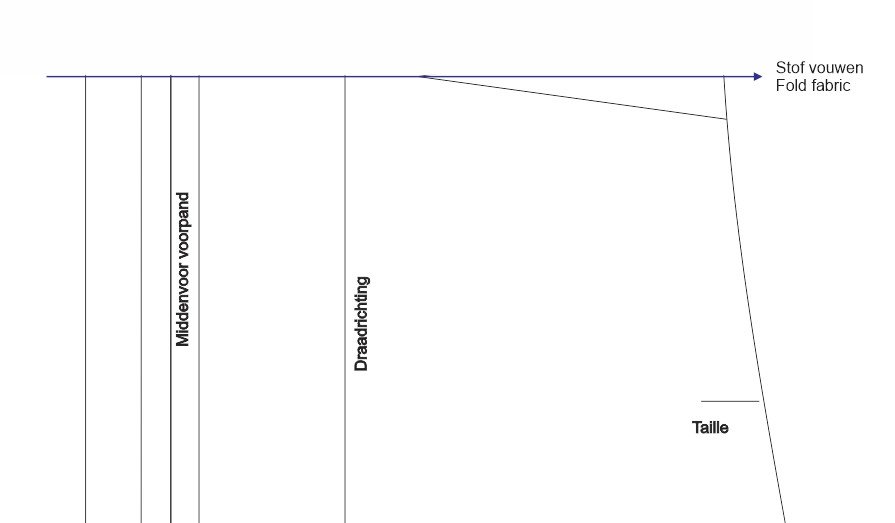
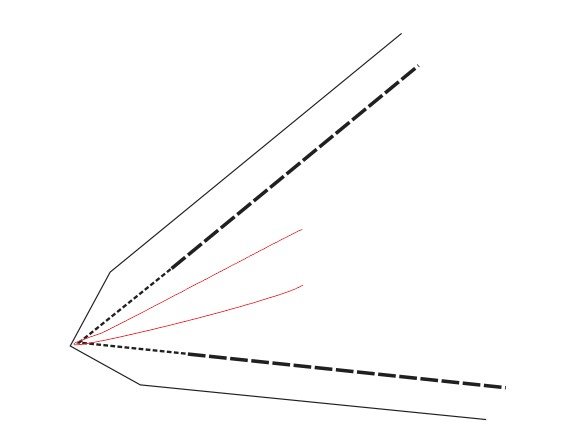
Sew from the side seam towards the end of the dart. Beginners will sew a straight line. To get a better curve, you can sew a slight curve towards the end. This means that you follow the fold (try to sew at one thread from the fold) for the last 1 cm. The dart ends neatly in the fold. Don’t secure the thread, but tie it after cutting a 7 cm tail.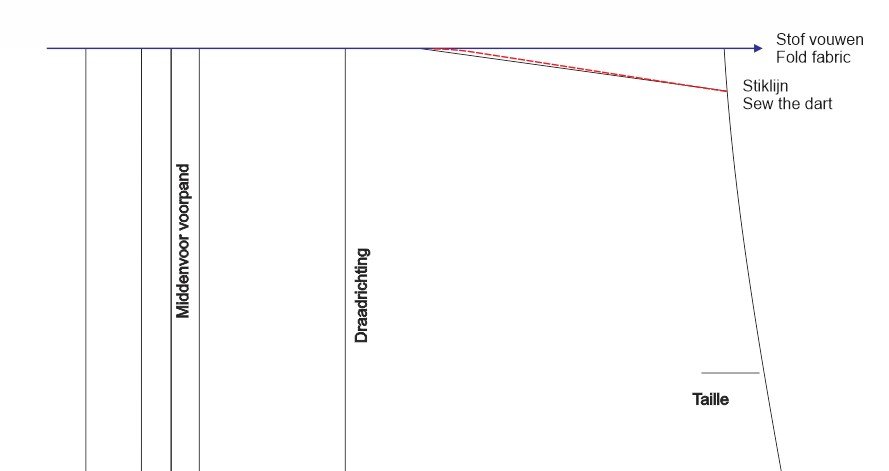
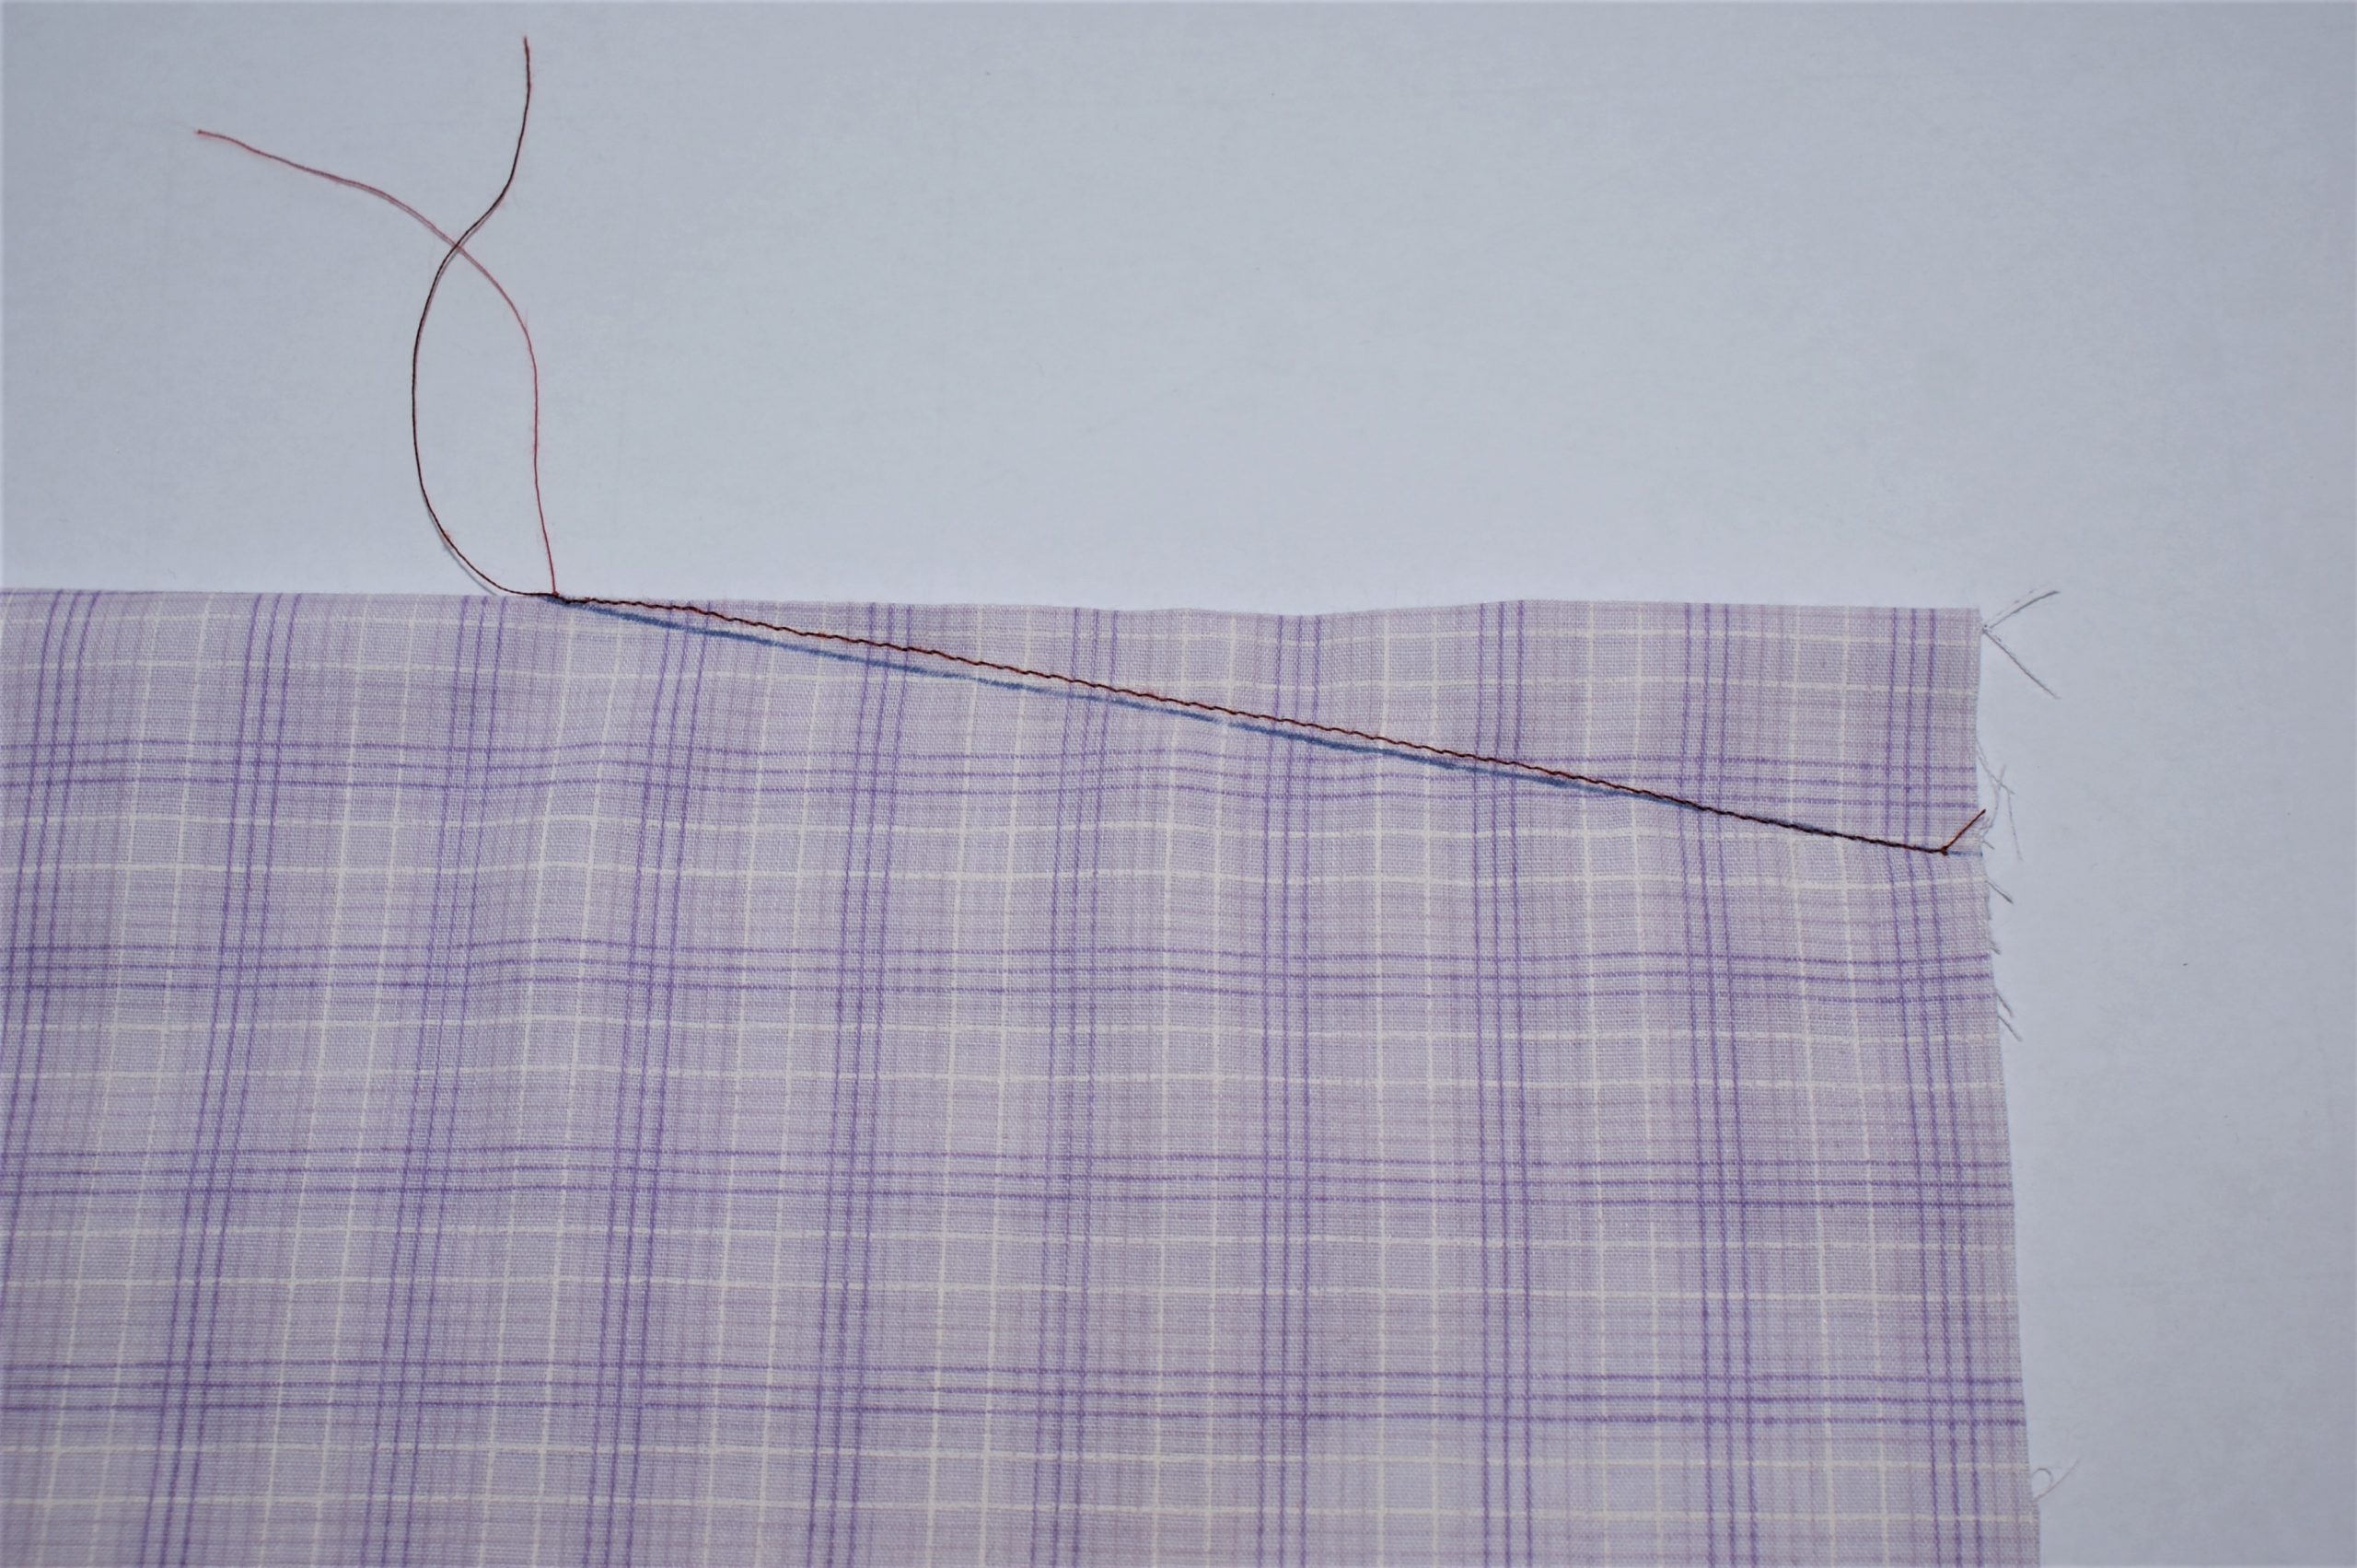
After ironing I have a beautiful sewn dart:
5. Tips to sew a collar with a sharp point.
The corner of a collar? Really in the middle front of your garment, everyone will notice your sewing.
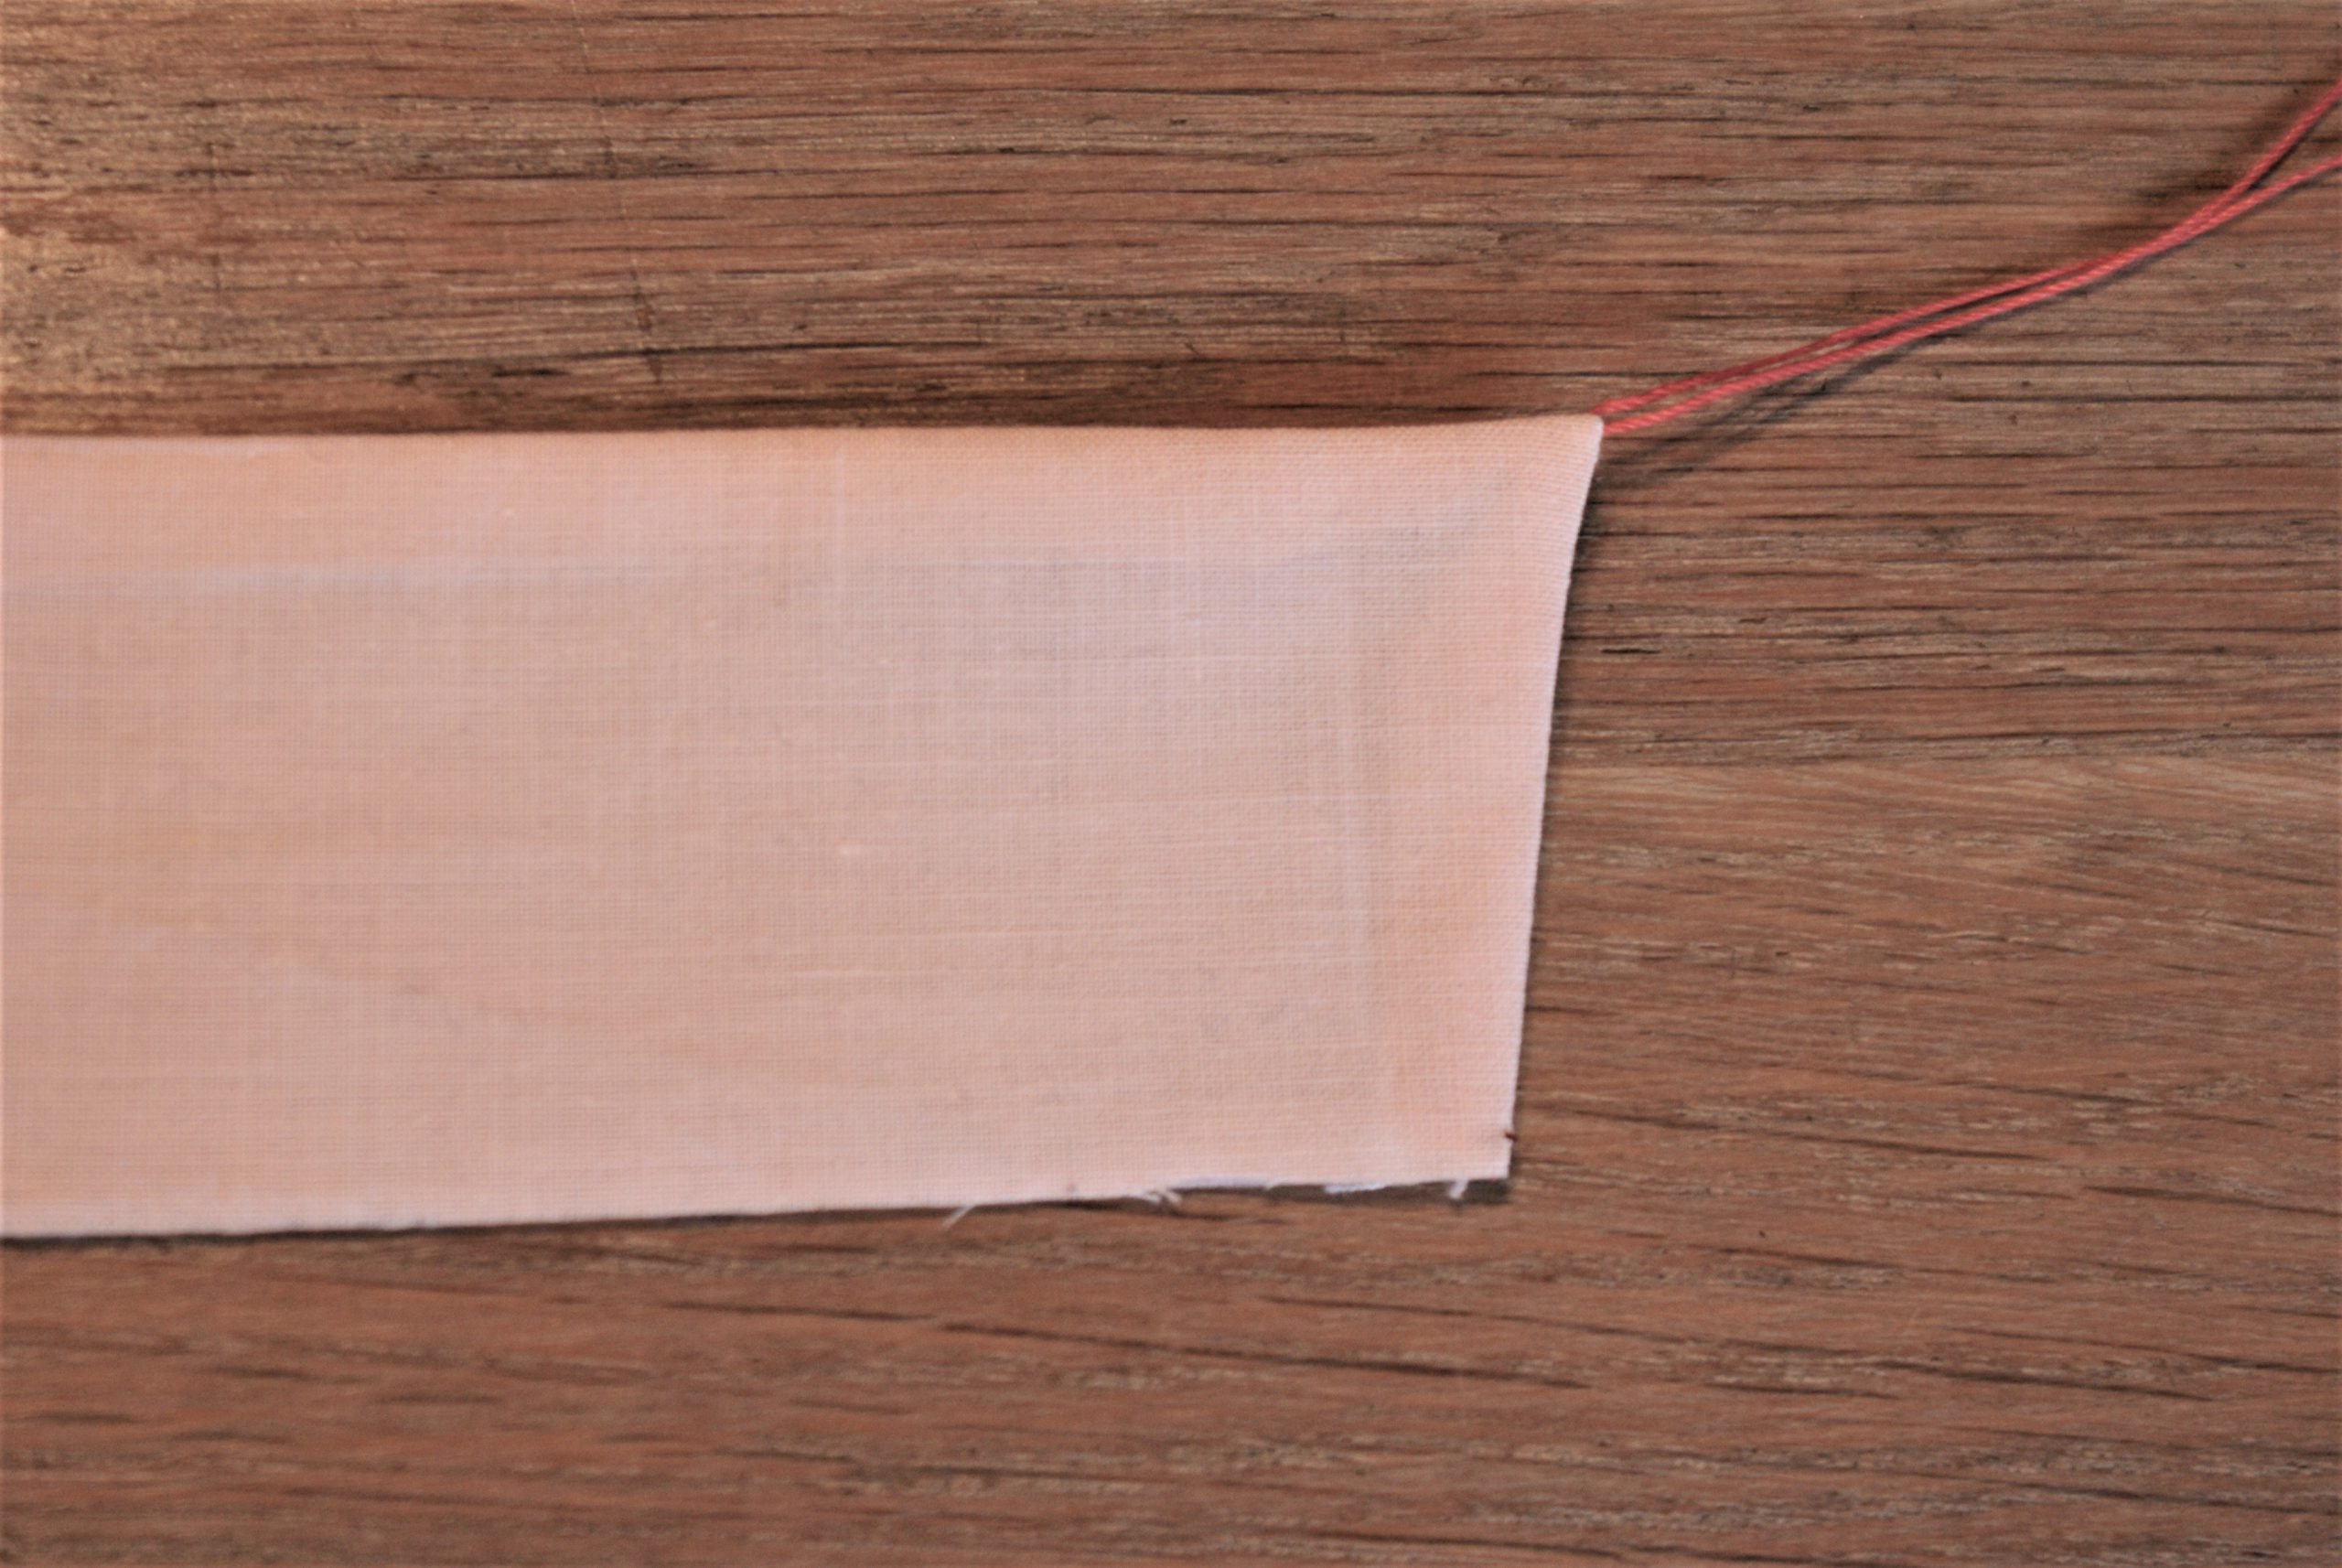
Sew the collar with standard stitchlength (mine is usually 3). At both sides of the corner, you sew a shorter stitchlength (like 1.75). This will prevent the corner from fringing after turning.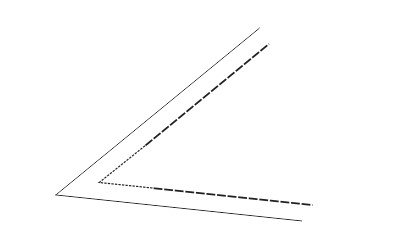 To be able to turn the point of the collar easily, sew a thread (red line in the pictures) under the one stitch in the corner. Take care: you lay it in between the two layers of the collar. Then sew the next stitch, turn your work and turn the end of the thread around the needle, still between the two layers of fabric.
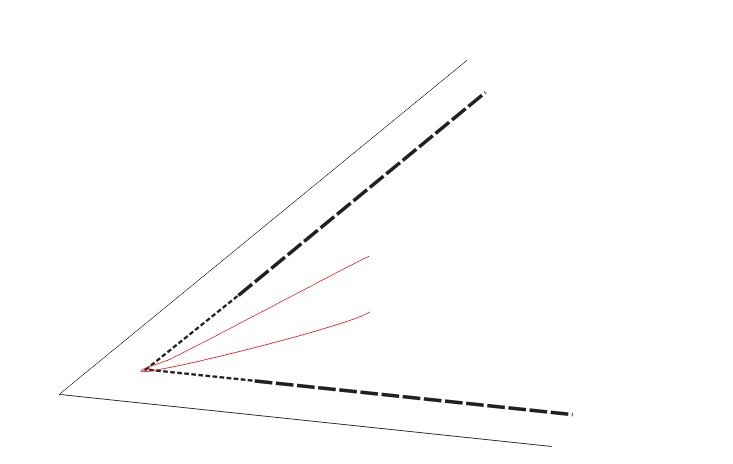
Cut away the fabric in the corner of the collar and turn the collar.
Carefully pull the corner out by pulling both ends of the thread. Iron again and cut away the thread.

I hope these tips for collar darts and topstitching were useful. In the years I have been sewing, I took it up somewhere and I thought I’d share them with you.
Tell me, were they useful? Please share with other beginner sewists. Let’s all help one another?


0 Responses