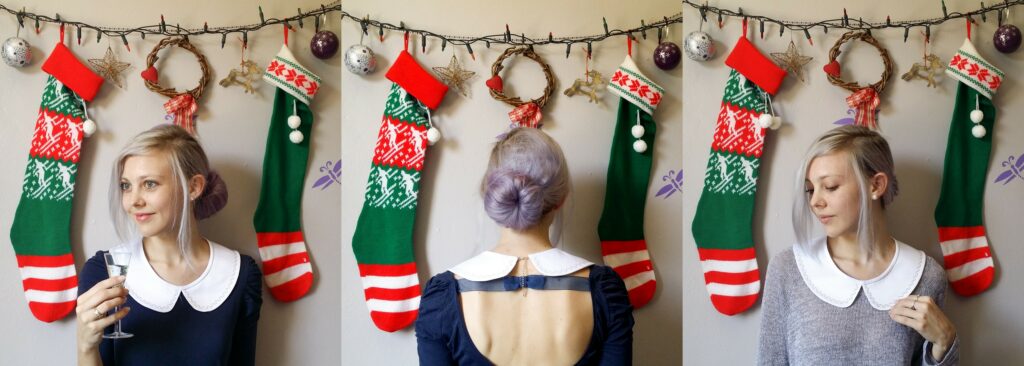
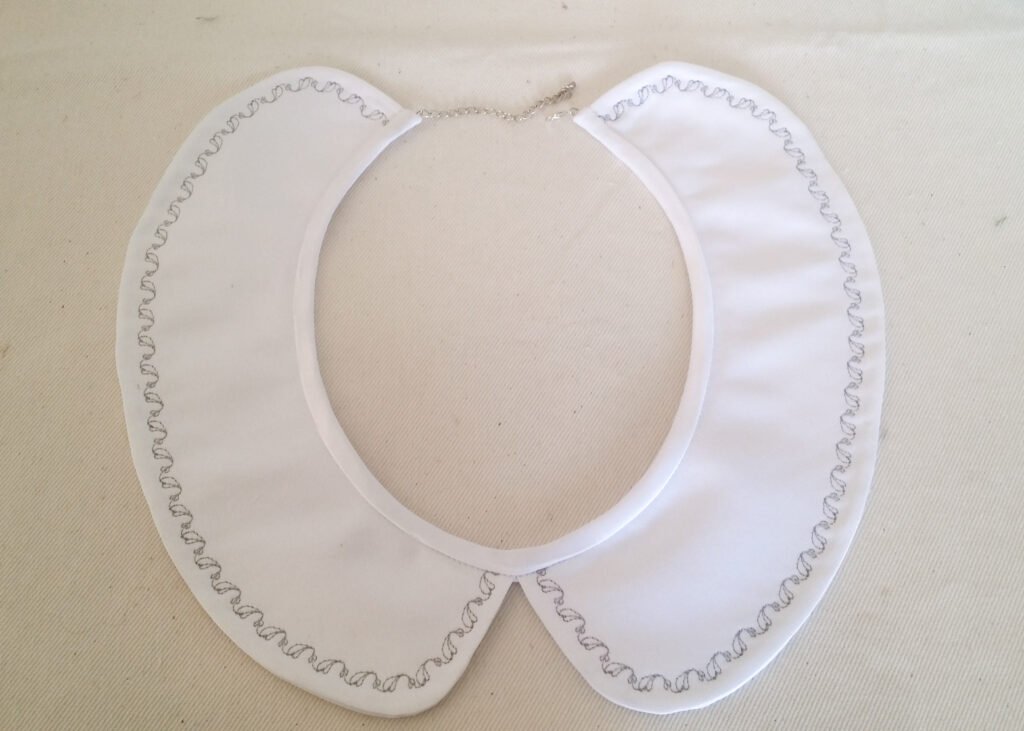
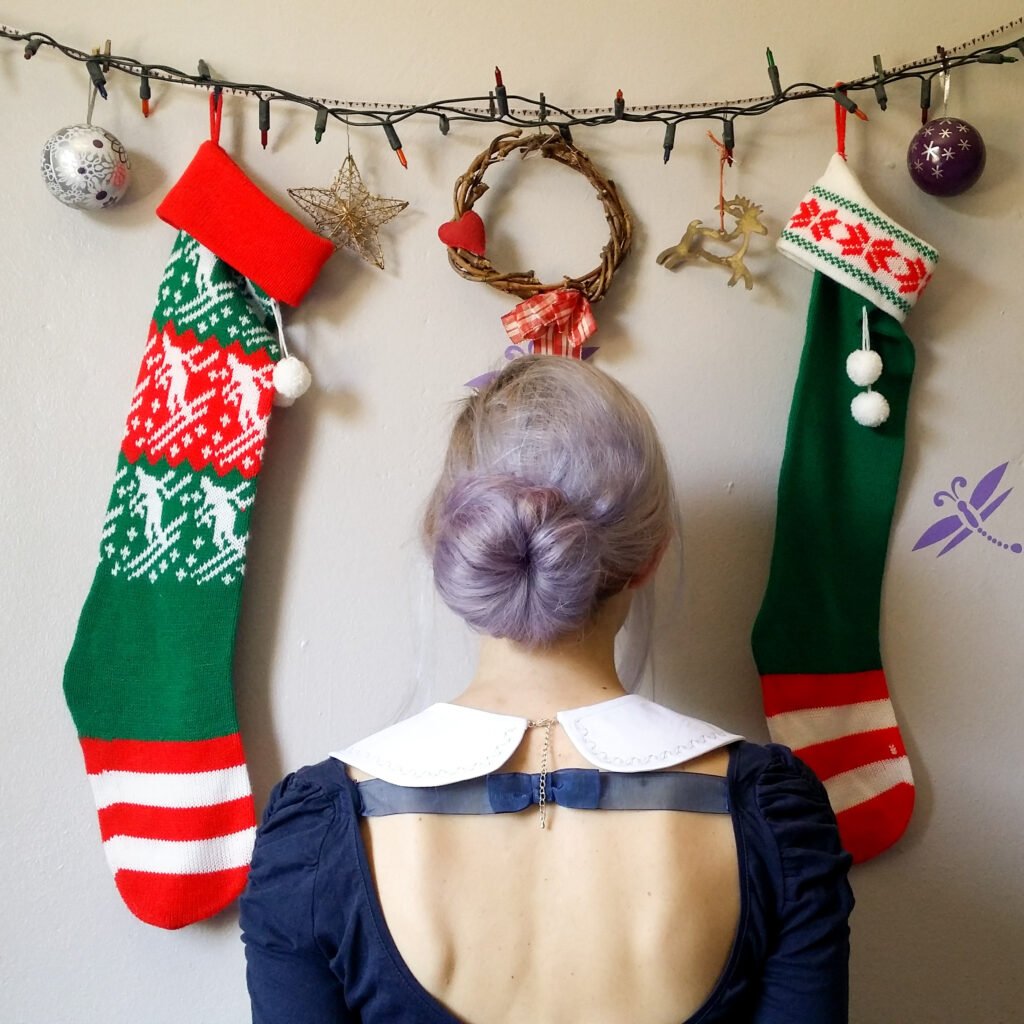
 In this tutorial I’ll show you how to make a freestanding Peter Pan collar that you can wear as a necklace. You can wear it with a comfy jersey to add a quirky touch or pair it with a simple party dress.
The collar doesn’t use a lot of fabric so it can easily be made from fabric left overs. In the pattern I provided a preferred grainline but if you are using limited fabric the collar should still fall ok as long as each piece is cut on the same grain. You can also reuse an old necklace or bracelet for the closure at the back of the collar.
The size of the pattern is dependent on your preference. The measurements given refer to the finished measurements of the inner edge of 1 half of the collar (the collar is made up of 2 halves). Keep in mind that the chain you will insert at the back will allow the collar a bit of leeway in terms of fit. I used the Small size.
Needed
- Sewing Machine with Decorative Stitches
- Peter Pan Collar Pattern
- Each piece uses 35cmx20cm of Fabric (so you’ll need 4 x 35cmx20cm)
- Fusing/iron-on vilene (refer to tips below)
- Matching thread
- Different colour thread for decorative stitching
- Bias binding (refer to step 12)
- Old necklace/chain with closures
Steps
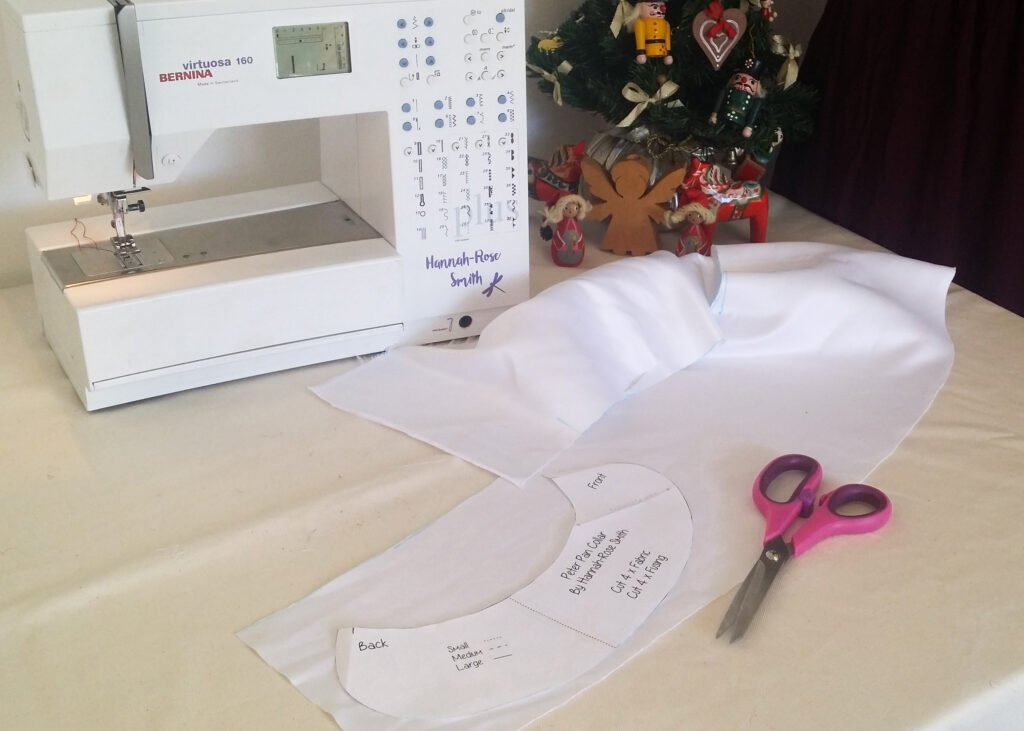
- Print out and assemble the pattern. Match up the lines respective to your size.
- Cut out your fabric and fusing.
- Fuse the pieces of cut out fabric.
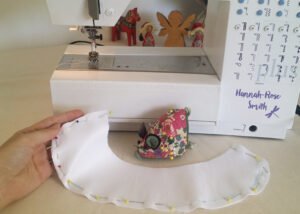
- Pin the Wrong sides of 2 pieces together (making up one half of the collar.)
- Straight stitch along the outer curved edged with a 1cm seam allowance.
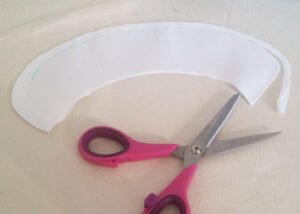
- Trim the seam to about 3mm close to the stitching. This will help the seam lie flat when pressed.
- Turn the collar the right side out and give it a good press.
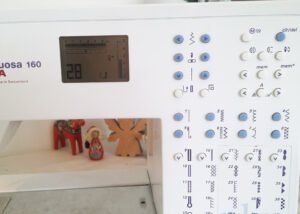
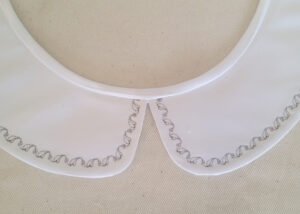
- Choose a decorative stitch and change your thread.
I chose #28 on my machine and didn’t change the default settings.
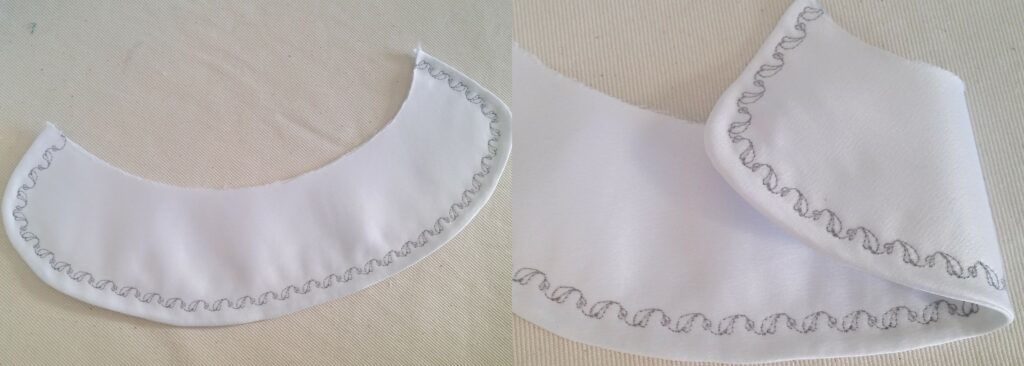
You can choose any style stitch that you like! I liked the leaf design of this stitch.
I would recommend sewing your chosen stitch on some scrap fabric to practice. Take note of when the stitch finishes a motif as this will help you when you sew around the curves.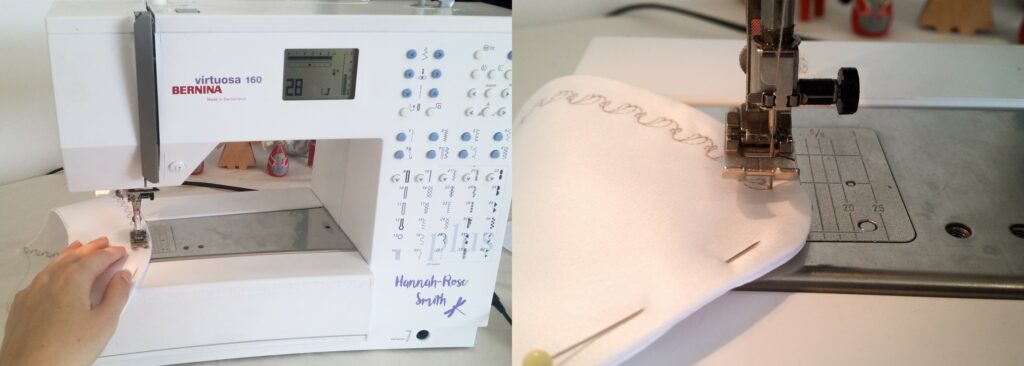
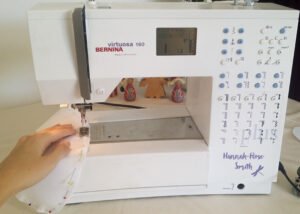
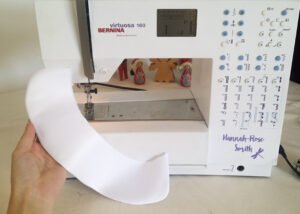
- Stitch around the outer curved edge of the collar. Line the edge of the fabric with the edge of your presser foot.
Take your time when sewing the very curved edges. Do not hold the fabric tightly while the machine stitches as the needle will need to stitch in various directions and you could alter the stitch design.
When you get to the very curved edges, rather than turning your fabric while stitching, I would recommend that when the stitch has finished its motif, lift the presser foot while keeping the needle down and then turn your fabric slightly. Put the presser foot down and stitch the next motif. Repeat this until you have sewn around the very curved parts.
- Give your collar another press. The stitches should be pretty neat on the underside too, which is great if you are making a reversible collar.
- If you haven’t done so already, repeat the above steps for the other half of the collar.
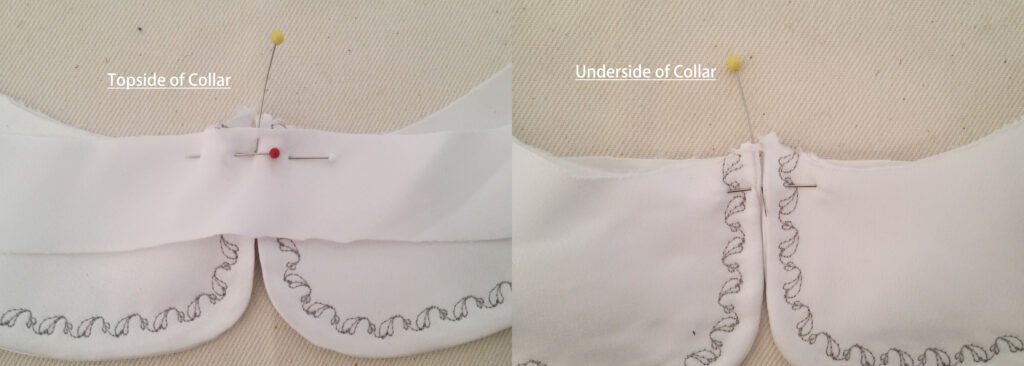
- Cut the bias binding 2cm longer than the length of the inner edge (refer to pattern.) Remember that the measurements of the inner edge are only for 1 half of the collar (the collar is made up of 2 halves) so multiply the measurements given by 2 and add 2cm. Find the middle of the binding. Match the front points of the collar pieces to the middle of the binding.
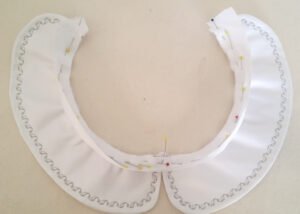
- Pin the binding to the topside of your collar. Don’t worry about how it curls. Leave about 1cm of binding over the back points. Sew.
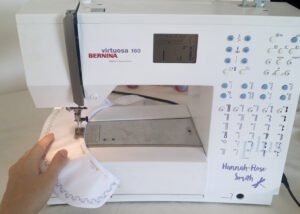
- Finish sewing the binding by encasing the inner edge of the collar and topstitching in place. Remember to fold in the extra bit of binding at the back points.
- Give the bound edge a press.
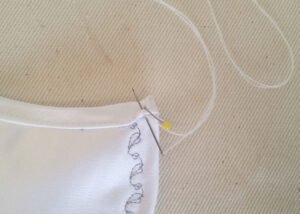
- Hand stitch the binding closed at the back points.
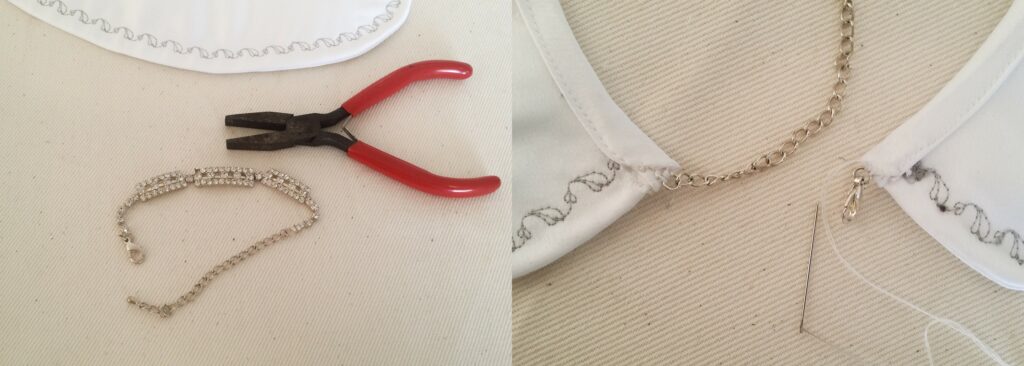
- Get your chain and closures. I used an old bracelet which had diamantes falling out.
- Hand stitch it to the underside of the collar at the back points.
Maybe put a bit of clear glue over your stitches to prevent the ring from working its way out of the stitching.
When the collar is lying flat the chain shouldn’t be able to close properly. This is because the collar needs to shape around your neck.
Tips
- If you are using thin fabric (silk, cotton…) for your collar then cut fusing for the 4 pieces of the collar. If your fabric is relatively firm (duchess satin, twill…) then only fuse the 2 top side collar pieces.
- The fusing/iron-on vilene helps prevent the fabric from puckering when sewing the decorative stitches and keeps the collar’s shape.
- You could make your collar reversible with a different colour fabric on the underside.
- Refer to the 18th door of the Bernina Advent Calender on 18 December to make a special accessory for your man.
I hope you have fun pairing your collar with many outfits.
I would love to see your makes, please feel free to share them with me!
Instagram
Facebook
Happy holidays!
-Hannah-Rose
All patterns designed by me are for personal use only.
 BERNINA Corporate Blog -






0 Responses