 BERNINA Corporate Blog -
Andrea from Quiltmanufaktur and author for the German BERNINA blog is your guide for this fantastic quilt-along over the next 12 months. Together, you will sew classic patchwork blocks and combine them into a sampler. The completed quilt will be traditional, yet modern! The next part has been written and we are delighted that you join this quilt project.
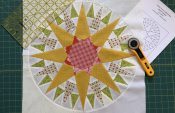
Today I am going to show you the 24th block in our joint quilt-along here on the BERNINA blog. It is the “Pines Tree” patchwork block.

The pattern for this block comes from the Farmer’s Wife Book of Quilts (1931). Other names for this block are “Temperance Tree”, “Live Oak Tree” and “Forbidden Fruit Tree”. There are some differences between these blocks in the shape of the trunk and the layout of the crown of the tree. You can marvel at some beautiful old examples on The Quilt Index website.
I found the following information about the block online:
“What most people would perceive as a ‘Tree of Life’ quilt was popular just before and after 1800. These quilts often had a tree in the center. The designs were cut out from Indian palampores or bedcovers and were often enhanced and elaborated with additional birds, animals, and other chintz cutouts. The hill where the tree sat was called a ‘terra firma’ mound and represented an idealized version of the world abounding with flora and fauna. As the nineteenth century progressed, the Tree of Life pattern progressed into the current triangle pattern and became more popular throughout the century. The Tree of Life continues to be a popular motif for quilters, sometimes appearing as a center for medallion quilts and sometimes used as a family tree. The pieced block design was very popular in the United States and during the 1840’s and 1860’s the tree motifs were in fashionable use, as well as the use of diamonds and triangles in the design. […] the pines tree came to represent, for many pioneers, a remembrance of life back home.”
(Source: http://crafting.idahohistory.org/, Quiltwork May 27, 2021)
We are sewing the “Pines Tree” patchwork block
The “Pines Tree” is a 10″ block (10.5″ including the seam allowance). It is made using both pattern templates and foundation paper piecing.
Download the patchwork templates
For cutting out, I have created three PDF documents to download:
- The first is a coloring sheet. This allows you to try out colors and designs for this block to see what they look like.
- On the second PDF you will find the templates for the foundation paper piecing
- and on the third you will find the pattern templates.
On the PDFs with the FPP templates and the pattern templates, I have put a control square with a side length of 1 inch so that you can check whether your printout of the templates is the right size. It is important to set your print options to “Actual size”.
Here are the downloads:
“Pines Tree” pattern templates
Cutting out the pattern pieces
You will need to cut out the following number of pieces:
- Template A: 2 x background fabric
- Template D: 1 x background fabric
- Template E: 1 x background fabric
- Template F: 1 x background fabric
- Template G: 2 x patterned fabric
- Template H: 1 x patterned fabric
- Template I: 2 x patterned fabric
6 pieces for the crown of the tree are made using the FPP technique.
Sewing the “Pines Tree” patchwork block
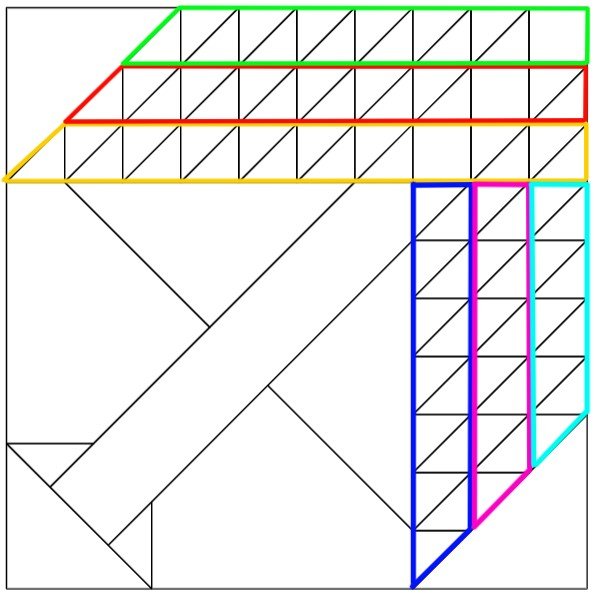
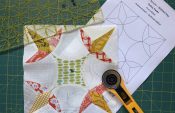
The first step is to make the FPP sections for the crown of the tree. I have marked the areas that need to be made from the patterned fabric with an X. The remaining areas should made from background fabric. To help you see where and how the FPP templates are positioned, I’ve provided you with a diagram here:
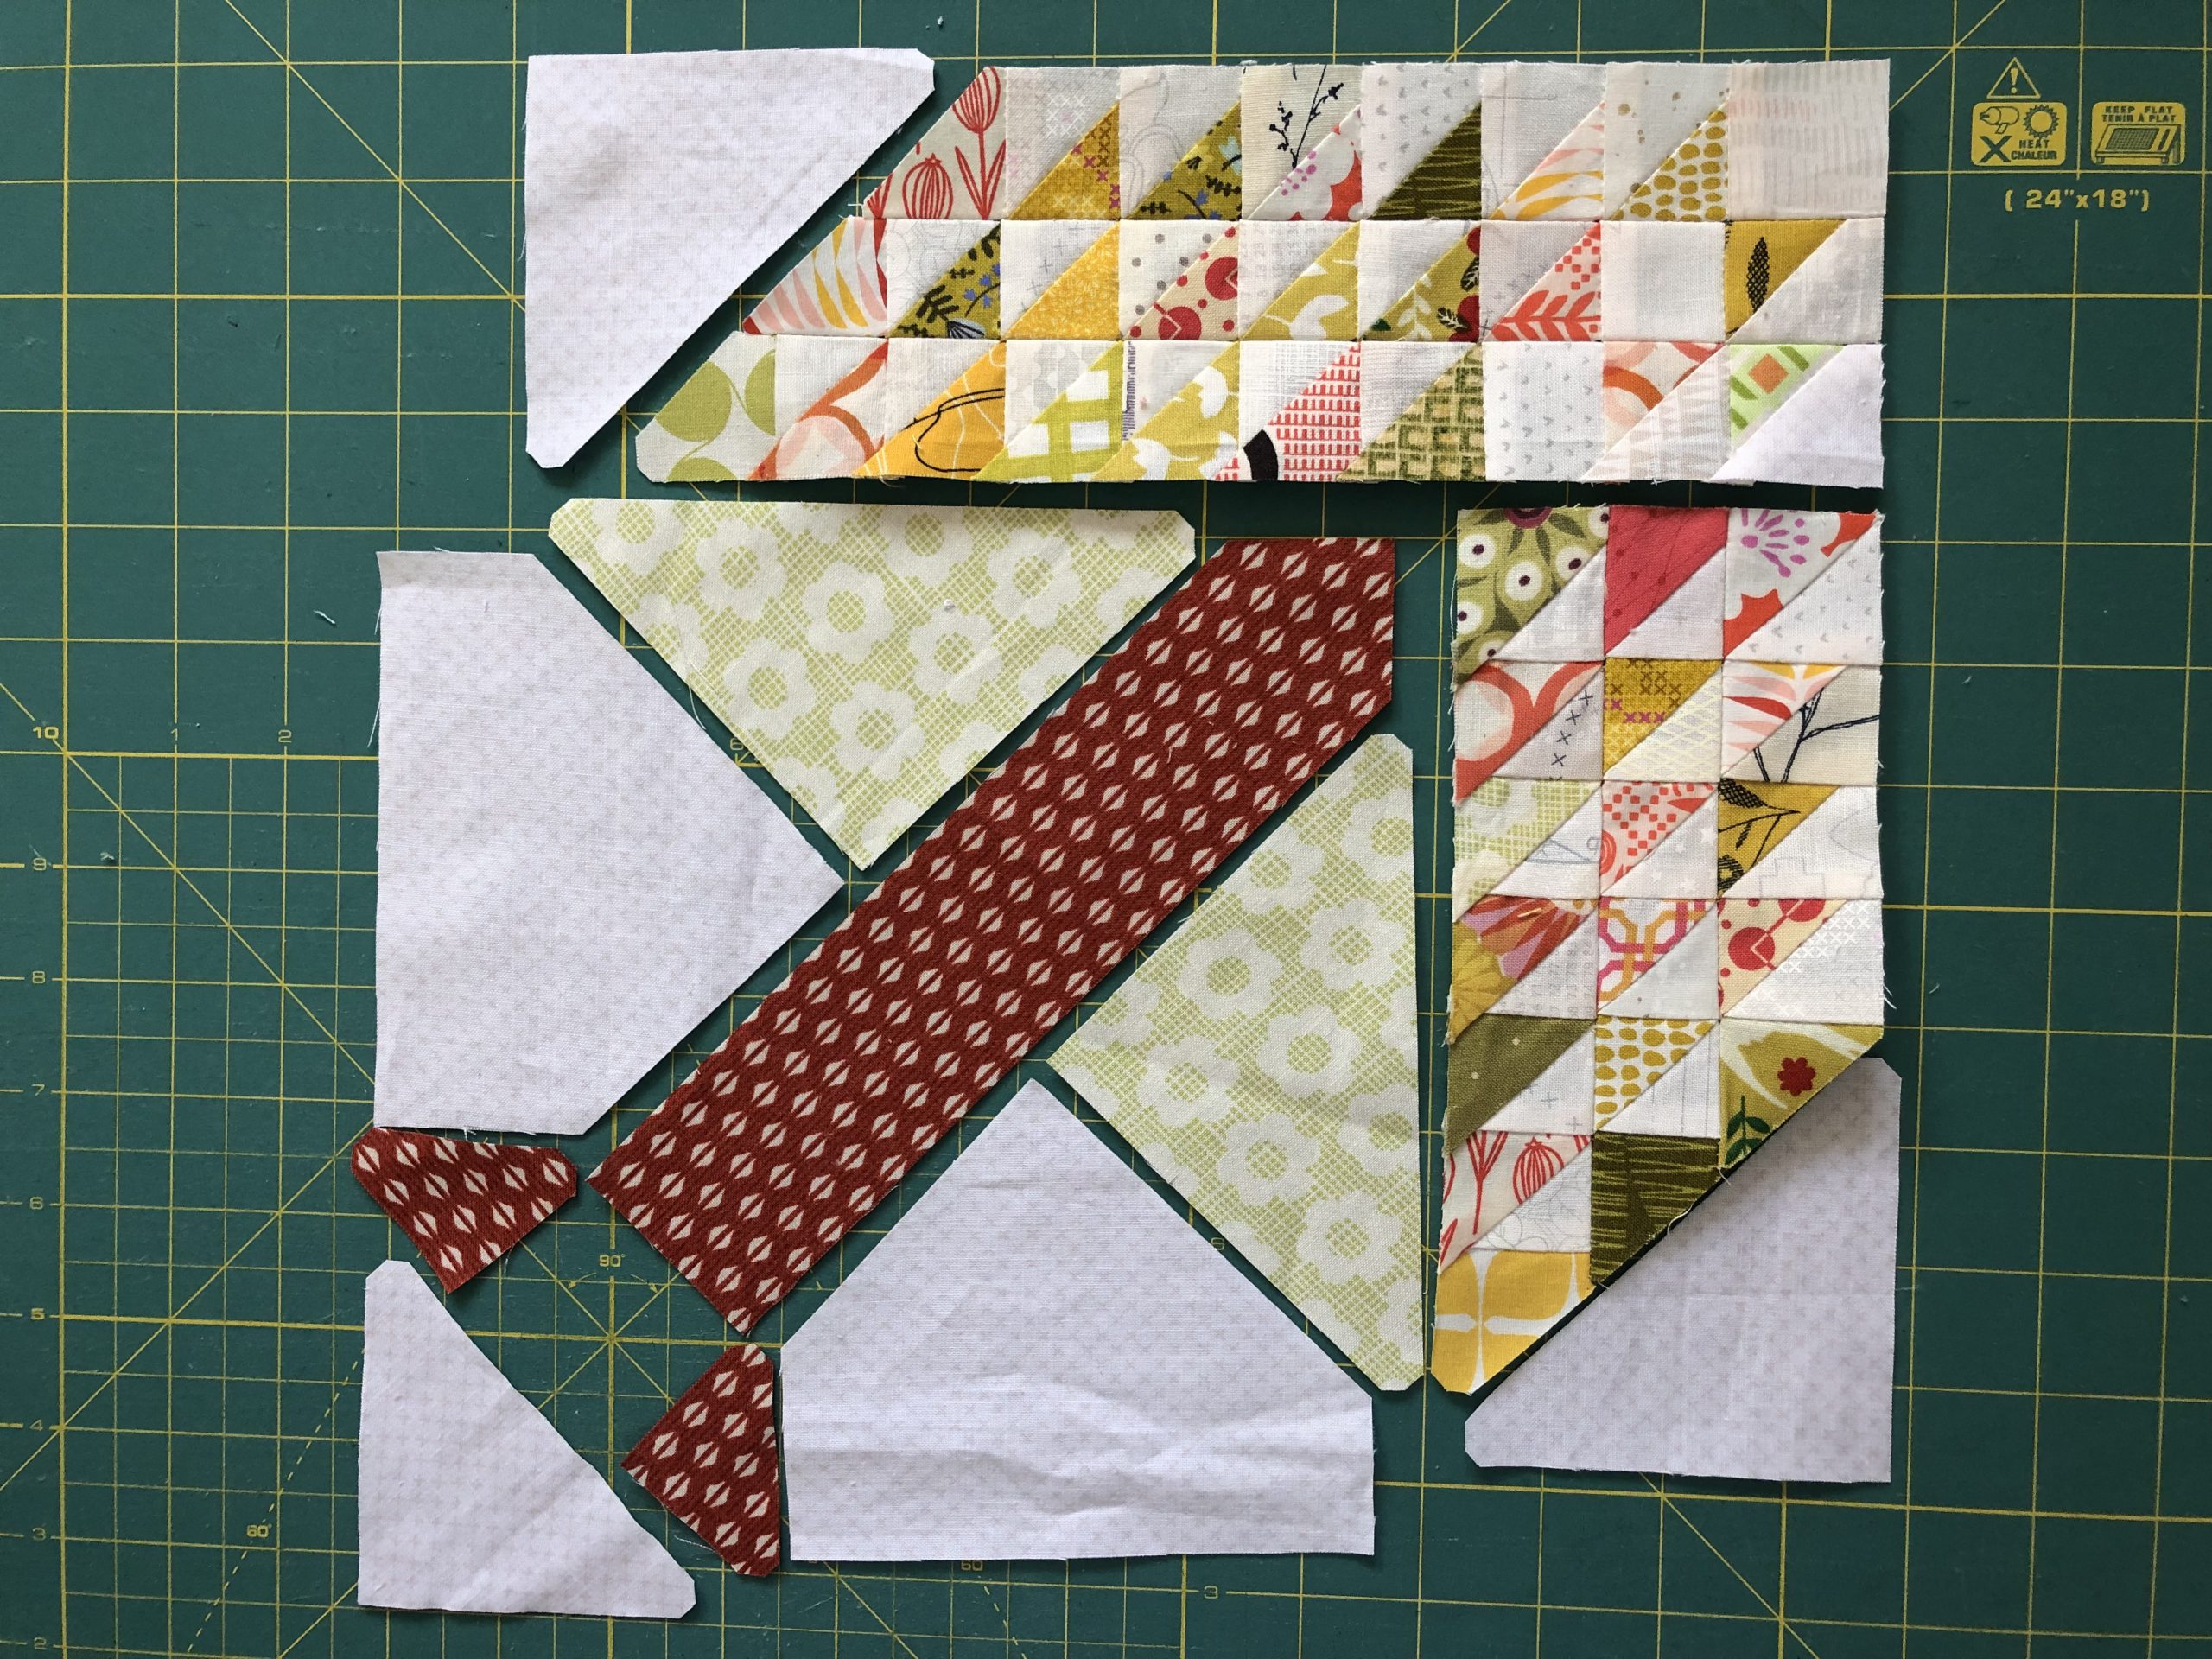
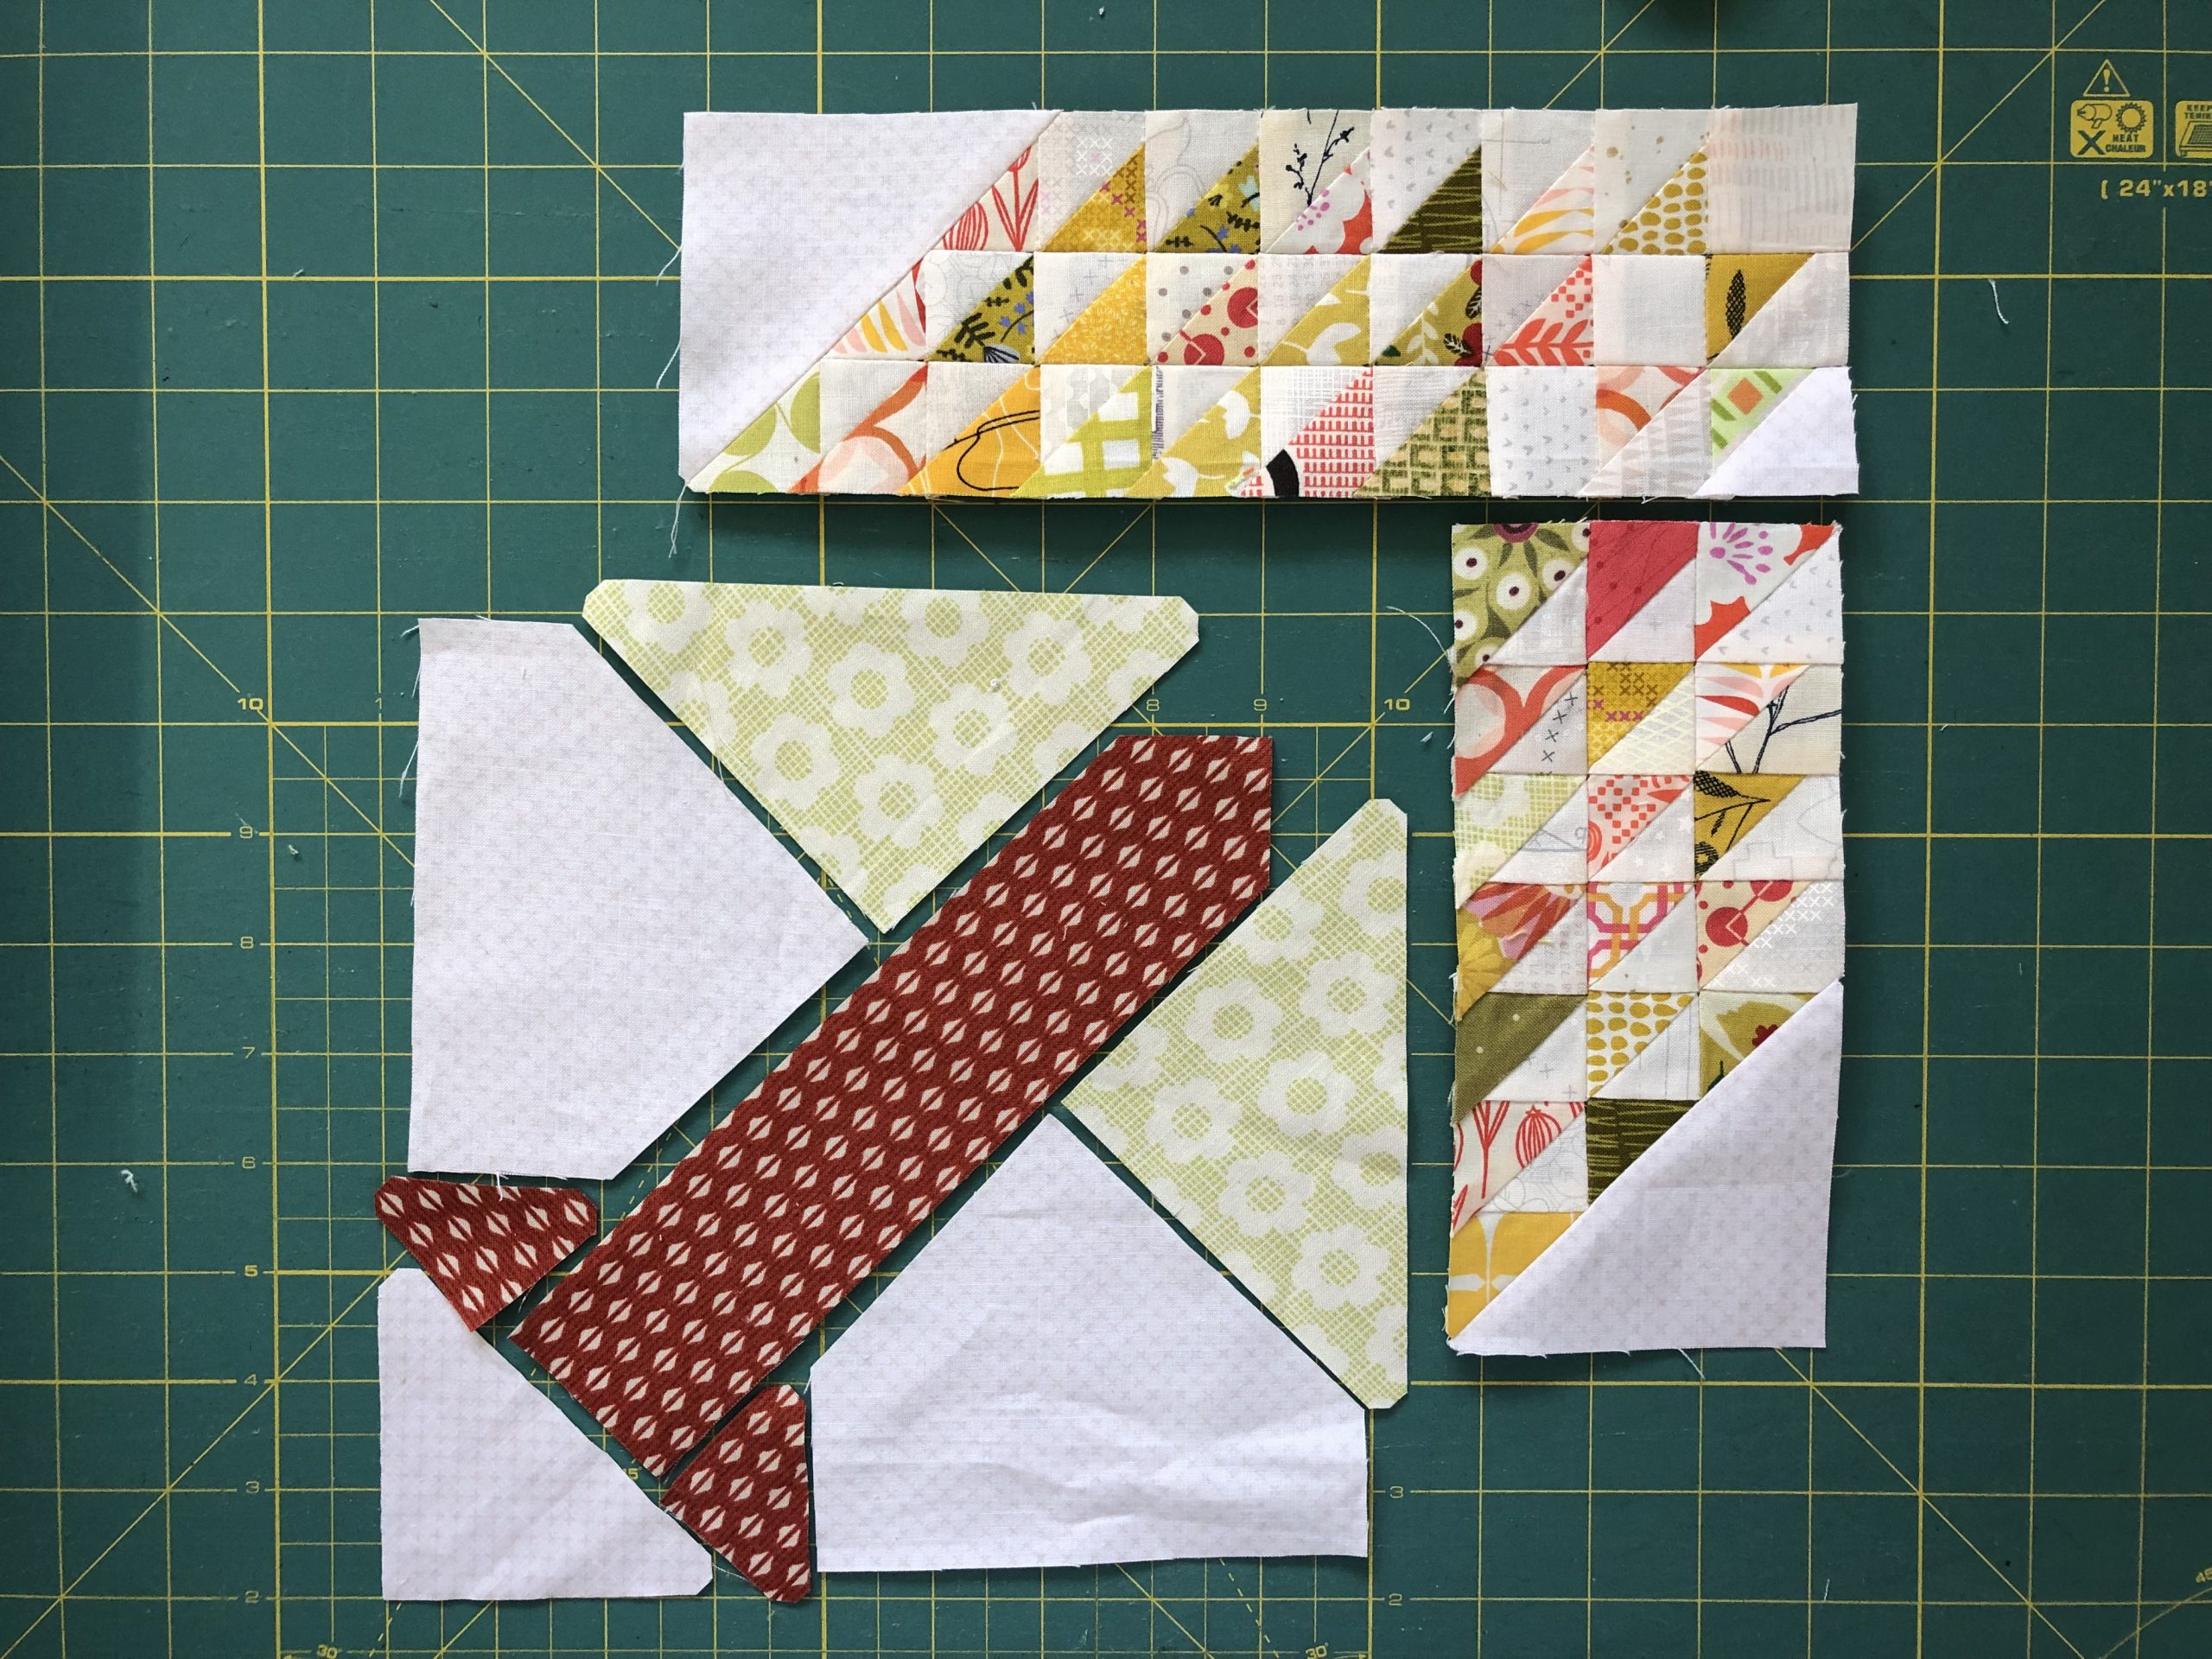
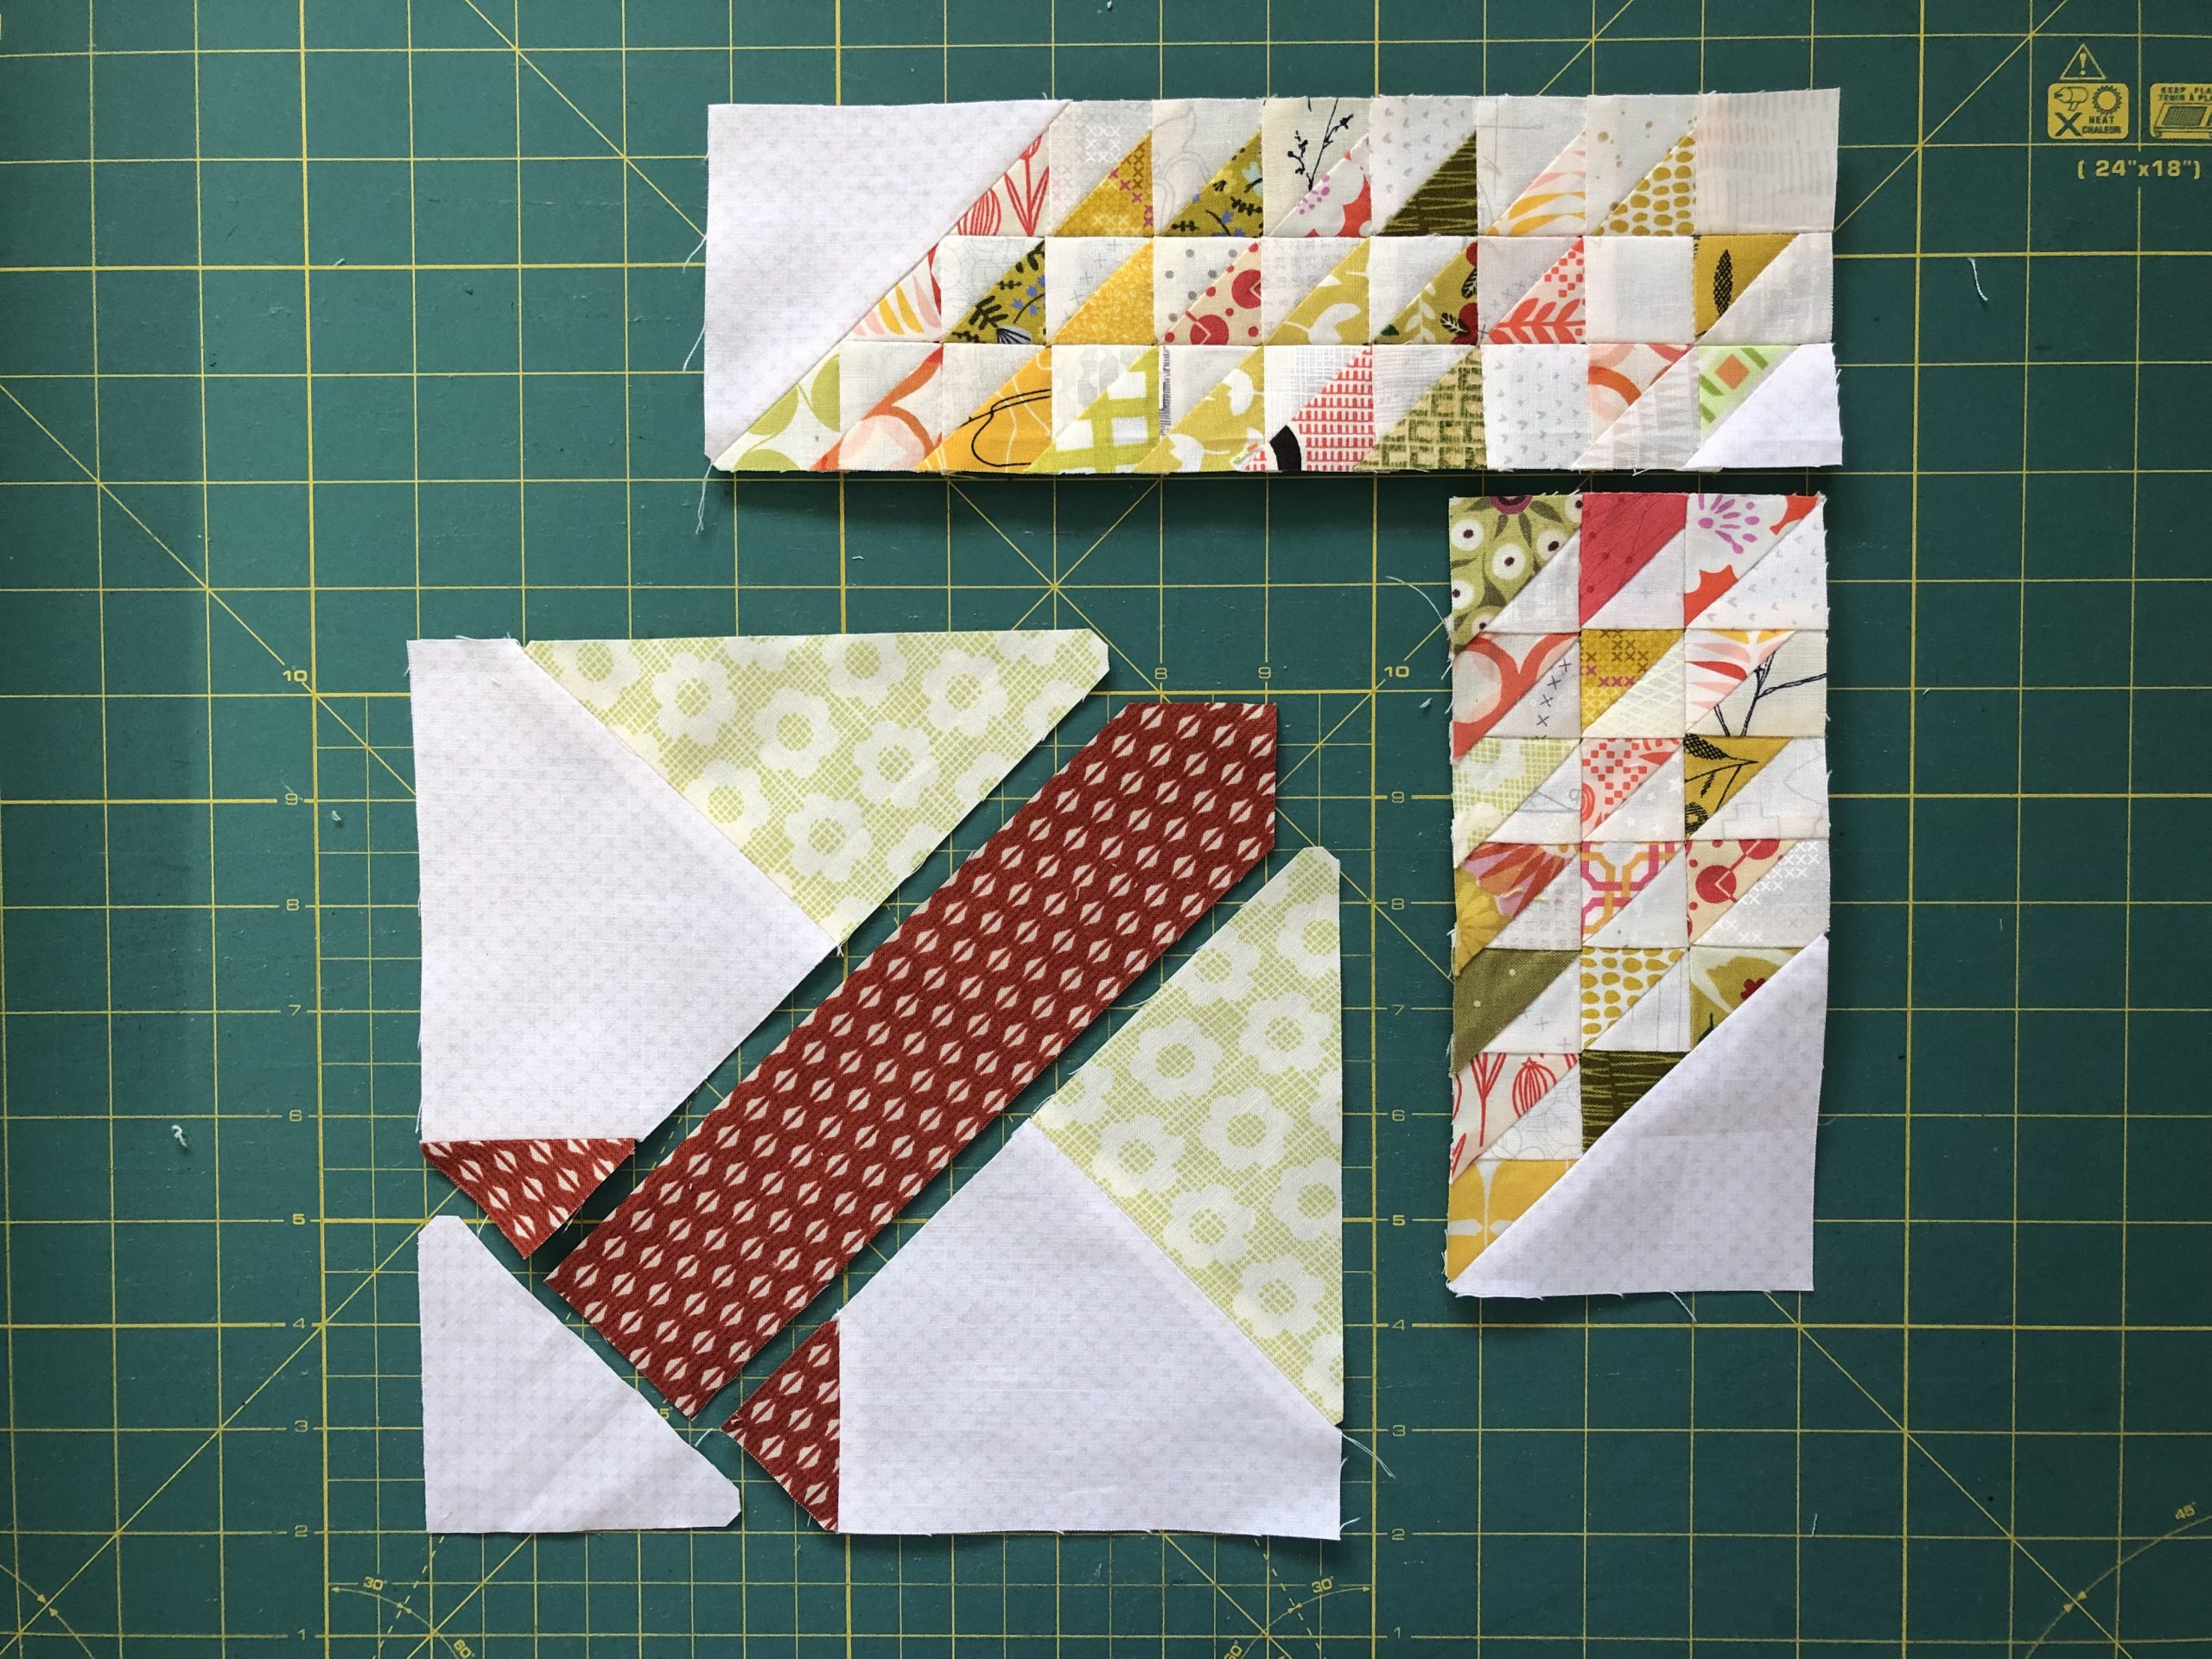
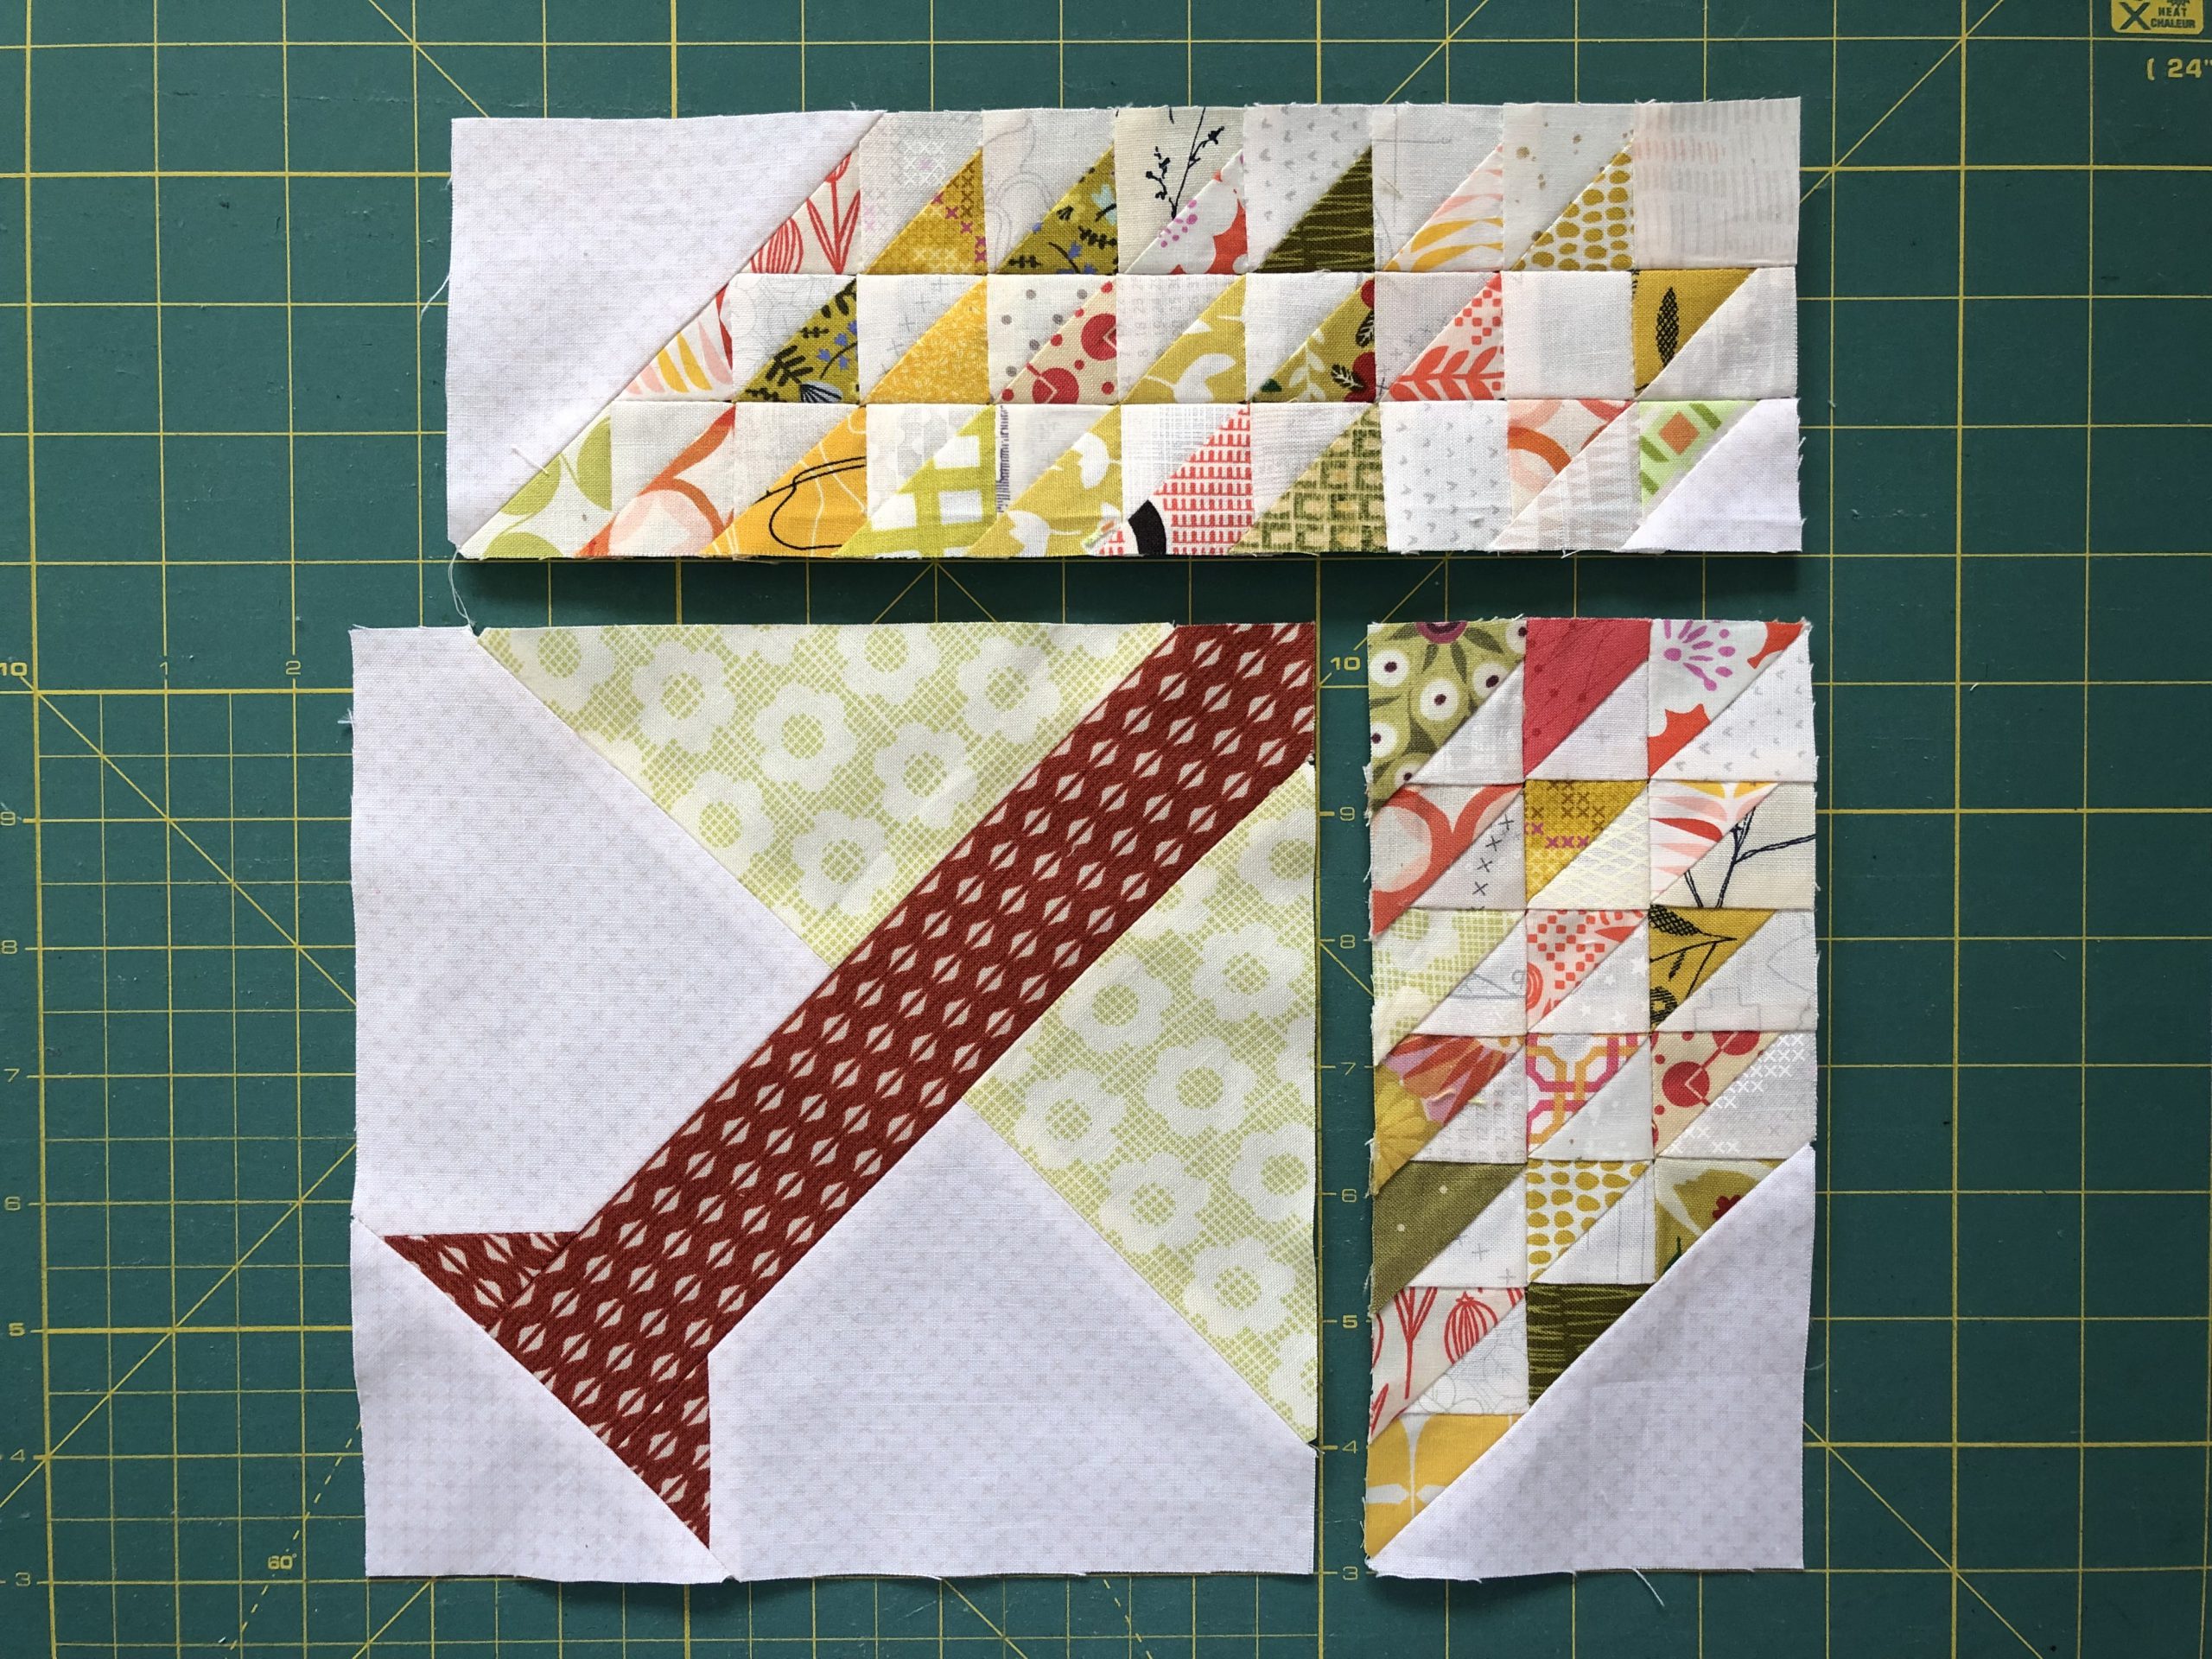
As usual, lay out all your pattern pieces to give you an overview.

Join the rows of the tree’s crown together. I have left the paper in until now. But you can do it however you prefer!
Now sew the two outer A pieces onto the two sides of the tree’s crown.
Next, sew pieces G + F, and pieces G + D together. Then join the small triangles from part 1 onto this.
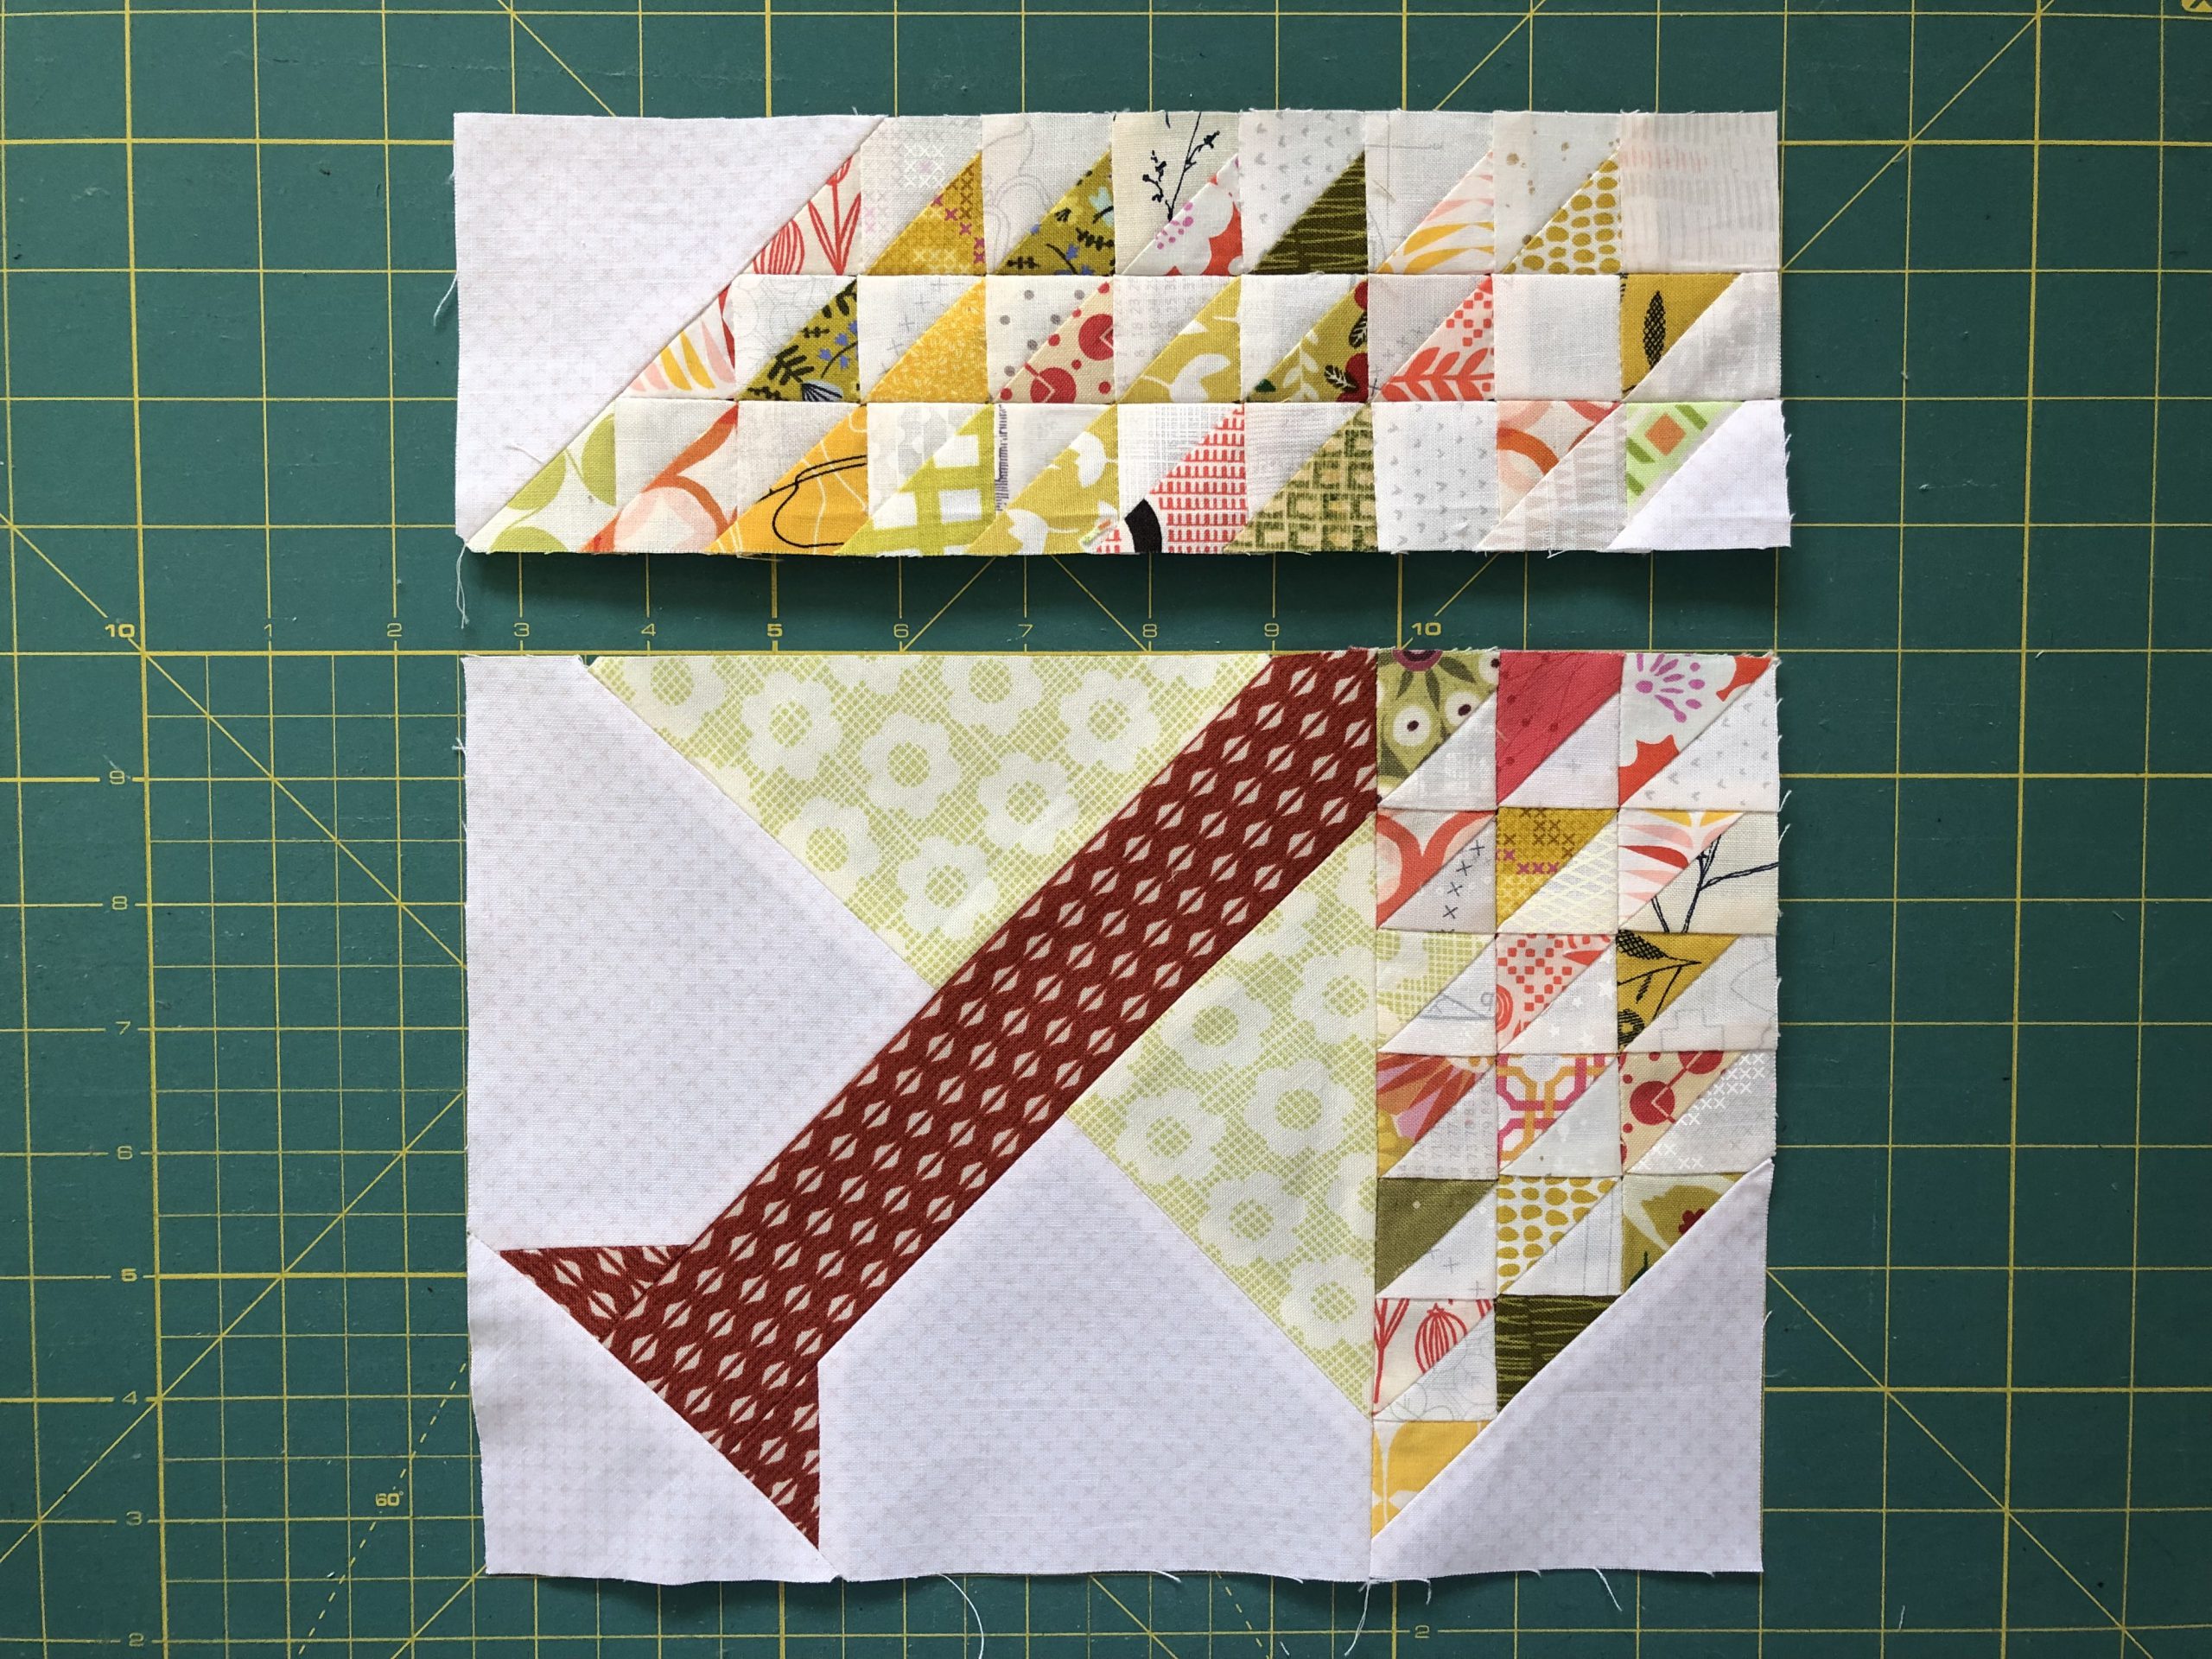
The next step is to insert the trunk in the center.

The triangle piece at the bottom edge, piece E, completes the square around the trunk.
Now sew the shorter tree piece onto the bottom square.
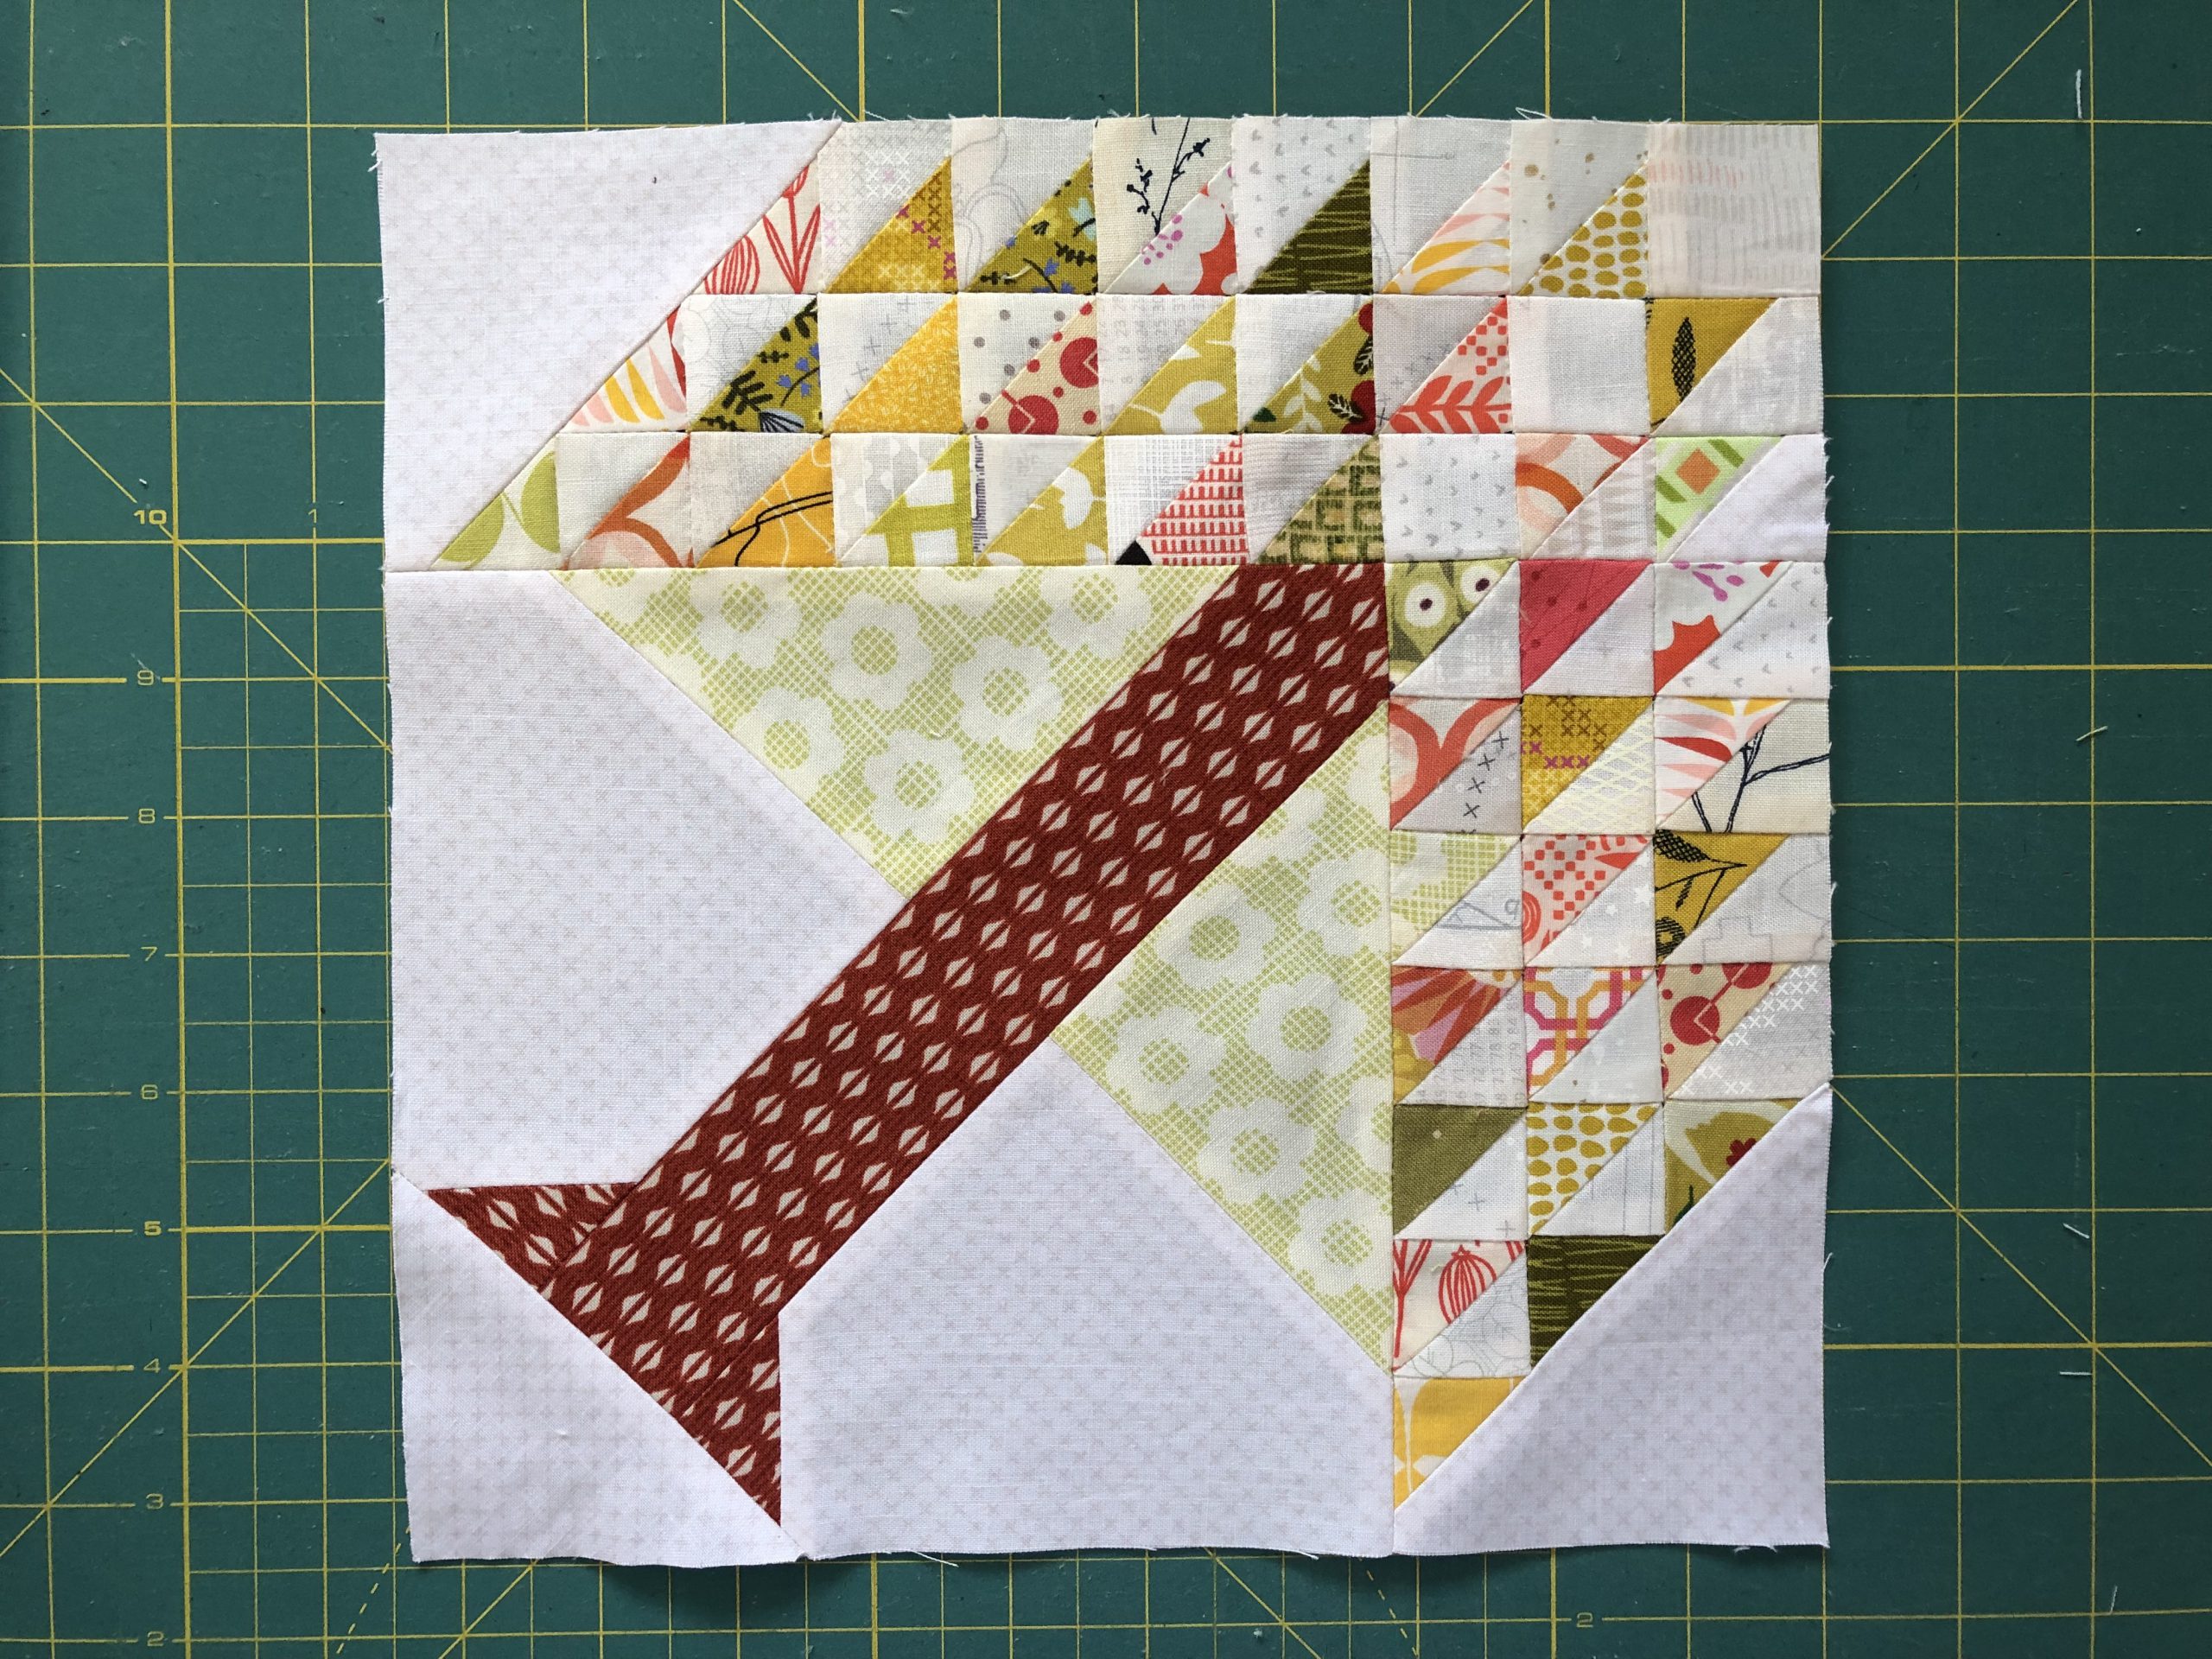
Followed by the top piece of the tree crown. And then you’ve finished this beautiful block!
Once again, I’m really excited to see your interpretations of this block. Make your own “Pines Tree” block and post it here in the Community area of the BERNINA blog, on Instagram or on Facebook – wherever you prefer to show us your beautiful creations. Don’t forget to tag your picture with the hashtag #BERNINAOldBlockSampler on the social media channels!
New here?
Have you only just discovered the quilt-along? No problem! You can join at any time. Registration is not required, and you can win a BERNINA 570 QE! All the posts will remain permanently available:
In the first post, which was the invitation to participate in the quilt-along, you will find the important initial information about our joint project:
Old Block Quilt-Along – who’s in?
You can find the rest of the blocks from the quilt-along that have already been published here:
Old Block Quilt-Along – overview of all the posts
I’m glad you’re taking part and I hope to see more wonderful pictures of your blocks!
See you soon,
Andrea
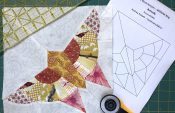
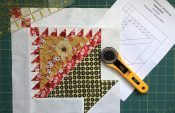
Mein fertiger Pine Tree Block. Danke Andrea Kollath und Bernina für die Anleitung
Block 24 Misprint. Flaw. In the pictures of the block it’s right but the pattern has a misprint on the paper pieced strips. If you want your strips to go together right reverse the print and background after the square on the top 2nd and 3rd rows
My friend Marilou White caught the mistake and caught me before I made it