 BERNINA Corporate Blog -
Did you try to sew along rulers with the Adjustable Ruler Foot # 72? Well, I made several blocks and liked it a lot. I collected 6 that succeeded well and suggest to make a placemat with the rulerfoot-exercises. Instructions and information can be fuond in these blogposts: Start to quilt with the adjustable rulerfoot 72 and Quilt curved lines with adjustable rulerfoot 72.
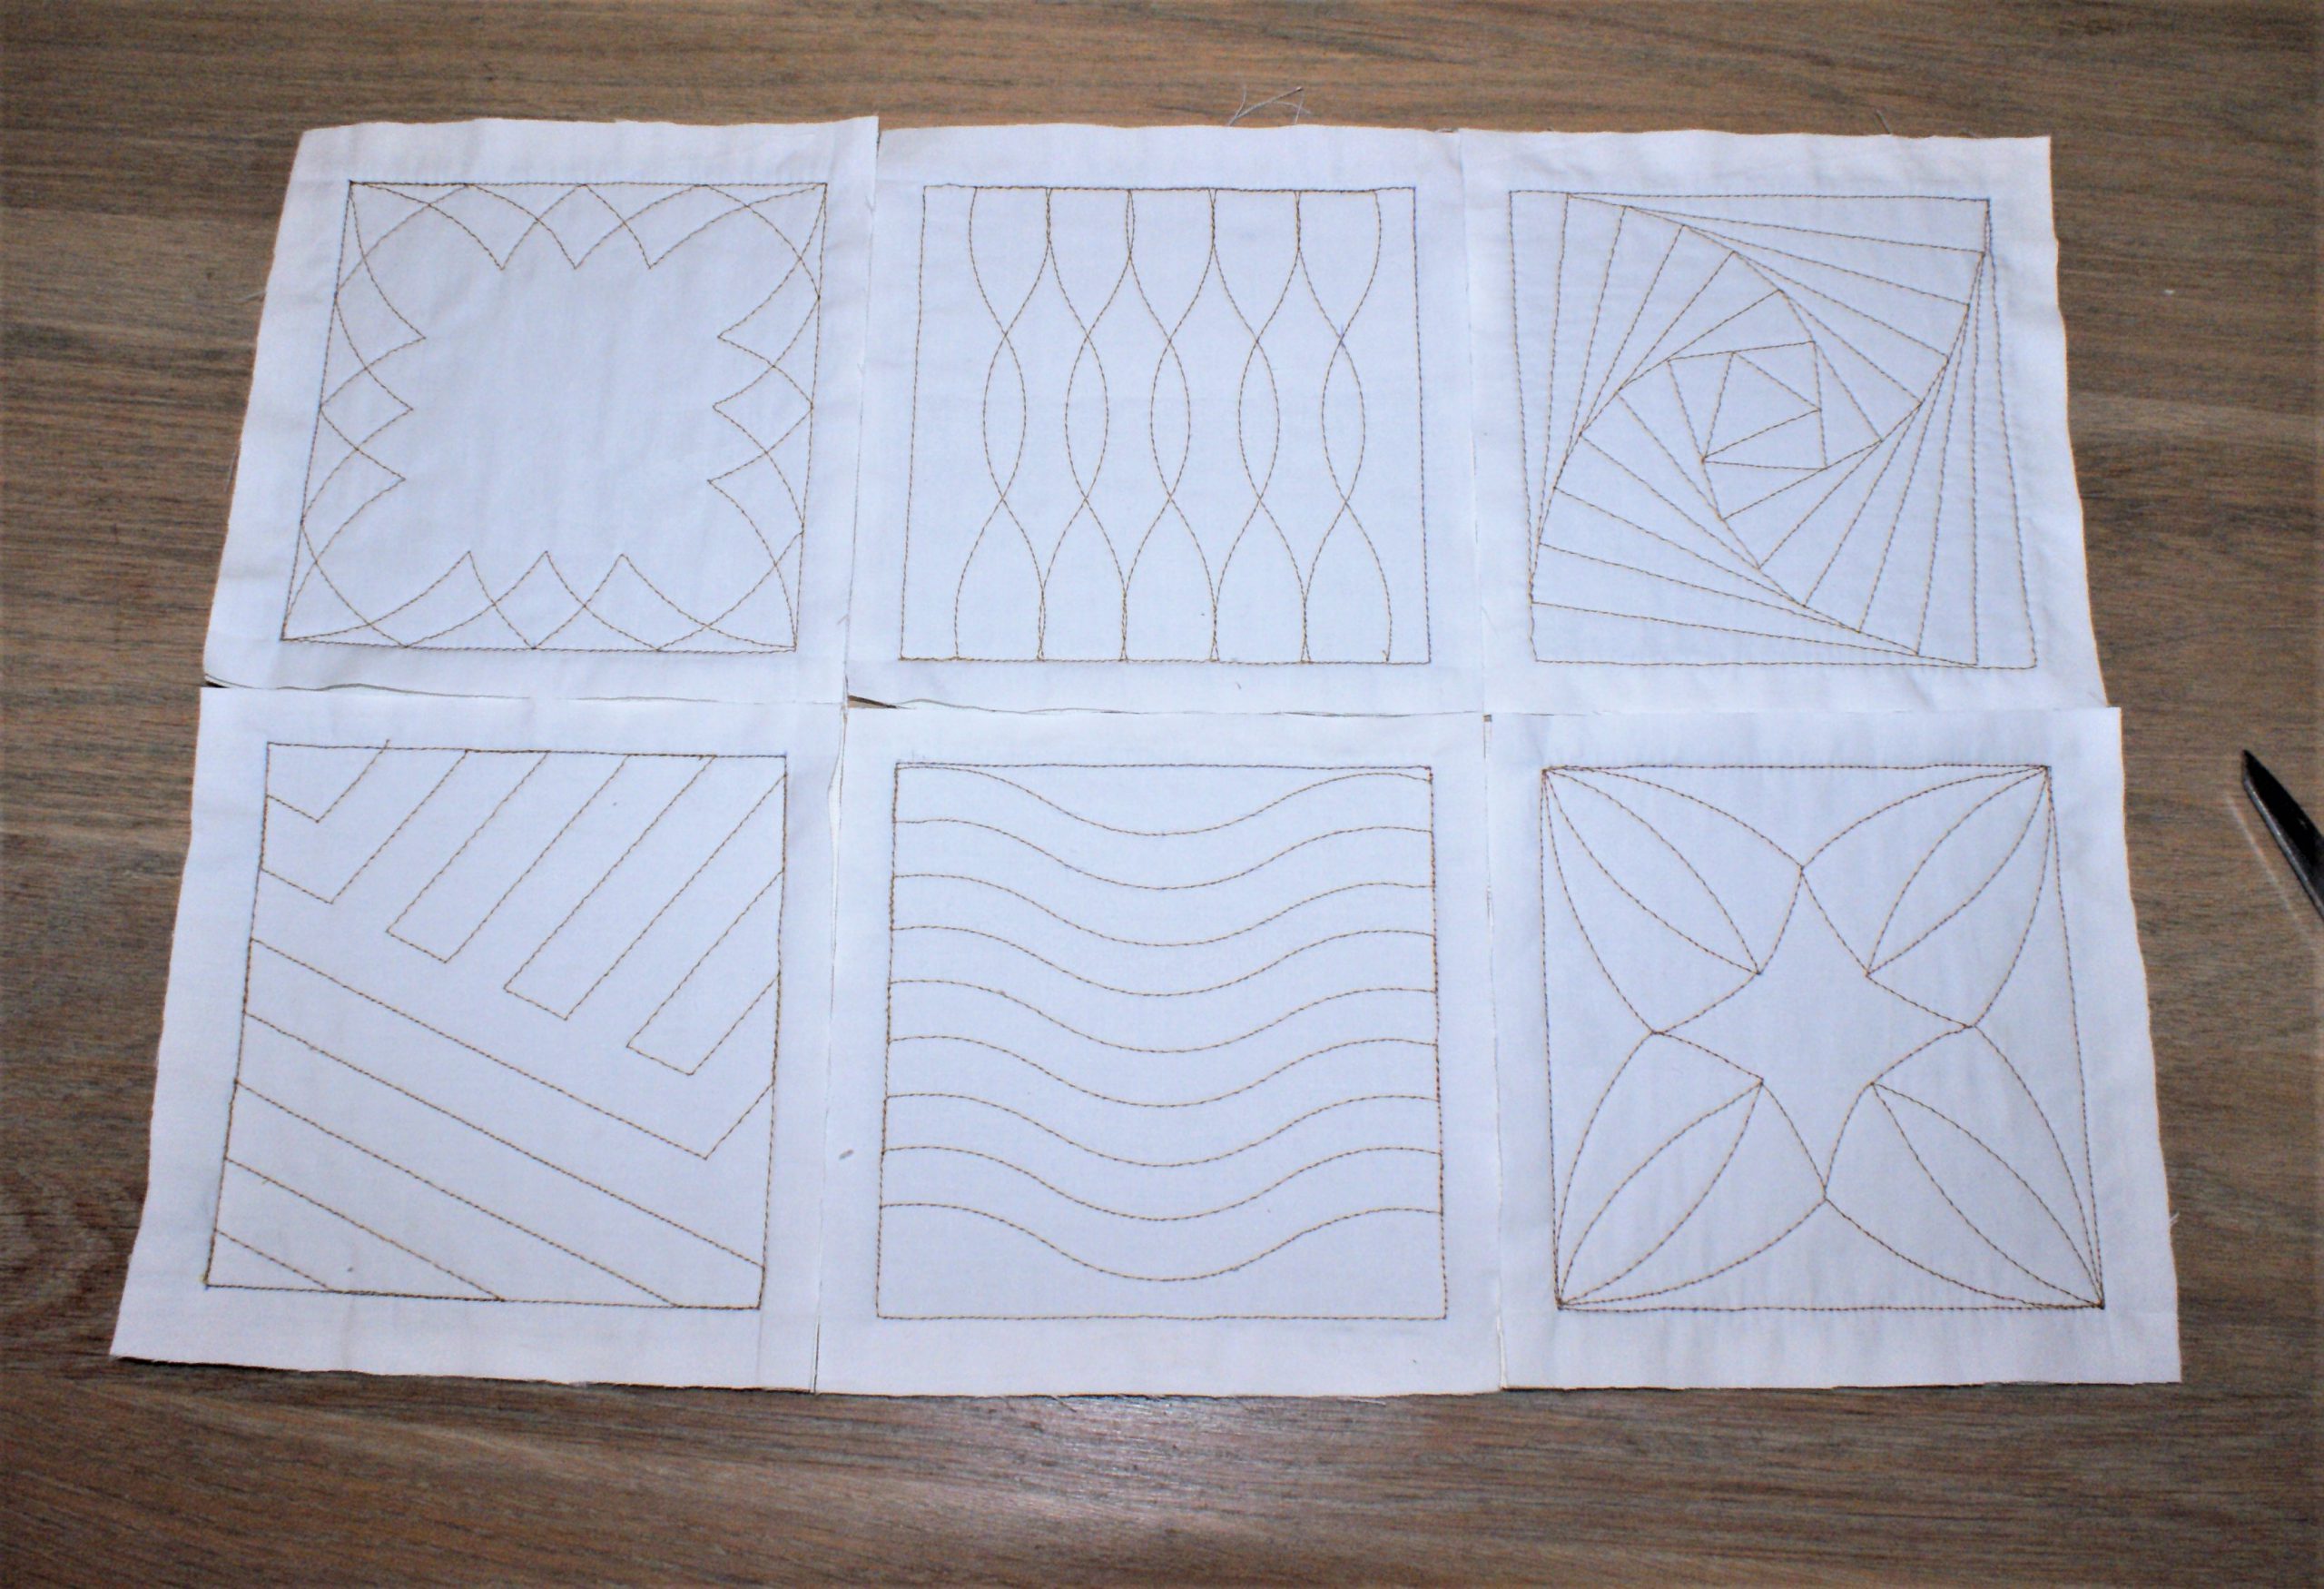
I suppose you have sewn several blocks. It’s up to you whether you choose to repeat the same or to make variations with the rulers. I described 4 in the previous blogposts. To make this placemat we need 6.
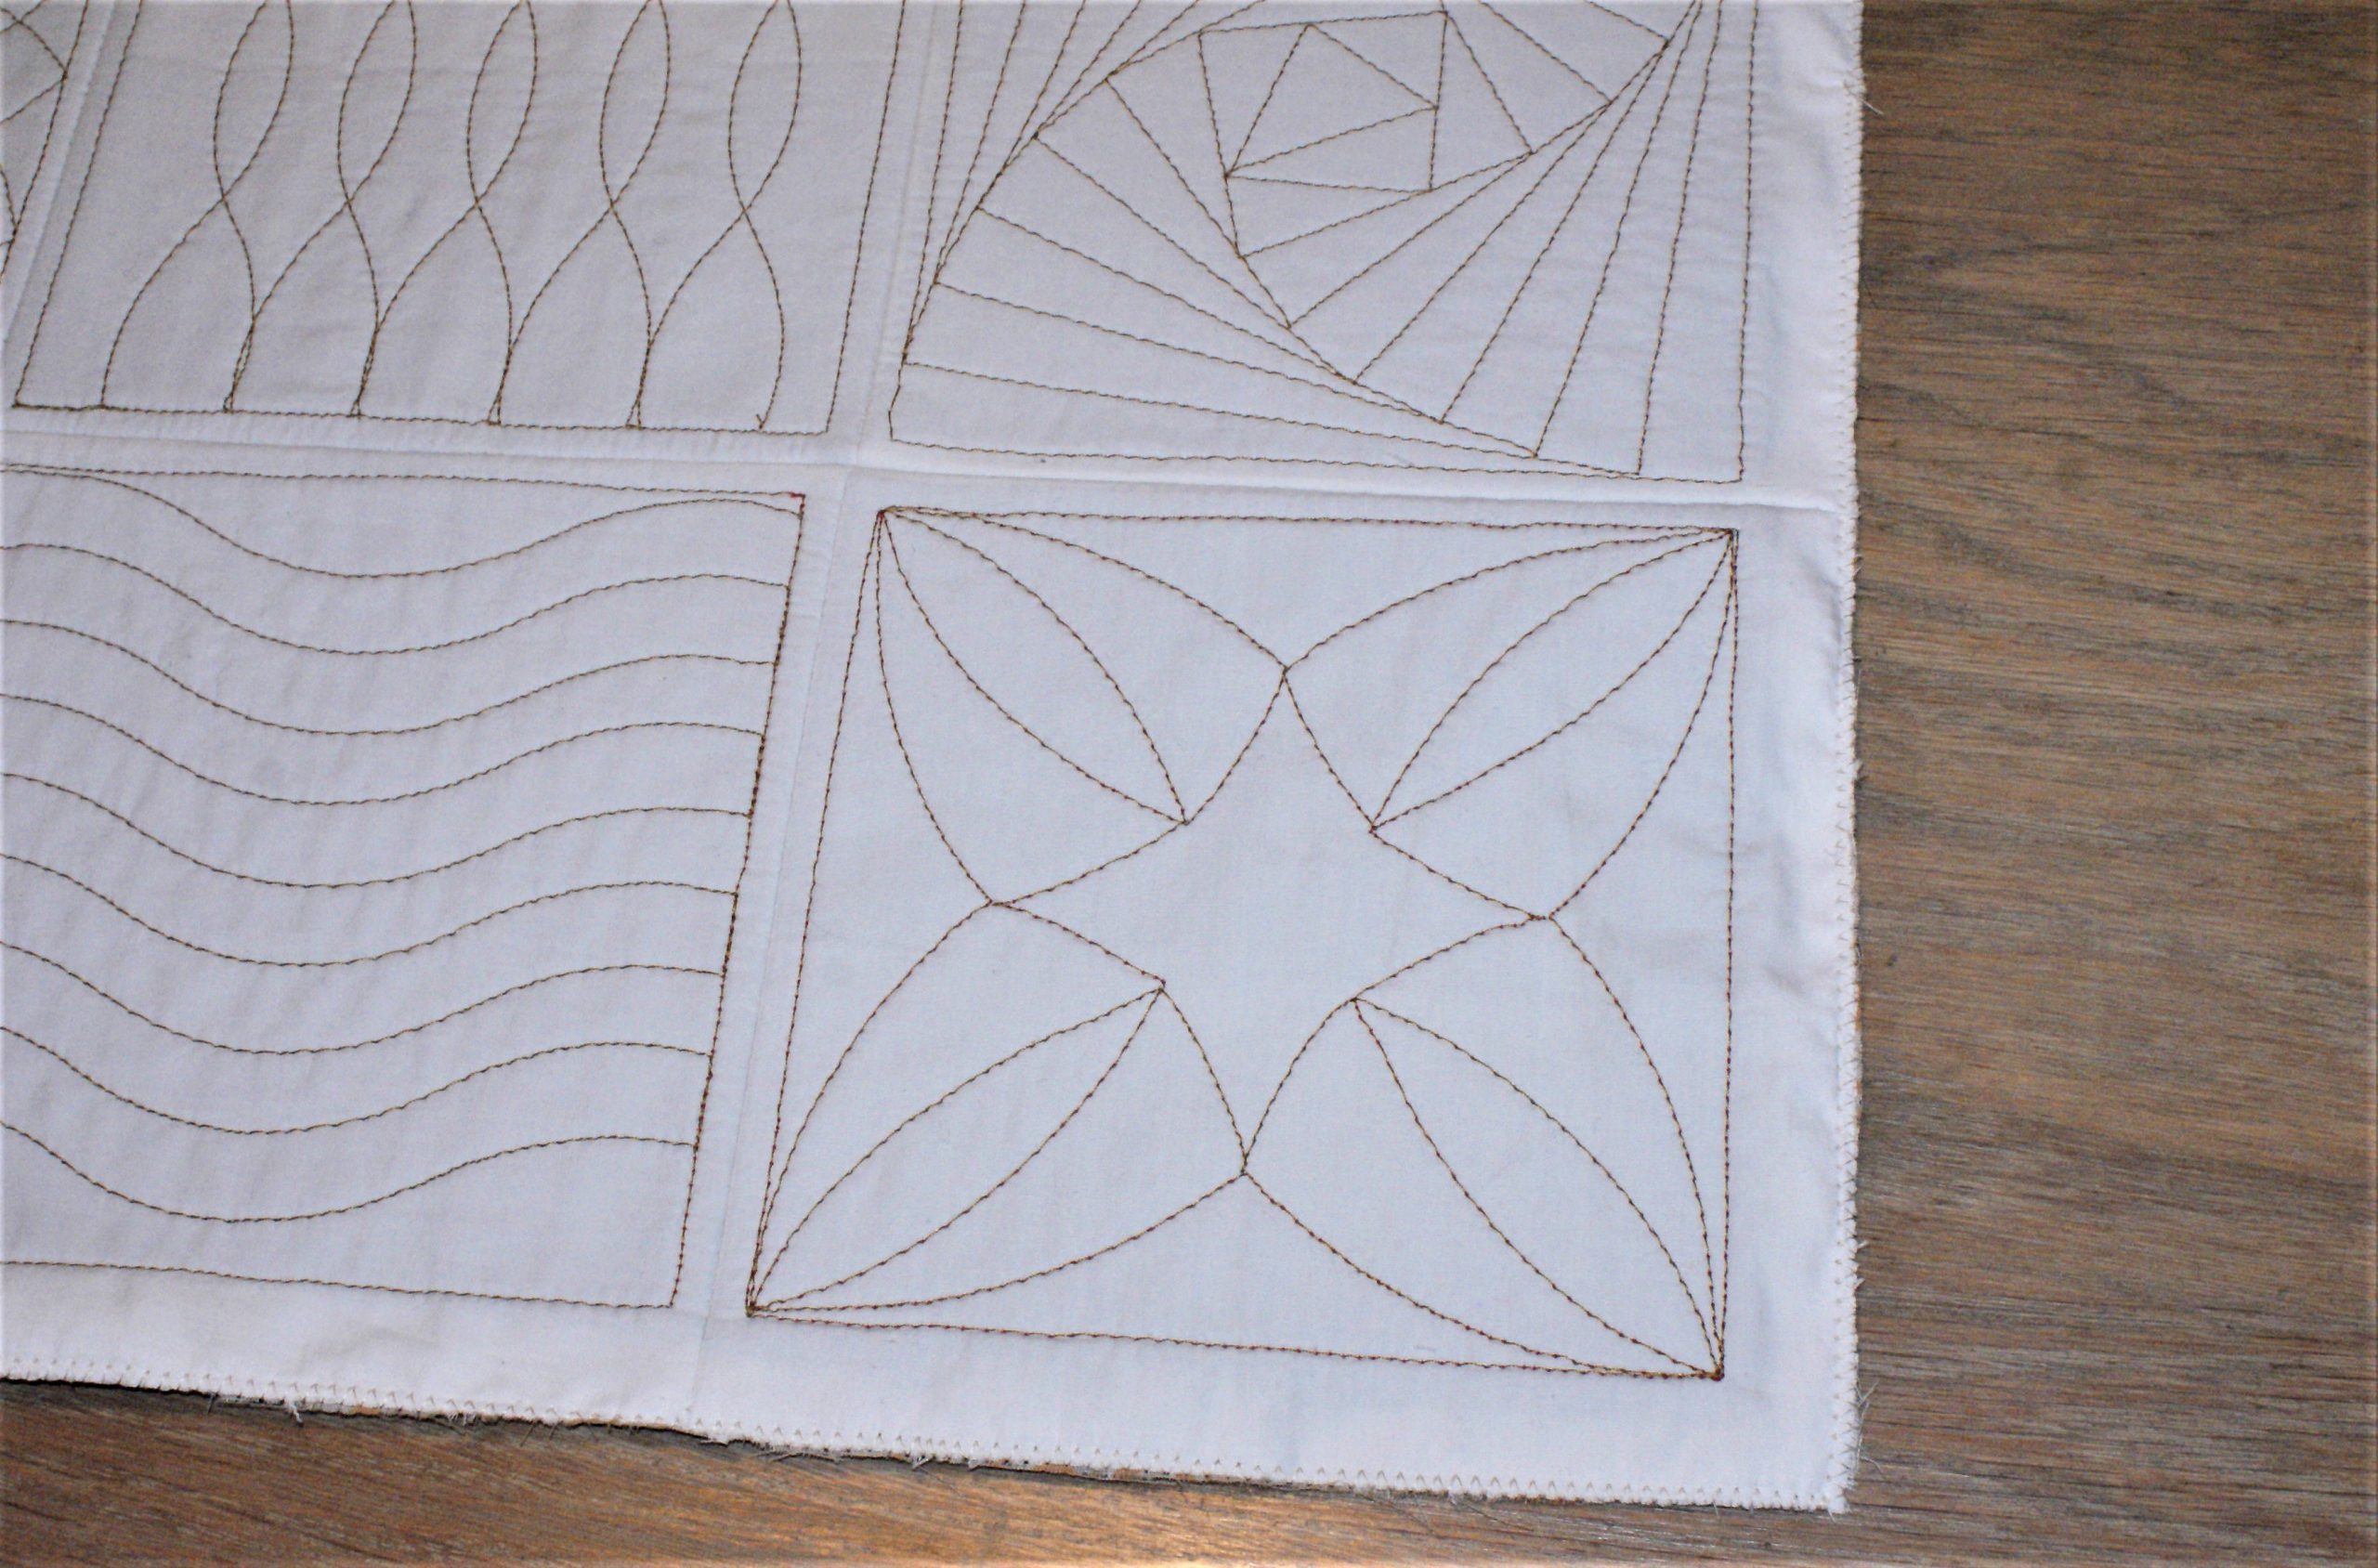
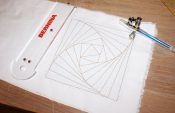
I added these to my collection:

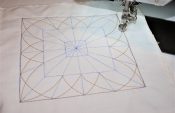
For the left one, I found out that a larger space in between the lines would prevent difficulties in overlapping or touching the curves. For the right one, I had to think well how to change directions in straight lines. It was fun to find a new pattern with straigh tlines.
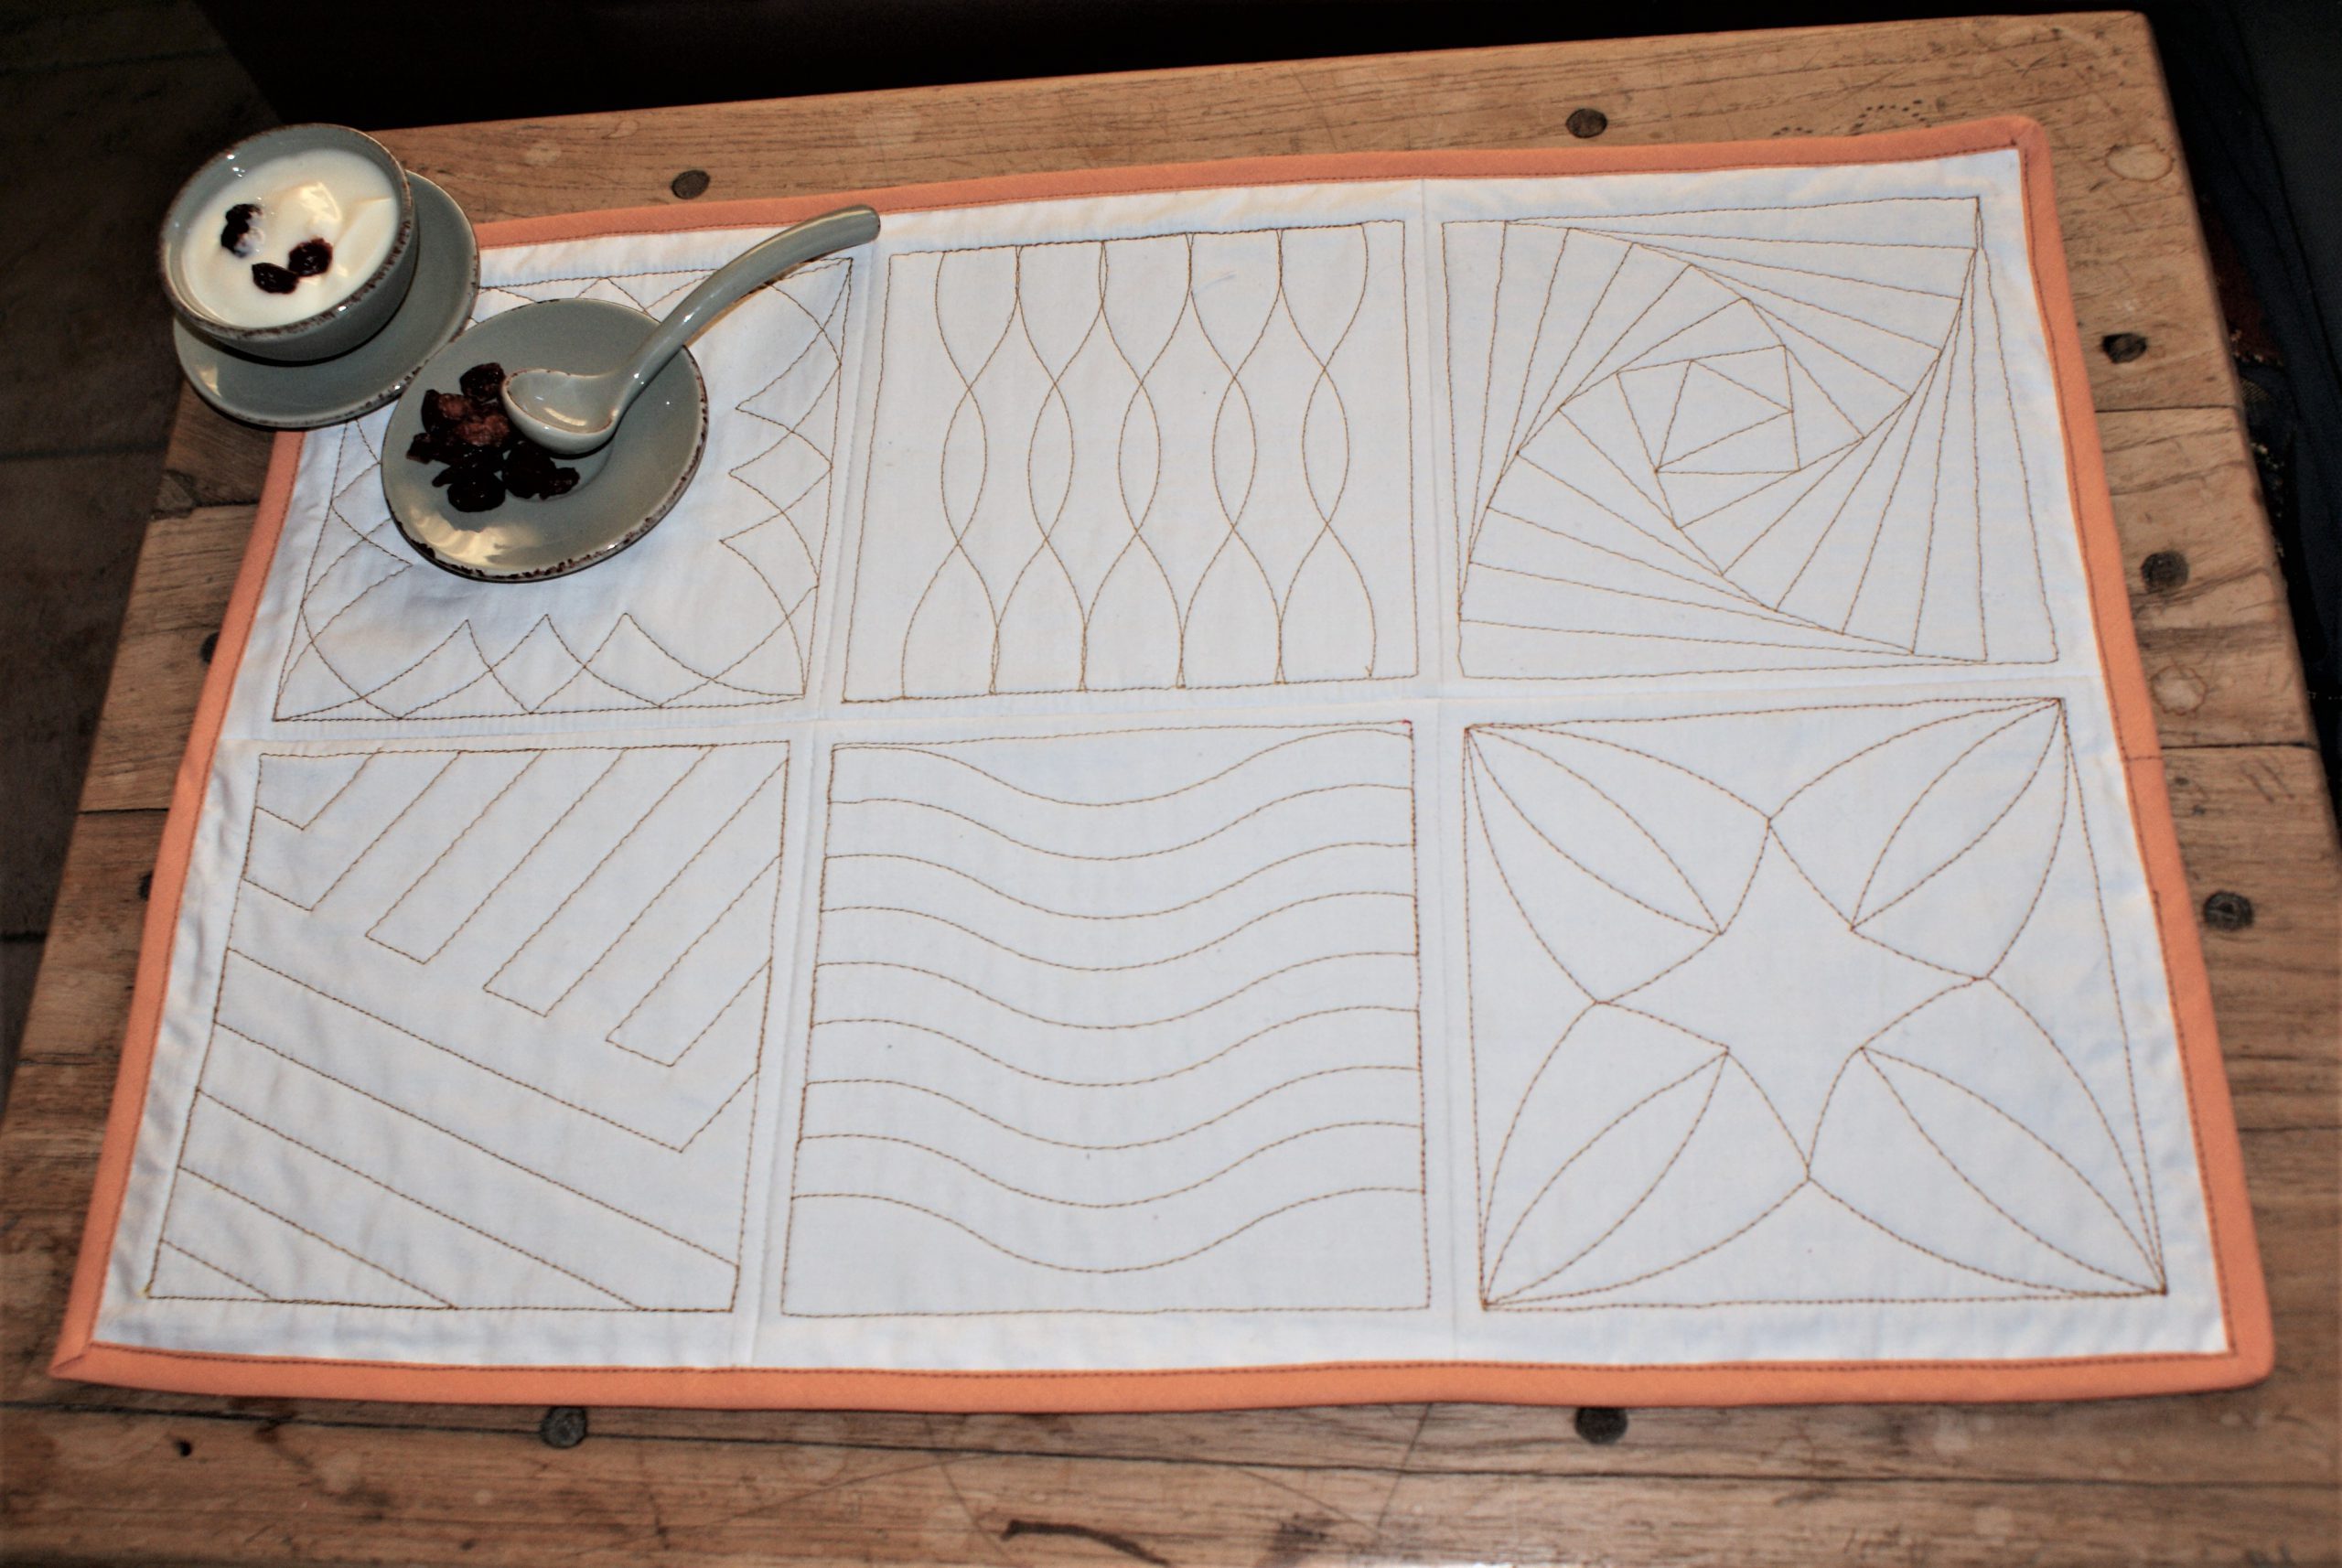
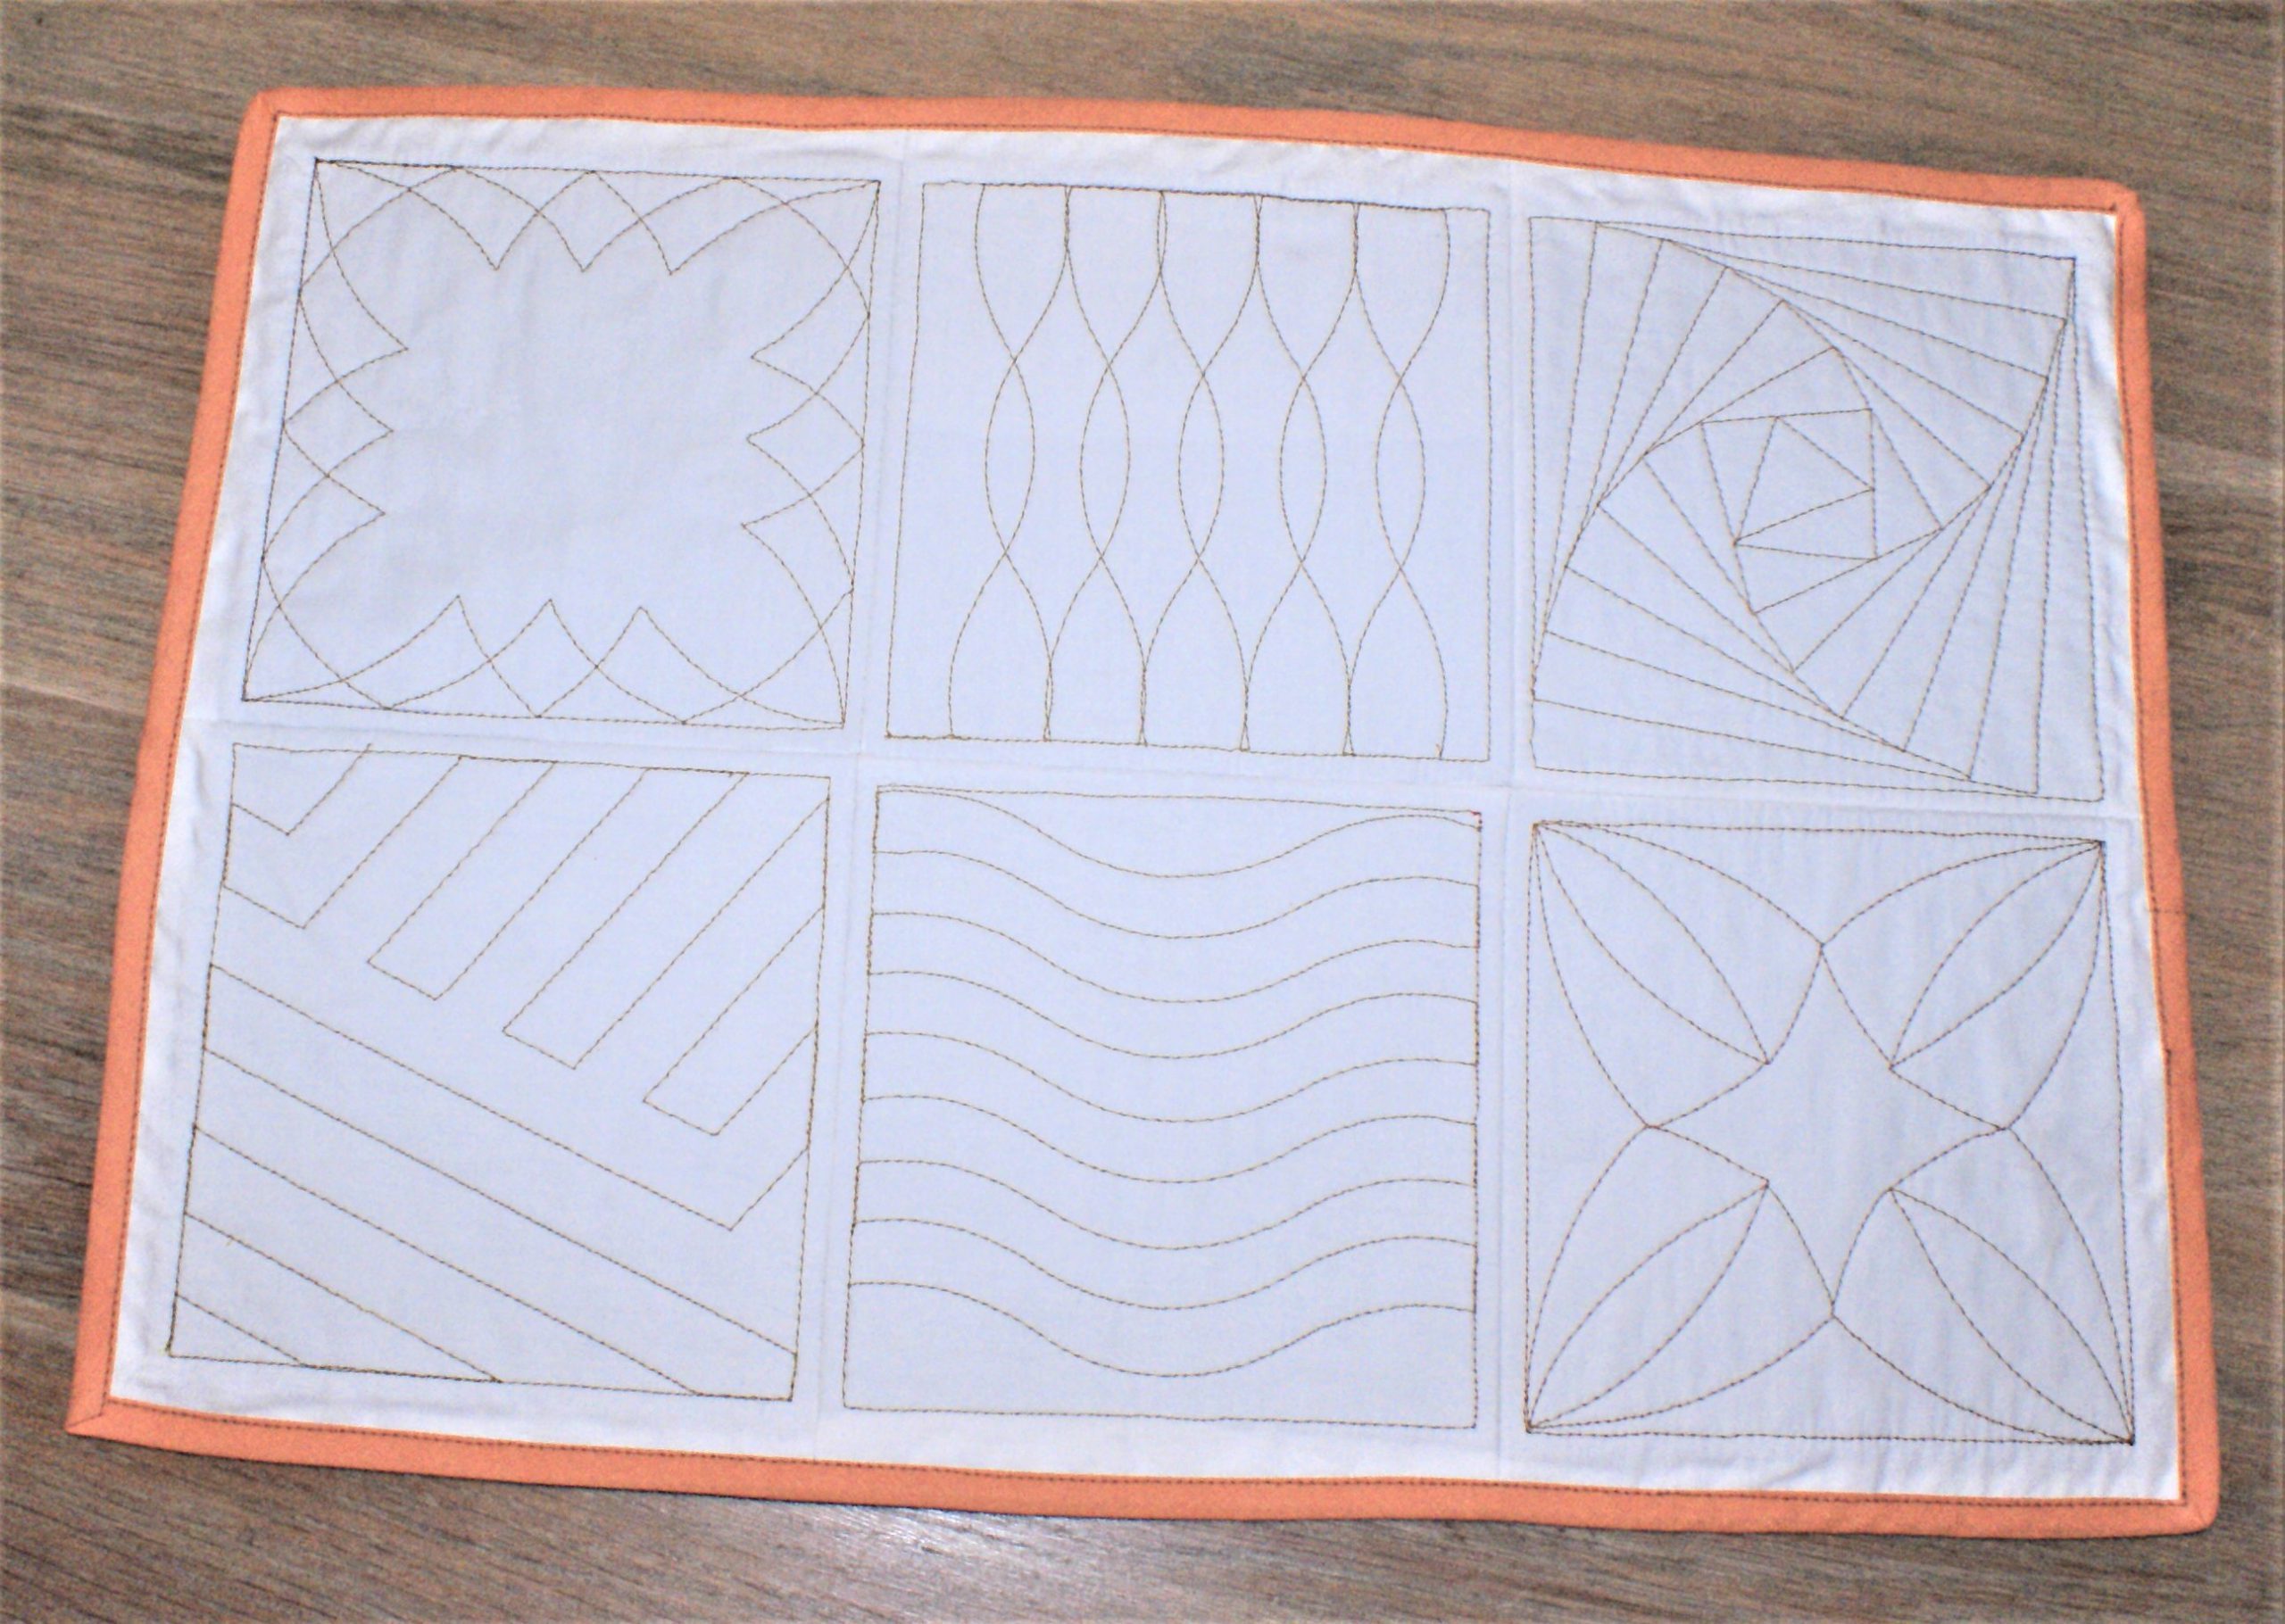
Make a placemat with the rulerfoot-exercises.
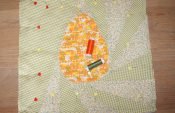
We made the blocks per 2, now cut the patches to single blocks. Find a nice combination to sew together to a placemat. When you find a satisfying composition, cut all 4 sides of the left over batting to 0,5 cm. You need to fold over the front and back fabric away and cut with a rotary cutter.
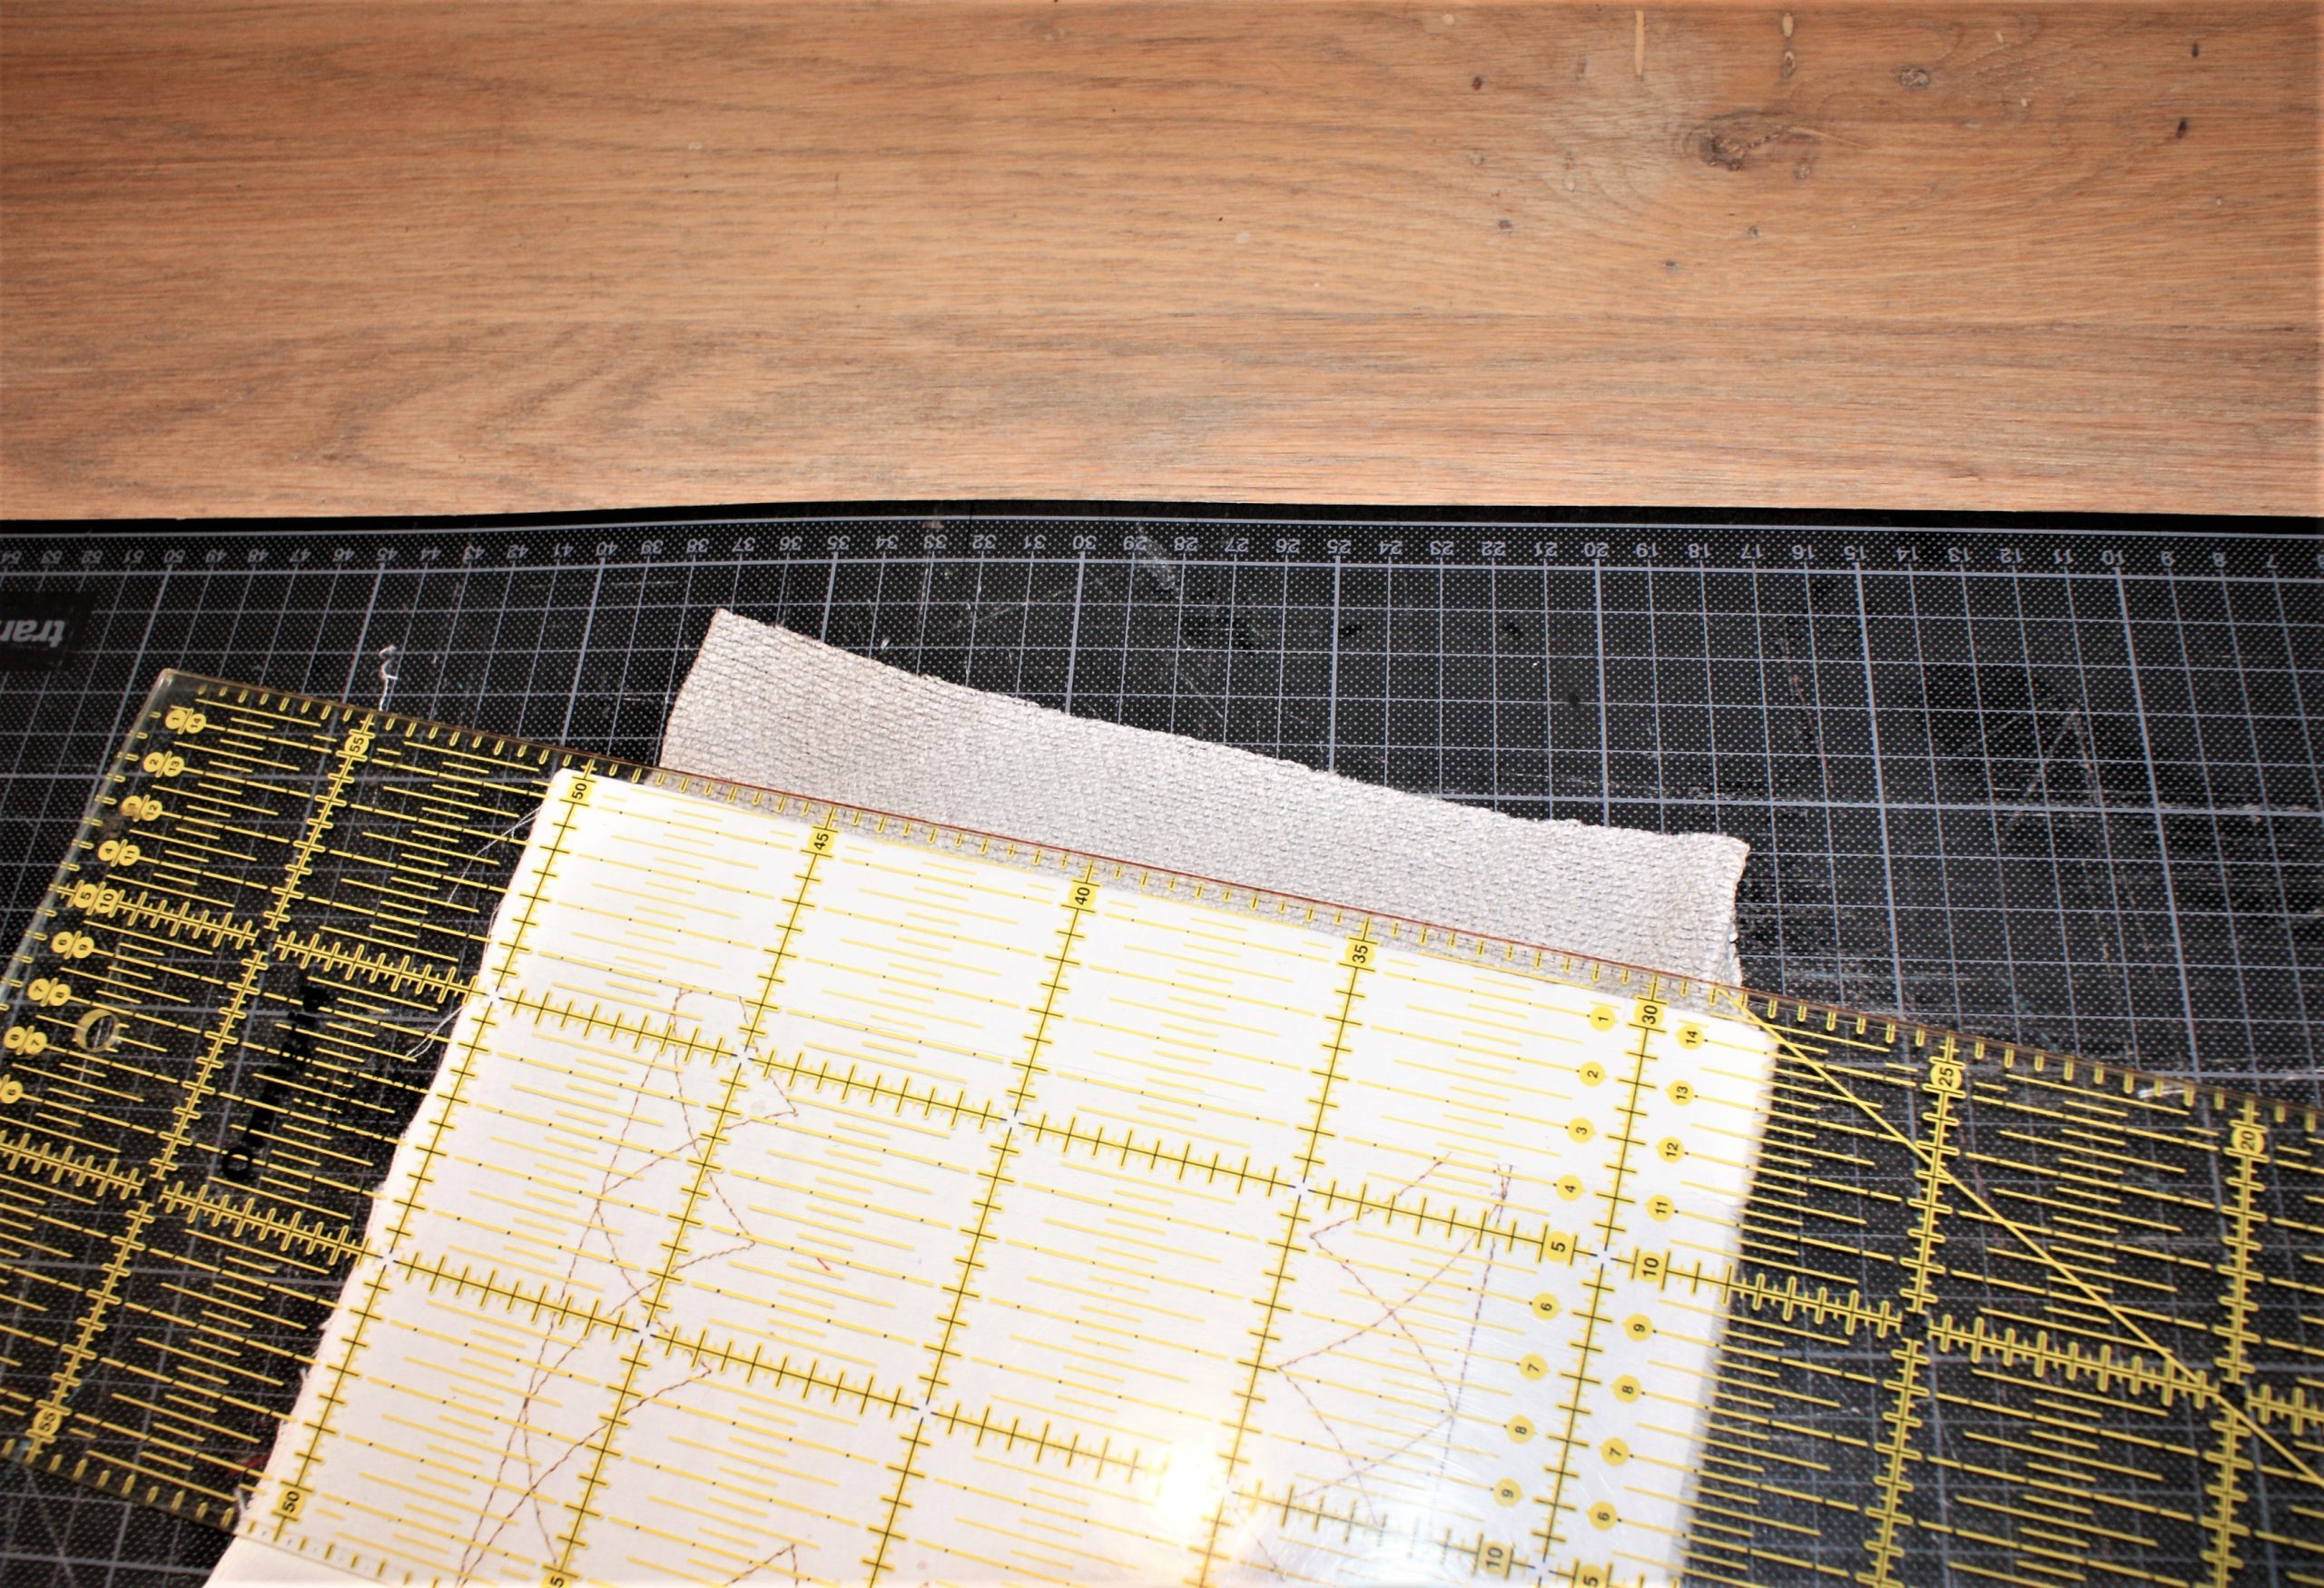
Now cutthe fabric of all connecting seams to 1,5 cm. Cut the outer seams to 2 cm.
Sew the blocks together, with a 1 cm seam allowance. Iron open the seams on the back.
Add a fabric with equal sizes to the back (wrong sides together).
Sew the outlines together with a zigzag stitch. It’s easier to finish with biastape.
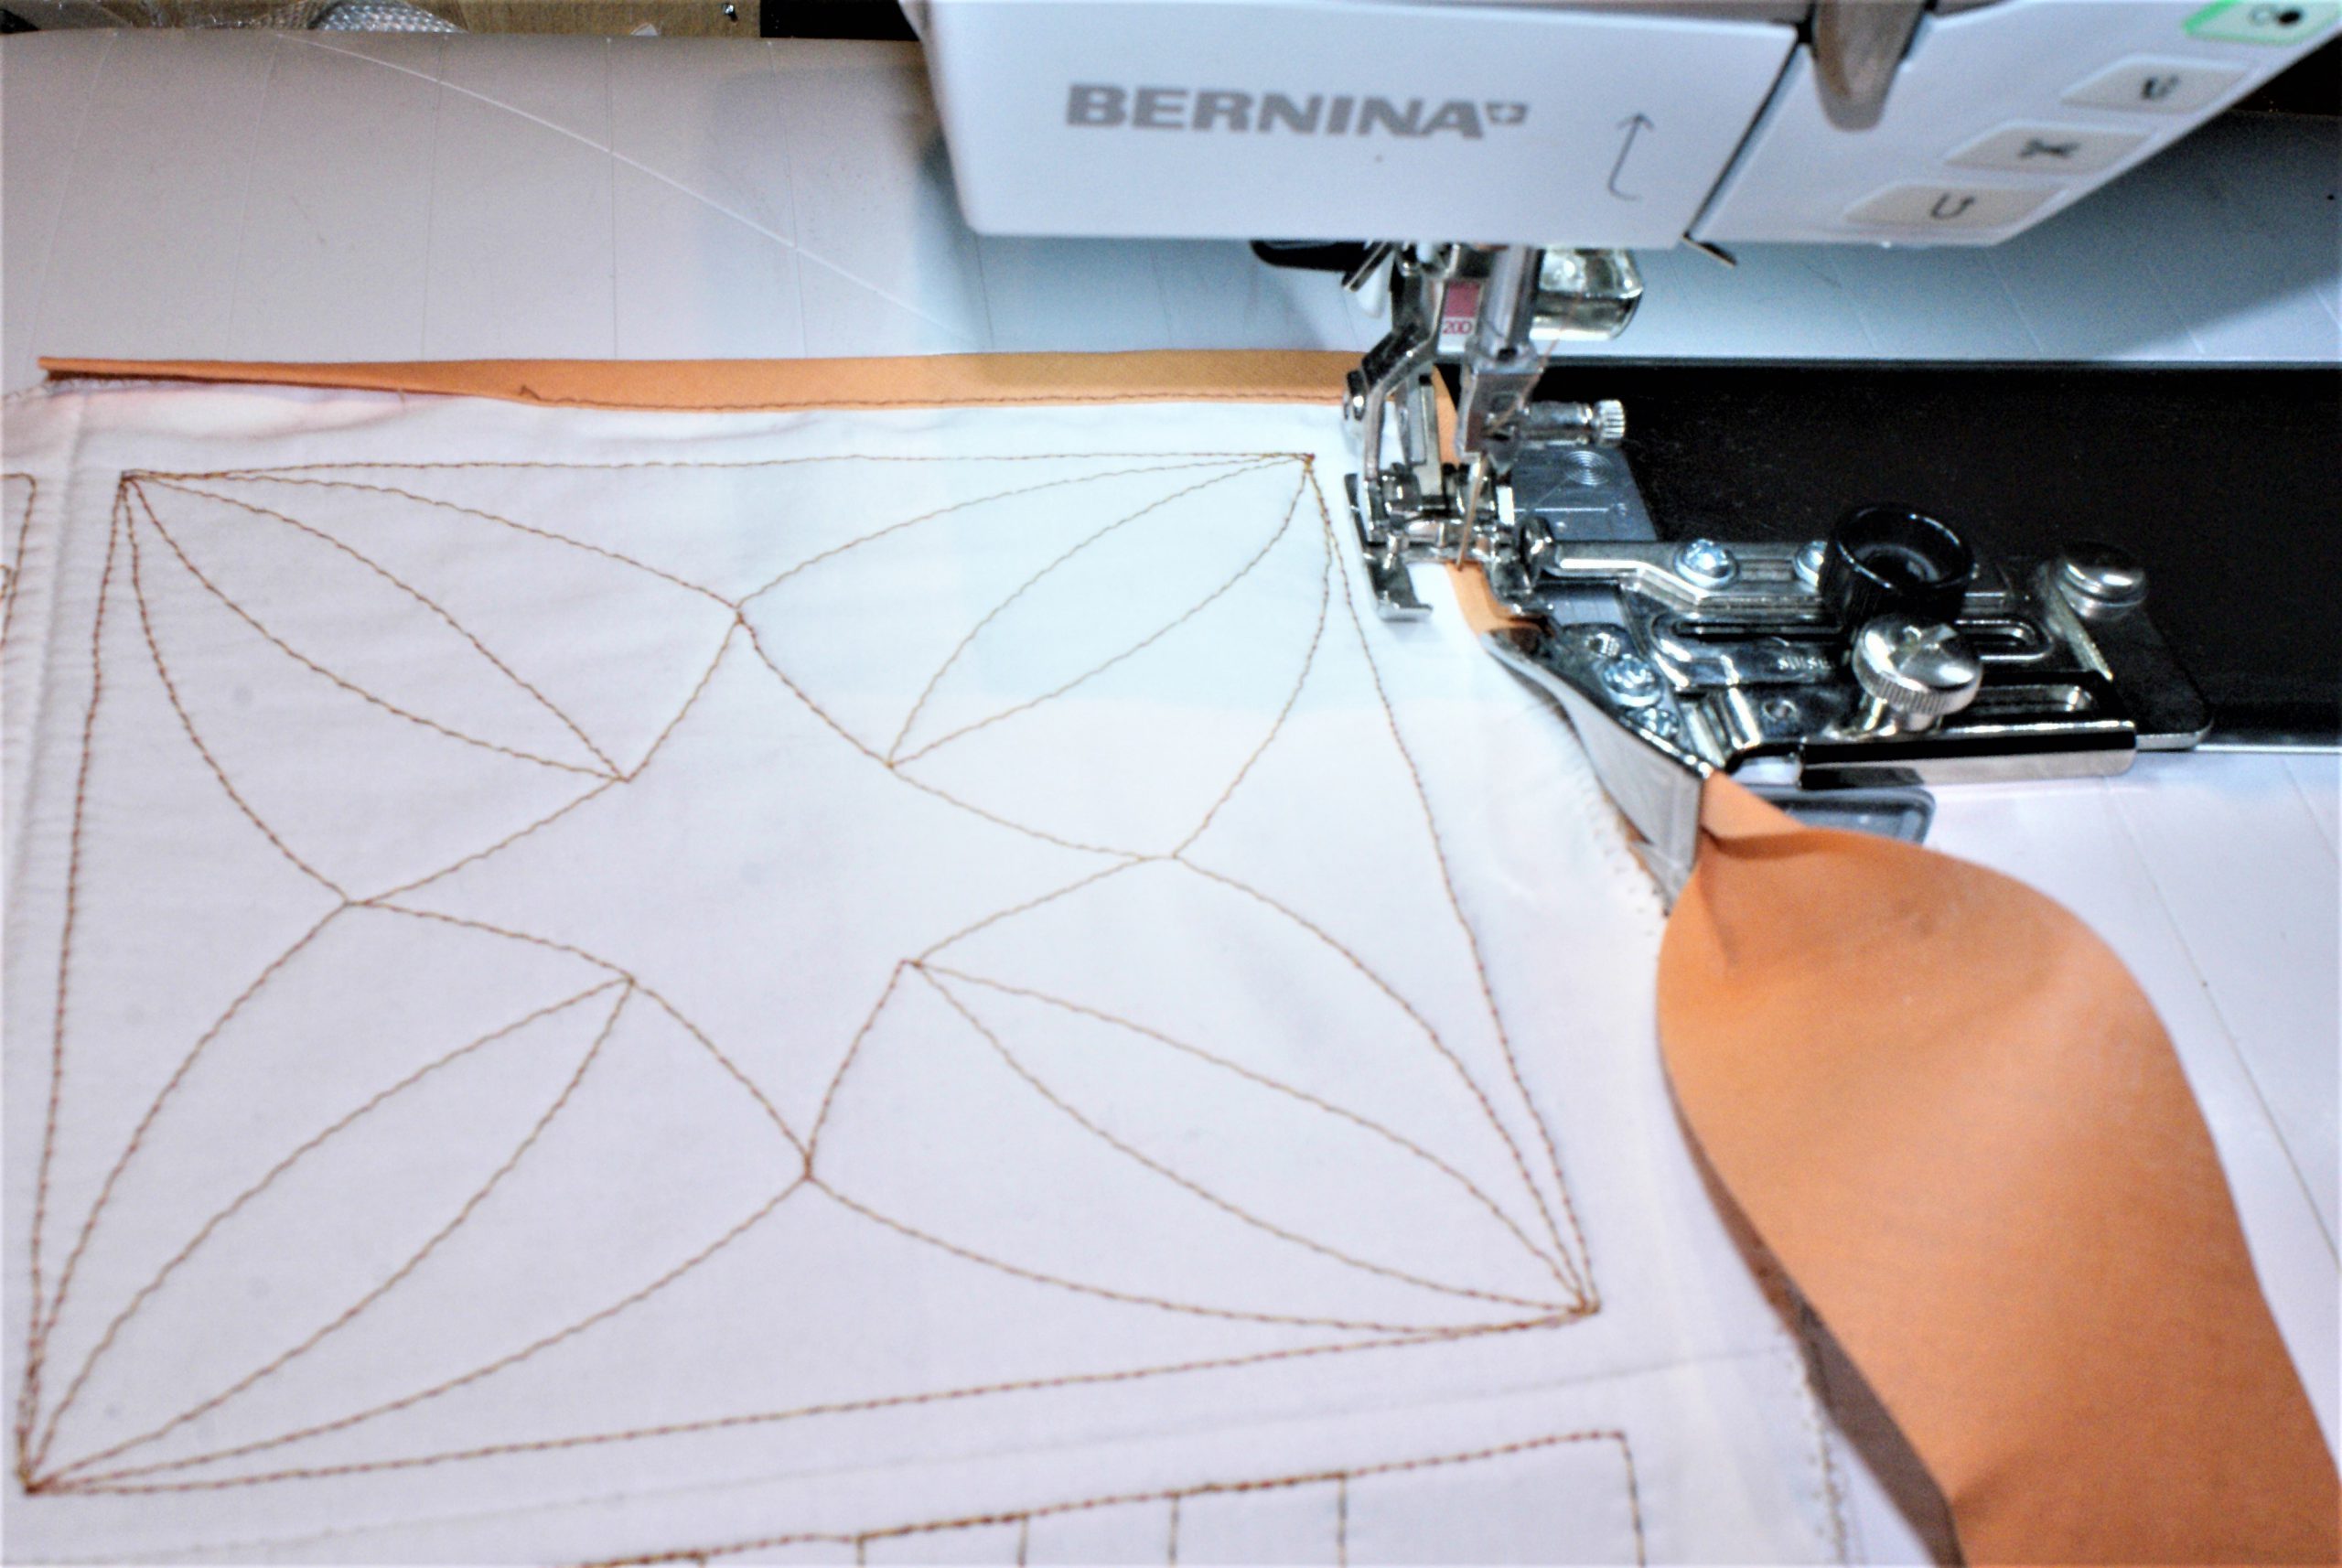
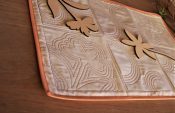
Sew the biastape to the edges to finish the placemat. I used Binder attachment # 87.

The placemat is finished. These exercises were a double gain: you learned how to work with the adjustable ruler foot 72 as well as the Ruler Kit Tableje and you finish to have an extra creative placemat.
A few more tips to work with the adjustable ruler foot:
- Keep training, you really need a learning curve!
- Sart bigger projects when you feel safe with the smaller ones.
- Accuracy and symmetry are key features.
- Adjust the heigth of the ruler foot to the volume of your project. It’s one of thecharacteristics of the presser foot.
- Experiment with new creative ideas!
Do you think it was a good suggestion to make a placemat with the rulerfoot-exercises we made before?
Thankyou and yes great idea for ruler work.
Karen, I’m glad you like it! Thanks for your reaction.
Dear Bea, thank you for your introduction of quilting with rulers. I recently bought the ruler foot 72s. Your blogposts are just in time for me. I think it is a nice idea to make placemats of one‘s exercises.
Hilke, I’m so glad you enjoyed this blogpost. Did you read the previous ones? I hope you like rulerwork just as much as I do. It is so intriguing! I wish you lots of succes!
Sorry that I did not answer immediately. Yes, I read the previous ones and I like that one you made with the straight ruler most. I haven’t done rulerwork so far. However, I would like to practise rulerwork for my next quilt. That is why I really appreciate your proposals for exercising.
Hilke, the 2 patterns with the straight ruler in this placemat are very different and just a proof of how much variation you could find with one template. Let your creativity flow!