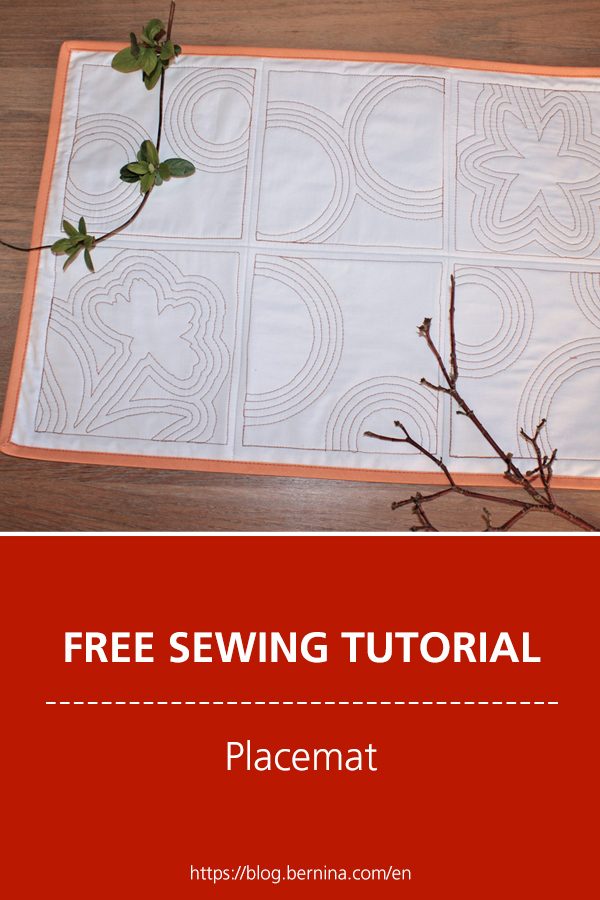
 BERNINA Corporate Blog -
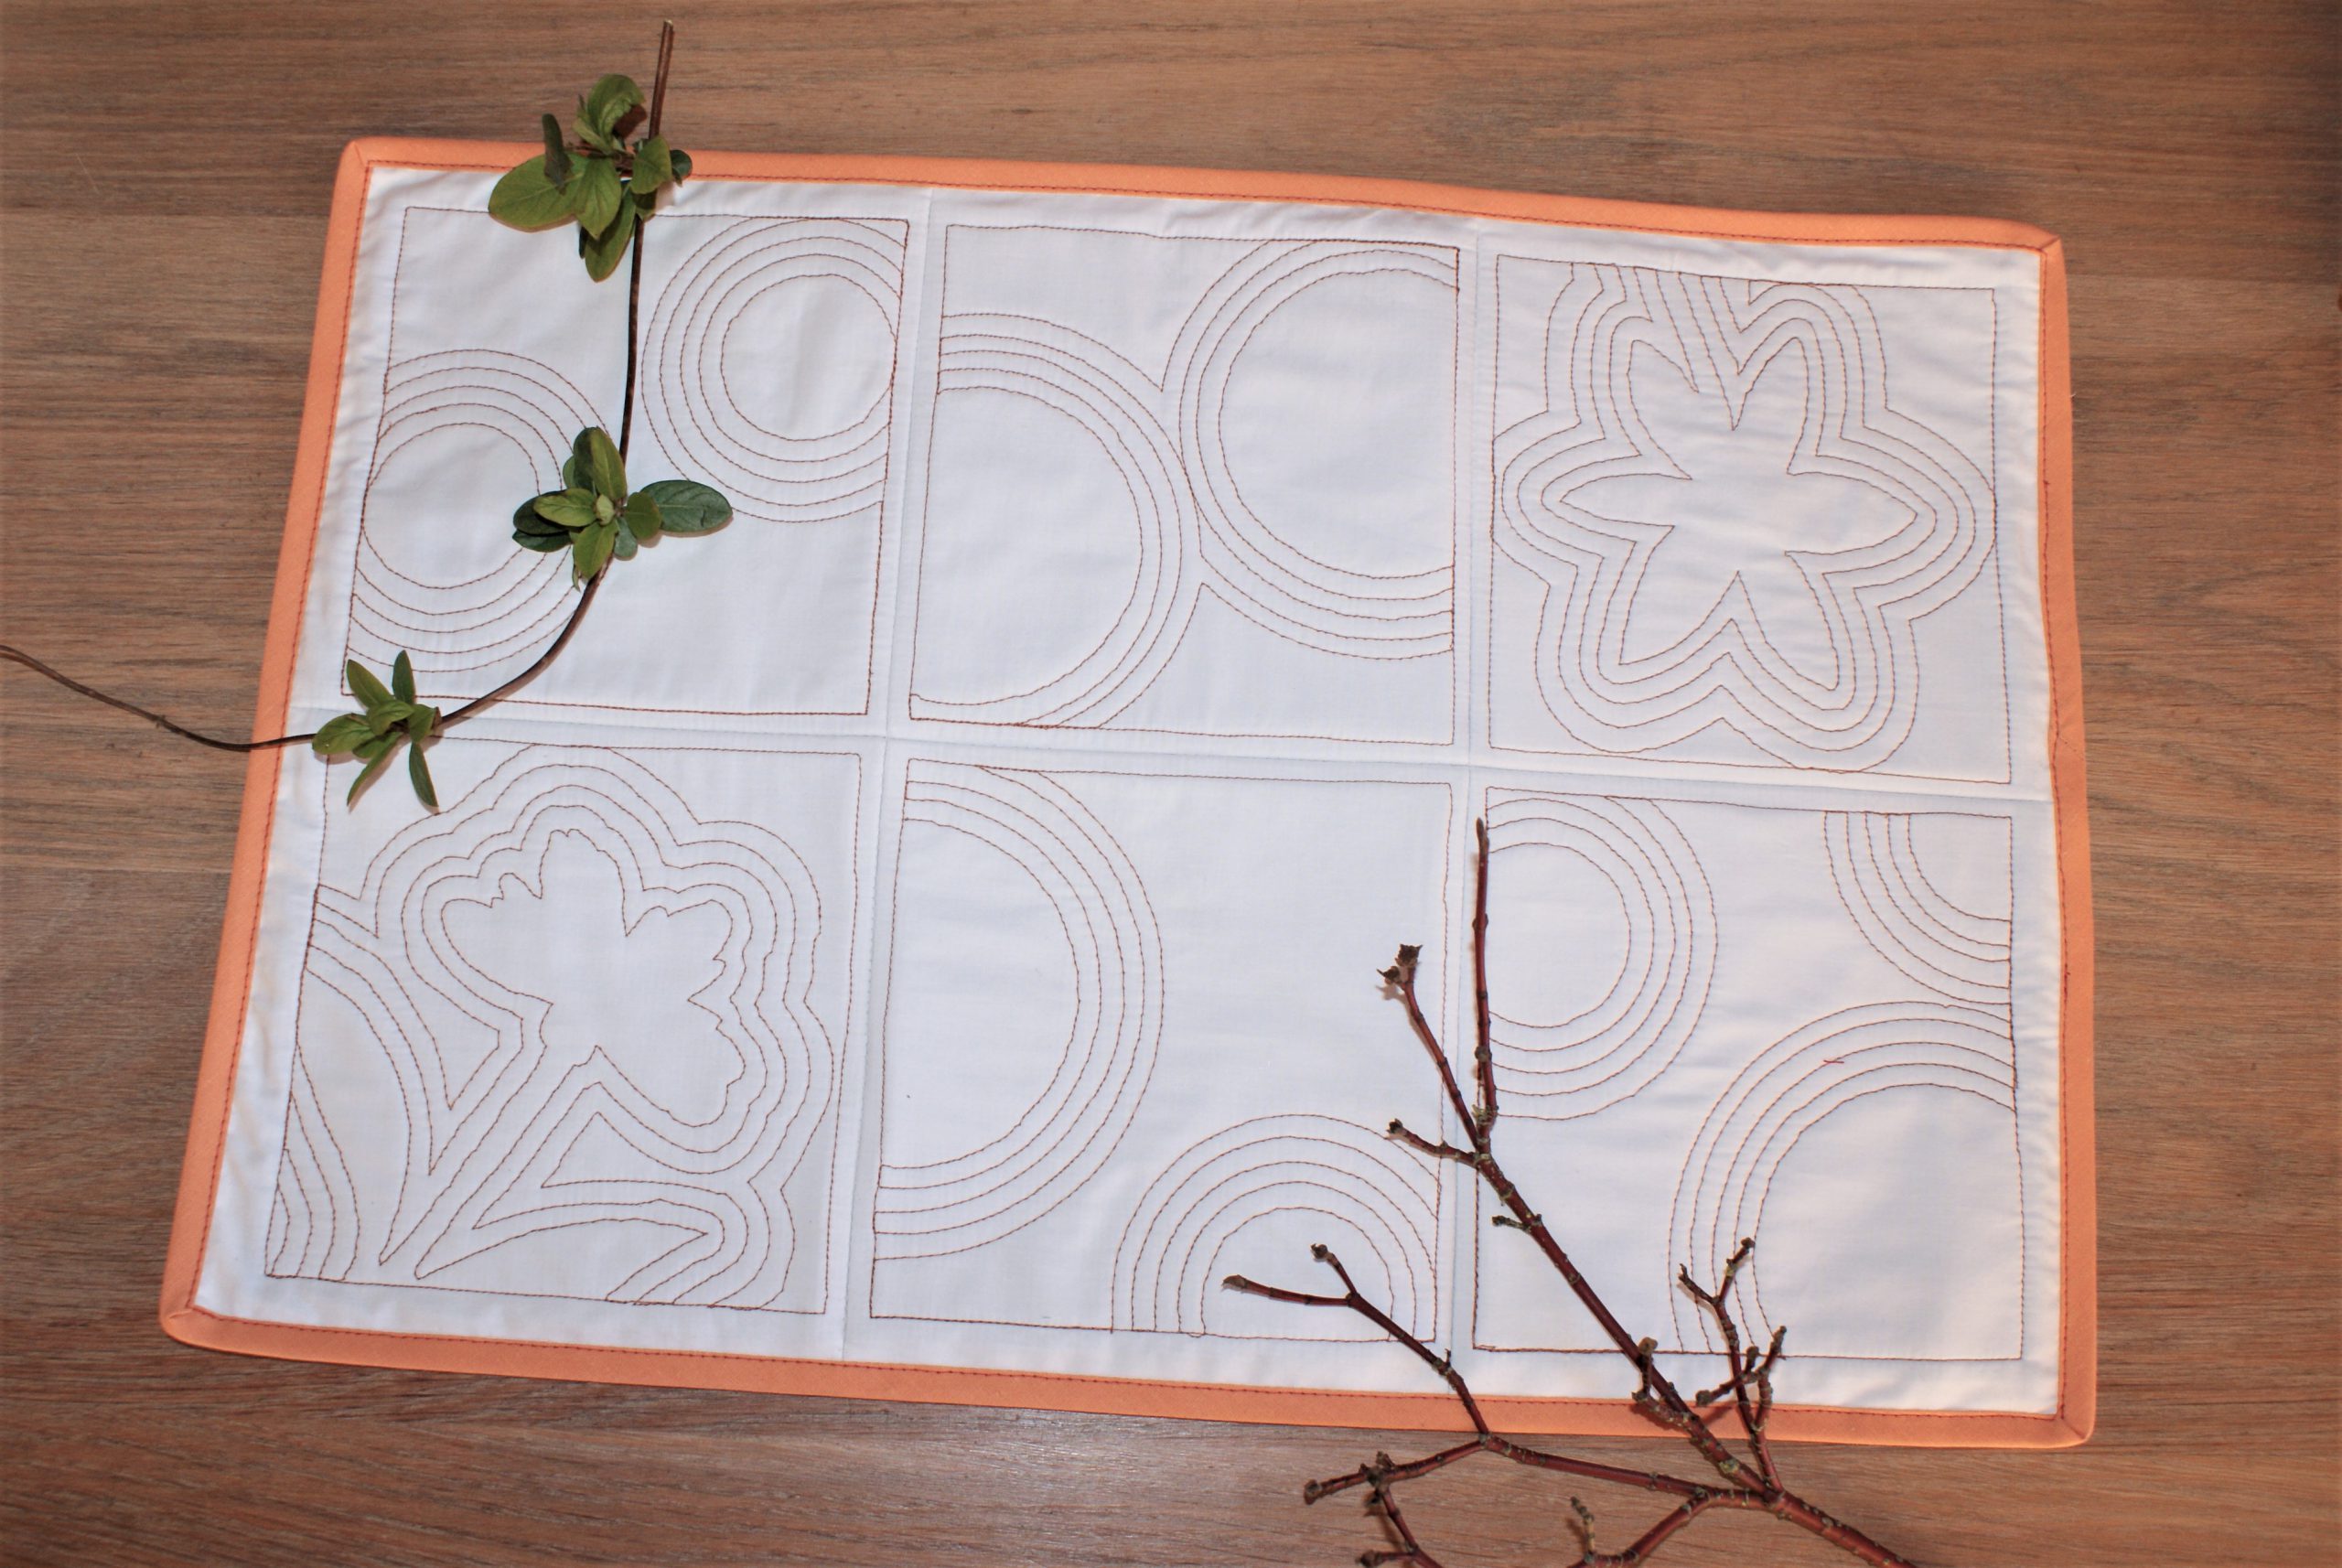
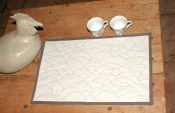
Sew a placemat with echoquilt clips to get a very personal and original effect. Really worth trying!
If you did not yet purchase the rulers, you can start with easy shapes you can find at home. Think of a role of tape: it does not glide over the fabric and it is not too high. And I found some extra flower shapes I want to try. Only, they were only 3 mm thick and less interesting than I thought.
I added rulerstoppers to prevent gliding.
I sewed with thicker thread (90), to get a better view in the pictures. It is in between sewing thread and cordonnet. To finish the biastape, I used Mettler Seralon sewing thread.
I know I need more exercises to sew even stitches and have smootht lines. Once again: ‘Practise, practise, practise’ for me too… 
What is echoquilting?
The word says it already: you make an echo around a previous stitched line or shape. You can echoquilt freehand or with rulers. So this is why the rulerfoot is perfect for echoqulting.
Here’s more information:
Supplies to sew a placemat with echoquilt clips.
- Left over cotton (top and bottom in equal sizes), you will need 6 blocks, size appr 21 x 21 cm + extra fabric for the back.
- Batting: 6 blocks sized 21 x 21 cm.
- Simple shapes or a little complexer (think of the rulerstoppers).
- Biasband to finish the edges
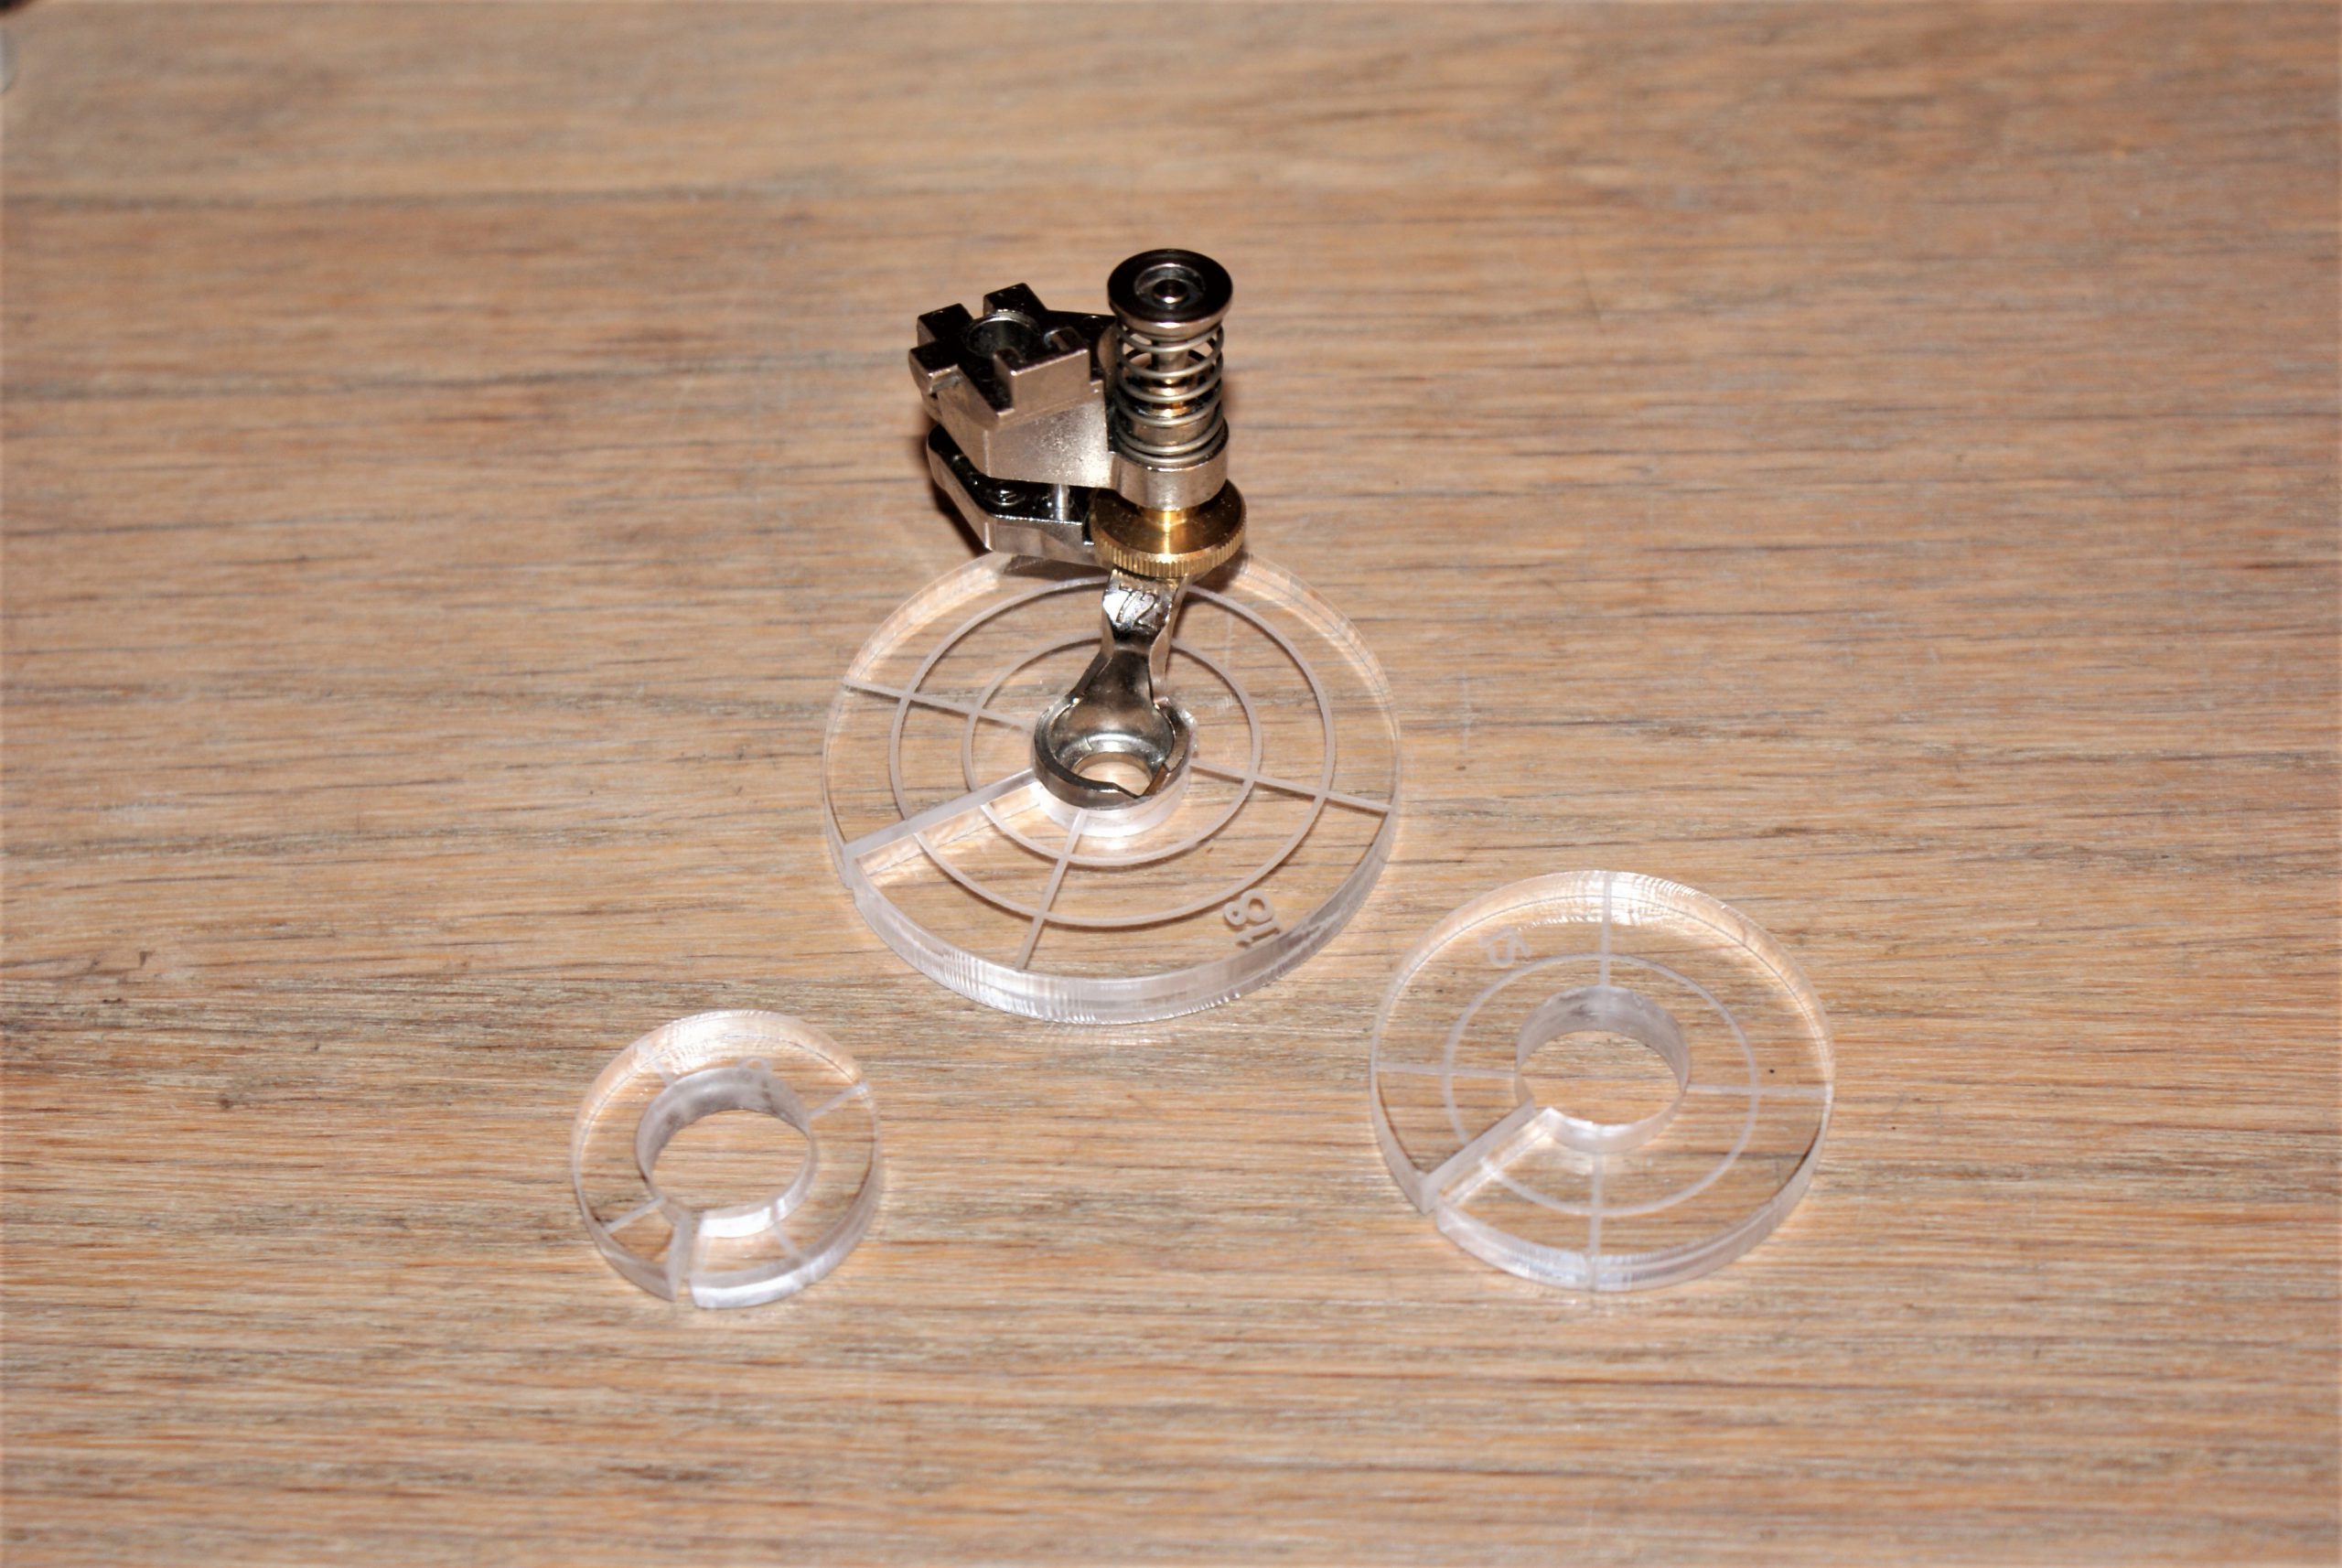
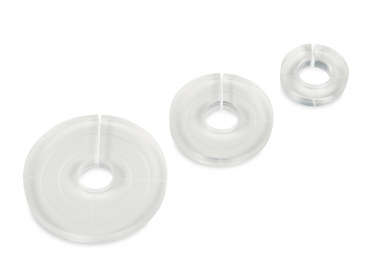
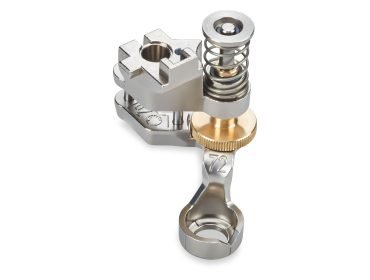
- Adjustable Ruler Foot # 72 and Echoquilt-Klipps
- Heat erasable pen
- BERNINA sewing machine
-
Let’s start practicing:
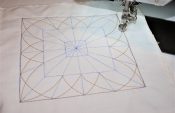
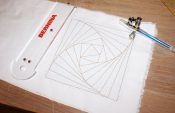
Draw a 15 x 15 cm square on the fabric and add some parts of the round shape over the edges.
Sew with the rulerfoot around one circular shape, sew free hand over the pen-line, let the roll of tape wait for a moment.
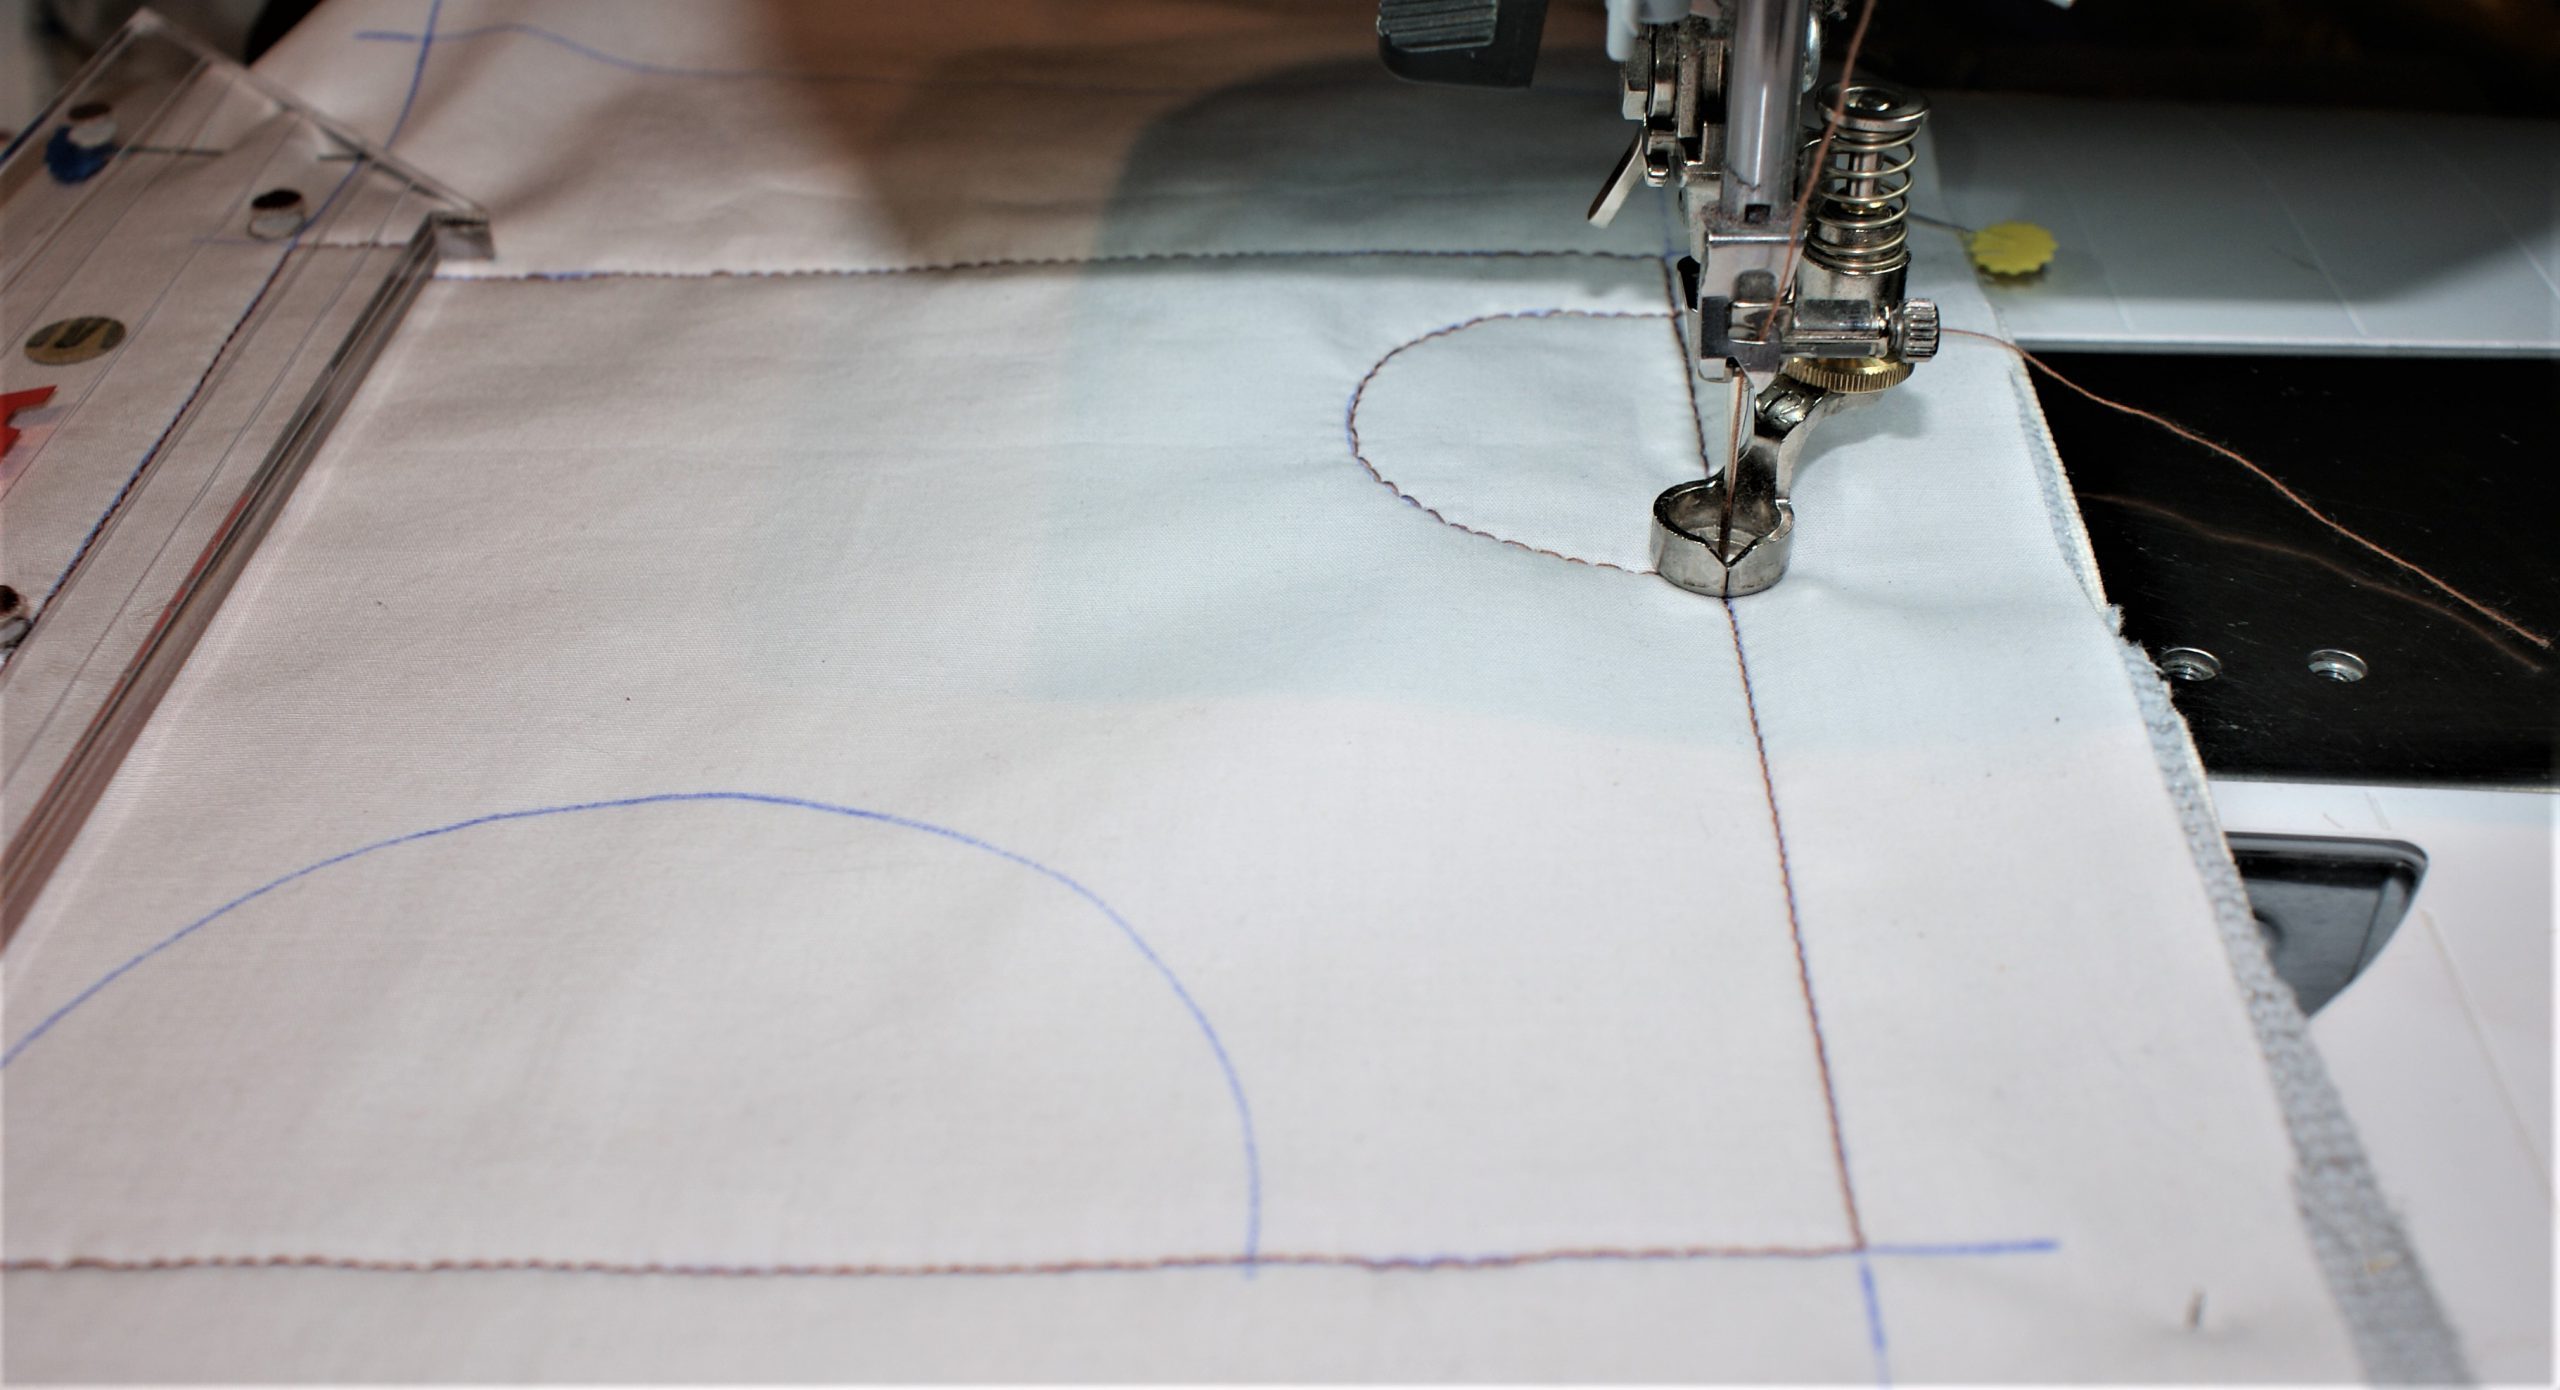
Continue with the outline of the square, and sew 6,25 mm beyond the intersection with the curve. Take the roll of tape and sew around it with the ruler foot. This is your first echo, 6.25 mm away from the curve.

Put the smallest clip on the rulerfoot 72. It works best with the needle in the fabric. Put the opening in the clip over the needle and thread.
Sew around the shape again untill you reach the square. Go on with the bigger clips for more echoes.
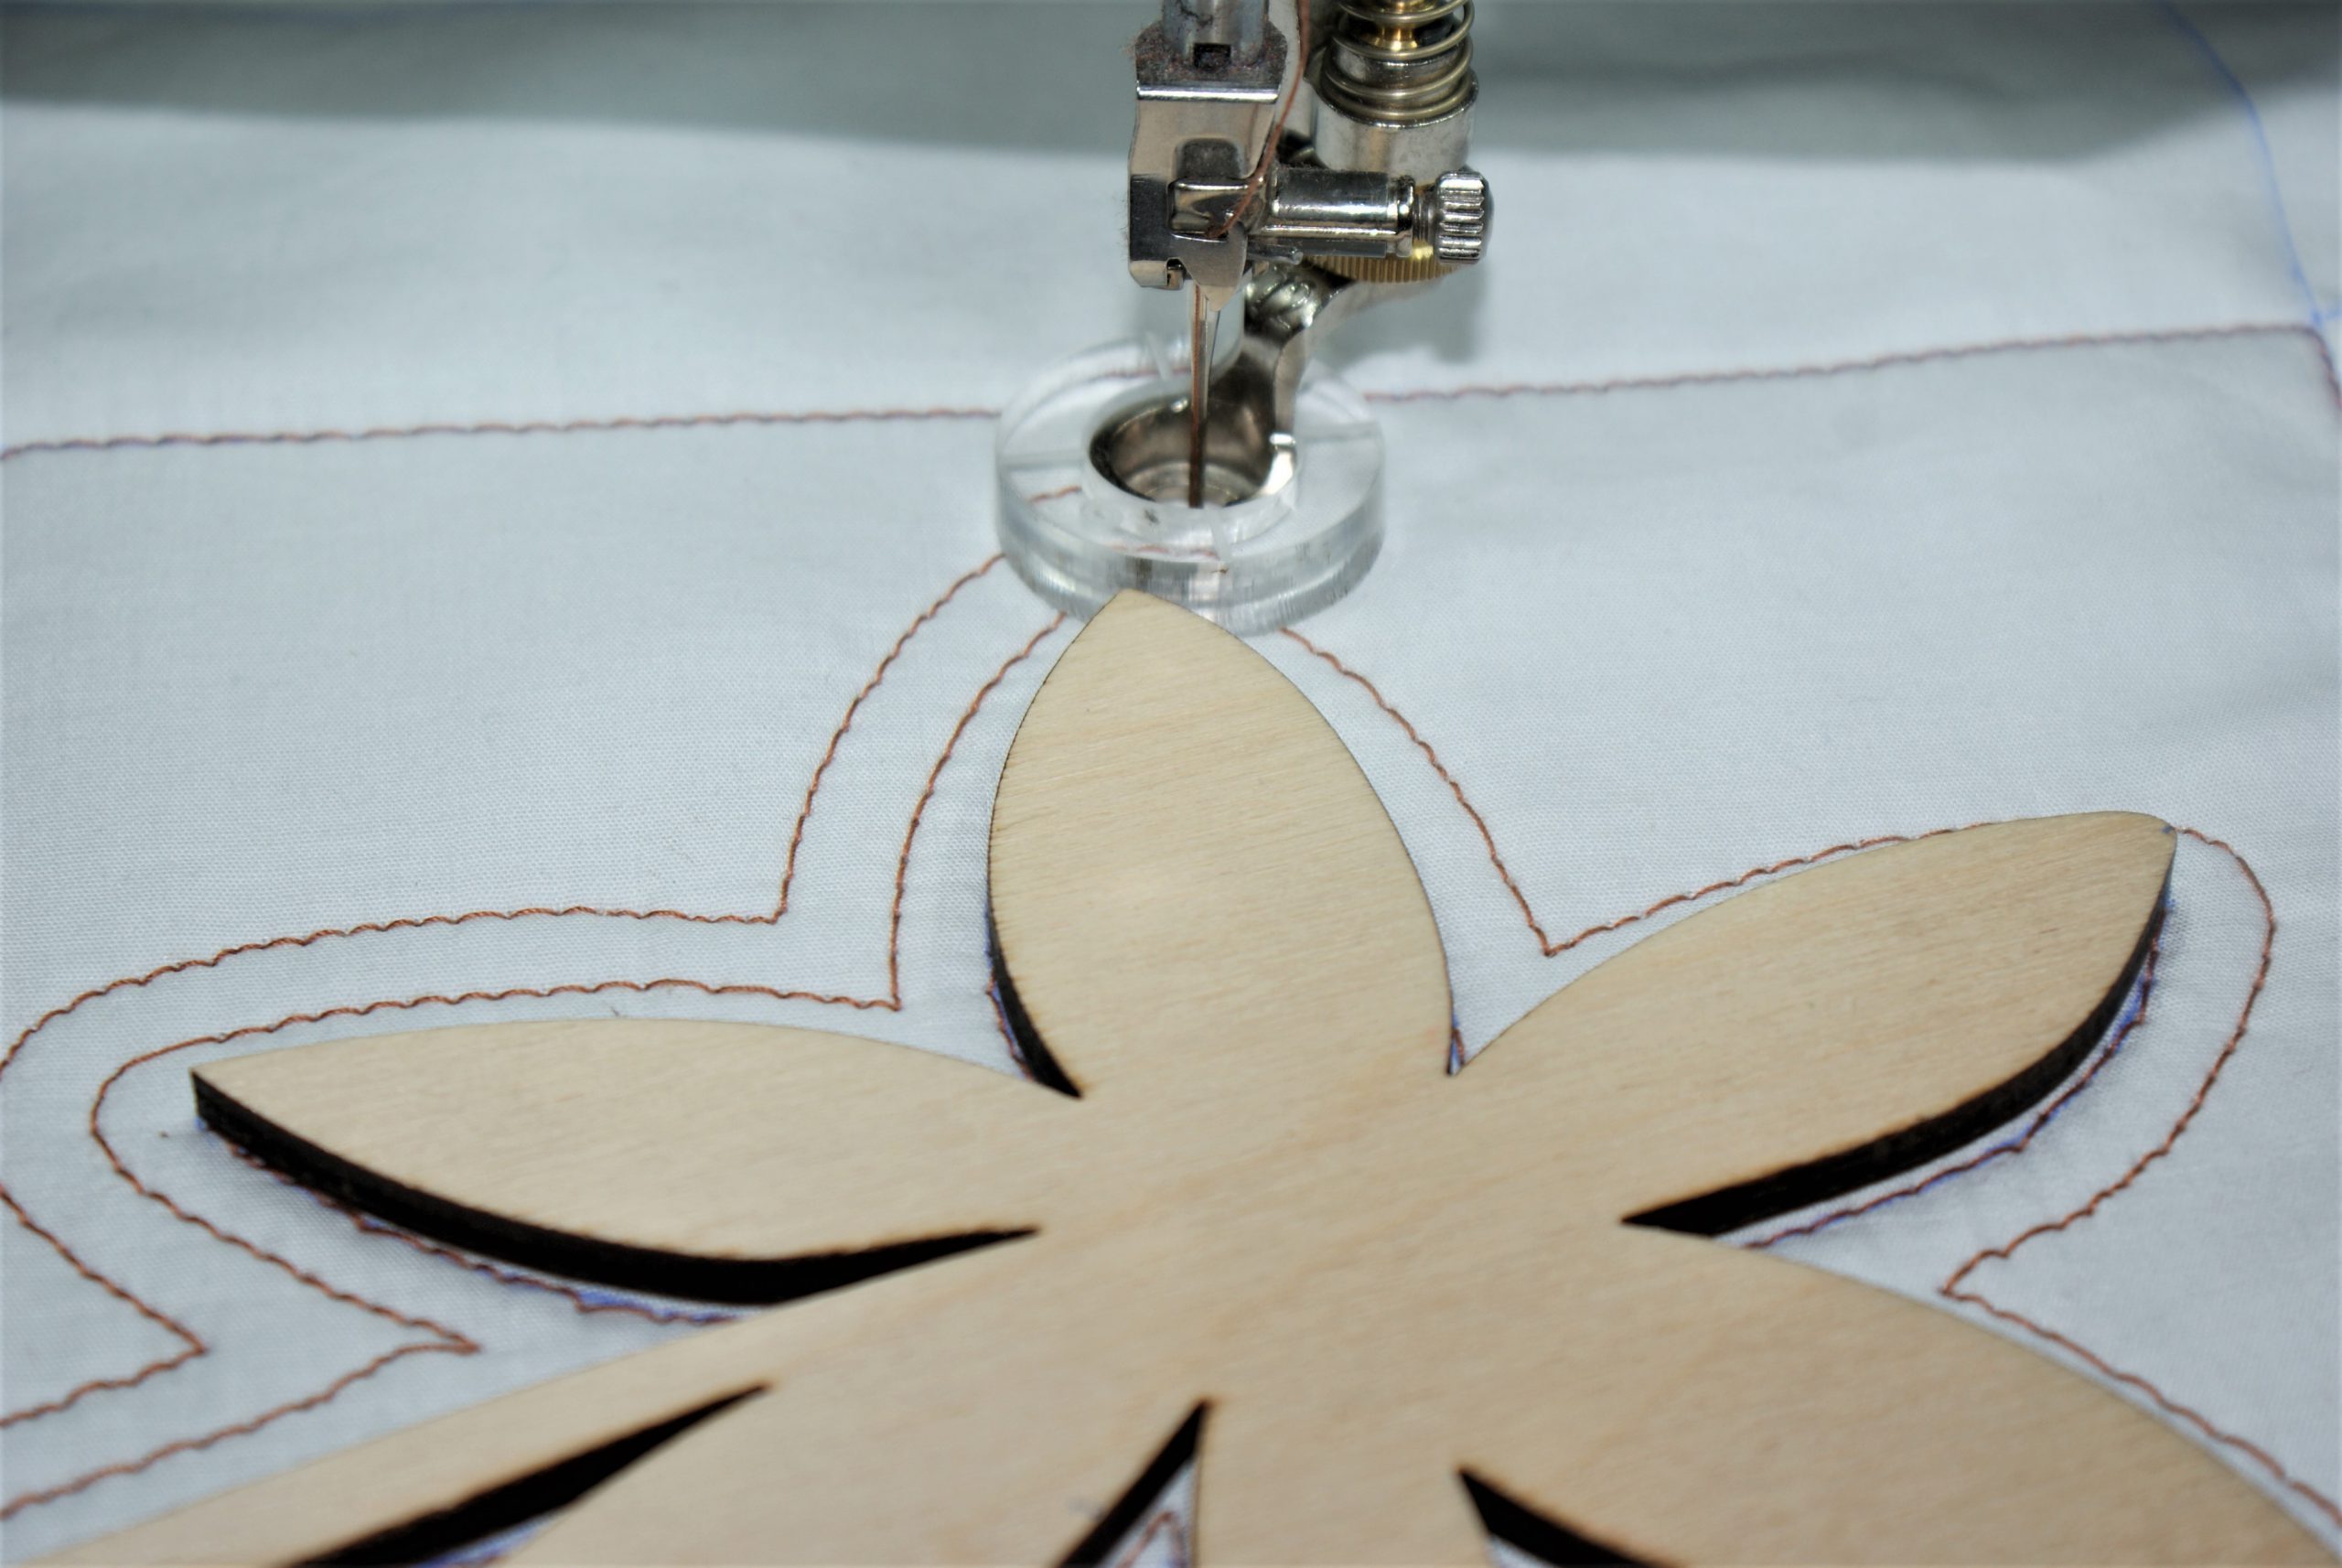
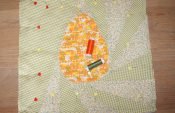
Are you in the mood for a challenge?
Did you sew some blocks using simple shapes? What about trying out some complexer shapes? I found wooden decorative flowers.
Look what happened:
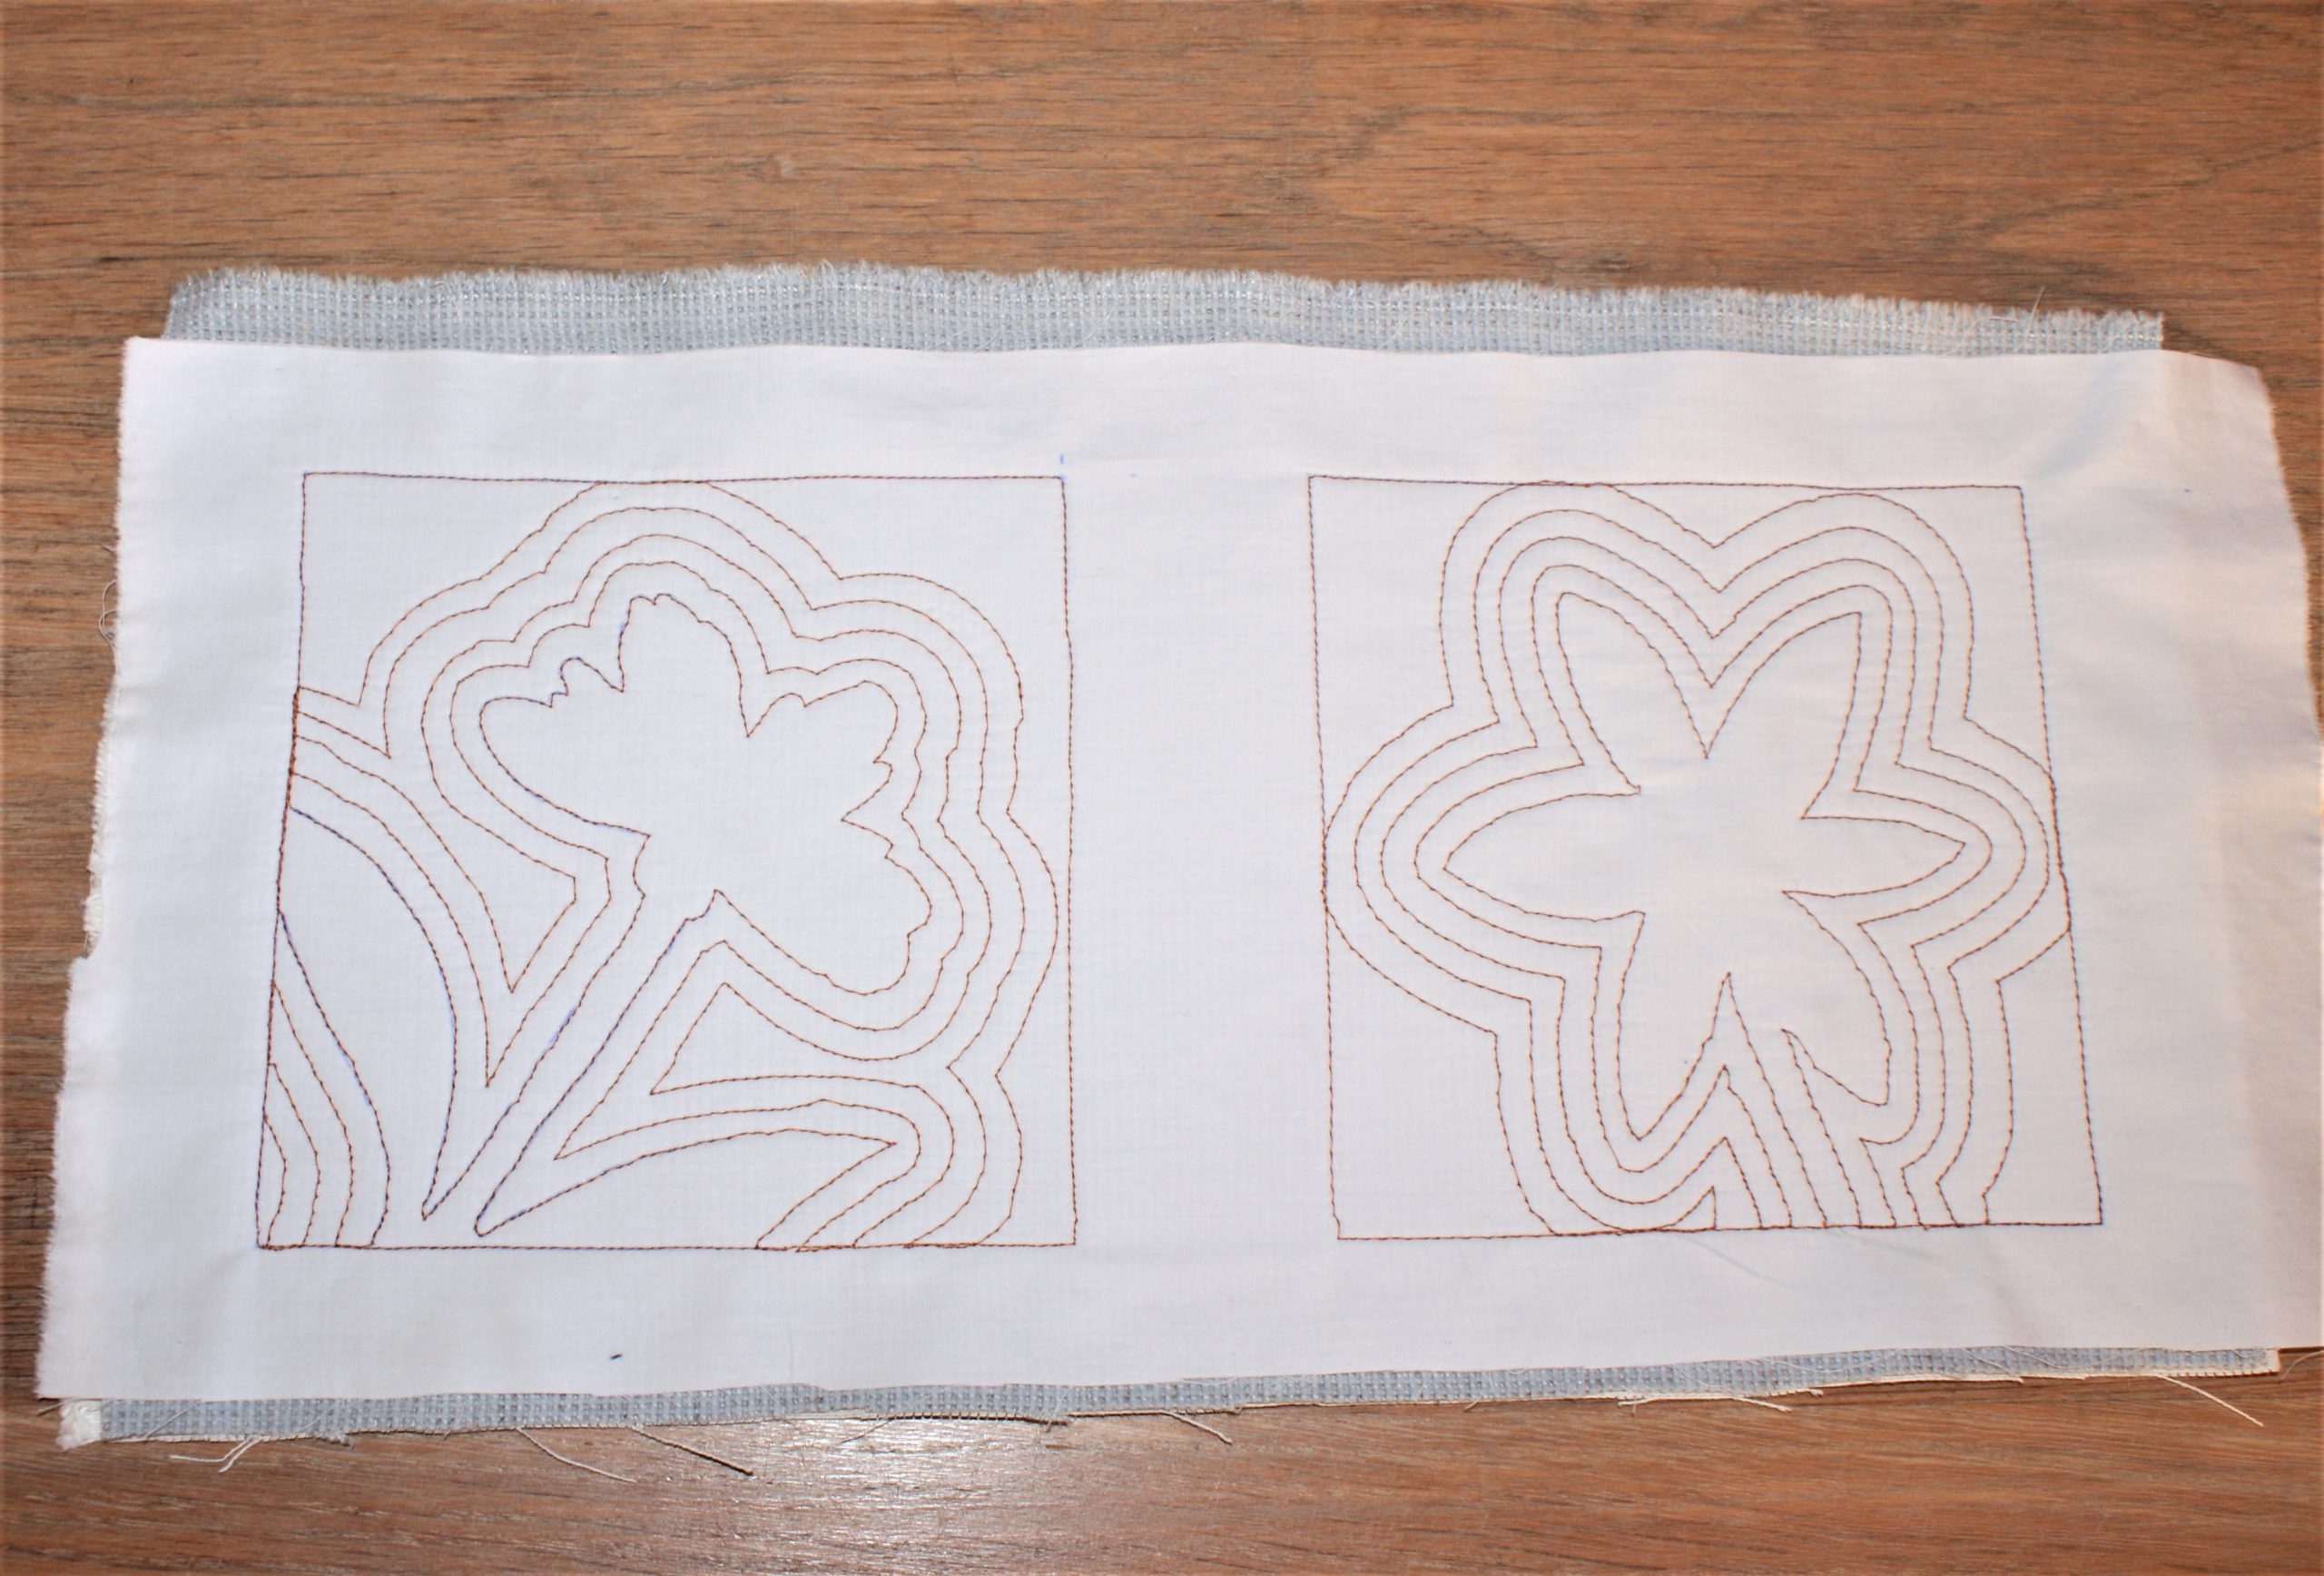
Finishing the 6 blocks was done in the same way as the first placemat with rulerfoot exercises.
My thoughts after finishing this project:
- Check the height of your shapes. Don’t hit the presser foot and don’t slide over with the rulerfoot. When the shape is too long (like my flowers are), it is difficult to turn while sewing.
- Sew slowly, to keep control over your work.
- Don’t be too critical – irregularities are the proof it’s handmade – and keep practising.
- Well after all, the quilt rulers are more comfortable to work with

Look at the nice structure after quilting with echoquilt clips.
Sew a placemat with echoquilt clips was a challenge for me. New rulerfoot projects are planned!
Do you know when is Bernina going to sell a ruler foot for the BSR? I love my BSR and just can’t understand why it doesn’t have a ruler foot.
Elizabeth, I have no idea… I know there is a special accessory to work with the rulerfoot and the BSR function. The sensor is than replaced under the fabric, through a hole in the extension table. So it can notice the movement of the fabric and activate the BSR function for equal stitches. It is available in the US alread, but I have no idea when or whether it would come to Europe. Glad to hear you like the BSR function so much. It’s wonderful, isn’t it?
How lovely – more patterns for placemats. I am still busy sewing trees for the QA. They have to be ready before starting my exercises. Thank you for showing your projects.
Hi Hilke, I’m glad you like it. You can vary as much as you like, always new ideas coming up when you’re busy. Succes with the QA! The trees are really lovely!