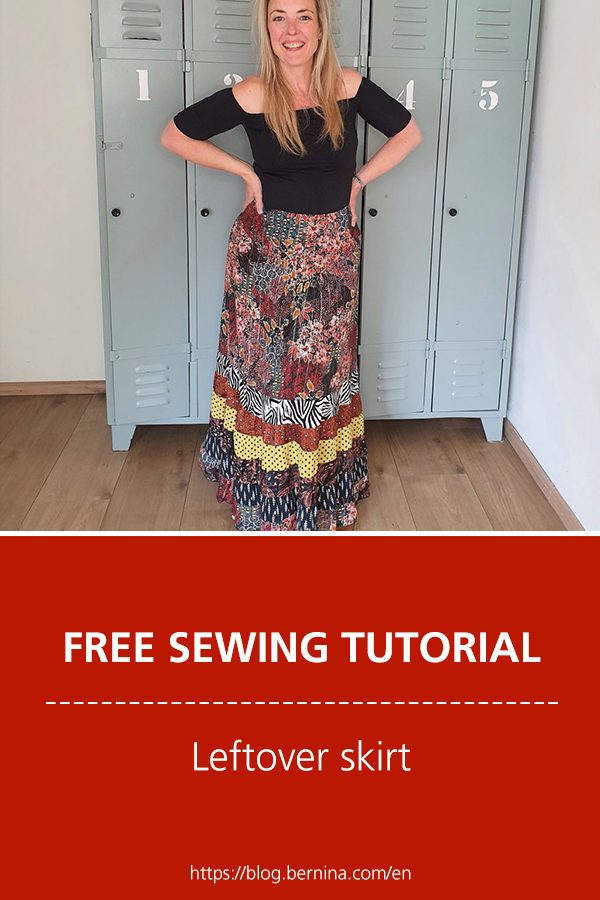
 BERNINA Corporate Blog -
Leftovers skirt & how to gather with the over locker
What can you do with the scraps of fabric left over after a project? That is a question that always on my mind and every now and then you come across a pattern that has the answer to this. The Santana skirt from Atelier Adriette is released this week and I was lucky to make it beforehand.
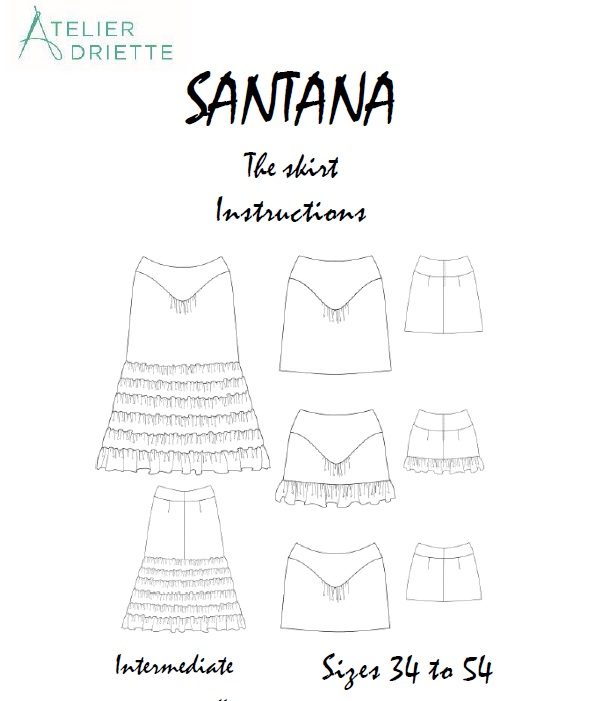
The pattern
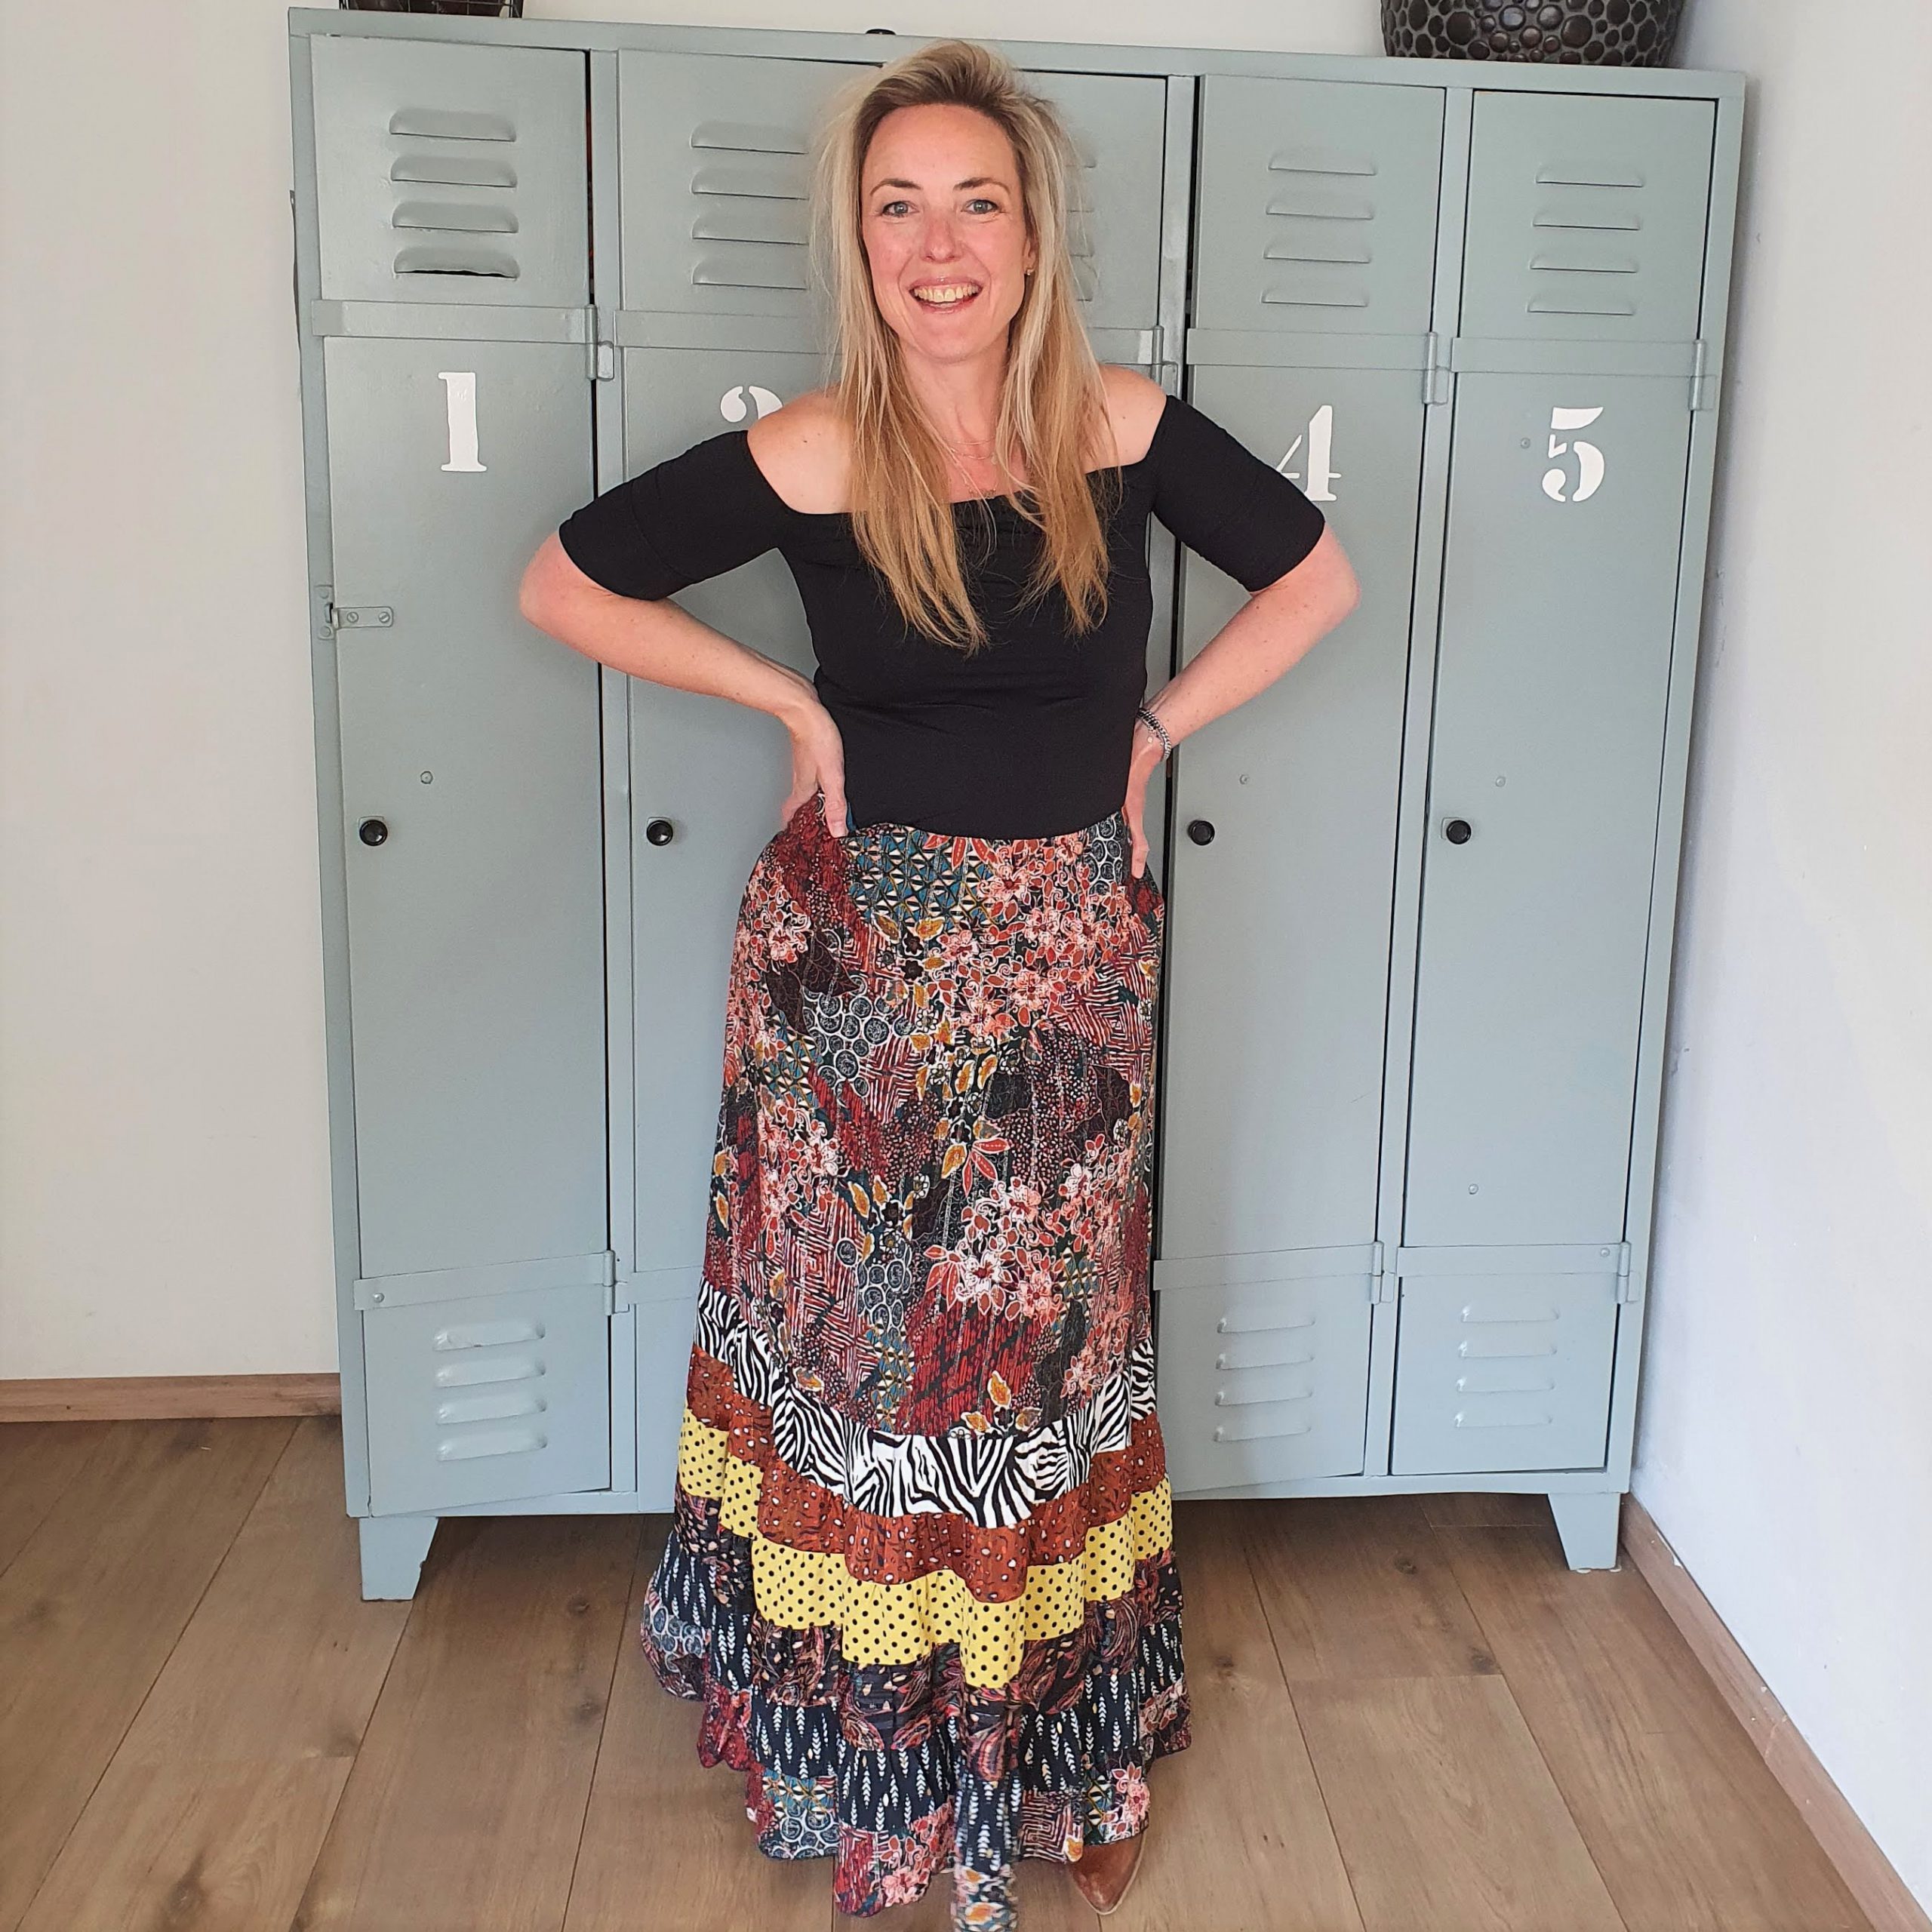
The Santana skirt is available in different skirt lengths. It starts with a basic length to which you add none, one or more strips. I chose the longest option with 6 strips. Because my bin with leftovers was pretty full ;-). In addition, you can choose a normal waist or an high waist. I went for the latter. The skirt closes with a zipper at the back, falls nicely along the body and fans out nicely due to the gathered strips. The skirt does not need to be lined, but I did this because of the fabric choice.
Fabrics
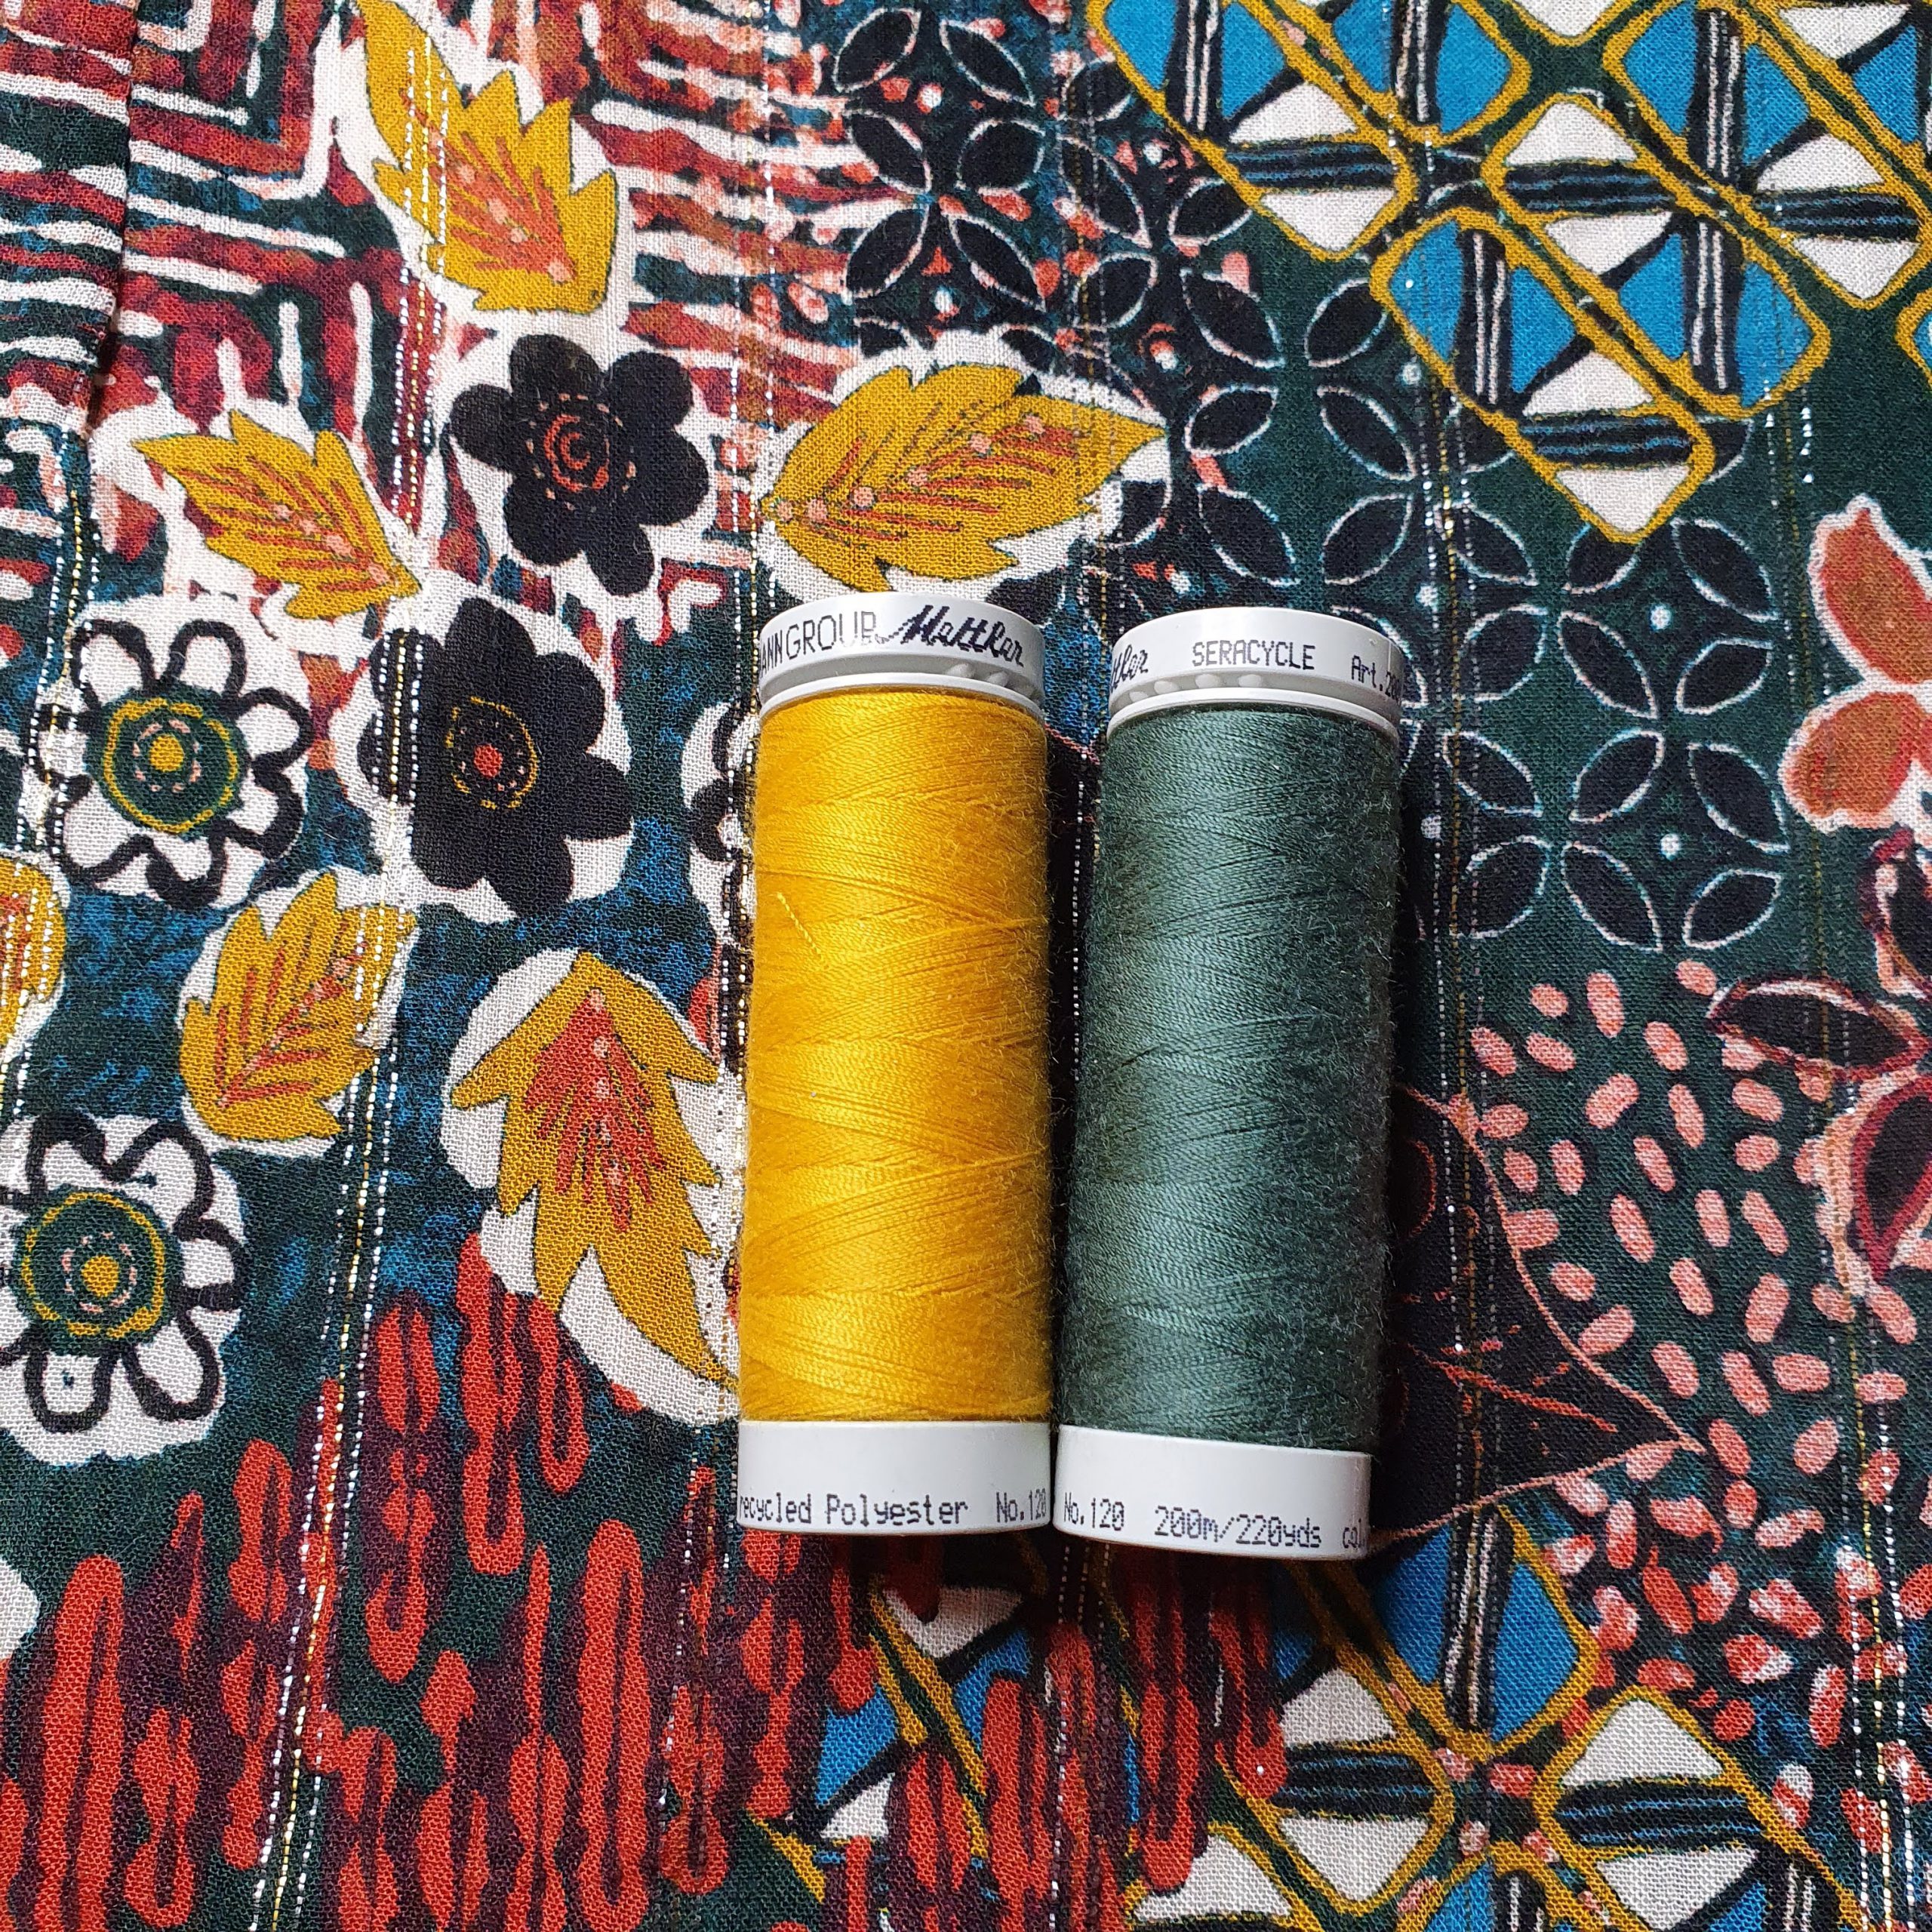
For the basic skirt I chose a new fabric from my stock with a kind of patchwork print with many colours. This makes it easier to match it with the different scraps. All fabrics are the same in weight. It is a mix of viscose, crepe and chiffon fabrics. Earlier I made a cool D&G inspired blouse with this same mix of fabrics.
Base fabric
Perfect match
To get the right combination, you drape and mix the different fabrics. Not all fabrics made the final selection.

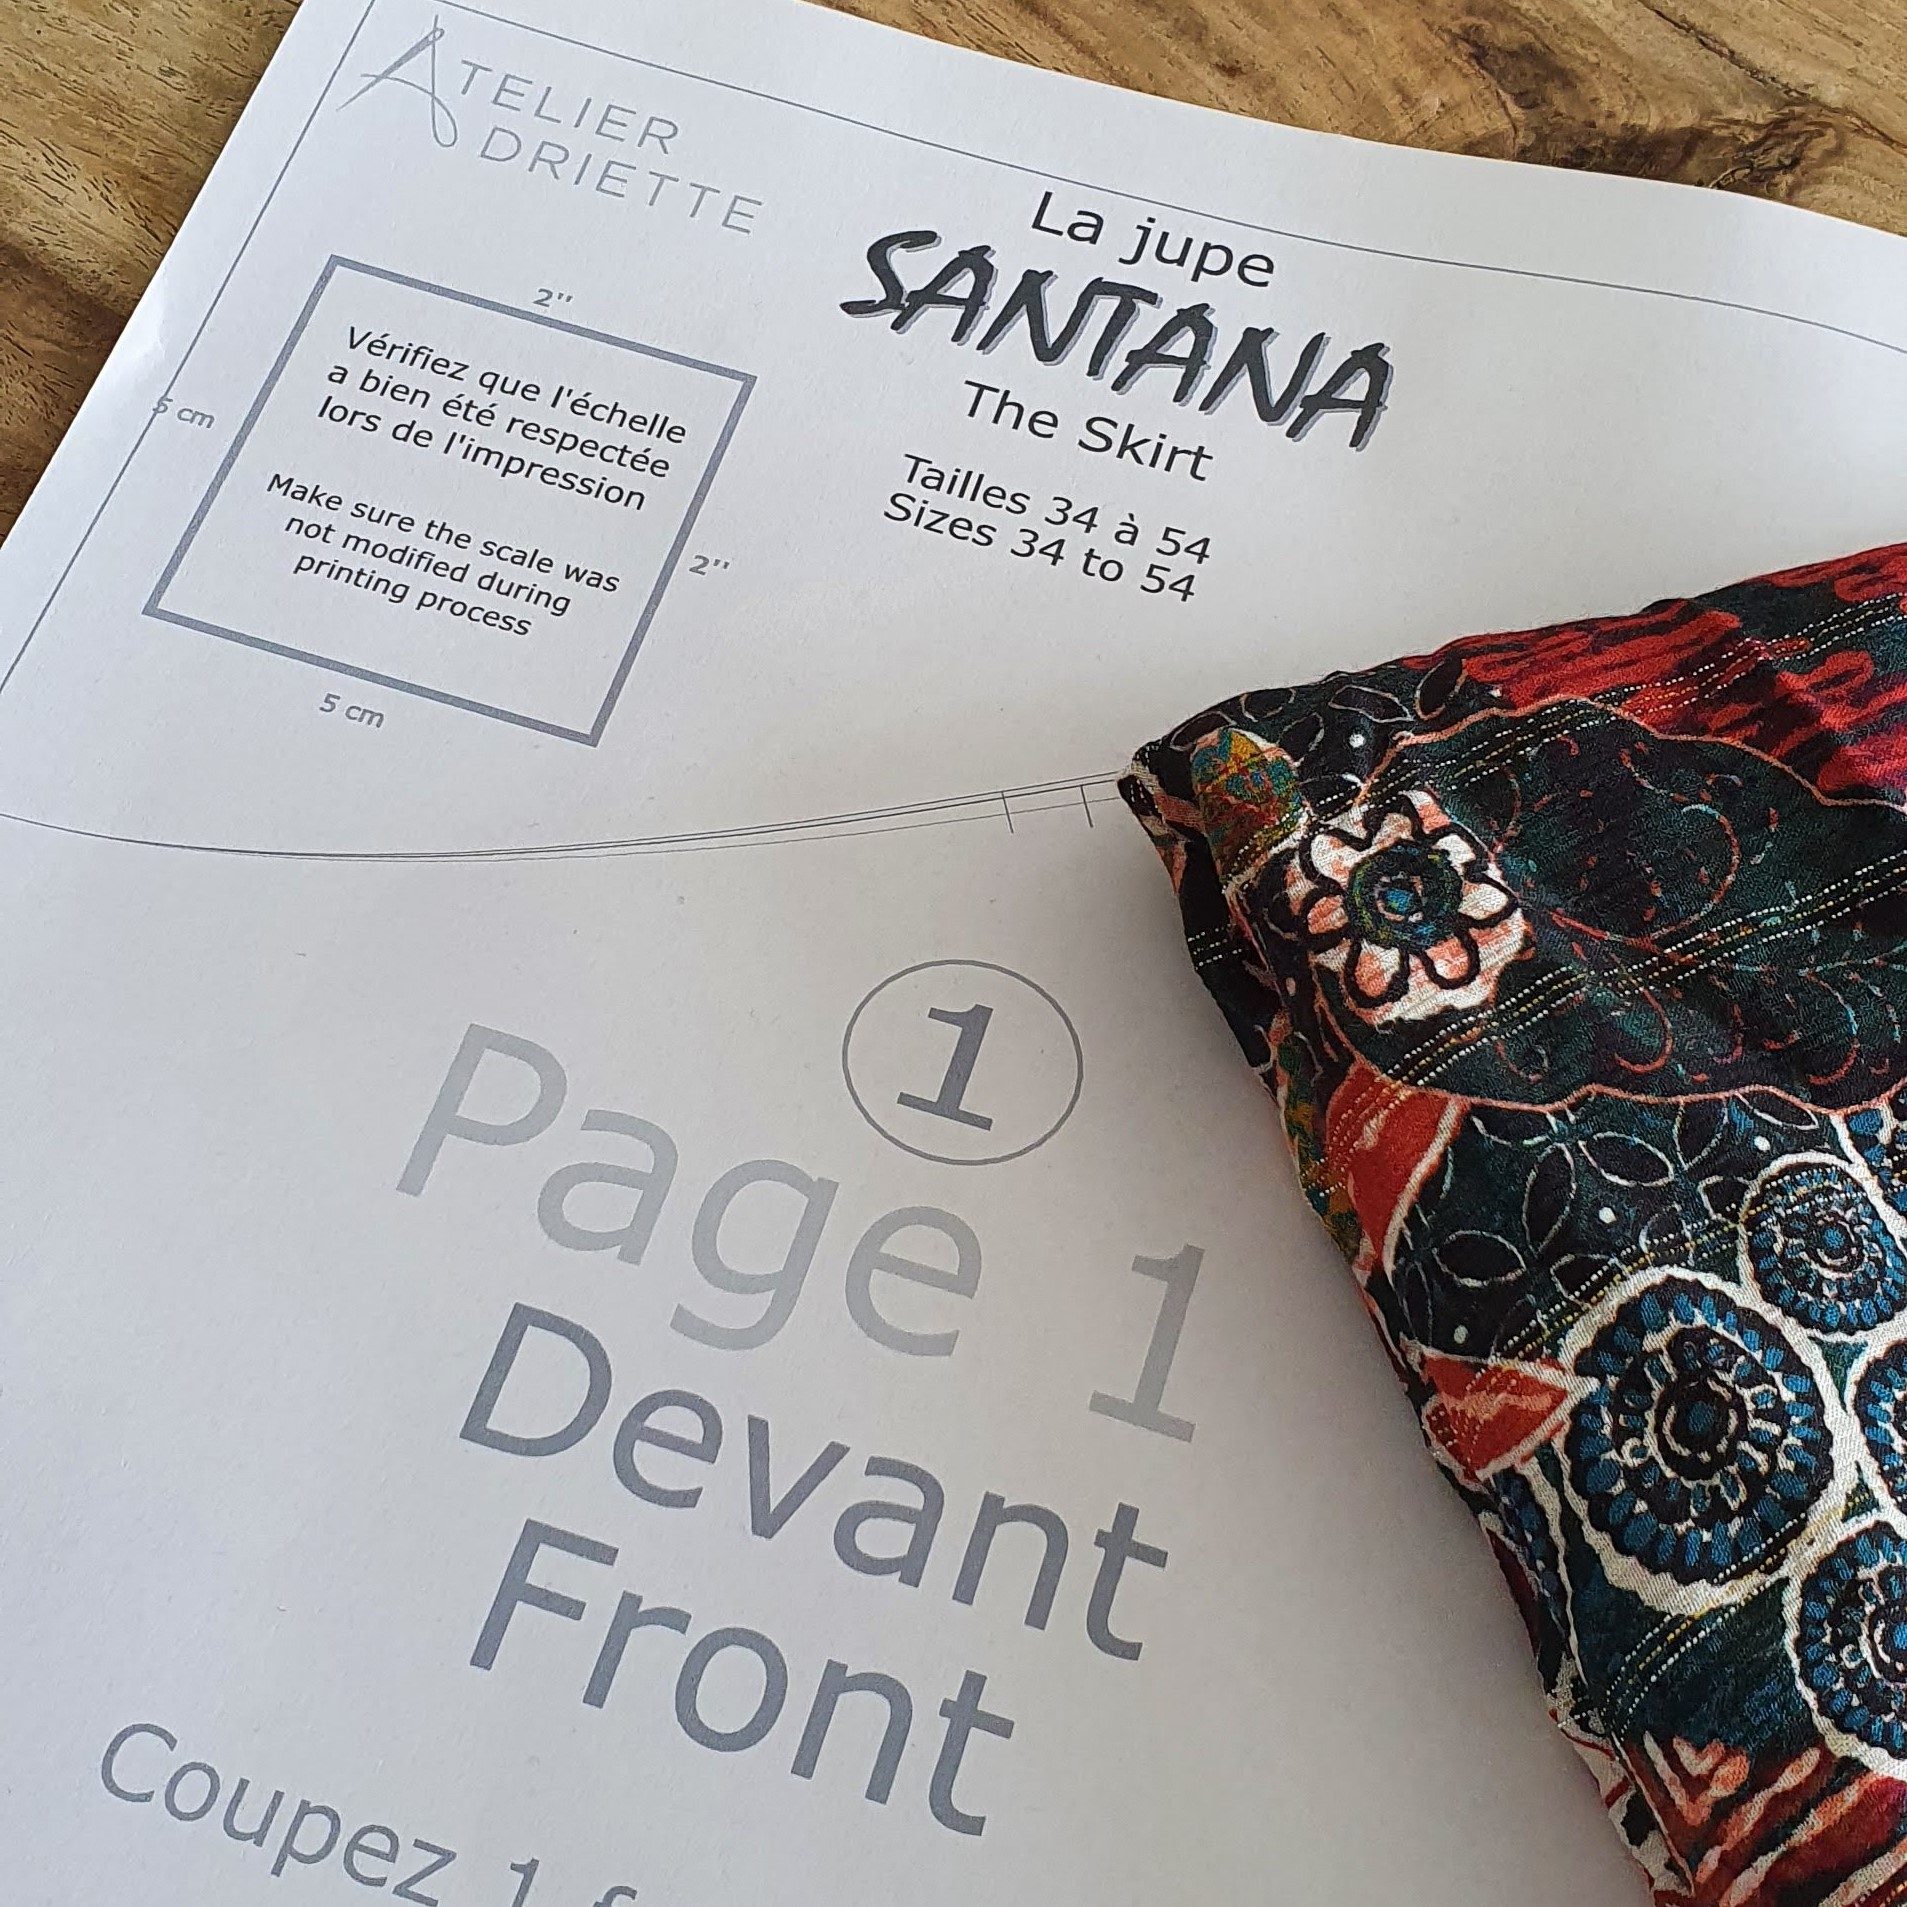
Tips for cutting
The six strips naturally increase in length. It is indicated per strip how long this is and this differs per size. In the end you are cutting meters of strips of 10 cm width. When processing leftovers, it is necessary to make these strips from smaller pieces. The straight of grain is less important, because the strips are narrow, gathered and not fitted to the body.
Because these types of fabrics tend to shift, I put the fabric on a large cutting mat and make sure they stay straight. I cut the pieces with a large quilting ruler and rotary cutter. I sew the short sides together to form a ring of the right length with the over locker.
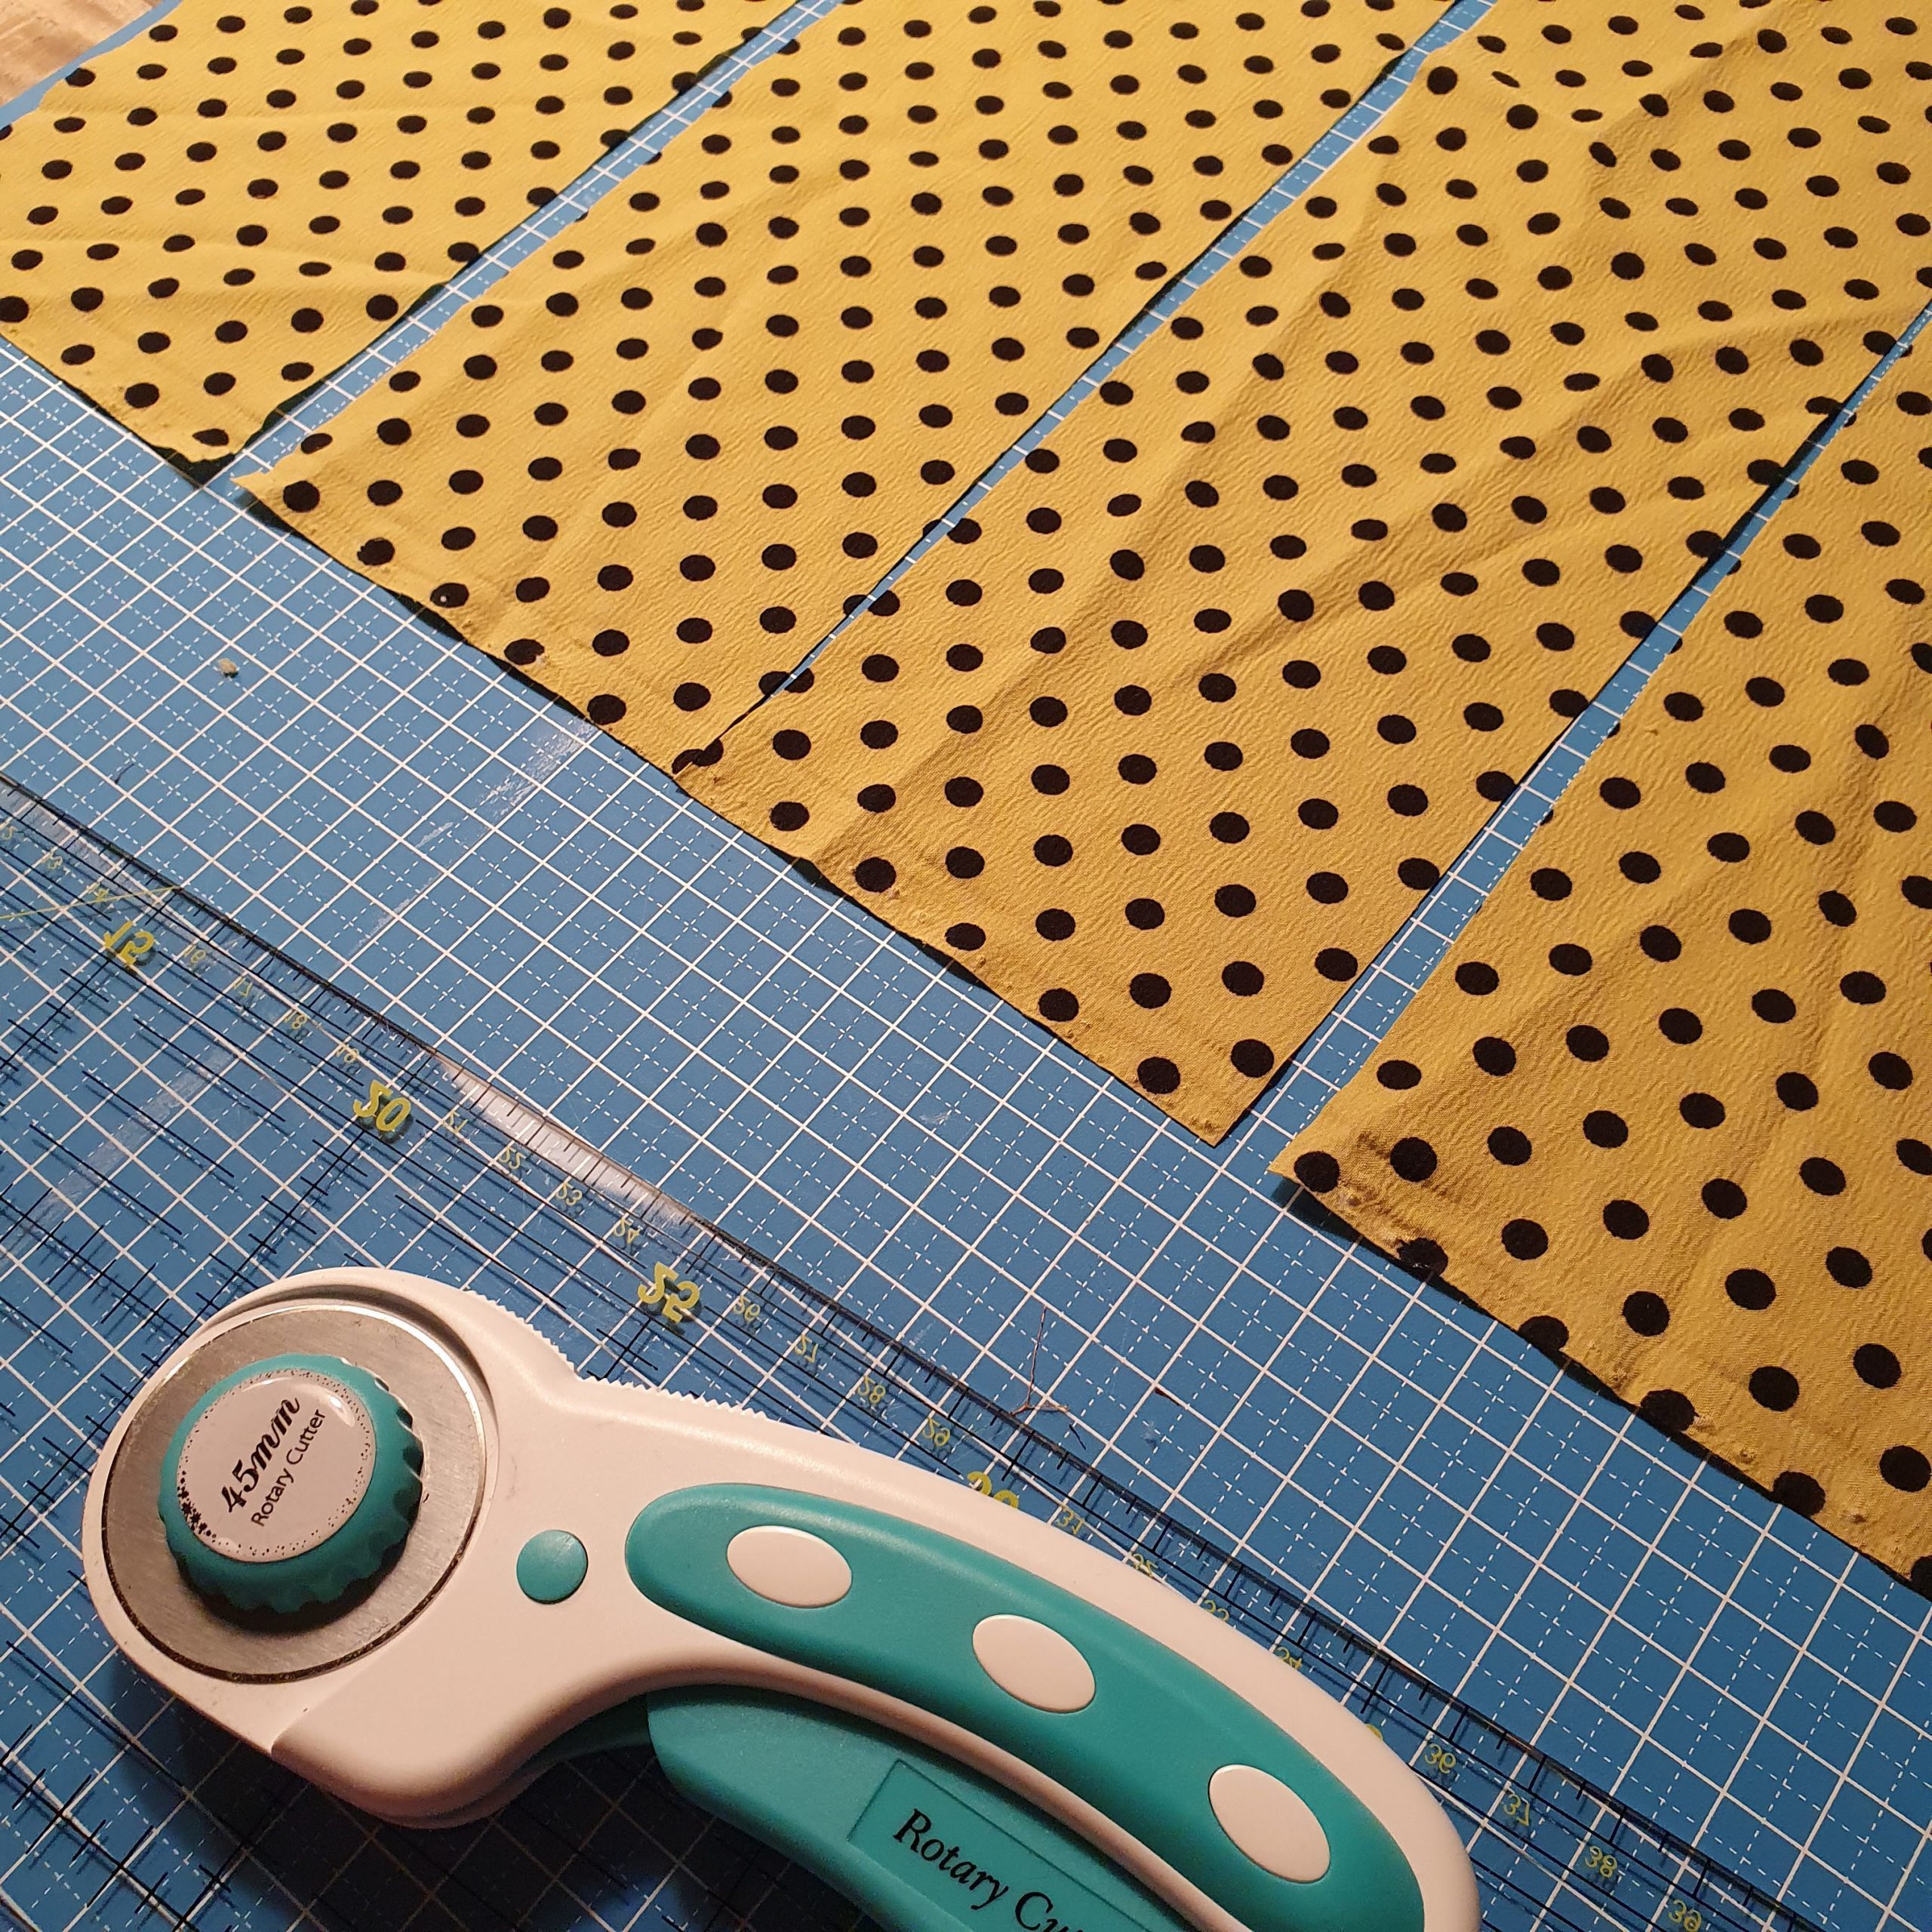
Cutting mat and rotary cutter, super handy
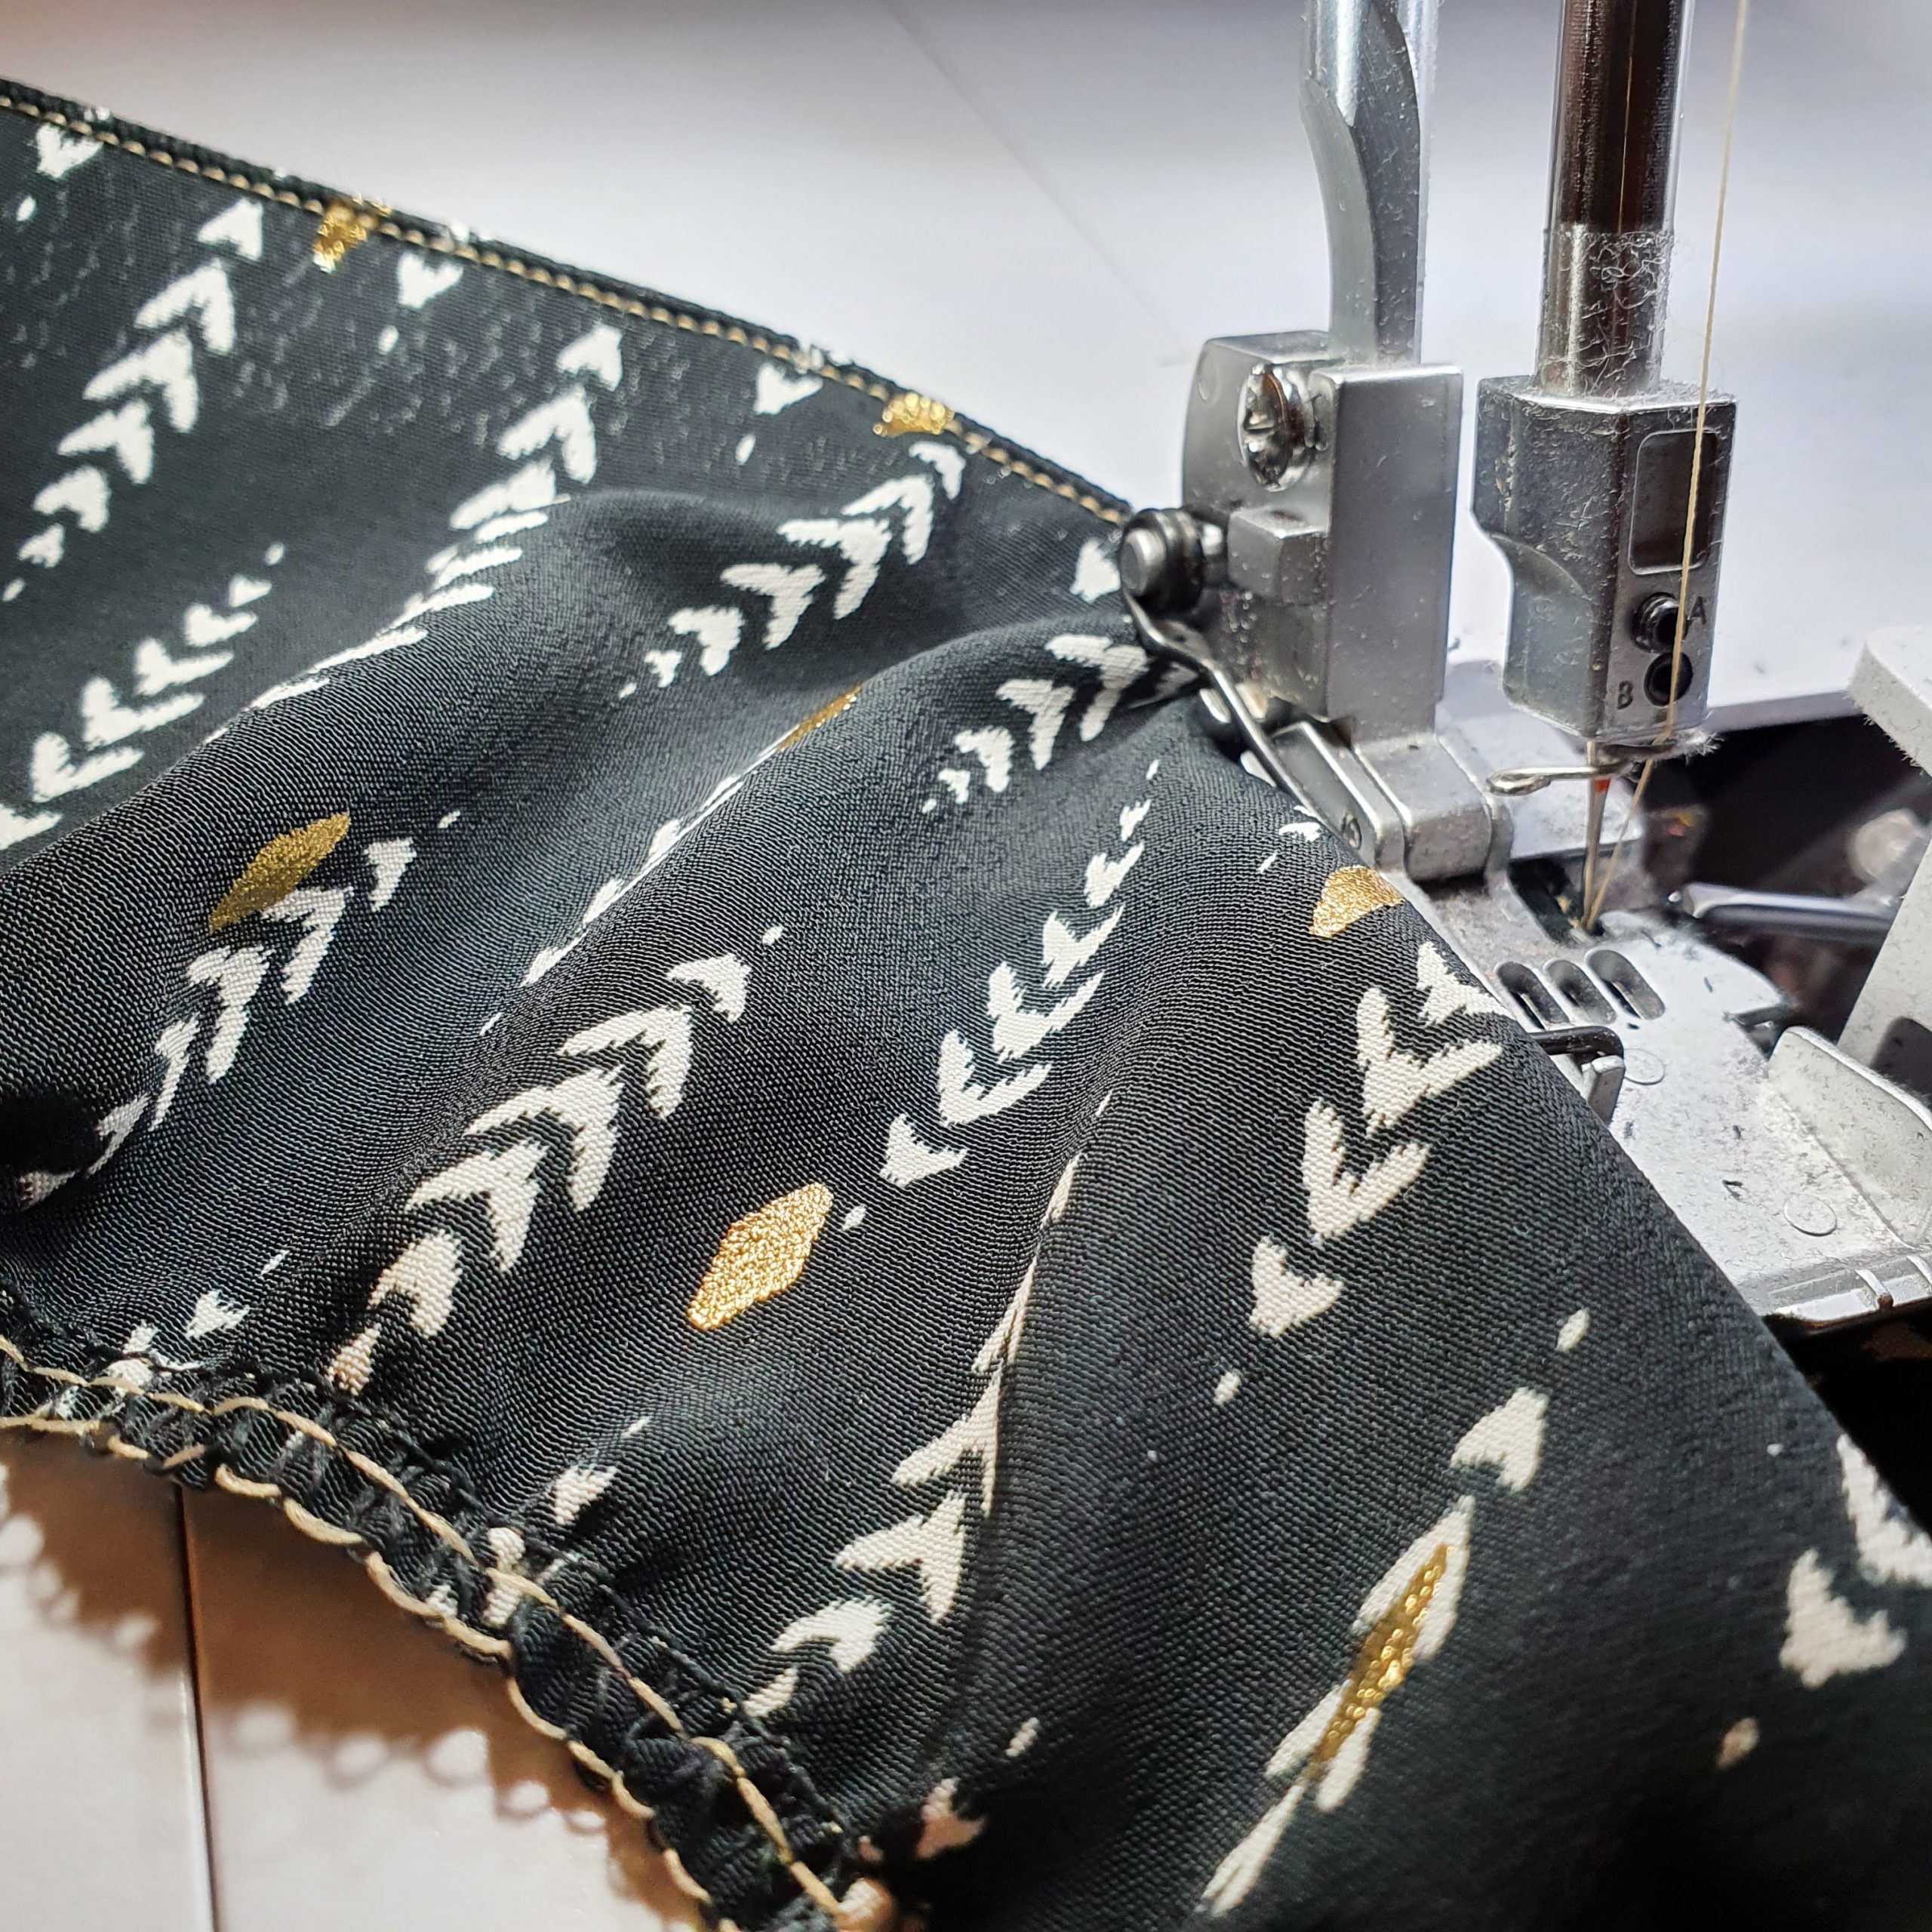
Gather with the over locker
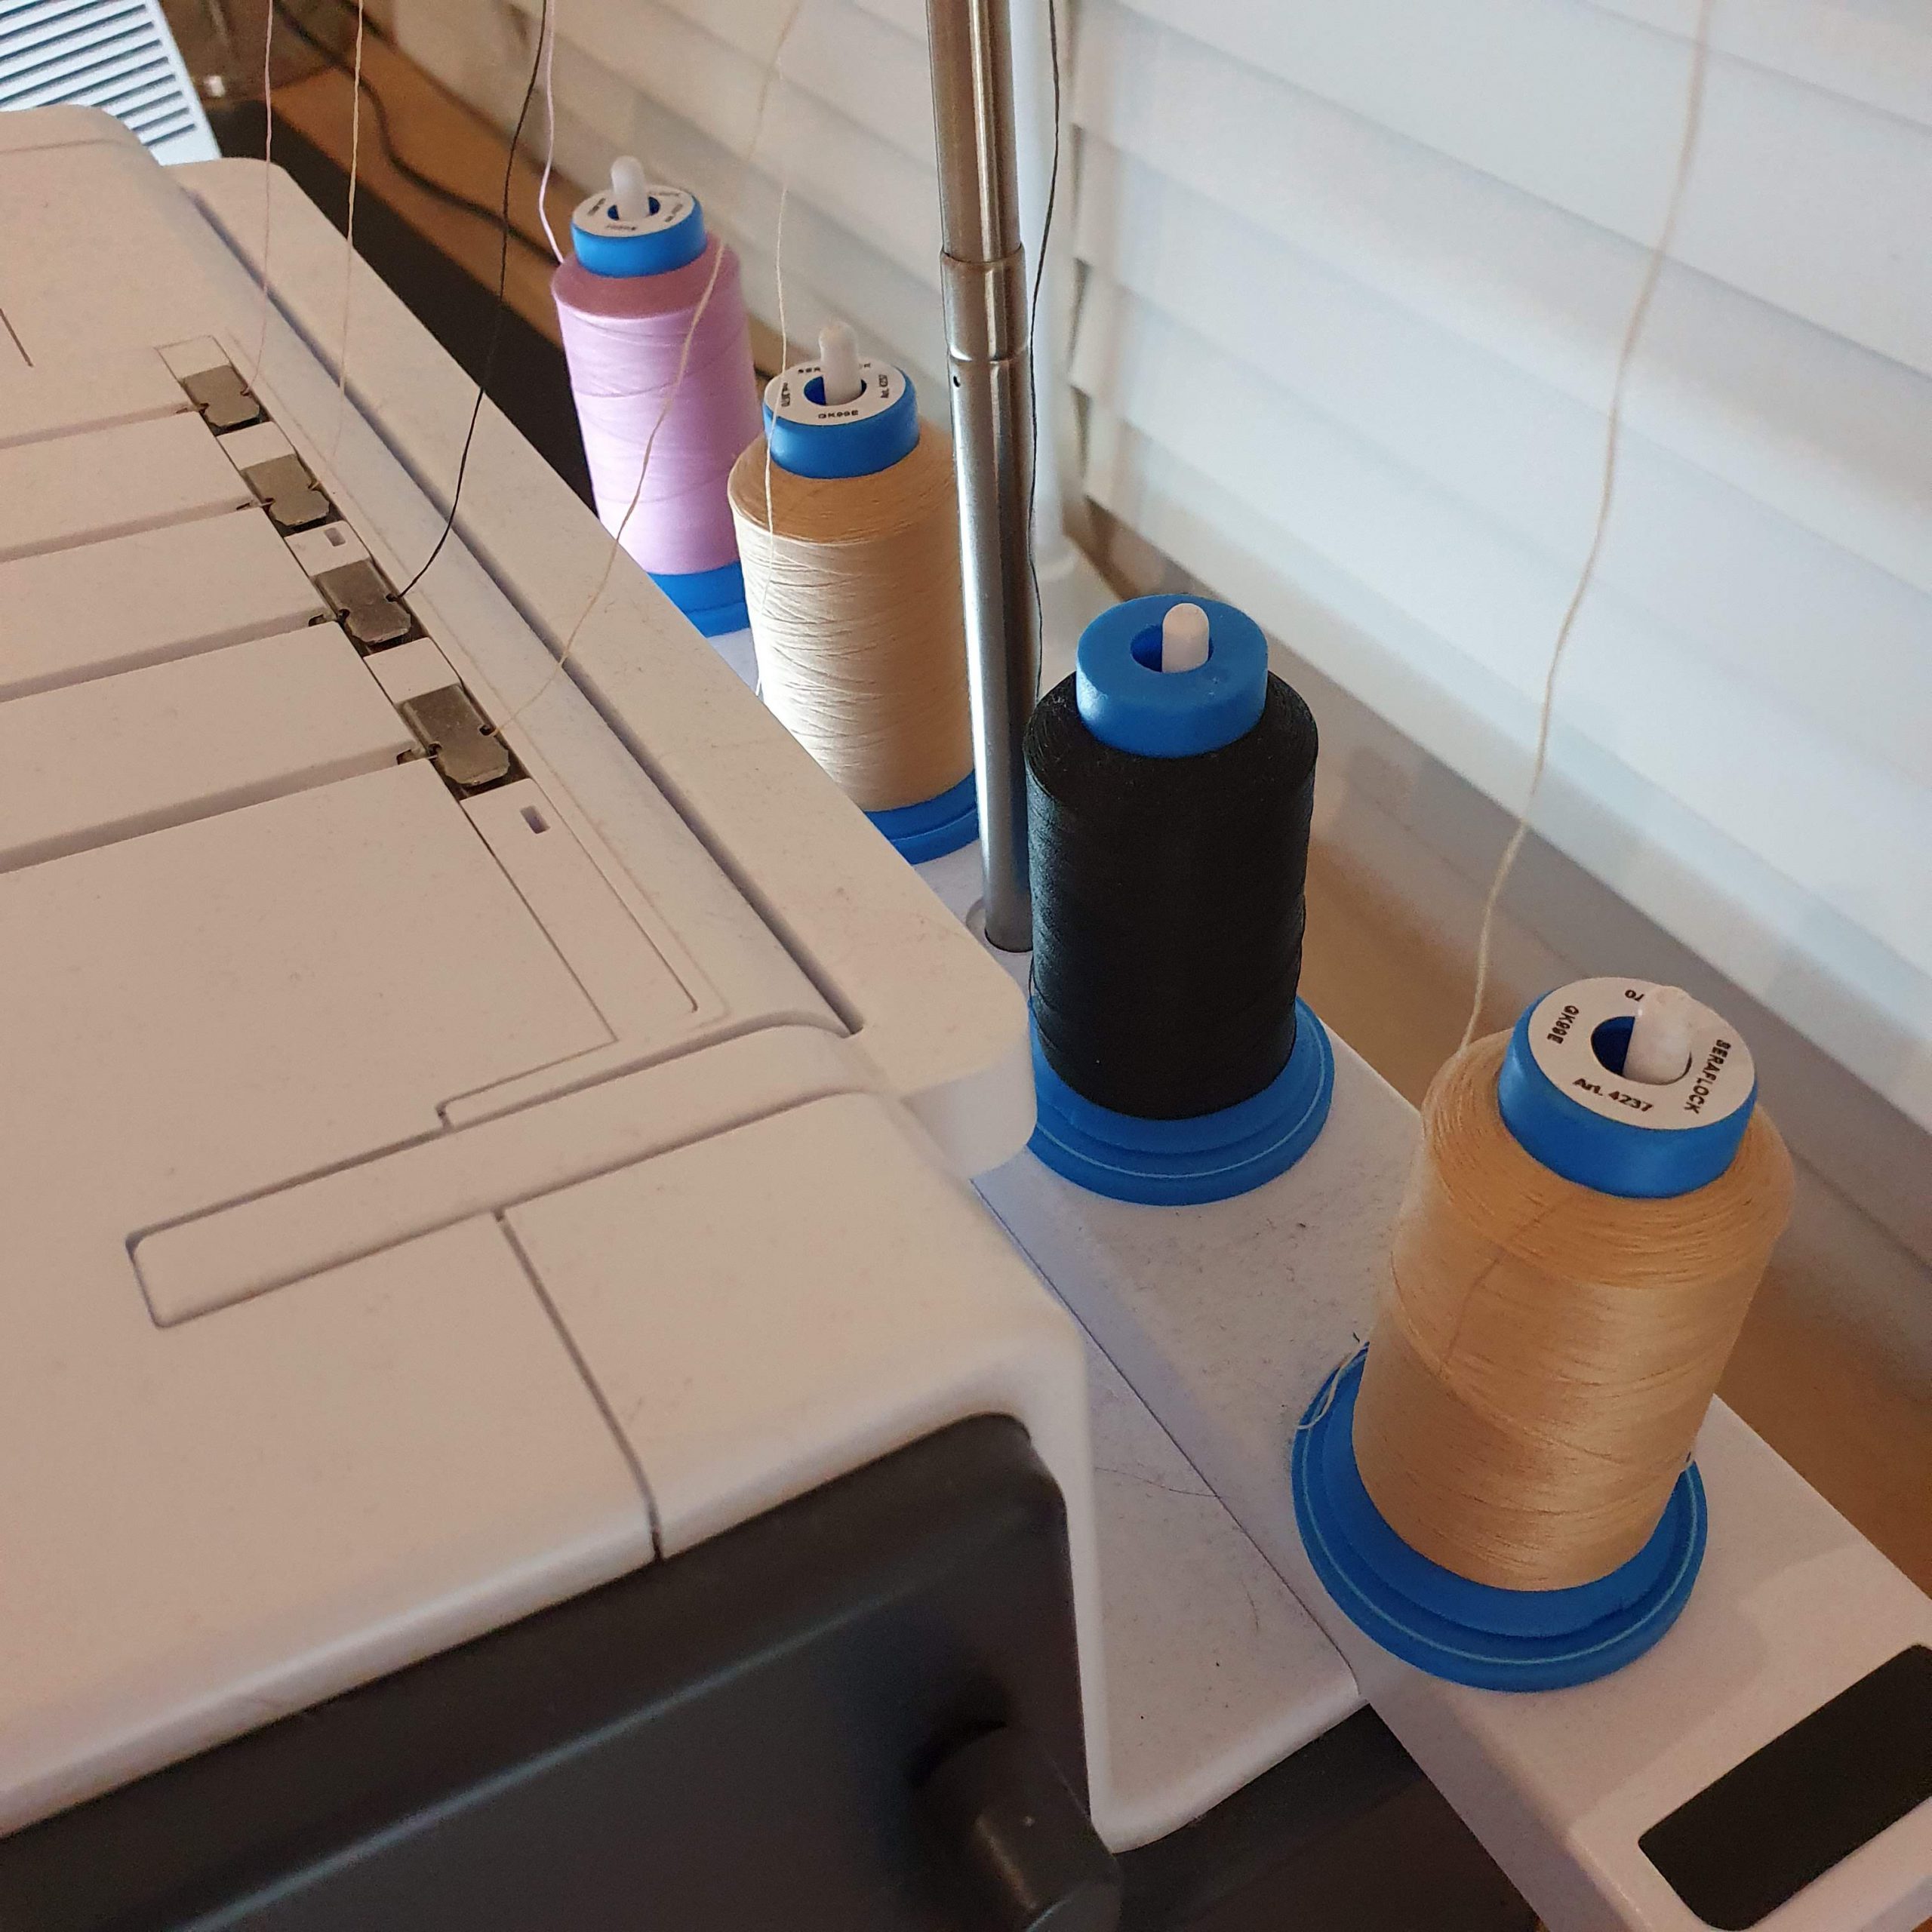
In the description of the pattern I read about the option to gather with the over locker. That seemed like a godsend to me since the strips were quite long. For example, the longest was more than 3.5 meters. I’ve used my bernette 64 AIRLOCK.
With a colourful mix of Seraflock threads from Mettler to match the different fabrics, I didn’t have to change the threads often. In addition, it is useful for gathering. I explain why.
The strip gathers when when you set the over locker as below (stitch length 5 and differential 1). If you want it to gather more, gently pull needle threads after stitching as is explained in the pattern instructions. However, it remains a matter of trial and error, especially if, like me, you use different fabrics. Some fabrics gather more strongly than others with the same setting.
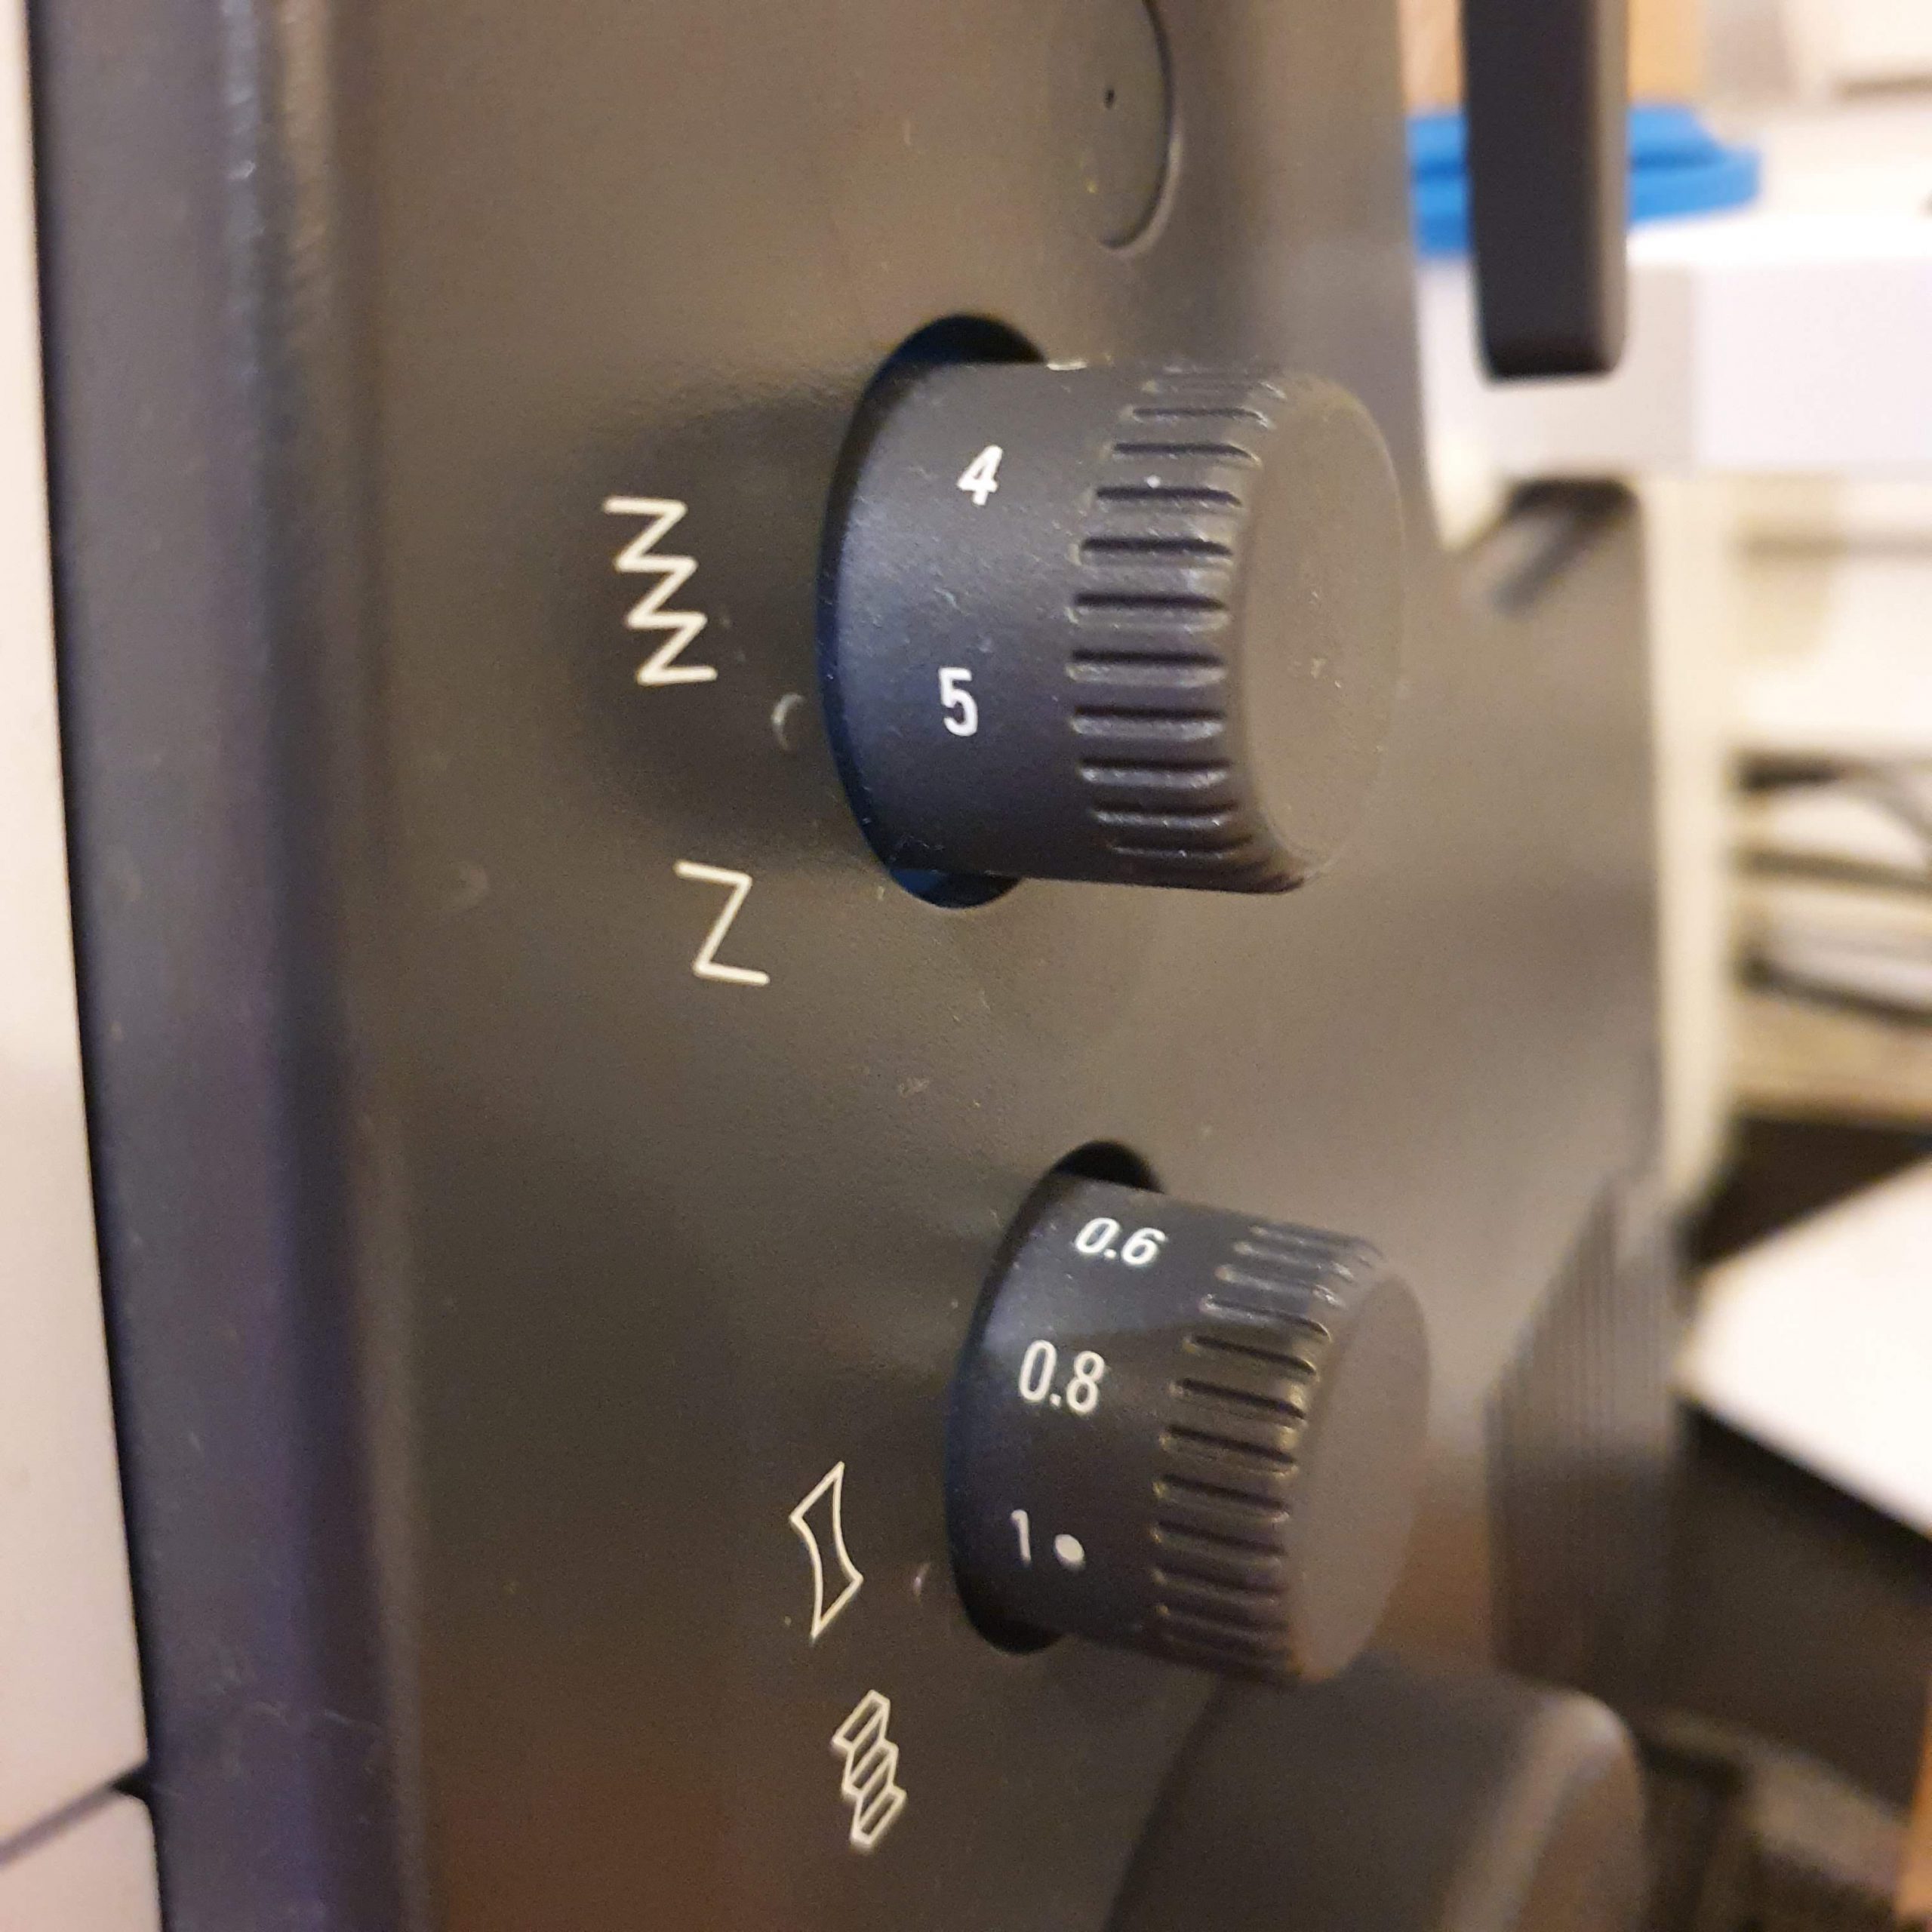
Settings
For more gathering, pull the needle threads.

With different colours of thread, the needle stitching is clearly visible
Gently pull this and gather more
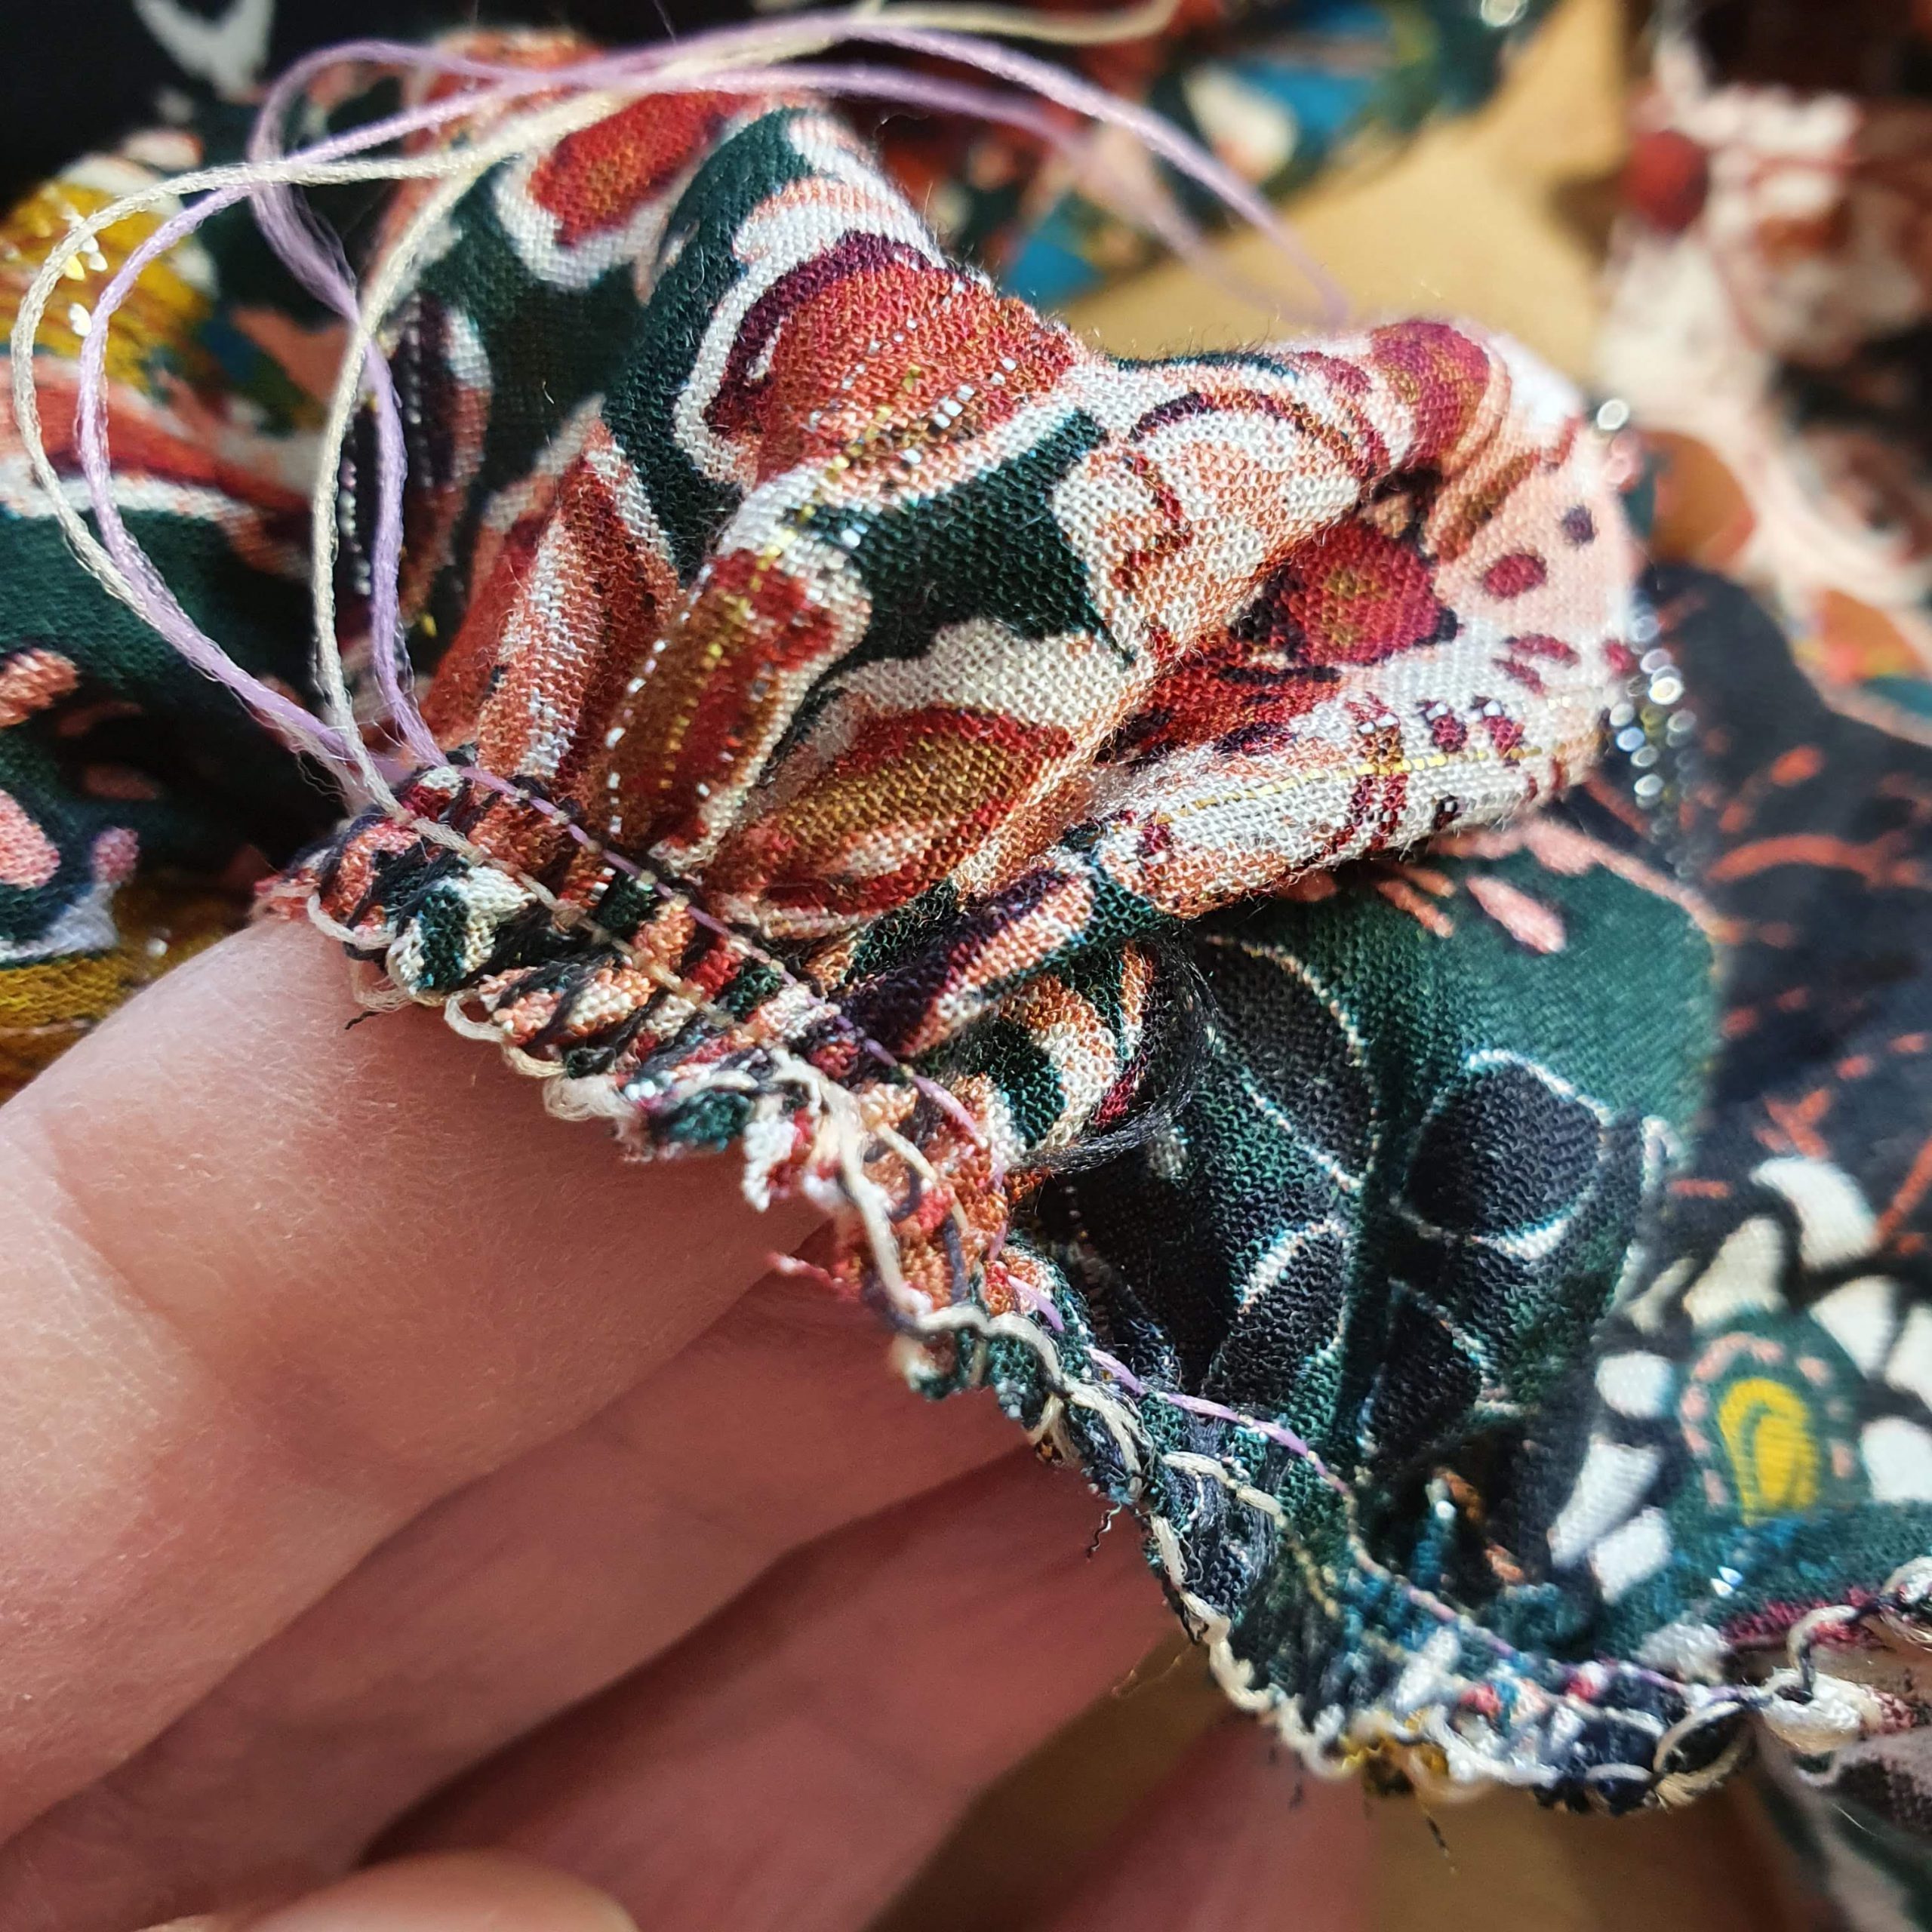
Voilà
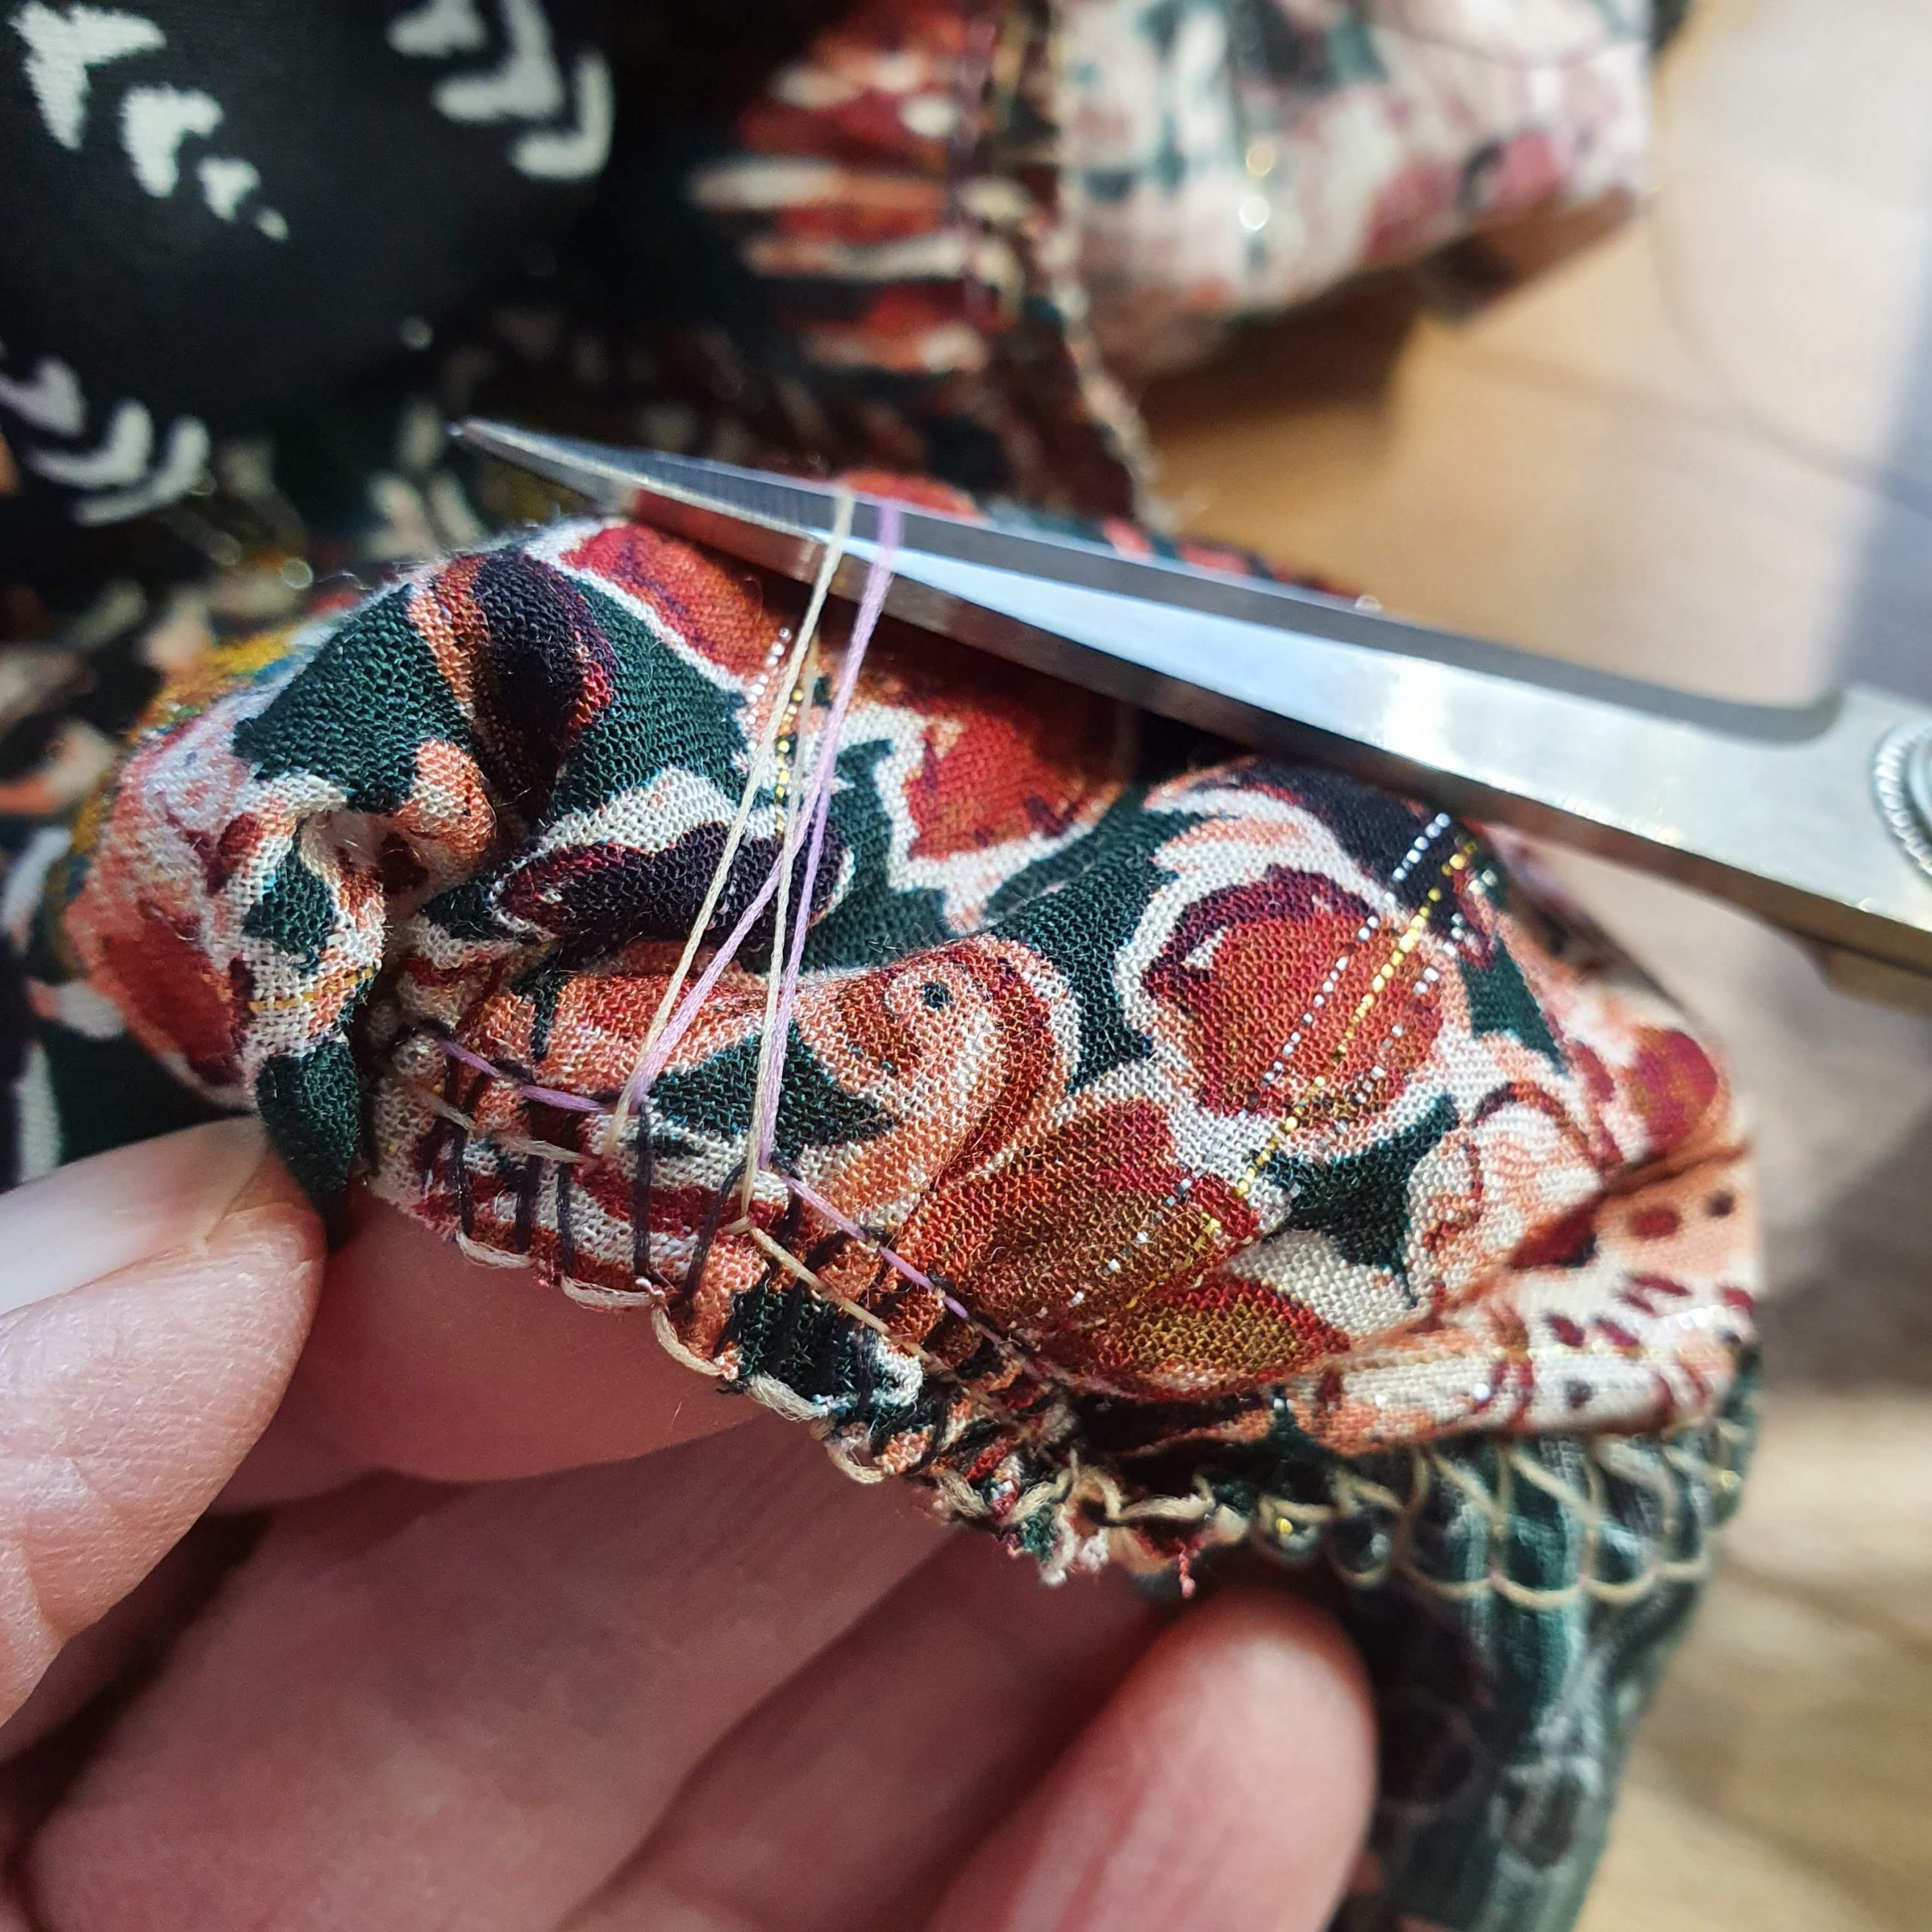
If it gathers too much, check this while stitching and leave an extra long chain of thread at the end. Carefully pull the gathered strip, without loosening the stitching at the end.
Prepping the skirt by gathering all the strips with the over locker works pretty good. Because I was working with scraps, I gathered the top of the strips as described above with four threads and finished the bottom with a rolled hem with three threads. I did this to keep as much width as possible, because some strips were only a tight 10 cm wide.
Rolled hem

With all the strips ready, they are attached with the sewing machine and this is how the long skirt is created, which flares beautifully and is a tad Spanish. I love it!

Strip by strip…
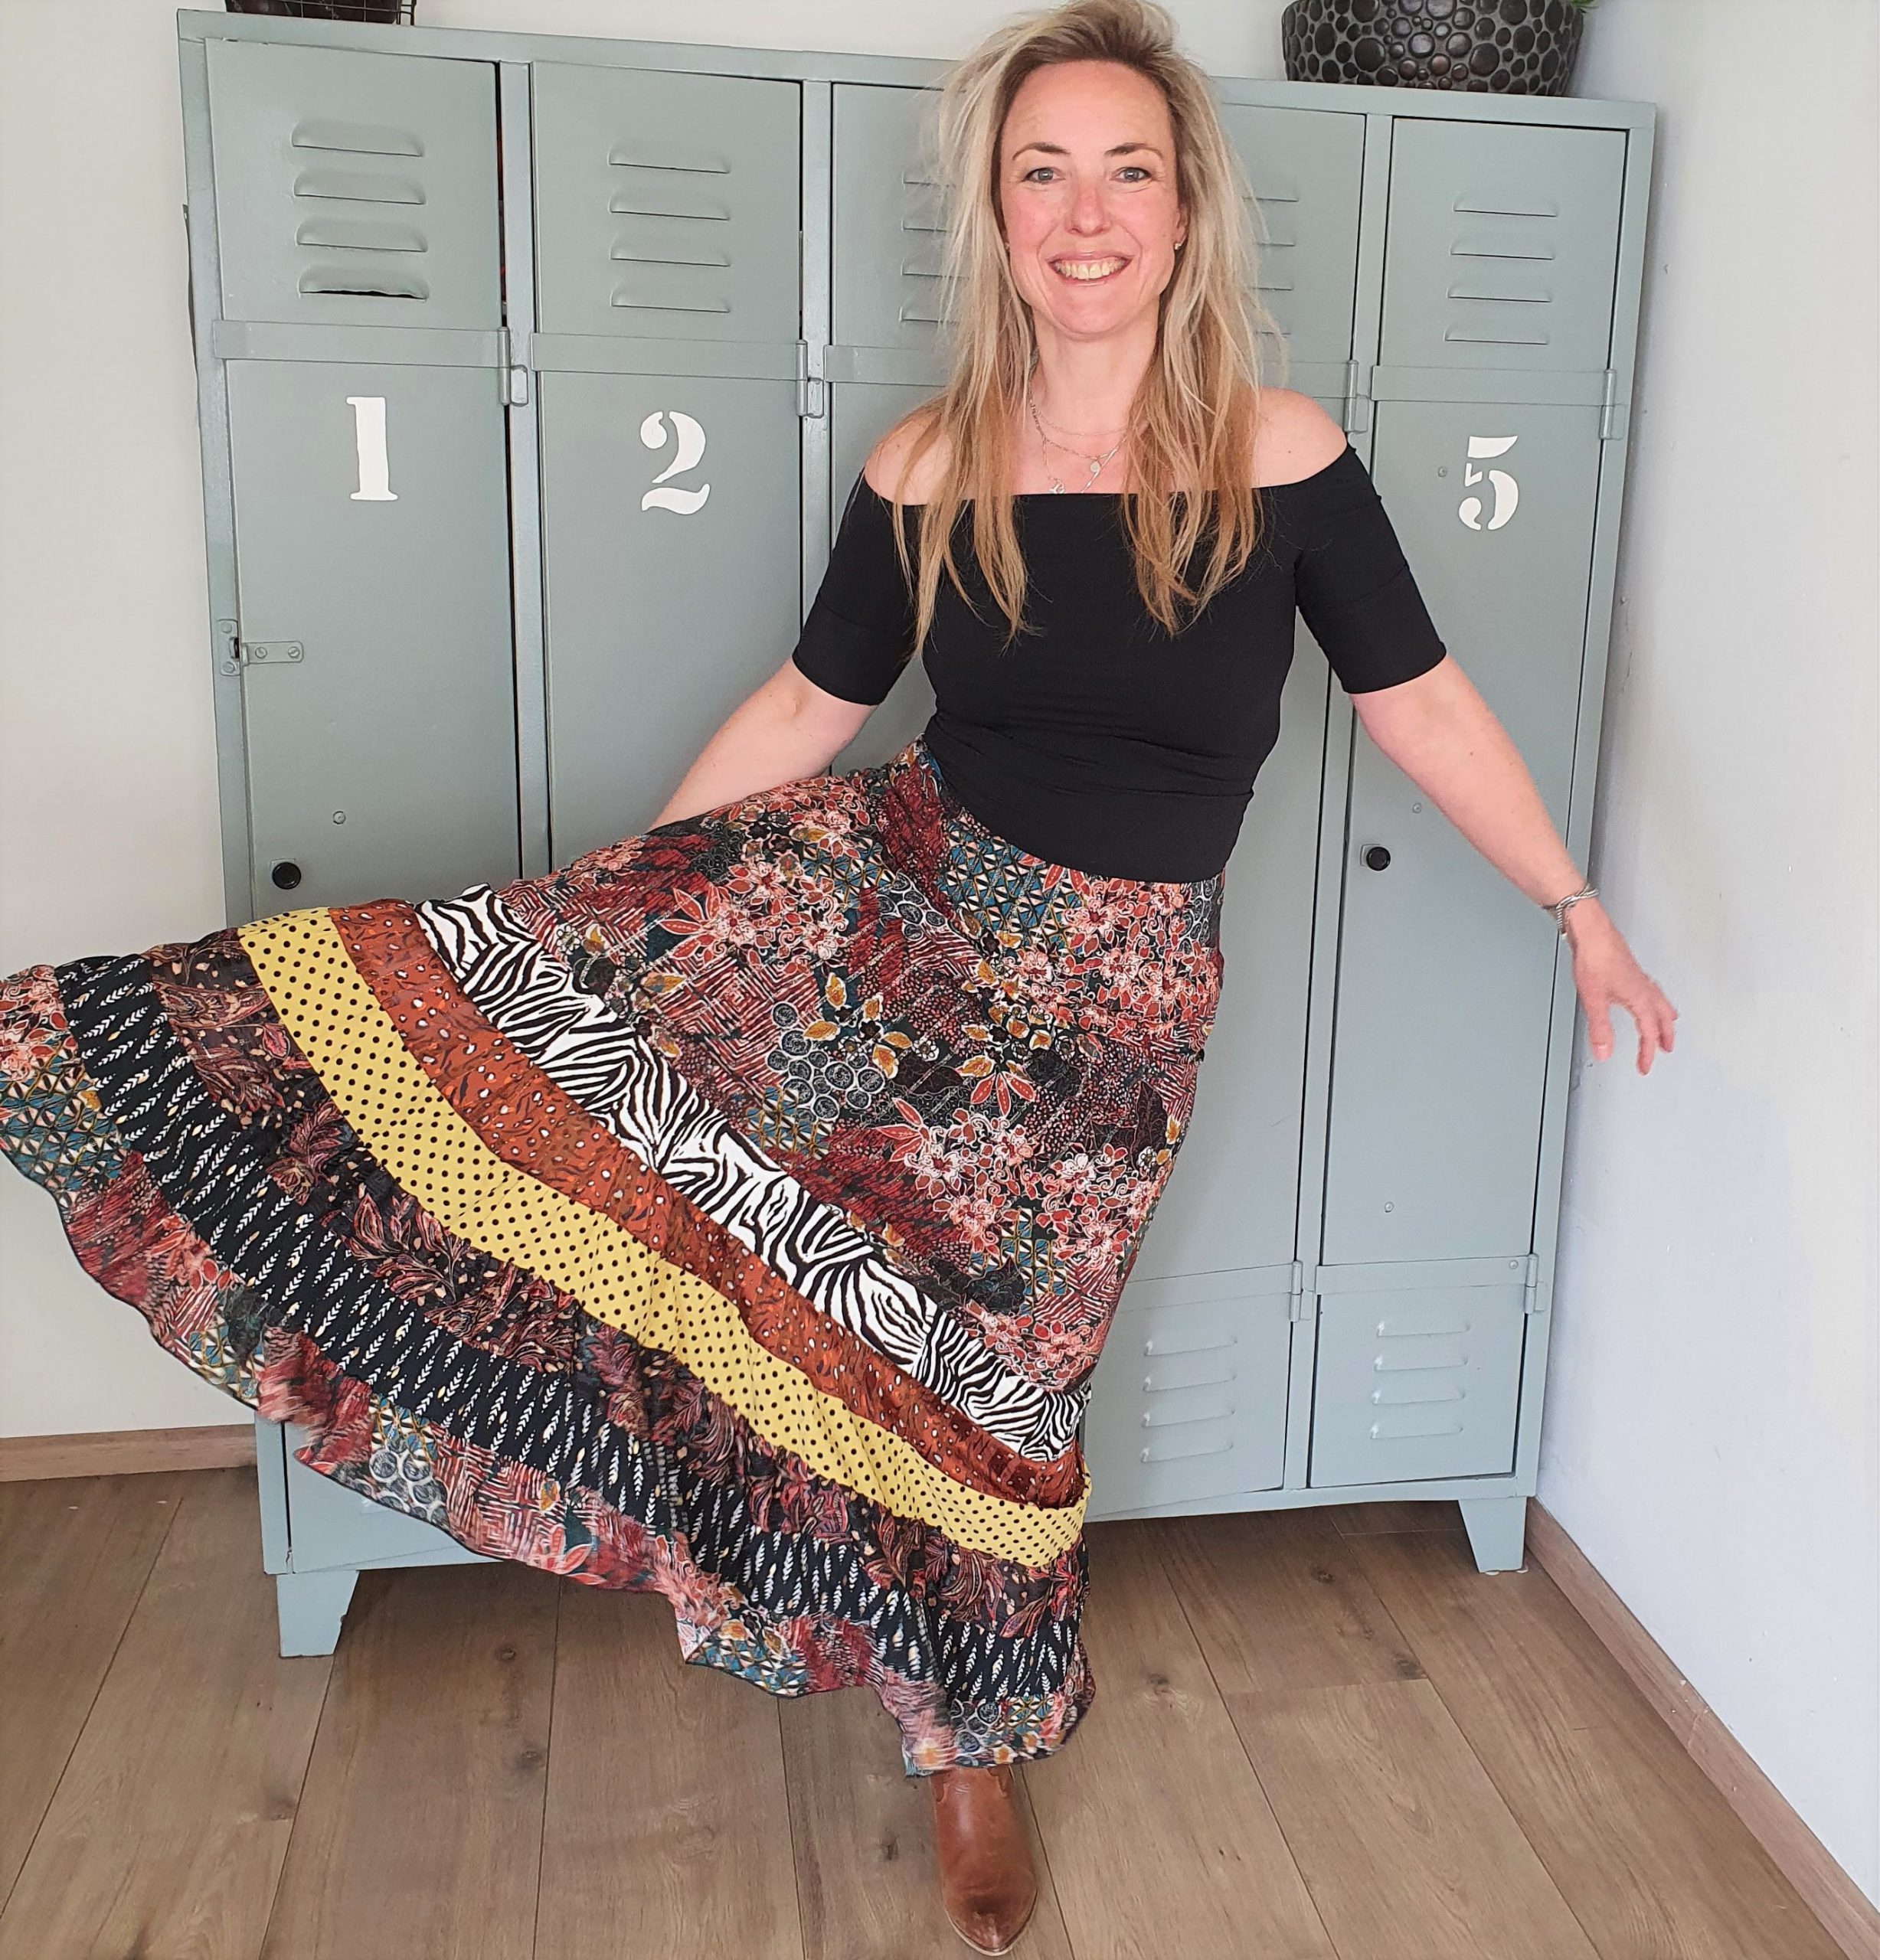
Nice and wide
Want to see more of this pattern? Check the hashtag #isewsantana and be inspired.
Love,
Marlies


Absolutely beautiful
Beautiful!! Thank you Marlies for these tips and sharing this journey😍😘😘