 BERNINA Corporate Blog -
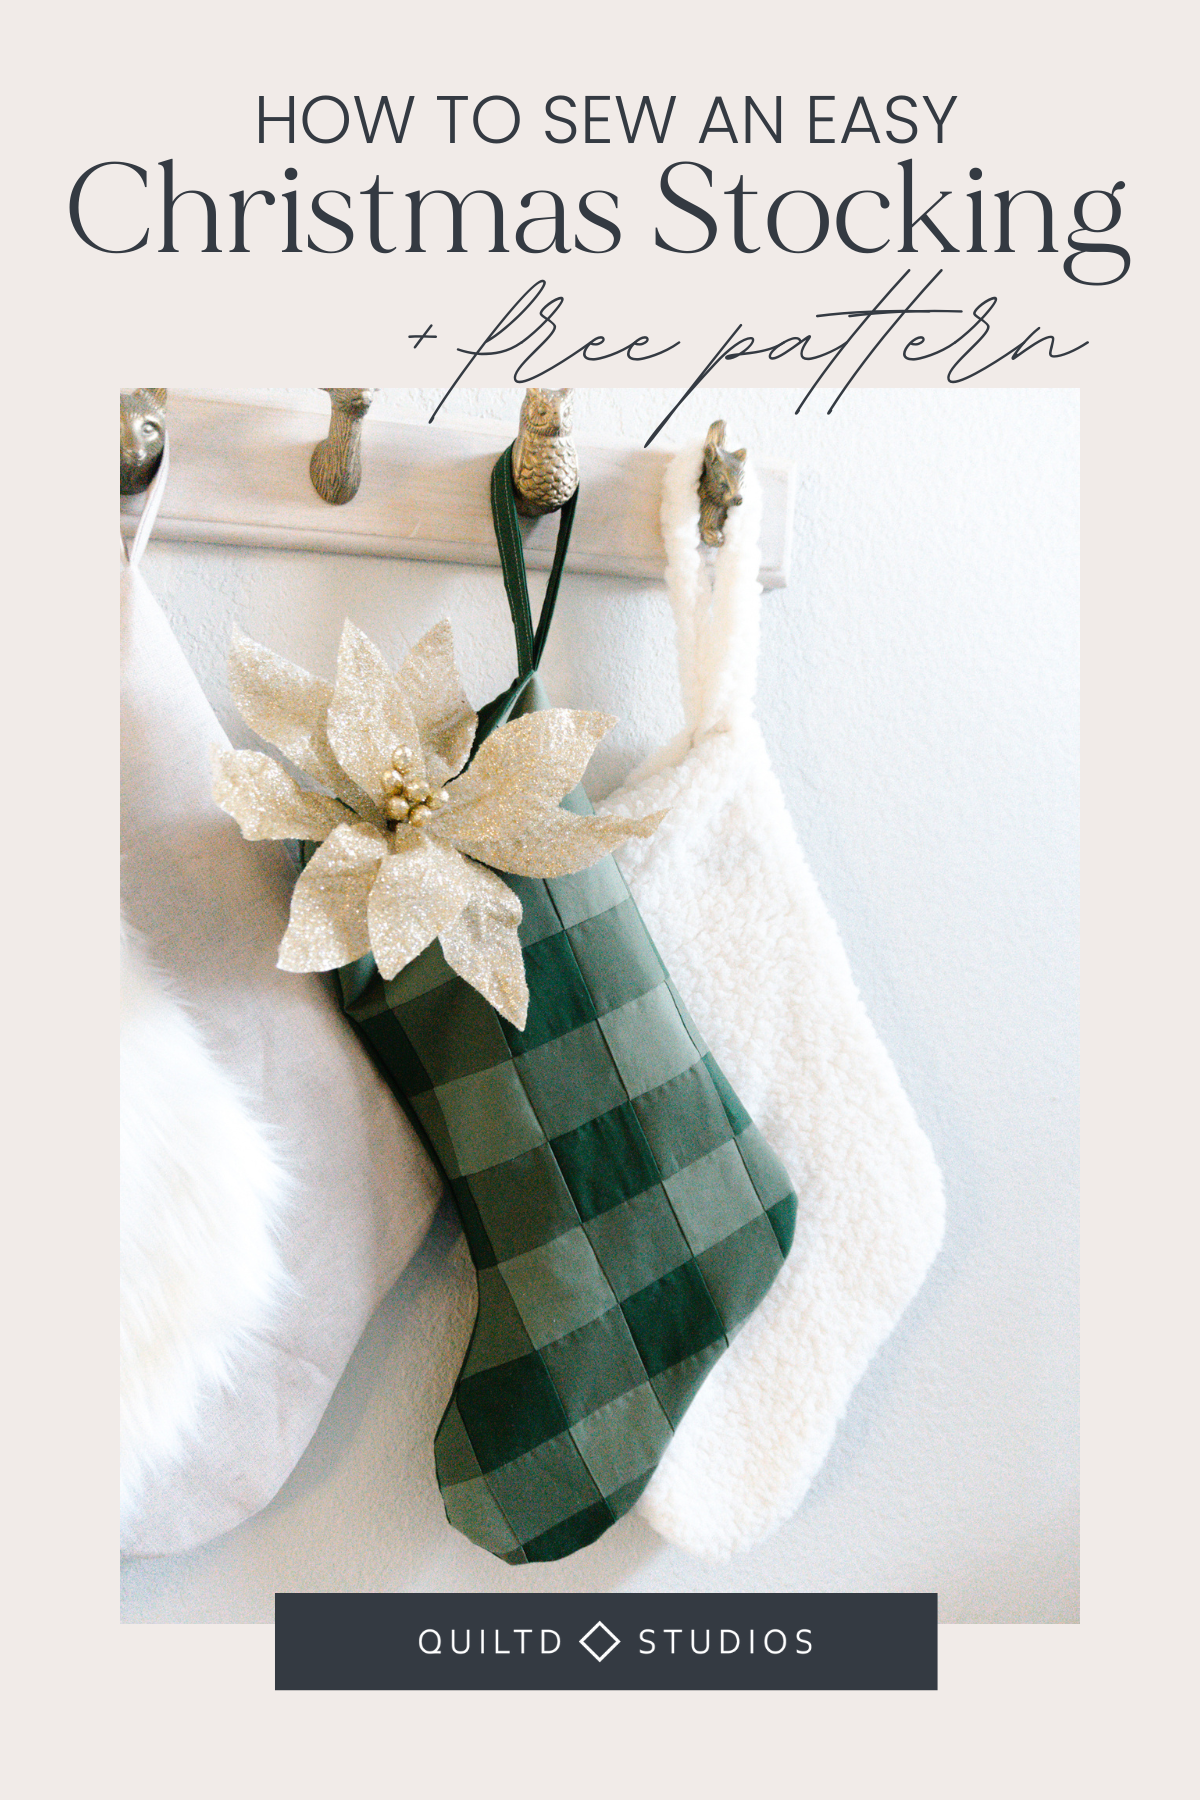
It’s that time of year, jackets are zipped up, mittens are lost (if you’re my 2 year-old), and you’ve heard frosty the snowman 30 times on the radio. Ahhh Christmas time, my favorite season. This is even more exciting to be featured in the 2022 Advent Calendar – The Third Door!
Making your own Christmas stockings doesn’t have to be laborious, although shoutout to my mom who hand embroidered her four children’s stockings! Sewing a stocking in an hour is more my style (sorry mom). And these are super duper easy.
I mean it, easier than just about anything that I make (I’m looking at you zipper bags).
And the best part.. these stockings are completely customizable, make them as colorful, festive, and fun as you want! Which is perfect for everyone’s festive Kaffe-inspired projects!
Sewing Christmas Stocking: Let’s Get Started
To make your easy Christmas stockings and template, you’ll need to decide what colors you’d like for your stockings. I made five in various fabrics: Faux Fur, velvet, sherpa, quilted, and linen. I know, it’s a lot, but I couldn’t decide and honestly they all ended up looking beautiful together!
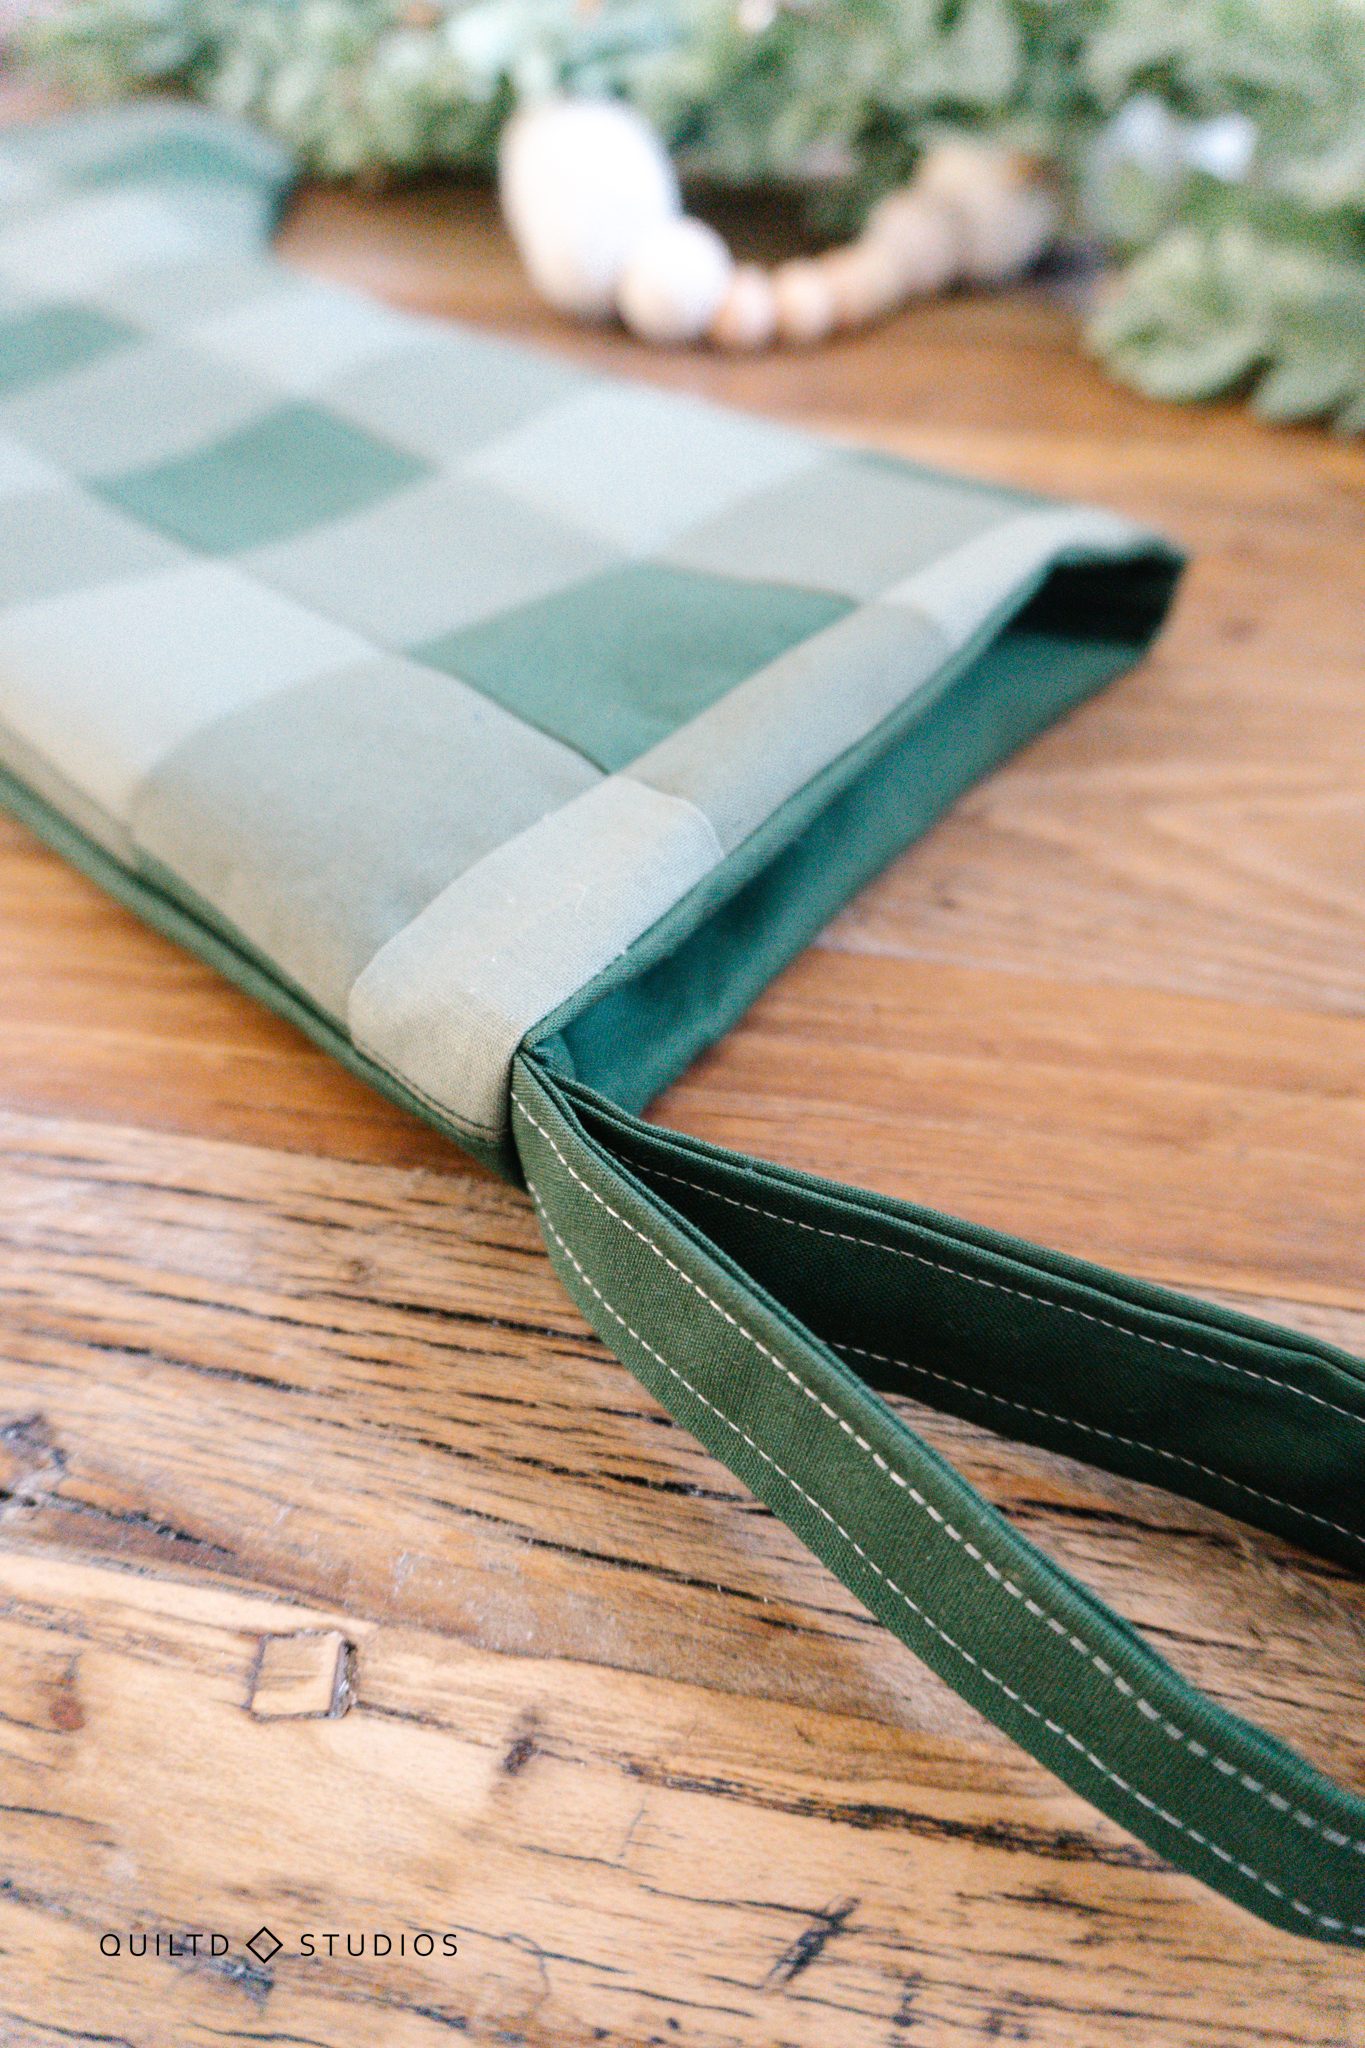
For this tutorial, I will show you how I made a simple gingham pattern to create a quilted look (I am a quilter after all). But feel free to use any pattern or fabric that your heart desires. Get creative!
Get the free template HERE
Supplies Needed:
- ½ Yard fabric for outside
- ½ Yard fabric for lining
Gingham Version:
- ¼ Yard dark colored fabric
- ¼ yard light colored fabric
- ½ yard medium colored fabric
- ½ yard fabric for lining
- Optional: batting for quilting
Make the Outside of the Christmas Stocking
If you’re making a gingham stocking, you’ll need to make the gingham and with strip quilting, it’s a breeze! If you’re new to strip quilting, no fear, it’s easier than you think.
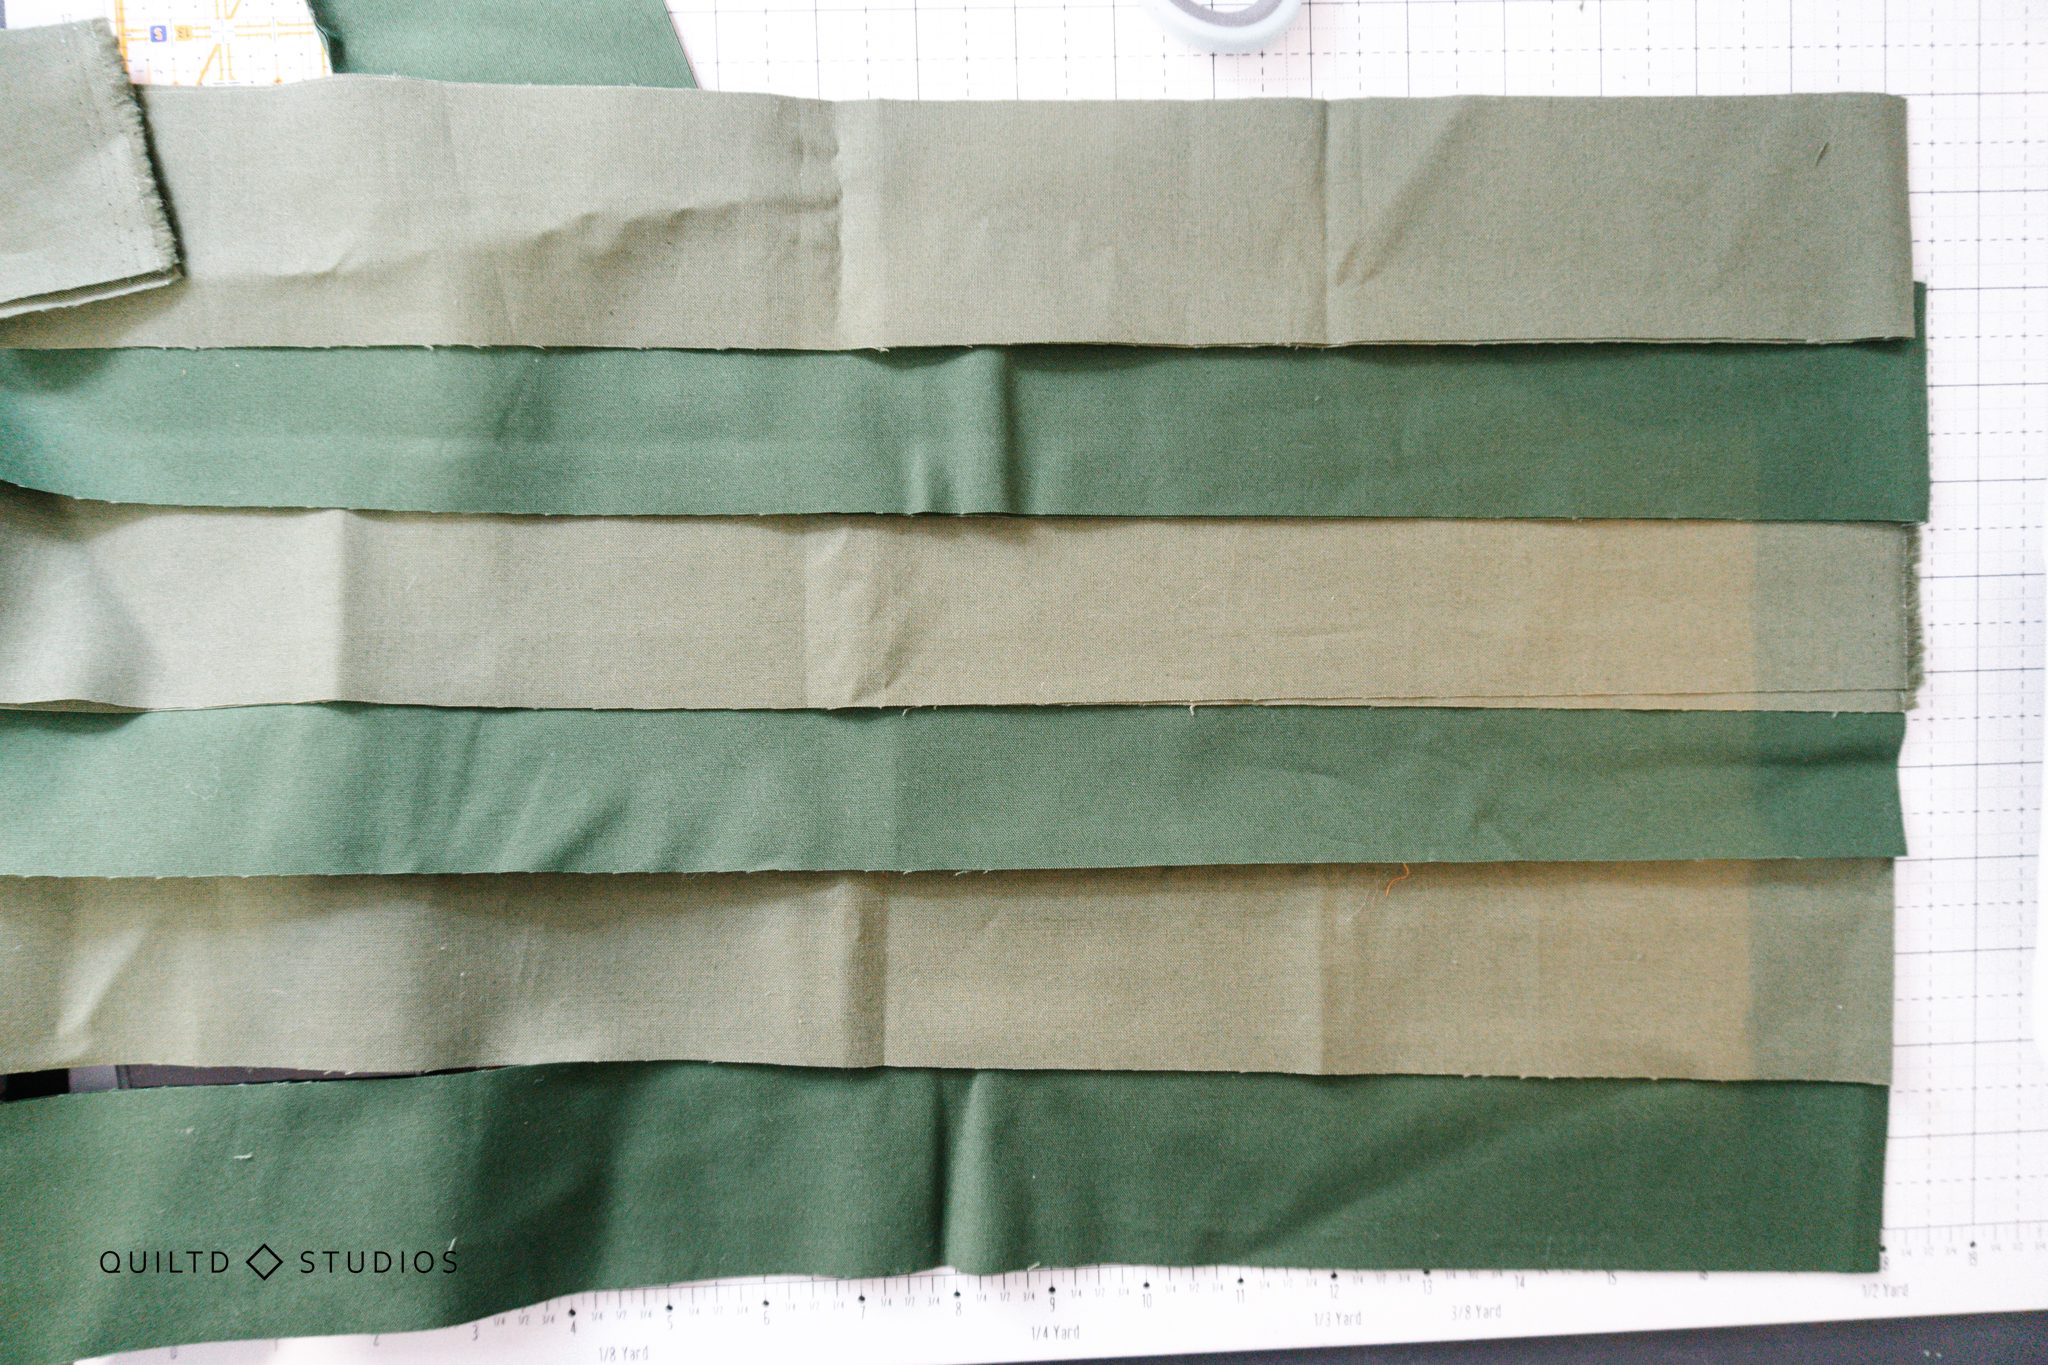
Begin by cutting (3) 2 ½” x WOF (width of fabric) strips from the dark colored fabric and repeat with the light colored fabric. Cut (6) 2 ½” x WOF (width of fabric) strips from the medium colored fabric.
Using a scant ¼” seam allowance (make sure it’s consistent, use a guide if needed), sew (1) dark WOF strip lengthwise (on the long side) to (1) medium colored strip. Repeat until you have a strip set that alternates dark and medium colors, and has 3 dark and 3 medium.
Repeat this process with the light colored fabric and medium colored fabric.
You will have 2 strip sets: Dark/Medium and Light/Medium. Iron each strip set so that it lays flat, I usually iron the seams down on one set and up on the other to create nesting seams.
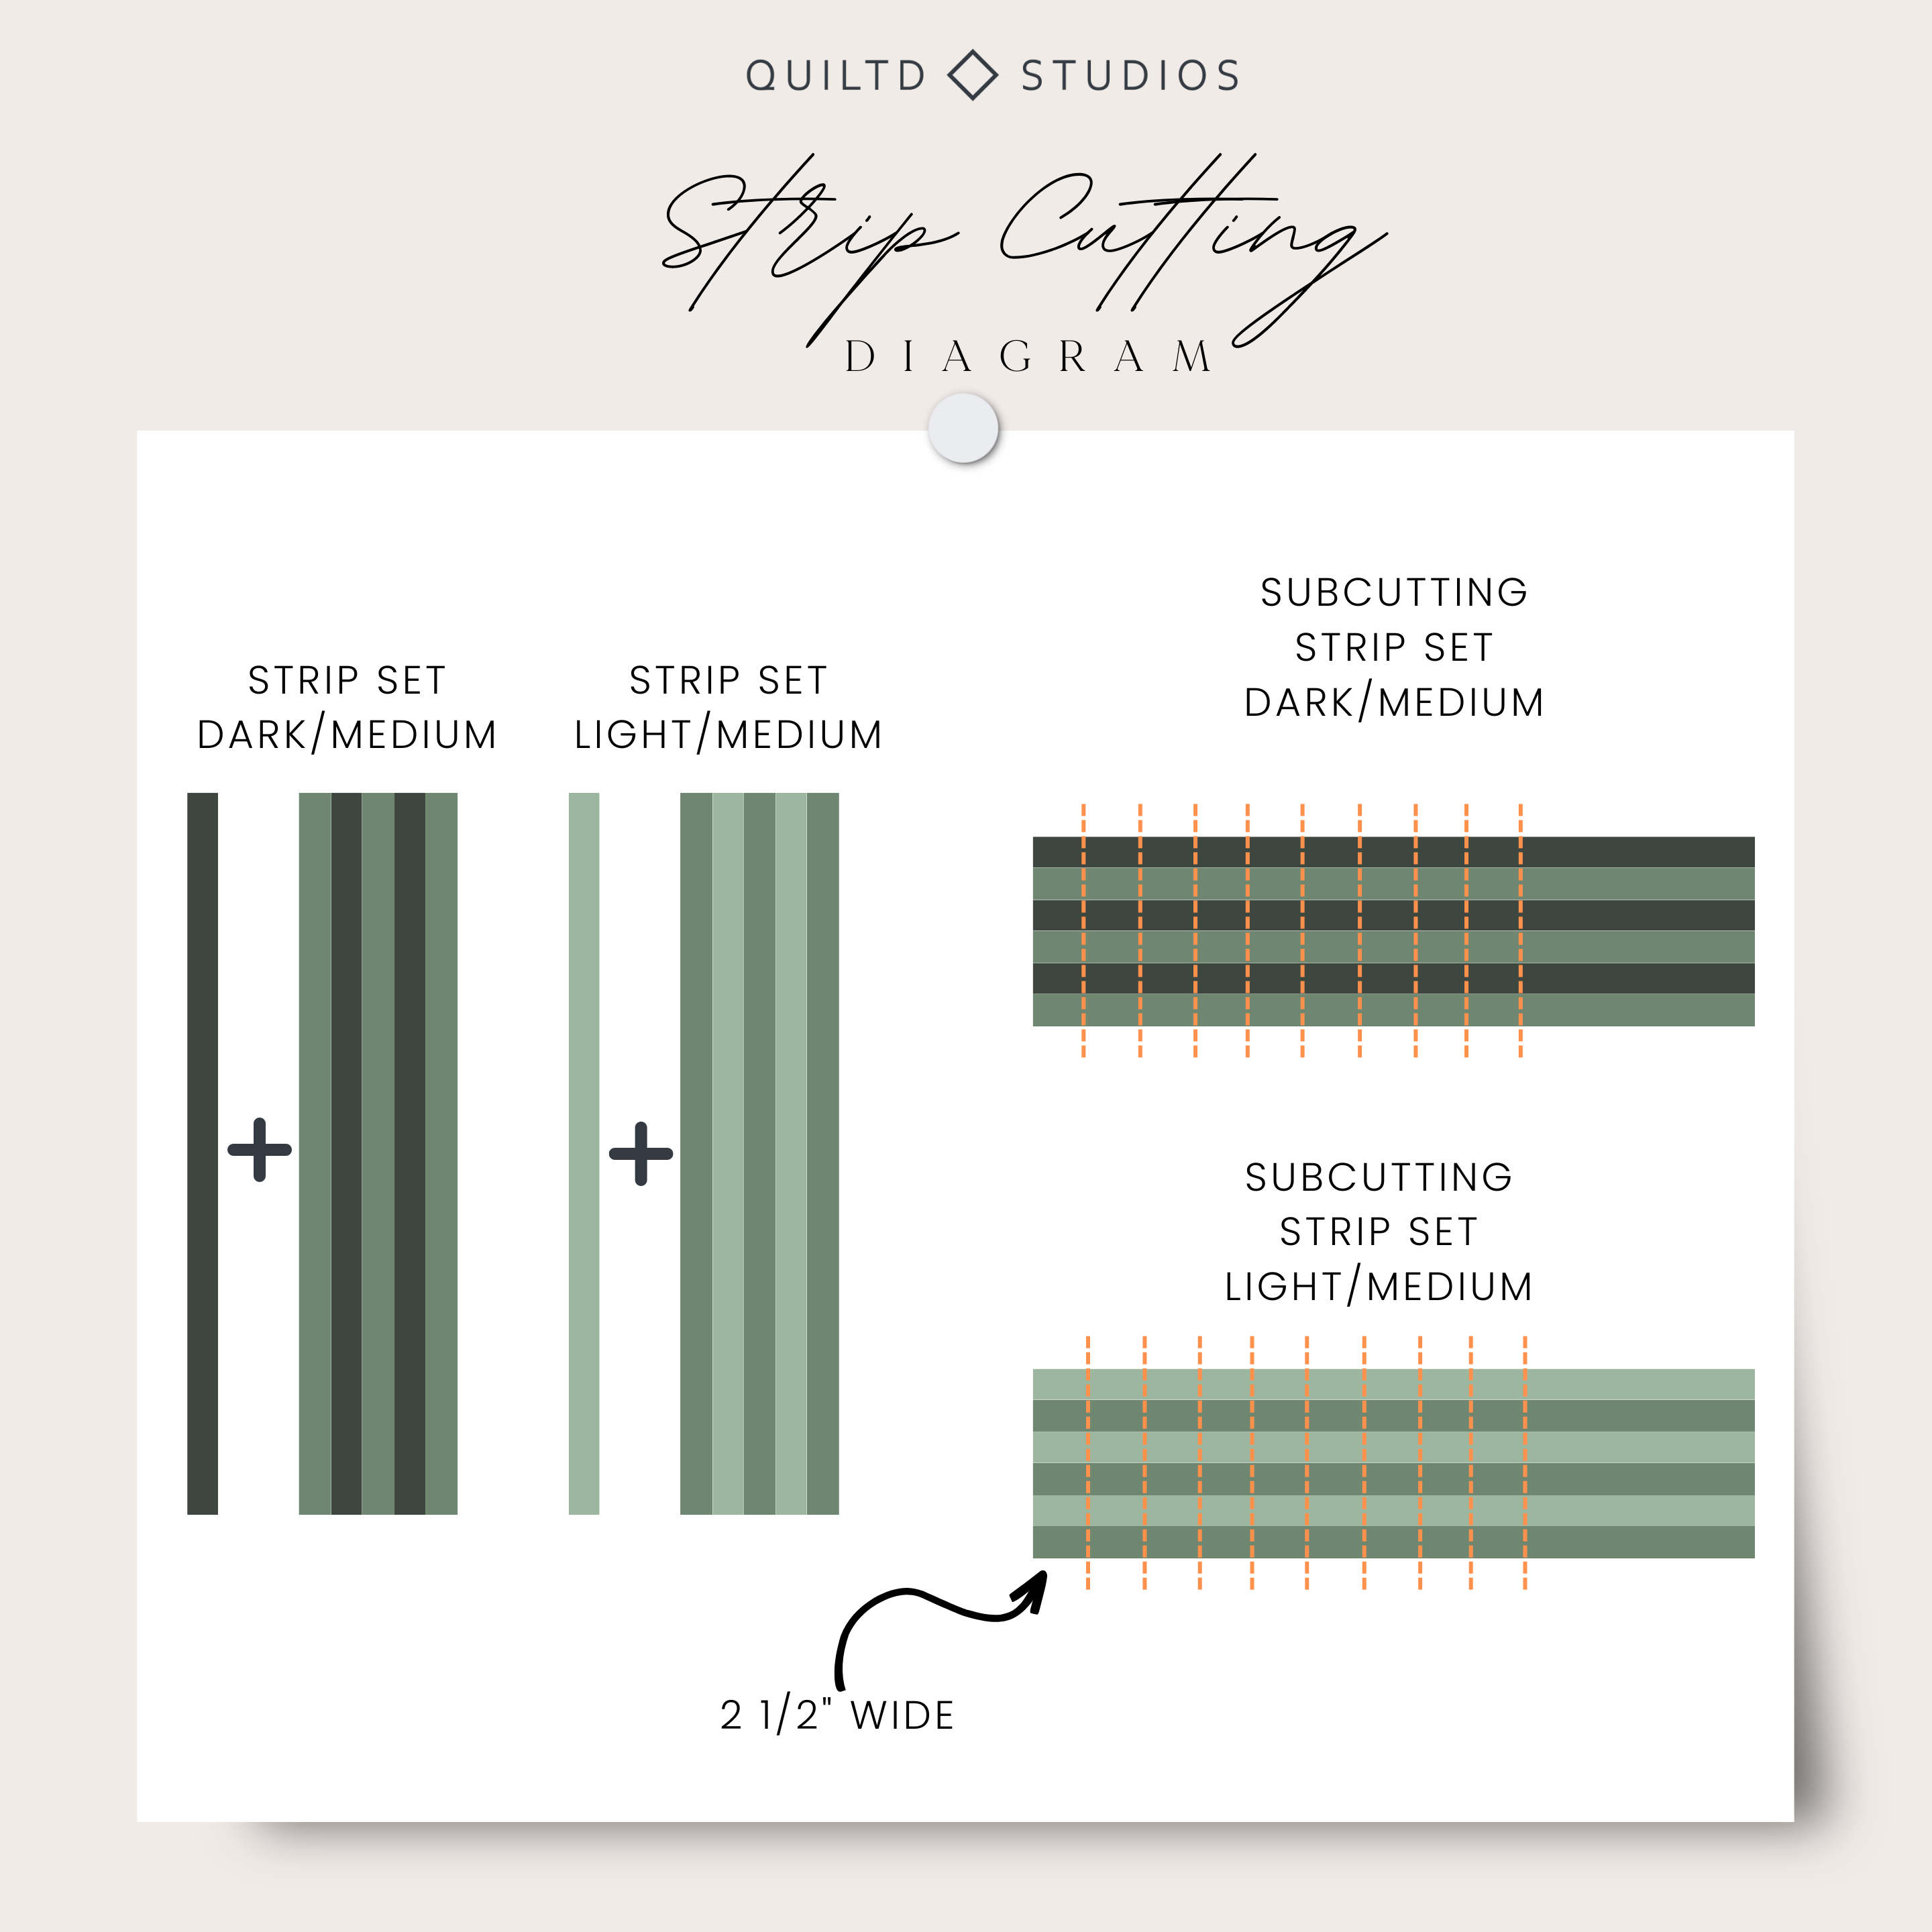
Subcutting the Stripsets to Make Gingham
Using a rotary cutter and ruler (I love my slotted ruler!) cut (8) 2 ½” strips crosswise from the dark/medium and (8) 2 ½” strips crosswise from the medium/Light. You might need more strips depending on your seam allowances.
Pin and sew alternating subcut strips together, matching each point (which should work if you had consistent seams). Alternate according to the diagram. Create two panels, one for the front and one for the back.
When finished, iron the panels flat.
Optional Step: Quilting the Outside Panels
Feel free to baste batting to the backs of these panels and quilt it. It wouldn’t take much longer and would add some fullness to the final stocking. I did not in the example, but it would look beautiful!
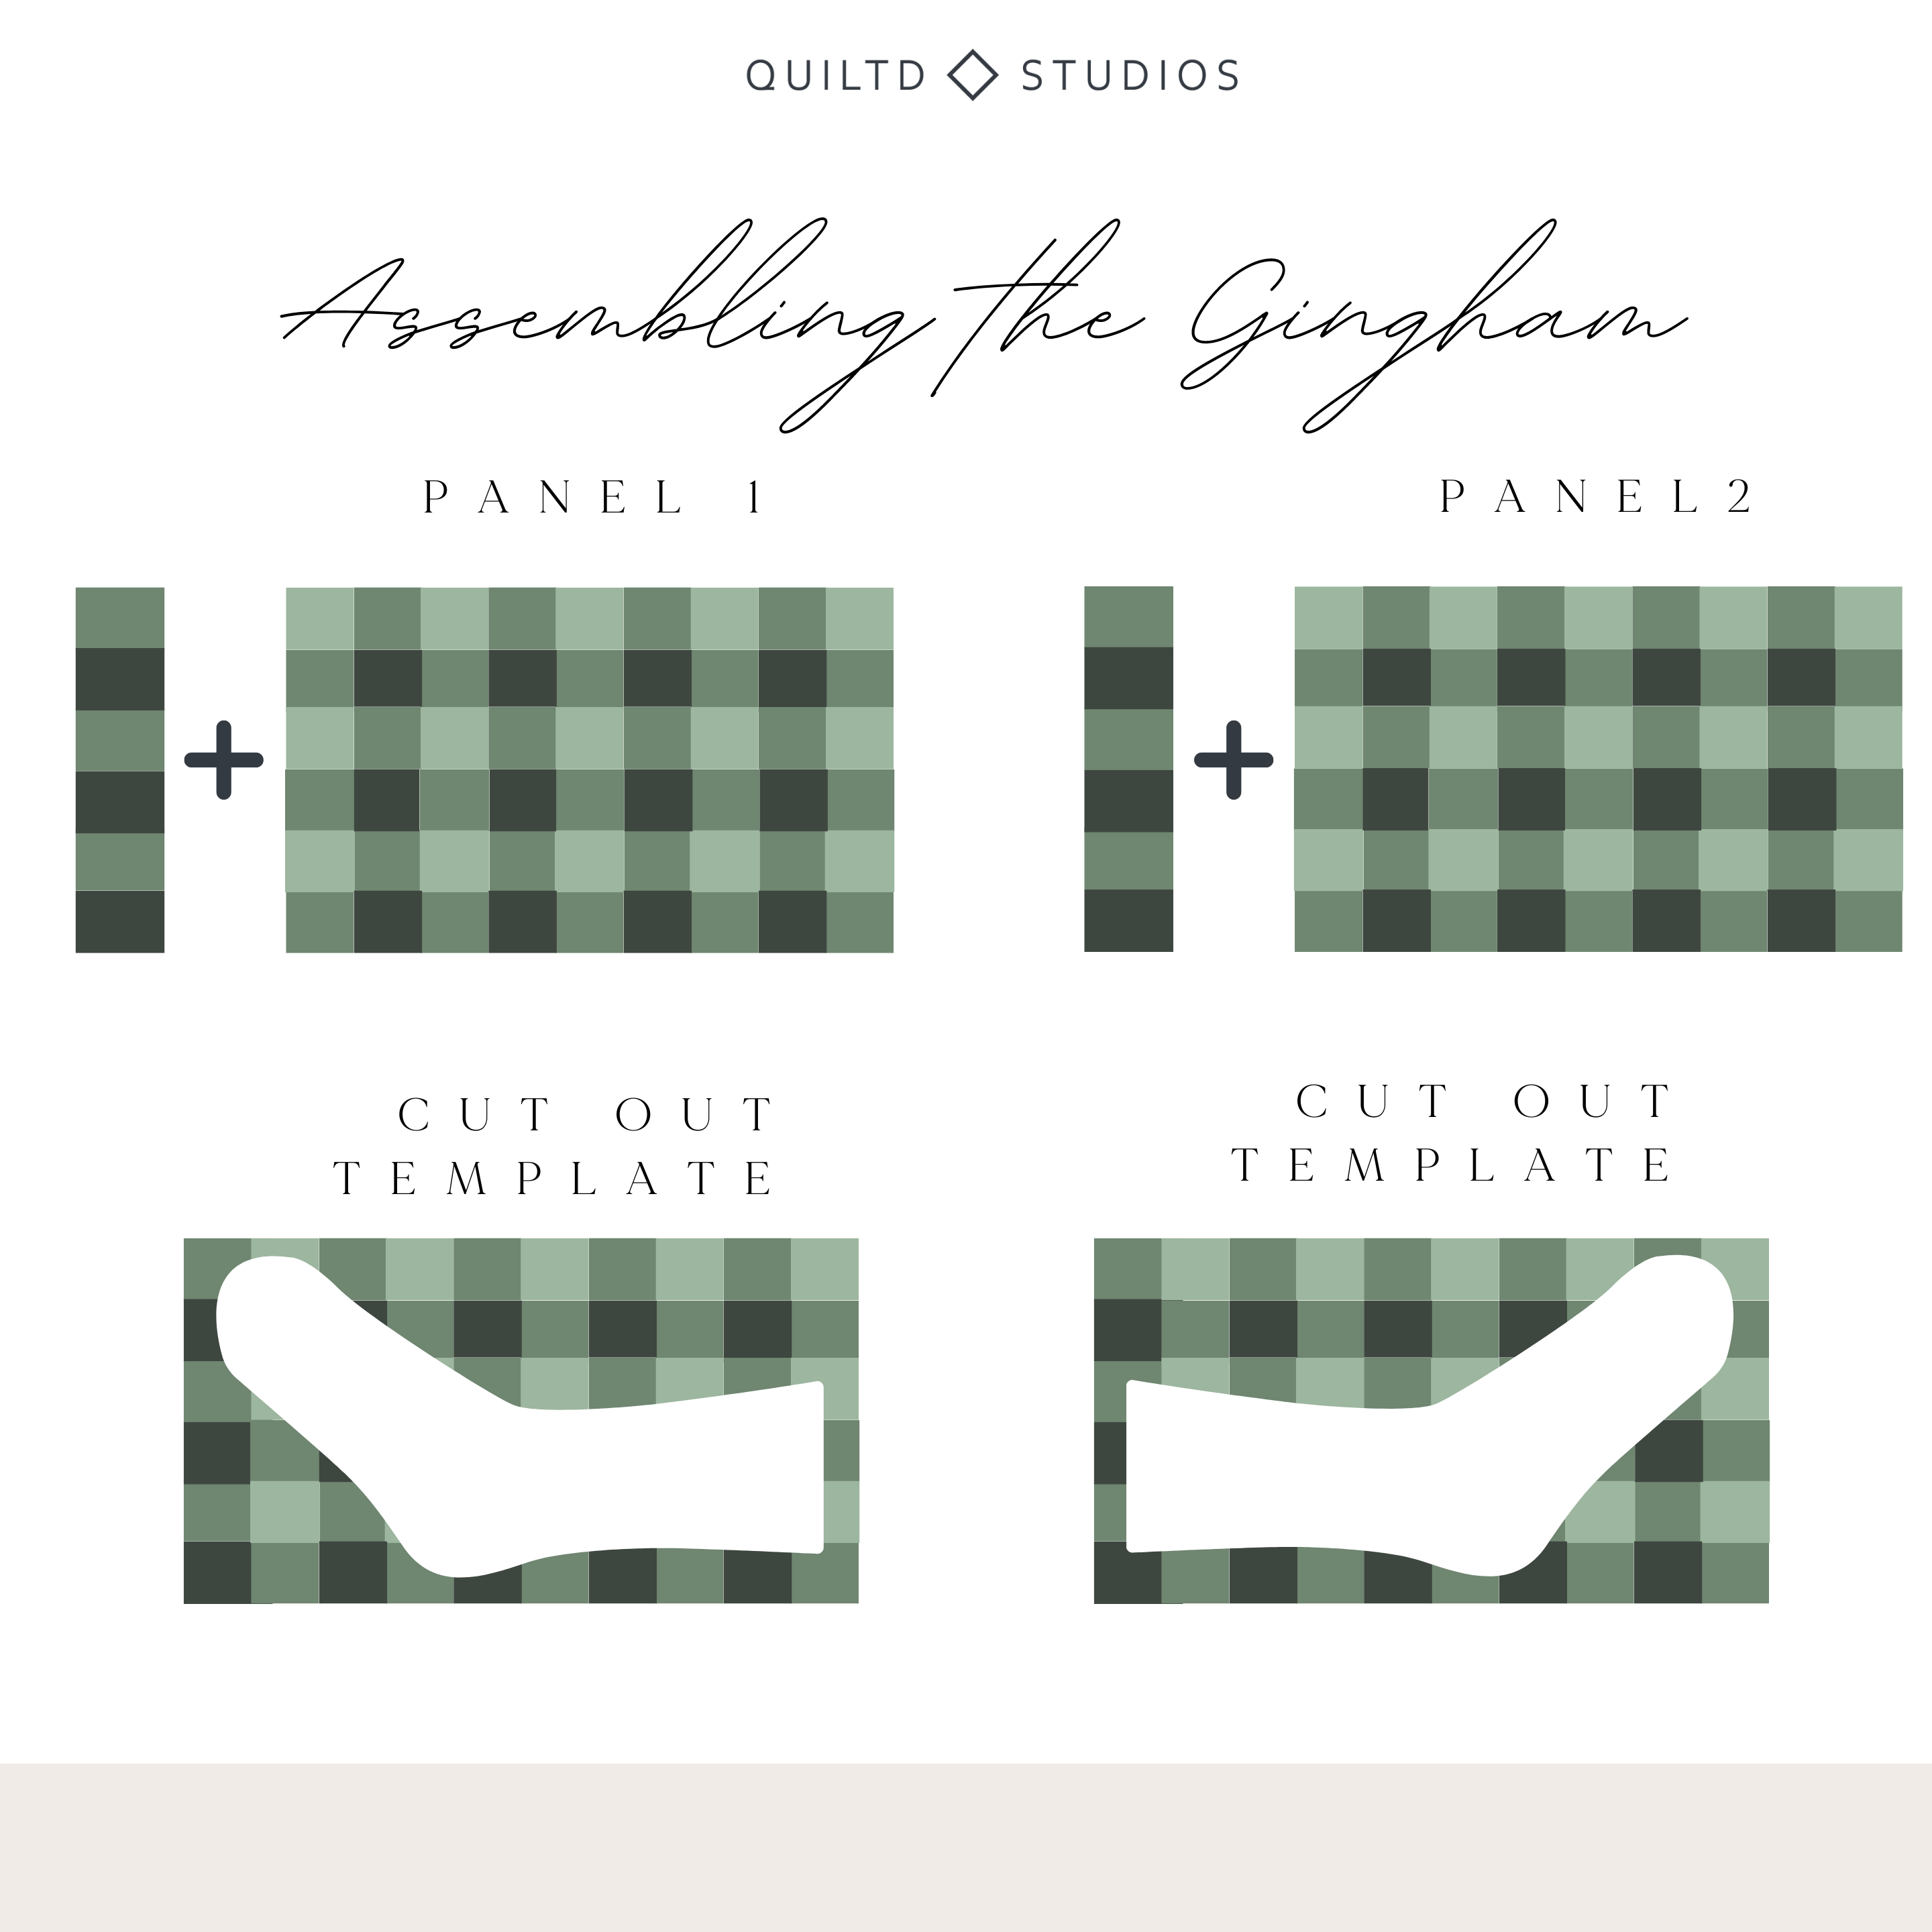
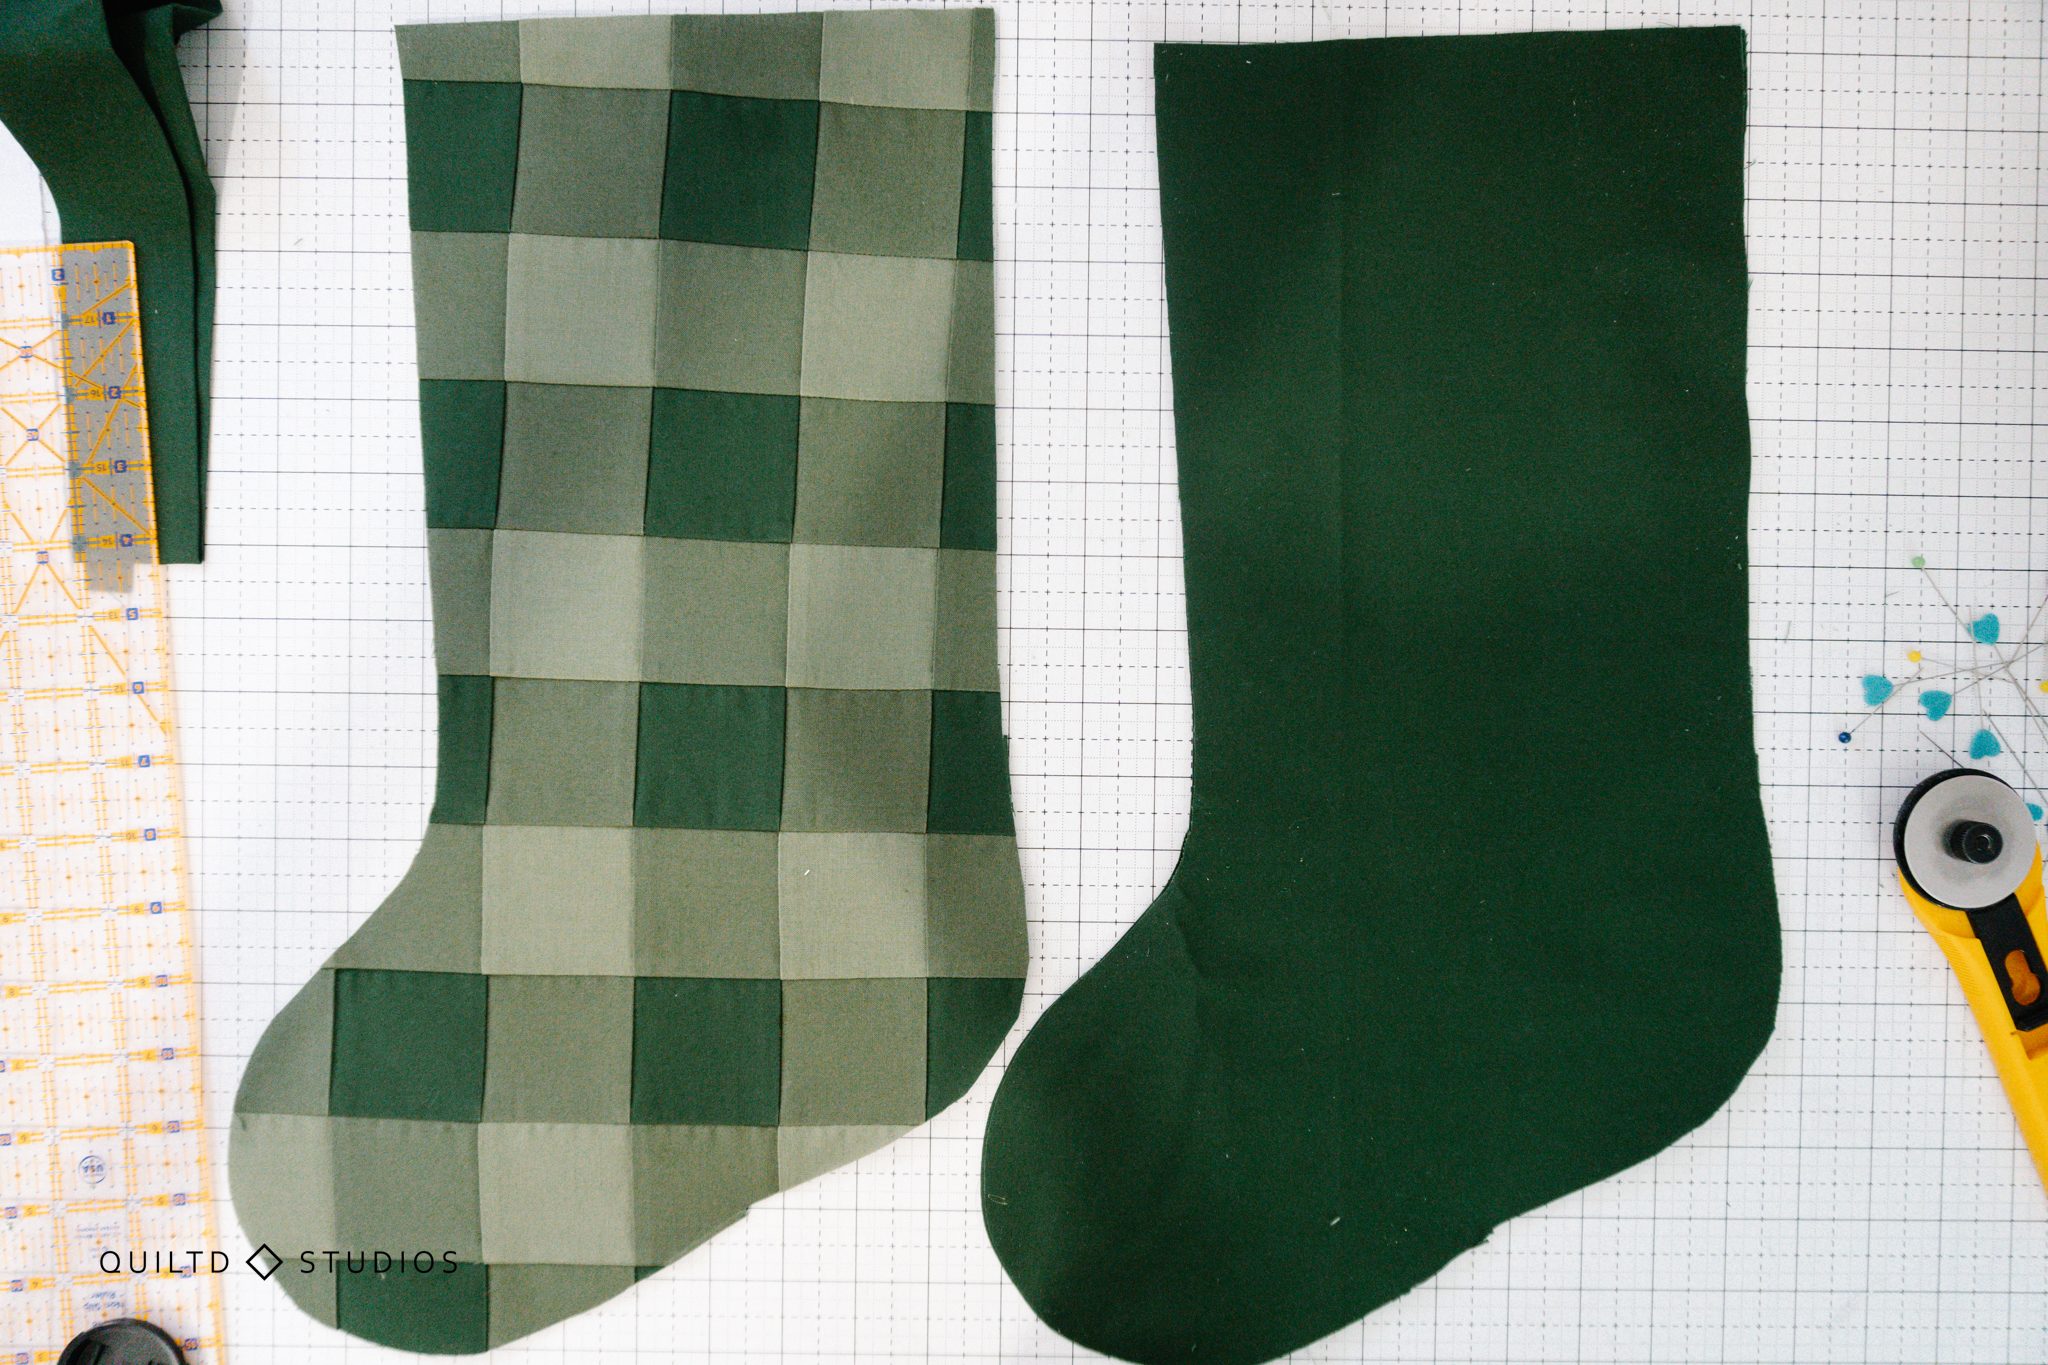
Cutting the Stockings Using a Free Template
Using the template provided HERE, cut out 2 stockings from the panels and 2 stockings from the lining fabric.
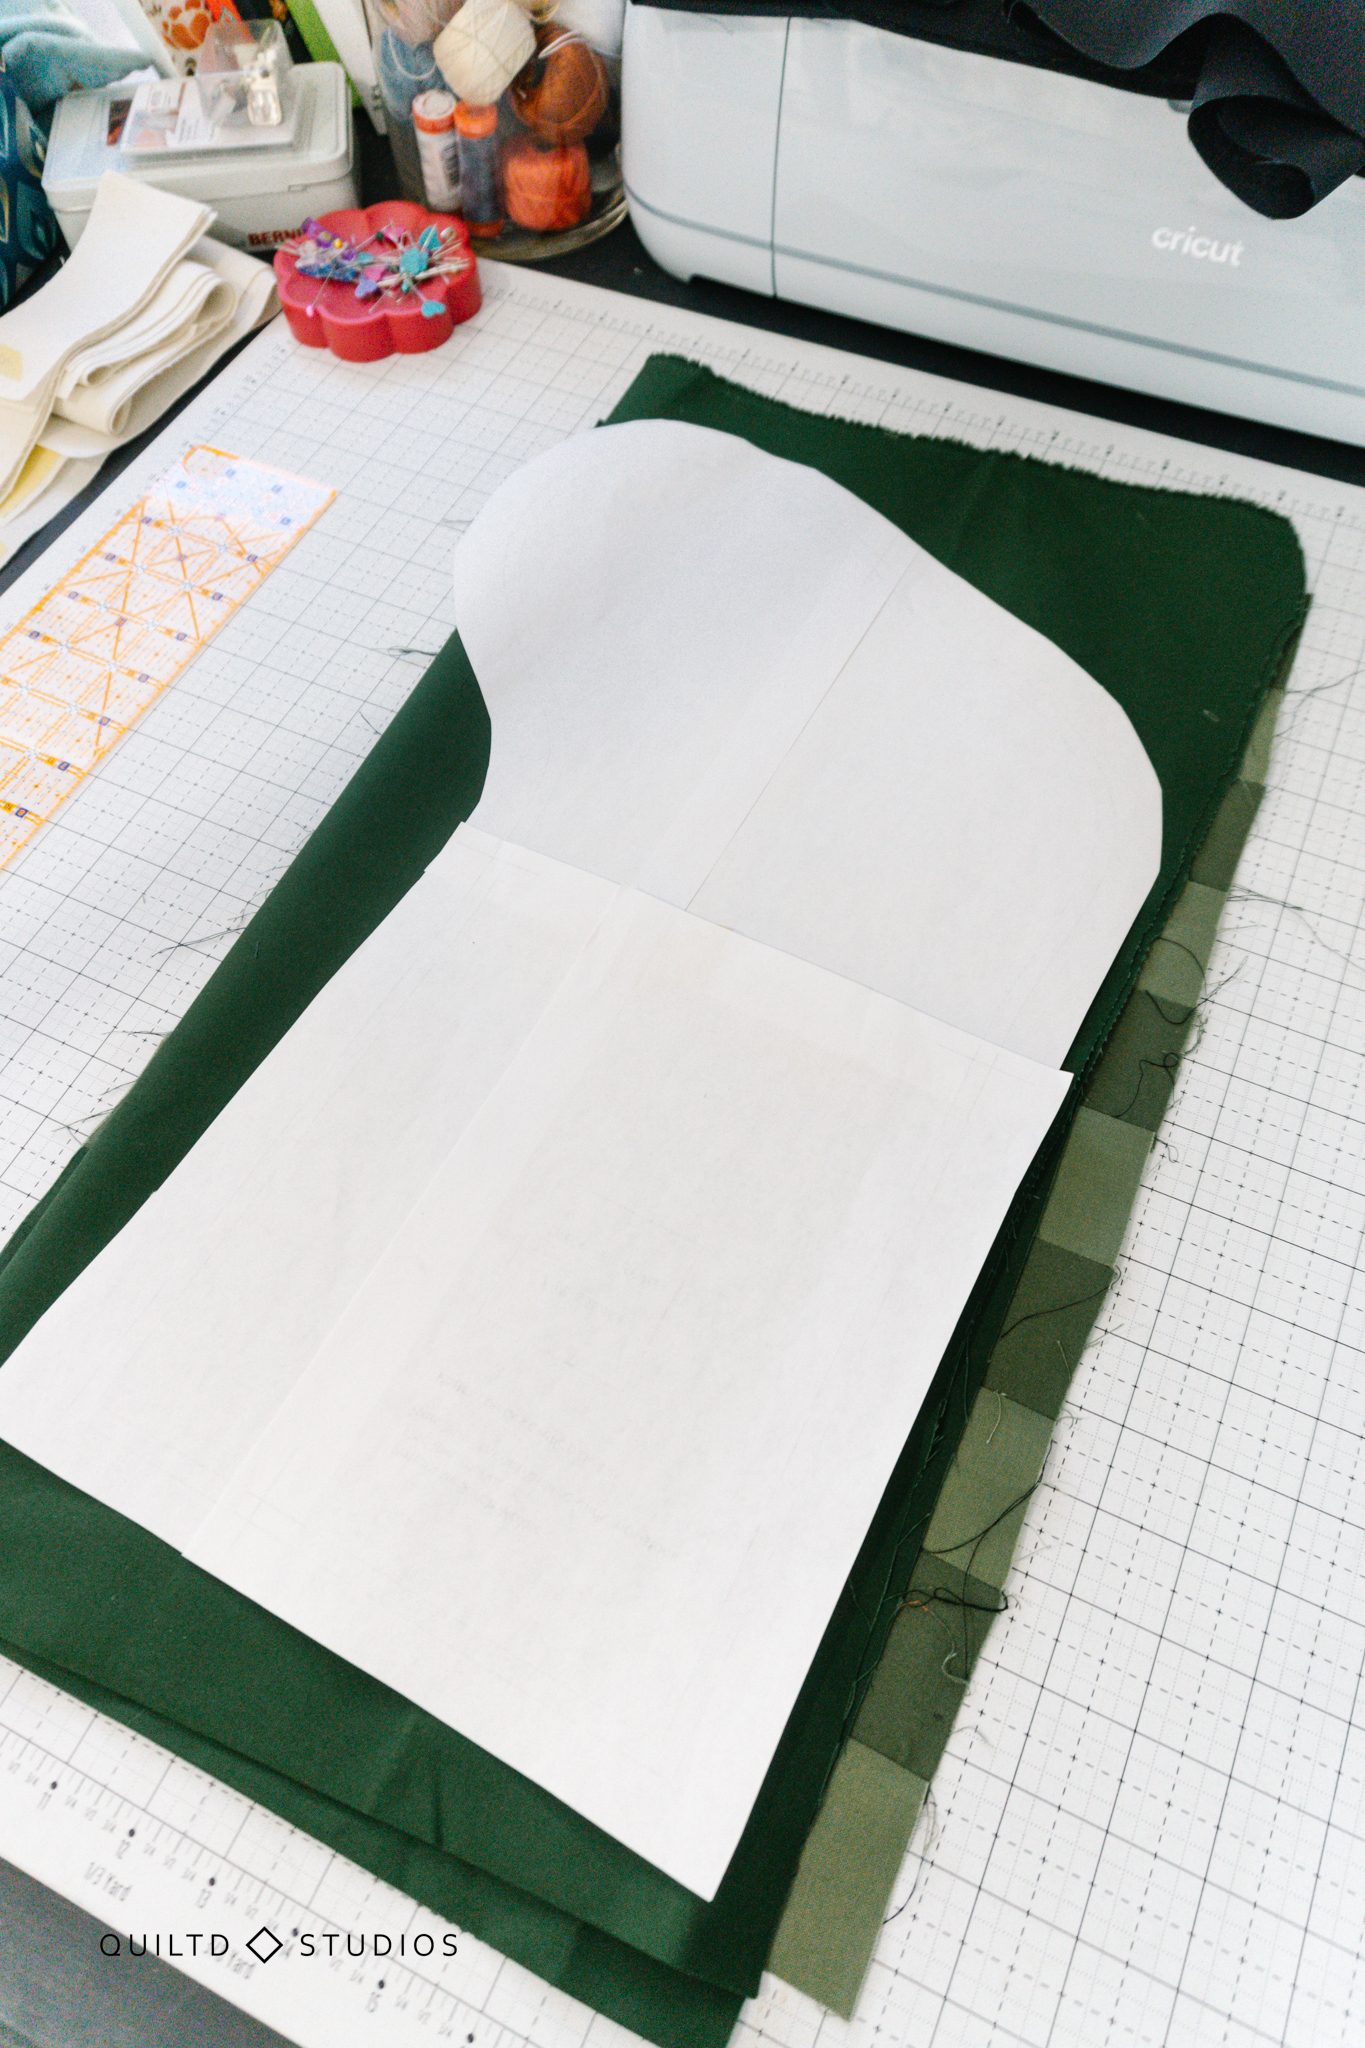
Make sure to flip the template for the second panel (otherwise you’ll end up with two right sides!)
You’re almost done! Seriously this stocking comes together so fast.
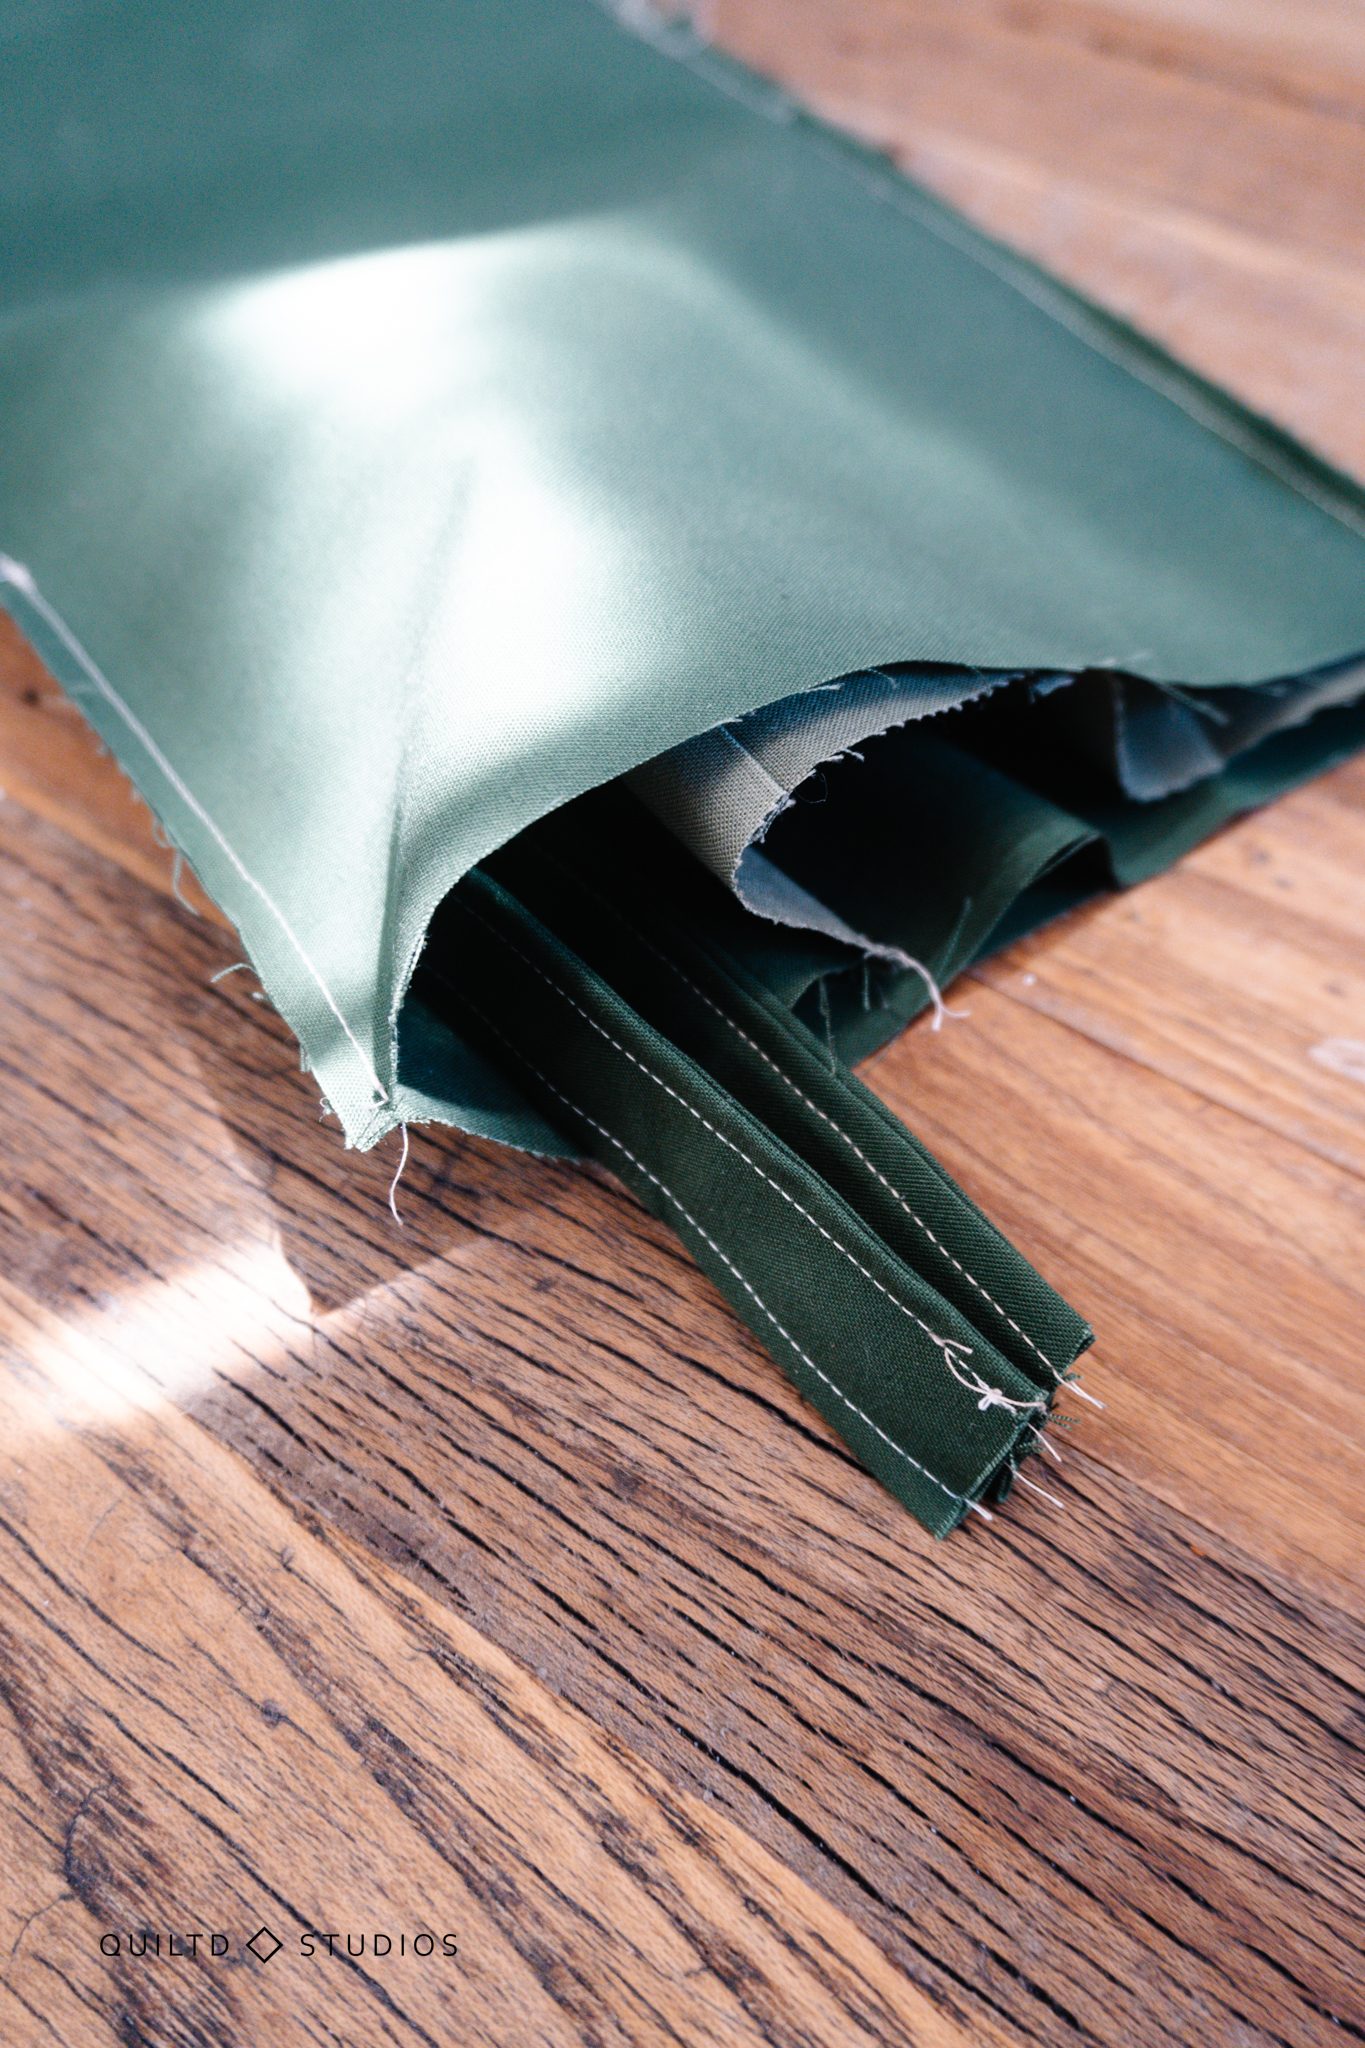
Make the Hanging Loop
To make the loop for the Christmas Stocking, use some of the leftover fabric from the lining or outside. Cut a 4” x 10” rectangle, smaller or larger depending on how low you want your stocking to hang. I’ve also used ribbon, string with beads, and bias tape successfully.


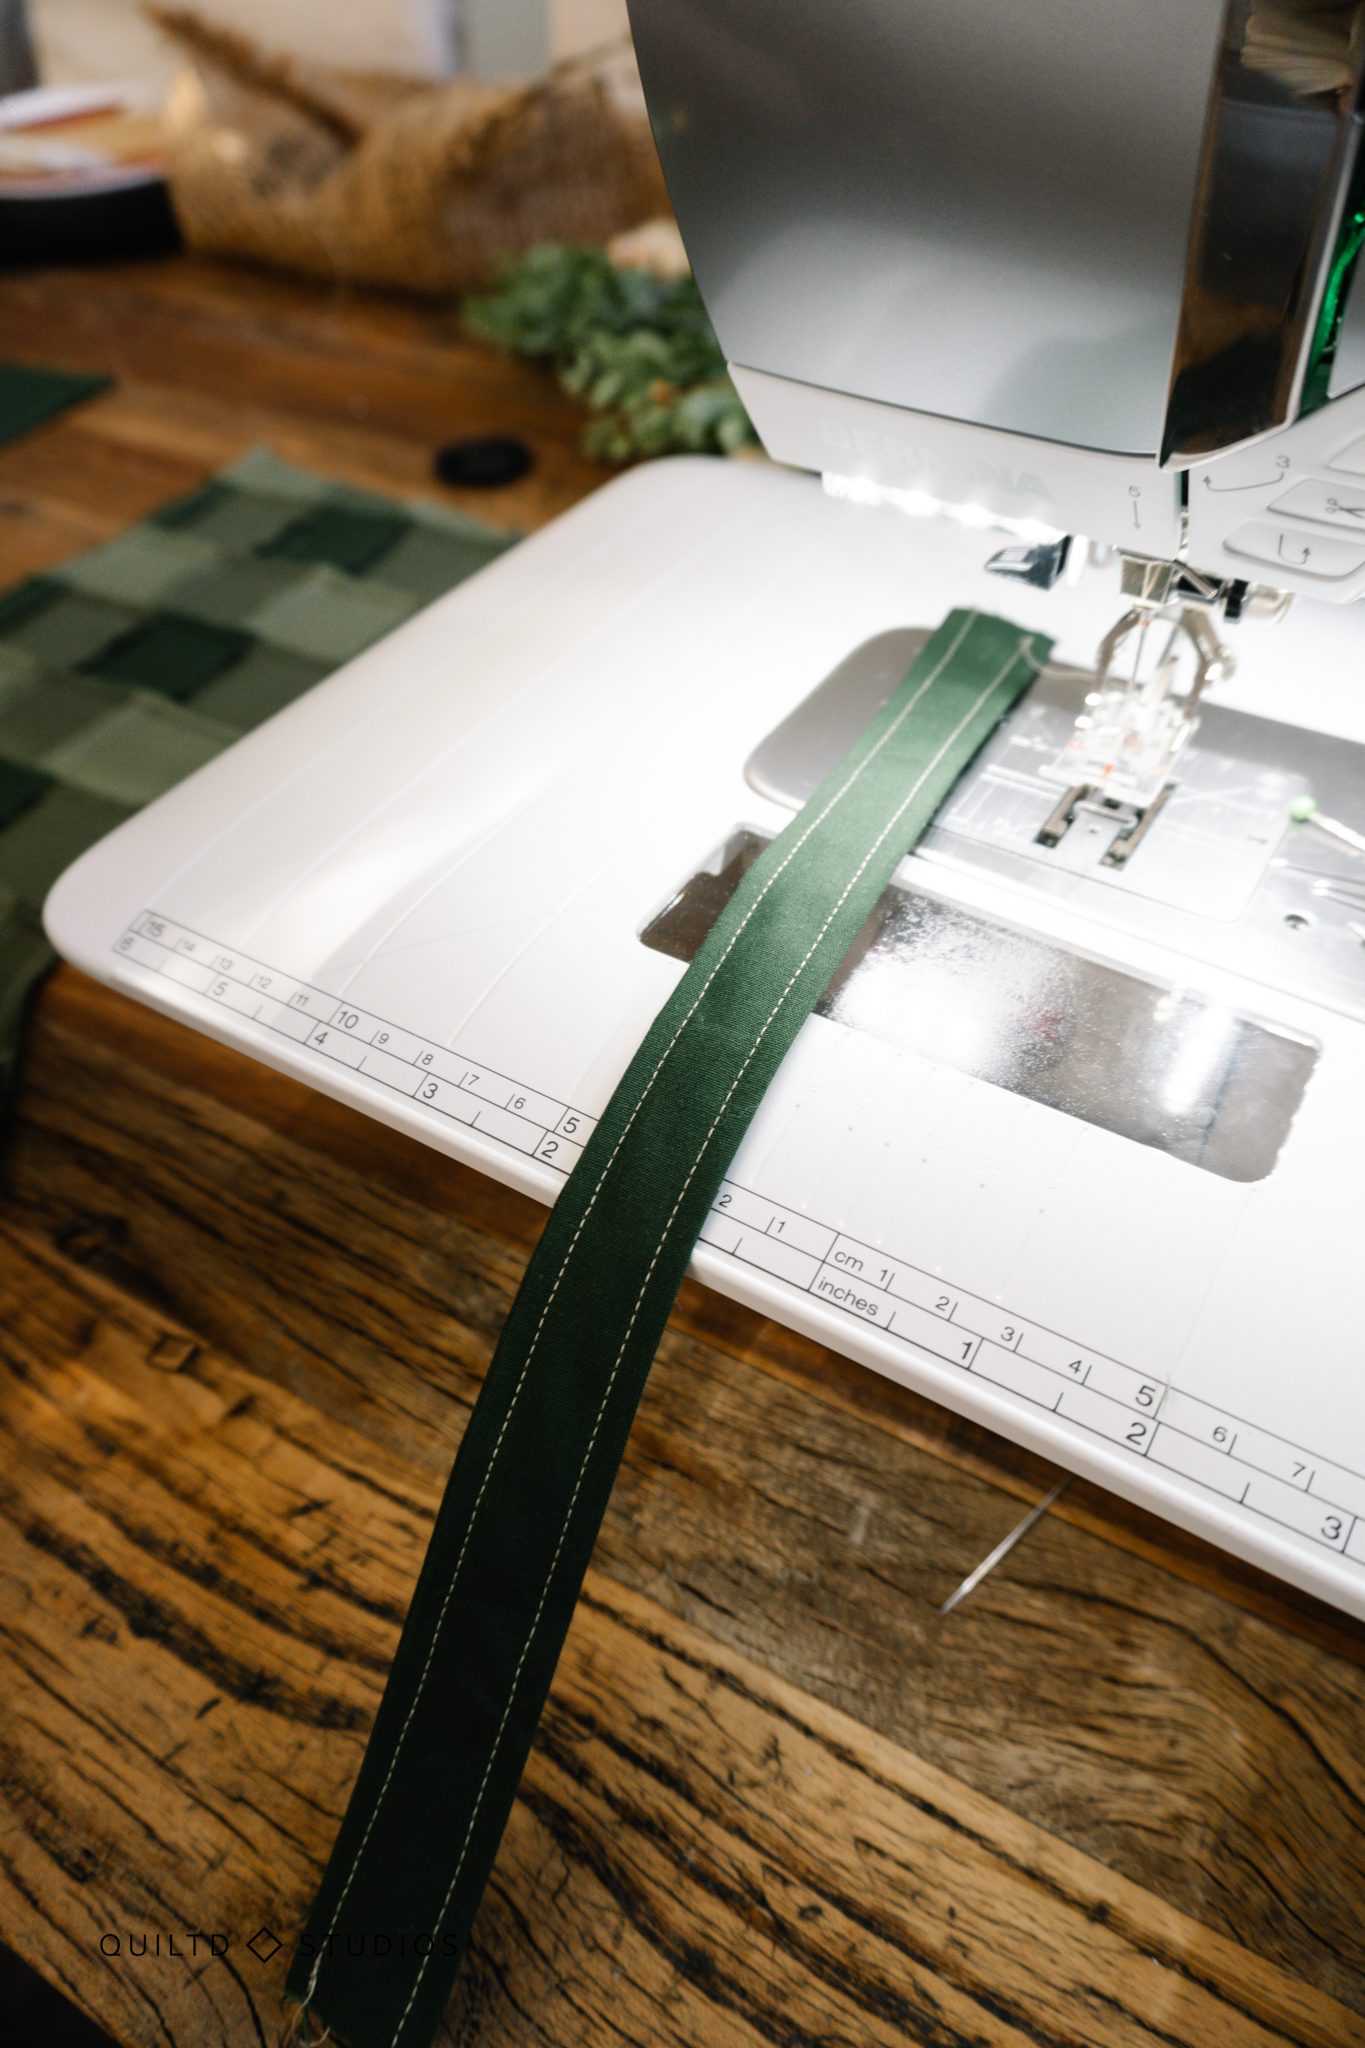
Fold the long edges into the middle so they meet and barely touch, fold again in half to create double bias tape. Sew 1/8” from each side down the length of the strip. This will create a little strip of fabric that we can use to hang our stocking.
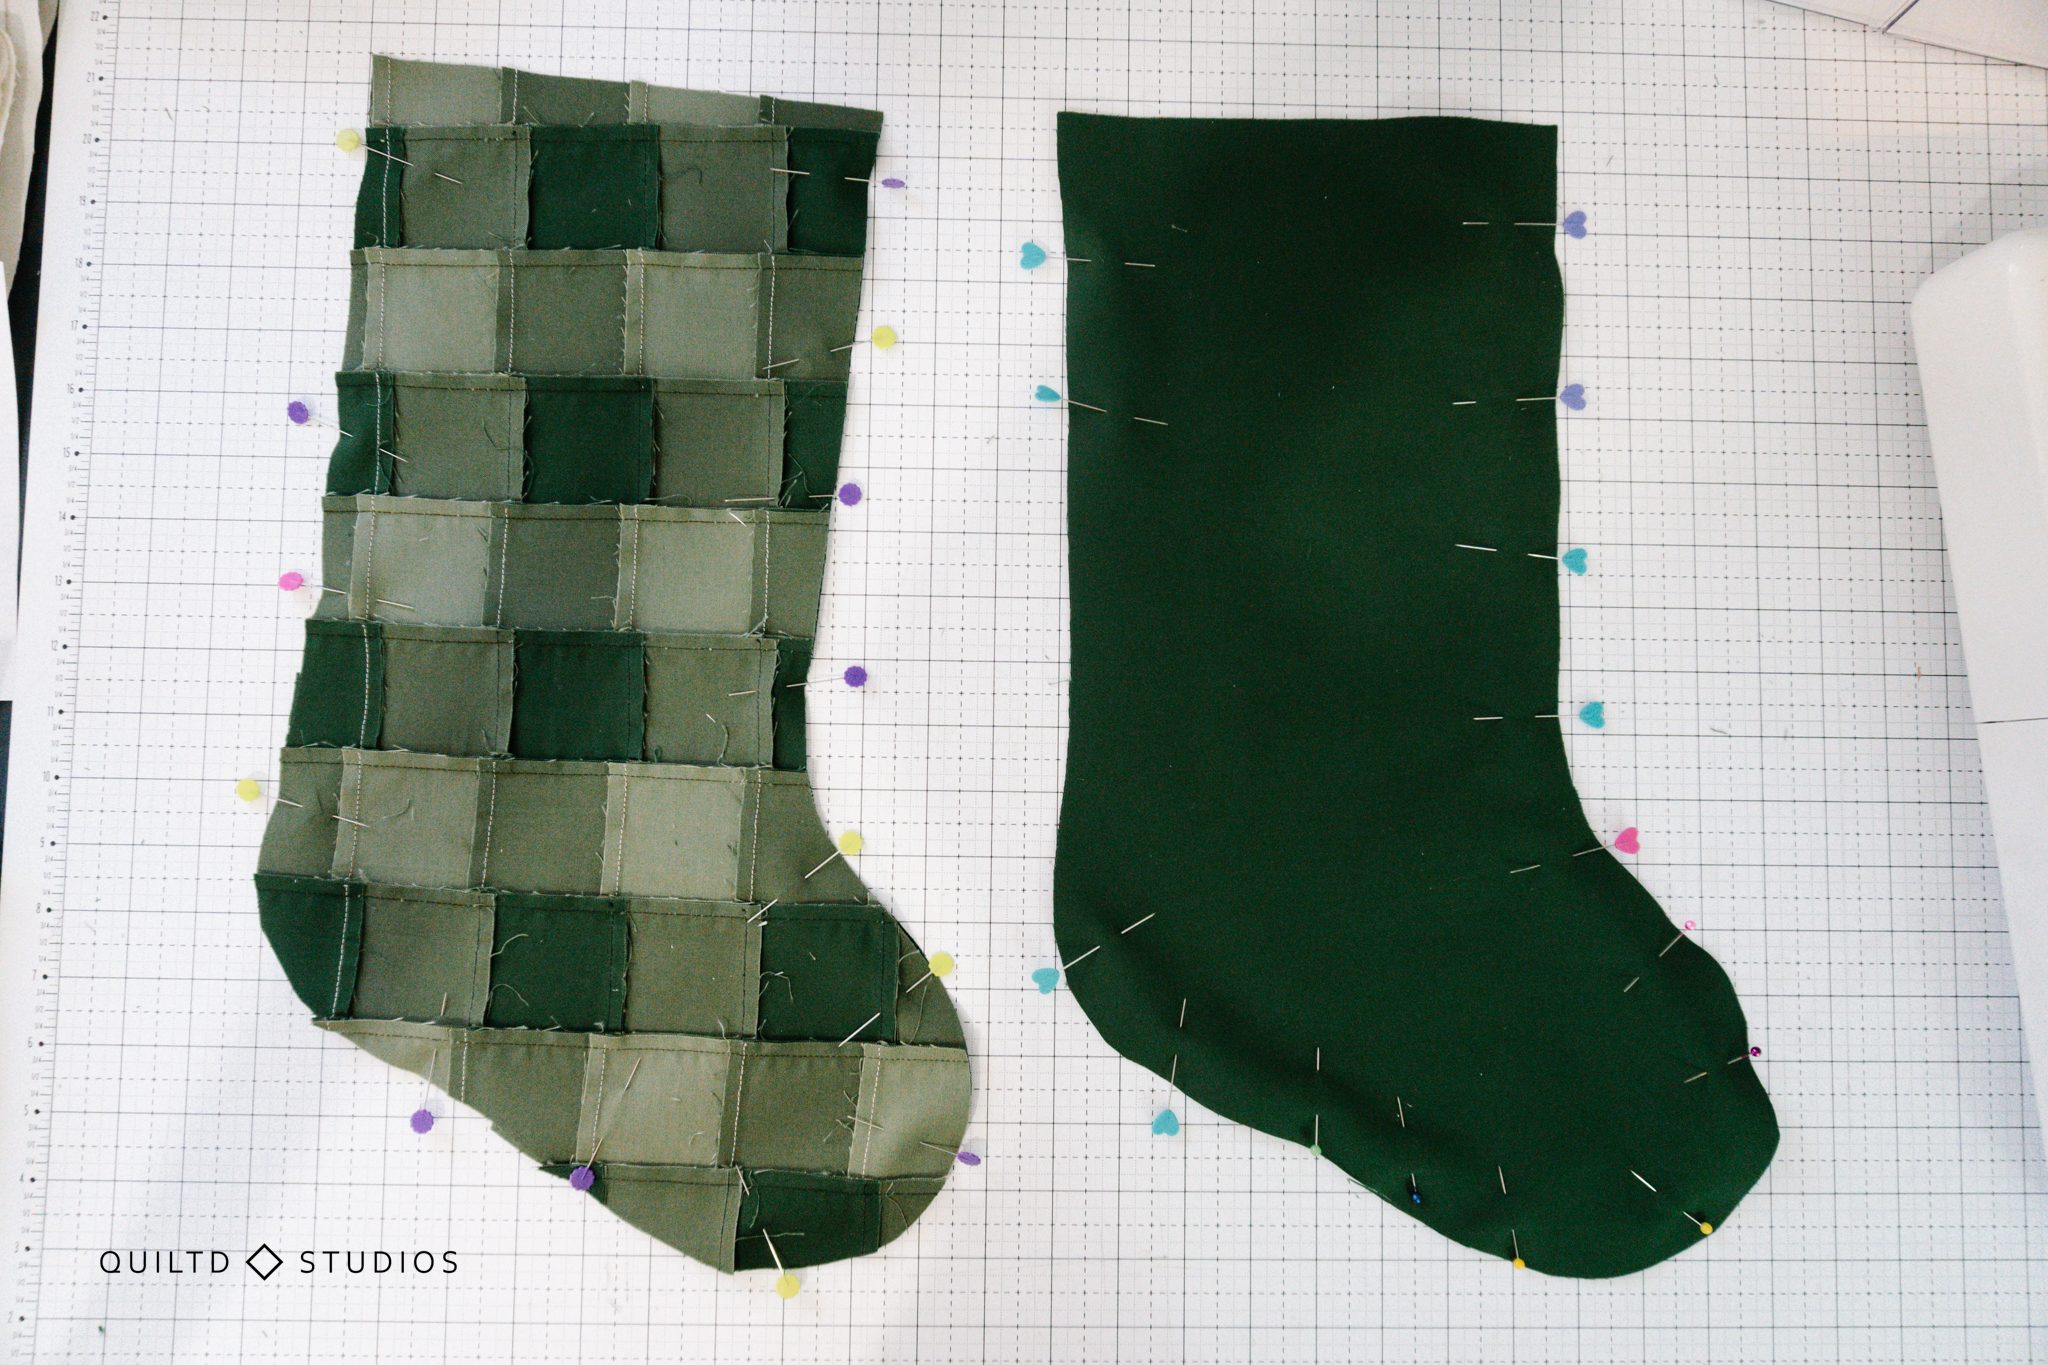
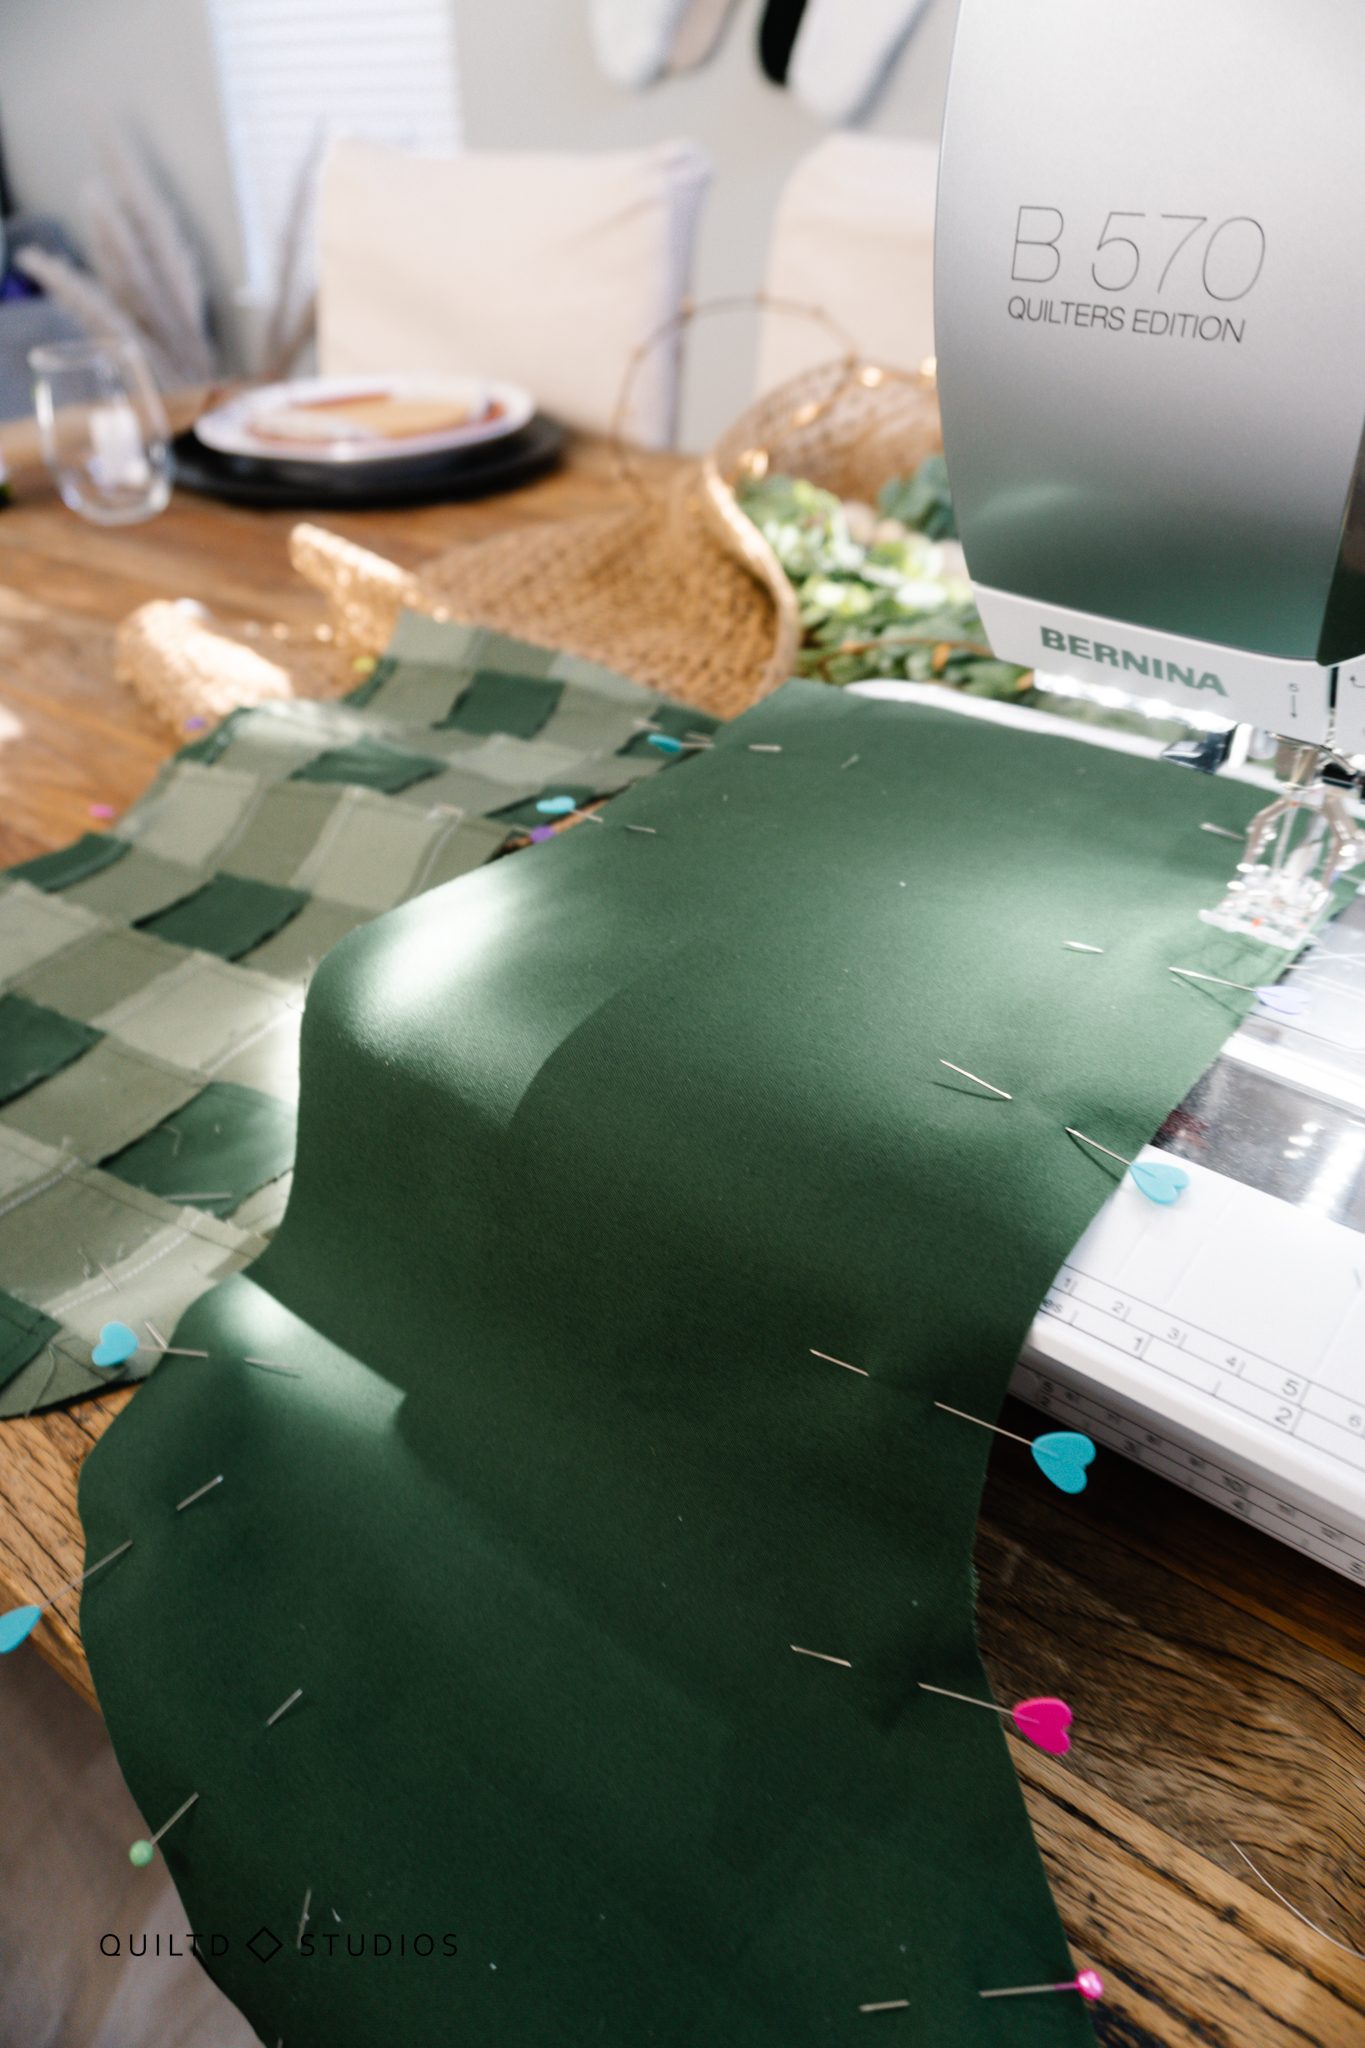
Assembling the Christmas Stocking
Things are about to get a little crazy, but stay with me. Pin and sew around the perimeter of the two outside panels, right sides together. Leaving the top unsewn. Feel free to notch little triangles out from the curves to prevent pulling/tension issues later. Flip the stocking right side out. Beautiful isn’t it!?
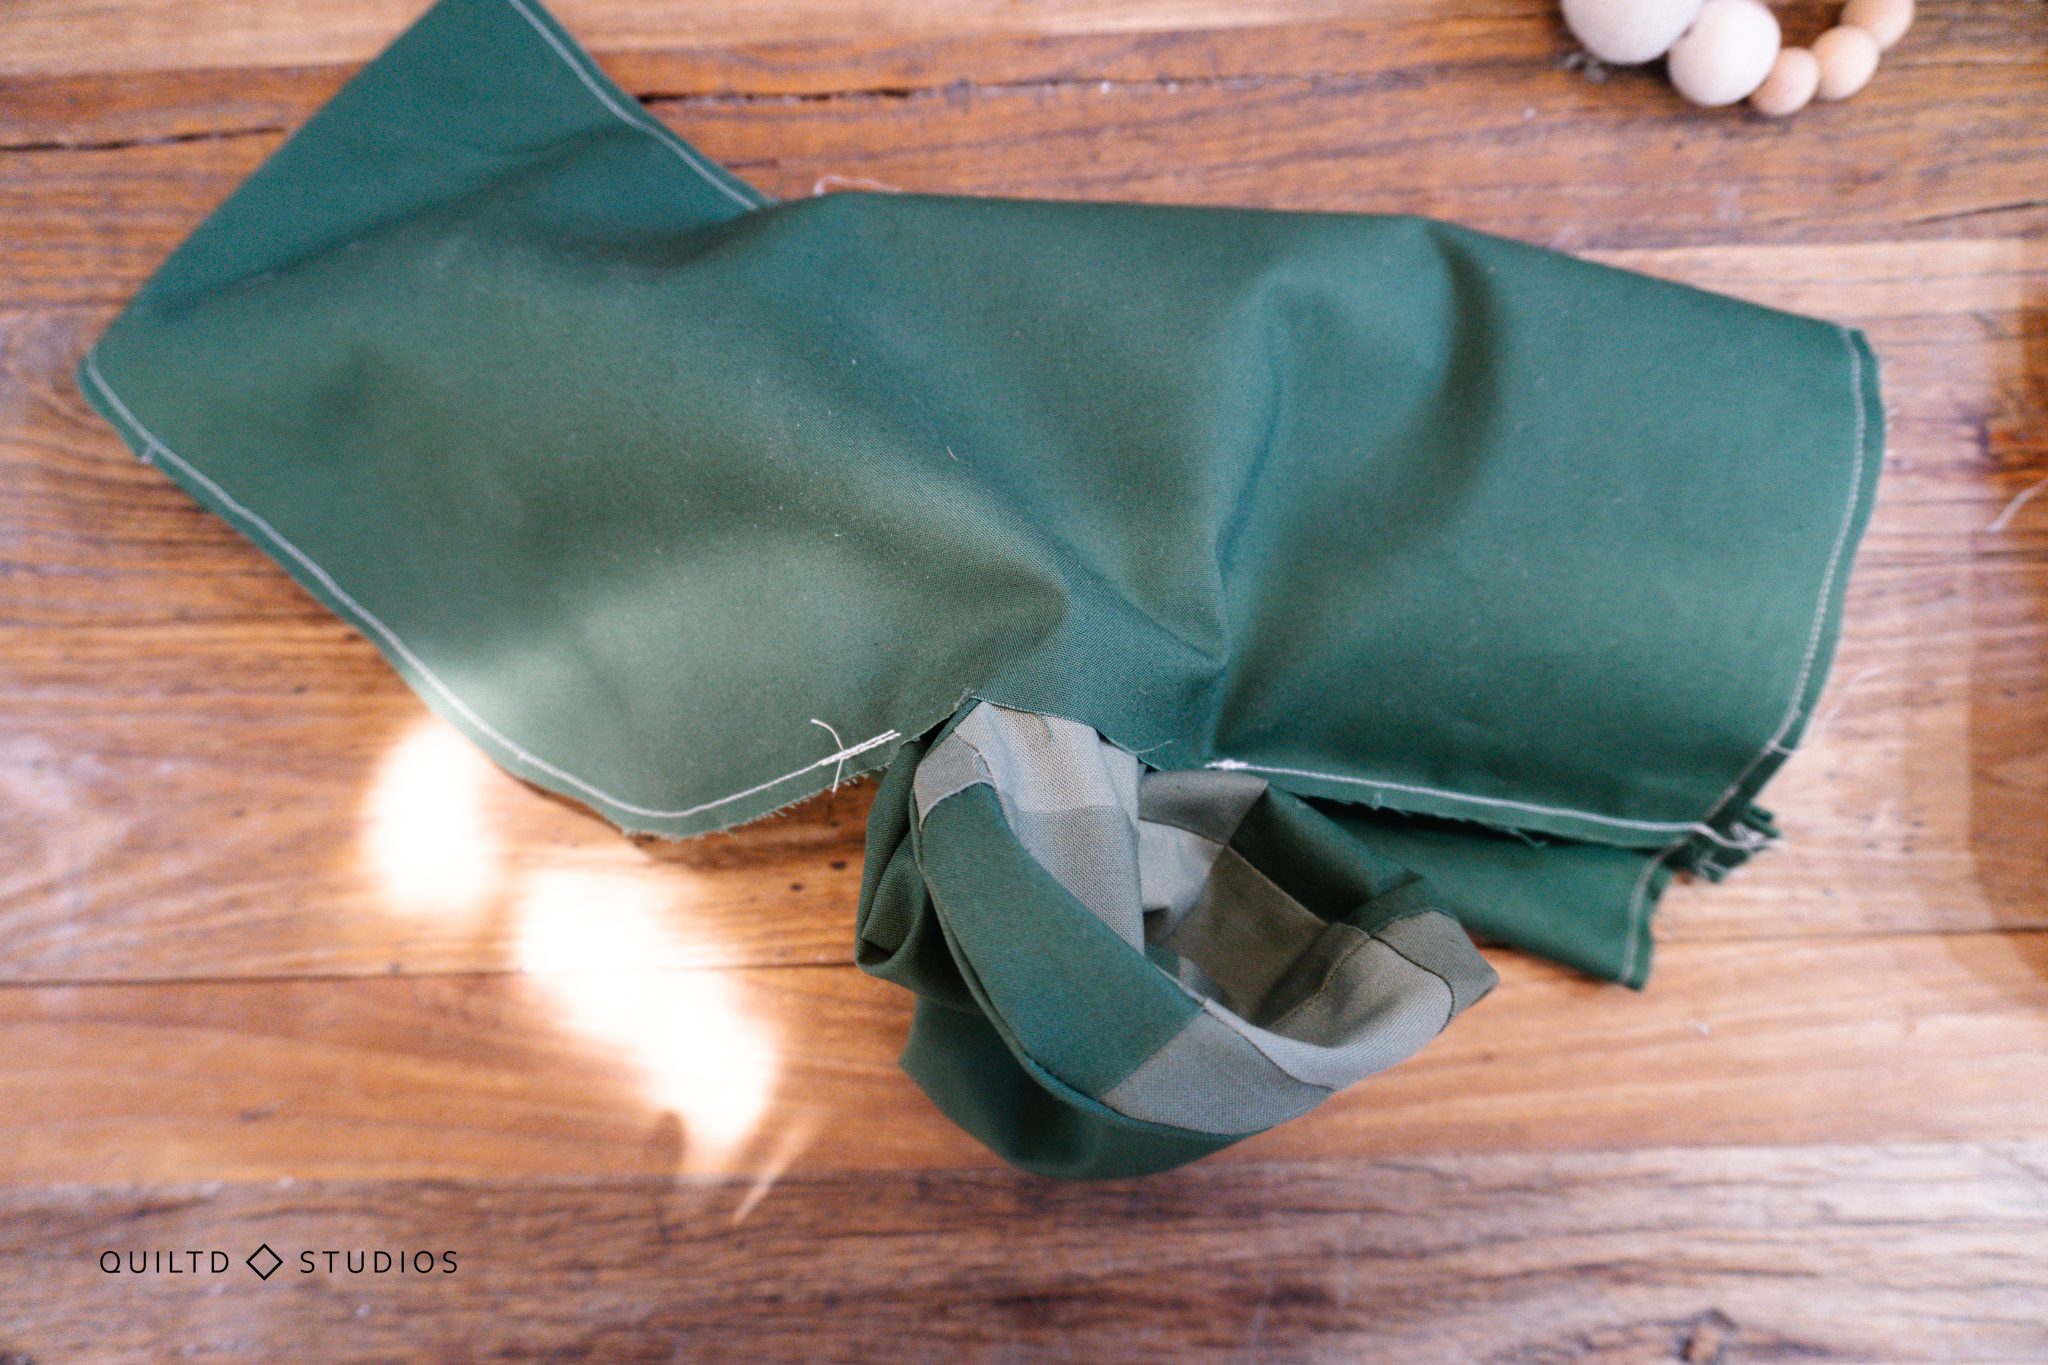
Pin and sew the lining stockings together, leaving a 6” section open on the side, and the top.
Now things get a little weird but I promise it’ll work. Slip the outside stocking into the lining so that it’s tucked in as much as possible and the tops are perfectly lined up.
Insert the hanging loop in between the two, with the loop inside the stocking (the two ends should be hanging out by about an inch). It should sit centered over the seam nearest the stocking foot.


Pin around the top edge of the Christmas Stocking. You may need to remove your sewing machine table, I took mine off of my 570 QE very easily, to sew the top. Sew around the top using a ¼” seam.

Finishing Your Stocking
Using the hole, pull the outside stocking panels out so that it’s right side is now out. There should be stocking outside on one side and lining on the other side.

Tuck in about ¼” of fabric of the hole and hand sew it closed, or be lazy like me and sew a line close to the edge to close the hole up.

Tuck the lining into your stocking, making sure to push out every nook and cranny.
Optional: sew 1/8” around the top of the stocking to secure the lining and add a finishing touch. Some fun variations would be to make the stocking template longer so you can fold it over and embroider names on it. Or attach some ribbon or other fun things.
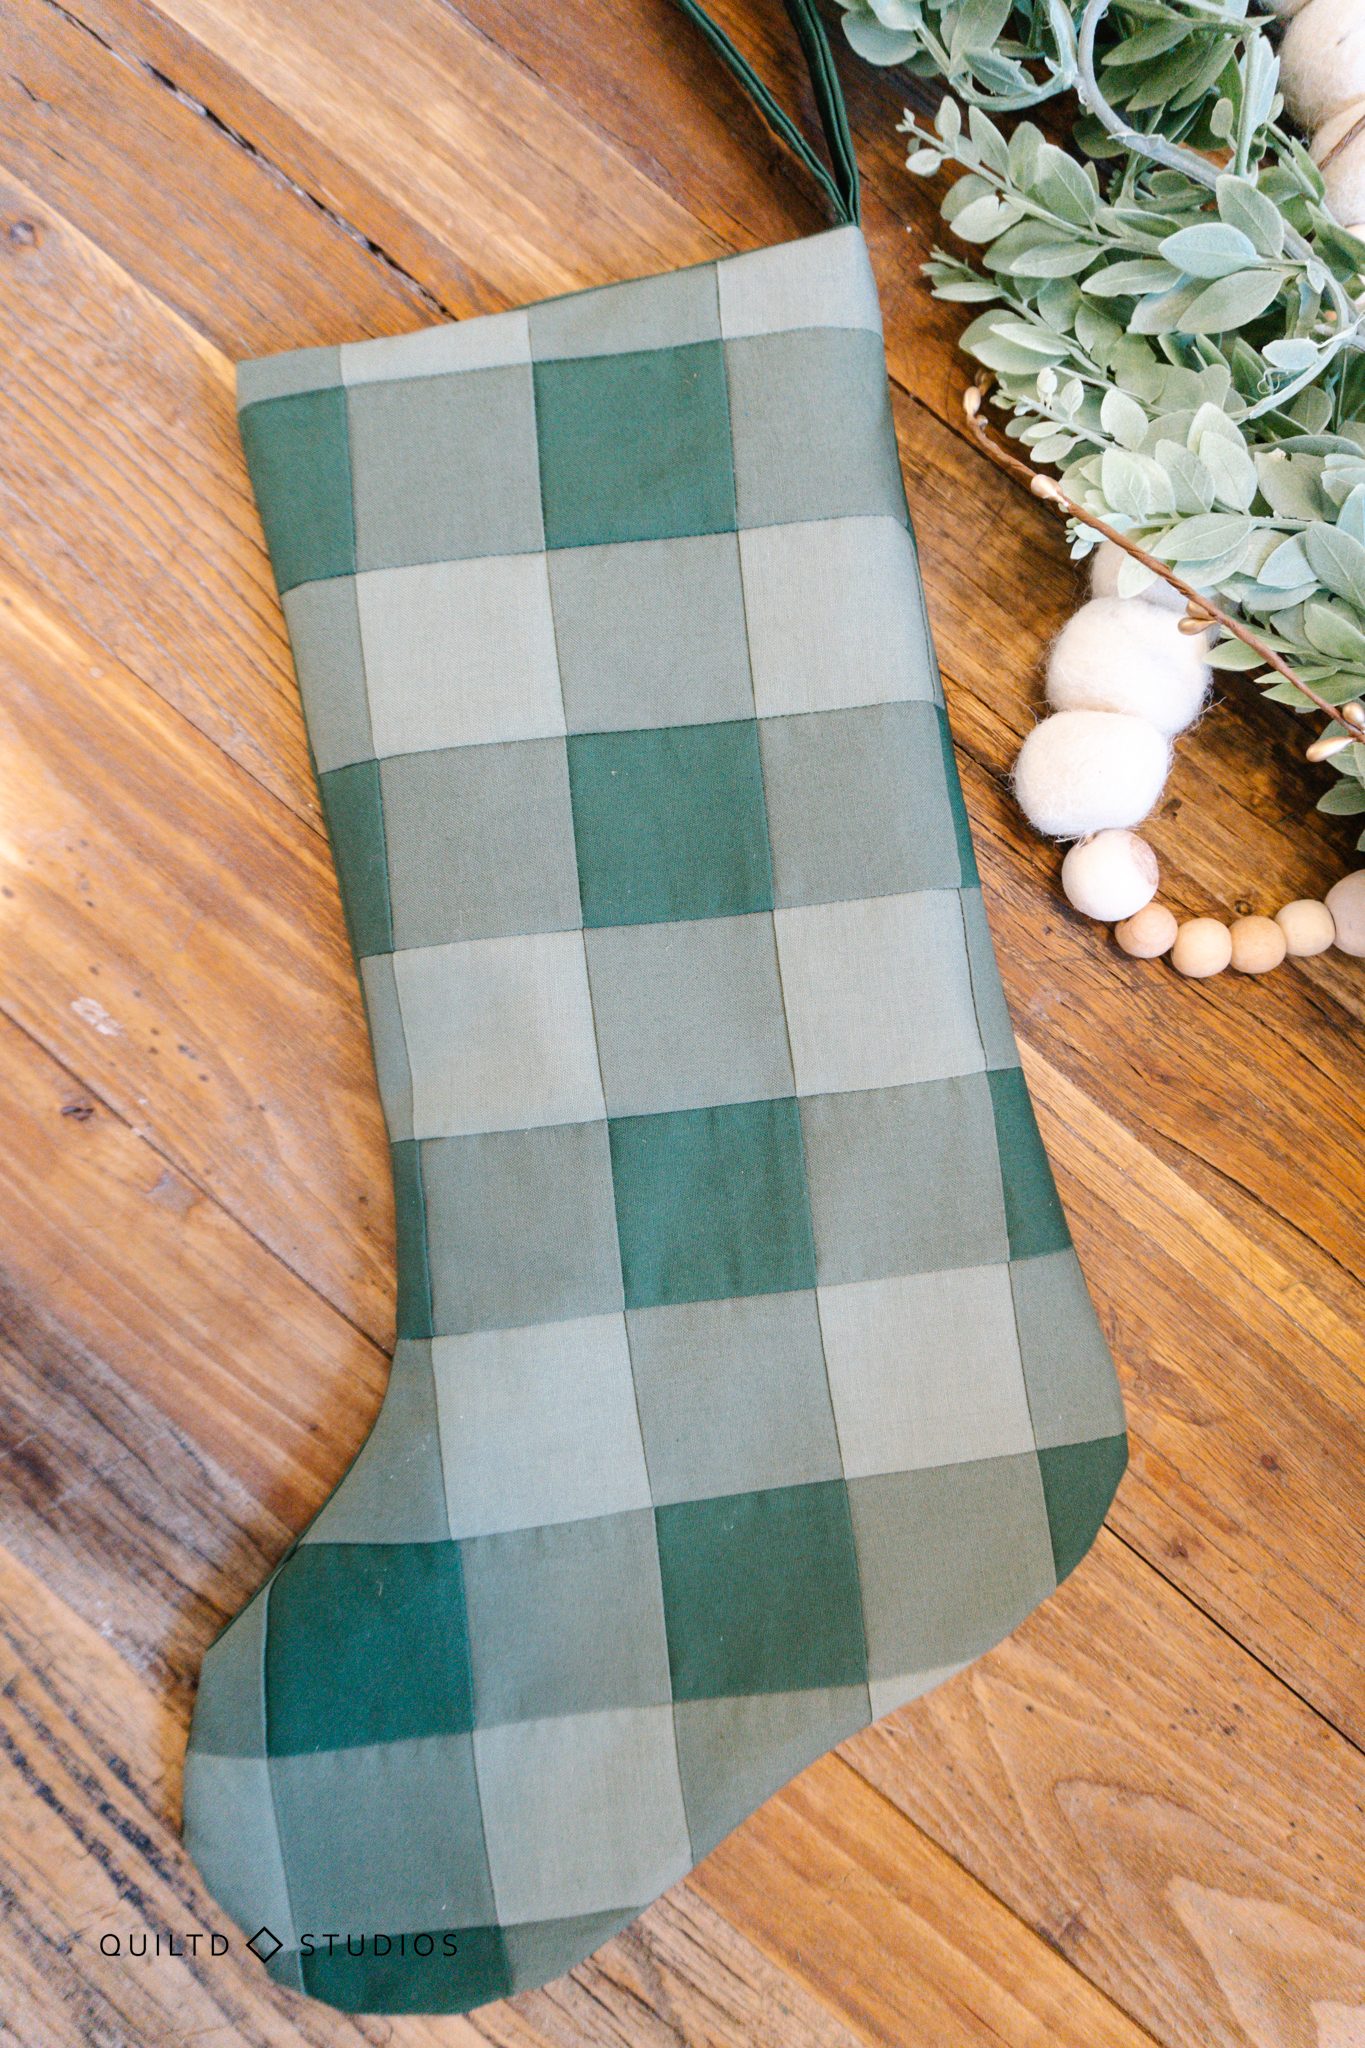
Now that, is a beautiful stocking!
I can’t wait to see all of yours, please don’t forget to share them with me so I can see all the beautiful colors and fabrics that you choose.


Thank you and Merry Christmas