Creative articles about sewing

Tutorial to sew the free pattern ‘top Betty’

The free pattern of the month from the Inspiration magazine by BERNINA is the beautiful top Betty in July 2023.  Here’s the tutorial to sew the free pattern ‘top Betty’. You can find download instructions in this blogpost.

The beautiful collar with the V-line eye catcher on the back is very stylish.

Tutorial to sew the free pattern 'top Betty'


Start to print the pattern.

Open the PDF pattern and print page 1. Check if the square is 10 x 10 cm.

Print all other pages and compile to one complete pattern.

Check your body measurements and adjust if necessary.

The pattern has no seam allowances included.


Supplies for the free top Betty:

  • 1.1 m viscose, 145 cm wide.
  • Iron on interfacing
  • iron on seam stabilizer
  • sewing thread Mettler Seralon.

Cut the pattern and take marks.


Preparation:

Iron the seam stabilizer along the neckline and one part of the collar. Don’t forget to iron a small patch on the V-point in the back.

Tutorial to sew the free pattern 'top Betty'


Sew the free top Betty.

At first, sew the bust darts. Here’s more information on sewing darts and collars.

Close the shoulder seams.

Sew both of the parts for the collar together, right sides facing. Cut the seam allowances for one  part of the collar and the corners.

Turn the collar.

The collar is read to be sewn on the top.

Put the collar with the right side on wrong side of the top. Sew from the V-point in the neck all around the neckline. Cut the seam allowance in the V-point till the sewing line.

Tutorial to sew the free pattern 'top Betty'

Cut the seam allowance in the curved neckline.

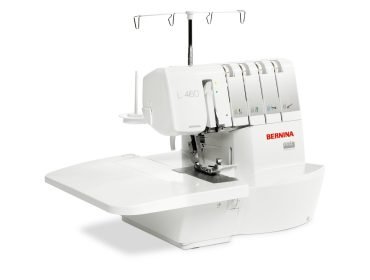
Overlock the seam. I used the BERNINA L 460.

Image of BERNINA L 460.

BERNINA L 460

The BERNINA overlocker L 460 offers up to 1500 stitches per minute and ensures beautiful and flexible stitches. The BERNINA L 460 is the perfect overlocker/serger for the creative sewer of knitwear.

Learn more

I liked to make the arm opening smaller than the pattern (I don’t like open armpits) and finished with bias tape (so I cut a seam allowance to the armhole and sewed the biastape over it). The armhole is a little bigger, if you follow the pattern.

I use the Binder Attachment for Pre-Folded Bias Tape #87 to sew the biastape to the top.

Image of Binder Attachment for Pre-Folded Bias Tape #87.

Binder Attachment for Pre-Folded Bias Tape #87

For perfect corners and beautiful curves ✓  Ideal tool for sewing neat edge finishes with pre-folded bias tape ✓ Ease of handling ✓ For 5.5 mm and 9 mm machines ✓ 

Learn more

This is how it looks, isn’t that neat?

It’s time to close the side seam and overlock after sewing.

For the hem, I use the Edgestitch Foot #10

Image of Edgestitch Foot #10.

Edgestitch Foot #10

Excellent for topstitching edges, hems and pleats ✓  Ideal for sewing on lace or ribbon ✓  For reinforcing edges ✓  The guide lets you sew perfect seams and hems running parallel to the edge ✓  For 5.5 mm and 9 mm machines ✓ 

Learn more

Finish with the bow in the back

Sew a stripe of 6 cm in half and turn.

Sew on both sides of the V-point to prevent tearing.

Tutorial to sew the free pattern 'top Betty'

The free top Betty is ready.

Tutorial to sew the free pattern 'top Betty'

Difficulty level: Intermediate
Time to Complete: Weekend
Used Products:
BERNINA L 460
BERNINA L 460
Edgestitch Foot #10
Edgestitch Foot #10
Binder Attachment for Pre-Folded Bias Tape #87

Link this post Trackback URL

Comments of this post

0 Responses

Leave a Reply

Your email address will not be published.

Required fields are marked *

Dear BERNINA Blog readers,

if you want to publish pictures via the comment function, please log in to the blog first. Click here to sign in.

You haven't registered for the BERNINA blog yet? Click here to create your free account.

Thank you very much

Your BERNINA Blog Team