 BERNINA Corporate Blog -
It’s been so fun decorating for fall this year! I love pulling out all my pumpkins and plaid. It’s really my favorite season.
To change up my table this year, I wanted to make some fun placemats that brought some of the warmth of fall colors and cork was it!
I recently used cork in a duffle bag and it was so fun to sew with.

It didn’t stick at all under my foot surprisingly, I thought that would be an issue but thankfully it wasn’t.
Let’s get started on making this set of (4) 15” placemats!
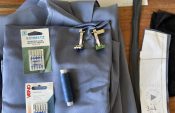
Supplies Needed:
- 1 Yard Cork Fabric Extra Wide (mine was 54”)
- 1 Yard fabric for reversible back (I used a tweed/woven fabric, but you can use vinyl or more cork)
- 1 yard iron-on interfacing
- Premade bias binding
- Tape for weaving
- Download the FREE TEMPLATE HERE
Ready for an adventure? Let’s get started!
Cutting the Cork Fabric
We’ll need quite a few strips for our woven placemats. I ended up cutting 1.25” strips from my fabric.


From each of those strips cut (3) 16.5” lengths for weaving.
For the backing, cut 4 circles using the provided TEMPLATE HERE.
If you’d prefer not to have to use bias binding around the backing circle, you can cut the backing circles out of cork or vinyl.
Weaving the Cork Strips
The fun part! Start by laying down 13 cork strips right side down in a row, edges touching.
Tape the edges so they remain flat.


Start weaving cork strips under/over in the opposite direction, making sure to keep the strips nice and tight next to each other.
Finish weaving the strips until you have a panel of woven cork.


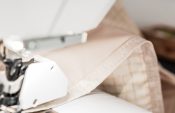
Very carefully undo the tape on the edges and move the panel to an ironing board.
Iron on a piece of interfacing using a pressing cloth. The interfacing should be big enough to fit the circle template.


Finishing the Cork Placemats
Using the template, trace a circle on the back of the panel (which should be nice and stuck to the interfacing).


Sew on the inside of the circle that you just drew, about .25” from the line of the circle.

Cut around the circle to finish the cork placemat top!

Adding a Backing to Your Placemat
To make your placemat reversible (or to cover the interfacing), cut a circle of your backing fabric, a little smaller (by about .25” or the width of your finished bias binding).
Attach double bias binding around the edges of the circle. For an easier option use a circle or cork or vinyl so you don’t need to use bias binding.
Clip the backing to your placemat so wrong sides face each other and stitch around the perimeter of the placemat with .125” (1/8”) to secure it.
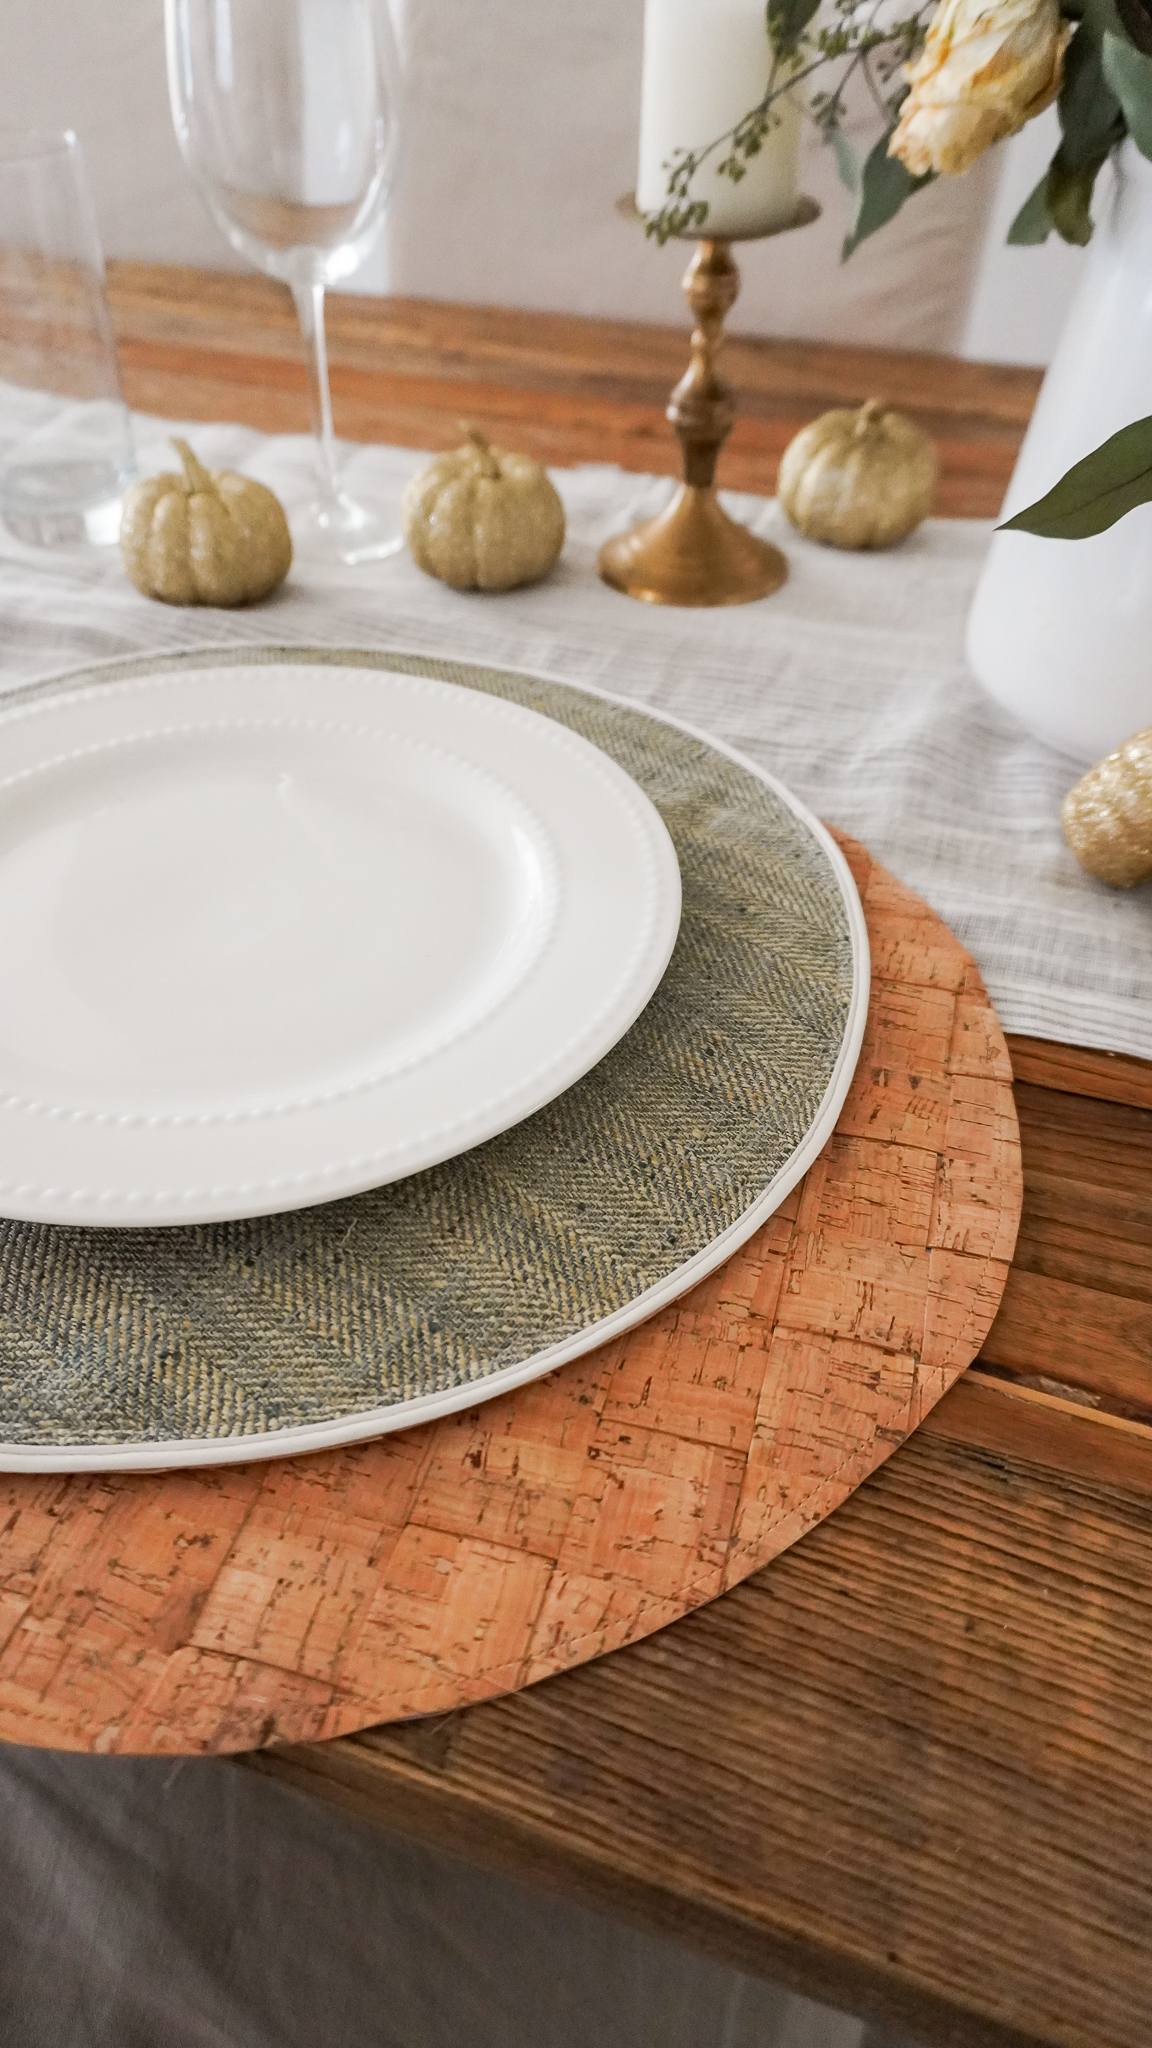

Your placemat is finished! Repeat these steps to make 3 more, for a complete set of 4 placemats.
I love my placemats and I can’t wait to see yours, make sure to share your finished mats by email or on social media @quiltdstudios


0 Responses