 BERNINA Corporate Blog -
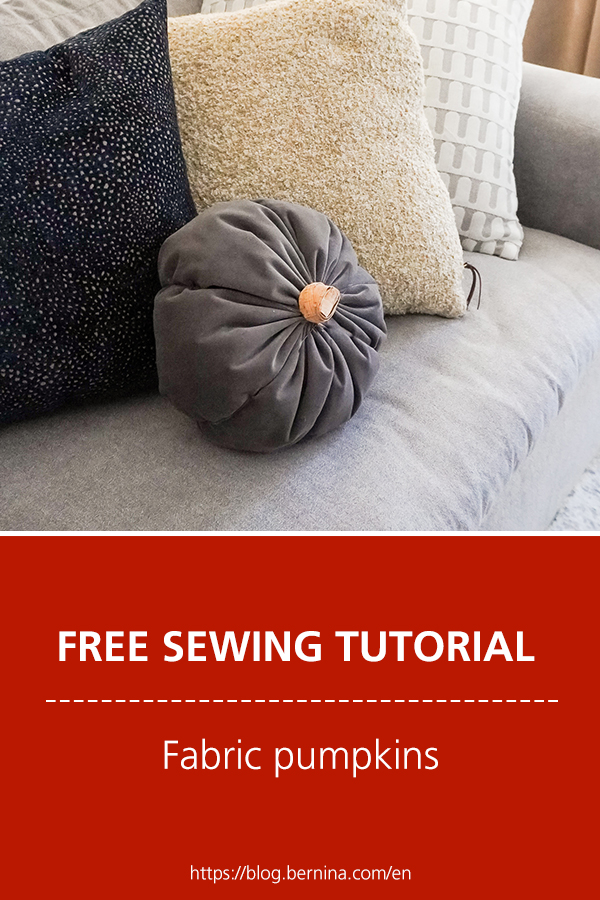
What’s that fragrance wafting through the air? I’m pretty sure.. I smell.. pumpkin spice! Which means Fall is finally here!
Don’t get me wrong, I love Summer, but something about those crisp mornings and cozy sweaters just gets me. Also, I’m a quilter, and fall/winter is prime quilting season!
To start this season off right, I’ve whipped up some easy pumpkin pillows for you. Perfect for all of Fall and even winter, there are no rules when it comes to pillows!


I will say, I had an idea in my head how these would come together… and I’m not going to lie, the first attempt was a little chaotic. But that’s mostly because I stabbed myself with a needle and was trying to avoid bleeding all over my pumpkin (yikes).
The second pumpkin went much smoother. So let me save you the headache and give you all the tips and tricks to avoid your own chaotic pumpkin.
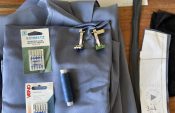
Supplies Needed:
- A rectangle of fabric, mine were 22” x 13” but really just eyeball the kind of pumpkin you want (short and squat, tall and narrow, perfectly round) and cut a piece of fabric long enough to fold in half to make a good-sized pumpkin.
- Cork Fabric, Twine, or Ribbon for the handles
- A hot glue gun with glue, for the handles
- Embroidery thread (I used size 8) and Embroidery Needles (big eyes, you’ll thank me later)
- Polyfil Filling, I reused an old pillow that was past its prime.

Getting Prepped for Pumpkin Making
Cut your chosen fabric into a generous rectangle and then fold it in half, right sides together.
Pin/clip and then sew a straight stitch down the shortest open edge to make a tube.

Open up the tube of fabric and carefully gather one edge into the center of the tube. You can sew long stitches along the bottom edge (about ¼” from the edge) and pull on the thread to gather it as well (my threads kept breaking so I ended up just gather it with my hand).
Tie a piece of embroidery thread around the gather about 1” down from the end.


This will form the bottom of our pumpkin.
Turn the pumpkin right side out and push down the little gather knot thing to the bottom of the pumpkin.

Fill the Pumpkin
Fill that baby with some filling but not too full!
Fill until ¾ full and then stop. I clearly went beyond that the first time I made it and it made my life much harder.

Using your embroidery needle and thread sew a very long stitch around the top of the pumpkin about 2.5-3” down from the top edge of the pumpkin.
Hand stitch a full circle around the top and then leave a long tail. I did not stitch my circle low enough which made my stem almost nonexistent (again learn from my mistakes!).

Pull the thread to start gathering the edges.
Fill more of the pumpkin until it’s as full as you’d like.
Pull the thread tight to pull in the top.
Keep the edges up so they stick up rather than down. We’ll be covering these to make the stem. Because I didn’t have enough room for a stem, I ended up trying to pull the ends together and let’s just say.. it didn’t go well hahah but my second pumpkin worked out beautifully!

Once it’s pulled as tight as possible, tie embroidery thread around the base of the gathers to make a stem.
Double knot it, triple knot it.
Making the Sides of the Pumpkin
Using your embroidery needle, with a very long cut of embroidery thread, push the needle into the pumpkin right at the base of the stem and back up again.

Pull the thread down the side of the pumpkin keeping it taut.
When you reach the bottom, push the needle through the base and go back up the opposite side of the pumpkin. I ended up just crossing my twine and just going through the pumpkin at the top.
Repeat this process until you have your desired number of lines, finish at the top near the stem.
Knot the thread near the base so we can hide the ends when we make the stem.


If you haven’t stabbed yourself by this point, you’re already a winner!
Wrap your stem using your chosen method (I used strips of Cork fabric) securing it with hot glue.


Your pumpkin is done! Look at you and your beautiful pumpkin, thanks so much for letting me join you on this fun pumpkin journey!


0 Responses