Take two pieces of fabric 12“x 12“ (30cm x 30cm) that form a nice contrast. I suggest you exercise first with one black and one white. This will make things easy for you later on. It is important for the fabrics to be two-sided (dyed throughout), so they can be used on both sides.
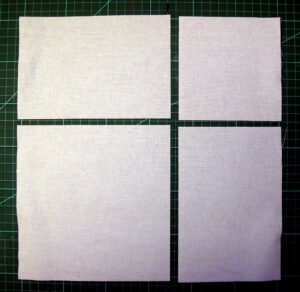
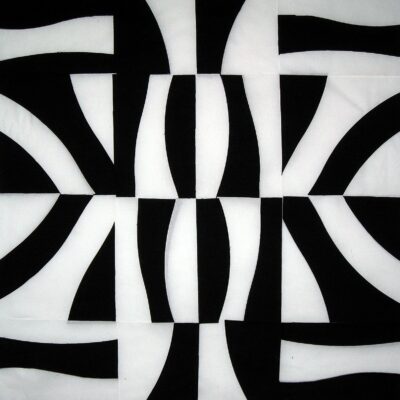
Put both fabrics exactly on top of each other and cut twice at 4 ½“ (12 cm). See photo above!
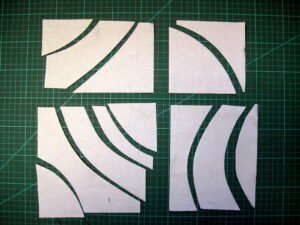
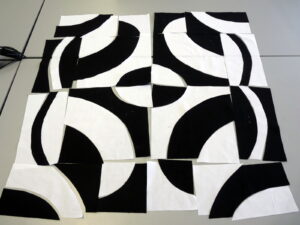
Then you cut each segment, as illustrated. Both fabrics still lie exactly on top of each other.
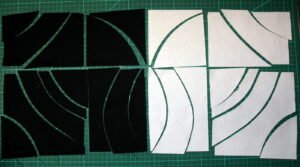
Then you mirror the white fabric to the right. This is why the fabric must be two-sided.
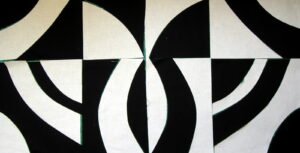
Next, you interchange the segments such that there will be always one black and one white next to each other. That doesn’t look too bad, does it?
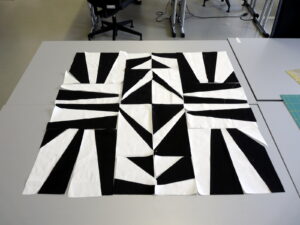
If, instead of just two fabrics, you use four (meaning 2 white and 2 black), you have many more possibilities. The cut up first block is not only mirrored vertically, but also horizontally. Note: the cuts are different from the example above, but the principle is exactly the same.
Once you have sewn together the individual segments, you are free to rearrange them differently and, thus, create many new quilt designs.
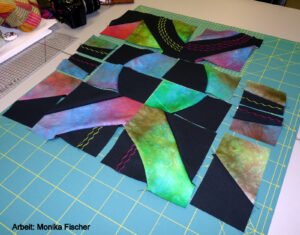
Please note: Everything has been cut without taking into account a seam allowance .That means the small individual blocks (especially the one with curves) will be distorted and crocked. For this reason please use a seam allowance of 1/4” maximum. When you assemble the top, some segments will not match. You have two options now: either you cut the individual blocks to the smallest size necessary (which would be a pity), or you fill the gaps with fabrics. These filling fabrics could be black or white or even in a contrasting color.
 Made by Monika Fischer a workshop participant.
I recommend making a first sample using paper. Then you will soon realize how the method works. I promise you will have fun!
May the creativity be with you:-)
Pia
Post translated by Gariele Schultz-Herzberger
 BERNINA Corporate Blog -

0 Responses