 After my previous post “Flirty Frill Cap Sleeve” I have felt inspired to “frill up” everything I can! I decided to make a frilly peplum top and use the same Frill Sleeves but in a new way. Adding a button stand at the back makes for another quirky design detail.
In this tutorial I will show you how to add a button stand, how to sew button holes, insert the sleeves and add a basic peplum.
The sleeves in this Pattern Hack will be inserted into the bodice as a design detail, they will not finish under the armpit as sleeves usually do.
I’d recommend making the pattern before getting fabric for this garment.

*I used the Peplum Top Pattern by Emily Hundt (In The Folds) for my base pattern.
But you can use a basic loose fitting tshirt pattern or trace around an existing tshirt.
The Great British Sewing Bee have a pattern for a Men’s Classic Tshirt which could work well as it will have a loose fit.
Needed:
Pattern Hacking:
- Peplum Top Pattern Hack Guide
- Basic loose fitting Tshirt pattern
- Frill cap sleeve Pattern
- Measuring Tape
- Paper Scissors
- Tape
Sewing:
- Lightweight Fabric for the Top (judge based on the altered Pattern for amount)
- About 50cm x 120cm Fabric for the Frill Sleeves
- Iron-on Vilene 6cm x the length of the Button stand
- Readymade bias tape (measure the armholes and neckline of the altered Pattern)
- Buttons
- 4 or 3 matching threads
- Sewing Machine
- Overlocker
- Pins
Steps
Pattern Hack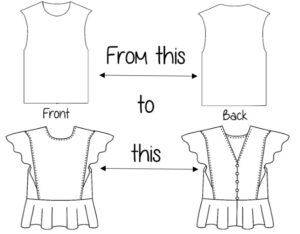
Download my Peplum Top Pattern Hack Guide.
Print it out so that you can easily refer to it and make notes while working on your pattern.
Once you have made your pattern then cut out your fabric and start sewing!
Sewing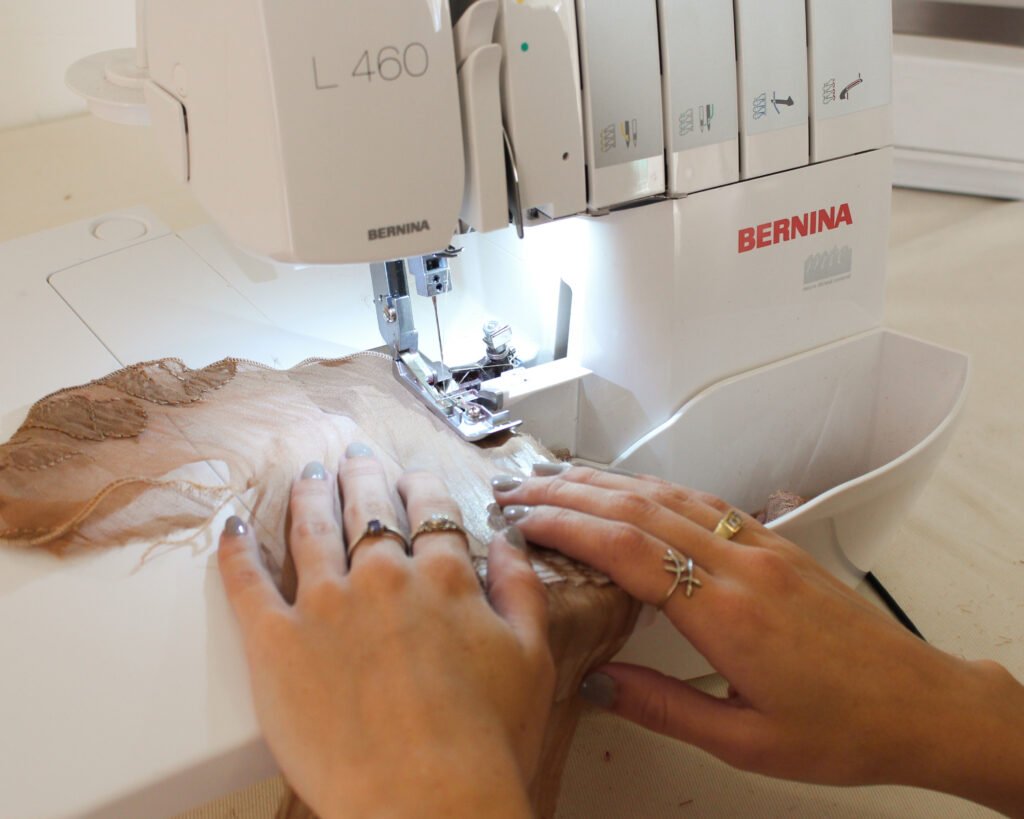
1. Set up your overlocker for the 3-thread rolled hem.Overlock the outer edge of the sleeves.
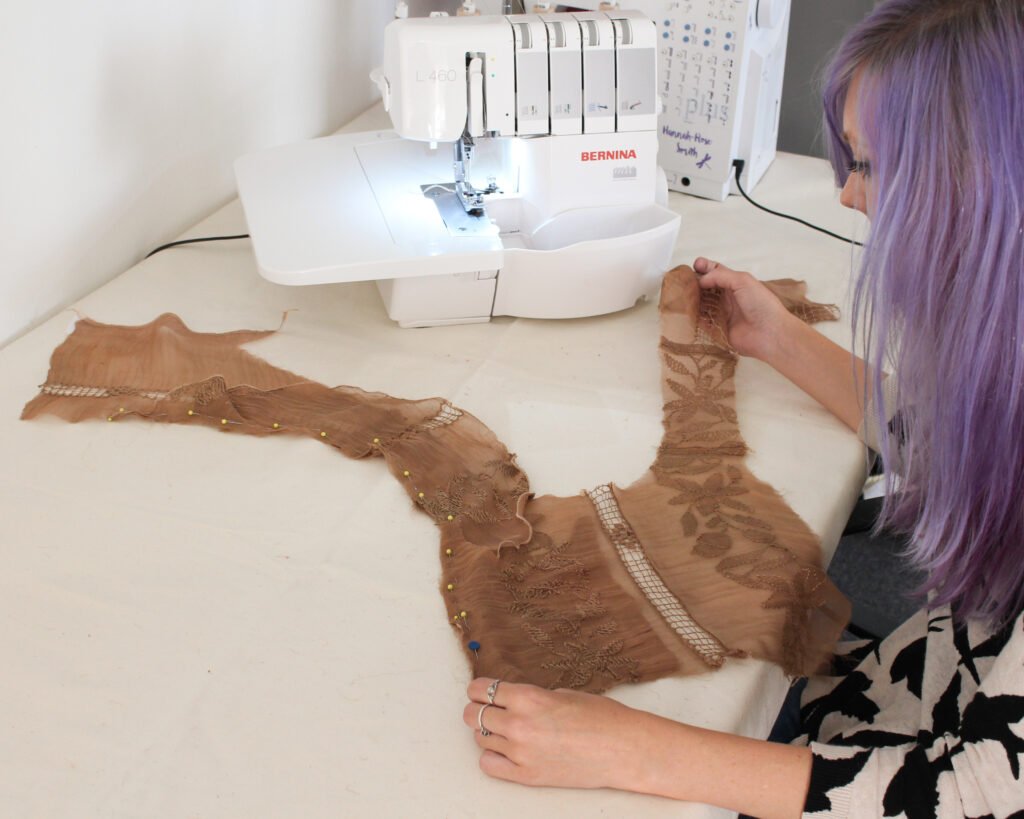 2. Join the Front and Back pieces at the Shoulder seams.
I would recommend ovelocking with the 4-thread flat stitch and sew a reinforcing row to make up the seam allowance.
3. Match the notch at the centre of the Sleeve to the Shoulder seam.
Pin the Sleeve along this edge of the garment.
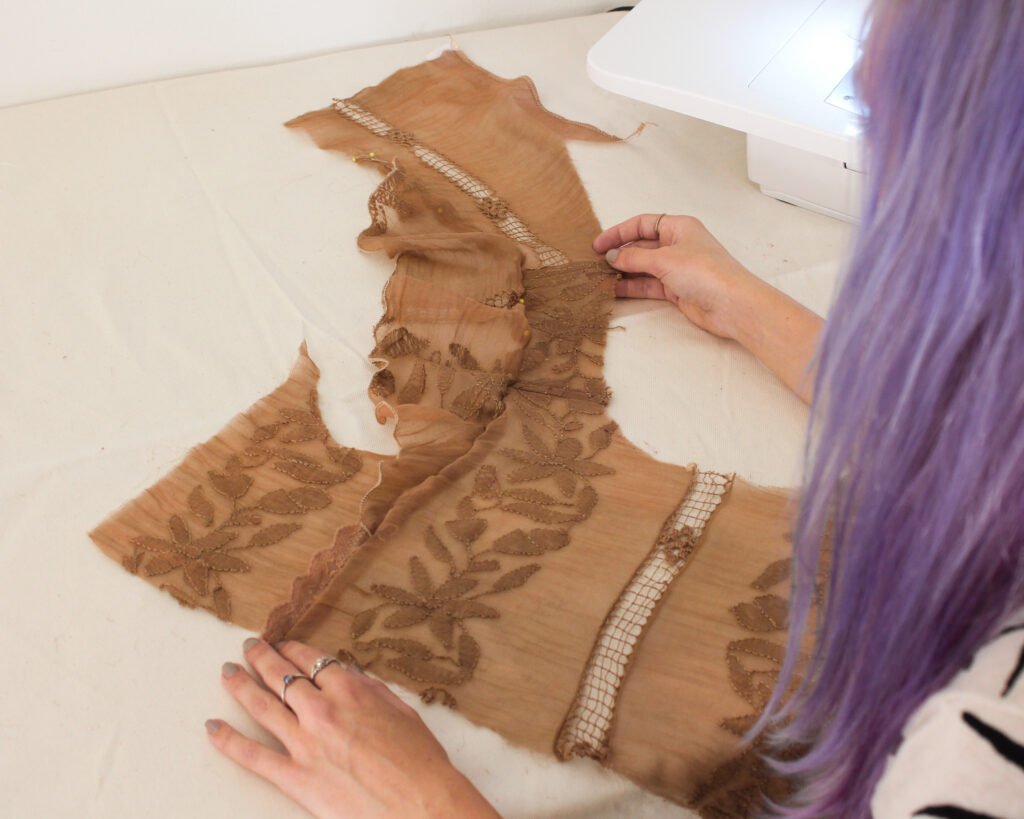
4. Pin the Side Piece to the Front, sandwiching the Sleeve in the seam.
(I added a bit of lace into the seam to extend the Sleeve detail)
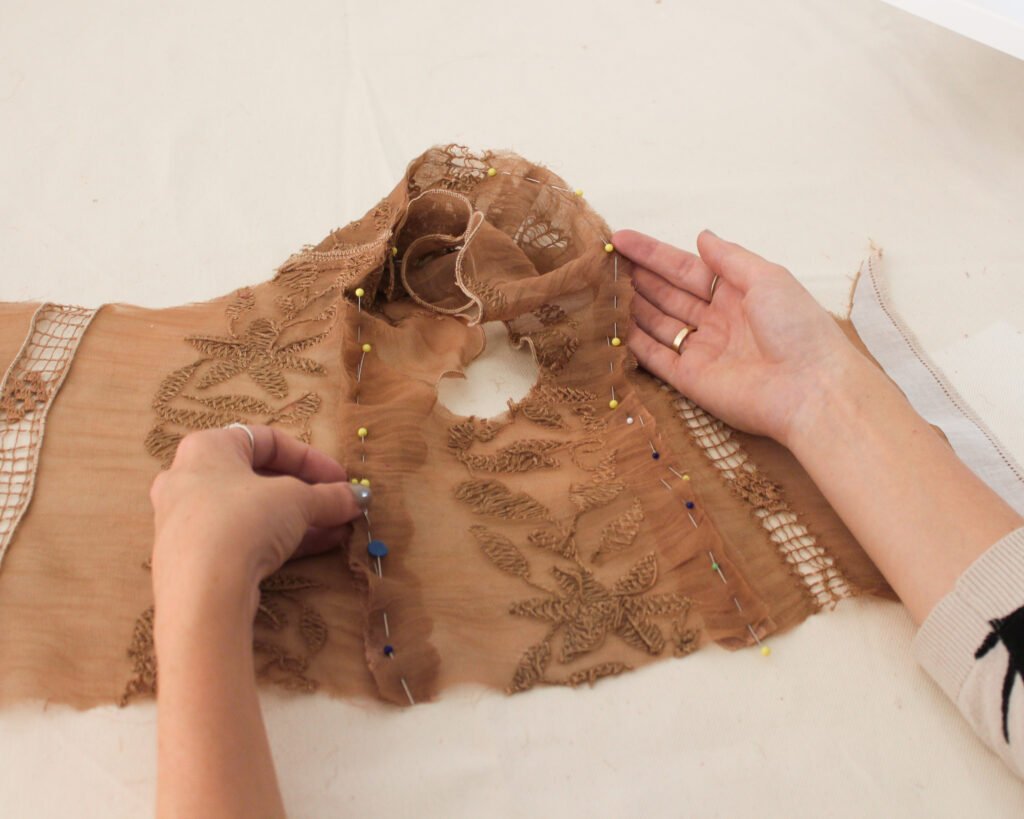 5. Attach the other seam of the Side piece to the Back piece, again sandwiching the Sleeve in the seam.
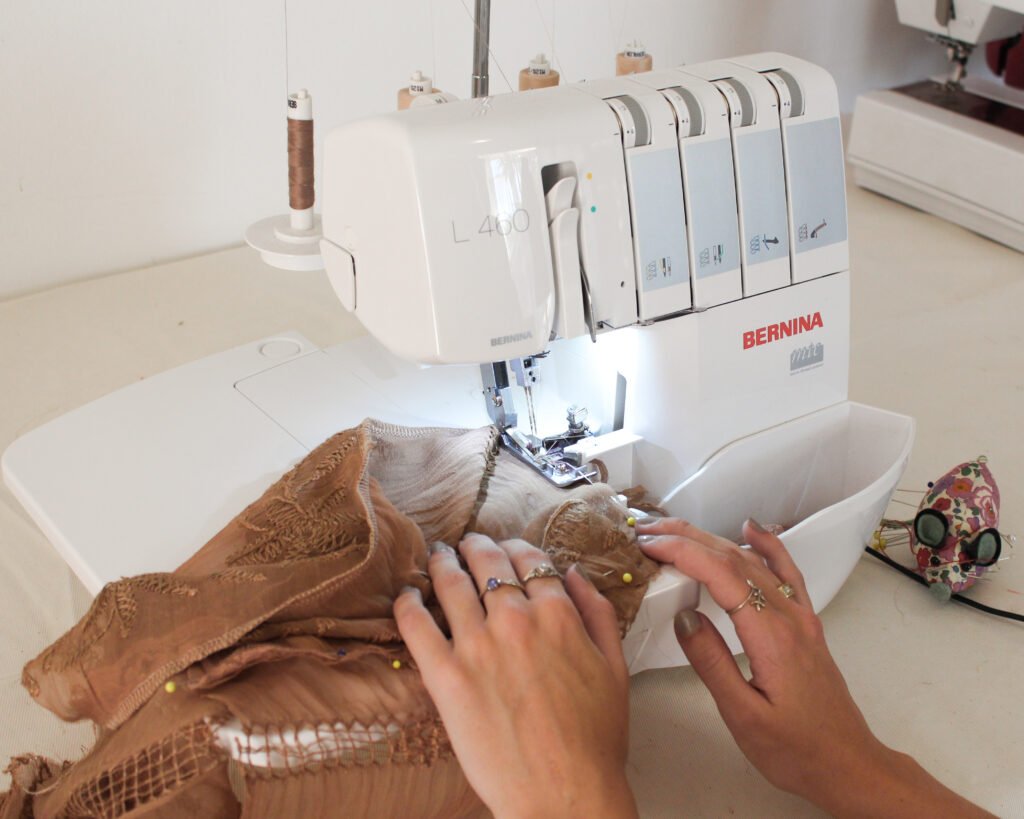 6. Set up your overlocker for the 4-thread Flat stitch.
I like the width of the 4-thread flat stitch. You can do the 3-thread flat stitch but then I would recommend you sew a reinforcing row to make up the 1cm seam allowance.
Overlock along the entire edge, from the bottom of the bodice at the Front, along the Shoulder to the bottom of the bodice at the Back.
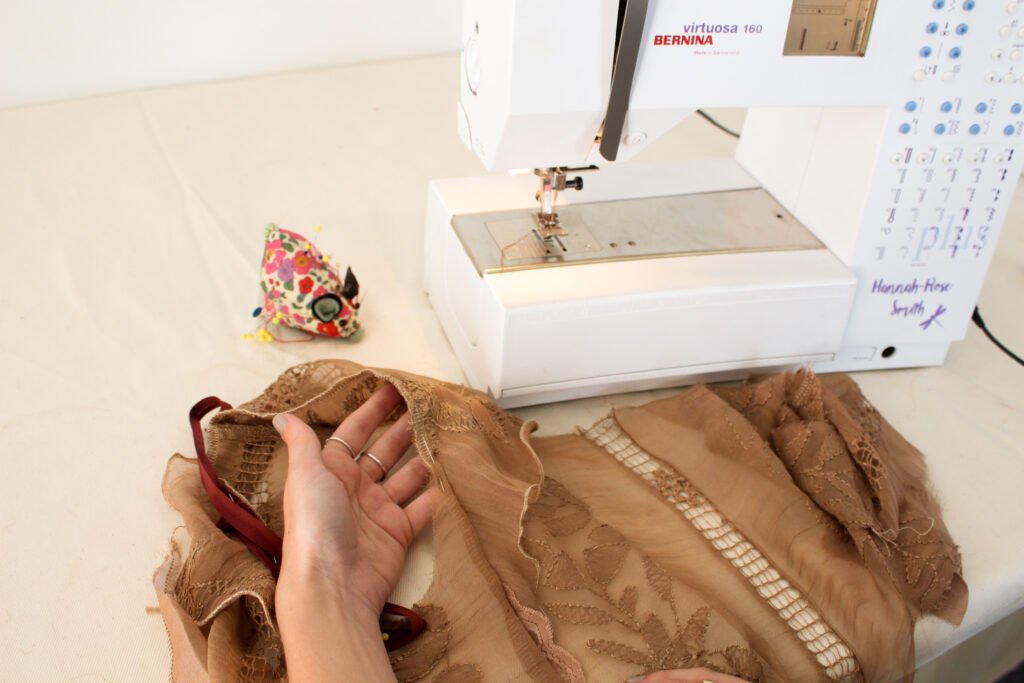 7. Pin the seam facing to the Side piece (do for both Front and Back.)
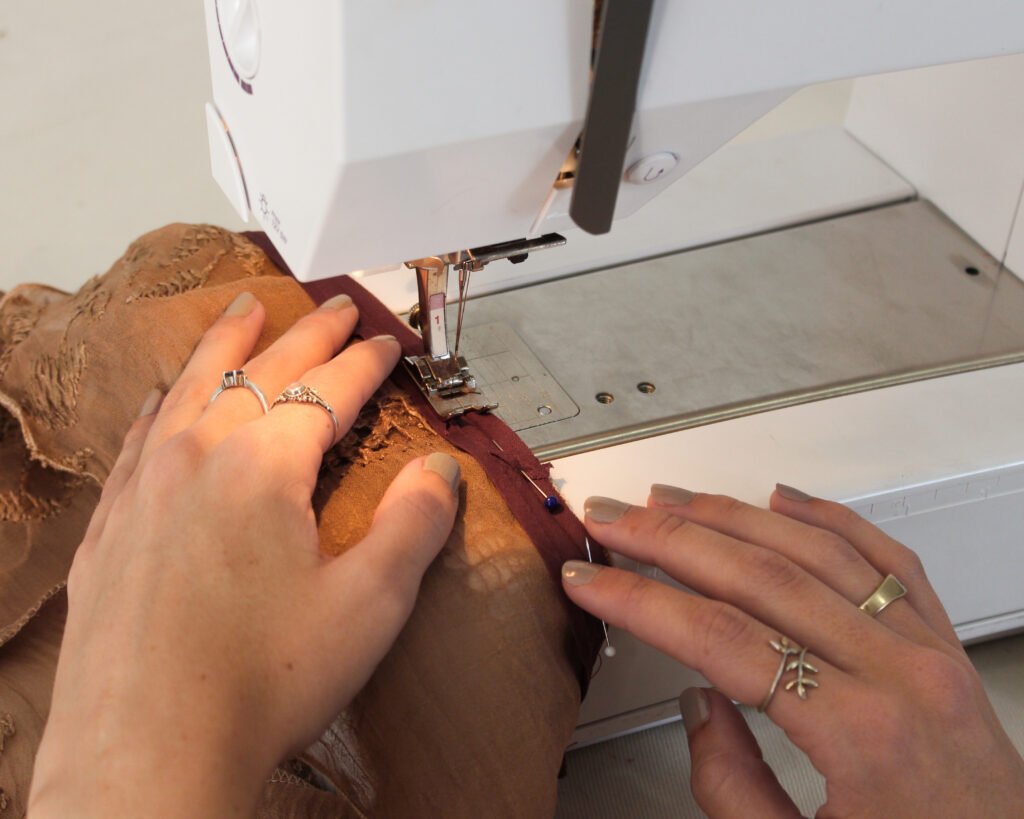 8. Sew your binding to the armhole. Attach the binding to the right-side of the garment
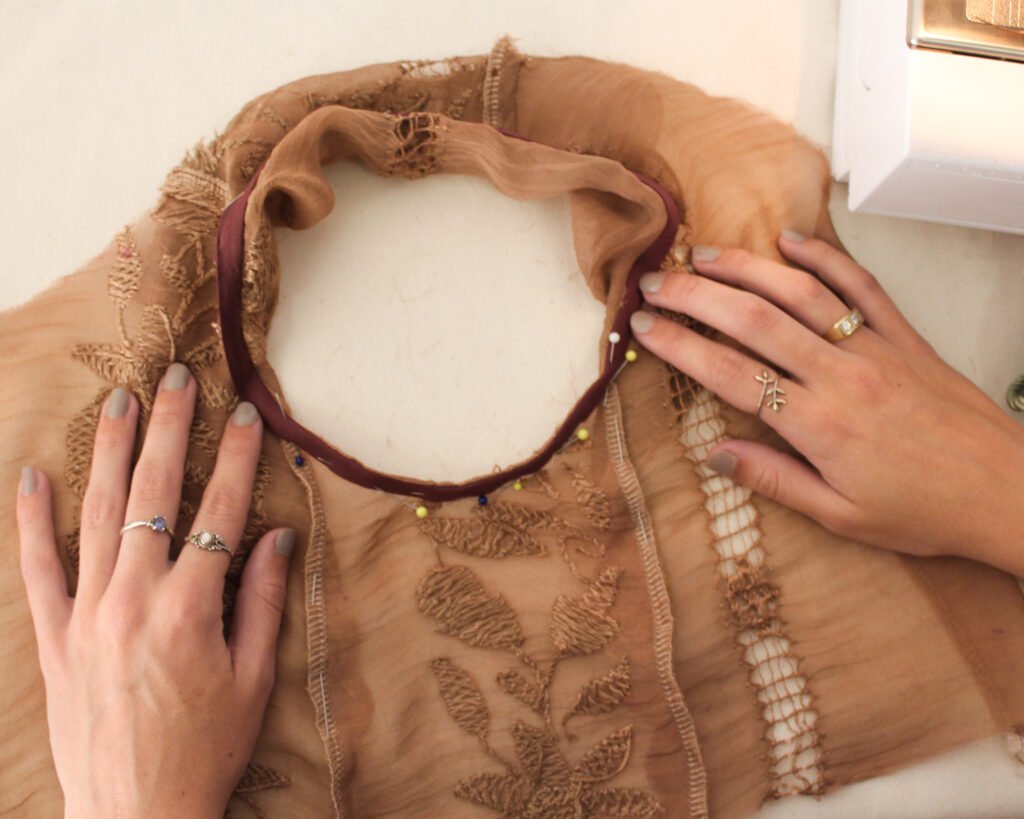 9. Fold the binding to the inside of the garment, encasing the armhole edge.
10.. Sew along the Side piece part of the Armhole. Between the 2 seams.
Make sure not to catch the Sleeve.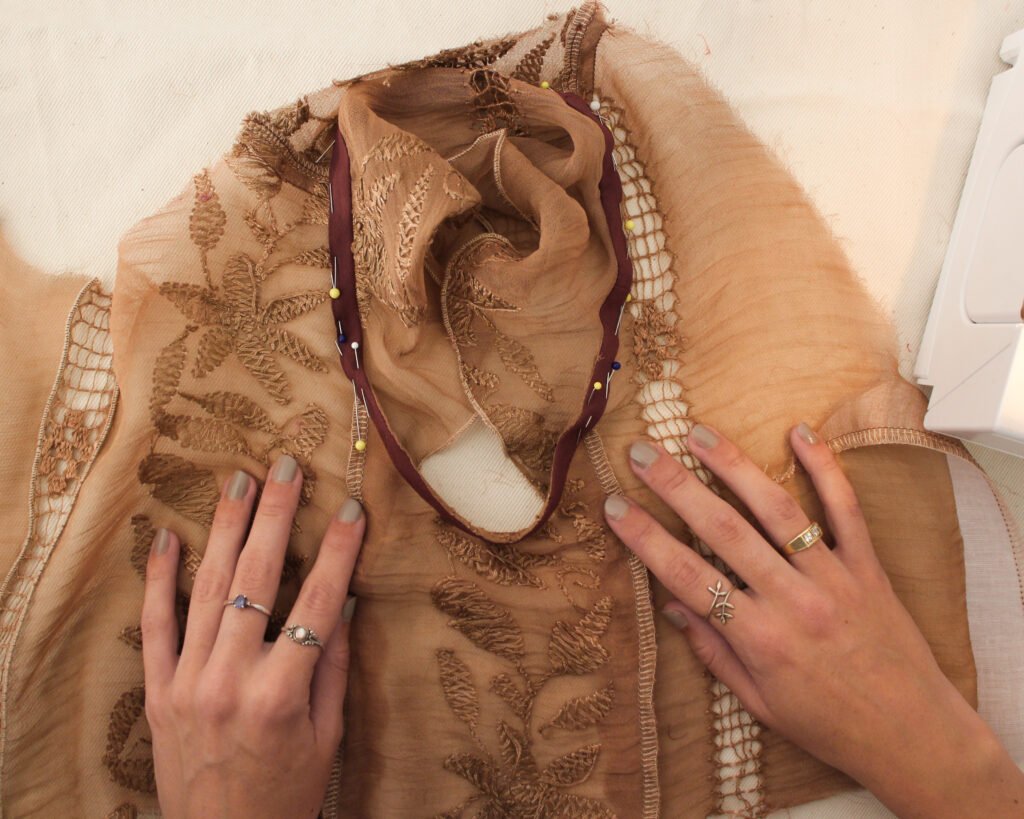
11. Now bring the Sleeve through the Armhole.
Sew the rest of the binding in place.
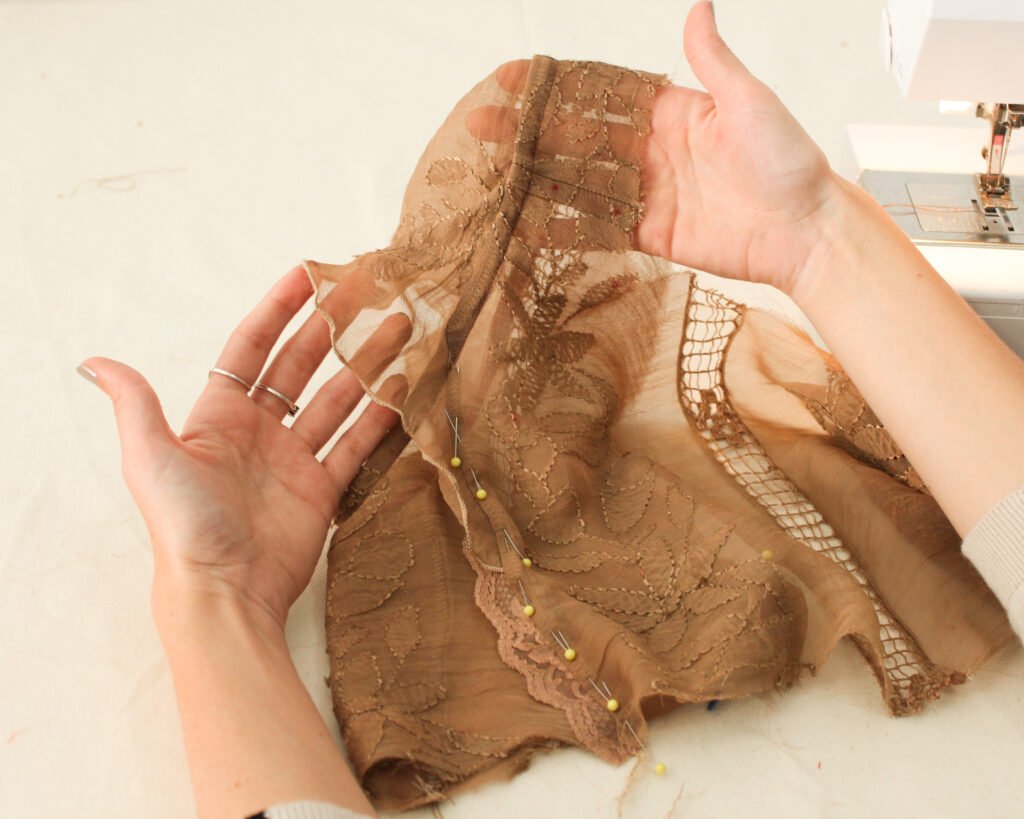 12. On the Front, pin the seam towards centre front and top-stich it in place.
On the Back, pin the seam towards centre back and top stitch it in place.
13. If you haven’t done so already, repeat these sewing steps for the other Sleeve.
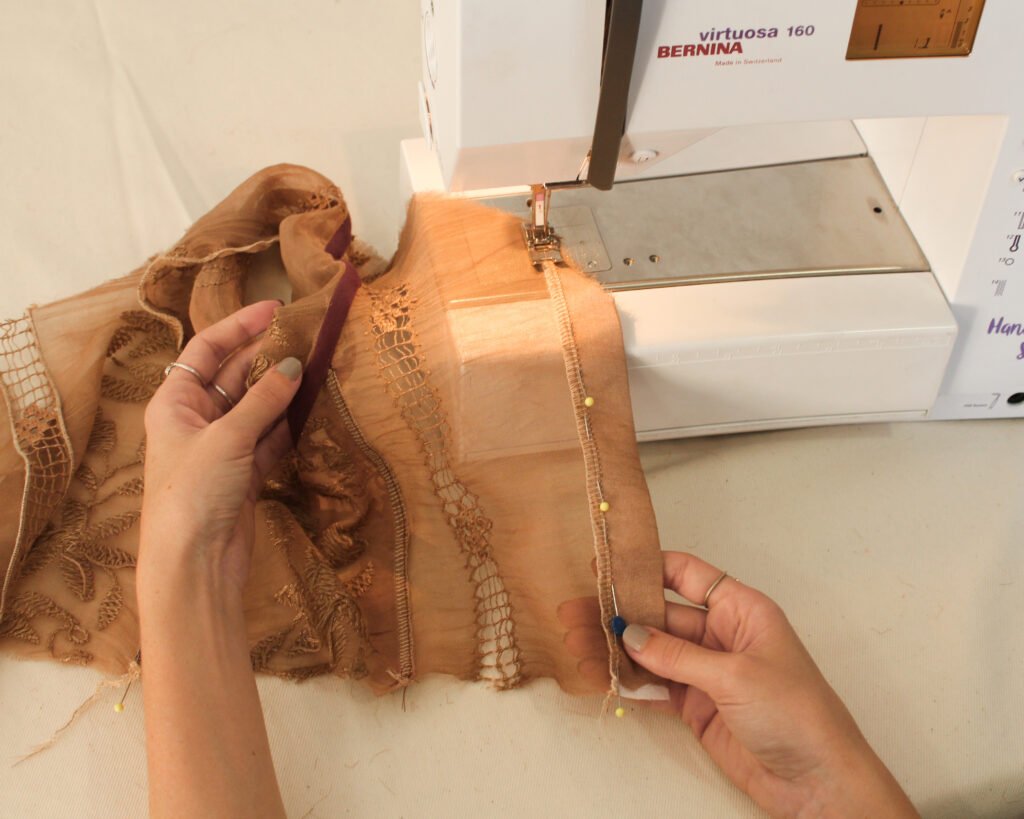 14. Cut out a piece of iron-on Vilene the length and width of the Button Stand you made ( 3cm x …)
Iron it onto the Button Stand, overlock the edge and fold to the inside of your garment.
Secure it in place by sewing along the overlocked edge.
15. Attach the binding to the neckline.
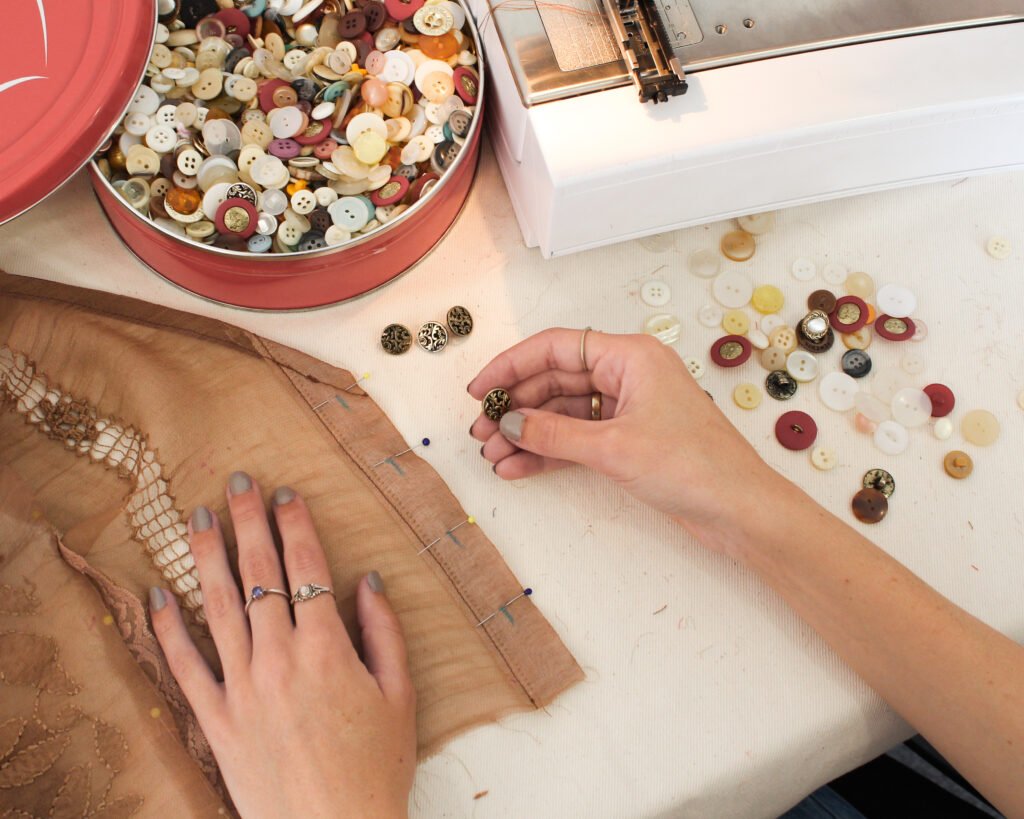
16. Mark the placement of your button holes equal distance apart. Keep in mind the seam allowance at the bottom of the bodice.
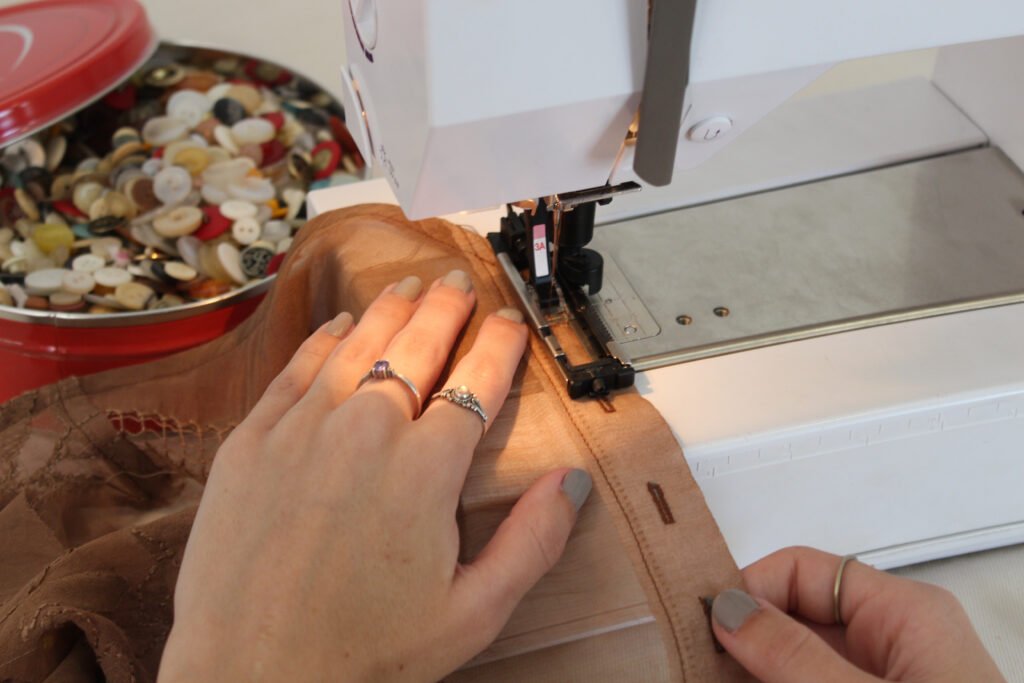 17. Prepare your sewing machine for button holes.
Here is a video tutorial I made to help: Button hole with foot #3A Tutorial
*I would recommend you practice making button holes on a scrap piece of fabric before starting on your garment.
I set my stitch to #10 and used foot #3A.
The sensor in the foot ensures that each button hole is exactly the same as the 1st.
I measured out the width of the button for the 1st hole.
I started sewing at the top of my mark and when I got to the end of the mark, I held down the back-stitch button. The machine stitched across the bottom of the button hole and when it started stitching backwards I let go of the back-stitch button. The machine stitched backwards all the way to the top of the button hole and automatically stitched across the top.
The key is to not lift your foot off the pedal while sewing the buttonhole until the machine has finished stitching, but I would recommend sewing slowly.
As long as you don’t change between stitch types, the machine will remember the length of your button hole. All you have to do is line it up at the top mark of your button hole and slowly put your foot down on the pedal, the machine will sew the button hole for you.
Open the button hole using an unpicker. Place a pin at the top of the button hole to prevent the unpicker from cutting too far.
18. Do not put your buttons on until you have added the peplum as the bottom button will get the way.
19. Overlap the bottom of the button stands and secure in place.
Join the back seam of the Peplum, overlock the bottom edge with the 3-thread rolled hem stitch, gather the top edge and join it to the bodice.

Tips
- Extend the length of the peplum piece to create a dress.
- Any lightweight fabric will work well for this project. If you are using a non-stretch fabric then make sure the pattern has a loose fit. If you are using a stretch fabric then take care not to stretch the fabric when adding the binding.
I would love to see your makes, please feel free to share them with me!
Instagram
Facebook
Good luck and happy sewing!
-Hannah-Rose
 BERNINA Corporate Blog -


Beautiful design & pattern sew information. I like. Very nice look .
Thank you 🙂