 BERNINA Corporate Blog -
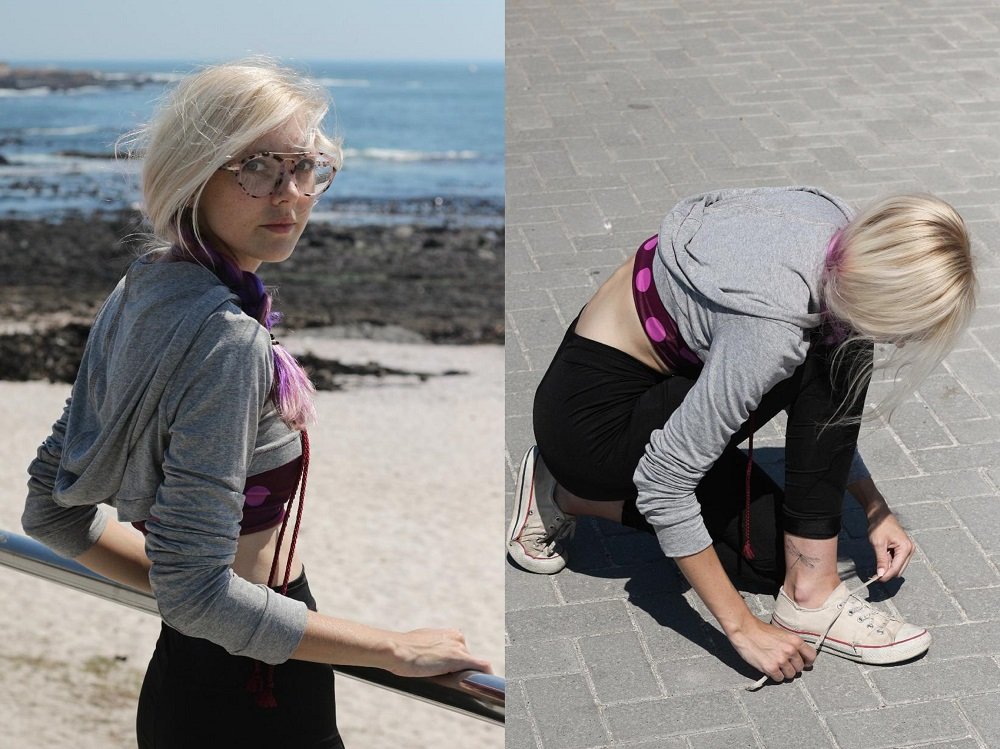
Earlier this year I made a garment for a close friend of mine for her birthday.
She is an incredible athlete and such a humble and genuine person. We met while studying fashion design and she has gone on to make awesome athletic wear.
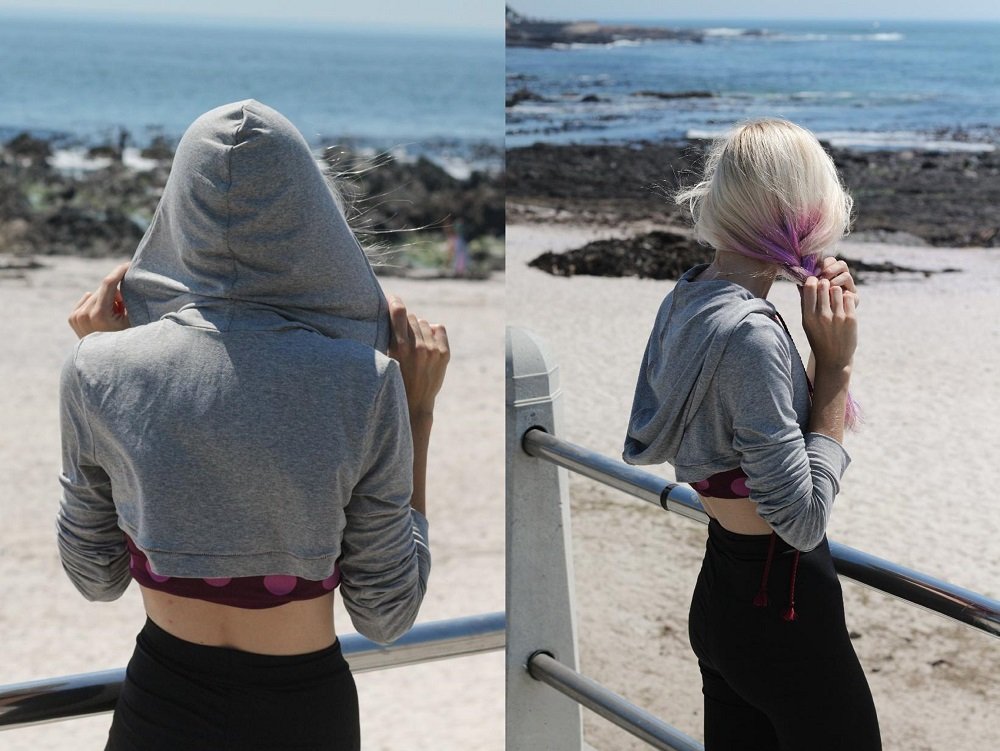
Even though she can (and she does) make her own athletic garments, I wanted to make her something athletic inspired. I decided to do a fun take on a common athleisure garment, the hooded sweatshirt (hoodie.) Other than making the hoodie cropped, I wanted to try out a cool stitch I found on my L460 overlocker.
What will be needed:
- Sewing machine
- Overlocker
- Buttonhole foot (I used #3A)
- Hoodie Pattern
- 2m string/cord
- Cotton Knit fabric (amount dependant on your pattern)
- 3-4 matching threads
- 1 contrasting thread
- Two 2cm x 2cm pieces of Vilene
- Safety Pin
Pattern
There are many free patterns available on the internet.
Use one that best suits you or copy one of your own.
Use my blog post: Duplicate your favourite jersey and embroider it! to help you draft a pattern from your own hoodie.
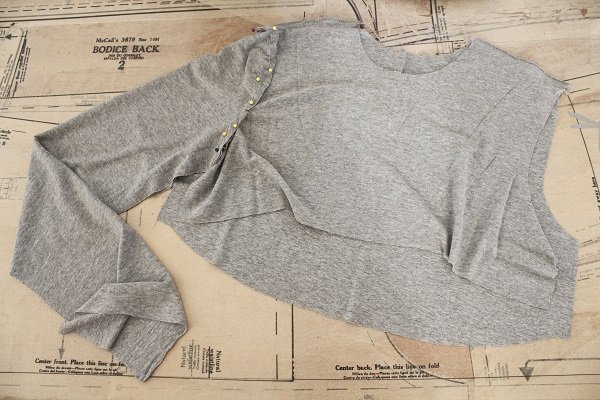
In order to create a cropped hoodie, simply end the body pattern piece just below the armhole. It is up to you how short you want your hoodie to be, just leave at least 8cm for the hem (includes seam allowance).
Also add an extra 1.5cm seam allowance on to the hood.
I shaped the hem of my hoodie. The back curved down a bit and the front curved up ever so slightly.
Steps
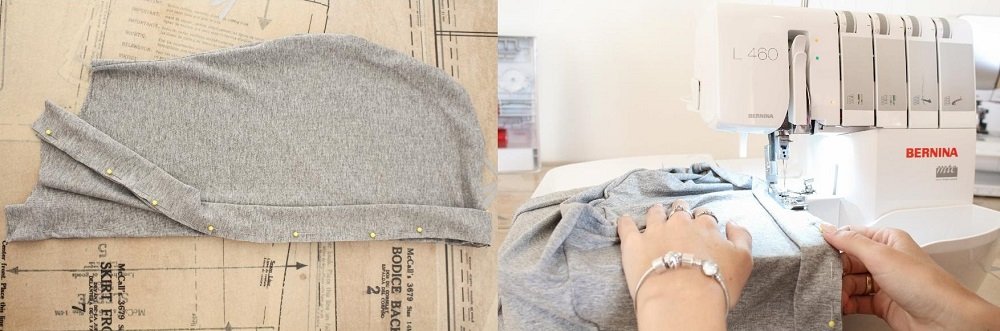
Button-hole
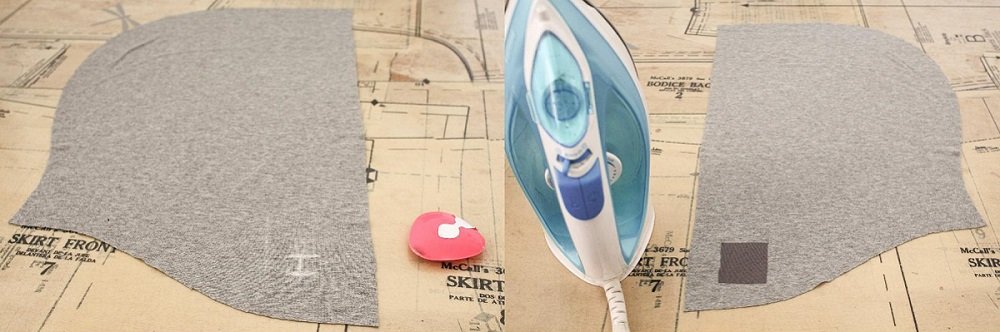
- On the right side, mark the button-hole placement on the hood piece.
Iron a piece of Vilene on the reverse side of the marking.
Repeat for the other hood piece.
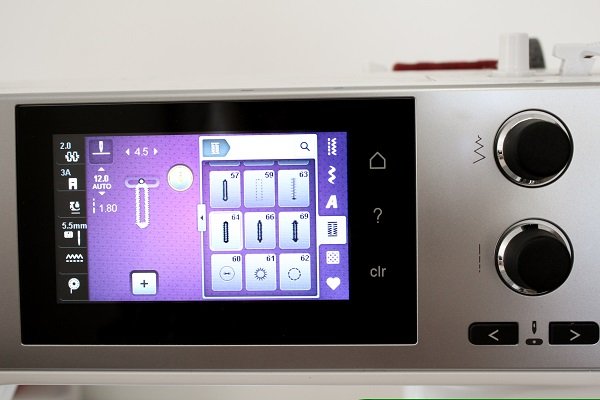
- Set up your sewing machine to do button holes.
My machine has a few styles of button-holes. I chose button-hole #64 because I liked the fuller rounded edges.
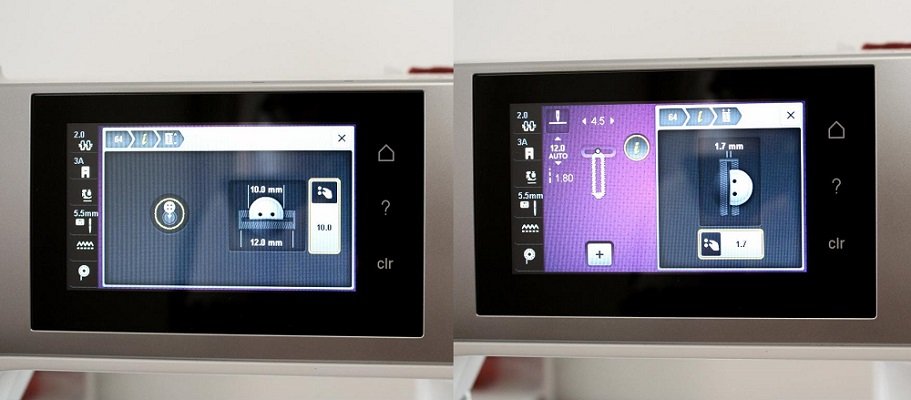
- I made my button-holes 10mm long and 1.7mm wide.
I wanted to make the button-hole as wide as possible but if your machine doesn’t let you adjust the width, just go with the default setting. The length doesn’t need to be too long, just long enough for the cord to fit through.
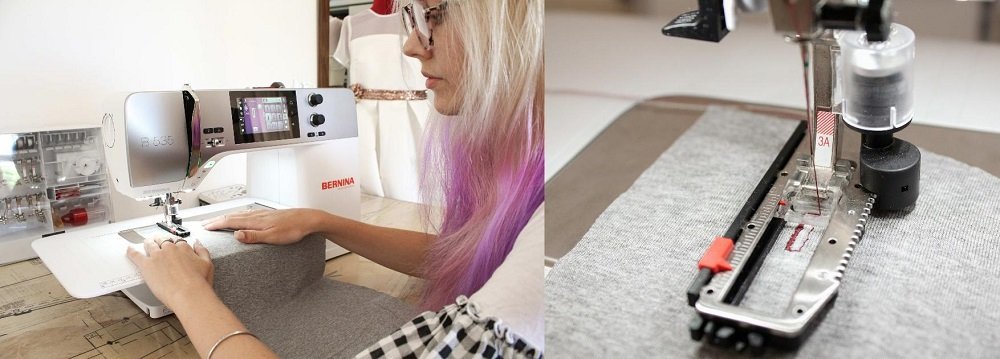
- Sew the button-holes on the markings of each hood piece.
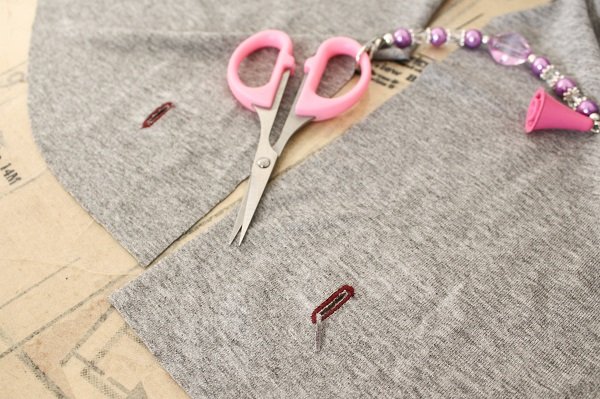
- Open the button-holes.
Overlock
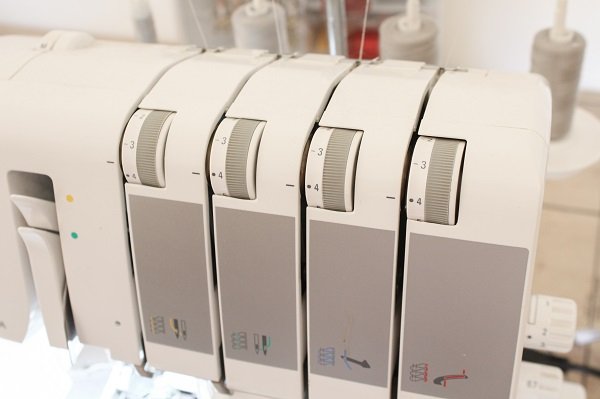
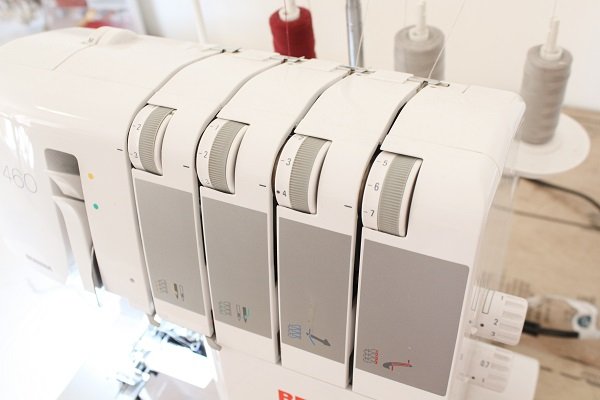
- Set up your overlocker for the 4-thread Overlock stitch (the 3-thread overlock LN stitch will also work)
Left Needle: 4
Right Needle: 4
Upper Looper: 4
Lower Looper: 4
Stitch Length: 2.5
Differencial Feed: 1
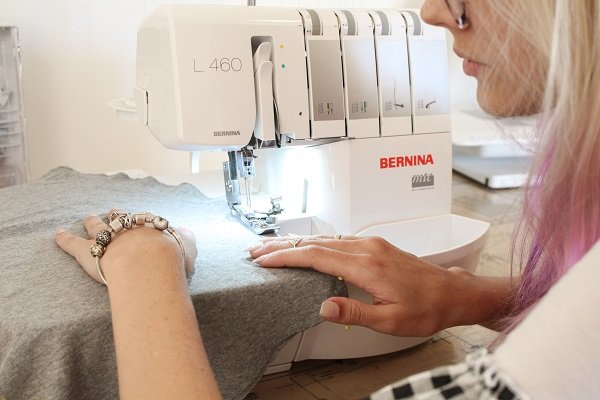
- Join the hood pieces at the centre back seam.
- Join the body at the shoulder seams.
- Join the sleeves to the body at the armholes.
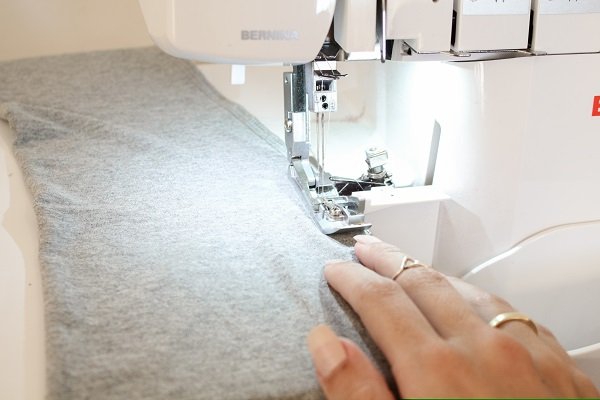
- Overlock along each side seam from the armhole to the hem.
- Join each cuff along the side seam.
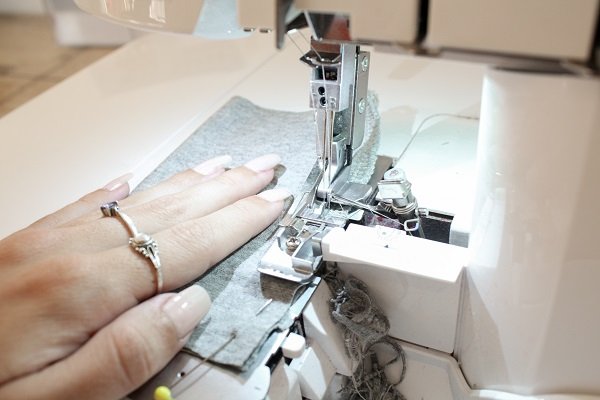
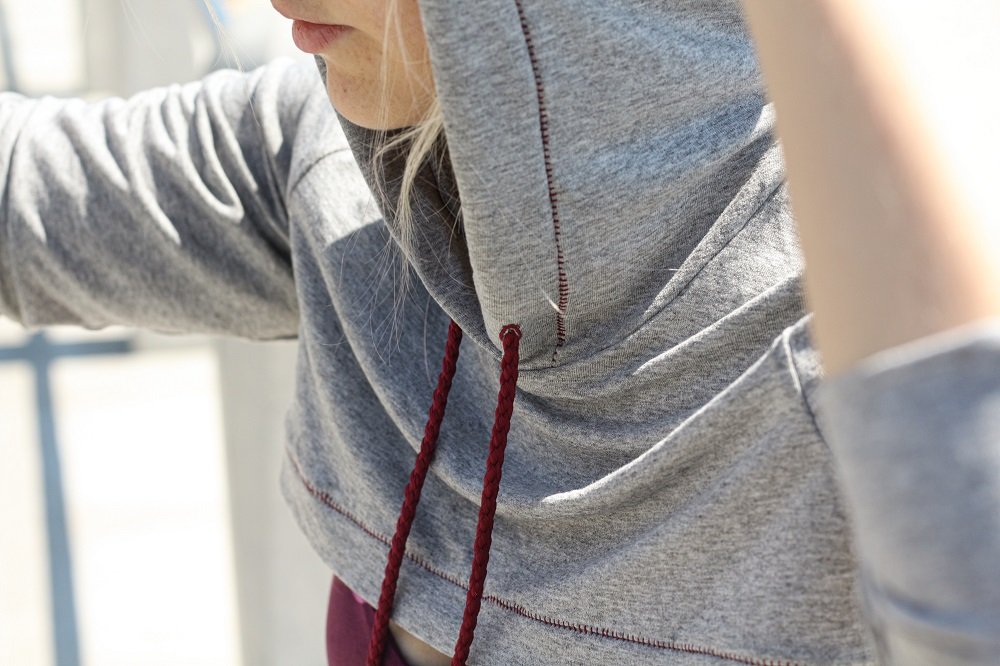
- Set up your overlocker for the 3-thread flatlock stitch (RN).
Left Needle: N/A
Right Needle: 3.5
Upper Looper: 4
Lower Looper: 7
Stitch Length: 2.5
Differencial Feed: 1
Place the contrasting thread on the right needle spool holder.
- Overlock along the hood band.
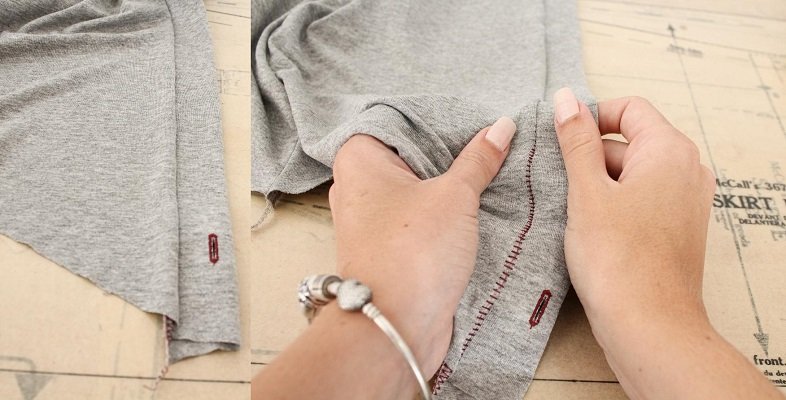
- Gently and slightly pull the seam apart to reveal the stitches.
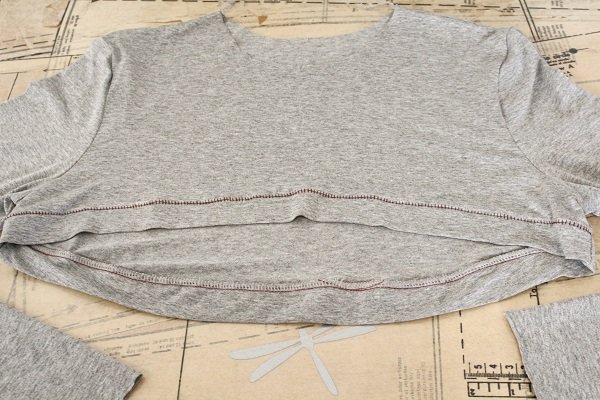
- Repeat the last 3 steps for the hem.
- Reset the overlocker for the 4-thread flat stitch.
Attach the cuffs to the sleeves.
- Attach the hood to the body.
If possible, overlap the hood at the centre front.
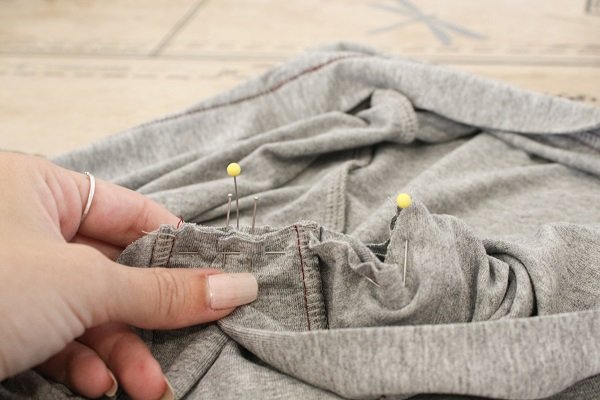
Ties
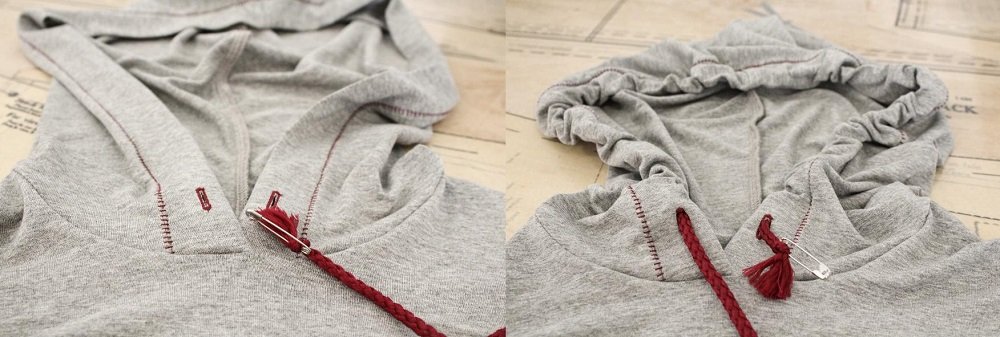
- Use the safety pin to feed the cord through the hood.
Knot the end of the cords.

Tips
- In regards to the 3-thread flatlock, I don’t recommend using it to join pieces where there may be strain. The stitch is more decorative than functional.
I would love to see what you make, please feel free to share with me!
Instagram
Facebook
-Hannah-Rose


0 Responses