February is the month of love and who better to share some love with than yourself!
Loving yourself starts with feeling good about yourself and I believe our undies can play a big part in that.
Wearing gorgeous, well-fitting and comfortable lingerie can be an amazing confidence boost!
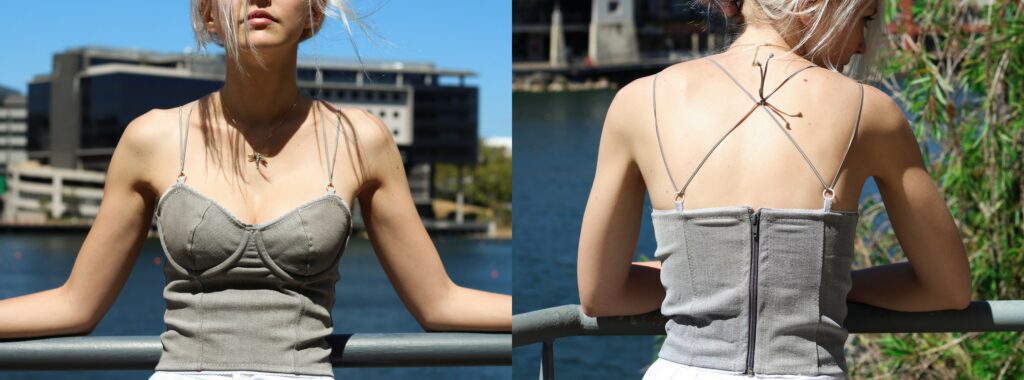
I’m going to share with you how I made a bustier out of my boyfriend’s jeans!
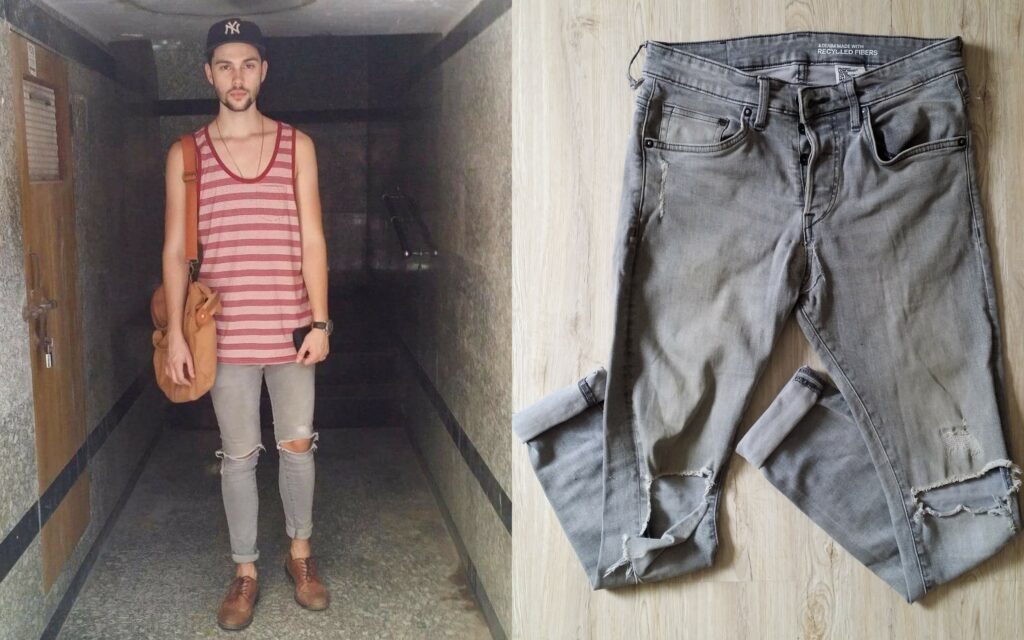
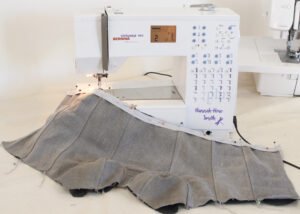
My boyfriend had these awesome grey stretch denims which I was forever repairing and eventually while living in India they gave up on him. But knowing how much I love to refashion, he brought them back home to SA just for me! It was such a thoughtful gift after 6 months of being apart.
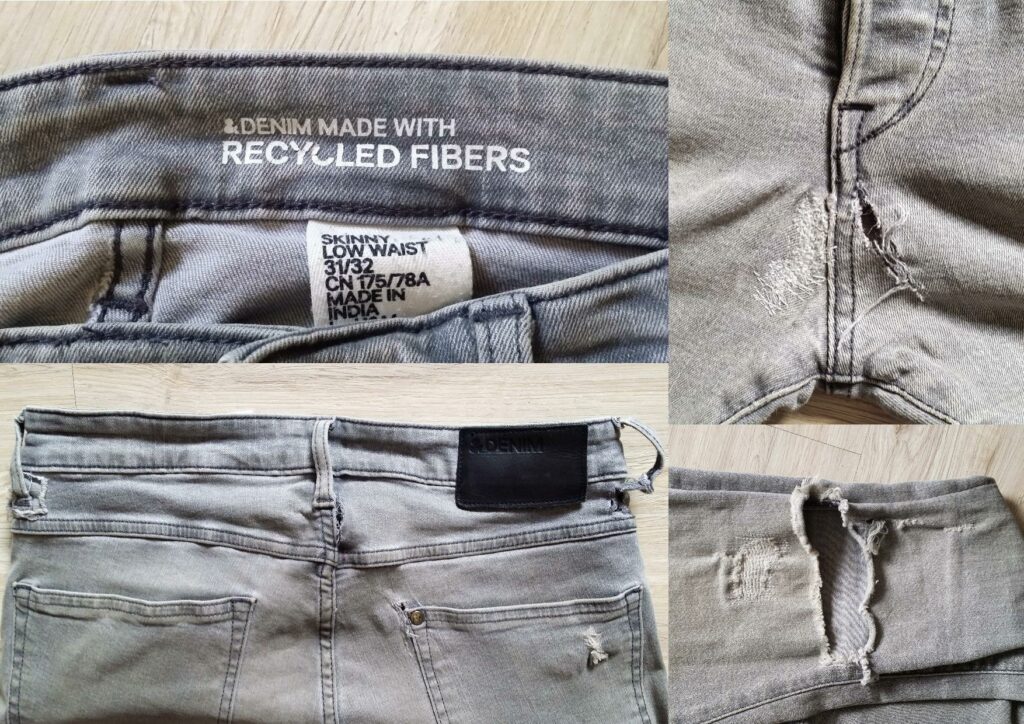
I like that the jeans were made from recycled fibres but it seems that they were not strong enough for a durable pair of jeans. You can see my attempts at repairs but the fabric kept coming apart at the seams. There were at least 5 holes on the back alone.
Needed
- Bra Pattern
- 25cm – 50cm Thick Stretch Fabric (Twill, Satin)
- 25cm – 50cm Power Mesh for lining
- Plush Elastic 1.5cm wide: length dependant on lower edge (refer to step 14)
- Lingerie Elastic 1cm wide: length dependant on top edges (refer to step 24 & 28)
- 2 x bra straps or 2m Satin String and 4 rings (refer to step 23 & 37)
- Open-ended Zip (dependant on the Centre Back seam length)
- Optional: Underwire
- Sewing Machine with zig zag stitch and Zipper foot
- Overlocker
Steps
Pattern
Please feel free to use any Bra pattern that fits you well.
There are a few decent patterns available for free on the internet!
Download my Bra to Bustier Pattern Hack Guide and follow my instructions to turn your Bra pattern into a Bustier.
This how my pattern turned out after the pattern hack.
Sewing
Once you have cut out the respective pieces in the outer fabric and lining then begin with these steps.
- Pin the pieces of the outer fabric RS together
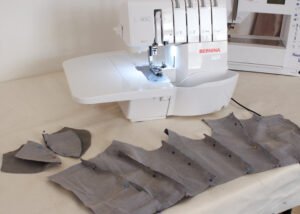
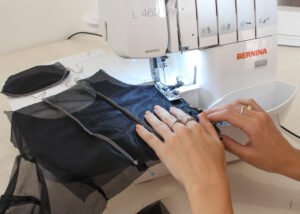
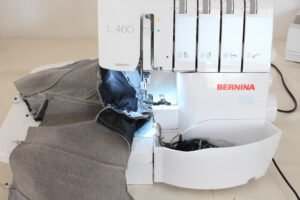
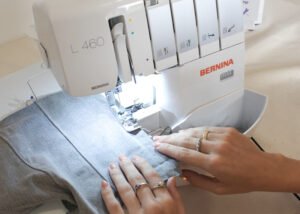
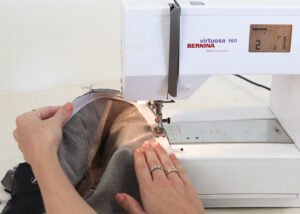
- Set up your overlocker to a 3 thread flat stitch. I chose this stitch as it is strong enough to hold my garment together while allowing it to still stretch and it covered the 6mm seam allowance.
Overlock the bodice panels together and overlock the cups together.
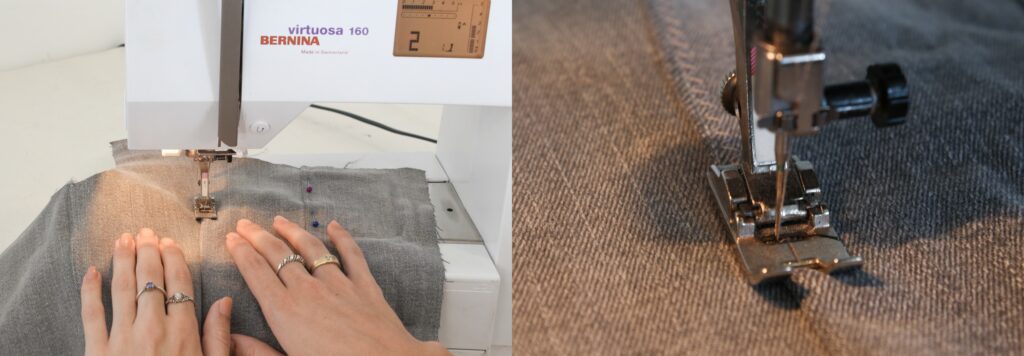
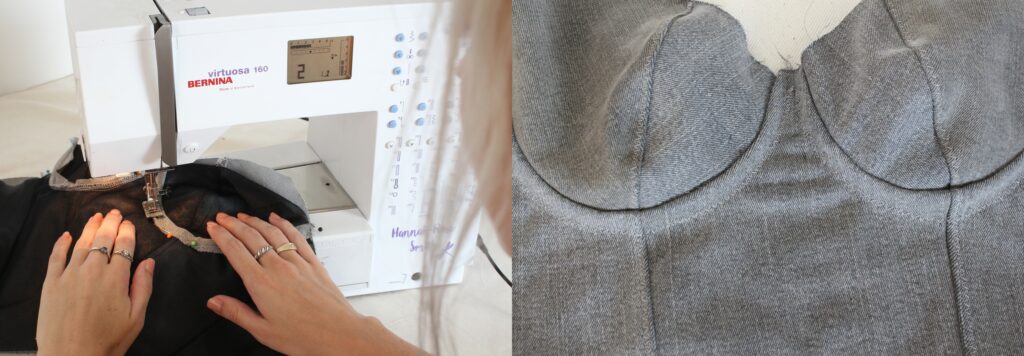
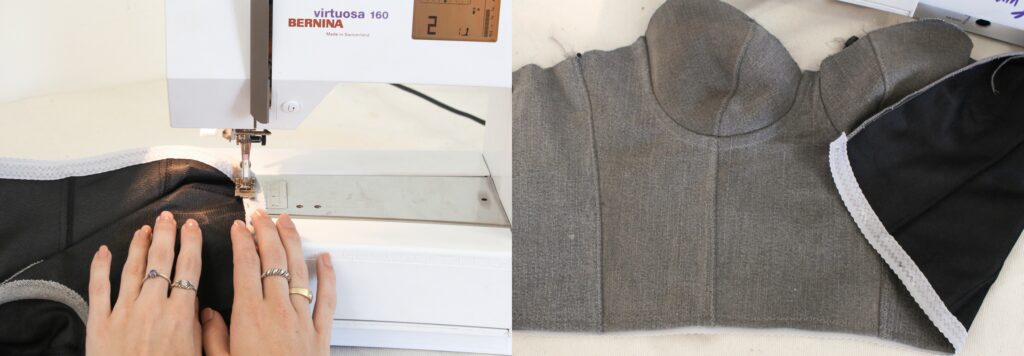
- I decided to top-stitch the seams to keep them flat and add a design detail.
Start by pinning the seams facing towards the Centre Back.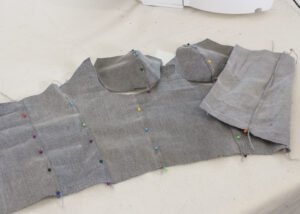
- Set up your sewing machine for a zigzag stitch. I used a medium width and length stitch.
Top-stitch your seams.
- If you haven’t done so already, repeat steps 1 & 2 with the lining.
- Join the Wrong-sides of the lining to the Wrong-sides of outer fabric with stay stitching.
I just did the Cups but feel free to stay stitch around the whole garment.
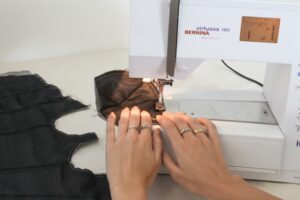
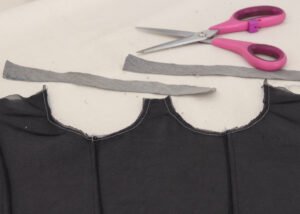
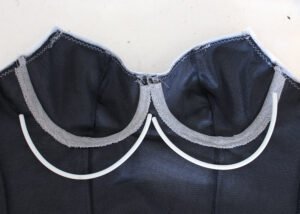
- Measure the length of the Channeling Case to match the under cup part of the Bodice.
Even if you are not using an Underwire, the Channeling will neaten the seam.
- Overlock one edge of each strip of Channeling.
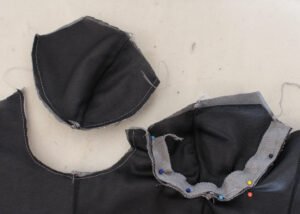
- Pin the Cups to the Bodice with the raw edge of the Channeling.
The Cup will be sandwiched between the Bodice and Channeling.
- Very carefully overlock along this seam.
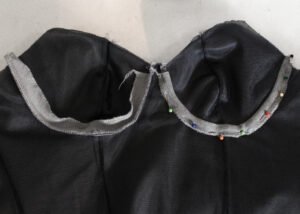
- Pin the Channelling to the Bodice, covering the seam.
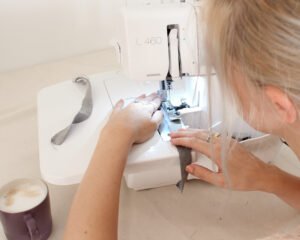
- Sew along the overlocked edge of the Channeling, leaving space for an Underwire to slide inside.
I used a medium to narrow zigzag stitch.
From the front it will look like top-stitching, so try be as neat as possible.
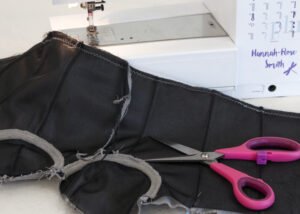
- Overlock the Back edges of the Bodice, neatly joining the lining to the outer fabric.
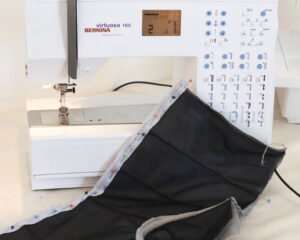
- Cut a strip of 1.5cm wide Plush Elastic 2cm shorter than the length of the Bodice’s lower edge.
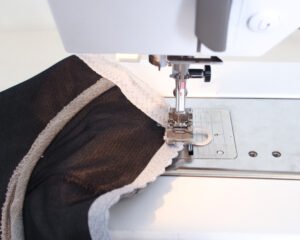
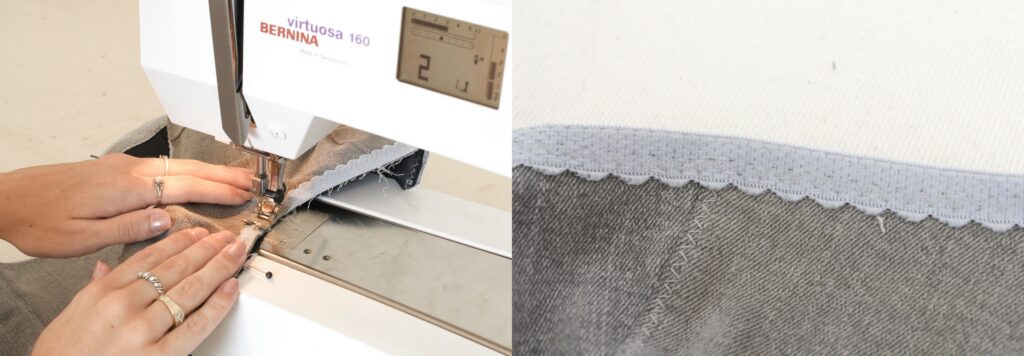
Pin the elastic to the Right-side of the fabric with the plush side facing out and the picot edge (the decorative, scalloped edge) facing towards the top edge of the garment.
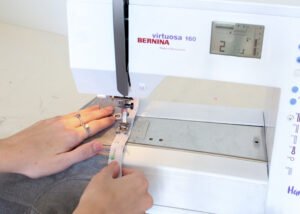
- Using a medium zigzag, stitch close to the picot edge.
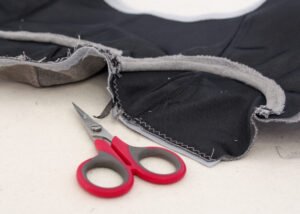
- Trim the excess fabric close to the stitching. Please be careful not to cut the elastic or stitches.
- Fold the elastic towards the inside of the garment and pin in place.
- Zigzag stitch along the inner edge of the elastic, neatly hiding the raw edge and securing the elastic.
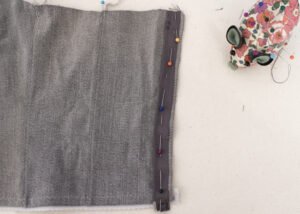
- I shortened my open-ended zip to match the length of the Centre Back seam.
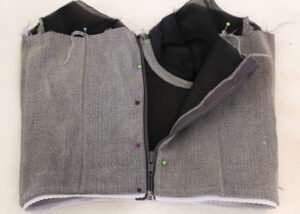
Open the zip and pin each piece to the respective seams.
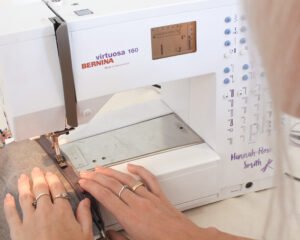
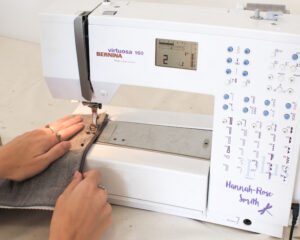
- Set up your sewing machine to sew in the zip. I used the normal medium length straight stitch and moved the needle over to accommodate the zipper foot.
Sew close to the zipper teeth. Take care when sewing close to the end of the zip as the fabric part is usually encased in plastic.
- Pin the seam away from the zip.
- Top-stitch the seam in place. I continued using the zigzag stitch to match all of my top-stitching details.
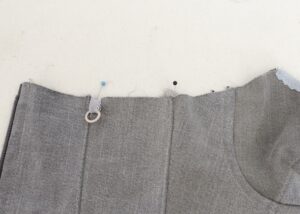
- Cut 4 x 2.5cm pieces of 1cm wide elastic and fold them through each ring.
If you are using detachable bra straps, then leave out the rings and just use these folded pieces of elastic.
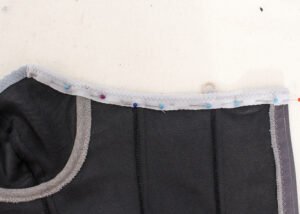
- Cut a piece of 1cm wide lingerie elastic 2cm shorter than the length of the top edge.
Pin the elastic to the Right-side of the fabric with the plush side facing out and the picot edge facing towards the bottom edge of the garment.
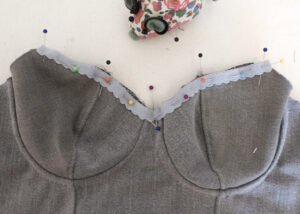
- Using a medium zigzag, stitch close to the picot edge.
- Trim the excess fabric close to the stitching.
- Cut a piece of 1cm wide lingerie elastic the length of the top edge. Cut another piece for the other side of the garment.
Pin the elastic to the Right-side of the fabric with the plush side facing out and the picot edge facing towards the bottom edge of the garment.
Fold the elastic over the edge with the zip
(This elastic should be the same as the one used in step 24, but I didn’t have enough and used what I had available)
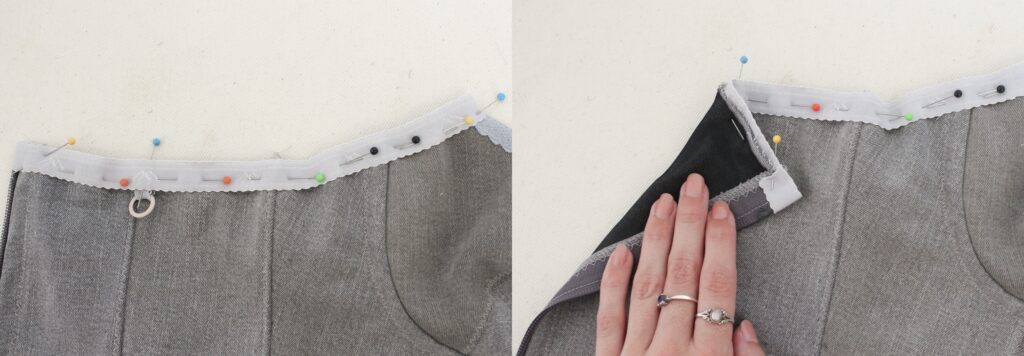
- Using a medium zigzag, stitch close to the picot edge.
Trim the excess fabric close to the stitching.
- Optional. Insert the Underwire into the Channeling.
I like to use plastic underwire as it is easy to mould with heat, it can be shortened if needs be and the ends can be rounded with sandpaper to prevent uncomfortable poking.
- Fold the elastic towards the inside of the garment and pin in place.
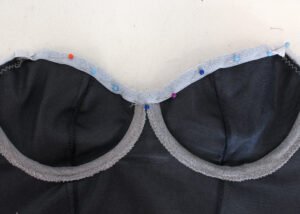
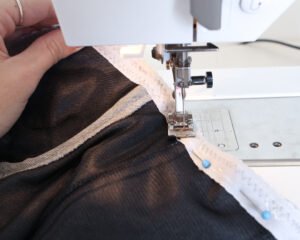
- Move the underwire out the way of the presser foot and zigzag stitch along the inner edge of the elastic.
- Fold the elastic towards the inside of the garment and pin in place.
- Move the underwire out the way of the presser foot and zigzag stitch along the inner edge of the elastic.
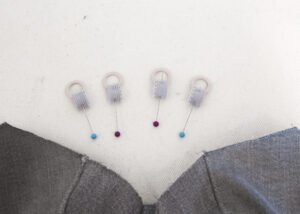
- Pin the ring to the top points of the cups.
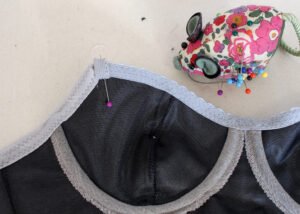
- Stitch the elastic in place
- Feed the Satin String through the loops and try different styles of straps. If you are using ready-made detachable bra straps, then simply hook them onto the little pieces of folded elastic.
Tips
- I encourage using a thicker/firmer stretch fabric for the bustier as it is easier to sew in the open-ended zip and the garment feels very supportive.
- The reason one uses a zigzag stitch when working with stretch fabrics, is to prevent the thread from breaking when the fabric is stretched. This is because the zigzag stitch has more give than a straight stitch.
- You could do an outer layer of stretch lace and a lining of stretch satin.
- Instead of a zip, you could put eyelets along the CB seam and do corset lacing as a closure.
I hope your bustier fits you perfectly and that you have a wonderful Valentines Day!
I would love to see your makes, please feel free to share them with me!
Instagram
Facebook
-Hannah-Rose
 BERNINA Corporate Blog -










OMG girl you’re so lucky! It’s rare to have a boyfriend like that lol.That jeans became new and I honestly want that! You got some talents and creativity in you.
Thank you Joey 😀
Only a pleasure.